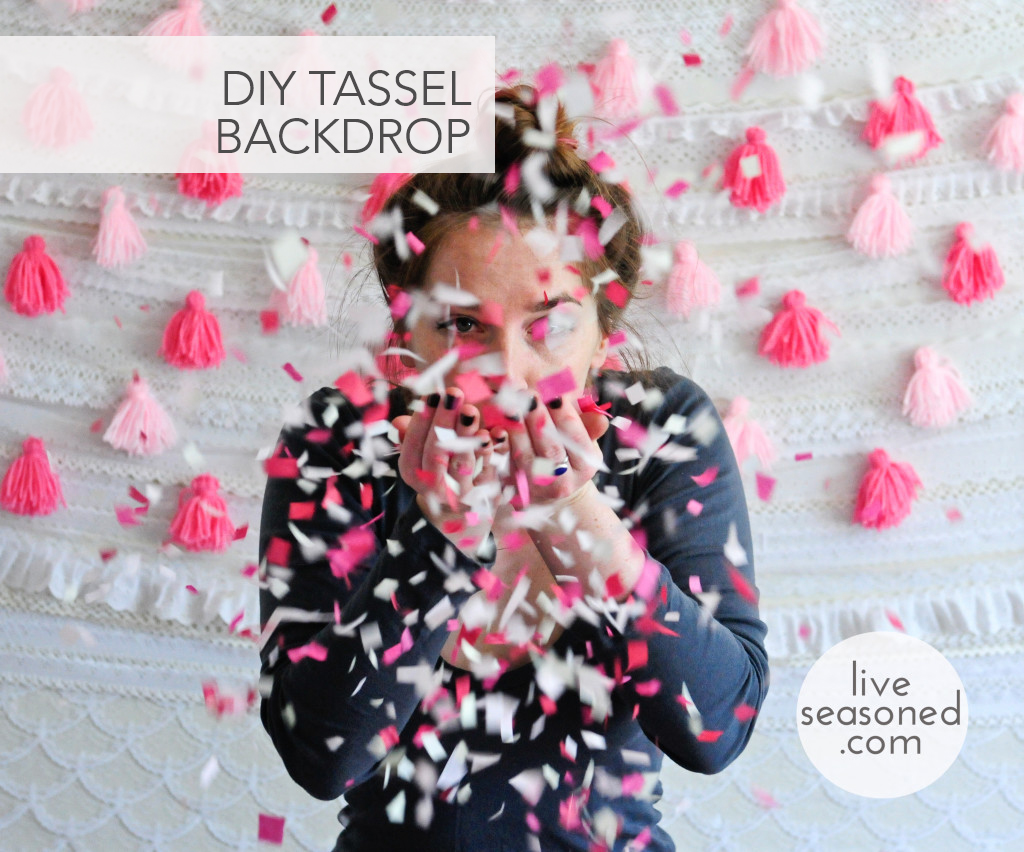
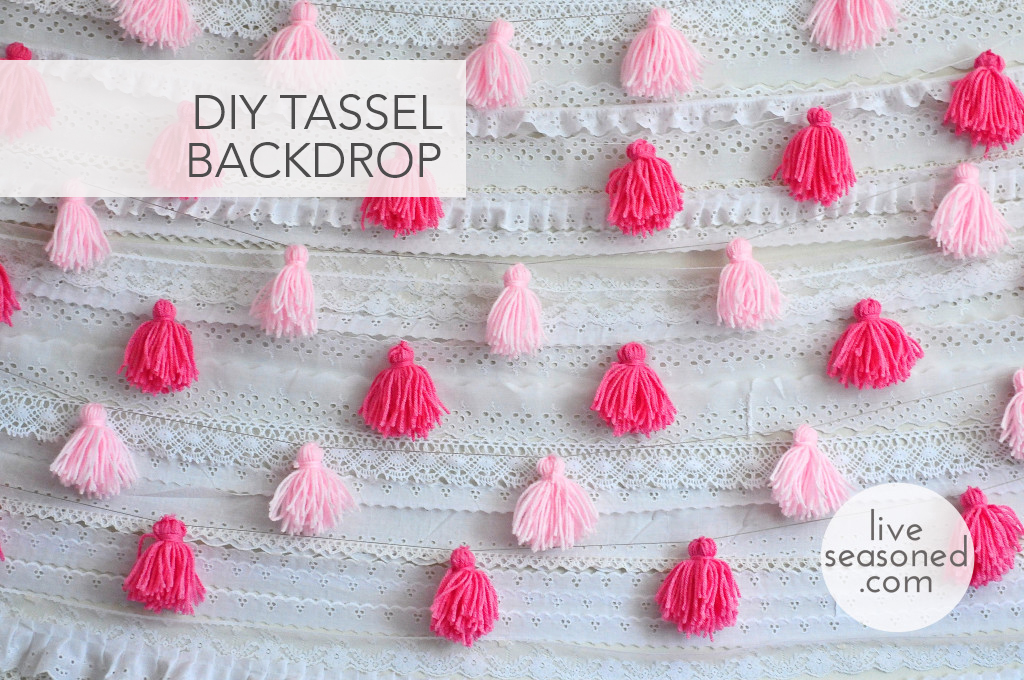
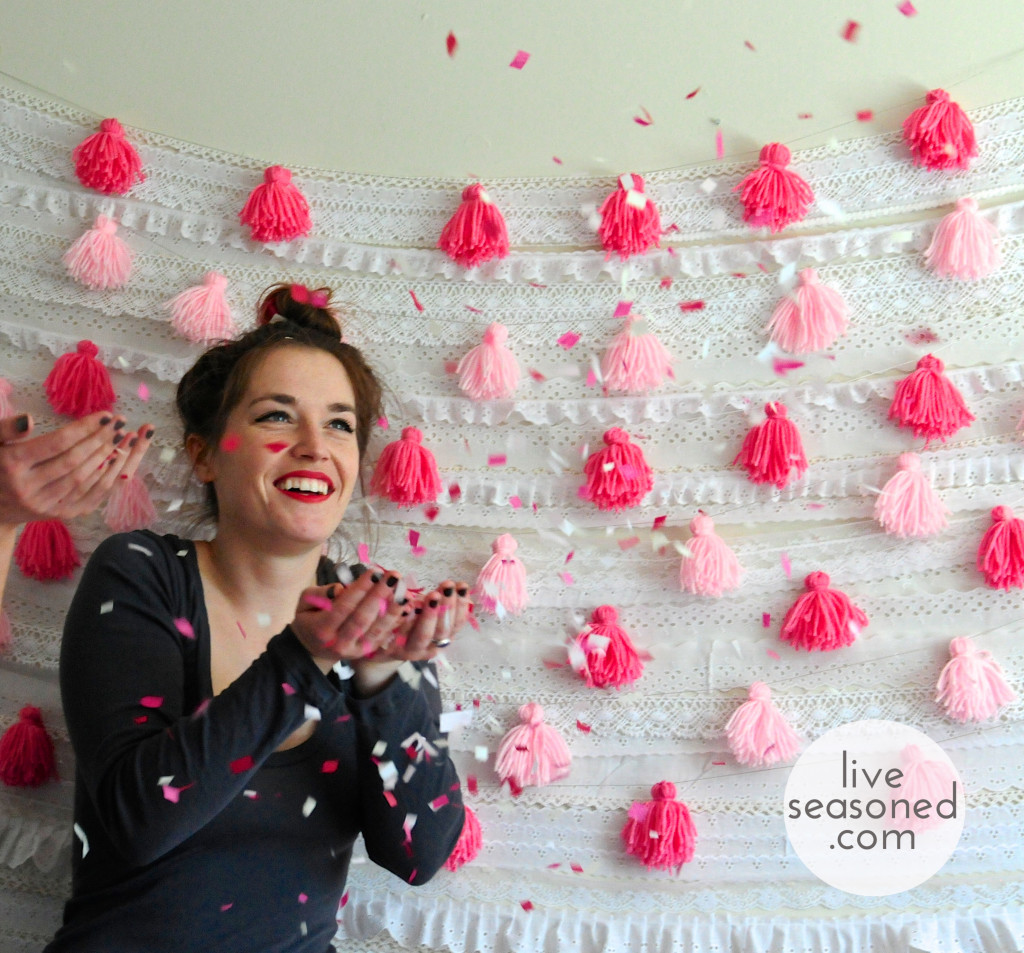
I’m loving these sweet and simple yarn tassels. Knowing that I needed a cute backdrop, I decided to hop on the yarn train to garland town. Once I got started, I quickly decided that one can never have enough fun fluff to string about the house. I’m not sure my live-in boyfriend agrees, but if he says anything I’ll just shove a tassel in his yap trap. These little tassels are really easy to make and their design is easily customizable to suit your tassel taste.
Supplies:
- Yarn
- Cardboard
- Scissors
- Tape
Instructions:
- Cut a rectangle of scrap cardboard the size that you’d like your tassel. I cut mine three inches by four inches. I want my tassels to be about three inches and I added an extra inch so that I had room to hold the cardboard while I wrapped the yarn.
- Cut a short length of yarn and lay it on the cardboard like shown.
- Start to wrap the yarn straight from the ball around the cardboard. The number of times you wrap the yarn around the cardboard will determine how thick or bushy your tassel will be. I chose an arbitrary number (fifty) for my first tassel. I really liked the shape of my finished tassel so I stuck with the number fifty for all of my tassels. If you think your tassel is too thick then cut down the number of times you wrap it, if it’s too thin then wrap that baby some more.
- After wrapping the cardboard, bend it a little bit and slide it out from inside the yarn. Use the short separate piece of yarn to tie a double knot. This knot will be responsible for holding together all the pieces of yarn so tie it tight.
- Cut another piece of yarn roughly six inches in length. Pinch the top of your tassel and wrap the six-inch piece around the little bulb and tie it tight. Then wrap it around a few more times and tie it tight again.
- Now cut each loop of yarn and tada – tassel time! Snip any uneven strings and you’re finished with your first tassel.
Once you have a whole pile, wrap a piece of tape around the tip of your garland string. It should resemble the end of a shoelace. Now thread it through the top of your tassels and string them up a few inches to a foot apart. I spaced my tassels about six inches apart. If you want the tassels to stay put, tie a knot around the top loop before adding the next tassel. I didn’t mind a little movement so I skipped that step.
Now that you’re a pro, play around with color, length and thickness to achieve tassel perfection. You could even switch up the materials; the possibilities are endless. I chose pink because I used the garland for a cute confetti photo shoot. What color combinations are you dreaming up? I have always wanted to throw a rainbow themed party, but never had an excuse to, until now that is. I can picture a few strands strung up about the room adding little pops of color everywhere. They could even double as party favors. Snap a shot of your tassel garland and share it with us on IG by tagging @liveseasoned. We can’t wait to see what you create and how you hang it!


I want to know more about the lacy part of your backdrop!
I did seem to skim right over that didn’t I? Sit tight and I’ll add a behind the scenes photo and quick how to.
Spaderah, you take some fabulous pictures. And Kris, that lipstick pops yo.
Thanks! Now I need to get better at design.