If you’re interested in photography, you can find many of our archived posts here. And particularly relevant for today’s post are Sarah’s tips for taking better kid candids.
Hello! We’re back from our vacation and still recovering from all that fun. Today I wanted to pop in and share a few photos and tips from a quick and successful family photo session attempt. Since Sarah is the trained photographer in the family and I only take photos for my own enjoyment, I’m calling myself an amateur. Although, I think a lot of Sarah’s skills have rubbed off on me, so (hopefully) this advice has some merit.
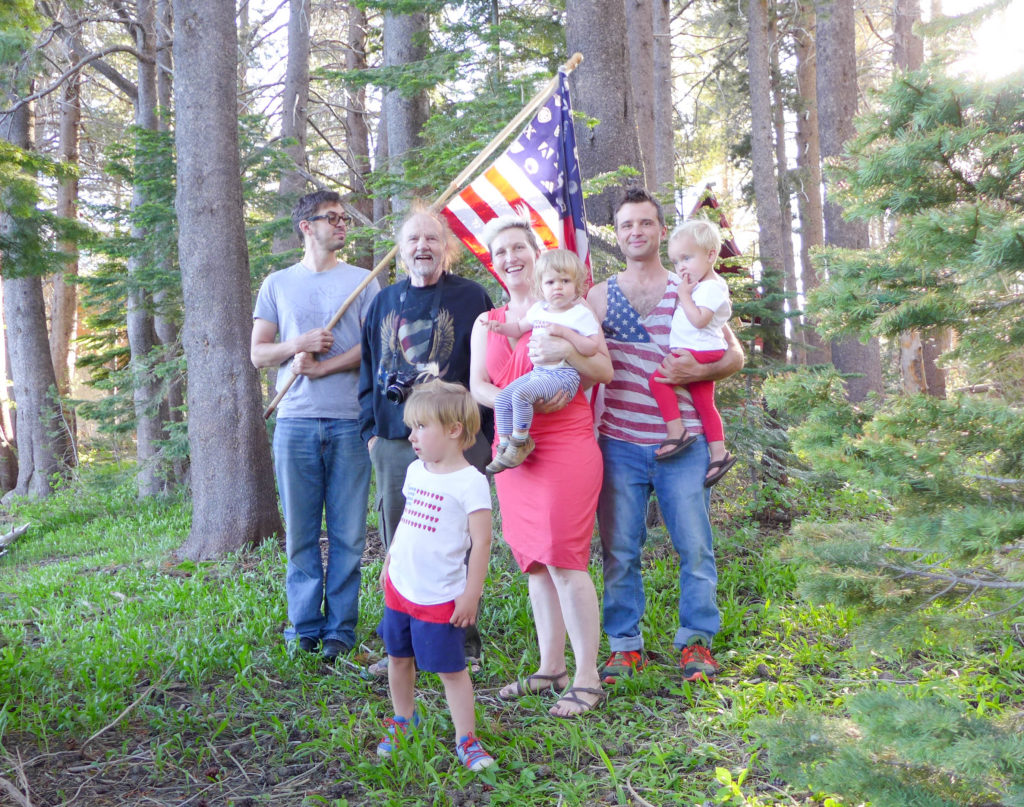
The Situation
Most of the family was together for the 4th of July and we wanted to take a few group photos. We talked about taking pics in the days leading up to the 4th, but never did it. Then the holiday came and we were adamant that we had to take some before the day was over. We just had to work around naps, trips to the beach, bike rides, and other shenanigans.
 I knew that whenever we finally had a the chance to take photos, we had to keep it simple, relatively fast/efficient, and not make too many
 kids people cry or stomp off. It happens.
The Cast of Characters
In addition to Calder, myself, and the boys, there was Calder’s dad, his sister, and her family. In total, we had a group of five adults and three of the most adorable cousins, made even more so by their matching shirts. The kids are ages 4, 2, and 1.5.
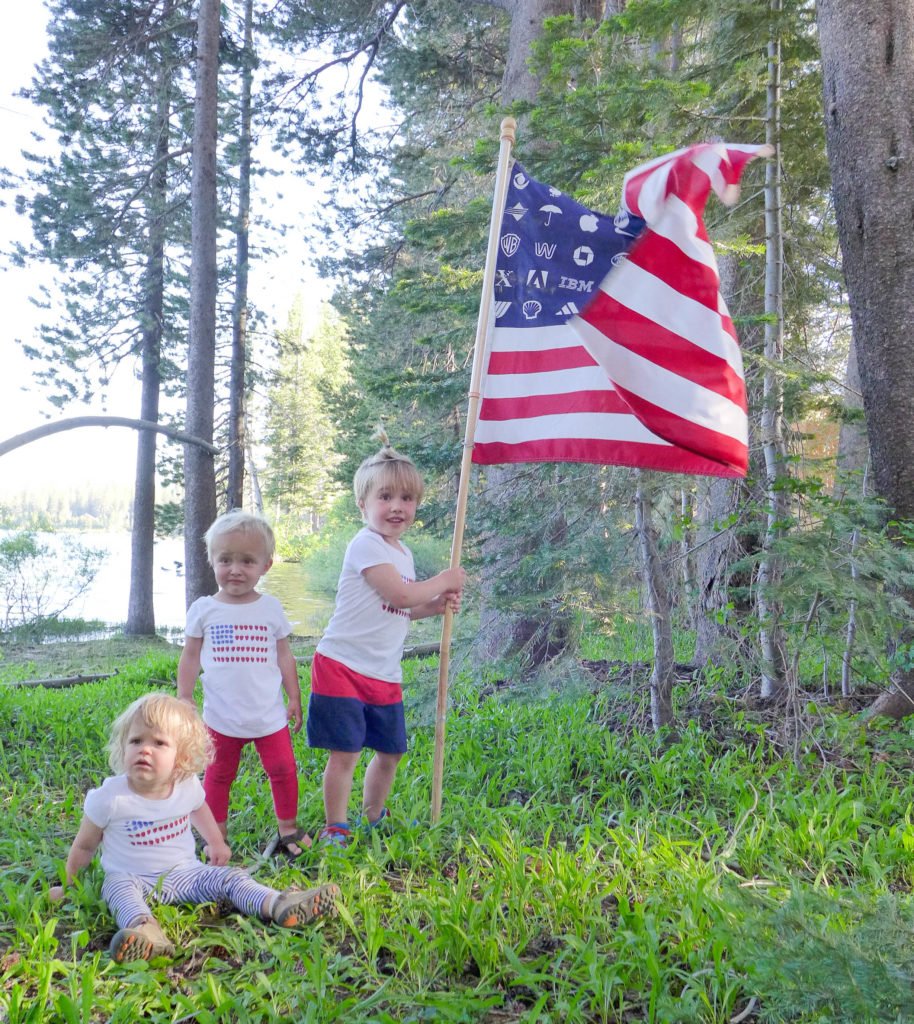
It was your basic starter herd of cats. Now to organize them in lean, mean, picture-taking machines.
The Camera
I’ve described my camera before in a post about my favorite photo gear. After over six years of use, this is still my absolute favorite camera model for all of the reasons I’ve mentioned (small, amazingly powerful, great combination of manual and automatic features).
For these photos, I kept the camera in “Intelligent Auto” mode. I also kept the lens zoomed out relatively far. Keeping it in IA mode meant that I didn’t have to do any thinking or adjustments as we moved between the three different scenes. Keeping it zoomed out meant that I would get a nice view of the setting, and I could easily crop it afterwards.
Side note – I’ve been in a quite a few conversations with fellow parents lately where they mention that they were using their phone cameras because they didn’t have their “good” cameras with them. If you want to be able to take good family pics, the first step is having your camera, and of course phones will do, but if you want a really great shot from a camera that’s small and super portable (that’s coming from a mom!), then I can’t recommend my camera enough.
The Scene
We found our window of opportunity to take the photos after dinner. Evening can be a great time to take photos, especially if you can shoot (ha!) for the golden hour. In our case, the sun was setting, but it wasn’t quite low enough to create that ideal golden light. Darn those wonderful late sunsets in midsummer.
We wanted to take the photos outside, and here’s how I went about choosing locations.
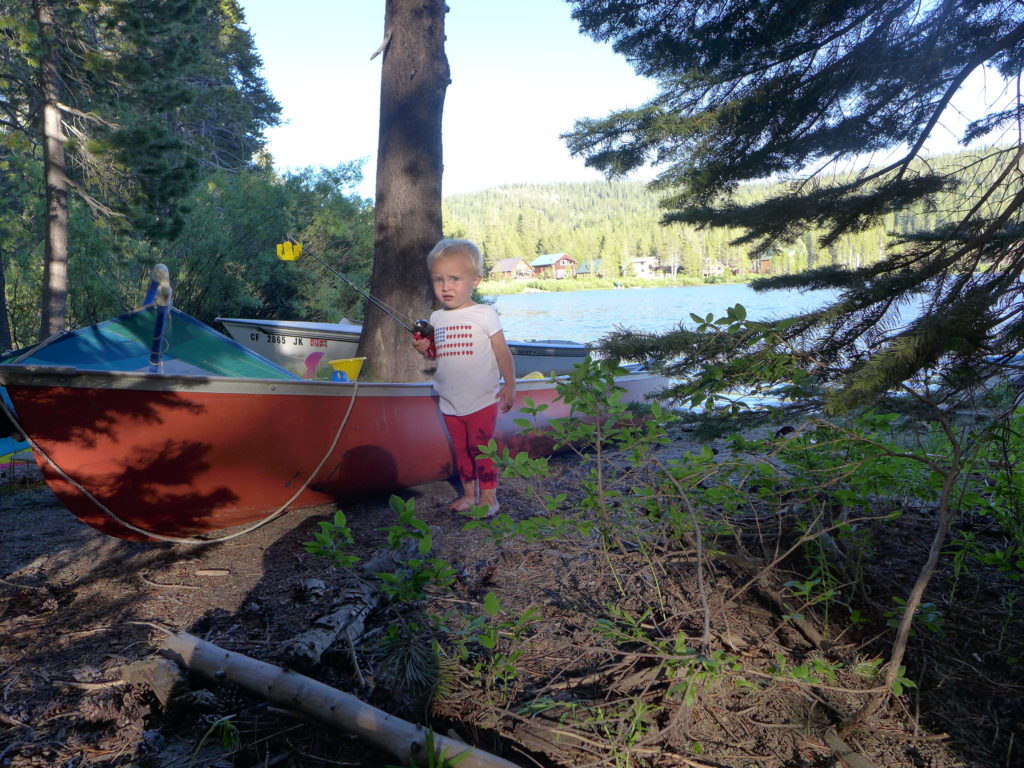
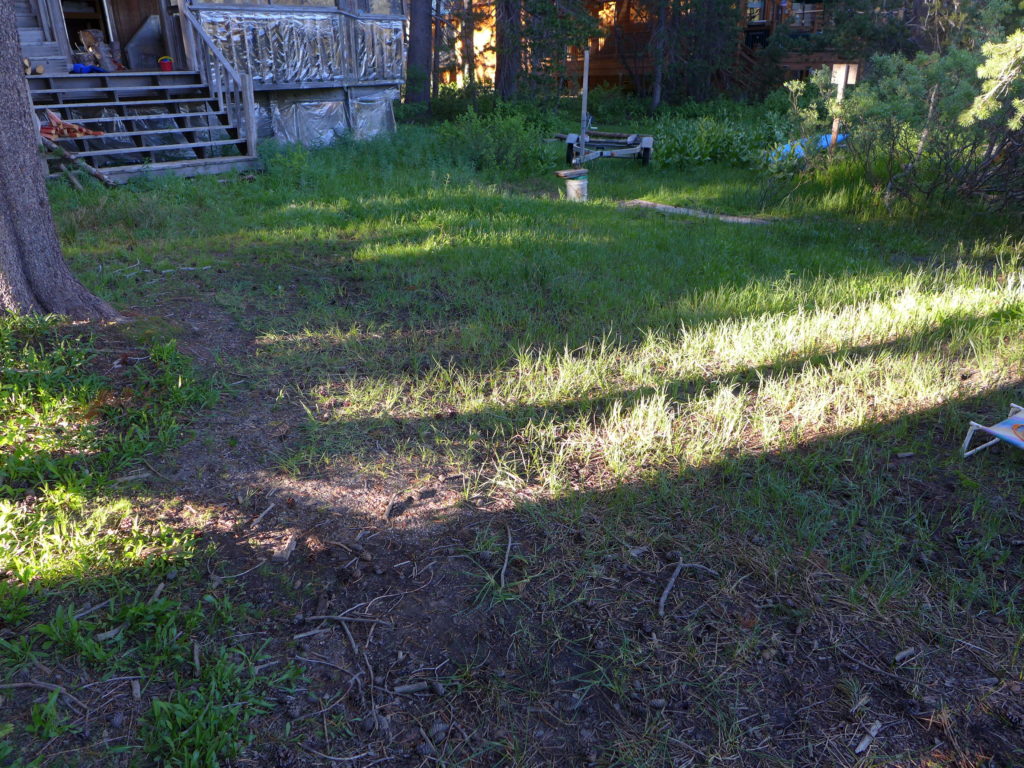
- background – Ideally, we wanted to keep the background simple, and familiar. There are many beautiful scenes around the lake, but I looked for something that was right outside the back door. The house always has a bunch of lake-related stuff around (boats, toys, etc.), and if possible, I wanted to avoid including that clutter the background. Given the light constraints (see below), and “simple” background requirements, I ended up positioning us in a wooded area and then in front of the house.
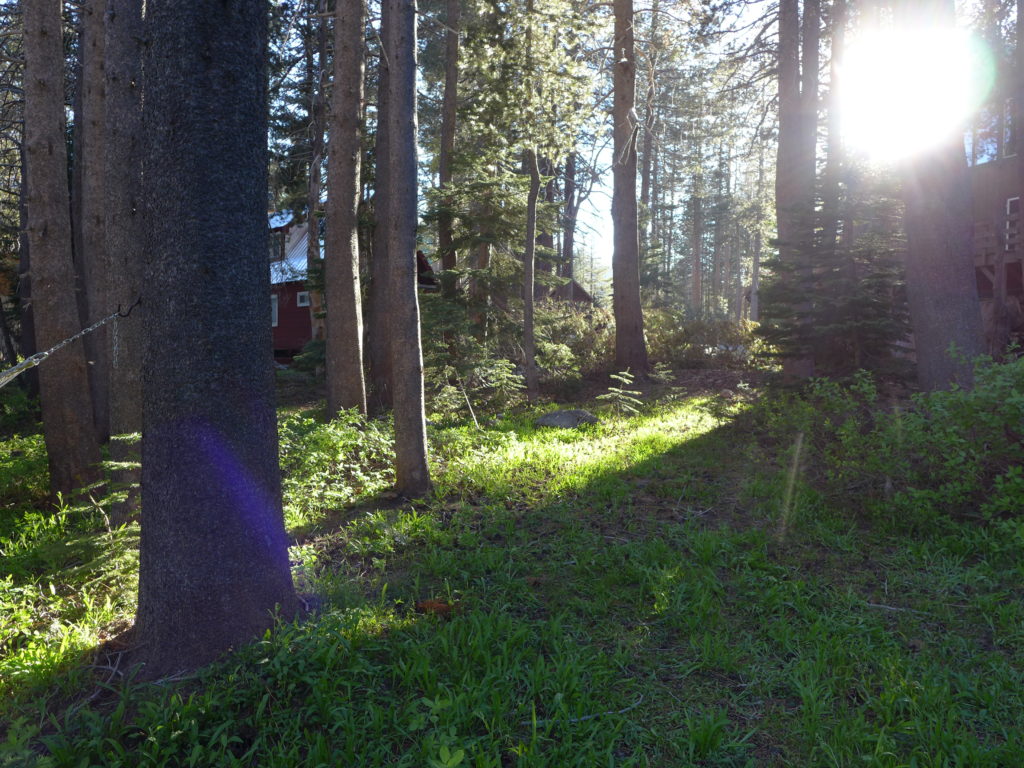
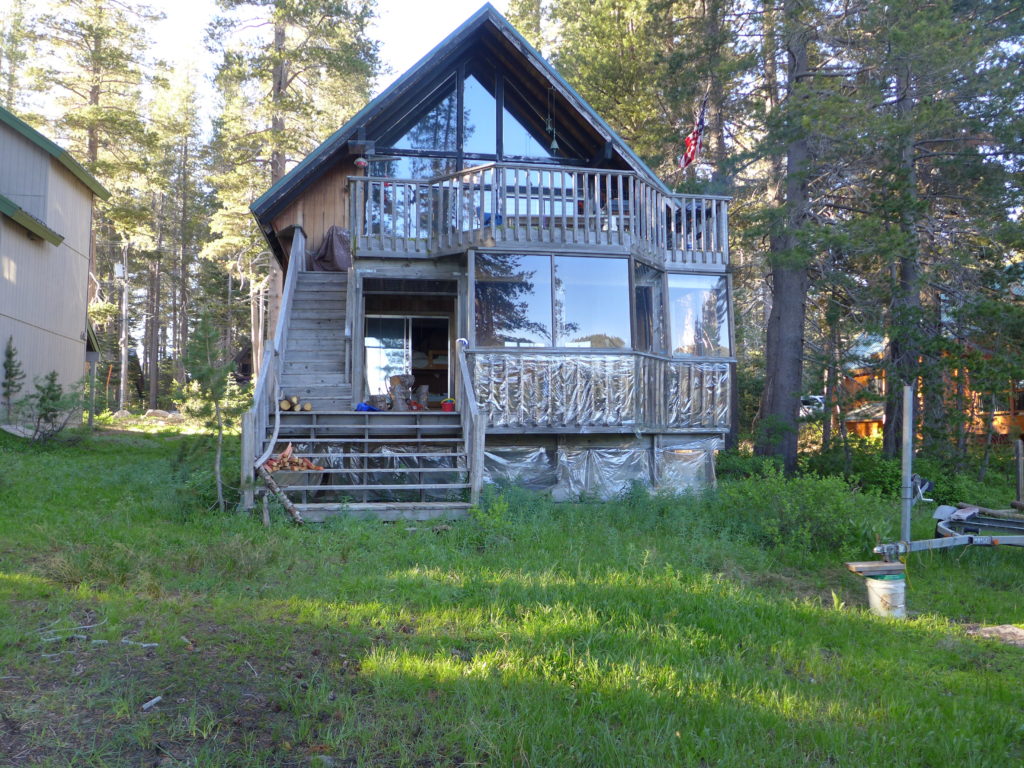
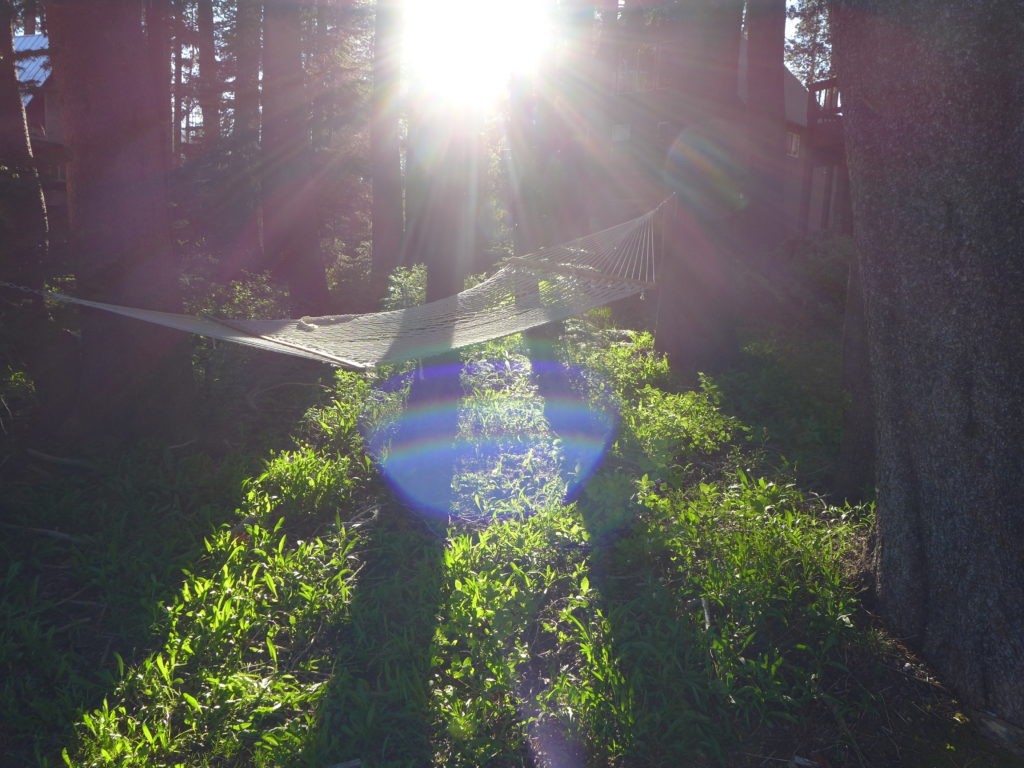
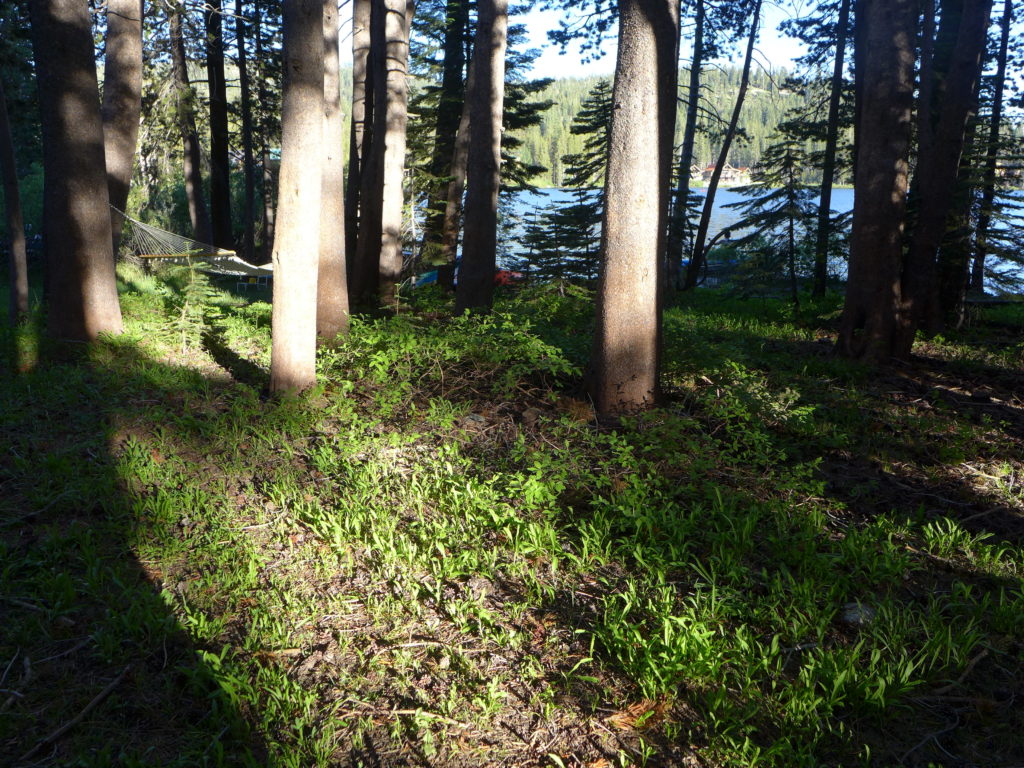
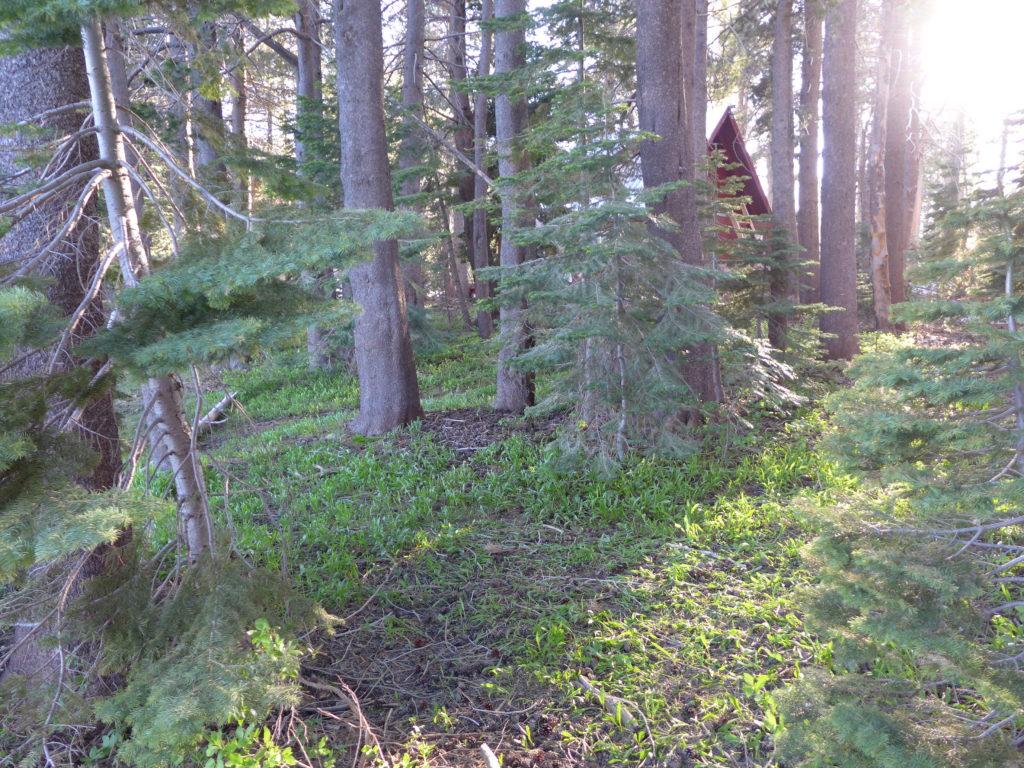
- light – As I mentioned, this wasn’t quite the golden hour. As a result, the sunlight was still a little more harsh than I would have liked. It also meant that there were high contrast shadows to deal with. What I decided to do was to find one very sunny patch and one shady patched in the wooded area. Then, when taking photos in front of the house, where the trees were throwing shadows across the yard, we had the group stand in one large shadow. Doing our best to make sure that we didn’t have some people in the sunlight and some in the shade.
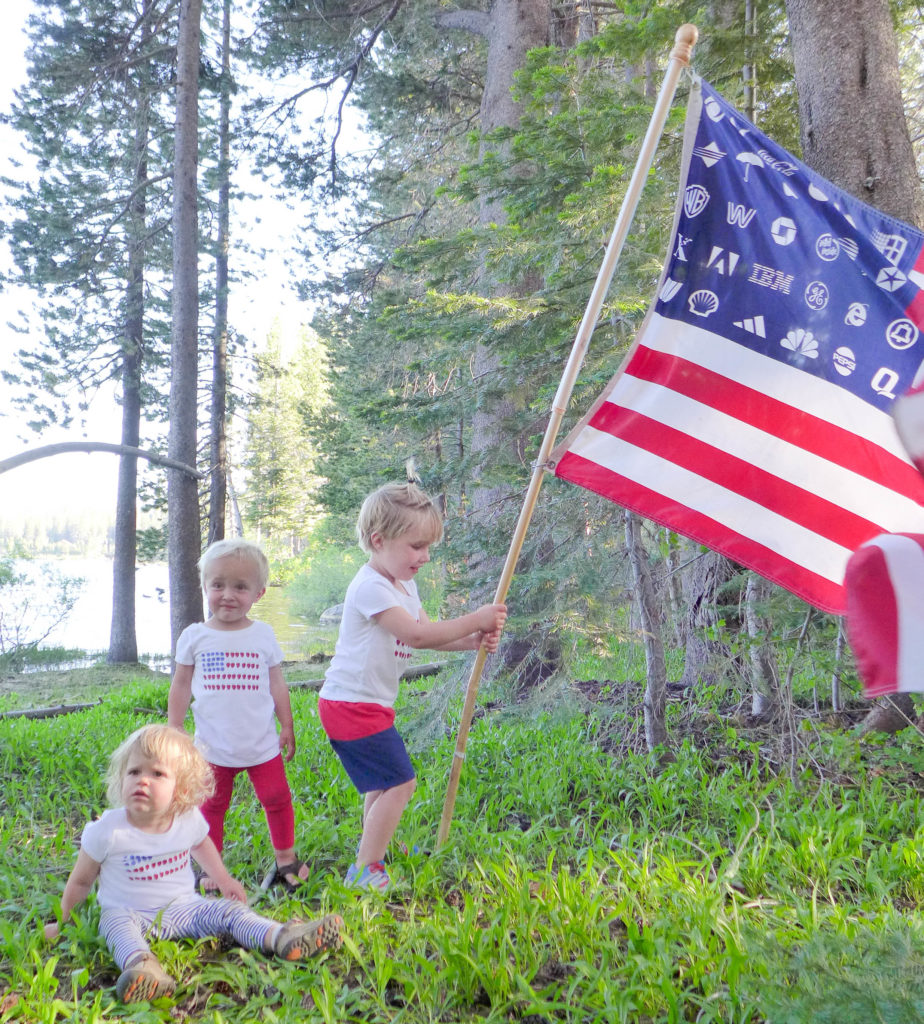
- clothing & props – It’s awesome when you can work together ahead of time to coordinate colors and patterns, but for this quick shot, we didn’t want to make any demands. That said, after a few years of vacationing at the lake during the 4th, we’ve started to develop a uniform. Calder has his stars and stripes tank, and I have my “4th of July” dress that I’ve only ever worn on that day. Calder’s dad whipped out an absurd American Eagle and flag sweatshirt. We had the matching flag berry shirts for the kids (so cute!). Someone grabbed our tongue-in-cheek American flag from the porch, and we were good to go.
Play by Play
We can break our photo session down into three distinct moments based upon the settings I mentioned.
Setting #1 : The Sun
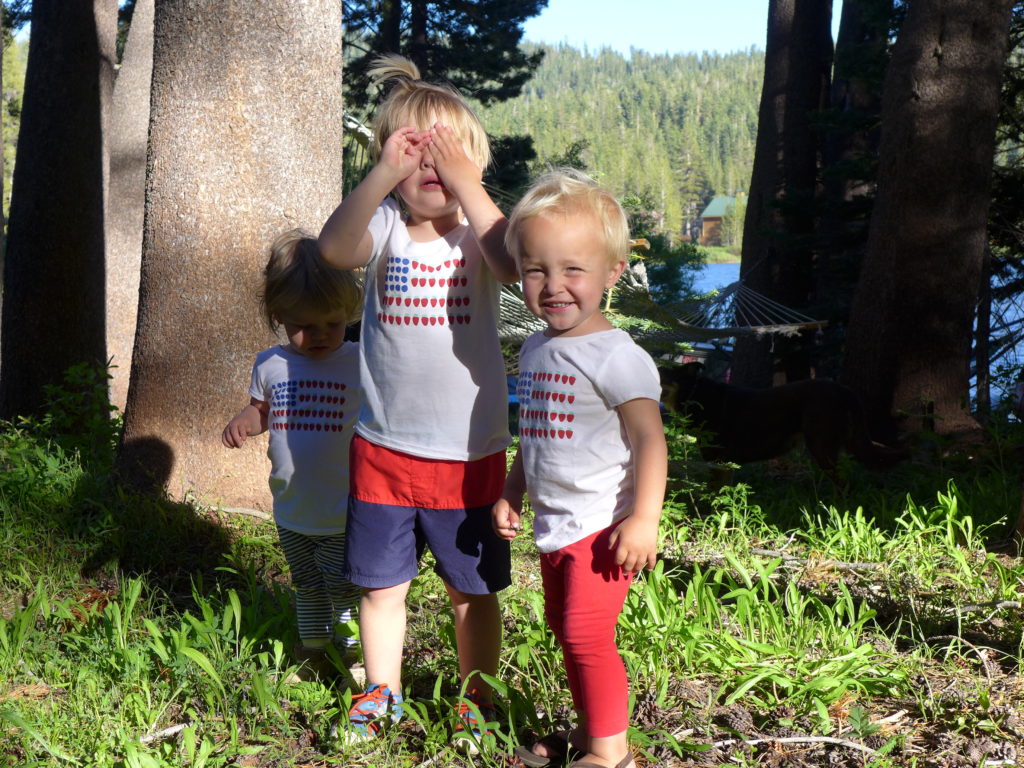
I started with the sunny area, because it was the zone that I was least sure about it. It could either work perfectly and we take a handful of perfect shots there, or it could bomb.
We sent in the guinea pigs, and quickly realized that the sun was just too harsh.
Setting #2 : The Shaded & Backlit Woods
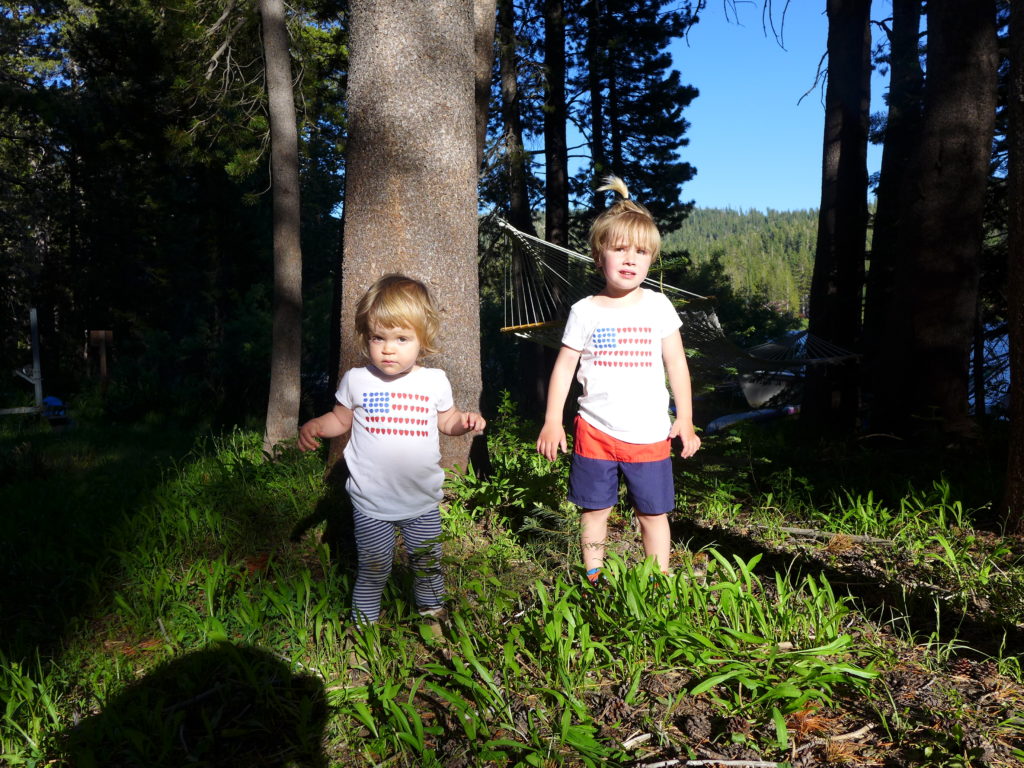
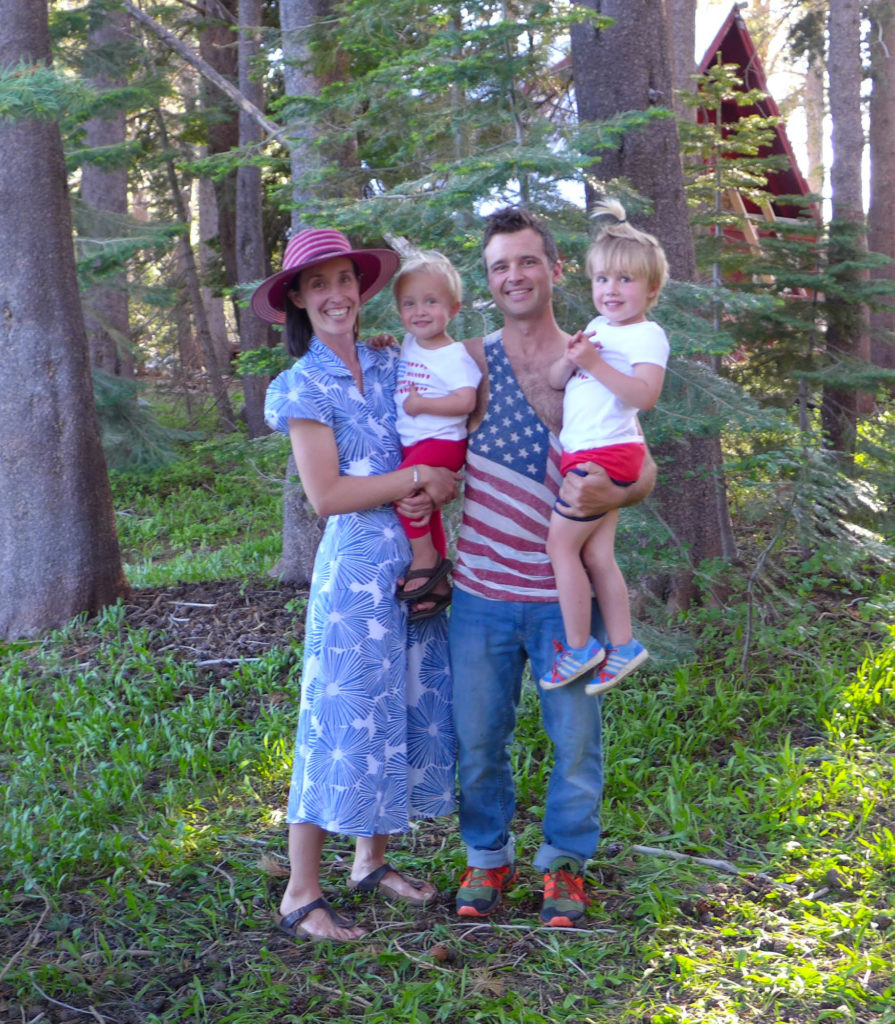
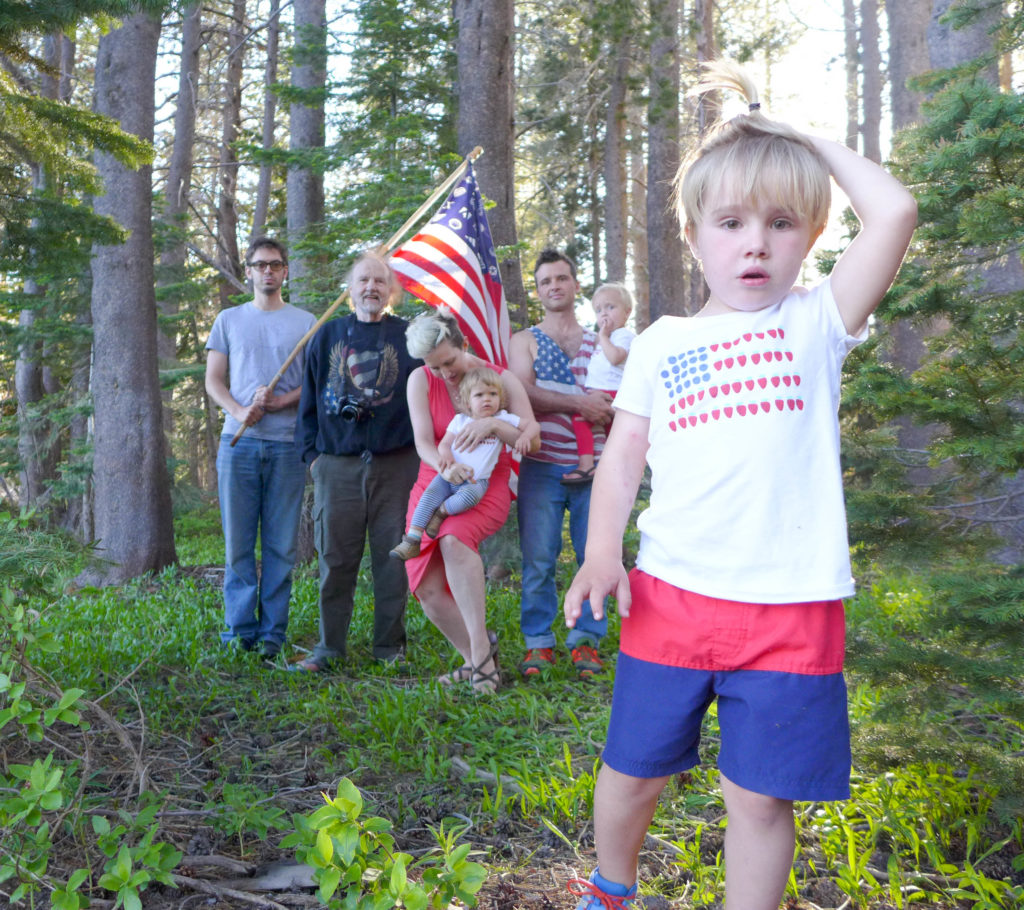
This turned out to be a really nice spot for us. I started by having the group stand in the area, and then I started quickly snapping pics. This is a family that doesn’t necessarily like to pose, so I didn’t make too many requests for them to look at the camera and smile. Knowing that, I like to continually take photos as people are setting up. You never know what you’re going to get. Then, once everyone is in a fairly tight group, I’ll make a few requests for people to look at the camera and smile.
Once everyone was arranged, I made sure to identify where I would jump into the photo, then I made an impromptu stand, set the timer and jumped in the pic.
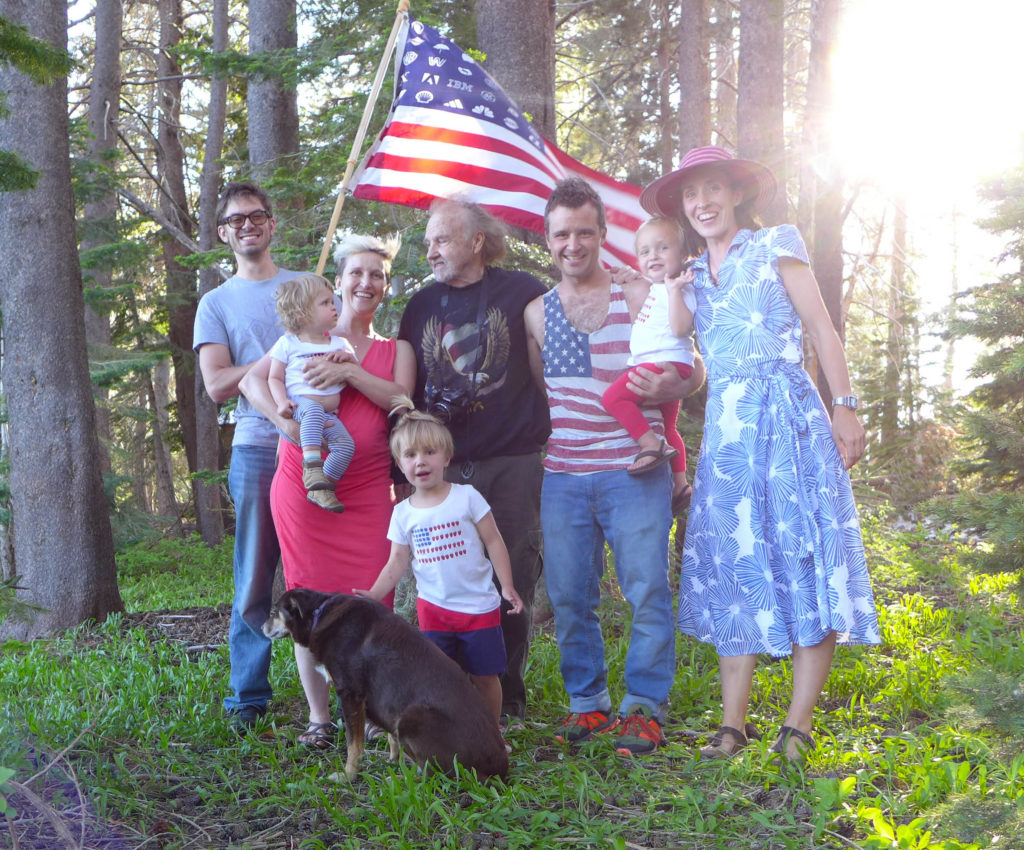
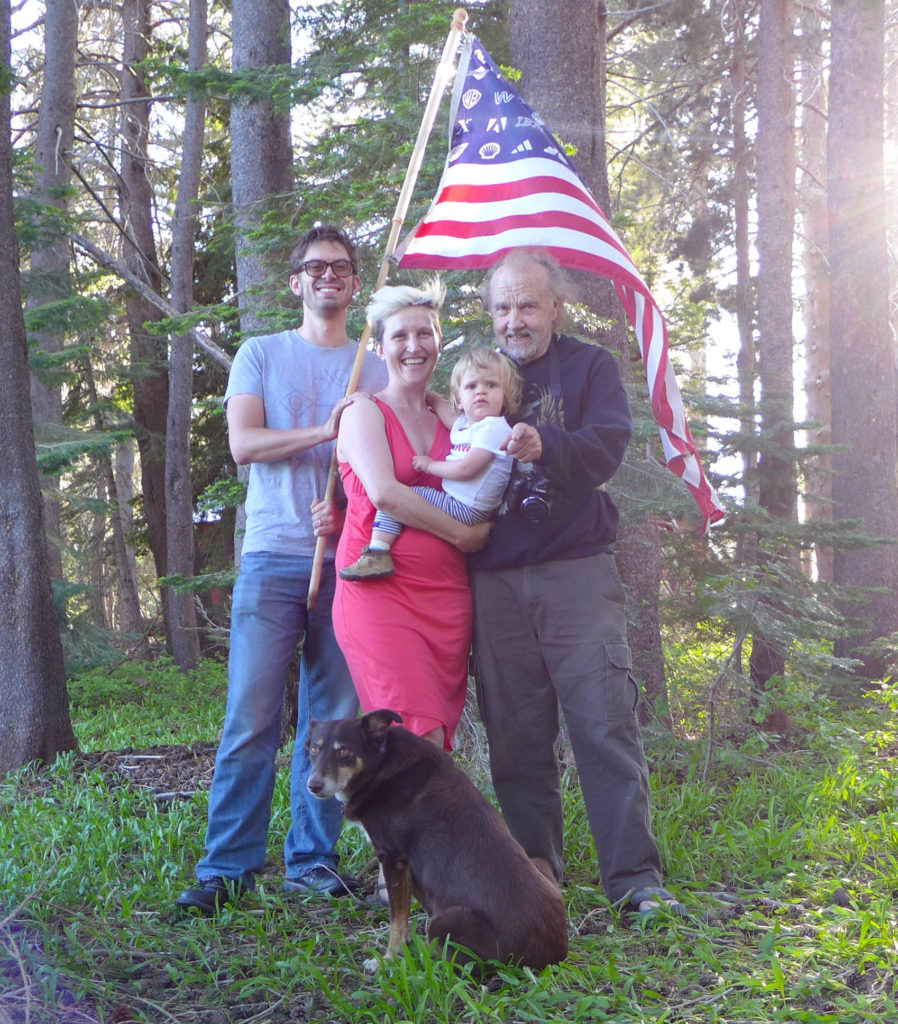
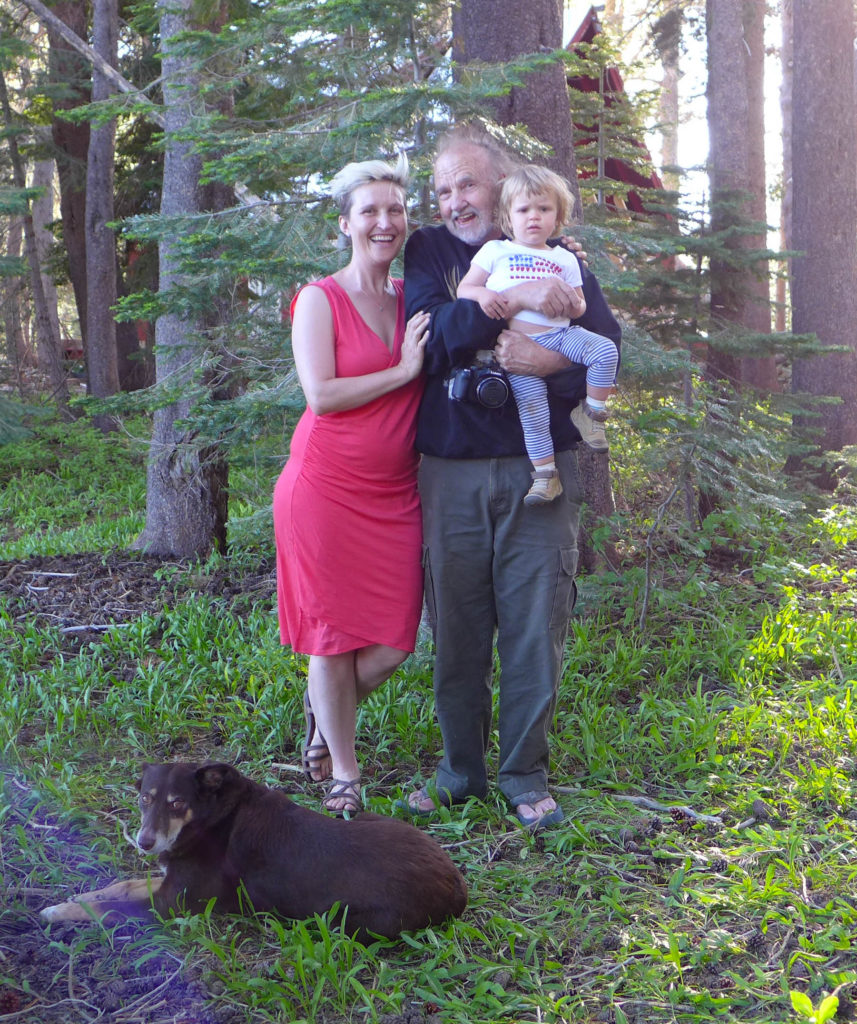
After the big group photo, we split up and took a few pics of the individual families.
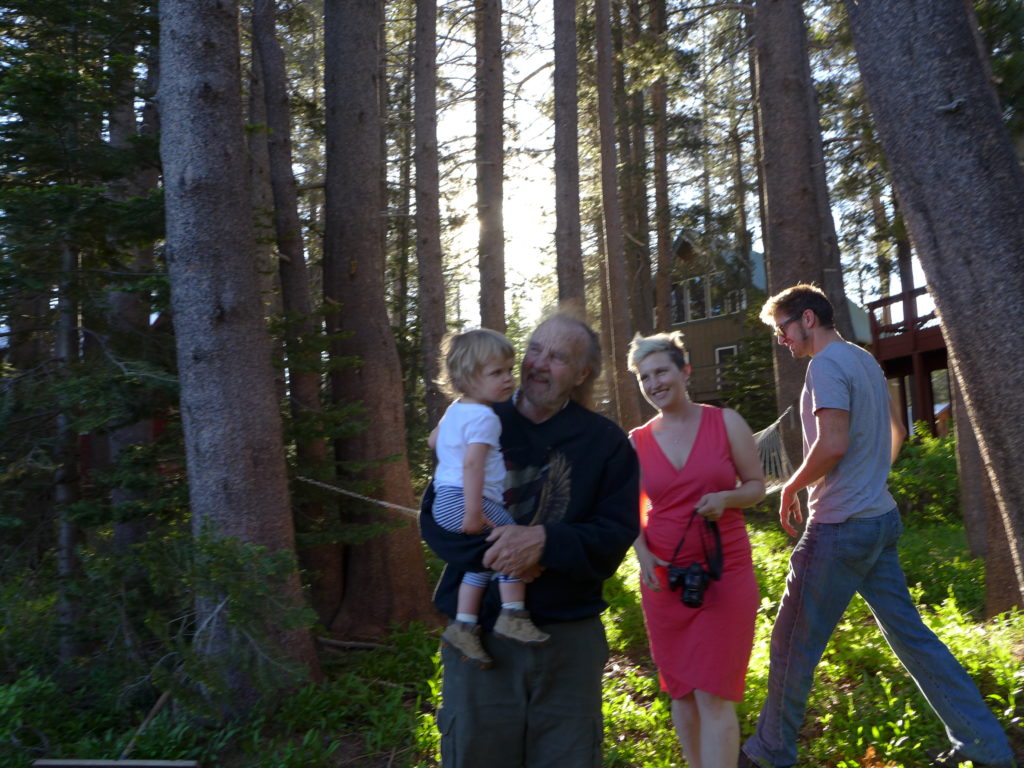
Setting #3 : The House
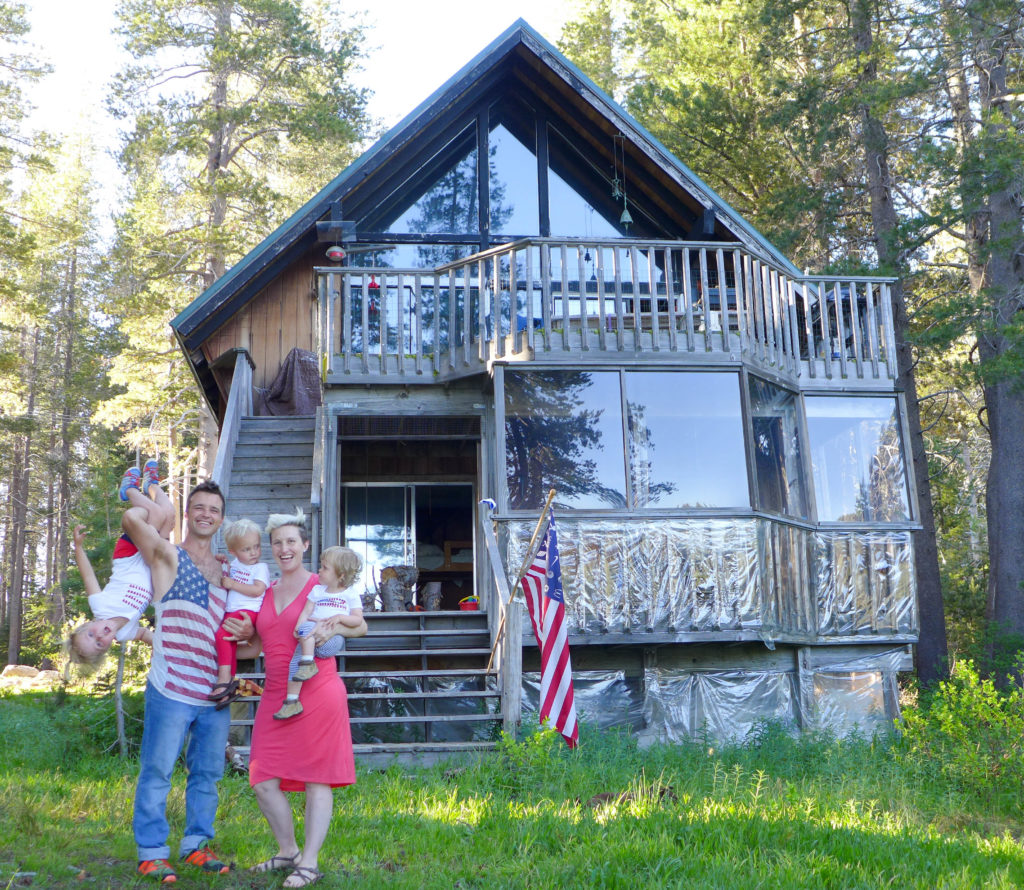
Even with a few good pics, we decided to try for one more round in front of the house. Although, even as we were making the transition from one location to another just 10 yards away, it became evident that kids were reaching their limit.
On the fly, someone said “just include the kids”. So we decided to just put Calder, his sister, and the cousins in the photos. We also let this set of photos be completely candid.
What Makes a Good Pic
This last bit of amateurish advice is to have you rethink what makes a “good” photo. If you’re taking the photos to commemorate a moment in time, think about what you’re going to want to see over and over again.
Do you want to see the photos with everyone standing straight and looking directly at the camera? Or perhaps you want a photo that shows the personality of your family members and, in turn, brings back memories the time spent together? If the second example is more your style, then look at your photos with a less critical eye, and choose a few that make you smile.
Room for Improvement
We are all so happy with how these photos turned out. They make us laugh and smile every time we browse through them, and that couldn’t be a better measure of success! That said, there are still a few things that I may do differently next time.
- camera stand – because there’s always so much clutter outside, I didn’t plan or test a camera stand ahead of time. I just assumed that there would be a perfect chair/bucket/stump to put the camera on. As it turned out, it was really hard to find something on the fly that was the right height. Everything was just a touch too short or too slanted to hold the camera at just the right angle. As a result, we ended up with a bit more sun flare in the group picture. Next time I’ll take the few minutes when everyone’s getting dressed to make sure that I have some sort of stand ready.
- treats! – the kids were really great throughout the whole process, but I know that having a few gummy bears would have helped sustain them just a bit longer. Maybe we would have gotten something different if the kids were subdued, and that’s not necessarily good or bad. The pics we have are filled with action and character because we were challenged by their limited patience.
- clothing – again, this is another one that I might not change, but as you can probably tell, Calder’s shirt kept getting pulled down by the kids he was holding. I was taking pics so quickly and barely looking in the camera that I didn’t even notice it in the moment, but it’s something we’ll keep in mind next year, especially if that tank makes its annual appearance.
The photos aren’t that bad, don’t you think? It just took some quick decisions based upon looking at the light and background conditions, and then we were ready to go!
And if I could leave you with one more bit of photography/life advice, it’s to know yourself. I know that I can put too much pressure on Calder, expecting him to know exactly what I’m trying to accomplish with a photo session. Since I’m behind the camera, I also want him to wrangle the kids. And I expect all of that to be done with a smile on his face and the same for the boys. Those expectations have ruined fun photo moments. I can happily say that this time I reigned in my unrealistic expectations and we all had a great time! And again, isn’t that what matters when you’re looking back at a memory?
I hope you all had a fantastic holiday last week, and I hope you were able to squeeze in a family photo or two! xo
