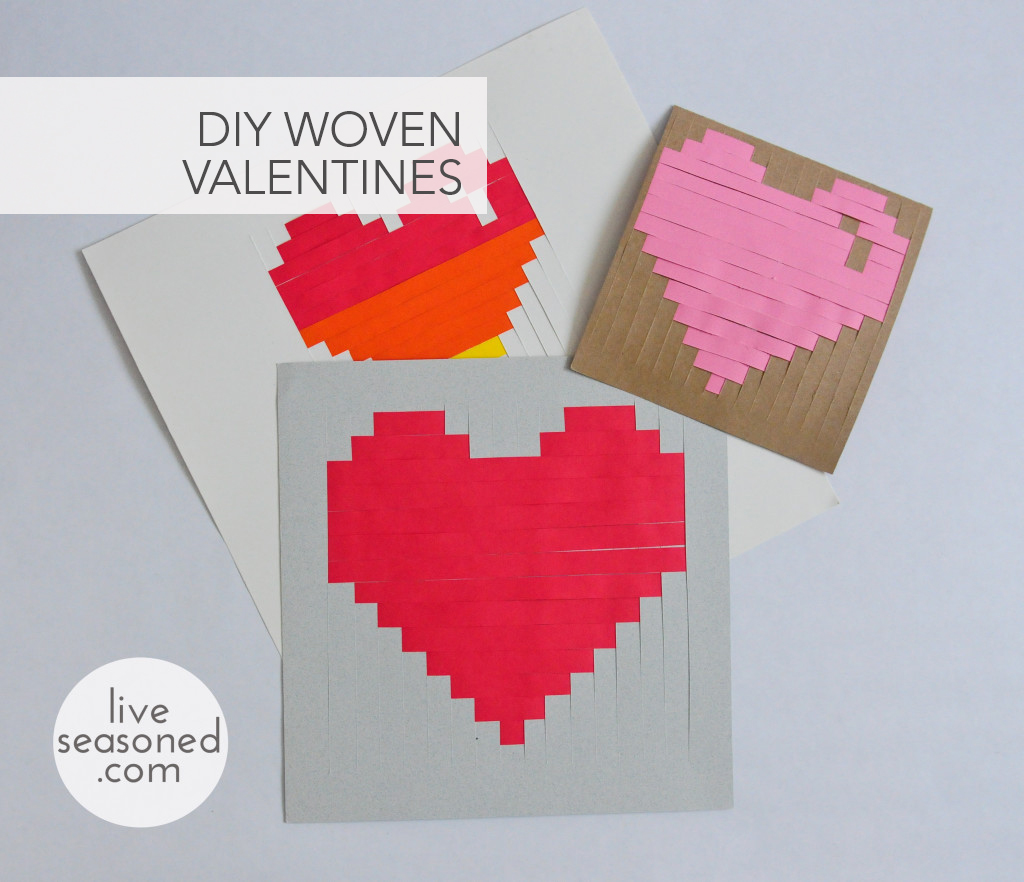
Today we’re sharing the simple instructions and templates to make a woven Valentine’s Day card. This is an especially convenient craft because the materials are probably stashed away somewhere in your home. While weaving paper sounds simple (and it is!), you’ll see that with a bit of creativity it produces a card with big impact. After you’ve finished this project, you can flex your creative muscles and use this technique for a variety of holidays and occasions! Additionally, If you have little kiddos at home weaving paper is a really simple, yet fun, way for them to work on their developing coordination and dexterity.
We’ve provided printable templates at the bottom of this post, making the project even easier by eliminating the need to do any measuring or sketching. Of course, if you’re comfortable with a ruler or you don’t have access to a printer then follow our written instructions.
Materials & Tools:
- Card stock or any colored paper
- Printer (optional)
- Ruler
- Exacto Knife
- Scissors
- Pen
- Tape
- Cutting Mat or old magazine
Cost $1
These instructions will create a 5.6 by 5.2 inch heart centered on a 7.6 by 7.2 inch piece of card stock.
- Choose your base paper. If you aren’t using a template, you’ll begin by preparing the white base paper that the colored strips will be woven into. Our heart is going to be centered on the paper, so it will have a 1 inch border on all four sides. Having the nice wide border makes it easier to weave, and your finished work will look cleaner. If you’re using a different sized paper, subtract 5.6 inches from your paper’s width and 5.2 inches from your paper’s length, divide by two and that will determine your respective borders.
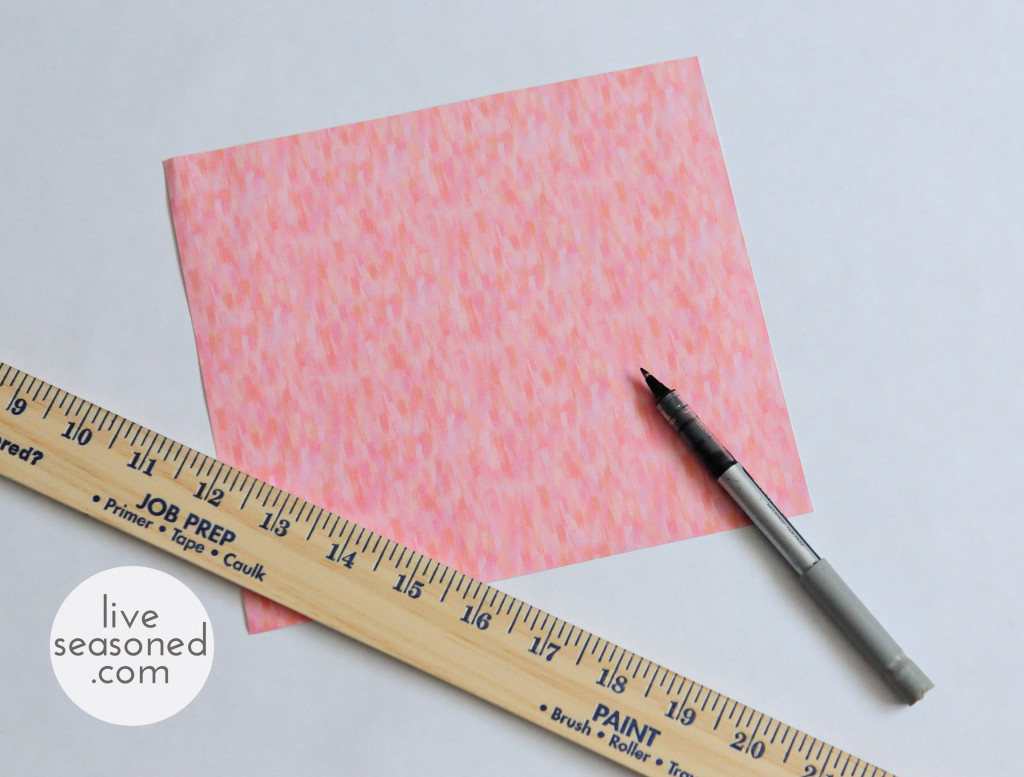
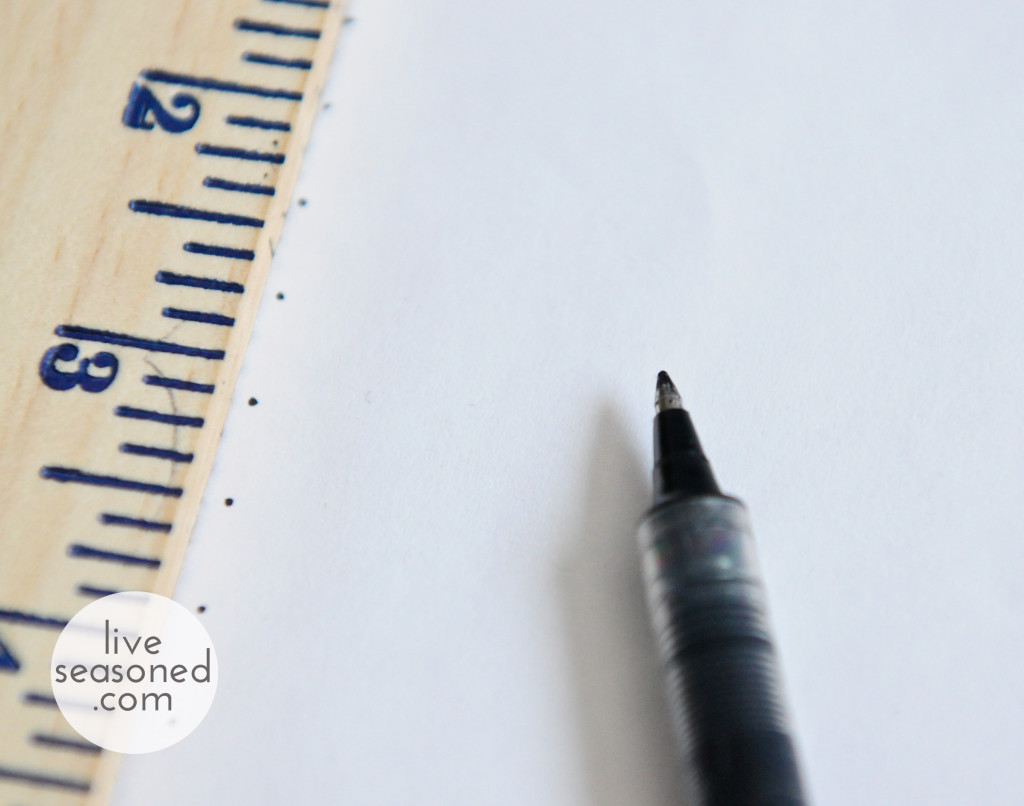
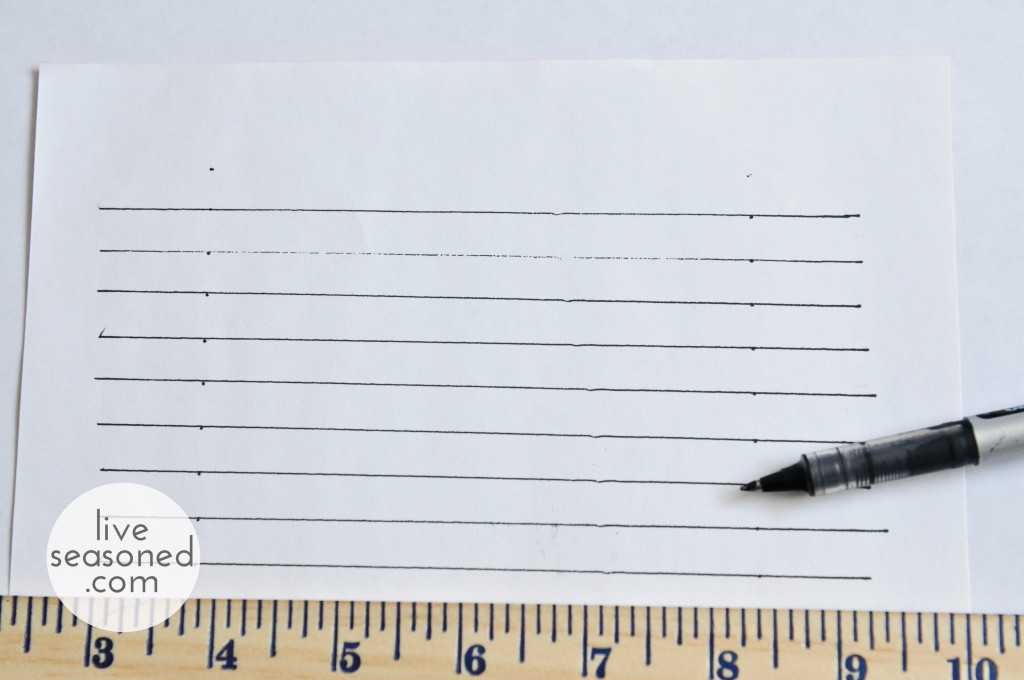
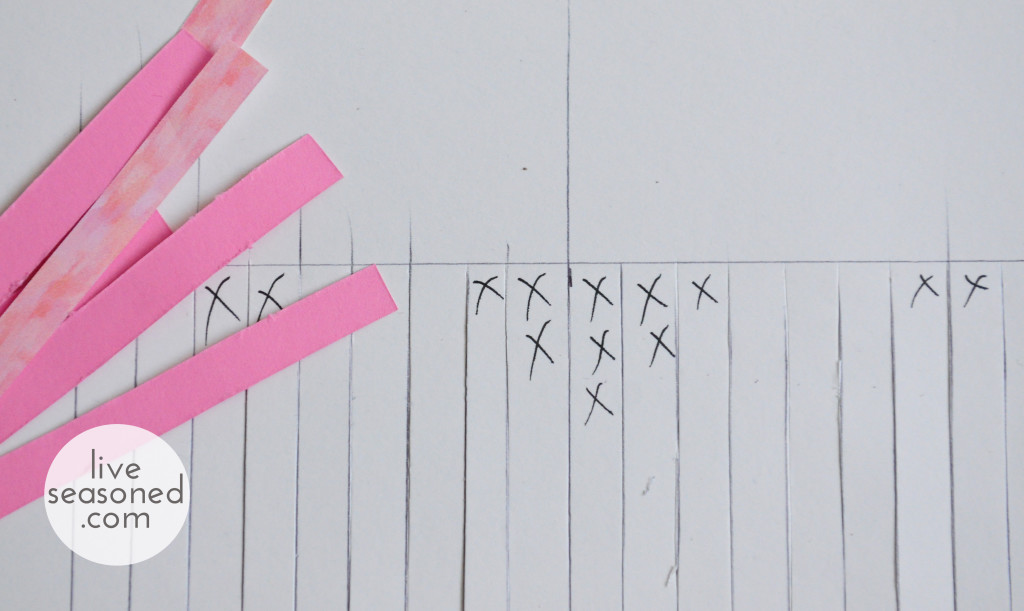
- Draw and cut vertical lines on your base paper. Begin by marking dots where the vertical lines will fall. Starting an inch (or your given border length) from the left and top edges of the base paper, measure and mark every 3/8th of an inch working across your paper until you reach the right border area. So your first dot should be 1 and 3/8th inches in. Simply mark a little dot every 3/8th of an inch until you have a total of 16 dots. Repeat this process again an inch up from the bottom of the paper. Remember your first dot will be at 1 and 3/8th. Stop once you have 16 dots. Now place your ruler from top to bottom on the paper and draw a straight line to connect the first dot on the top to the first dot on the bottom. The line should measure 5.2 inches. Continue drawing straight lines from the dots on the top to the dots on the bottom of the paper. You should have a total of 16 lines. Now place your paper on a cutting mat or if you’re like me and don’t own one, on an old magazine. Take your time and carefully use an exacto knife to cut each line, making 16 slits in the paper.
- Cut the colored strips for weaving. Cut 14 strips of paper that are each 3/8th inches wide and at least 7 inches long. You can do this with your exacto knife or scissors, but it’s even easier if you have a straight edge paper cutter.
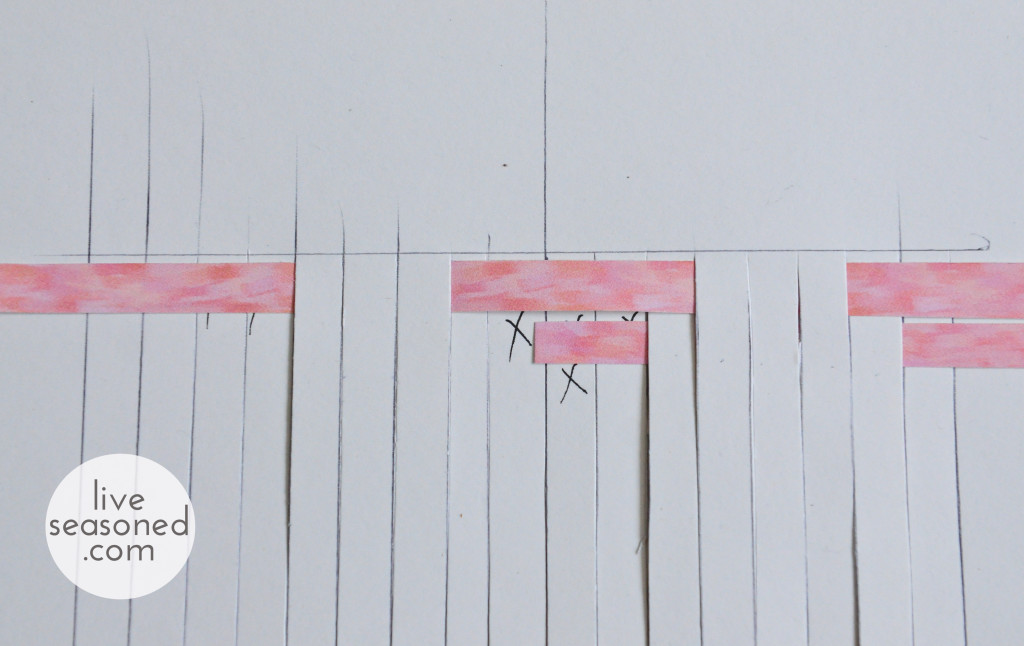
- It’s time to weave! On the backside of your base paper (the side with the pen markings) follow our template to mark the heart area. We marked the backside of our paper with the x’s you see above. If you’re using the template, the printed side is the back of your paper. When you’re weaving, you will covered the x’s with your colored paper (producing a white heart). When you turn your paper over, BAM! your colored heart will be nice and crisp without any of the markings used for measuring and planning. You can add a highlight on the heart if you desire. I found that nifty highlight idea here.
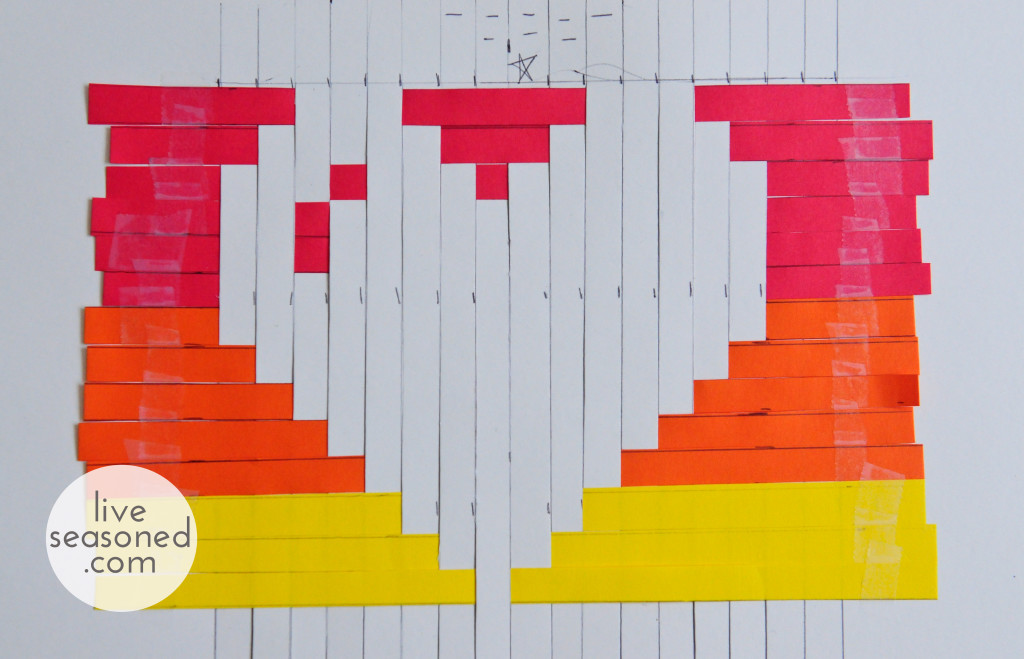
- Finish your card. Secure each strip with a tiny piece of clear tape and then trim the ends. Glue your woven heart to a piece of colored paper to make a postcard or to the front of a folded piece of card stock. I made both versions, but I can’t decide which I prefer. Put a stack of books on your finished cards to ensure that they dry nice and flat before sending them off in the mail.
Now that you get the general idea, feel free to run wild with this technique. The only rule is to keep the width of the strips and the width of the slits consistent. It’s always helpful to sketch up a new idea before you cut and measure. Measure twice, cut once, right? For me it’s more like do the math three times, measure twice, and sketch once more.
Here are templates for the Small Woven Heart Tutorial, the Large Woven Heart Valentine Tutorial and the camouflaged Love Card Template. Print page one on a piece of colorful card stock (this will be your background) and page two will be your strips, so find a color that will look nice with whatever you chose for the background. If you want to spell something else, you can find a pixel alphabet here, which should help with planning. Let us know how it goes!

