Colorado Hike : Eldorado Canyon State Park

We love to go hiking, and every once in a while we share our adventures on the blog. If you would like to see more hiking posts, click here.

liveseasoned_fall2015_eldoradohike1b

Last week a friend tipped us off to the awesomeness that is Eldorado Canyon State Park, in particular, Fowler Trail. As an active 2.5-year-old, Alex is really excited to get outside and do whatever we’re doing. Translating this to hiking, it means that he’s much happier walking along with us than riding in the backpack. Unfortunately, his little legs get tired fairly quickly, so I’m always on the hunt for trails that are not that steep or long. Fortunately, Fowler trail is both short* and relatively flat! As you’ll see in the photos, it also provides outstanding views of canyon walls filled with climbers, making it extra exciting for our little adventurer. One look at the climbers and he exclaimed, “wow, that’s wild!”.

Continue reading

Camping with Little Kids

Want to see more of our camping posts? Click here to see posts with previous adventures and our gear suggestions. Or maybe you just want to come along with us on a day hike?

One of the things Calder and I are really looking forward to are camping adventures with the boys, but somehow we’ve had a hard time making time/plans for a trip this summer. Side note : since moving to Colorado, we’ve learned that you have to plan these trips in advance if you want to secure a site at a campground. Reservations are scooped up as soon as they come online! If you aren’t able to reserve a spot, there are some campgrounds that hold a few spots open for first-come-first-serve arrivals, but we’ve been too lazy to go through the effort of packing the car and taking the risk.  We know we could just head out into the wilds, but again, we’ve been lazy.

camping_goldencanyonsp14

camping_goldencanyonsp15

As luck would have it, friends (hi Neha!) of ours were going on trip with a few other families, some sites opened up, and we were able to take one. Score! Alex is just a few months past his second birthday and Luc is four months old, so this was our first trip with both a toddler and an infant, and I thought it might be useful to share our tips/tricks for a super easy and enjoyable weekend camping trip. As you’ll see, we kept everything so simple for this trip. If you’re hesitant about camping with kids, I want to encourage you to do it and show you how it can be done without a lot of stress, tears, or baby gear. Of course, if gear is your thing, then pack on :-).

Continue reading

Colorado Hike: Flatirons 1 & 2

liveseasoned_fall14_flatironshike-1

About a month ago, Katie, Jeff (our brother) and I hiked the Flatirons 1 & 2 trail.  I’ve been meaning to write this post for some time since it was one of the most scenic hikes in Boulder, CO, so here goes:

liveseasoned_fall14_flatironshike-1-2

The hike starts at the Chautauqua Park trailhead.  Parking in the lot can be pretty tricky, especially on the weekends, but you can find additional parking on Baseline Road.  That being said, the trail is extremely crowded.  You won’t have the views to yourself, but hey, at least there is no chance of getting lost. After you find a parking spot, continue to the Chautauqua Park trailhead where the trail takes you through a lovely green meadow.  (Note that if you’re hiking right after a rainstorm, it will be pretty muddy since the trail is basically a path for runoff water. ) The Chautauqua trail connects with the Flatirons 1&2 trail and the signage is very clear as is the flow of people flocking to the Flatirons 😉

Over the course of this relatively short hike (about 2.5 miles), you will climb 1,400 feet in elevation.  Flatiron 1 is approximately 7,100 ft high, which makes for stunning views.  As you hike up the trail, there are plenty of outcroppings that are perfect for taking a break and enjoying the vistas.  The Flatiron trail is mainly switchbacks through thick forests of ponderosa pine that cut around enormous boulders.  Along the way, there are also several rock climbing access points.  Speaking of climbing, there is a very short section of the trail (about 15 feet) where you have to climb up a boulder.  There are footholds and handholds worn into the rock making it easy for adults, but I wouldn’t recommend taking children on this hike.  I would also turn back immediately if it starts to rain because the rocks will become slippery making a large portion of this trail fairly dangerous.

Once you finally wind up, up and up, the views are spectacular.  There are clear views of the city of Boulder as well as amazing views of Flatiron 3, which is sure to have rock climbers scrambling up it.  The top of the trail is a perfect spot to stop and have a snack or a picnic, but remember to hike all your waste out with you, even banana peels!  The top of the trail is like an adult jungle gym.  You’ll see folks in all different nooks and crannies.  It goes without saying that you should be careful when you’re climbing from boulder to boulder, don’t knock into any rocks that may fall and injure someone at a lower elevation.  After you’ve climbed your heart out and took a bajillion pictures, it’s time to make your way down the ridge.  Be mindful of other hikers who are still making their way up and if they look like they need encouraging remind them that they’re almost there!

Geology Rocks! I say that far too often, but I just can’t resist.  Here’s a quick rundown of some geological properties of the flatirons.  I’m going to give some definitions in case you slept through your geology lab class.

  • A flat iron is a steeply sloping triangular landform created by the differential erosion of a steeply dipping, erosion resistant layer of rock overlying softer strata. Differential erosion is erosion that occurs at varying rates, caused by the differences in the hardness and resistance of surface materials so softer and weaker rocks erode rapidly, while harder rocks remain to form ridges, mountains, or ding, ding, ding, flat irons!  Strata is simply sedimentary rock. Sedimentary rocks are those formed by the deposition of material either on the earth’s surface or in water.   And wouldn’t you know it, the Flatirons of Boulder coined this term, flatiron, in general geology.
  • Now you may be wondering how the Flatirons first got their name, which then coined the geography term. Well, there are two theories: the rock faces close resemblance to old fashioned clothing irons or their resemblance to the Flatiron building in NYC, which was completed in 1902. (It’s a pretty sweet building, but personally, I think it’s more likely they were named after the clothes iron, an object which many more folks were familiar with during the early 1900s)
  • The flatirons are made up of conglomerate sandstone of the Fountain Formation. Conglomerate sandstone basically means there are little clasts (bits of rock particles) mixed into the sandstone (rock comprised mainly of sand-sized minerals or rock grains). I don’t want to wind way down into a geological rabbit hole (for your benefit), but the Fountain Formation is a Pennsylvanian (the subsystem, not the state) bedrock unit found in Colorado and Utah that consists mostly of conglomerate sandstone or arkose.
  • The flatirons are estimated to be 290-296 million years old and they were tilted to their current orientation (the steep dip I referenced earlier) about 35-80 million years ago during the Laramide orogeny. The Laramide orogeny was a period of mountain building in western North America, which created the Rocky Mountains along with many other formations. I won’t go into right now, but it’s definitely interesting; if you like geology and want to learn more, read this.

What to expect:

  • Lots of hikers on the weekend.
  • Dogs both on and off leash.
  • Plenty of wildflowers, various vegetation and trees and beautiful views.
  • Two hours (or more) of hiking.
  • A couple tough climbs over boulders, but mainly a moderately steep and well-maintained trail.


Before of after your hike, be sure to stop by the historic ranger cottage near the parking lot – you can’t miss it.  It has a wealth of information, free maps and dozens of stuffed birds and mammals.  I really enjoyed the station because I gained a better sense of what animals were sharing the forest with me.  It’s especially cool to see the animals you have very little chance of seeing in the wild like mountain lions, coyotes, and bobcats.  If you want a little snack, continue past the ranger station for about a block and you’ll see a little refreshment cottage with homemade hard ice cream and just about everything else.

liveseasoned_fall14_flatironshike-3-5

After the hike and the ice cream, you should probably treat yourself to an afternoon snooze! Happy hiking!

Colorado Hike : Ajax Mountain

liveseasoned_summer2014_aspen3

A few weeks ago we took a leisurely afternoon hike on the Nature Trail that starts at the top of Ajax, or Aspen, Mountain. This was an out and back hike that was super easy with barely any elevation gain because you do all of your climbing as you ride the gondola to the top of the mountain!

liveseasoned_summer2014_aspen1

If you want to head straight for the hike, veer left as you get off the gondola and you’ll have no trouble finding the trail. If you’re heading up with kiddos, veer to the right and there are plenty of fun activities to let them burn off the energy before/after riding the gondola. Our little guy was just interested in the huge sand pit and trucks, but there are also spaces to dig for gold, go rock climbing, go trampoline jumping, and room for some good old running.

liveseasoned_summer2014_aspen2

liveseasoned_summer2014_aspen22

liveseasoned_summer2014_aspen20

liveseasoned_summer2014_aspen13

As well as delivering beautiful mountain views, the trail dips into the pine forest, giving you a reprieve from the bright alpine sun.

liveseasoned_summer2014_aspen21

liveseasoned_summer2014_aspen16

This was our third hike and I was excited to see yet more wildflowers in bloom. Unfortunately, I didn’t take a guide with me and had trouble identifying some new-to-me species from the photos. If you have any clues as to the names of the unidentified flowers below, I would really appreciate it!

liveseasoned_summer2014_aspen4

liveseasoned_summer2014_aspen7

liveseasoned_summer2014_aspen17

liveseasoned_summer2014_aspen18

liveseasoned_summer2014_aspen19

liveseasoned_summer2014_aspen5

liveseasoned_summer2014_aspen9

liveseasoned_summer2014_aspen10

We hiked out to the point where there was a perfectly clear view of the Aspen Highlands ski resort. At this point, you can also see the very top of one of the two Maroon Bells peaks. We spent some time sitting here, letting Little A out of the pack to tool around and throw some rocks, while C and I talked to other hikers. It seemed to be a common stopping/turning point for many people.

liveseasoned_summer2014_aspen6
liveseasoned_summer2014_aspen8

liveseasoned_summer2014_aspen11

Extra Details:

  • During the summer months, the gondola’s open daily from 10:00am-4:00pm. A single ticket costs $19.00, but if you’re staying for a few days, or planning to take the bus up to Maroon Bells, they have a great package for $29.00.
  • Of course, you’re welcome to skip the gondola and turn this into a more rigorous, multi-hour hike by starting your walk from the bottom of the mountain. This is something that you can do any time of day in the summer, but only before the gondola opens during ski season.
  • This is probably obvious, but take sunscreen and a hat! You’ll be more comfortable because the sun is bright and there are plenty of areas without tree cover.

liveseasoned_summer2014_aspen15

Colorado Hike : Chautauqua Park

We love to get out for hikes as often as possible and thought it would be fun to document these little adventures, like our recent trip to Maroon Bells.

liveseasoned_summer2014_hike1

Last weekend we decided to stay close to home, wanting to explore more of what Boulder has to offer, so for our weekend hike, we headed to Chautauqua Park (pronounced with a soft “shhh” for the CH – I’m still getting the hang of it!). Chautauqua was one of the older open space areas purchased by the city over 100 years ago when it began preserving wild lands. The park is home to the Colorado Chautauqua  Association, which provides cultural and educational programs throughout the year. Among its many buildings and features, the Association has a dining hall, general store, and cottages that you can rent! On this particular day we skipped all of the buildings and headed straight for the hills, but we’re hoping to stop into the dining hall for brunch after our next hike.

**Before moving to Boulder, I was unfamiliar with Chautauqua, the adult education movement. Were you?

liveseasoned_summer2014_hike2

liveseasoned_summer2014_hike4

Arriving at the park, we knew it was a popular weekend destination, but were overwhelmed by just how many people were there. These pictures don’t do the crowds justice. At all times there were people in front of us, behind us, scaling the rock face to our right and left. There were babies laughing (and crying), there were more college-age girls chatting away than I wish to remember. Ugh, it was crowded. But, the scenery totally made up for it, and I can’t wait to get back out there on a weekday. A friend also tipped me off that if we start at Four Pines on King St., then we won’t hit the crowds. Keep that secret.

liveseasoned_summer2014_hike5

Before heading out, we asked for some trail recommendations and received a number of excited responses suggesting Royal Arch Trail, but it was still closed for raptor nesting.  So, with all of the well-marked trails in the park, we decided to wing it. We headed up Chautauqua Trail, made a left on Blue-Baird Trail, and then came back down on Bluebell Trail. In total, the hike took about an hour.

liveseasoned_summer2014_hike20

As you hike up the hill you leave the grasslands behind, entering the pine forests and areas of exposed bedrock and boulders of the Flatirons.

liveseasoned_summer2014_hike14

There are two climbers in the photo on the right above! They are near the top of the single pine tree that’s growing out of the rock face. Eventually, you reach a few open areas overlooking the city.

liveseasoned_summer2014_hike19

liveseasoned_summer2014_hike18Just like last week’s hike, there were plenty of flowers blooming here with a promise of more to come.

liveseasoned_summer2014_hike21

liveseasoned_summer2014_hike6

liveseasoned_summer2014_hike10

liveseasoned_summer2014_hike7

liveseasoned_summer2014_hike9

On our way back down the hill (mountain?) we left the pine trees behind and welcomed the grasses again. As you can see from these photos, the skies were overcast for our whole hike, but I think that worked to our advantage, keeping us cooler and less worried about sunburns as we walked.

liveseasoned_summer2014_hike12
liveseasoned_summer2014_hike13

Extra Details:

  • Knowing that the area is popular on weekends, we were worried about parking but easily found on-street parking a few blocks from the entrance.
  • I had a hard time finding a good trail map online until I looked to Google. Google’s map of the park is great, with all trails well marked!
  • A hiking-with-kids tip: We knew we were heading out during Little A’s nap time, so rather than take the hiking carrier that doesn’t offer him anywhere to rest his head, we put him in the Ergo on Calder’s back. It was an easy carry for this short hike, and within a minute Alex was content and sleeping with his head supported between Calder’s back and the Ergo’s hood.

liveseasoned_summer2014_hike3


Colorado Hike : Maroon Bells

liveseasoned_summer2014_maroonbells_wm3

They say that the Maroon Bells, those two mountain peaks in the photo above, are the most photographed and famous scene in Colorado. I had never been, so we made it one of our small adventures over the Fourth of July weekend.

The area is breathtaking in summer. Wildflowers are blooming everywhere you look. In early July there was still some snow on the mountains, reminding you just how high you are, yet it’s melting quickly, so the streams are roaring adding an element of excitement to every bridge crossing. And as if it couldn’t get any better, there were signs of beavers and a couple of moose!

liveseasoned_summer2014_maroonbells13_wm

Maroon lake was created by glacial deposits, but there are also some busy beavers on the lake working to build up the dam. We followed the Maroon Lake Scenic Trail along the lake, over the roaring Maroon Creek, through an aspen grove, and around to a small active beaver pond.

liveseasoned_summer2014_maroonbells7_wm

liveseasoned_summer2014_maroonbells8_wmWe were standing at the pond, taking in the tranquil scene, when all of a sudden someone realized that we were looking right at a moose! Can you see him in the lower center of the photo below, to the left of the pond? This was my first moose sighting and I was ecstatic, the other members of my party – not so much. Apparently, moose are extremely dangerous. So much to my chagrin, we turned around and headed back the way we came.

liveseasoned_summer2014_maroonbells9_wm

Wildflowers were blooming all along the trail, but particularly in the riparian and shrubland areas around the lake. We visited just at the beginning of the blooming season, but if you want to see everything in peak bloom, schedule your visit for late July into August.

liveseasoned_summer2014_maroonbells6_wm

liveseasoned_summer2014_maroonbells5_wm

liveseasoned_summer2014_maroonbells4_wm

liveseasoned_summer2014_maroonbells1_wm

When I got back to the house and was identifying plants, I couldn’t believe that we saw the most poisonous plant in North America. A piece of the water hemlock’s root the size of a marble can kill an adult in 15 minutes! Even more frightening, children have died while playing with the hollowed out stem, using it as a peashooter and such. Crazy!

liveseasoned_summer2014_maroonbells2_wm

Walking along the Scenic trail, you get a fantastic view of the beaver’s home. Unfortunately, we didn’t see any beavers, but just being close to their dam and home was fun. Fun fact from Calder: beavers can get up to 150 pounds!

From this vantage point, you can also look back towards the dam and see the crowds along the shore. The photo below is the mountain version of those beach paintings/photos where everyone is just a colored speck in the sand grassland, isn’t it?

liveseasoned_summer2014_maroonbells11_wm

As we were driving back down into town, we noticed a group of cars pulled off to the side of the road. There was another moose! This one was far enough away that no one was in danger, so I hopped out and took a few more photos. Two moose in one day, I was a happy camper.

liveseasoned_summer2014_maroonbells14_wm

Before you go:

  • The Scenic Trail was an easy hike with a few steep spots, but overall there was relatively little elevation gain. Waterproof shoes with good traction are recommended as there were muddy areas.
  • Wild at Heart is a fantastic resource if you’re planning a visit. It’s a field guide to the plants, birds, and mammals of the Rockies, with a particular focus on the Aspen-Snowmass area. I know that it’s out of print and not available on Amazon, but I’m pretty sure you can still pick it up in some of the shops around Aspen and Snowmass (I just received my copy as a birthday present, so it’s out there!).

liveseasoned_summer2014_maroonbells12_wm

Getting there:

  • Traffic is restricted from mid-June through September
  • The site is open to all traffic from 7:00am-9:00am and 5:00pm-7:00pm
  • With a few exceptions, all visitors are required to take a bus from 9:00am-5:00pm. You catch the bus in Aspen Highlands Village (where you can park for free). The pass fee is $6/adult, $3/child.
  • Cars with children under 2, disabled passengers, or groups of 11 or more are allowed through from 9:00am-5:00pm if they pay a $10 fee.
  • You can also drive up if you are camping in the area
  • For detailed information see this site.


Pack Your Bags: Spring Backpacking

Spring is a great time to hit the trails.  The weather is warm, but not too hot and the creeks are overflowing with water.  Lots of water is a good thing.  That means you’ll have enough to drink, cook and wash with.  Nothing is worse than hiking to a campsite and realizing the creek has run dry.  Backpacking may seem a little intimidating if you have never gone before, but by the time you finish reading this post, you’ll realize you can do it to!

liveseasoned_spring2014_backpacking2

liveseasoned_spring2014_backpacking10

In this segment of Pack Your Bags, we’ll cover everything you need in your pack for a weekend trip.  In the future we will fill you in on some basic backpacking 101 information as well as what to eat on the trail.  If you are preparing for your first hike, make it an easy overnighter.  That way you will get a feel for hiking and have a better idea of what it entails for future weekend-long hikes.

Continue reading

Winter Hiking ~ Quick Tips

liveseasoned_winterhike_calder2

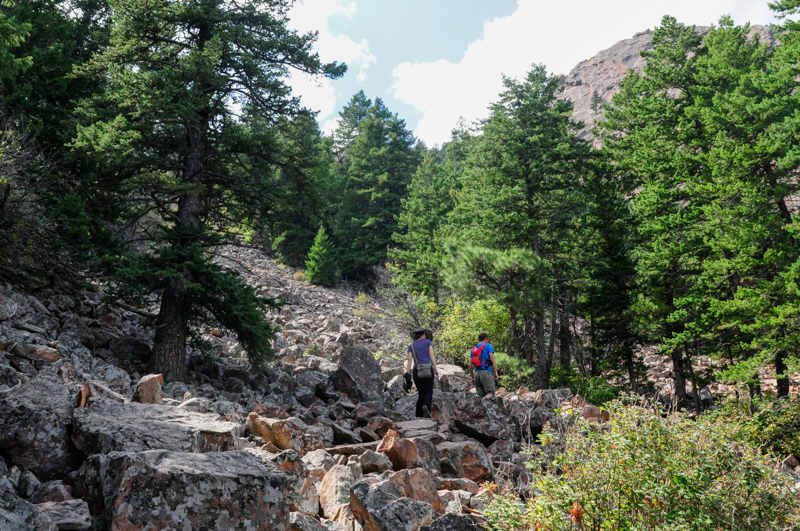
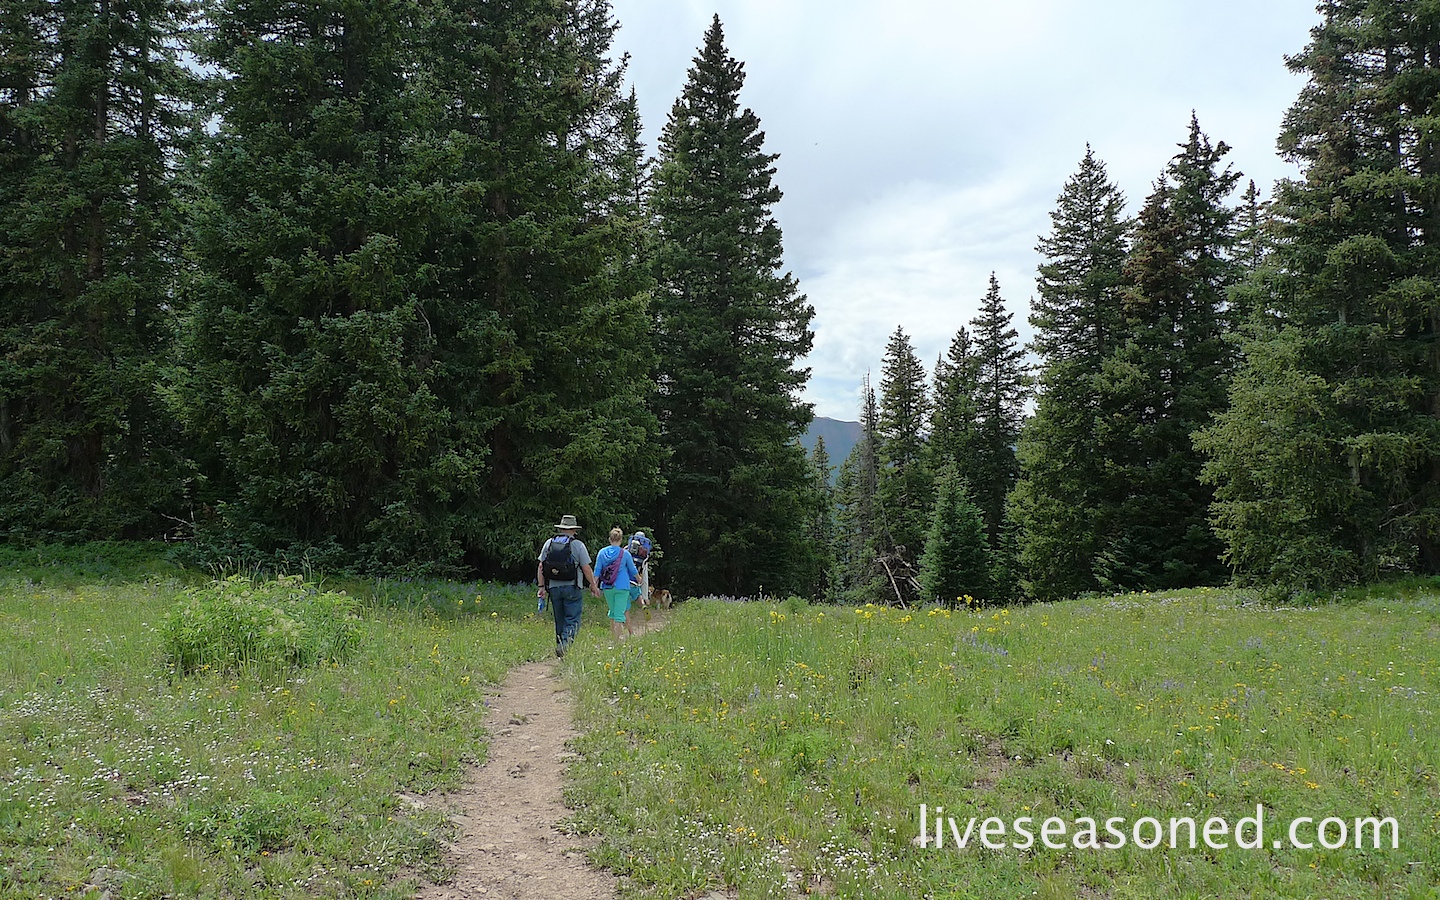
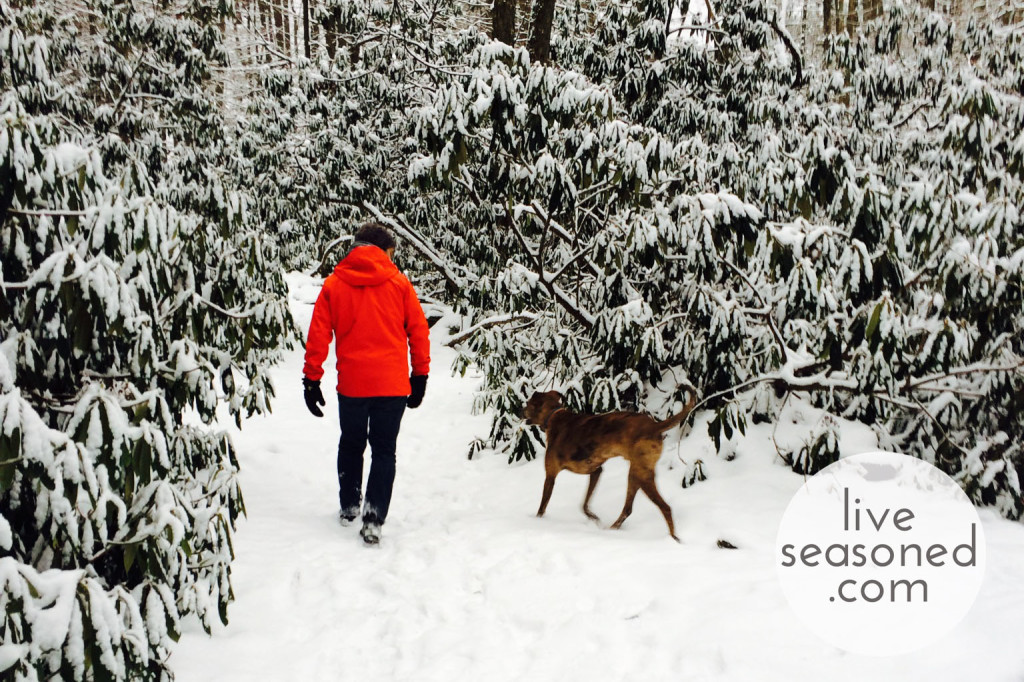
We are serious about our hikes.

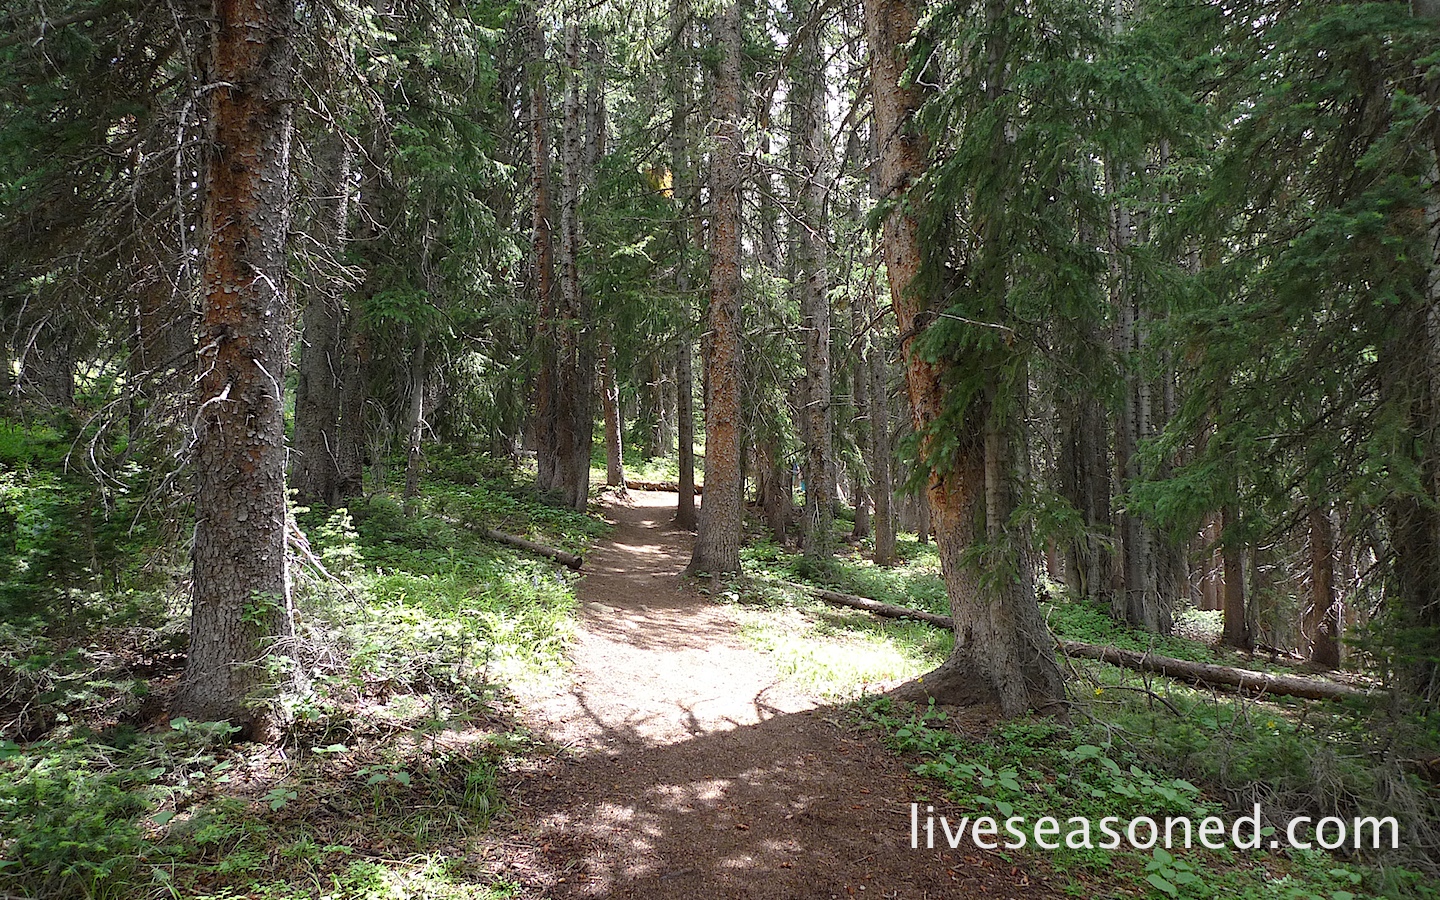
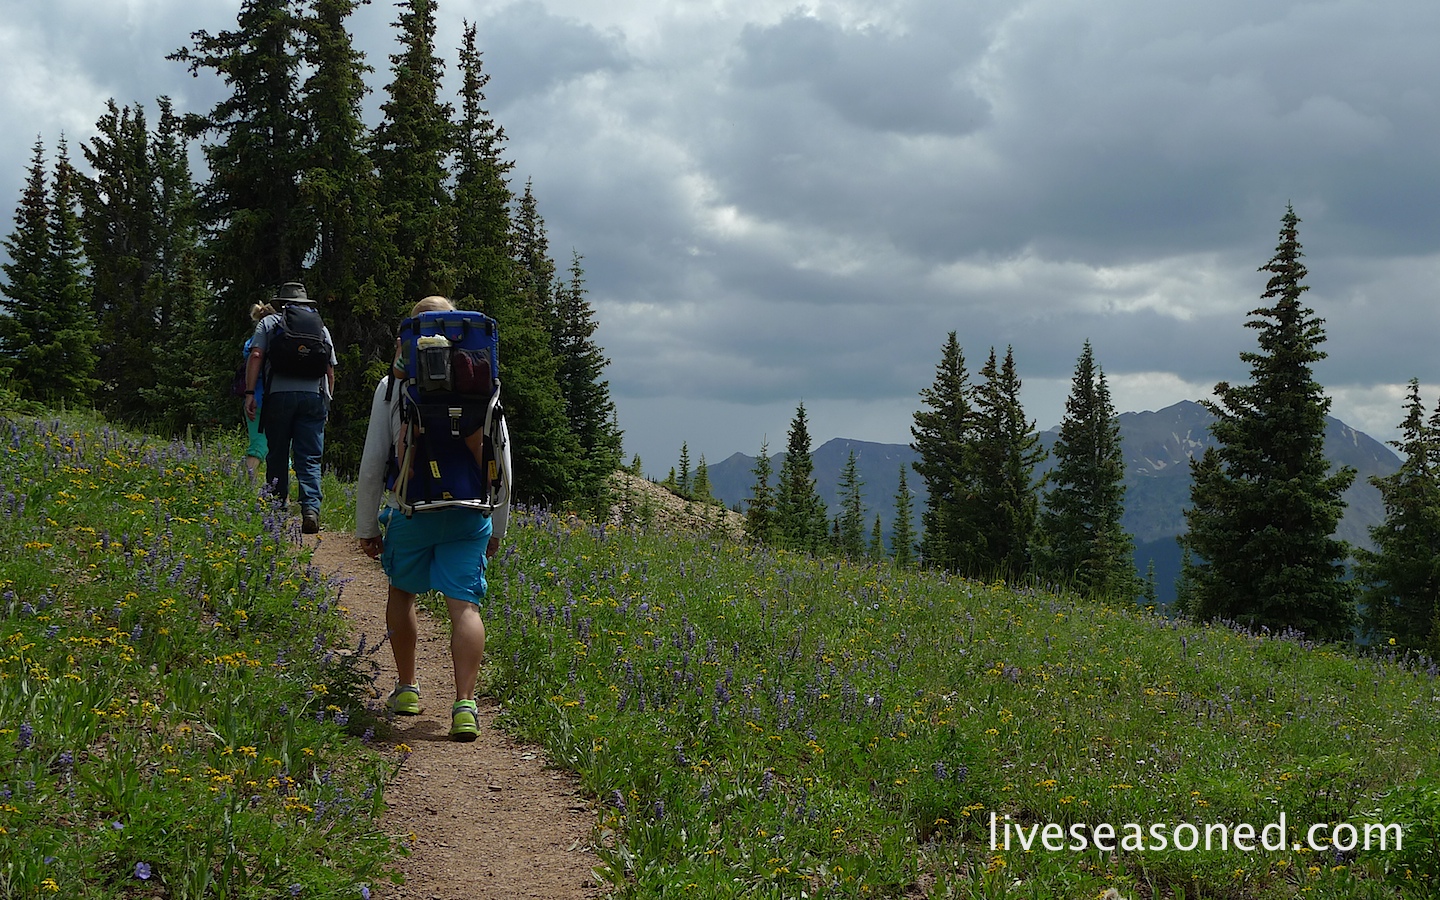
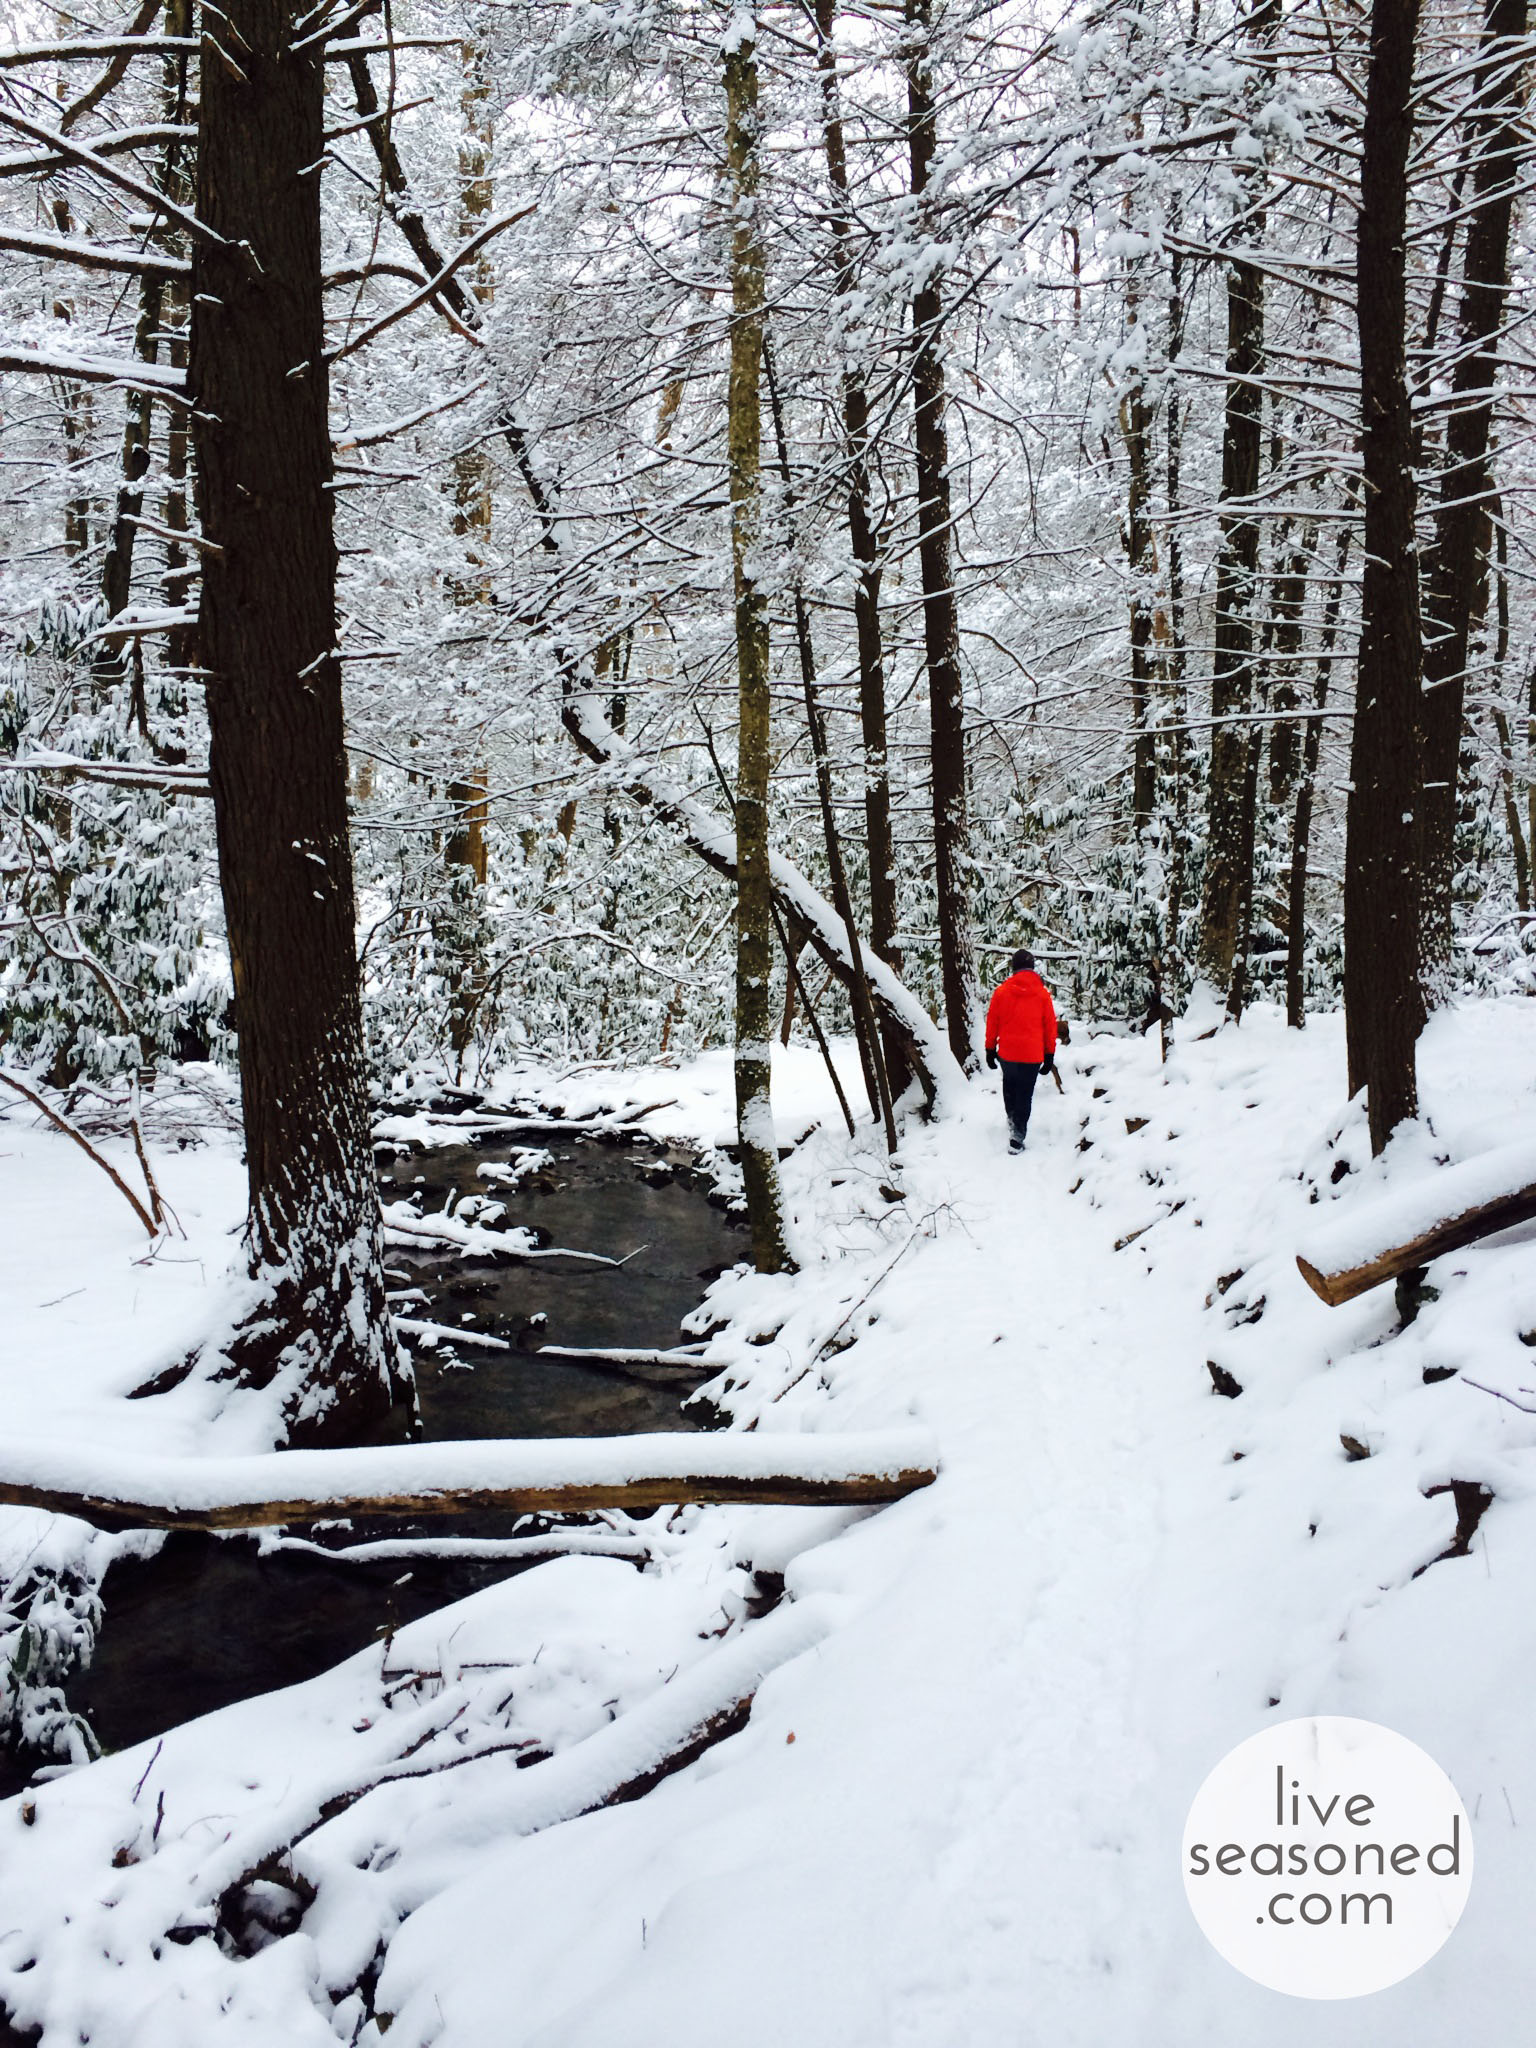
They aren’t crazy epic adventures, just 40-90 minutes in the woods on any given afternoon. Unfortunately, because of the shorter days we end up taking a lot fewer hikes in the winter than in the summer. But ~ when we push it and get out, that simple walk cures any sign of crazy cabin fever that’s so contagious at this time of year.

liveseasoned_winterhike_chimney

When we were on this hike, Calder and I were talking about what we each find essential for a good winter walk. His answer: all you need is a charged iPhone and a good pair of boots. My list, which I’ll share below, was a bit more detailed, but the focus was the same: keep it simple, smart, and of high quality. This is the key to making it to the woods when all you want to do is hibernate.

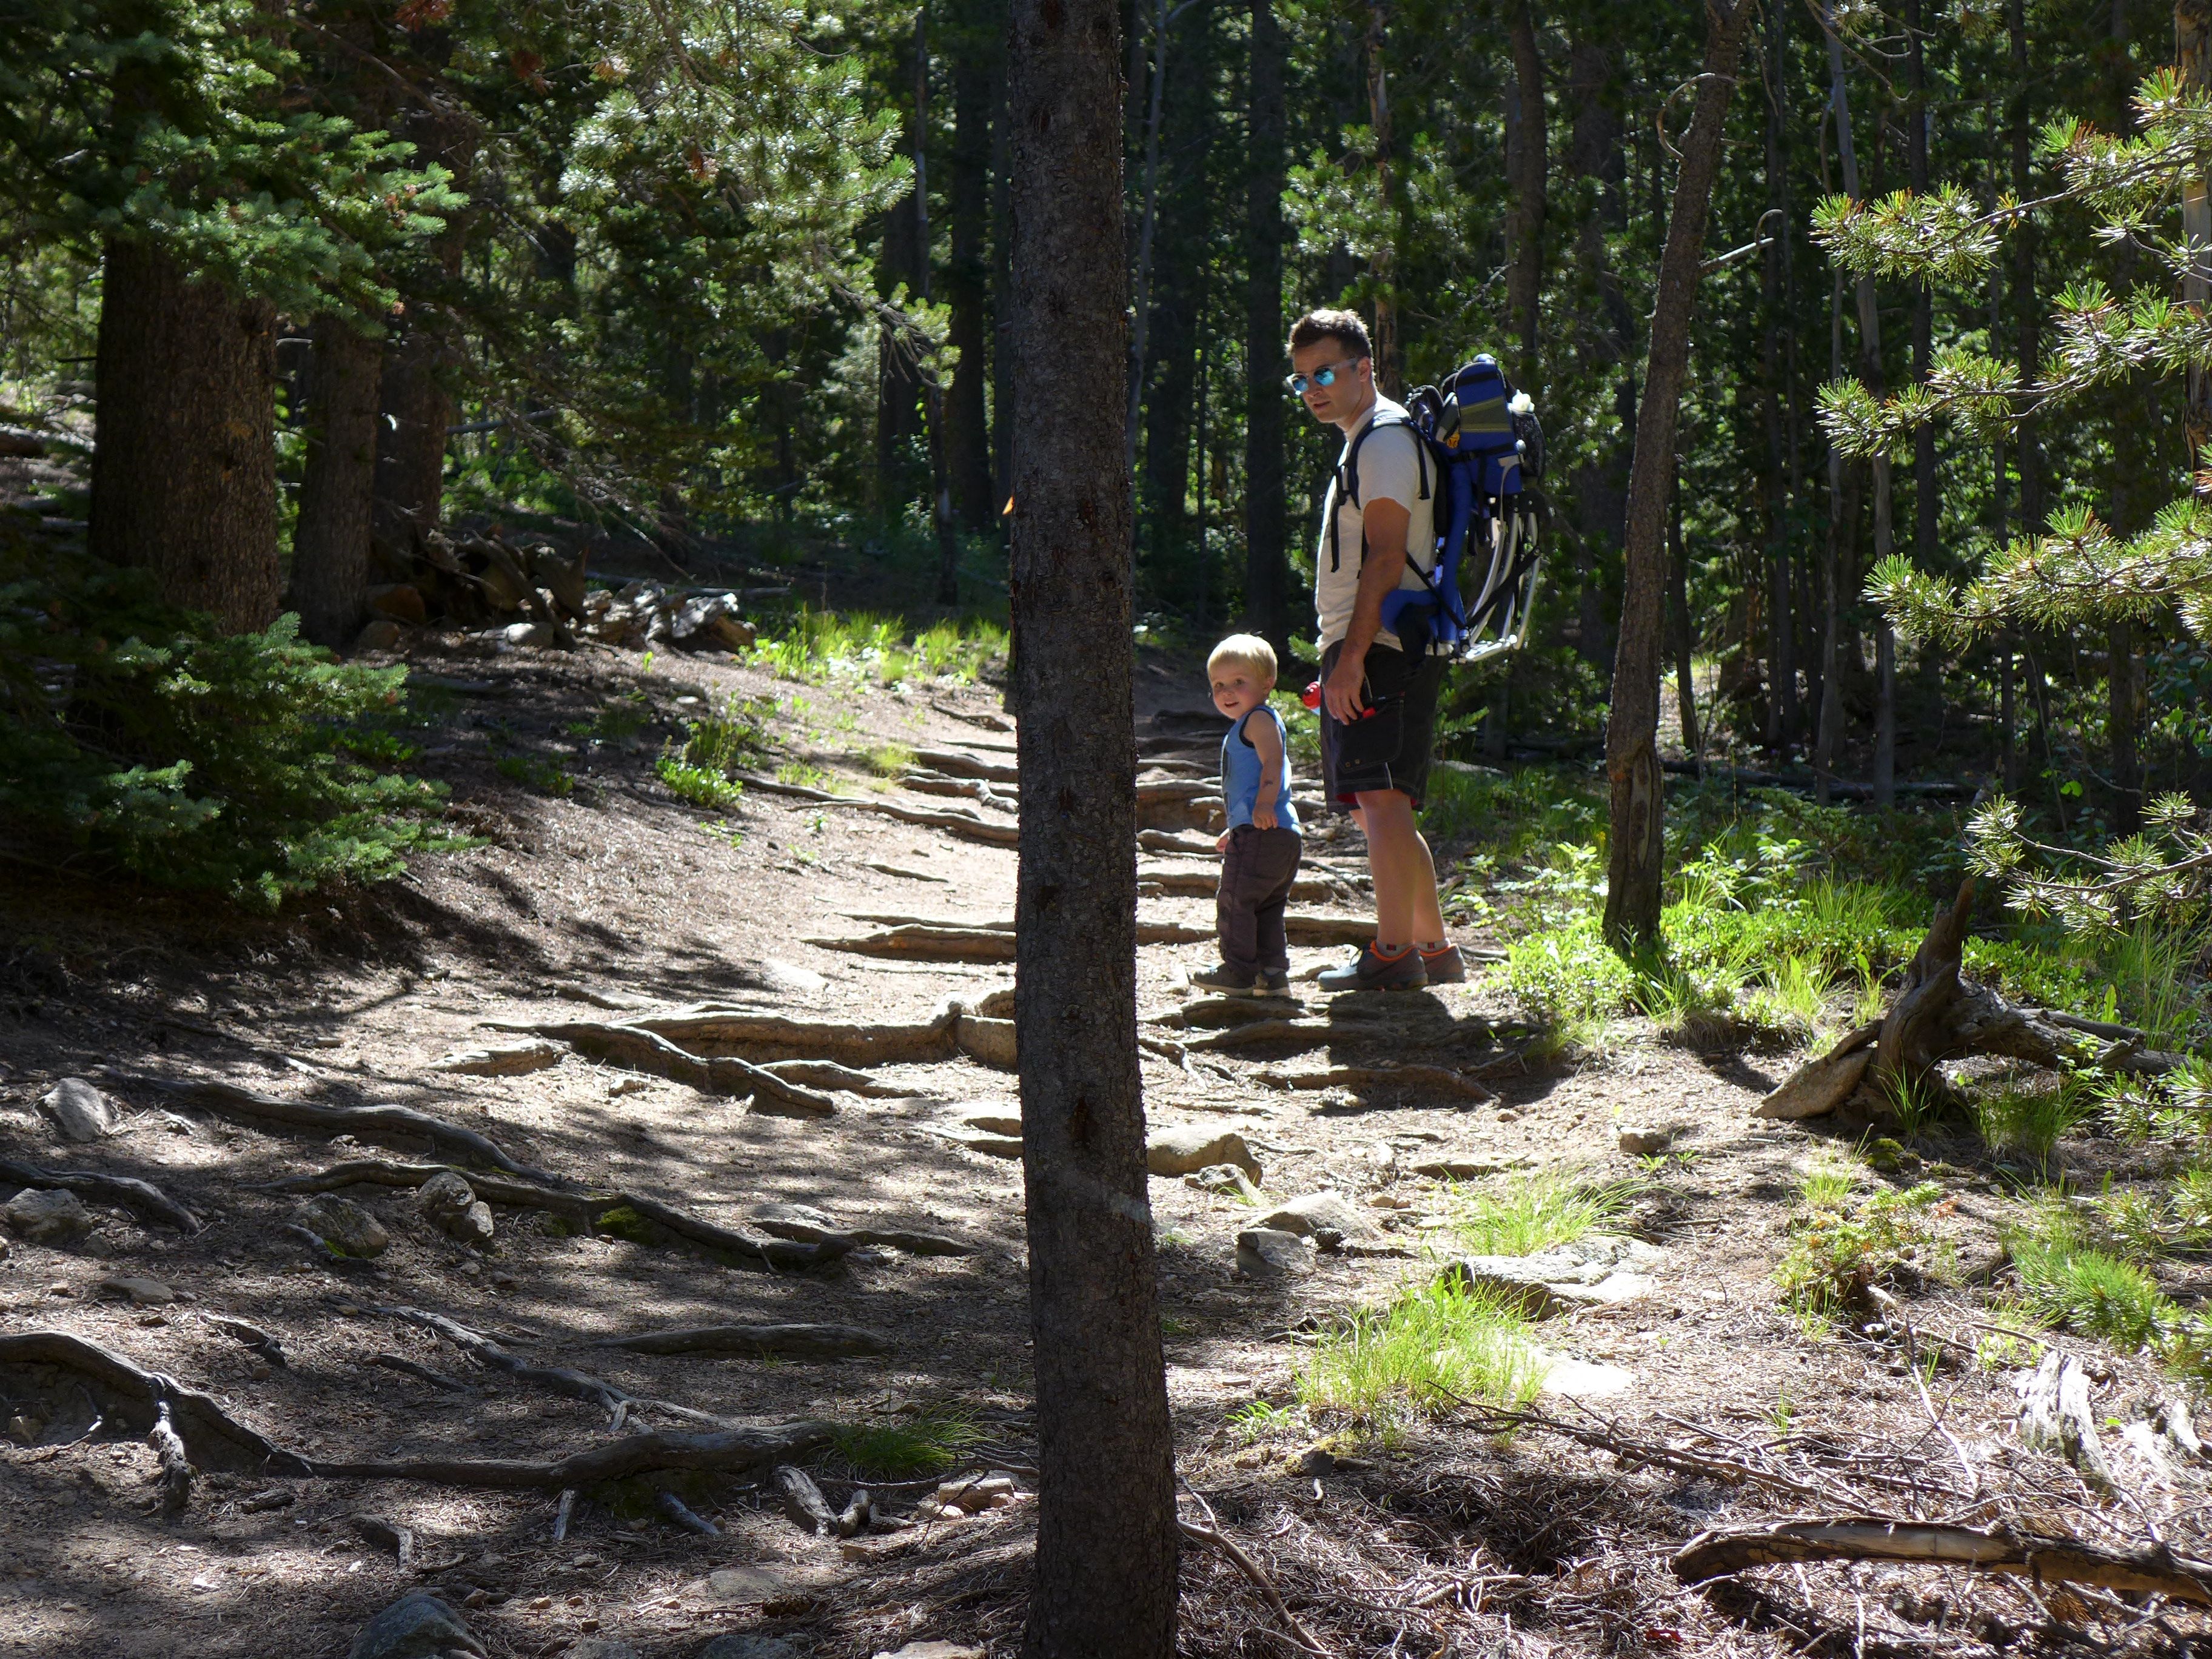
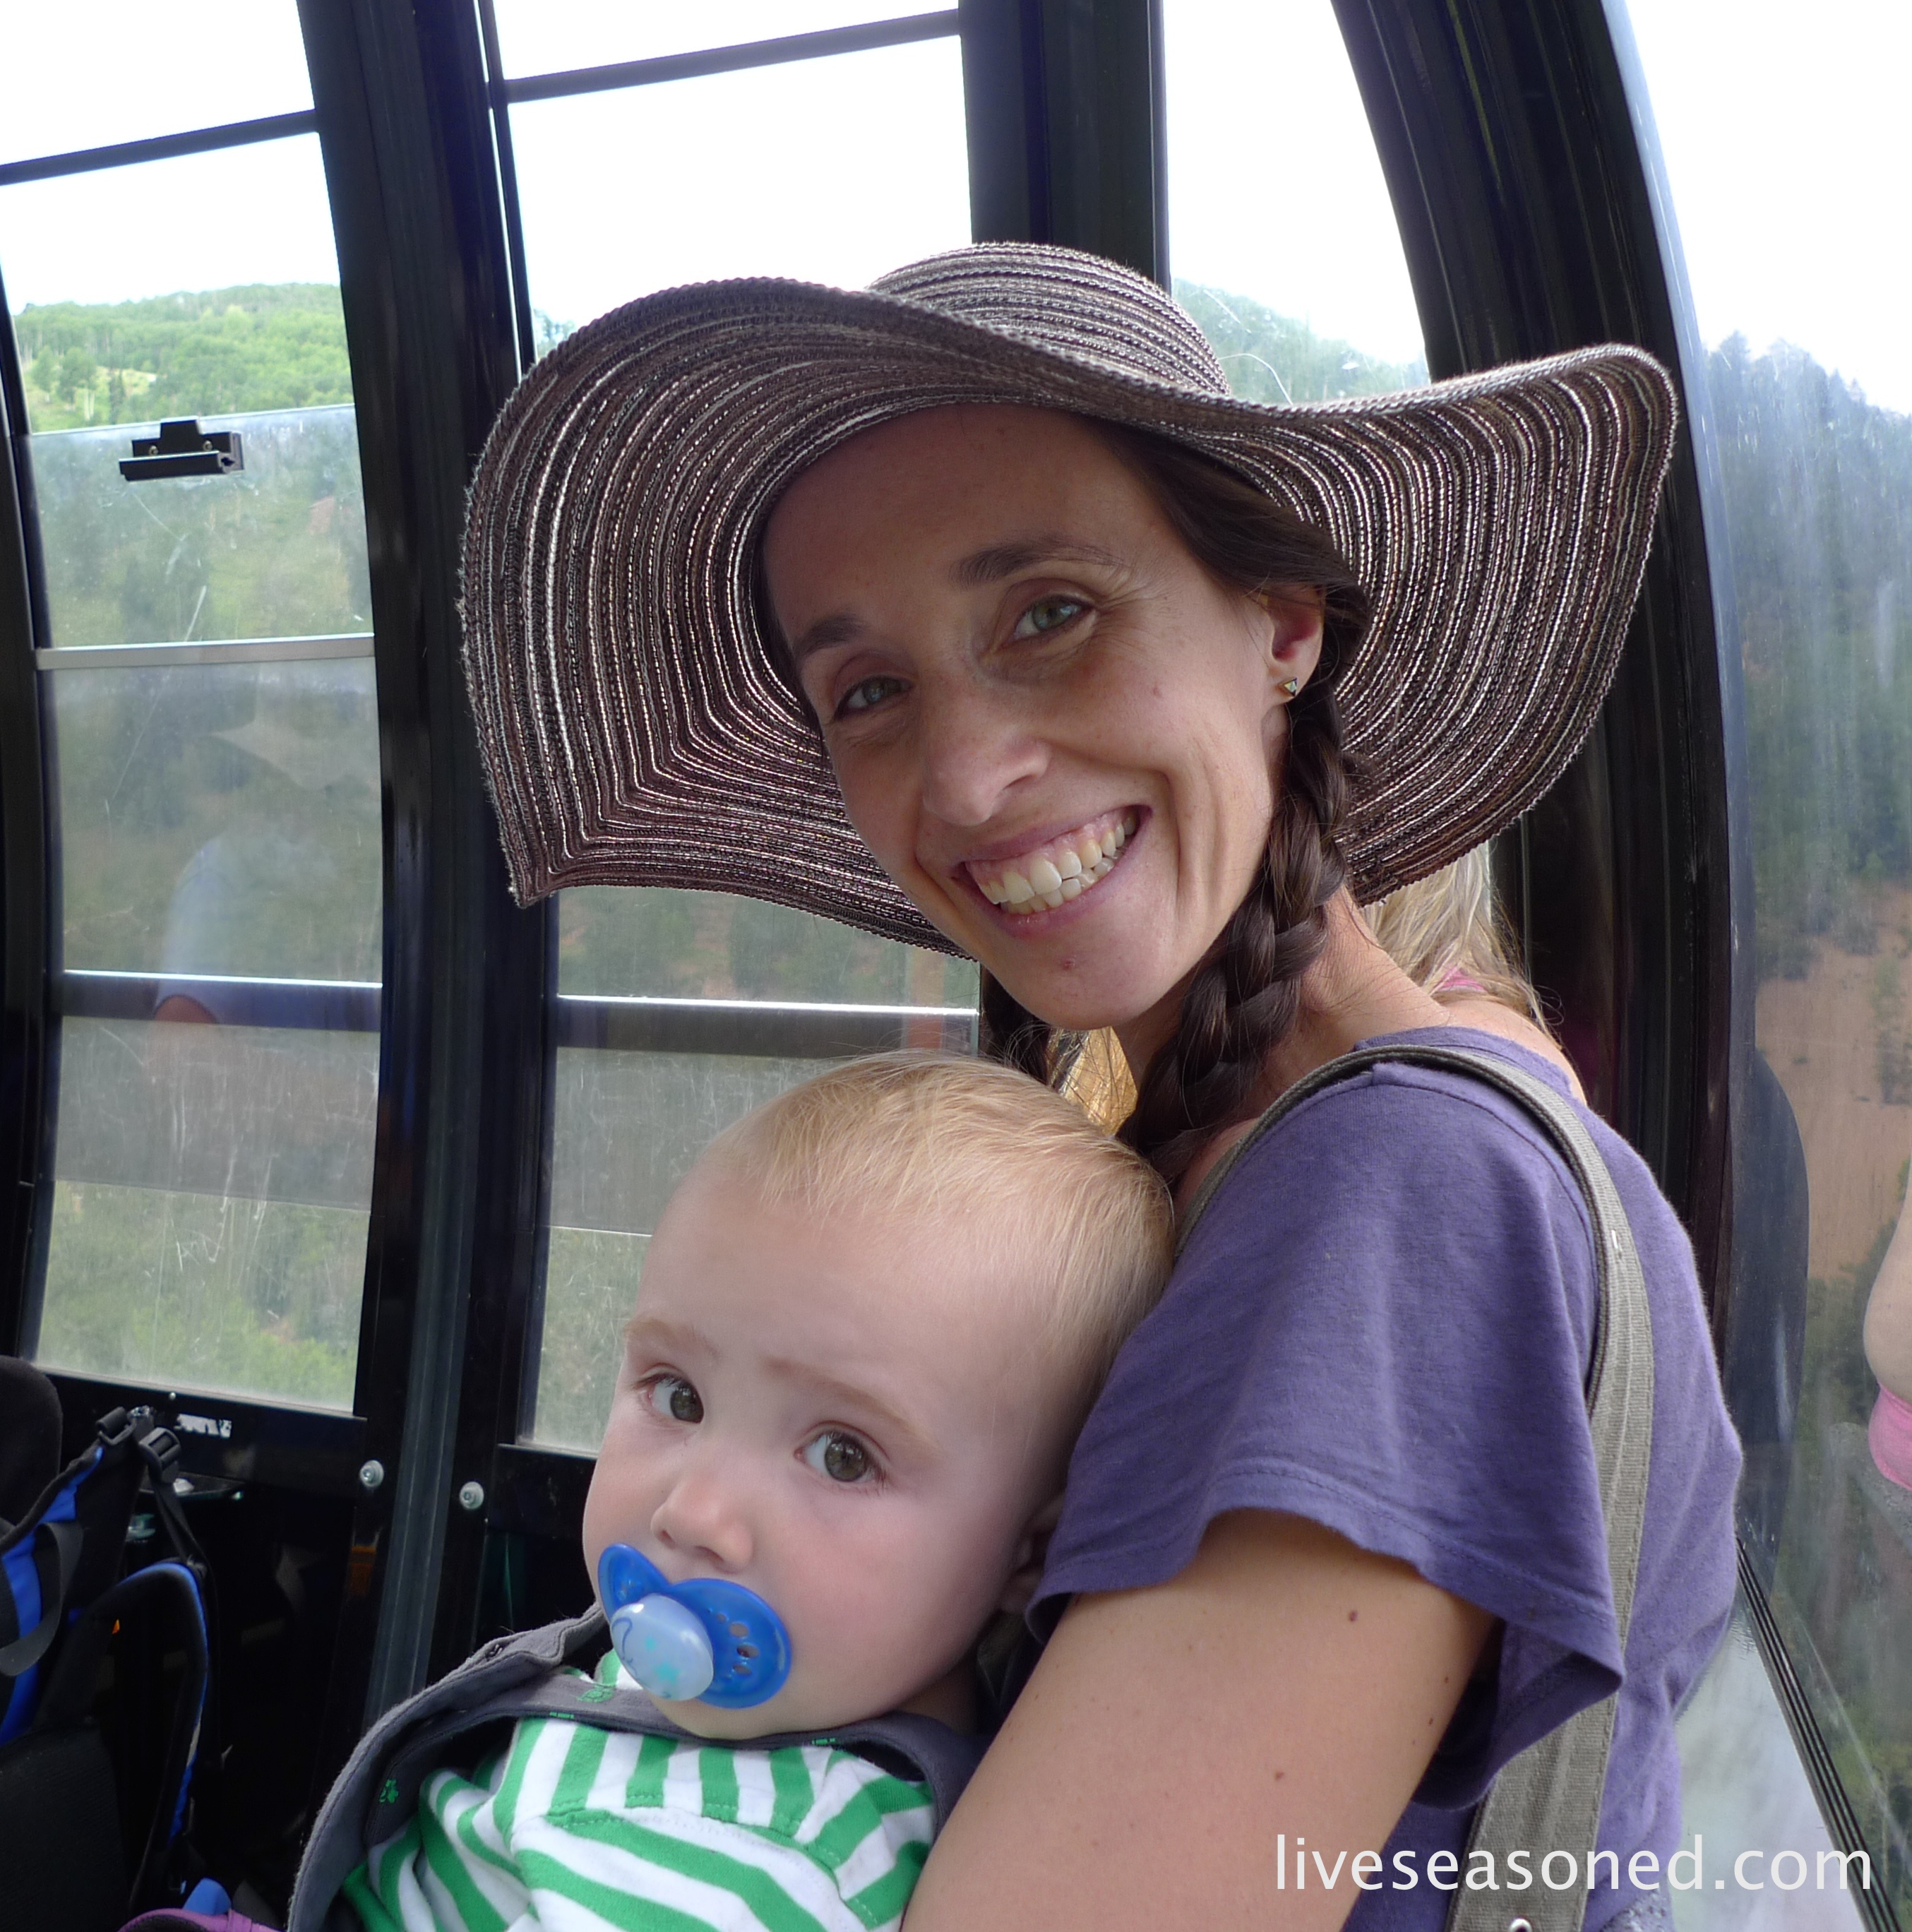
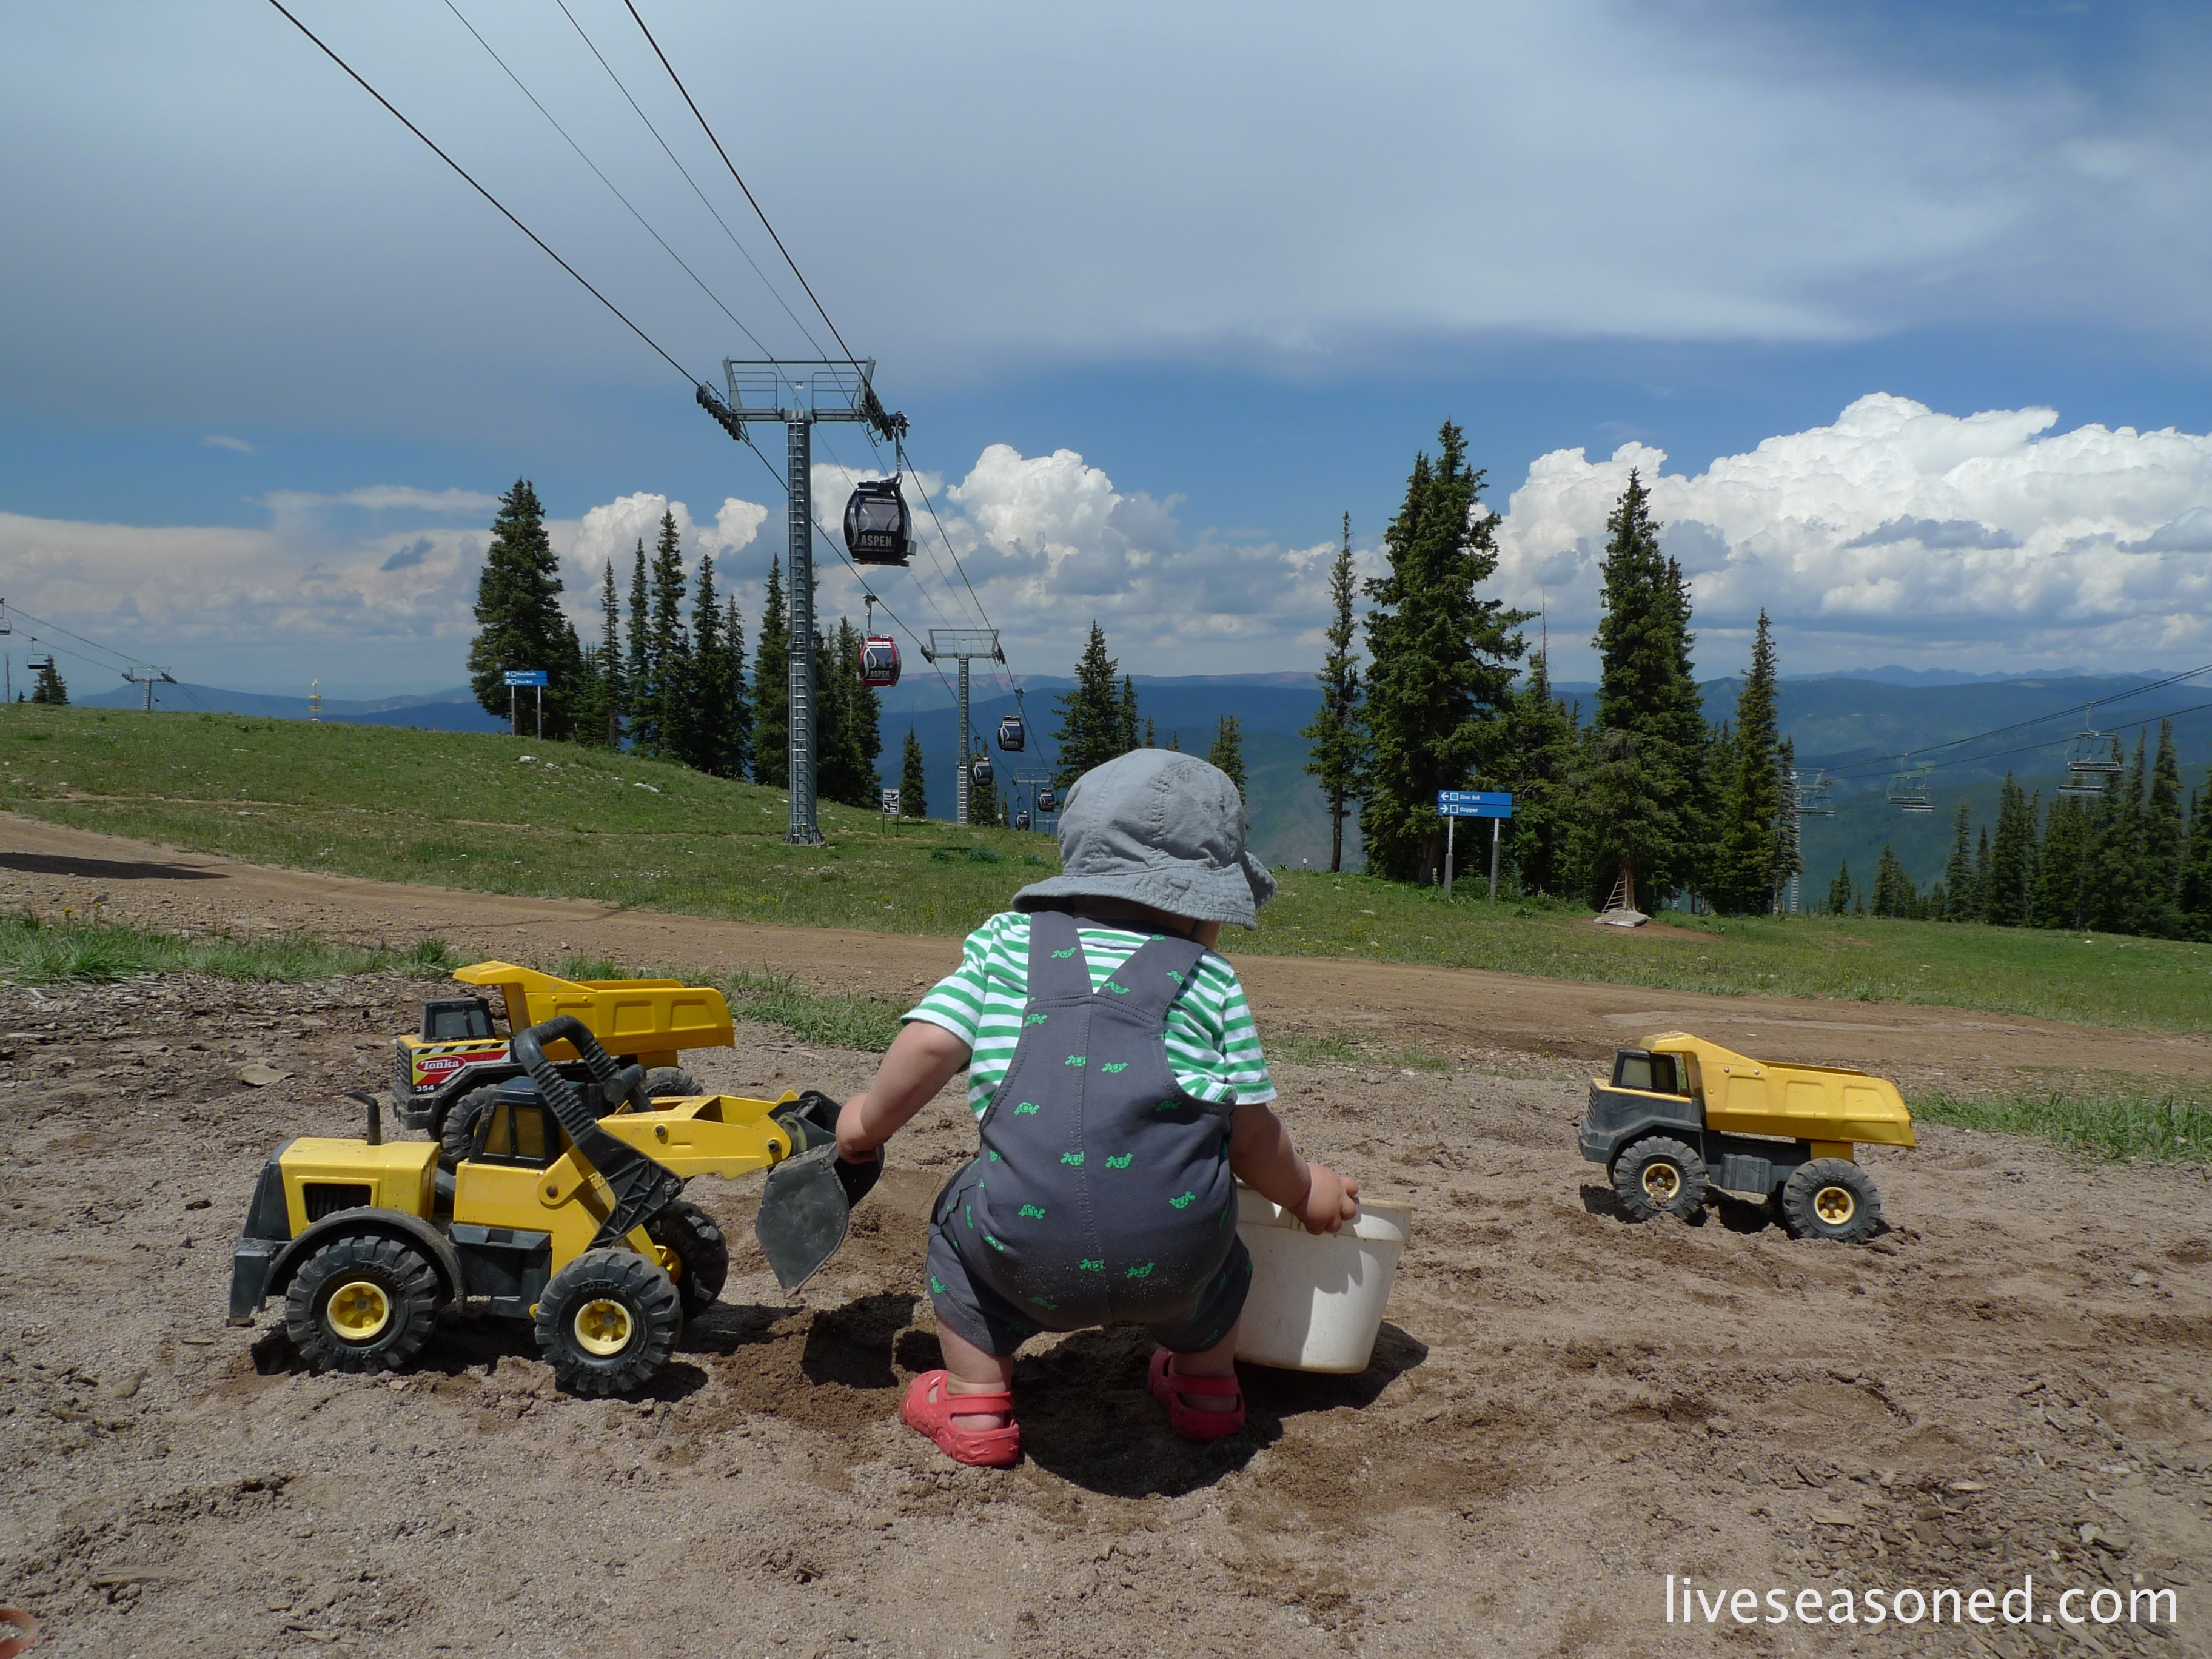
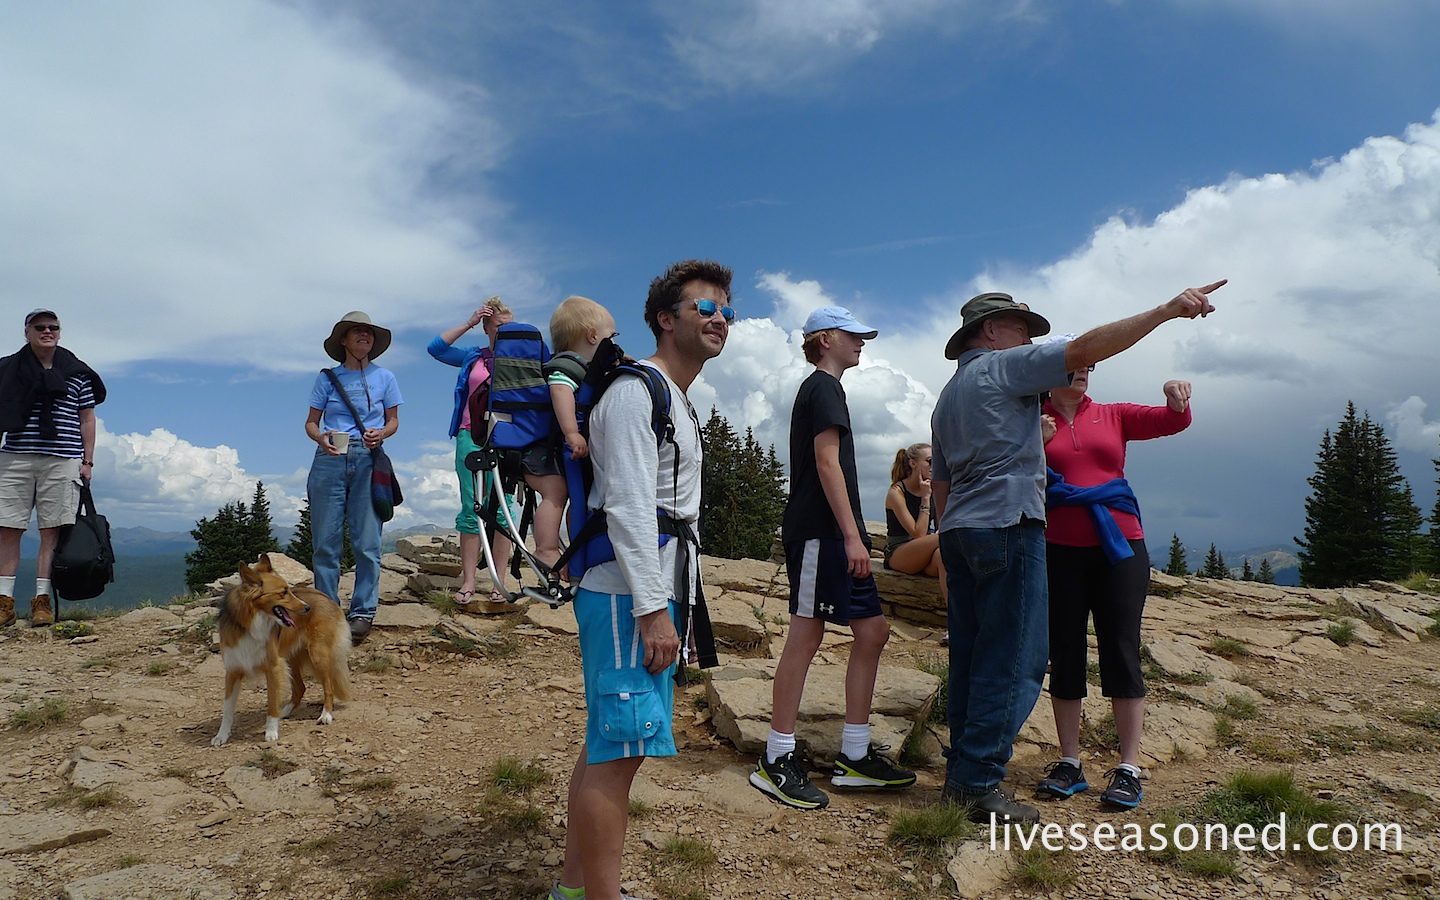
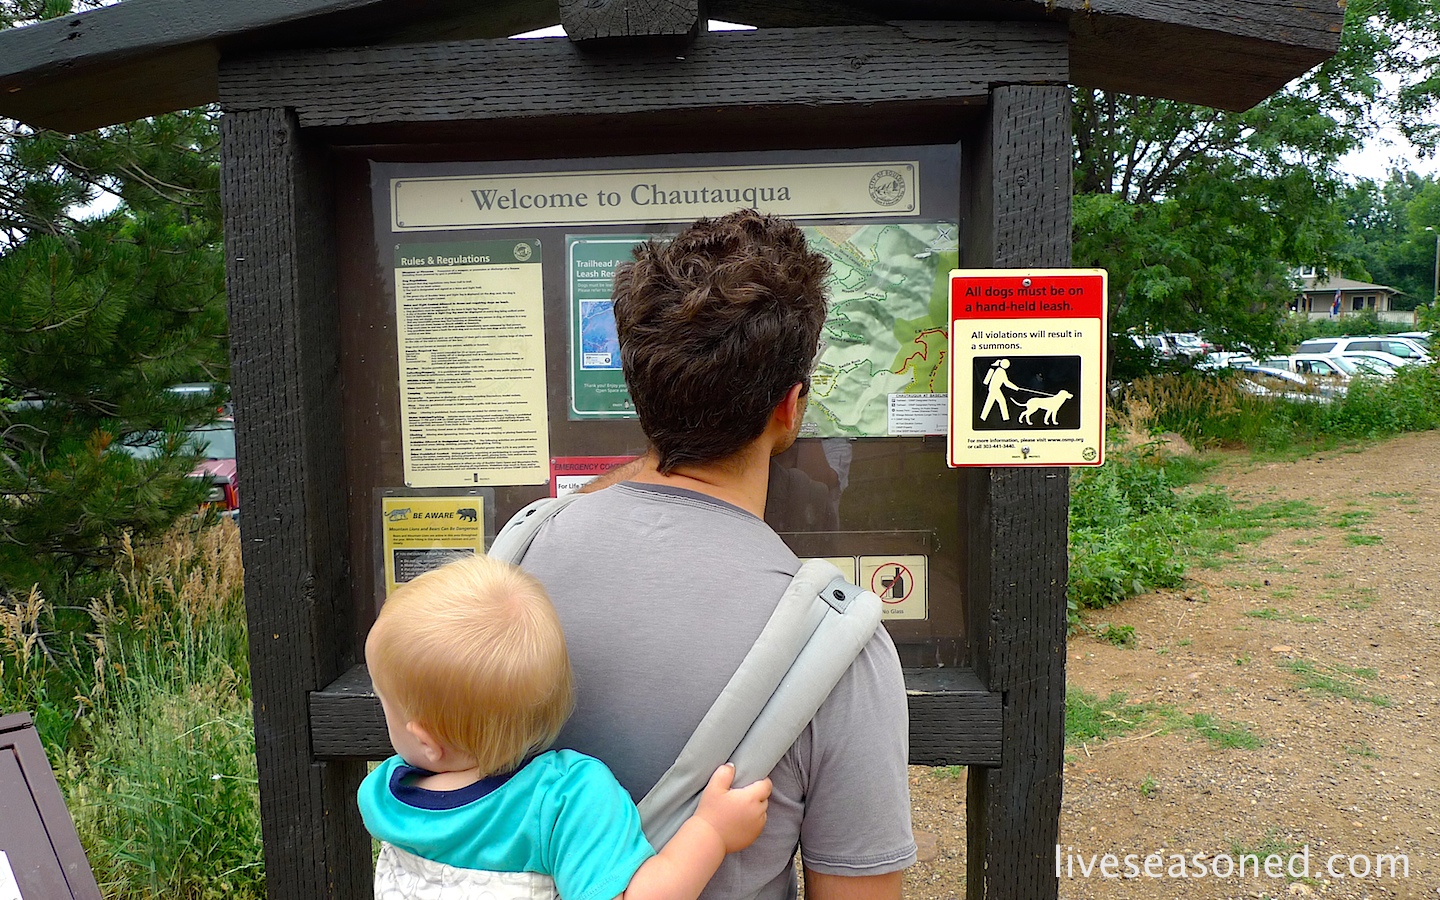
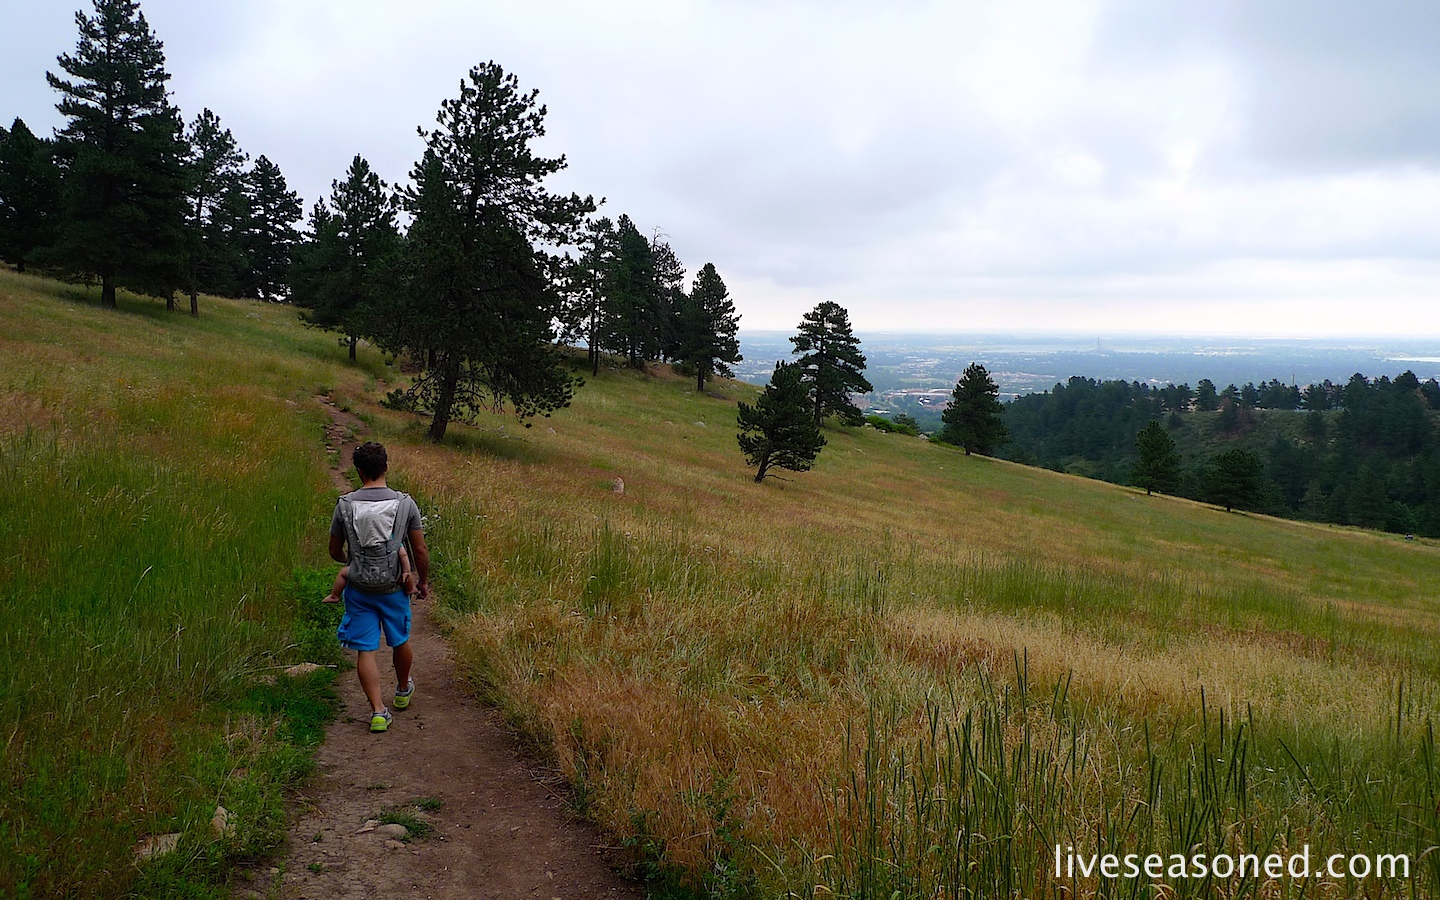
Don’t let having a baby hold you back! We love to get out with Alex, and he definitely loves to take in the scenery. While being in the house all day may make this little guy grumble, a trip outdoors really soothes his soul. He’s quiet and wide-eyed, absorbing the sights and the sounds of the forest.

My list for a short winter hike:

  • good shoes and socks. This is key. You won’t be comfortable if you don’t have a secure footing and warm toes for trails that may have snow, some ice, mud, rocks, and roots. 
  • hat and gloves (obvs, I know)
  • a charged phone (for all of the reasons Calder mentions below)
  • a map or good knowledge of the area. If you’re hiking in a new-to-you area, pick up a good trail map. We go hiking in a local state forest, and many of the bike and outdoor supply shops sell maps marking all of the forest trails. 
  • the right timing. You don’t want to get caught in the woods in the dark in the cold (of course, this is when your phone’s flashlight comes in handy). Ideally you can start your hike with plenty of daylight left, but if you know the sun is going to set in 30 minutes, do a quick 15 min out and back hike, and don’t push it. 
  • a lifeline. I know Sarah’s reading this and shaking her finger saying the most important thing is to tell someone where you’re going, even for short walks. You never know when something will happen, and it’s better to be safe than sorry, so call or text someone and let them know you’re heading off into the woods. 

My second tier list:

  • camera (more on this below)
  • water bottle. For short walks, I find that this isn’t necessary and just adds weight. I keep mine in the car and sip it before I take off and when I return. 

The baby gear:

  • a warm hat
  • warm socks
  • a baby carrier. We’ve found the Ergo to be the most comfortable carrier, particularly as Alex has packed on the pounds. The straps are easy to adjust, making it a piece of cake for both Calder and I to use it, and to switch off during the walk if we want to give each other a break. 

That’s it!

Whoever is wearing the baby just zips their coat up and around him ~ that way the baby doesn’t have to wear a bulky coat, but he stays nice and cozy. Alex is nine months old, and still breastfeeding, so as long as I’m along on the walk, we don’t have to worry about food.

But back to Calder, he wanted to explain his list. The boots are a no-brainer.

The phone is essential because it will provide your flashlight and camera. If you have an app like Garmin’s navigation app, it’ll also provide your maps using satellite data (even when you don’t have cell service!). AND if you’re still nervous about setting off into the snowy woods, you can always download a winter survival app.

He had a really thoughtful response when pressed about what makes a winter hike great: a camera. He said that on any hike, if he has a camera (i.e. phone) along it, he’ll often slow down to take in the details more than if he doesn’t. I agree, sometimes I can be on autopilot, just walking along and thinking without really taking in the scenery. Don’t get me wrong, that kind of walk is great too, but if my mission is to get out and enjoy the woods, then I want to keep my eyes and mind open to what’s in front of me. Before Alex (B.A.), I used to take my digital camera on every hike, now there are times when I just take the phone and use its camera.

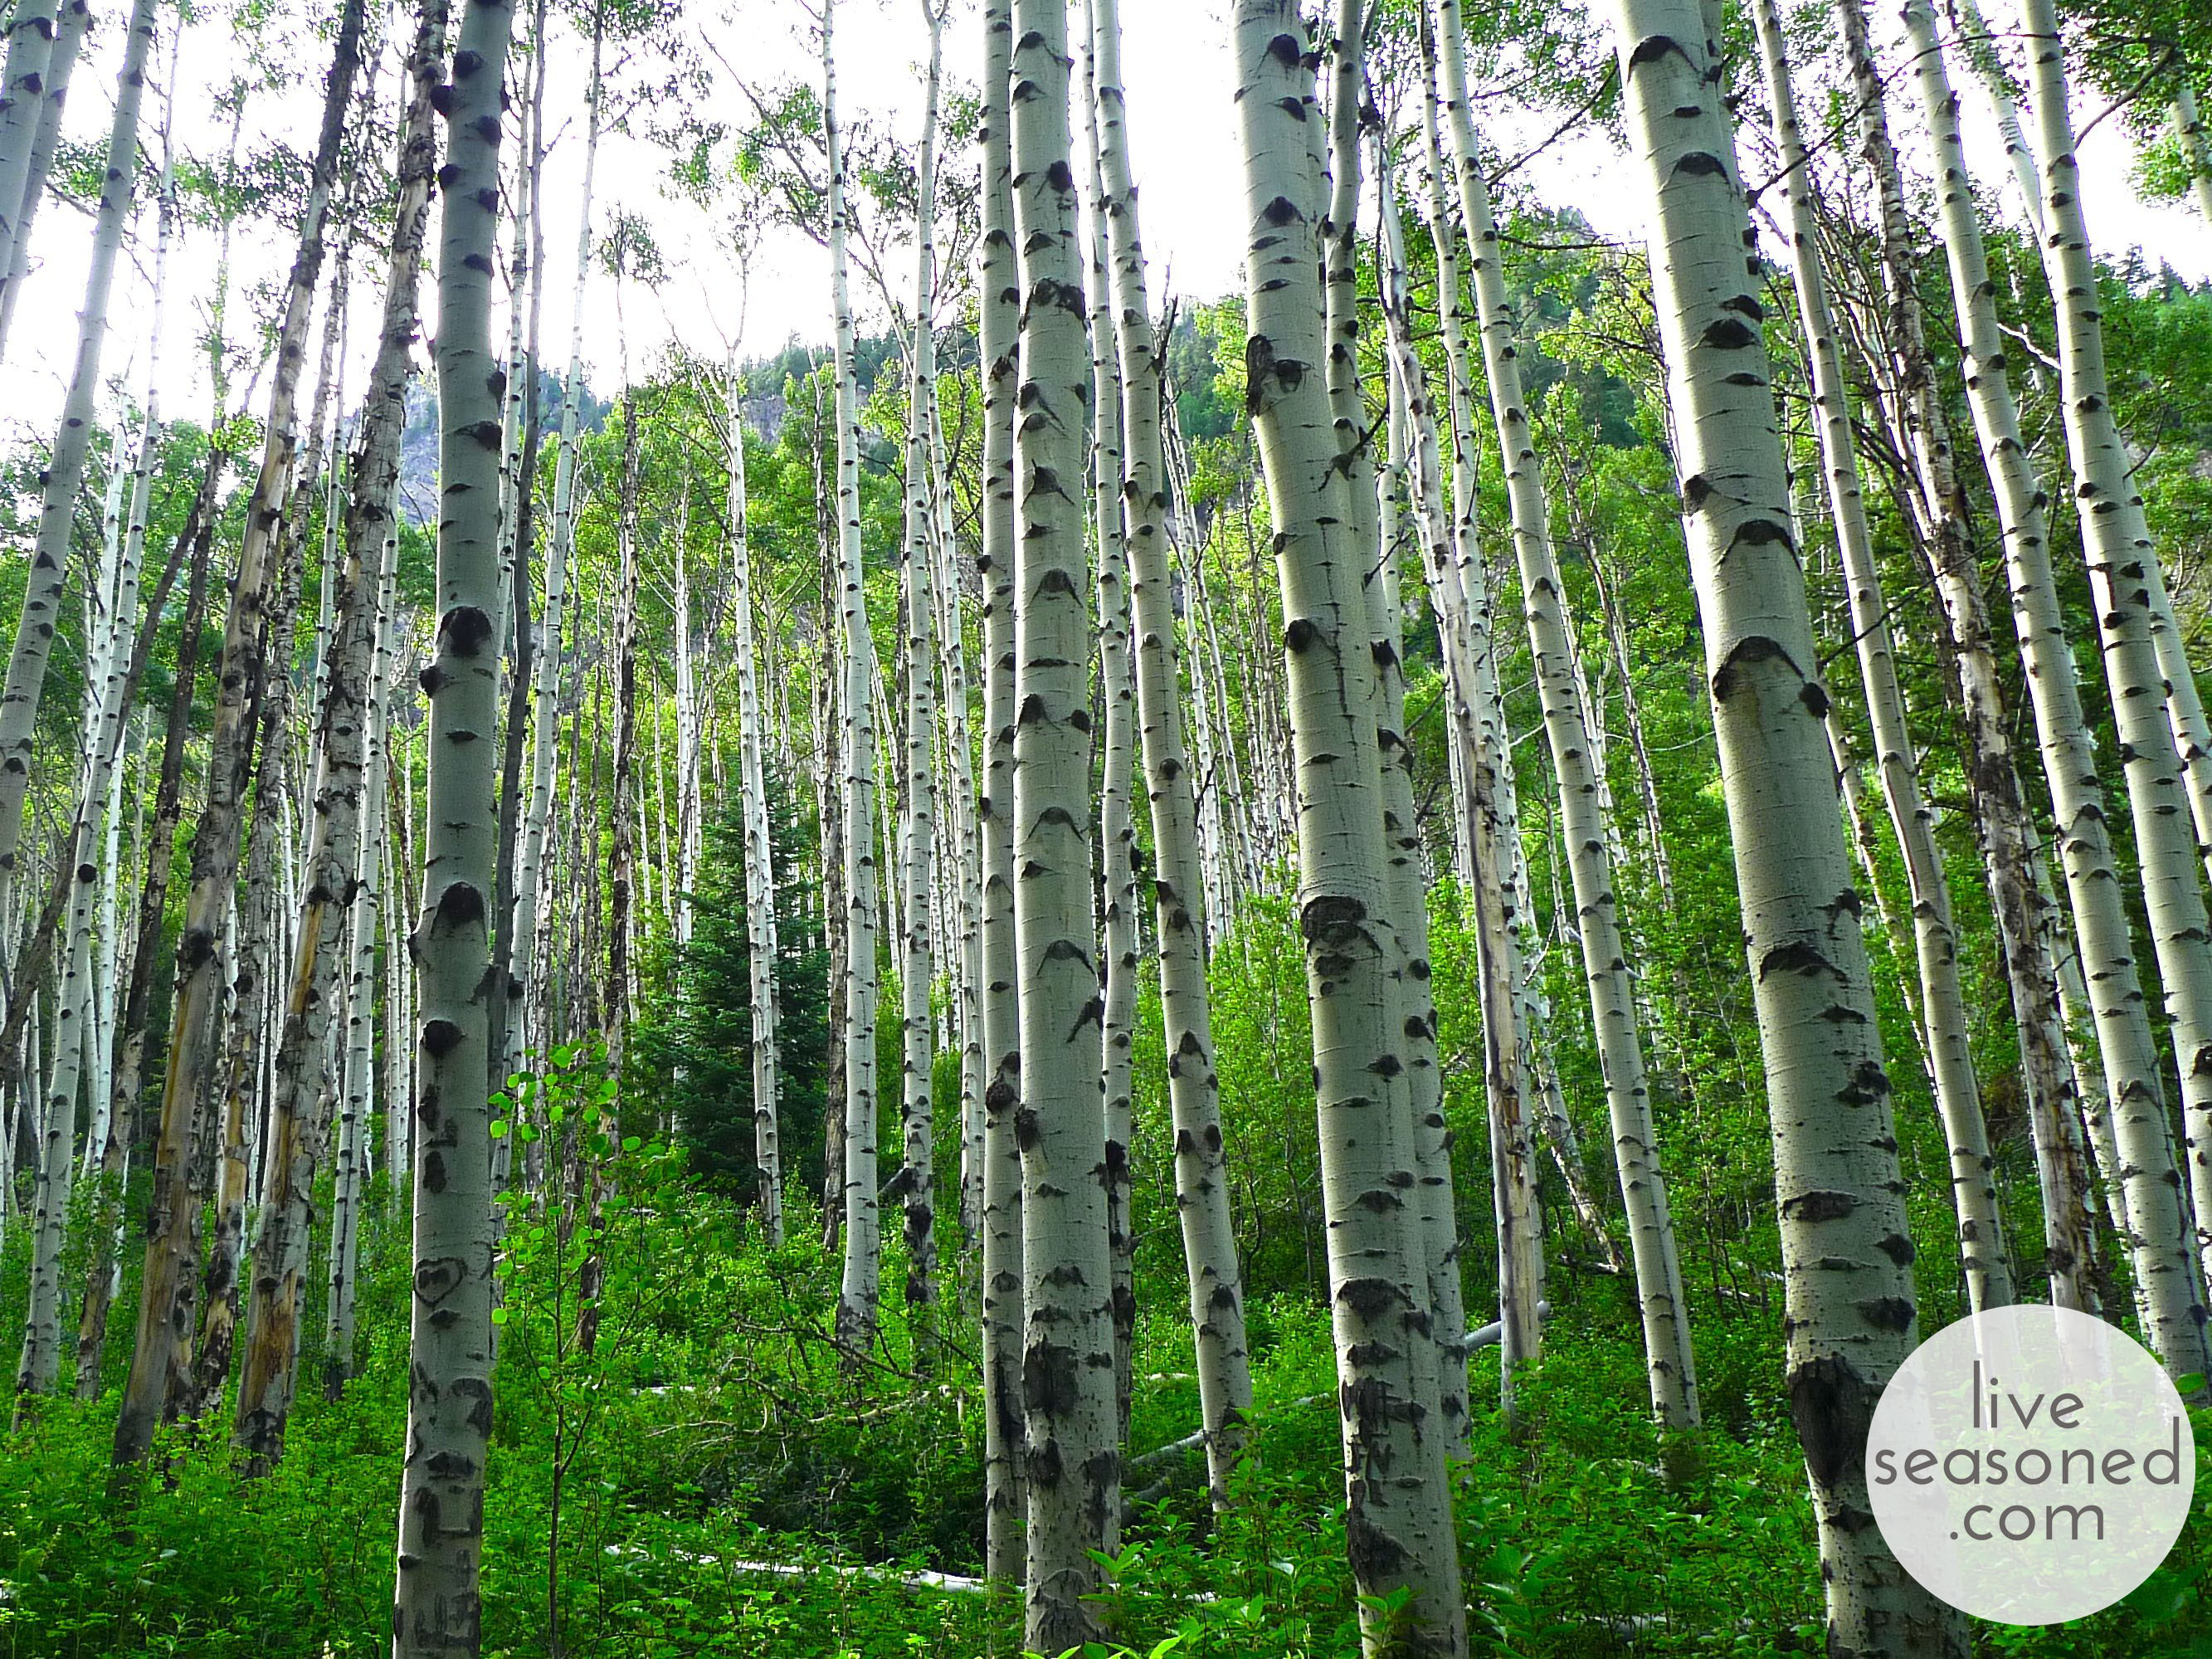
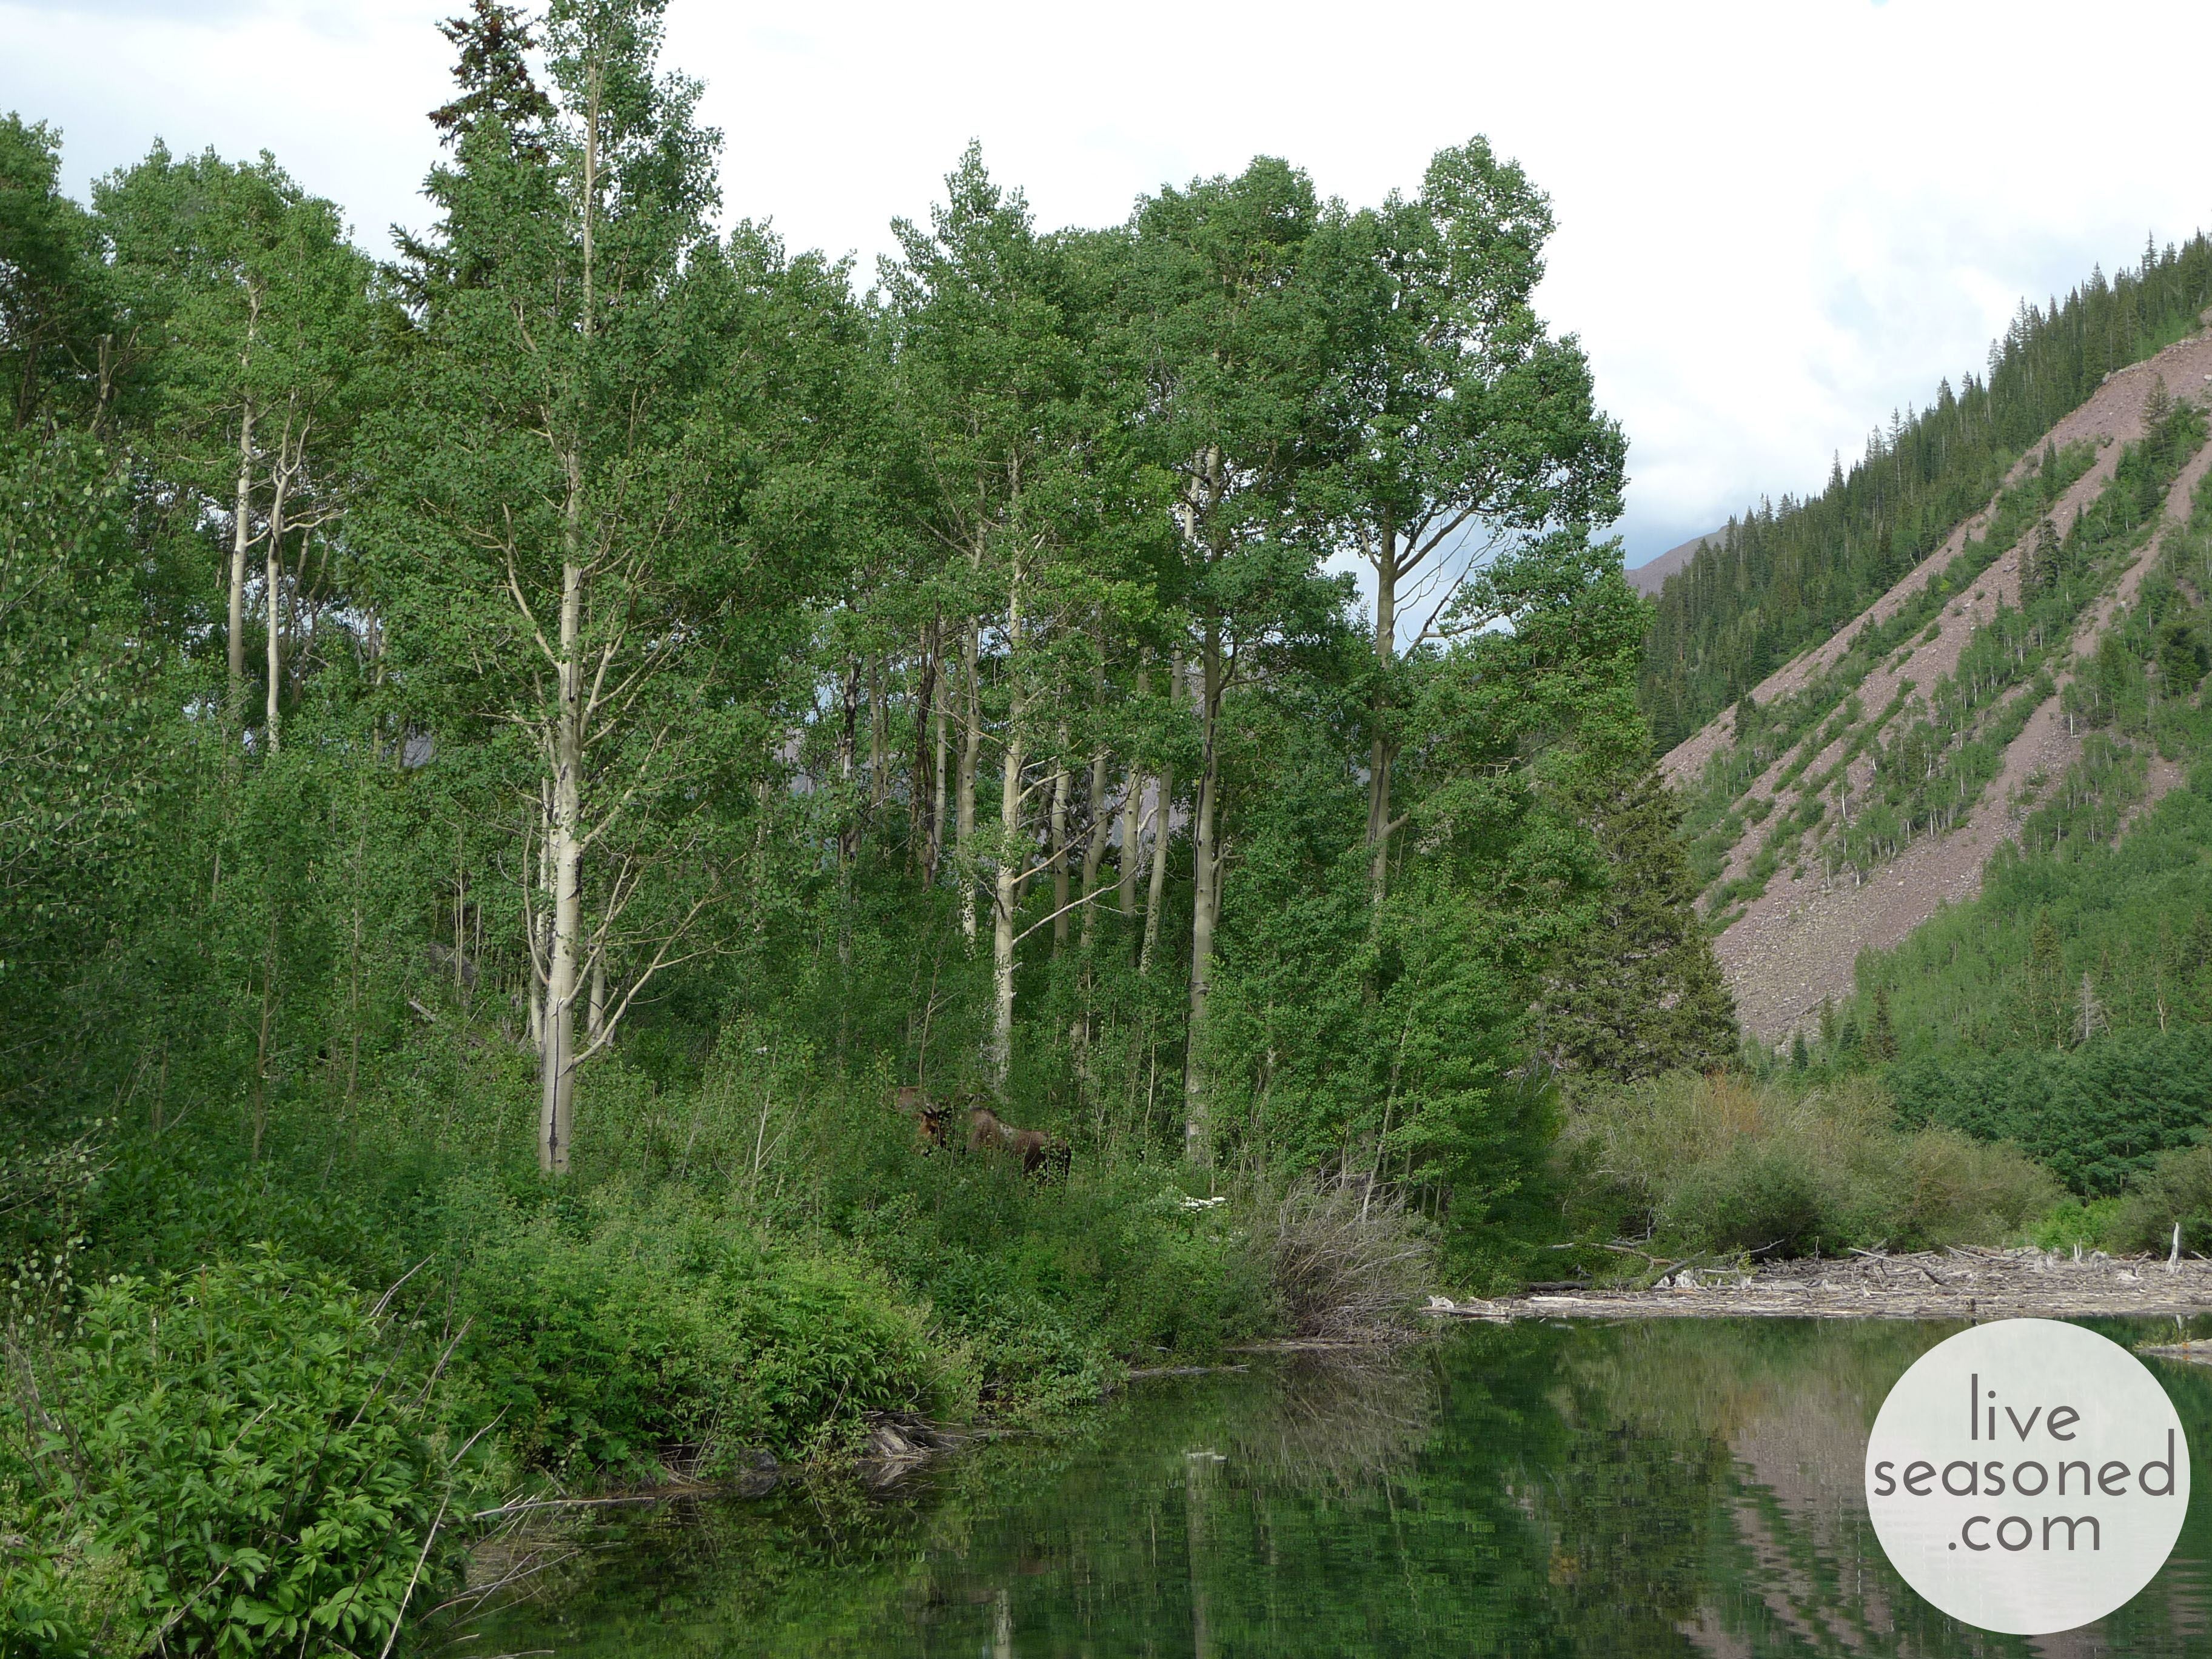
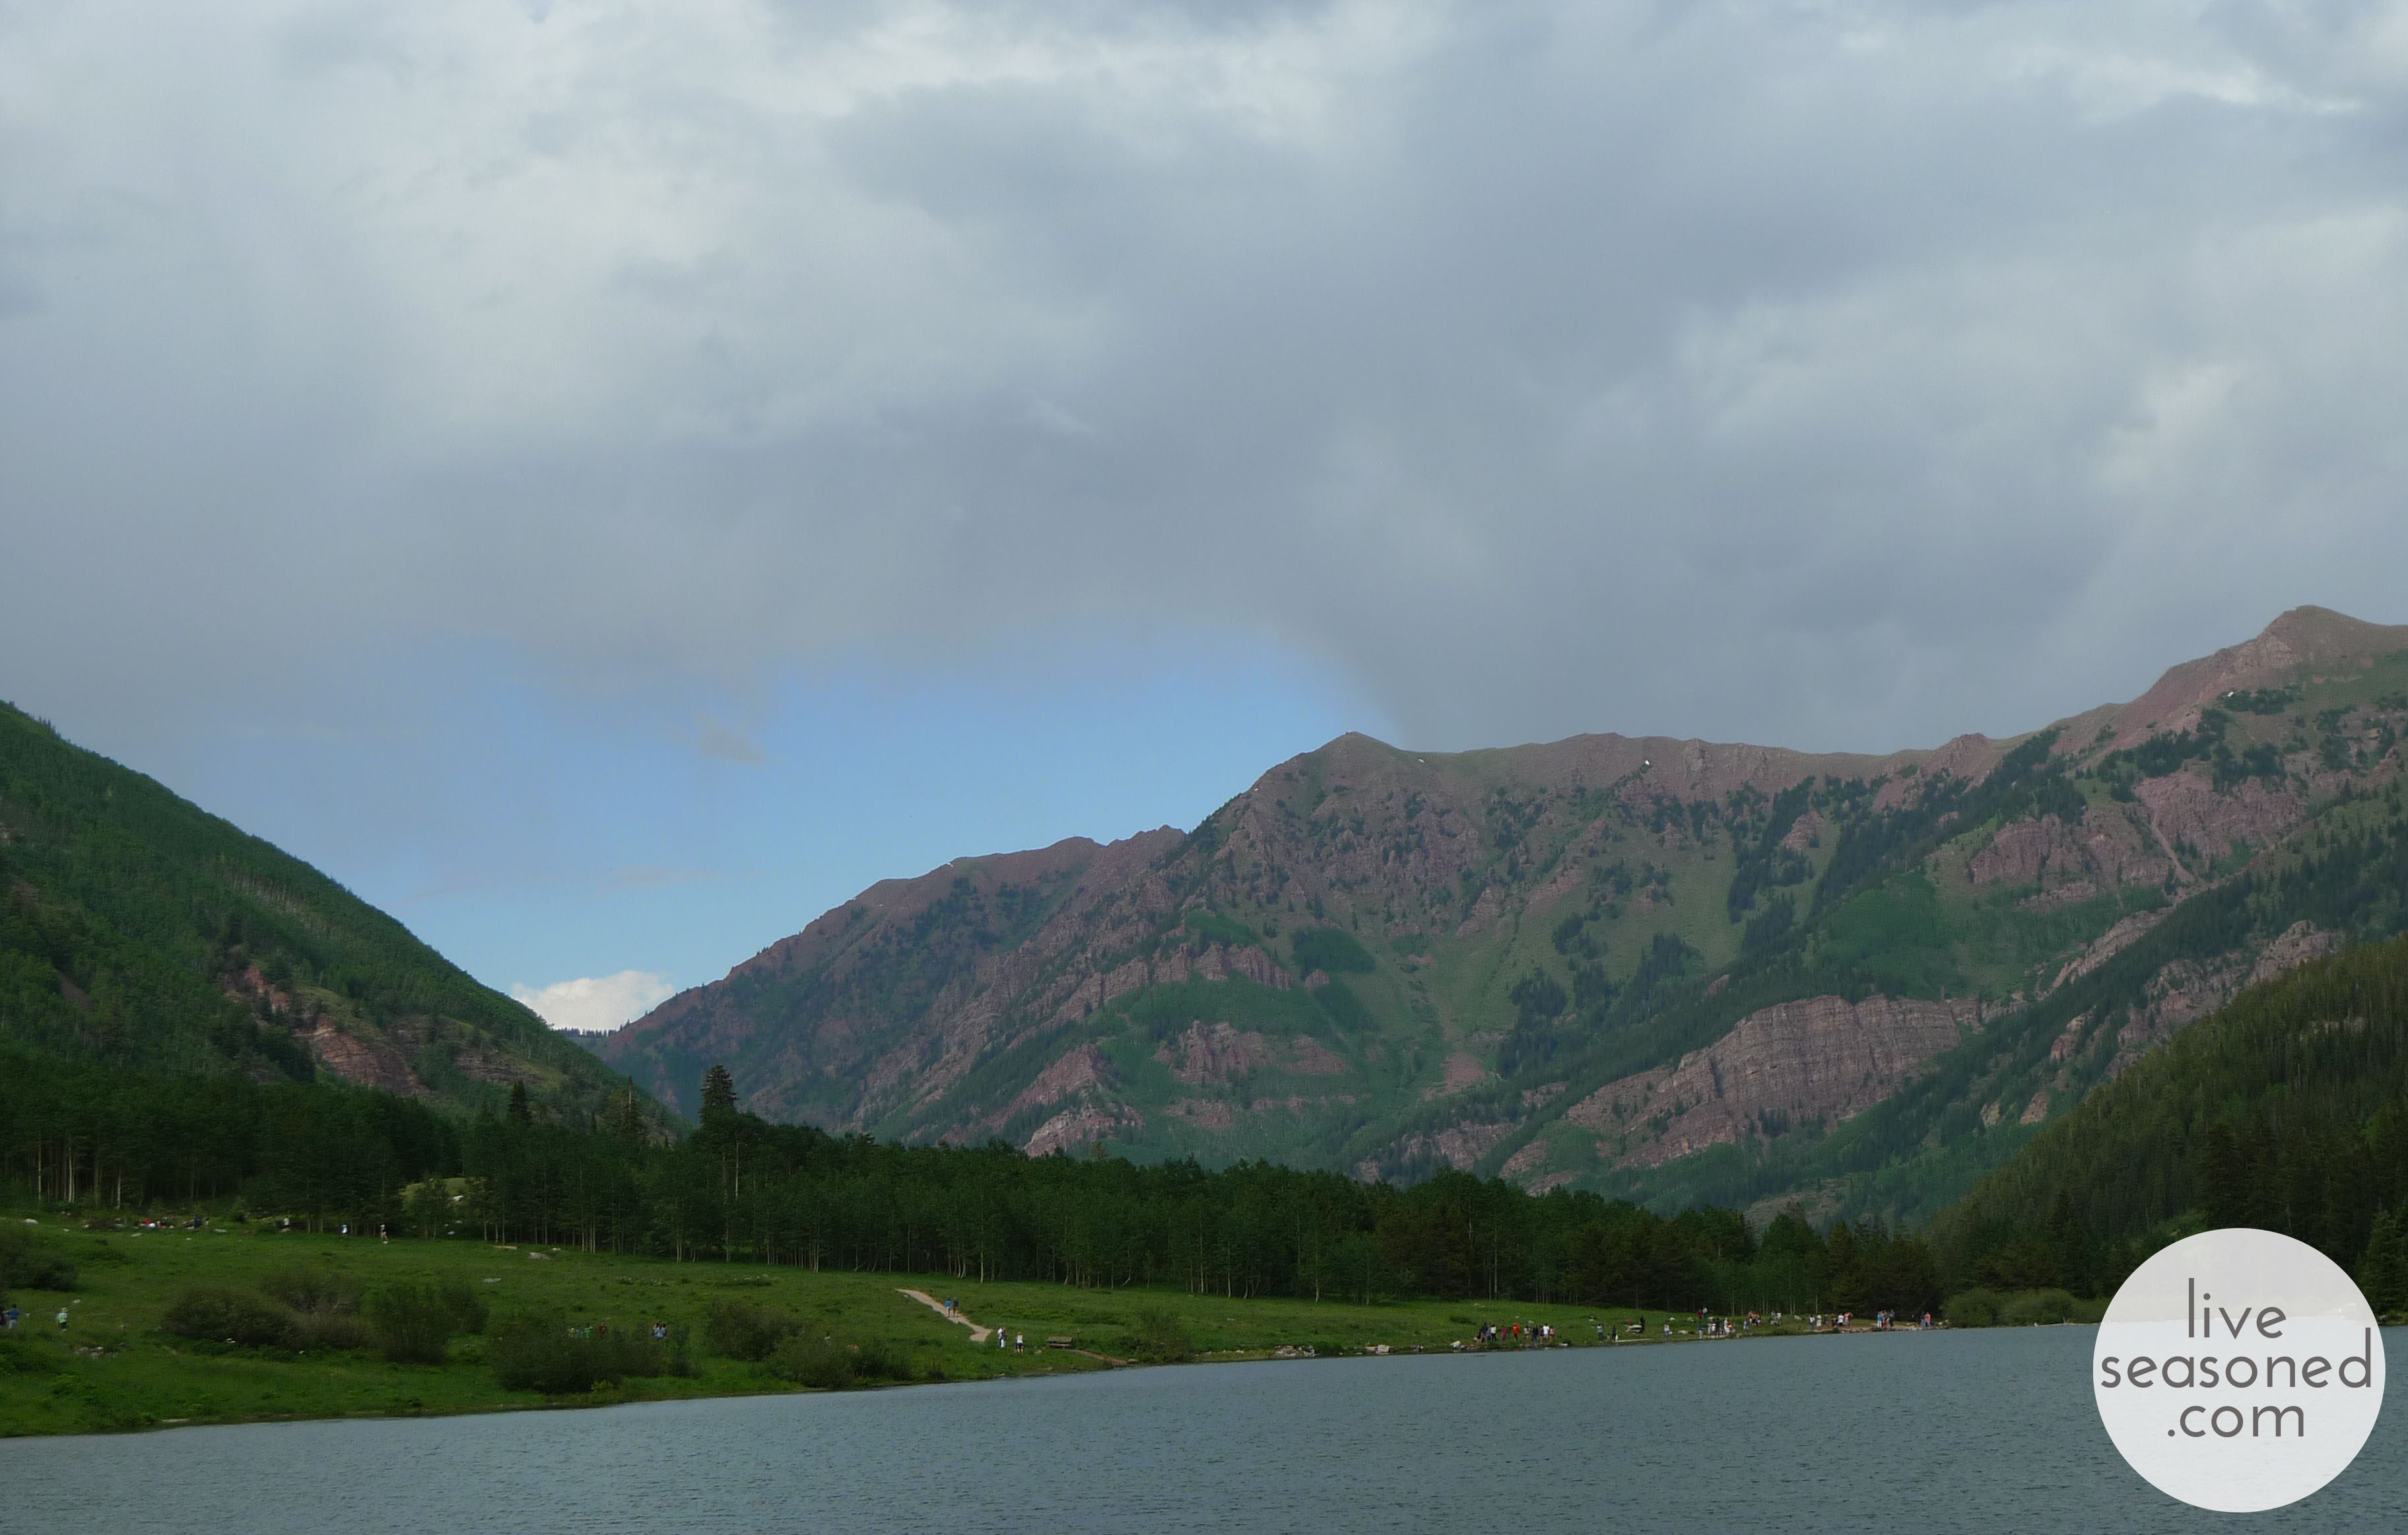
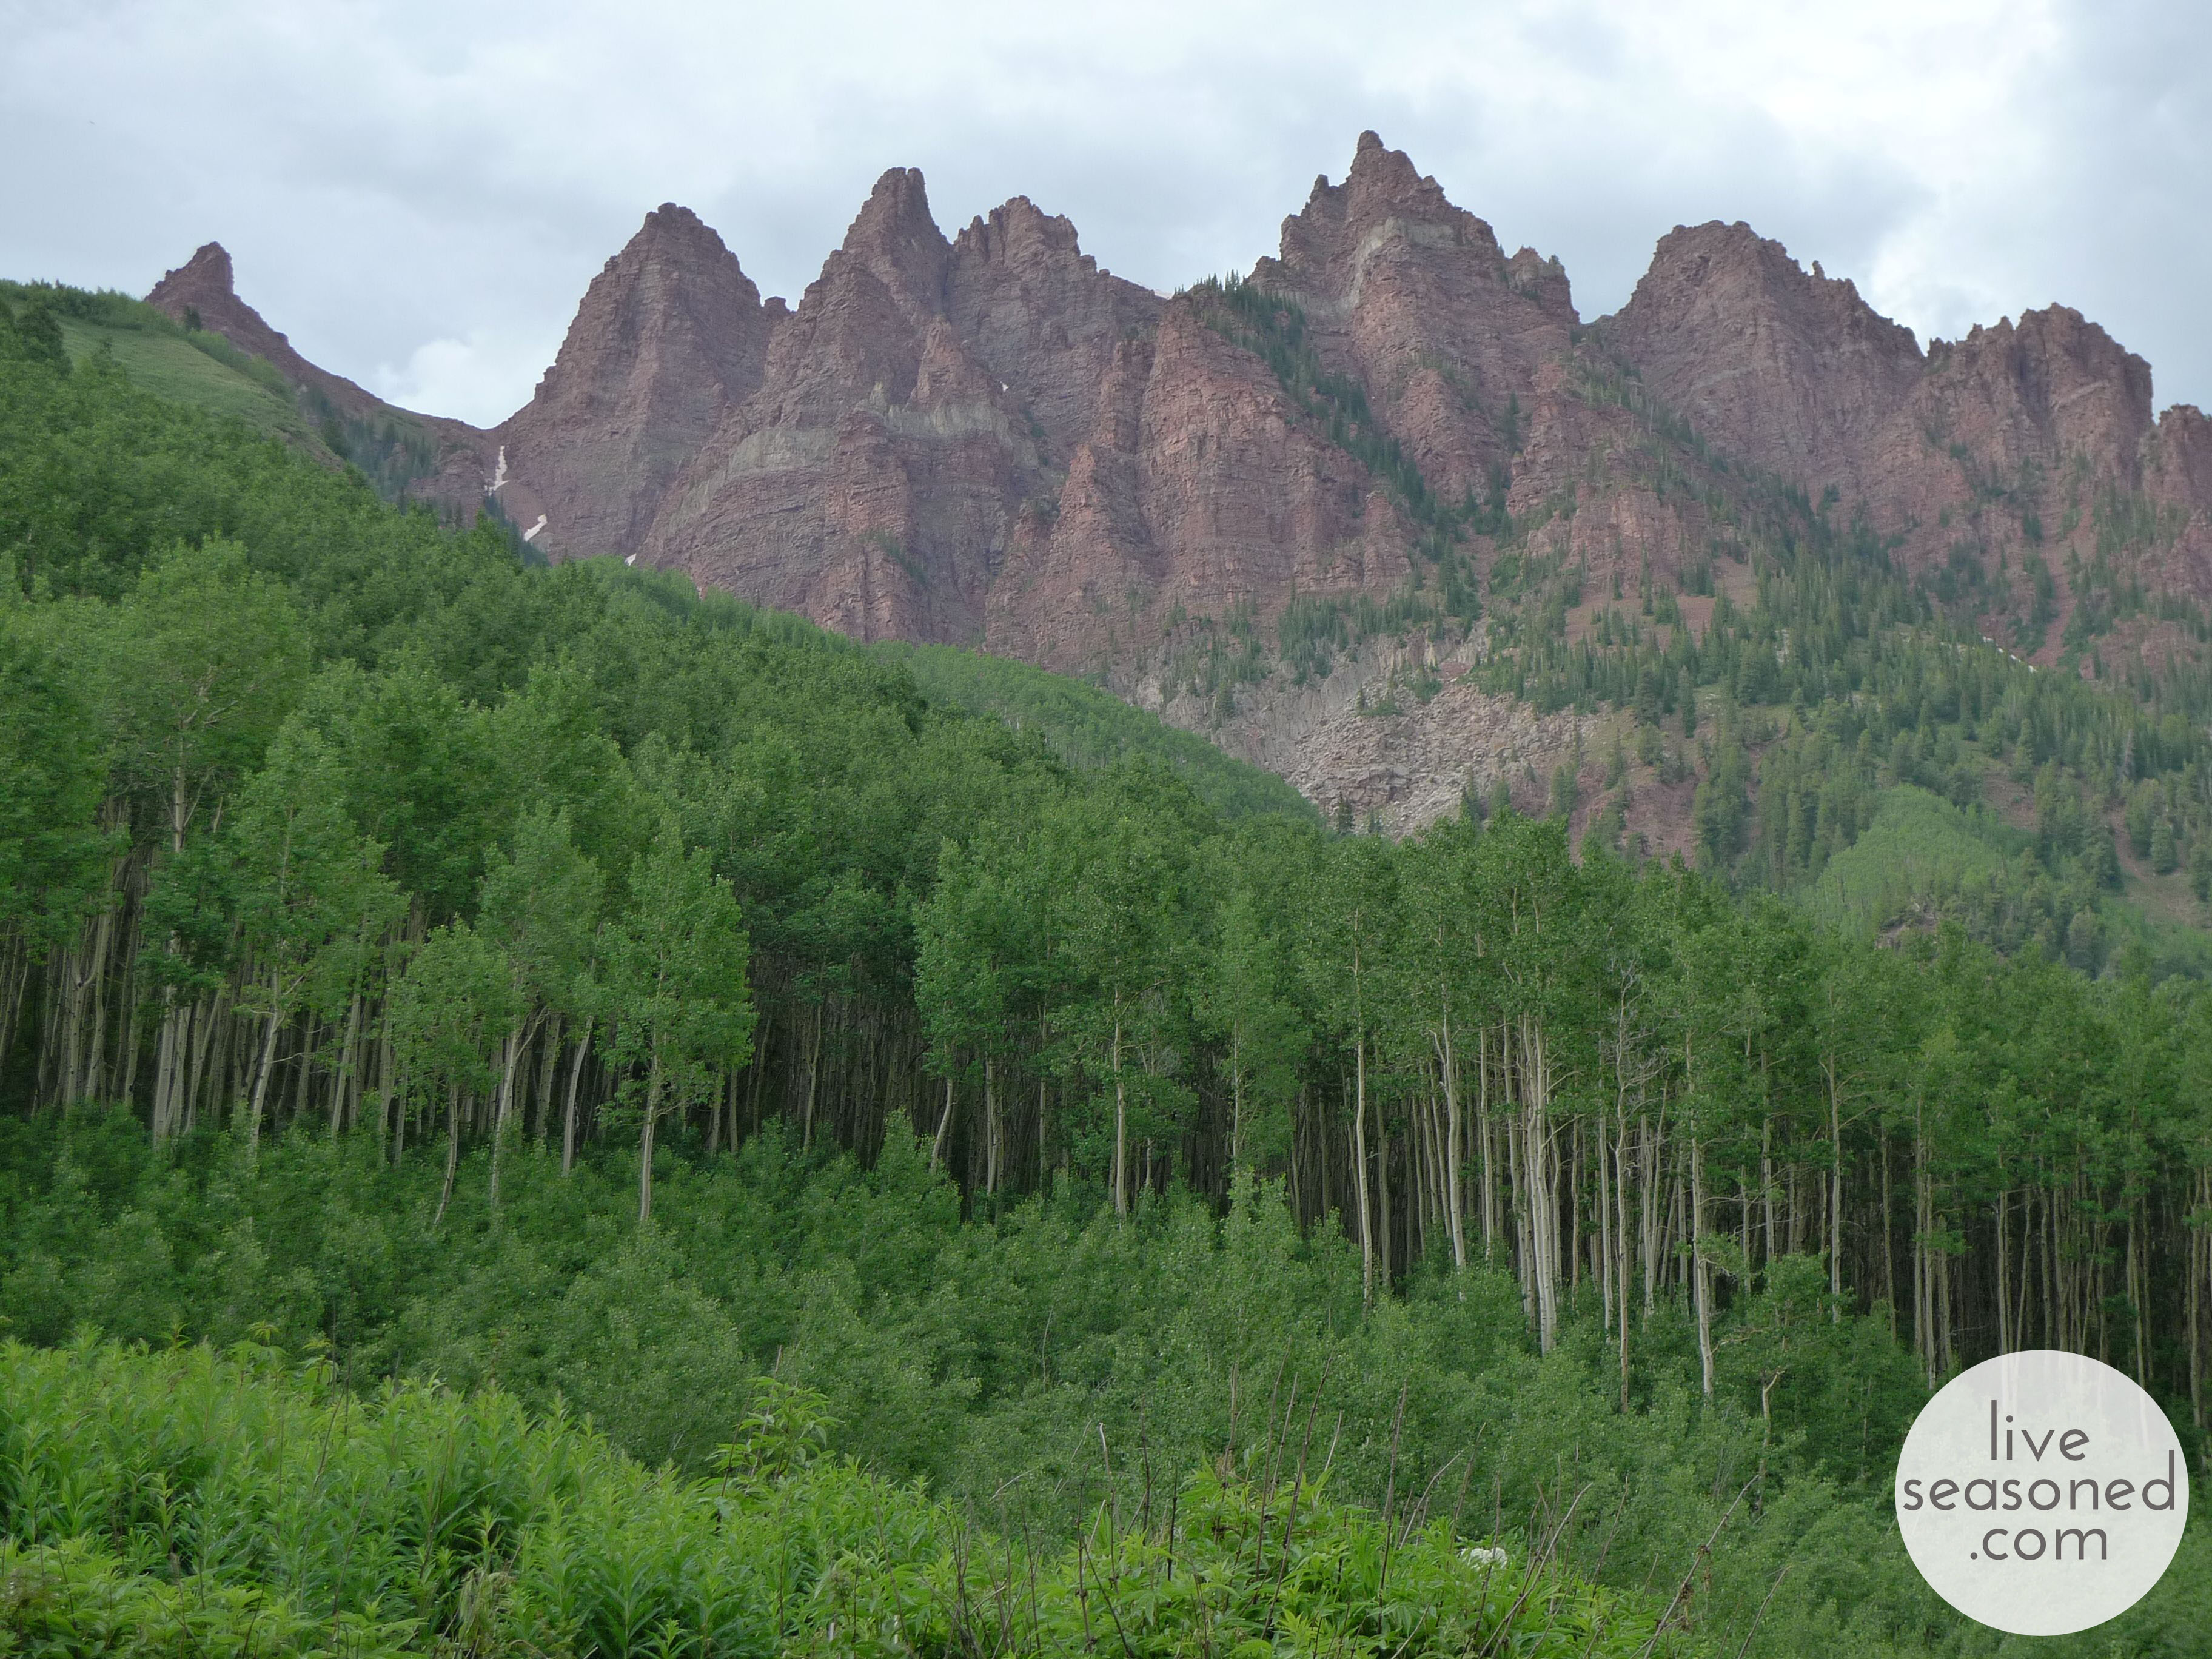
And surprise! In an effort to keep it simple for this post, we just used our phones for the photos. What do you think? Could you tell?

liveseasoned_winterhike_calder

What about you? Are you a winter hiker? If so, anything on your list that I missed?