Today’s post is about our annual family photo album. If you’d like to catch a glimpse of our DIY wedding album, you can see that post here.
And here it is! We’ve jumped into the holiday season with two feet. Present lists are being written and re-written. Holiday sweaters dreamt up and a few new decorations crafted. I’m doing so much fun knitting in the evenings that I may not be back here until the New Year! Kidding. (hopefully)
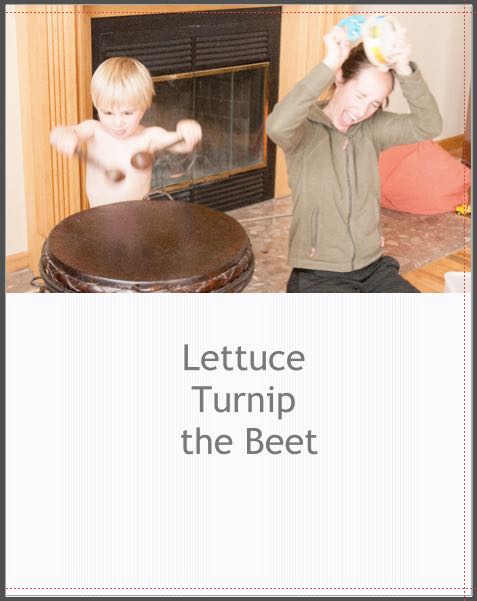
But before I could even start in on the knitting, I was busy putting together our annual family photo album. Every year for the past decade or so, I’ve put together an album that chronicles our year in photos. I start with the previous Christmas and end with Thanksgiving. That gives me enough time to create the book and have it printed and ready to give by Christmas morning. I also gift the book to Calder, but I think this year it’s time to say that it’s for all of the guys in the house.
This has become such a special family tradition. When the book is unwrapped, it’s so nice to sit down together and look at it on Christmas morning – a moment of calm amidst the craziness of opening presents and celebrating. Throughout the day the book gets passed around, and one by one everyone in the house gets to look at it.
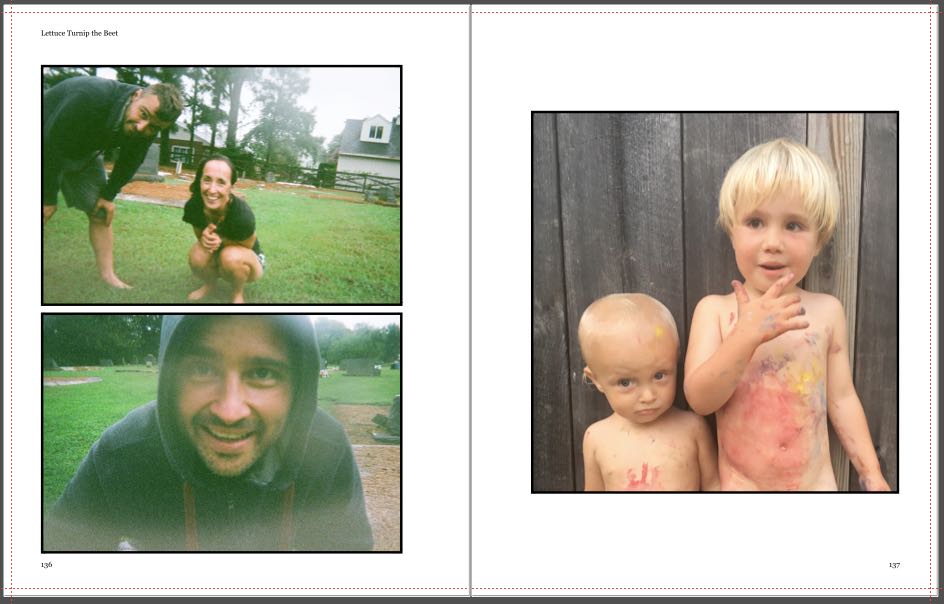
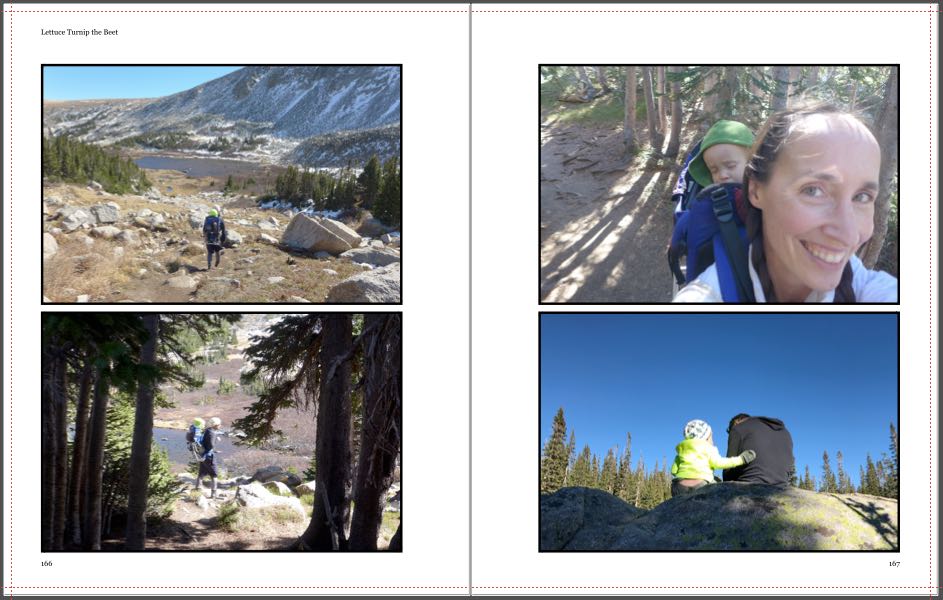
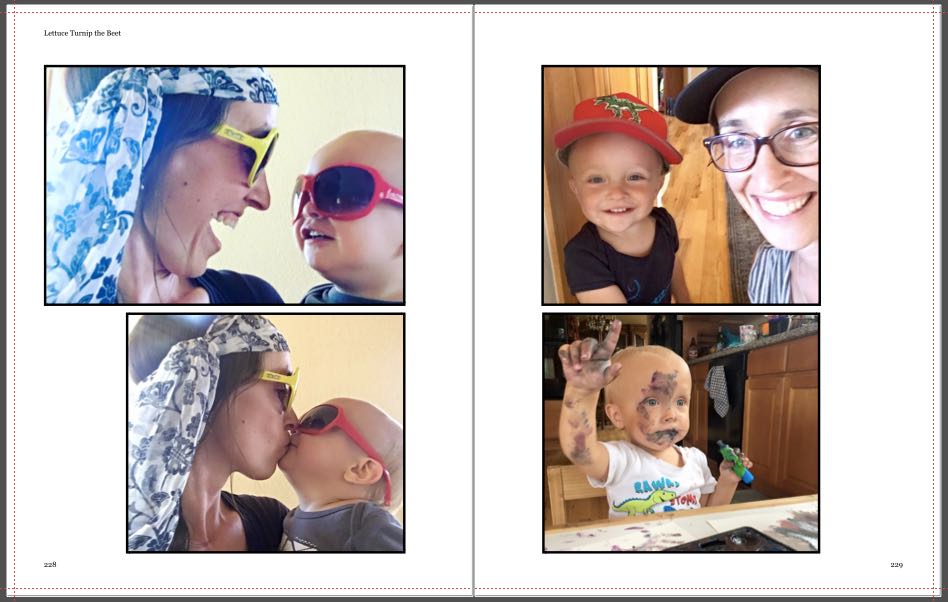
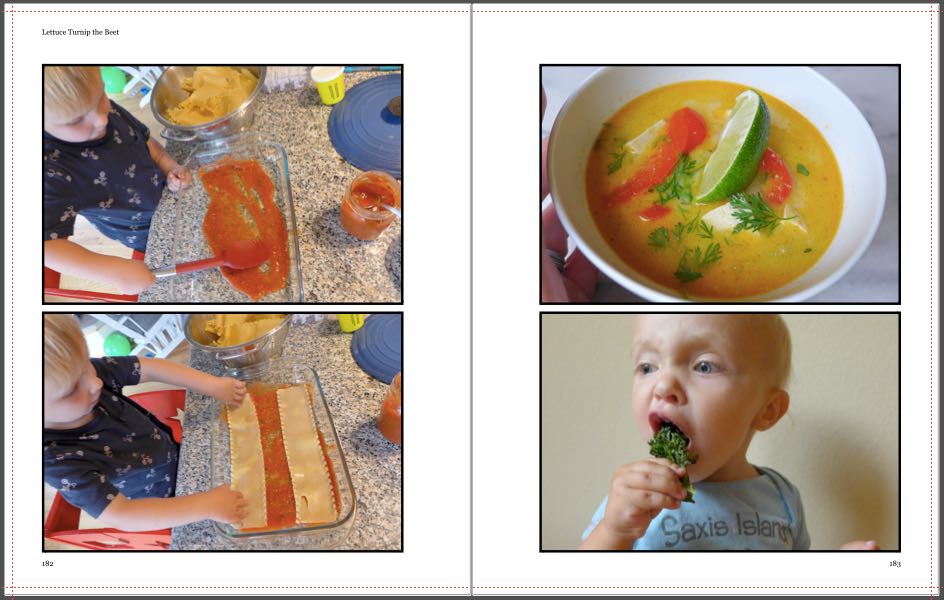
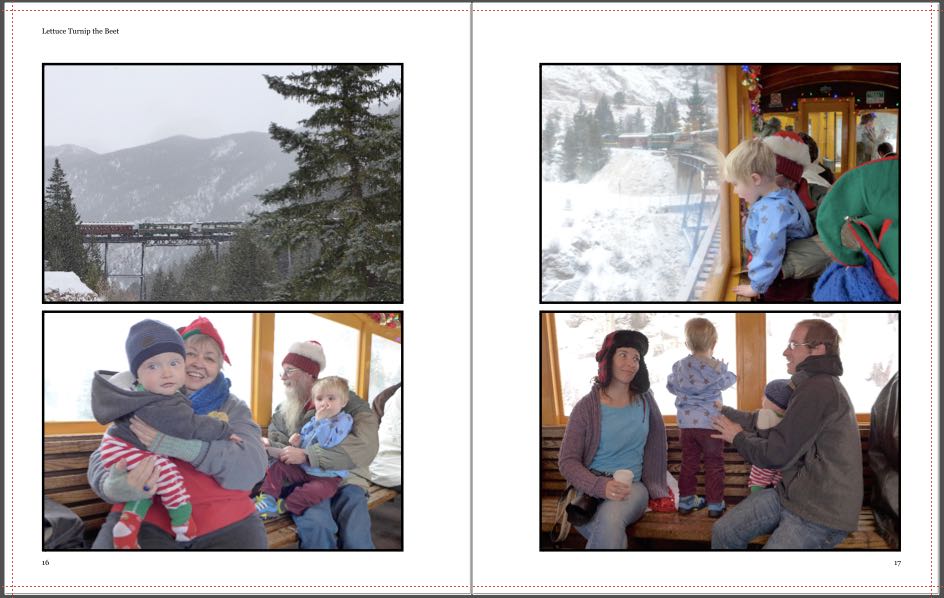
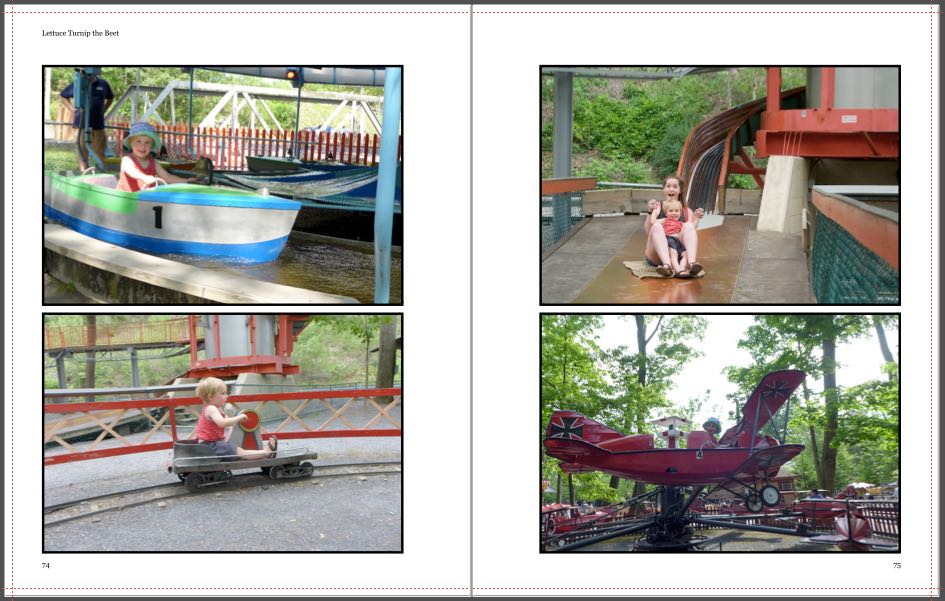
In this post, I’m sharing a few screenshots from last year’s book. You can see that it’s a little bit of everything. Photos from vacations, from weekend hiking trips, from afternoons at home cooking dinner, and silly snapshots.
I know that making a photo book can seem overwhelming, and many people get paralyzed by the task before they even start. I’ve been making these for so long that it’s become second nature, so I wanted to share some of my tips.
Tips for Creating an Annual Photo Album
- make it a tradition : having a set time every year when you make, give, and look at the book makes it so much easier to stick to a deadline and actually complete the task. I know that if we weren’t on an annual schedule then I’d put off making these albums.
- pick a service : You’ll have to decide which printing service you want to go with. There are many out there, and there are also many reviews that will (hopefully) help you pick the one that’s right for you. I always go with Blurb because I like the design flexibility provided by their software, as well as the high number count for their books (some years our albums are 400+ pages!), and the options to upgrade paper quality. You should pick the service that’s right for you.
- there’s a learning curve : If you’re using software to design your book, expect there to be a learning curve, and don’t get too discouraged when it takes you longer than expected to create your book. Now I speed through a 300 page book when it would have taken me a bit longer years ago. Hopefully you like the printing service you use and won’t have to take the time to learn about a new company in the future.
- keep the book simple : you can see that my page layouts are pretty simple. This was one of the tricks that I learned early on. We love looking at the photos, and we don’t like too many packed onto a page, so I keep it simple with some variation if there are photos that need special attention (either because of their resolution or because they are so beautiful/awesome/absurd that they deserve a full page of space).
- be cut-throat with your photos choices : I think this comes with time, but keep reminding yourself that you take thousands of photos every year (I know I’m not the only one). Stick to the big and special moments and pick the best photos. They don’t have to be the best from a design standpoint, but they are the best because they capture the moment, someone’s laugh, someone else’s silly face, etc. After you’ve gotten the big moments in the book, then you can go back and fill it in with second and third tier photos until you feel satisfied with the feel of the book. I think you’ll find that there’s a learning curve with the photo selection task just as there is with using the design software.
- leave space for the things you forgot : I like to leave a few blank pages at the end of the book. These can be used for writing down memories from the year, new years resolutions for the next year, and for adding extra printed photos that didn’t make it into the book.
- have fun! You’re doing something so special for your family and leaving them a tangible memory of life in these crazy years. Any book you put together will be better than nothing.
