Were you one of those kids sitting there in high school geometry thinking about when you’d ever use that stuff? And now you’re crafting up a storm and haven’t thought about Pythagorean Theorem since. Well, today’s the day you’re going to put that famous formula to work! … now before you get the cold sweats, just know that you won’t *have* to use the formula (I’ll show you a trick), BUT if you want to impress your high school geometry teacher, then we’ll also whip out our calculators phones.
What am I talking about? Cutting angles for a super-simple DIY balsa wood mat.
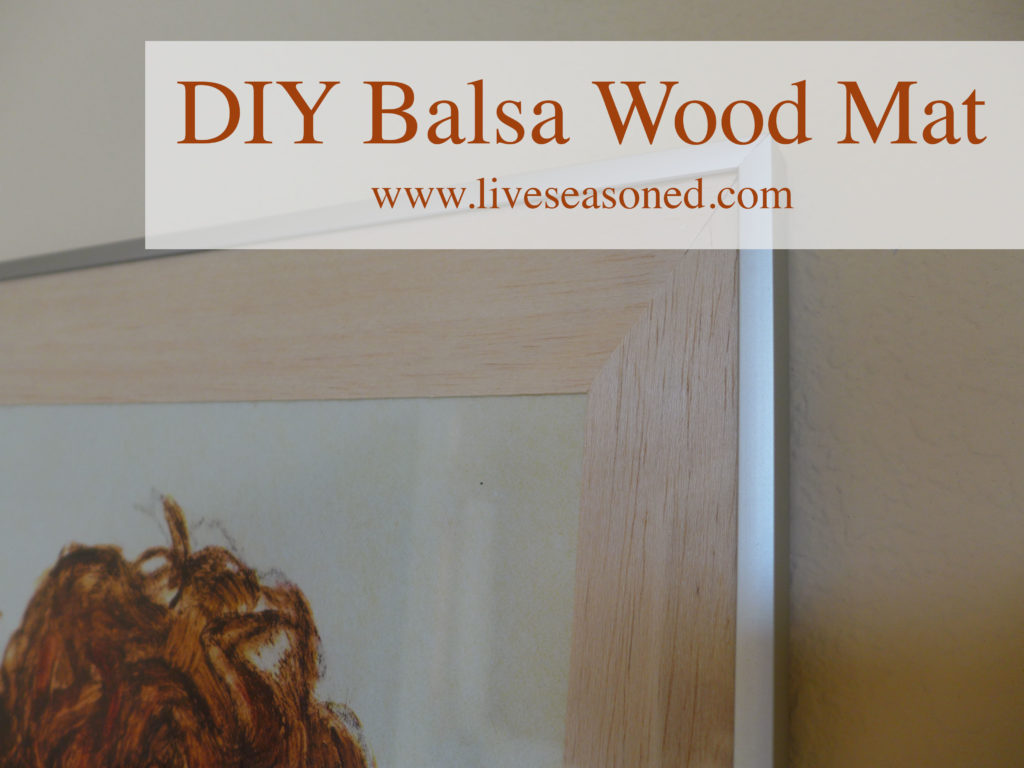
I came up with this project out of desperation. My mom gave us a poster of an Egon Schiele print (I know what you’re thinking – why’d she cheap out and not buy the original? What a bum.), and I wanted to frame it to hang on the wall. The print itself was about 32″ by 21″, requiring at least a 36″ x 24″ frame. The problem was that I couldn’t easily find a mat large enough for the frame. I’m sure I could have ordered one from a framing shop or the framing counter at Michaels, but that would require talking to someone and explaining my problem. Did you know that young kids love to yell and scream at the exact moment you’re trying to talk to someone else?
(Side note, while I love original art on the walls, I’m totally comfortable enough in my house decorating to still use posters of art that I love but can’t afford. Call me crazy.)
Then I came up with an idea to shirk the traditional mat and make something more visually interesting out of balsa wood! If you haven’t worked with balsa wood before, it’s a very soft and lightweight wood that can be cut into thin sheets and used for any variety of craft projects (as well as having many structural uses beyond crafts). Balsa wood for crafts and model building is sold in Michaels, art stores, and some hardware stores. I bought the 36″ x 3″ x 1/16″ sheets for this project.
Supplies
- balsa wood sheets
- double-sided tape
- sheet of paper as large as the framed area (I used the sheet that was already in the frame advertising its size)
- exacto knife
- cutting mat or board
Hints
The basic overview of this project is that you’re going to center your print on the large piece of paper and place the pieces of the balsa mat around it, attaching the print and the balsa wood to the paper with double-sided tape. What I’m going to help you with below is making sure that the balsa wood ends are cut at the correct angle so that they fit together nicely in the frame.
Begin by decided how wide the balsa sheets will be on the top/bottom and sides of the print. For example, in my situation, I wanted the mat to be approximately 2.25 inches on the top and bottom, and only 1.5 inches on each side.
Cut the balsa sheets so that they are the length and width you want for your mat. Again, in my case I had two pieces of balsa that were 24″ x 2.25″ for the top and bottom, and two more pieces that were 36″ x 1.5″ for each side.
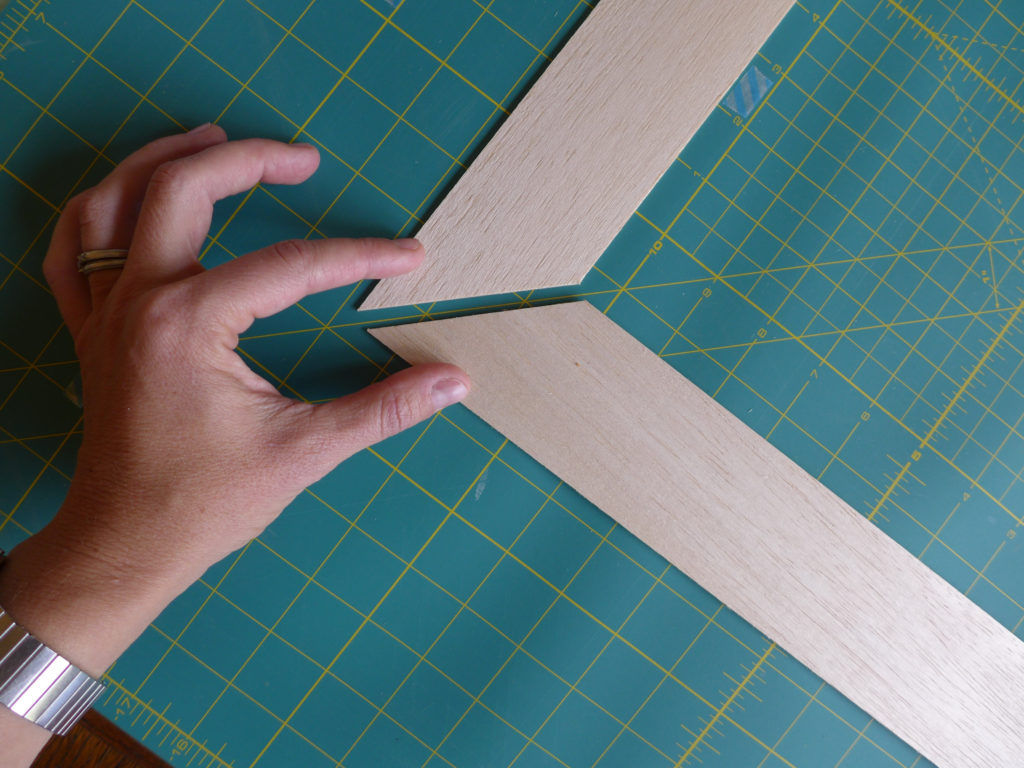
Once you have the four rectangles, you’ll have to cut the corner angles. If your sides and top/bottom pieces are the same width (i.e the mat will be the same width all the way around the picture), then you can easily cut the angles using the 45 degree line on your cutting mat as a guide as in the photo above.
BUT if the width of your side pieces doesn’t match the width of the top/bottom pieces, as in the example photos below, where the width of one piece measures 2.25″ and the width of the other measures 3″, then you’re going to have to use the Pythagorean Theorem to calculate the length of the corner angle.
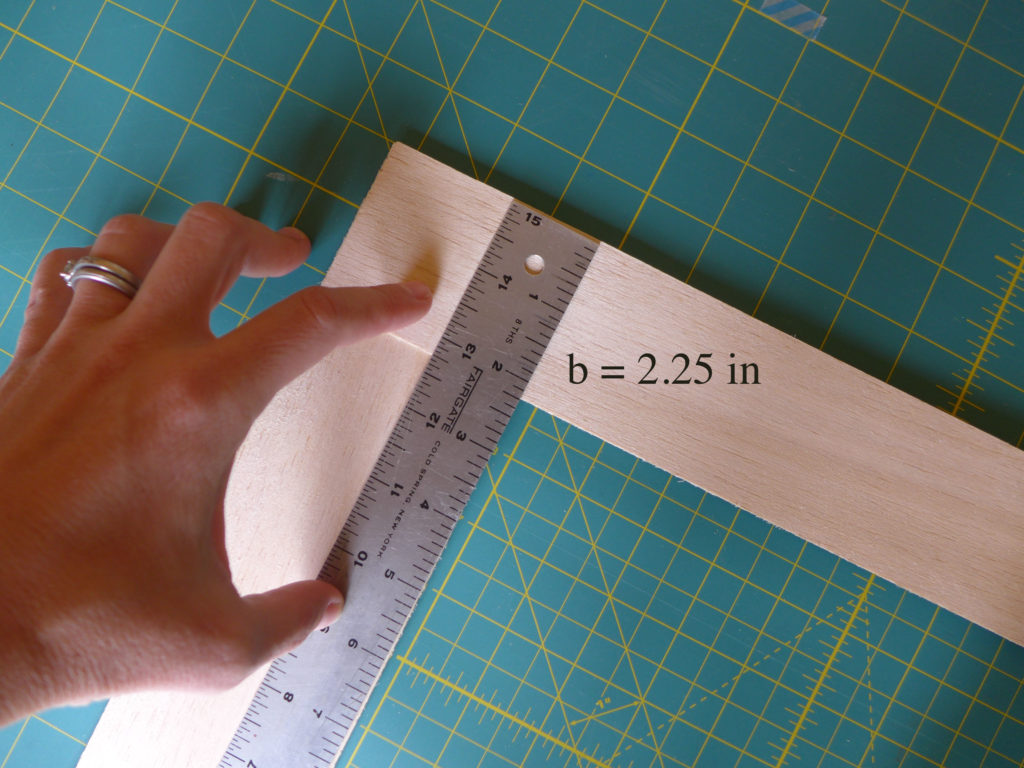
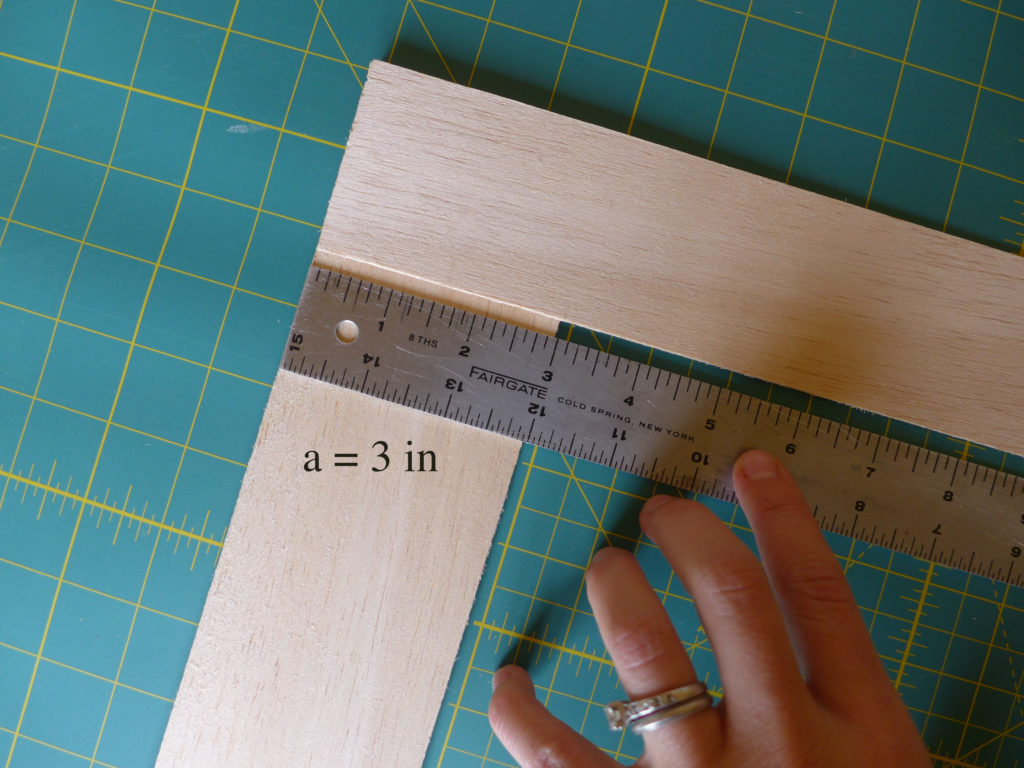
Good Old Pythagoras taught us that “a-squared + b-squared = c-squared”. Remember that? This formula only applies to right triangles, where one corner (the one opposite the hypotenuse) is a 90 degree angle. In this case, if we know the lengths of any two sides of the triangle, we’ll be able to find the length of the third using that equation.
Can you see the faint triangle drawn on the balsa wood in the photo below? That’s our right triangle with the 90 degree angle on the top right (bottom left), and we’re looking to calculate the length of the hypotenuse that runs from the outer corner of the mat to the inner corder.
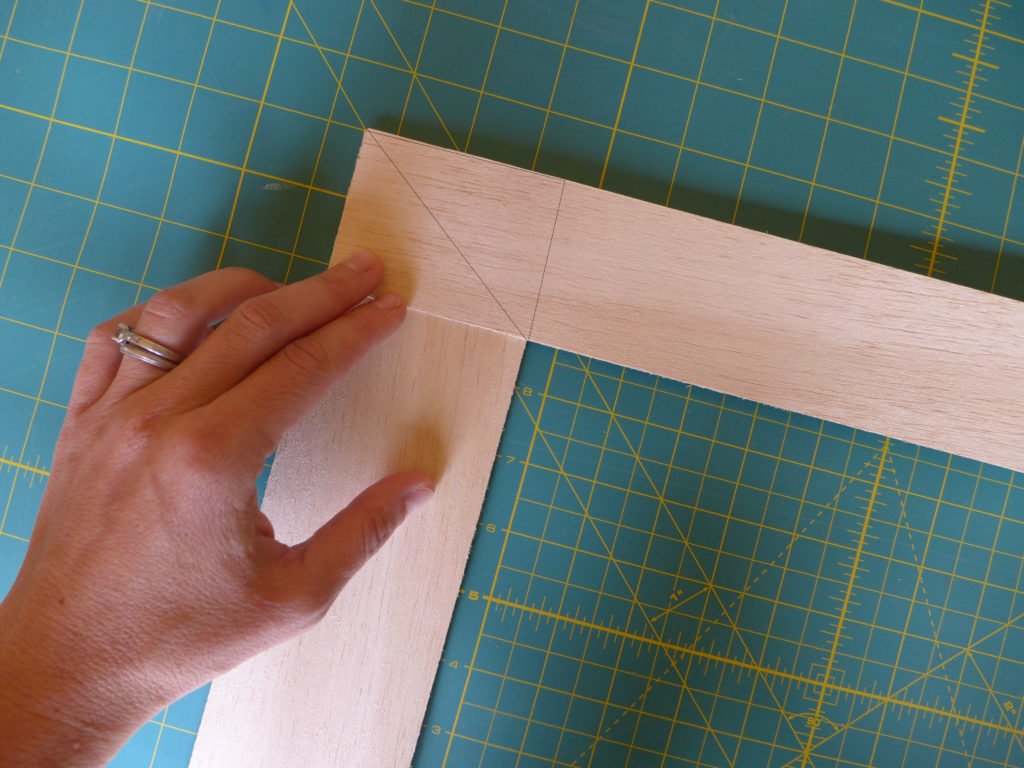
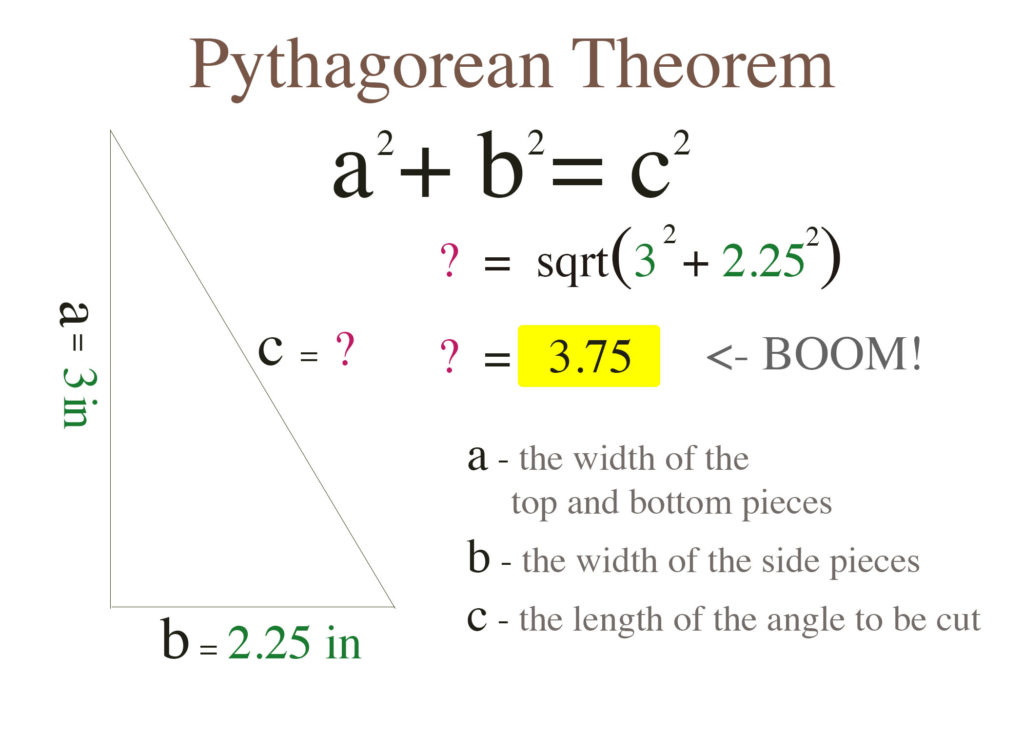
Applying the pythagorean theorem to this problem, I calculate a length of 3.75 inches for the corder cut, and by holding the ruler up to my mat, I see that that number matches the length of the cut from the outer to inner corners – it works! And as I mentioned in the photo, it’s worthwhile to note that the angle of our ruler doesn’t match the 45 degree line on the mat, so using that as your guide would give you corners that don’t line up.
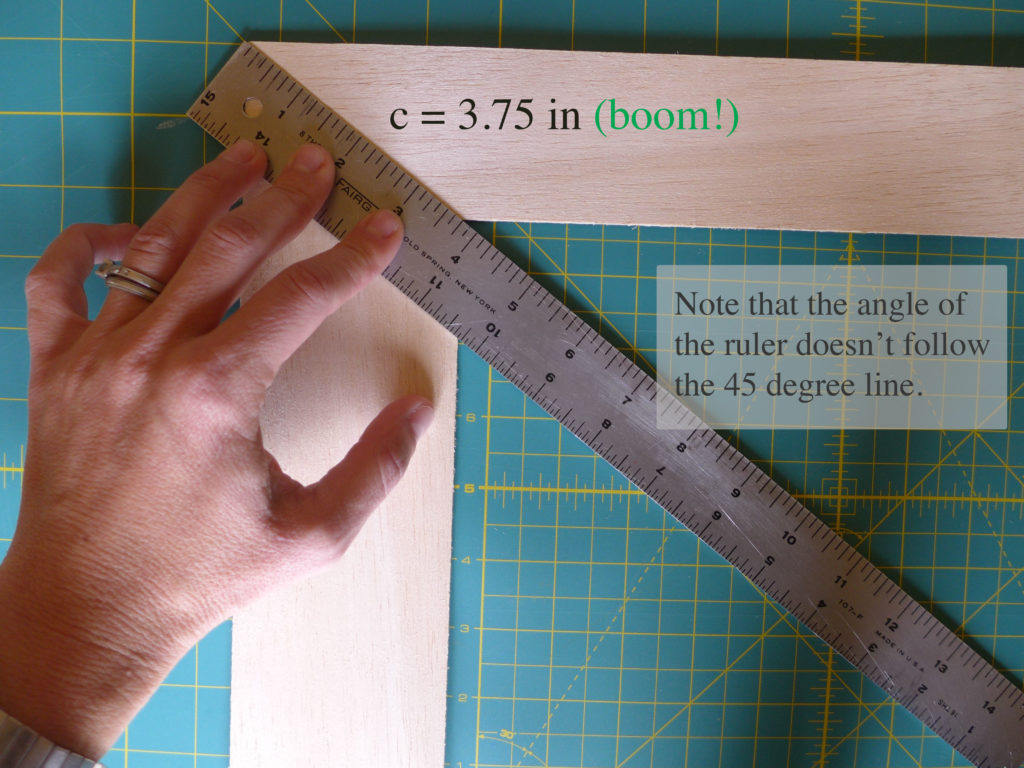
Ok, but as I’m sure you’ve already realized by now, you don’t *have* to make those calculations, you could just hold the ruler up as I’m doing below and use your exacto knife to cut along that edge without giving it’s length a second thought…. but come on, don’t you want to impress your better half? Or at least make your high school geometry teacher proud?
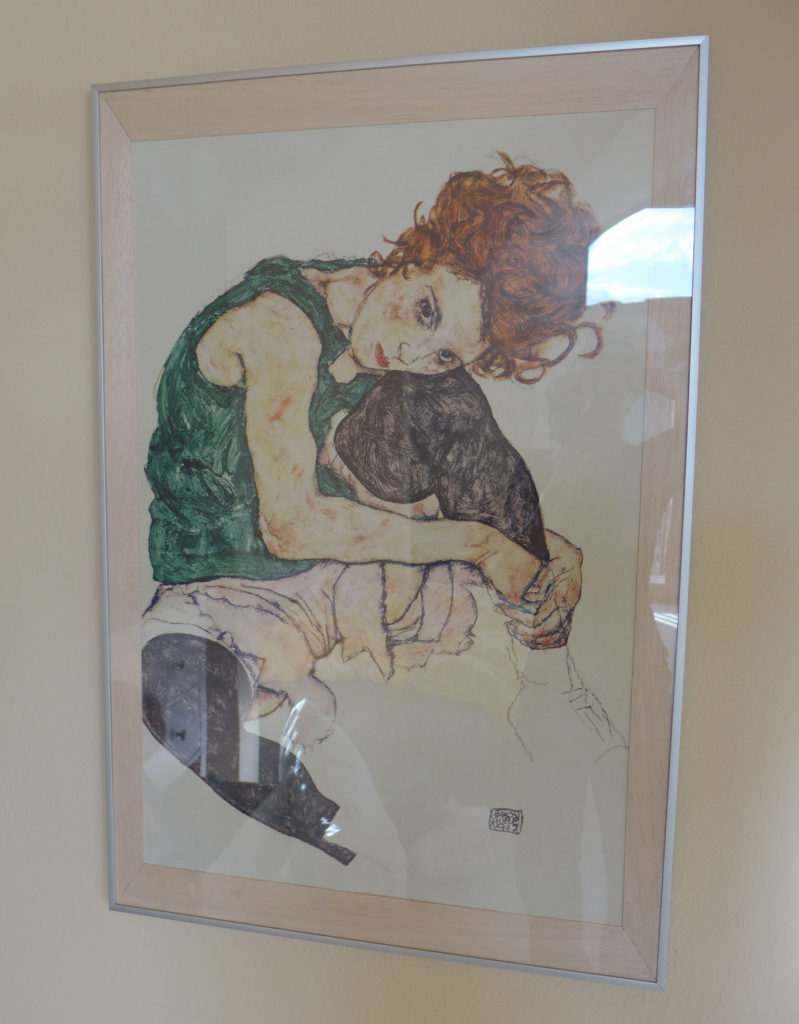
After your corners are cut, use the double-sided tape to secure the balsa pieces to the large piece of background paper, and then carefully place the whole thing (art and balsa mat attached to the background paper) into your frame, and your customized mat is done!
