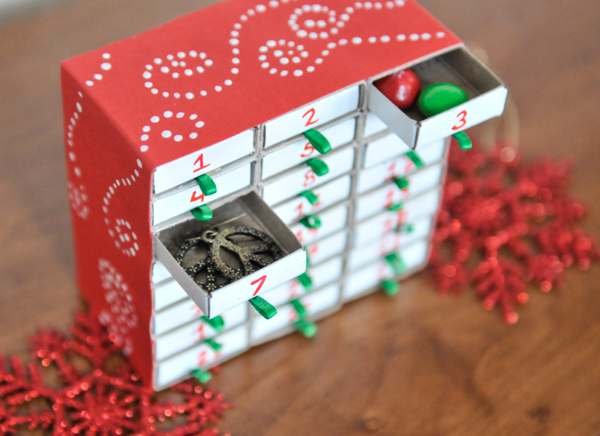
It’s time guys! You can finally start singing Christmas carols and hanging holiday wreaths! I spent this past week with my dearest friend who is also on the ‘no Christmas cheer until Thanksgiving is here’ train so it wasn’t until Saturday night that I crafted this little advent calendar. It is the sweetest little addition to a bookshelf or mantle. There is nothing more childlike than counting down the days until Christmas, but really, if we didn’t count them they would just fly right by. Advent calendars remind me to crank up the Christmas tunes, send out those glittery cards and craft gifts for my friends and family.
This sweet miniature advent calendar is easy to make and pretty perfect for the wee ones to create. No exacto knives or blowtorches involved here. The fun doesn’t end with the making of this little advent chest either, then you must fill it with tiny treasures and on Christmas eve you have to unscramble the secret picture! Put on a Christmas record pandora and pour yourself some eggnog mudslides.
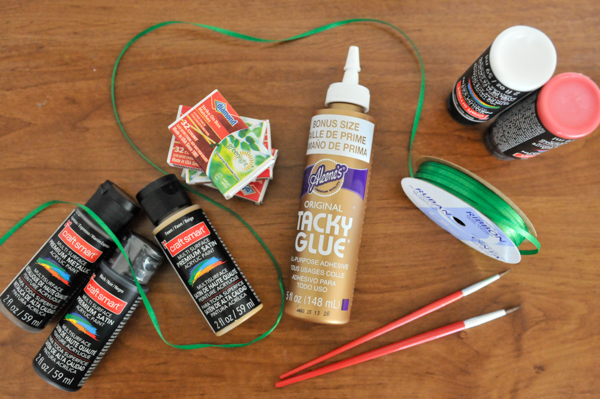
Supplies:
- 24 mini match boxes
- Tacky glue
- Paint brushes
- Paints
- Ribbon
- Card stock or construction paper
Steps:
- Glue 8 matchboxes together vertically. Repeat two times so that you have 3 tall stacks each with 8 matchboxes each. Glue the three stacks together side-by-side like shown.
- Once the chest is securely glued, about 15 minutes, remove all the matches from the boxes and set aside for another project or that horrid moment when your power goes out while you are cooking dinner or washing your hair.
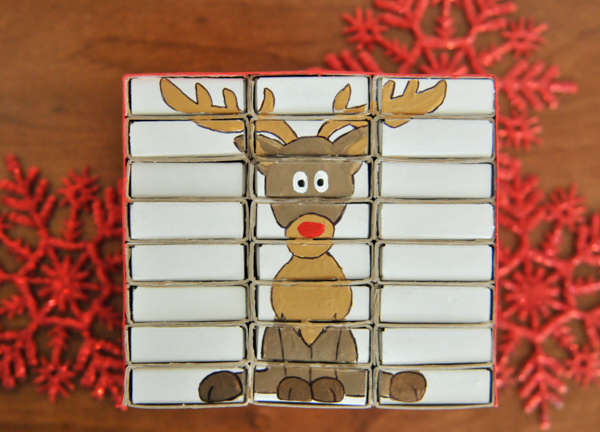
- Paint a holiday design on the chest. I choose to paint a reindeer. Some other ideas are a tree, an ornament, a candy cane, a toy soldier, santa or maybe a kitty wearing a santa hat (I wish I had that kind of skill). Allow the design to dry completely.
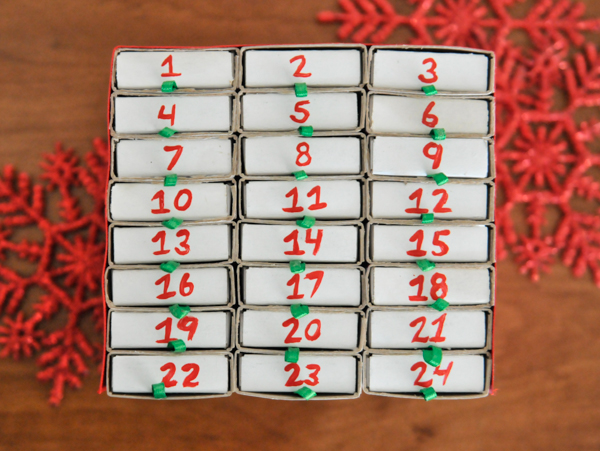
- Remove each drawer and randomly number them 1-24. You can use acrylic paint or a marker.
- Attach a small ribbon loop to the bottom of each drawer on the numbered side. Simply squeeze a dab of glue, press one end of the ribbon onto it and then squeeze another dab of glue and press the other end onto it forming a loop. Allow each drawer to dry completely.
- Place the drawers back into the chest. You can place them in order or randomly, either way the painted design on the back should be scrambled.
- Finally, cut a piece of card stock or paper to cover the top and sides of the advent calendar. I cut a strip of red card stock and dabbed a few dots of white paint to make some snowflake inspired swirls.
- Fill the drawers with little candies, notes, event tickets or even jewelry.
- As each day passes, open the drawers and put them in backwards so the painted design side is now facing forward. On Christmas even you’ll be left with a mini puzzle picture to unscramble, good luck!
Think you’ll give this quick Christmas craft a try? I had a bunch of fun creating this advent calendar because it is cheap and disposable. There wasn’t a ton of pressure to paint the perfect reindeer or perfectly align the $1 match boxes, it was merely a little project to jumpstart my holiday crafting sessions and an excuse to eat a few peanut butter M&Ms every day until Christmas. Cheers!


