Tea is our ingredient of the season this winter. While we love a traditional cup of tea, we also enjoy spicing it up with a masala chai and adding rose petals for a floral touch.
Kombucha seems to be a drink that can divide a crowd. People either love it or hate it. Sarah and I are strongly in the love camp! I drank my first bottle about a decade ago, knowing nothing about it, but being drawn in by the cute bottle (and wanting to taste anything named “Wonder Drink”!). The flavor of that first bottle was odd, yet addicting, and ever since I’ve loved trying new flavors and brand.
Fast forward all these years, imagine my delight when I was biking down the bike path in Boulder and sidewalk chalk signs pointing me toward’s Rowdy Mermaid‘s kombucha taproom! During Sarah’s first visit to Boulder, we stopped in to sample the goods. Fast forward a year, and during another of Sarah’s visits, we were introduced to Upstart Kombucha while walking down Pearl Street. We’re partial to Upstart’s rose bud variety, but will take any bottle in a pinch! Needless to say, kombucha culture (haha!) is going strong here in Boulder. We’re lucky to have some many local brands at our fingertips and love them all! Even so, we couldn’t help but get in on the DIY kombucha craze, and the nudge to do so came when our mama gave us this book for Christmas.
The internet is full of information about kombucha, including many sites and youtube videos that walk you through the process of making a batch at home. Consider this post an introduction to kombucha and a starter brewing guide. If you have questions and/or comments, please get in touch!
What is Kombucha?
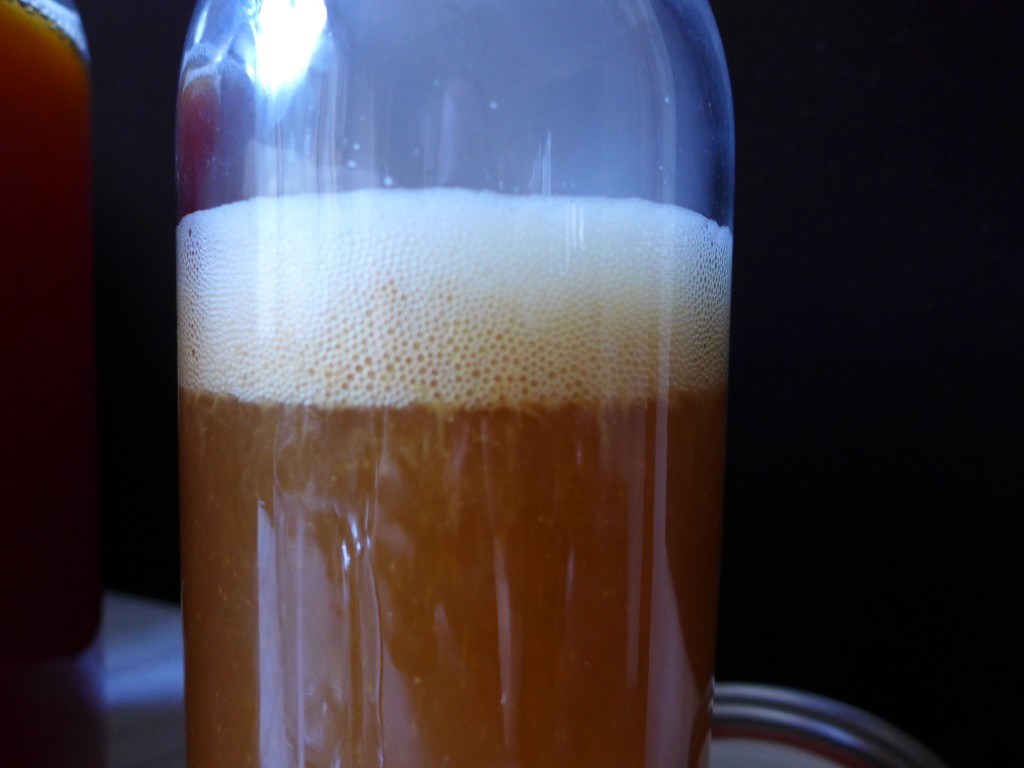
Kombucha is a fermented drink made from brewed sweetened tea. During the fermentation process, the bacteria and yeast break down the sugars in the tea, producing carbon dioxide. Capping a bottle of active kombucha traps the carbon dioxide, creating the carbonated, slightly fizzy final product that we are all familiar with.
The fermentation process increases the nutritional value of the drink, producing beneficial enzymes, and probiotics. Probiotics are natural strains of living bacteria and yeast that remain in kombucha after its been bottled. These cultures add to the bacteria in your digestive track, helping you to break down food, and generally keeping your gut healthy. In this way, drinking kombucha provides health benefits similar to that of eating yogurt, sauerkraut, or another food with live bacteria. It’s also said that the fermentation process makes the tea’s natural antioxidants more readily available to your body.
SCOBY DOO?
The cultures fermenting the tea are referred to as a SCOBY for short, which stands for symbiotic culture of bacteria and yeast. I often read it as Scooby. Live and learn.
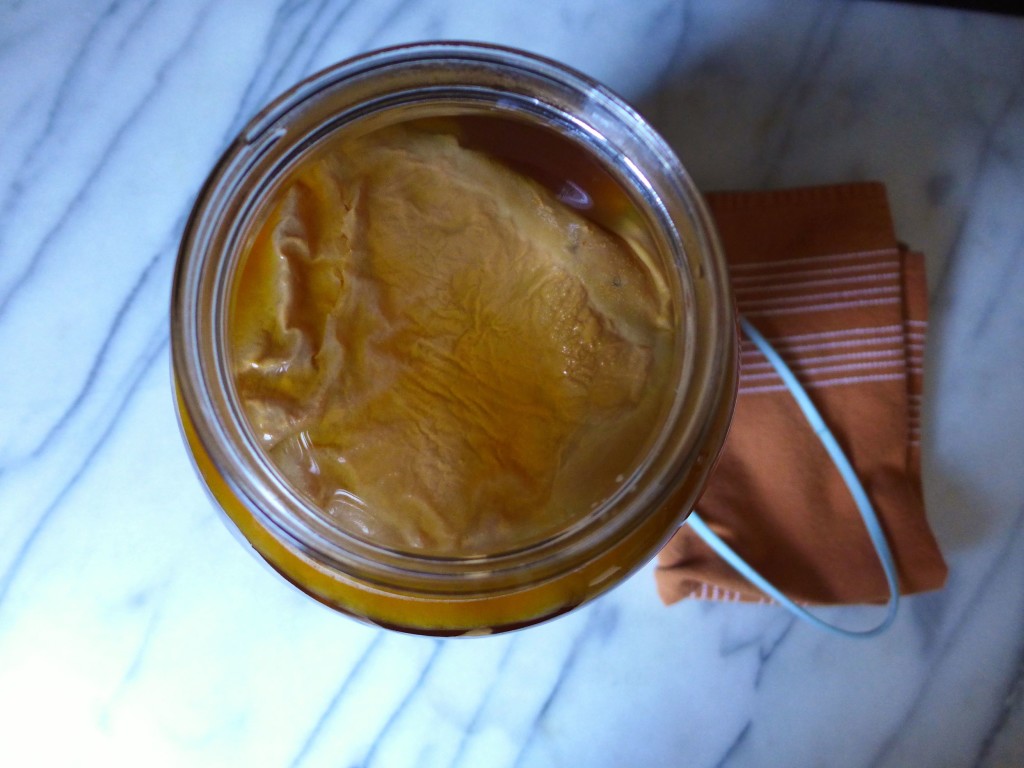
The SCOBY is often photographed as a thick, beige, rubbery-looking disk, sometimes with strings of yeast hanging from the bottom. It can be a definite turnoff to some, but once you start working with it, you’ll appreciate its inner beauty. As you use a SCOBY to grow a few batches of kombucha, the organisms will multiply and a new layer, or daughter colony, will form on the top of the original SCOBY. The two can be easily separated and then you can start producing a second batch at the same time, or pass it along to a friend, or even just throw it on the compost pile. All great options.
The SCOBY will grow to the size of the container that it’s in, so the common disk-shape is due to the fact that most homebrewers are making their kombucha in gallon jars with a round opening on top. If your container were square, you would end up with a square SCOBY!
Most brewers strain their kombucha after making it, but, as mentioned above, those healthy probiotics remain in the liquid. There’s a chance that the yeast and bacteria remaining in the bottle will become active enough to start to form the foundation for another SCOBY, as a result, some bottles of kombucha will have a stringy/mucus-like blob in them. Don’t be alarmed, just filter it out and keep drinking, knowing that those healthy bacteria and yeast colonies are alive and well in your bottle!
Why tea?
Something I’ve always wondered was why tea was used as the base liquid for kombucha?
Kombucha has been brewed with tea, particularly black, since the dawn of time. Ok, maybe not that far back, and there is some disputing when and where humans started brewing Kombucha. Was it Russia? Was it China? Was it Earth?
While we may never know, the one fact that persists is that it’s always been brewed with tea. It’s said that tea, with its caffeine and tannins, creates the ideal environment for the SCOBY to grow and remain healthy. I read somewhere (can’t find the source!) that the tannins in tea help to regulate the liquid’s pH in a manner that lets the SCOBY grow but keeps the environment inhospitable to other microorganisms, thereby reducing spoilage in the first few days of fermentation. If anyone has more info about this, I would love to have it.
So, while you may be tempted to play with the liquid content, in the primary fermentation stage, it’s best to use tea, and if you’re using green or white, still add a couple of black tea bags for their tannin content.
Make a Batch!
Making a batch is a piece of cake. I always shied away because seeing pictures of the SCOBY made me think that I would have to care for a finicky organism, but that isn’t the case at all. I’ll walk you through my process, which has worked really well for me over a few batches now, but then I suggest picking up a book or looking at information from some of the more experienced brewers when developing alternative flavor varieties.
Kombucha fermentation occurs in two stages. During the first stage, the SCOBY is placed in a jar with plain sweet tea to ferment for at least a week, maybe longer. During the second stage, the SCOBY is removed, any additional flavors are added (fruit juices, for example), the kombucha is bottled, and again left to ferment. The second stage fermentation is shorter (about 2-4 days), and during this time, carbon dioxide builds up in the bottle, creating the fizzy drink we all love.
I like to strain my kombucha after the first fermentation as I’m bottling it, and then I strain it again when I’m pouring it into the glass to drink. This isn’t necessary if you don’t mind the strands of yeast that may grow in the bottle while it’s being stored in the fridge.
Ingredients
- 14 cups water
- 16 black tea bags
- 1 cup sugar
- 2 cups plain, live kombucha
- 1 SCOBY
Instructions
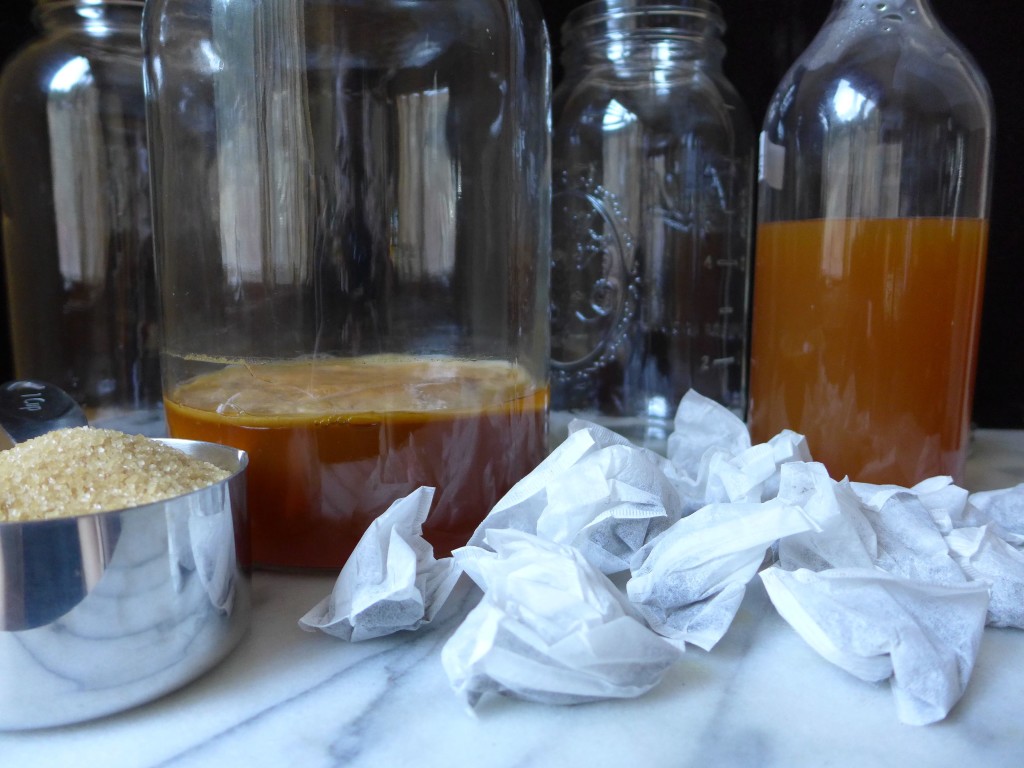
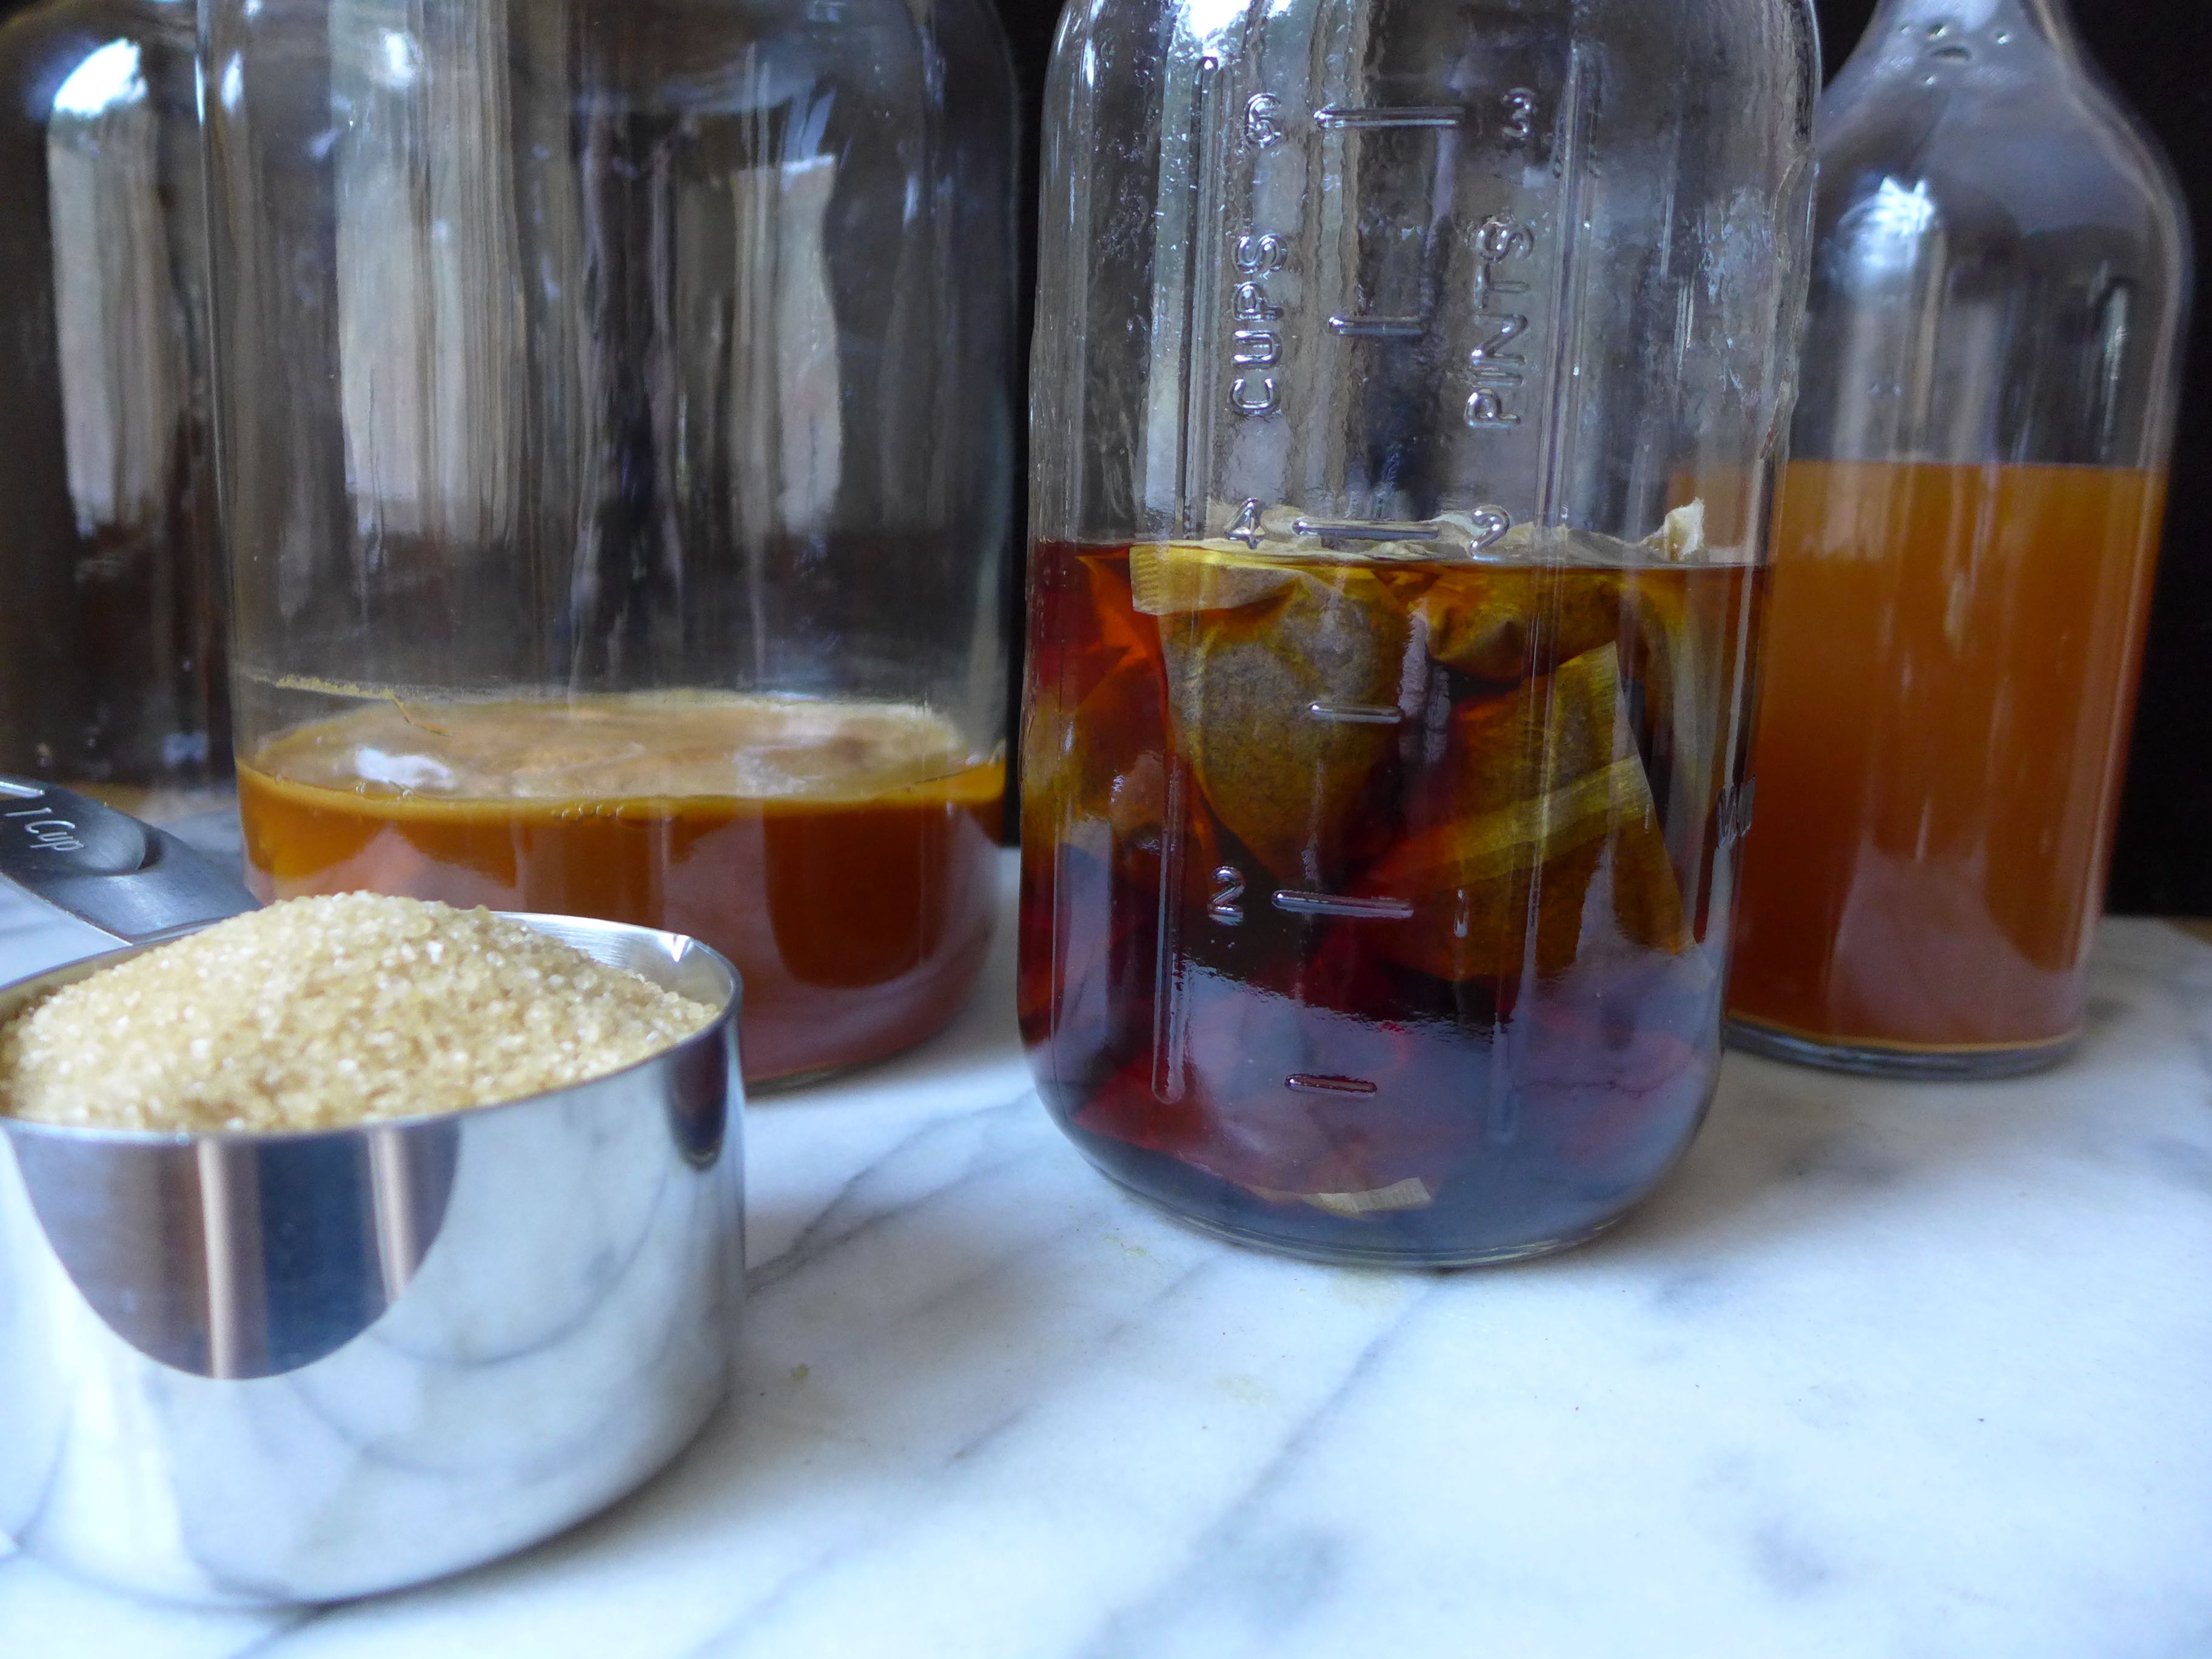
- Heat 6 cups of water to boiling. Add the tea bags and let them brew for about 5 minutes, stirring halfway through to aid the brewing process.
- Remove the teabags (squeezing any excess liquid back into the brewed tea). Add the sugar and stir until it's dissolved.
- Place the tea and remaining 8 cups of water in a gallon jug. You want a liquid that's near room temperature.
- Carefully place the SCOBY in the jar of tea. It should float on the surface, but if your tea is slightly warmer than the SCOBY, the SCOBY will sink at first and should eventually rise to the surface.
- Securely cover the jar with a clean cotton cloth. I use a clean dish cloth. You can use anything from a piece of an old t-shirt to fine mesh muslin. You want something that allows oxygen to pass into the jar, but protects it from other fine debris and bugs.
- Let the jar sit out of direct like but at room temperature for about 7-10 days. Begin sampling your kombucha after about 7 days. If it still tastes fairly sweet, that means that there's still a bit of sugar in the tea that can be metabolized by the SCOBY. As it begins to taste more tart, you're nearing the end of the first fermentation stage.
- Carefully remove the SCOBY from the jar bathed in about 2 cups of kombucha (the "starter" for your next batch!).
- Strain the kombucha and poor it into jars that can withstand pressure, leaving at least an inch of air space. I use bottles with hinge-mounted stoppers.
- Add any secondary flavor ingredients (for example fruit juice, ginger slices, etc). I often like to add a Tbsp or so of fresh citrus juice (lemon, lime, or grapefruit) and/or a few ginger slices to each bottle. If adding additional ingredients, you may want to do that before pouring in the kombucha to ensure that you don't overfill the bottles.
- Let the bottles sit at room temperature for another 2-4 days.
- During this phase, the bacteria and yeast still present in the bottle will continue to ferment any remaining sugars. Because the bottles are tightly capped, the carbon dioxide produced will remain in the liquid, creating a carbonated beverage.
- Since you have a few bottles, you can test the carbonation level by placing a bottle in the refrigerator overnight and popping it open in the morning. If you like the carbonation level, then all remaining bottles can be placed in the fridge to stop the fermentation process. If you would like more carbonation, then continue the secondary fermentation stage for another day or two.
Additional Tips
- Make sure you keep everything clean. From the jars and bottles, to any utensils or dishes that come in contact with the SCOBY. This includes your hands, but don’t wash them with soap (because it’s residue can be damaging to the SCOBY), just vigorously rub them together under fresh water.
- Use glass jars for all fermentation stages. Avoid metal because it can react with the tea and SCOBY, possibly harming the SCOBY and imparting a bad taste on the final drink.
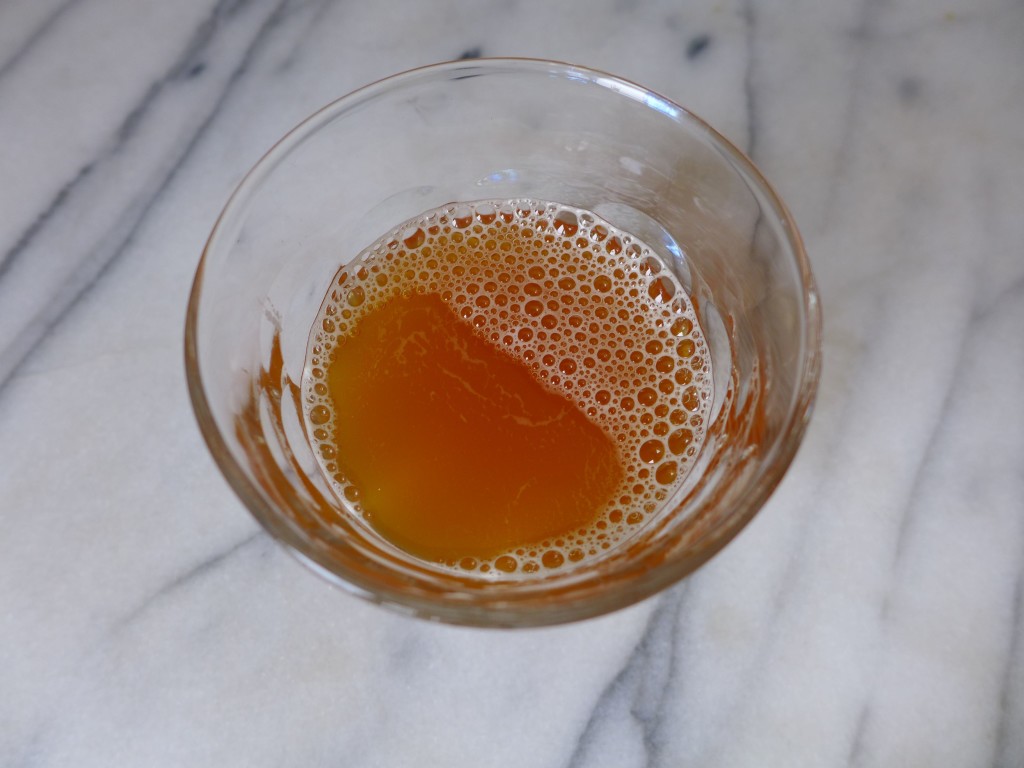
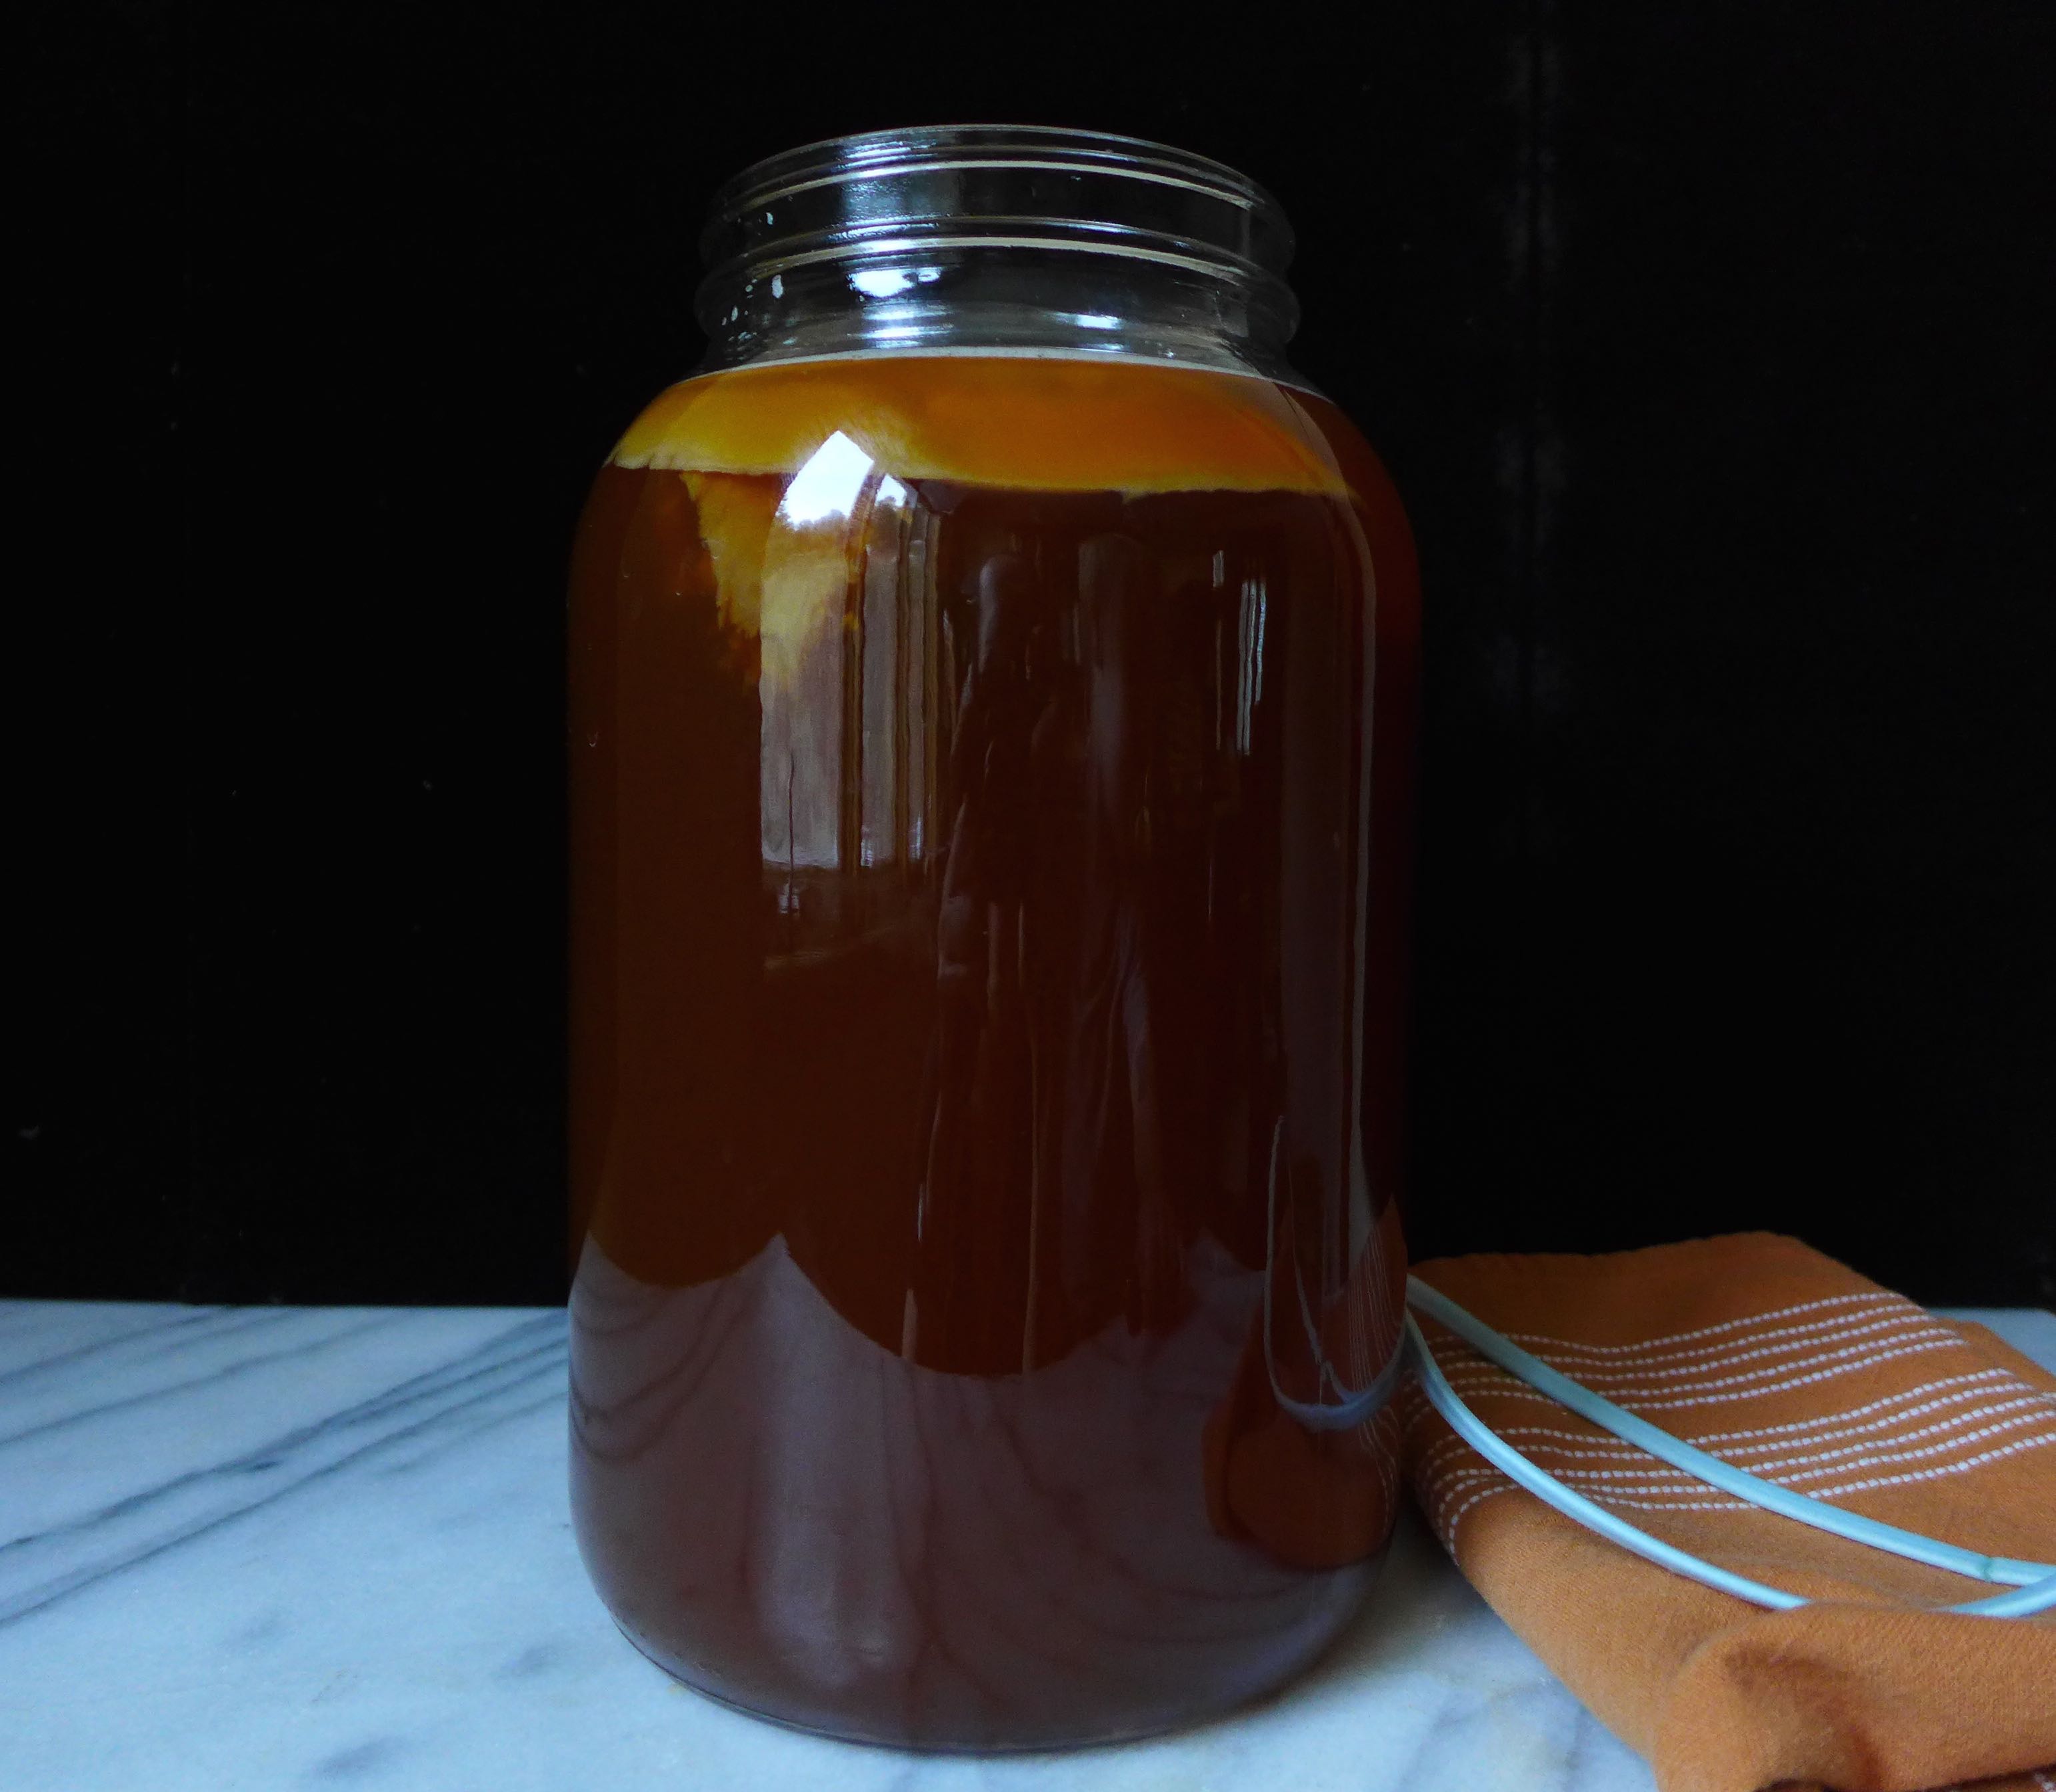
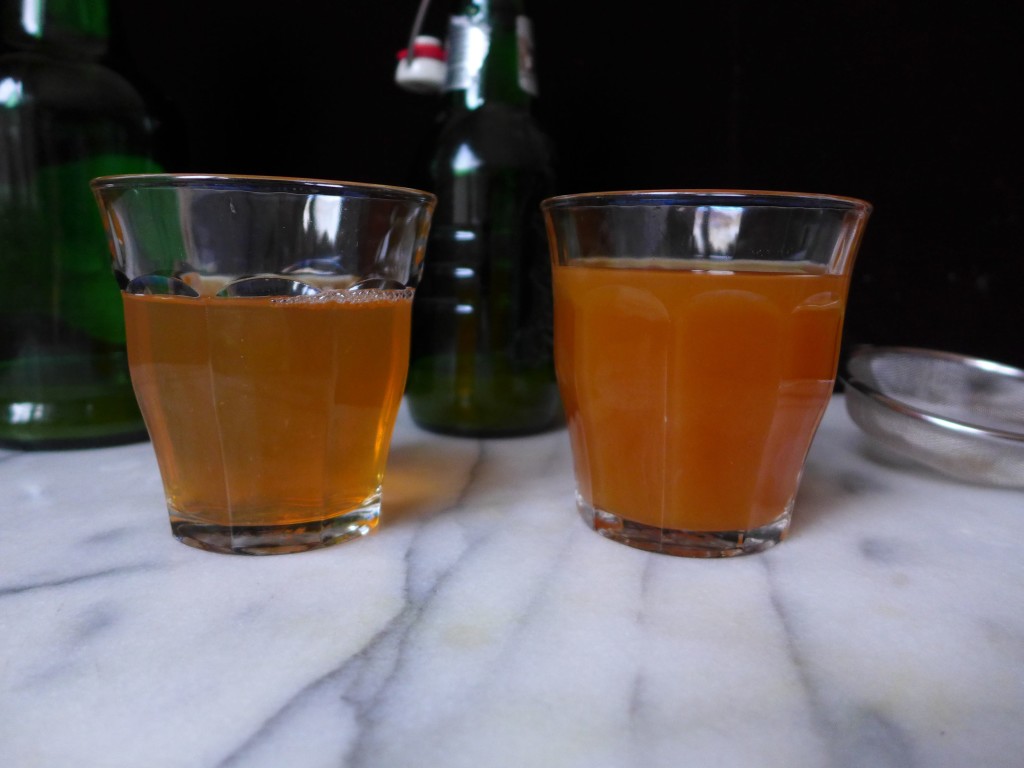
- Experiment, experiment, experiment! I’ve used different brands of black tea, different sugars, different fermentation times, different flavors, and I’m really starting to find something that I like (in the photo below you can see two different glasses of kombucha from two different batches). That said, take notes with each batch so that you’ll remember exactly what you did. AND be ready to modify. As we transition from winter to summer and as your house’s “room temperature” begins to change, fermentation may happen more quickly in both stages, shortening the total time it takes to make a batch. And the opposite will happen as you go from a warmer summer house to a cooler winter house.
- You can put your SCOBY to sleep! If you’re getting overrun with bottles of homemade brew or if you’re going away, you can easily put your SCOBY to sleep. Just put it into a fresh batch of sweetened tea (as if you were making kombucha and let it alone). You can leave it in the tea for up to a month. You won’t want to drink the over-fermented kombucha, but your SCOBY will be just fine. If you want to keep it sleeping longer, then after a month, place it in a new batch of tea and let it sit again.
- SCOBY health? Even though it may look funny, your SCOBY is likely healthy if you don’t see any mold or mildew growing on top of it (expect it to have a slightly mottled, tan coloring – darker spots arising from tannins in the tea) and if it’s producing kombucha batches without any odd odors or flavors.
Resources
While brewing my own kombucha turned out to be much (MUCH!) easier than I expected, It gives me confidence to lean on experts when trying something new.
- Borrow a kombucha book from the library or do some searches online if you have questions.
- I found this post to be a really helpful and straightforward primer for brewing.
- I haven’t discussed them in this post, because I don’t feel qualified to do so, but there are a lot of outrageous claims made about the health and risks to drinking kombucha. This post does a great job of busting through those claims.
- Want to get a SCOBY?! This site provides a lot of information about brewing your own kombucha and sells supplies (get a SCOBY by mail!). You can also grow your own SCOBY from scratch as long as you can buy a bottle of plain, unpasteurized kombucha.
- There are some really handy kombucha YouTube videos out there. Sometimes it’s nice to see something rather than just read about it. For example, just the other day I wanted a visual reference for separating my SCOBY and came across this video. So helpful!
If you’ve made it this far, give yourself a pat on the back! If you had to close your eyes when you saw that first image of the SCOBY, I understand. So, what do you think? Are you going to make your own kombucha at home? If you want to be drinking a glass or more a day, I definitely think it’s worth it to trying making your own, but keep supporting your local kombucha brands, just make it a special treat!

My SCOBY arrives today, can’t wait to hop on the kombucha train! My only question/concern is with the initial kombucha-how do you know if the kind you buy in the store is ‘live’ or not? Also, do you test the pH of your concoction or just feel it out?
Hey there,
That’s so exciting! So, my answers may not be that helpful… as far as buying ‘live’ kombucha, look for bottles that say “raw” on them. A brewer in CO pointed me towards one local raw brand, and from there, I’ve found others as I’ve looked at the grocery store selection. We have A LOT to choose from here, I’m not sure what your choices are like, but hopefully you can find something (maybe at the natural food store outside of Lewisburg?). Also, I haven’t been testing pH, but I want to start getting more scientific about it, so maybe I will soon! If you do, I would love to hear what you find with your different batches. Good luck! xo