This week’s Waste Less Wednesday post was originally published in 2014, but we still approach egg dyeing the same way – with whatever we can find in the kitchen!
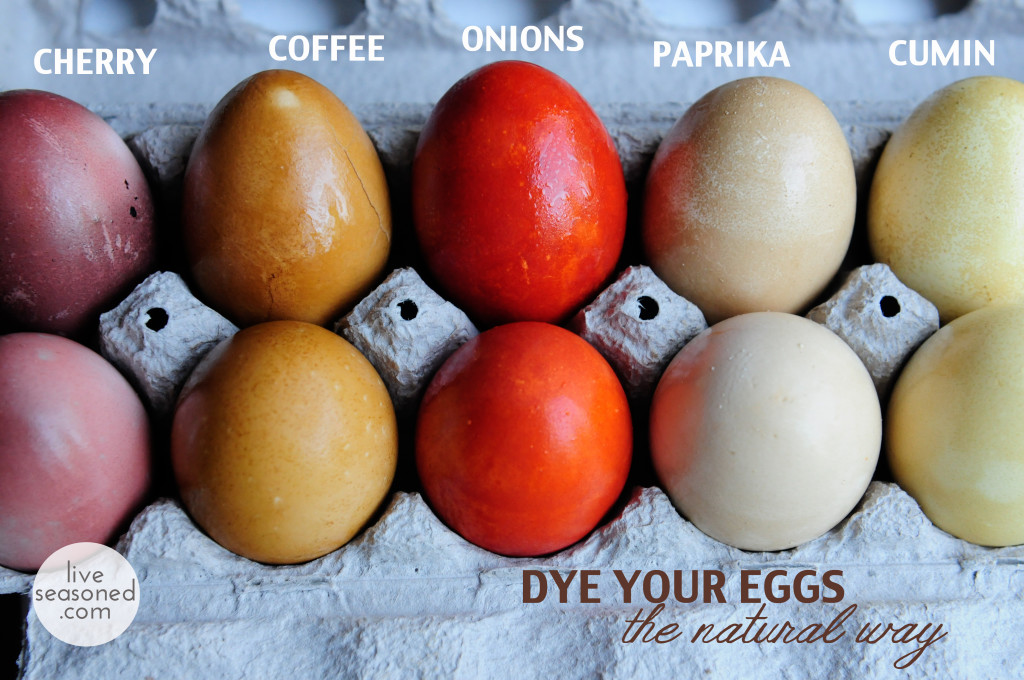
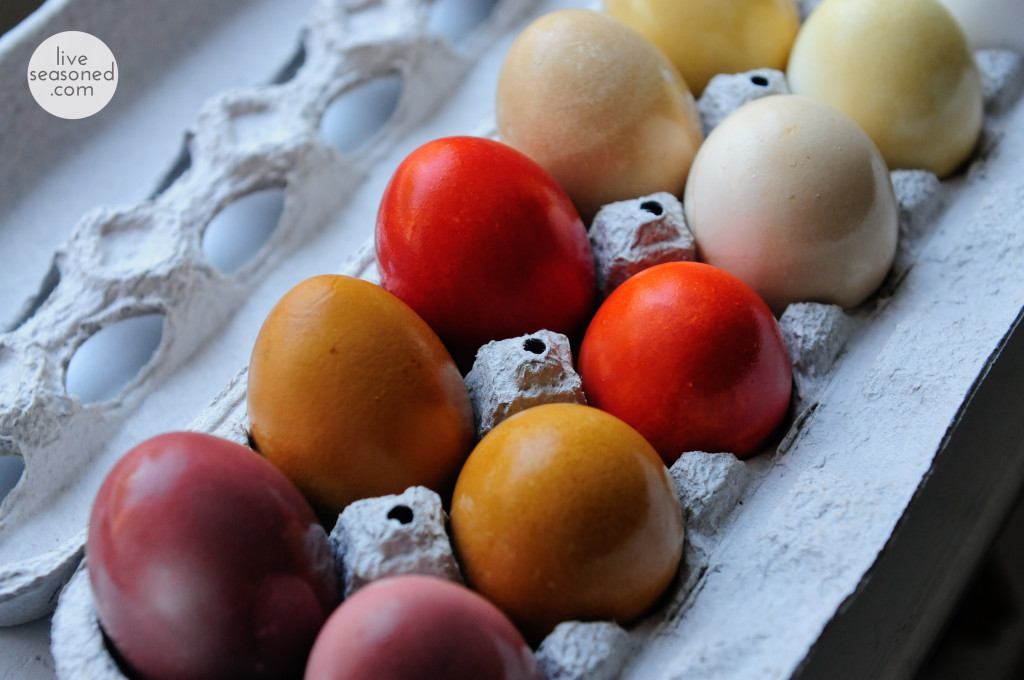
Have you ever dyed eggs the natural way, using veggies and spices? It’s a lot easier than you’d think and the results are terrific! You gotta love that dyeing eggs the natural way allows you to use up some kitchen scraps and there’s no need to run out and purchase a dyeing kit. Start this project today as I let my eggs sit in the dye bath for a full 36 hours before removing them. That way your naturally dyed eggs will be ready for Easter festivities.
For these dyes, I rummaged around in my cupboards and used ingredients that I had on hand. This post gives you the details of five different dyes, but there are many more options to explore. Once you get the hang of it, there is no need to use a recipe, just experiment and have fun!
Ingredients:
- Ten hard-boiled eggs
- Coffee
- Paprika
- Cumin
- Skins from six yellow onions
- Can of cherry pie filling
- 5 TBSP white vinegar
Supplies:
- Sauce pot
- Tea kettle
- Strainer or cheesecloth
- Ball jars or dying containers
A few notes:
- Stir your spices into the boiling water for at least a minute. I skimmed over that step and I felt like my spice-dyed eggs would have been more vibrant if I would have stirred a little bit longer. My spice kind of settled to the bottom, but I think if I would have spent more time stirring the spice’s color would have leeched into the dye bath more.
- If you want glossy eggs, put some olive oil on a paper towel and lightly press it onto your eggs. If you rub the eggs with a paper towel the dye will smear slightly.
- If you want easy-to-peel eggs, use eggs that are older. We always buy eggs two dozen at a time let a dozen “age” in the fridge!
Onion Skins:
- Put onion skins and 1.5 cups of water into a small saucepot.
- Bring to a boil then reduce to a simmer for 15 minutes.
- Using a strainer or cheese cloth, remove the skins and add the dye to a ball jar.
- Stir in 1 TBSP of white vinegar.
- Gently add eggs.
Cherry:
- Put the cherry filling and 1.5 cups of water into a sauce pot.
- Simmer for 15 minutes.
- Using a strainer or cheese cloth, remove the cherries and add the dye to a ball jar.
- Stir in 1 TBSP of white vinegar.
- Gently add eggs.
Coffee:
- Brew 1.5 cups of strong coffee, pour it into the ball jar, and add 1 TBSP white vinegar.
- Gently add eggs.
Paprika:
- Pour 1.5 cups of boiling water into a ball jar.
- Stir in 1 TBSP paprika and 1 TBSP white vinegar.
- Stir for a minute until paprika dissolves.
- Gently add eggs.
Cumin:
- Pour 1.5 cups of boiling water into a ball jar.
- Stir in 1 TBSP cumin and 1 TBSP white vinegar.
- Stir for a minute until cumin dissolves.
- Gently add eggs.
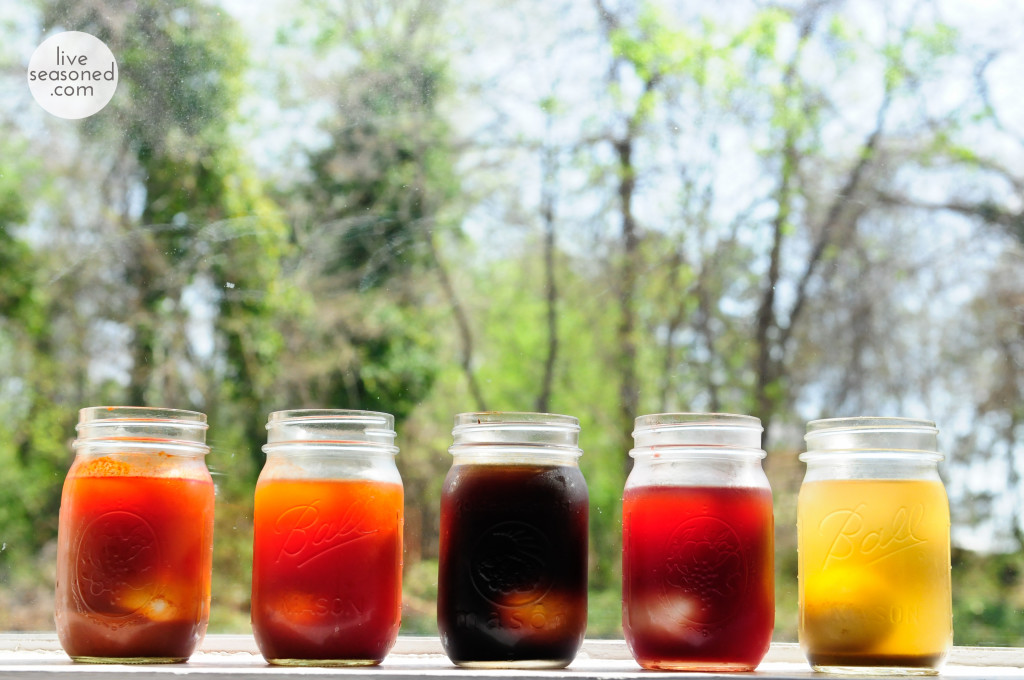
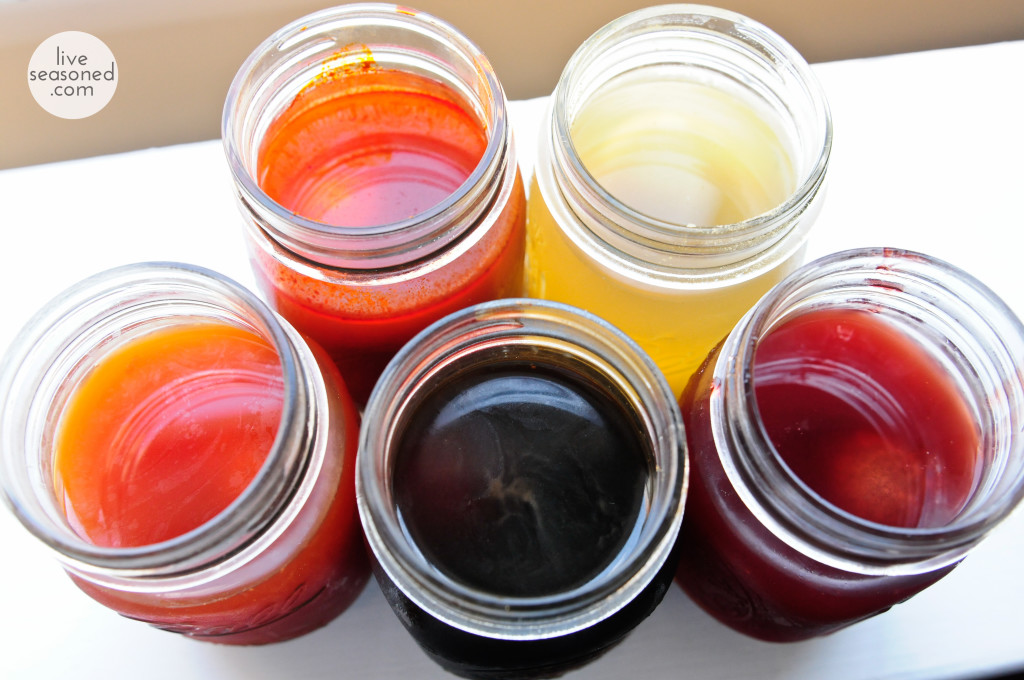
Now that all your eggs are submerged into the dye baths, cover the jars and put them in the fridge. Let your eggs soak overnight or until you’ve achieved the color you’re going for. I left my eggs sit for about 36 hours. With clean hands, gently remove the eggs from the dye bath and give them a quick rinse. Dry them with a dishtowel and place them back into the carton or where ever you’re going to display them.
I love that this technique is a DIY using whatever is on hand. It’s an experiment and more of an activity than the premade Paas dye. It’s also a cool exploratory way for kids to get involved in the kitchen. They can actually see the transformation from food and spices to a colored dye bath. It’s also a relatively long-term project, which is exciting because the kids can check on their eggs and color from time to time. Another added bonus, these dyes won’t stain your clothes or your kitchen table.
If you’re wondering (like me) if the food and spice flavor gets transferred to the eggs, it definitely doesn’t. I ate all the eggs already, including the cracked one and none of them tasted like anything except a yummy ol’ egg. I can’t wait to try this again and experiment with other ingredients. I think my favorites are the onion and cumin colors.


If you tie the onion skins around the eggs using cheesecloth, you will get a “stained glass” effect…and sometimes the imprint of the cheesecloth.
I love that method too!
You only used yellow skins for the onion ones?!?!? That color is so vibrant and unexpected!!