Colorado Roadtrip : Great Sand Dunes

You can find more of our Colorado adventures here, and if you like travel posts, we have a lot! We took this road trip in our *new* van (can’t wait to tell you more about it); this post gives you a little overview of what we pack in the van. And here are some of our basic tips for camping with kids.

Earlier this month, we went on a five-day road trip to south west Colorado. It’s a part of the state we haven’t explored, but had heard great things about. We set out excited to experience the beautiful San Juan mountain range. Let me spill the beans right now: this trip was awesome (I’m writing this about a week after the trip, and we’re still talking about it). We loved the scenery, the hot springs, and the towns we visited.

roadtrip1

This is going to be a two-post report. In this post I’m going to share photos and from the first bit of our trip that was spent in Great Sand Dunes National Park, and in the second post I’ll share photos from our visits to Pagosa Springs and Ouray.

Continue reading

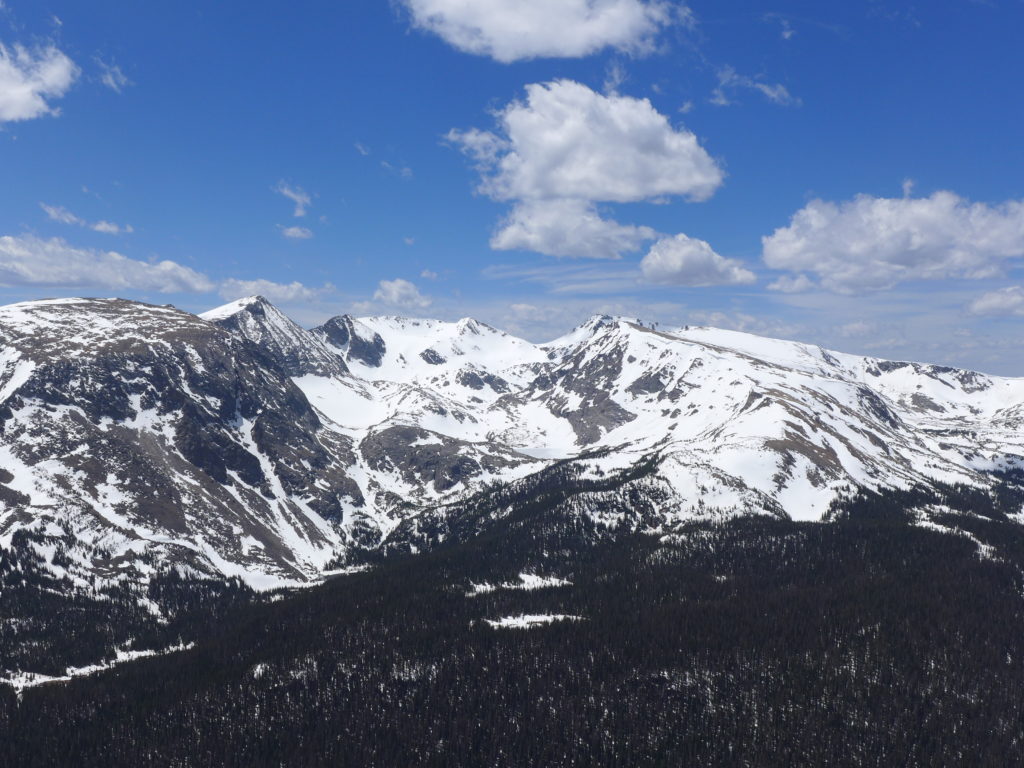
Biking in Rocky Mountain National Park

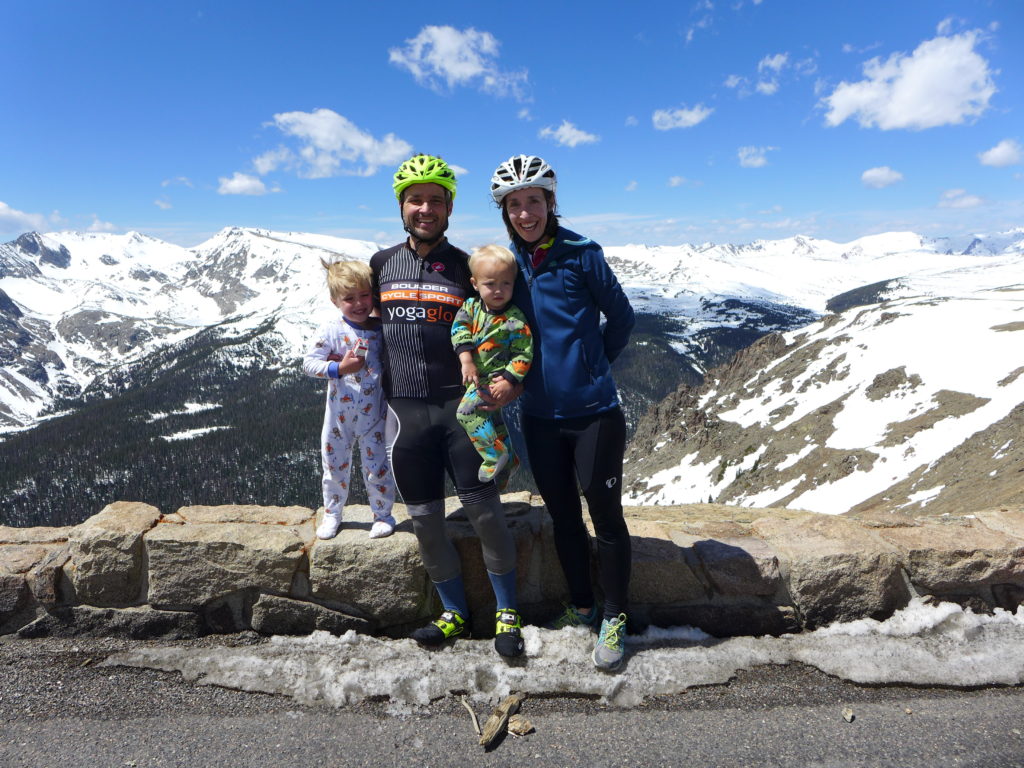
Last weekend we went biking in Rocky Mountain National Park and it was amazing. If you would like to see our previous forays into RMNP (including our awesome winter camping trip!) click here.

P1230417

P1230461

We took this trip on Mother’s Day ~ it was the treat that C planned for me, and it couldn’t have been more perfect. I love biking, and I really love biking with C and the boys, but I don’t find it fun or relaxing if we’re biking on roads busy with cars. Fortunately, as I’ll explain, this ride was perfect because it was car-free and the scenery was breathtaking. More pics and tips ahead!

Continue reading

Sydney Coastal Walk


You’ve spent a few days in Sydney and you’re ready for adventure. The Coastal Walk is the best way to stay close to the city center while enjoying a bit of nature and getting some exercise in. If you go about completing the entire walk from Coogee to Bondi it’s about six km and will take you anywhere from two to three hours, but I recommend packing a little beach backpack, starting in the morning and seeing where your day takes you.  Along the way, there are plenty of opportunities for side quests. You can challenge yourself by scrambling over boulders, refresh yourself by taking a swim in various tidal pools and beaches and of course there are plenty of places to stop and eat and drink throughout your journey. 


Like most of our travel posts on Live Seasoned, we like to give you a general idea for your day or adventure, but leave the details up to you. For that reason, I’ll point out a few of my favorite places to take a dip and grab a bite to eat, but otherwise, the world is your oyster. Pack your bag, slather on some sunscreen and have one of the most beautiful walks of your life. The Coastal Walk is not to be missed. I trotted along this path five days in a row never tiring of the scenery. 


Before I ventured to the coast, I was under the impression that it would take up a full day, which it certainly can, but I didn’t realize you could hop on and off the walk, take a bus to one area and then walk or uber to another, the possibilities really are endless. On my final day in Sydney I decided to walk north from Coogee to Bondi and then turn around and walk all the way back. With ample rest and refresh time throughout it was quite an easy walk and the perfect final day on the eastern coast. This walk is suitable for young and old alike, beginners and uber fit altheletes, it’s really perfect for everyone.


What to pack:

  • Sunscreen
  • Water bottle 
  • Sunglasses
  • Sneakers (it can be done in sandals)
  • Camera
  • Turkish towel or sarong


Highlights:

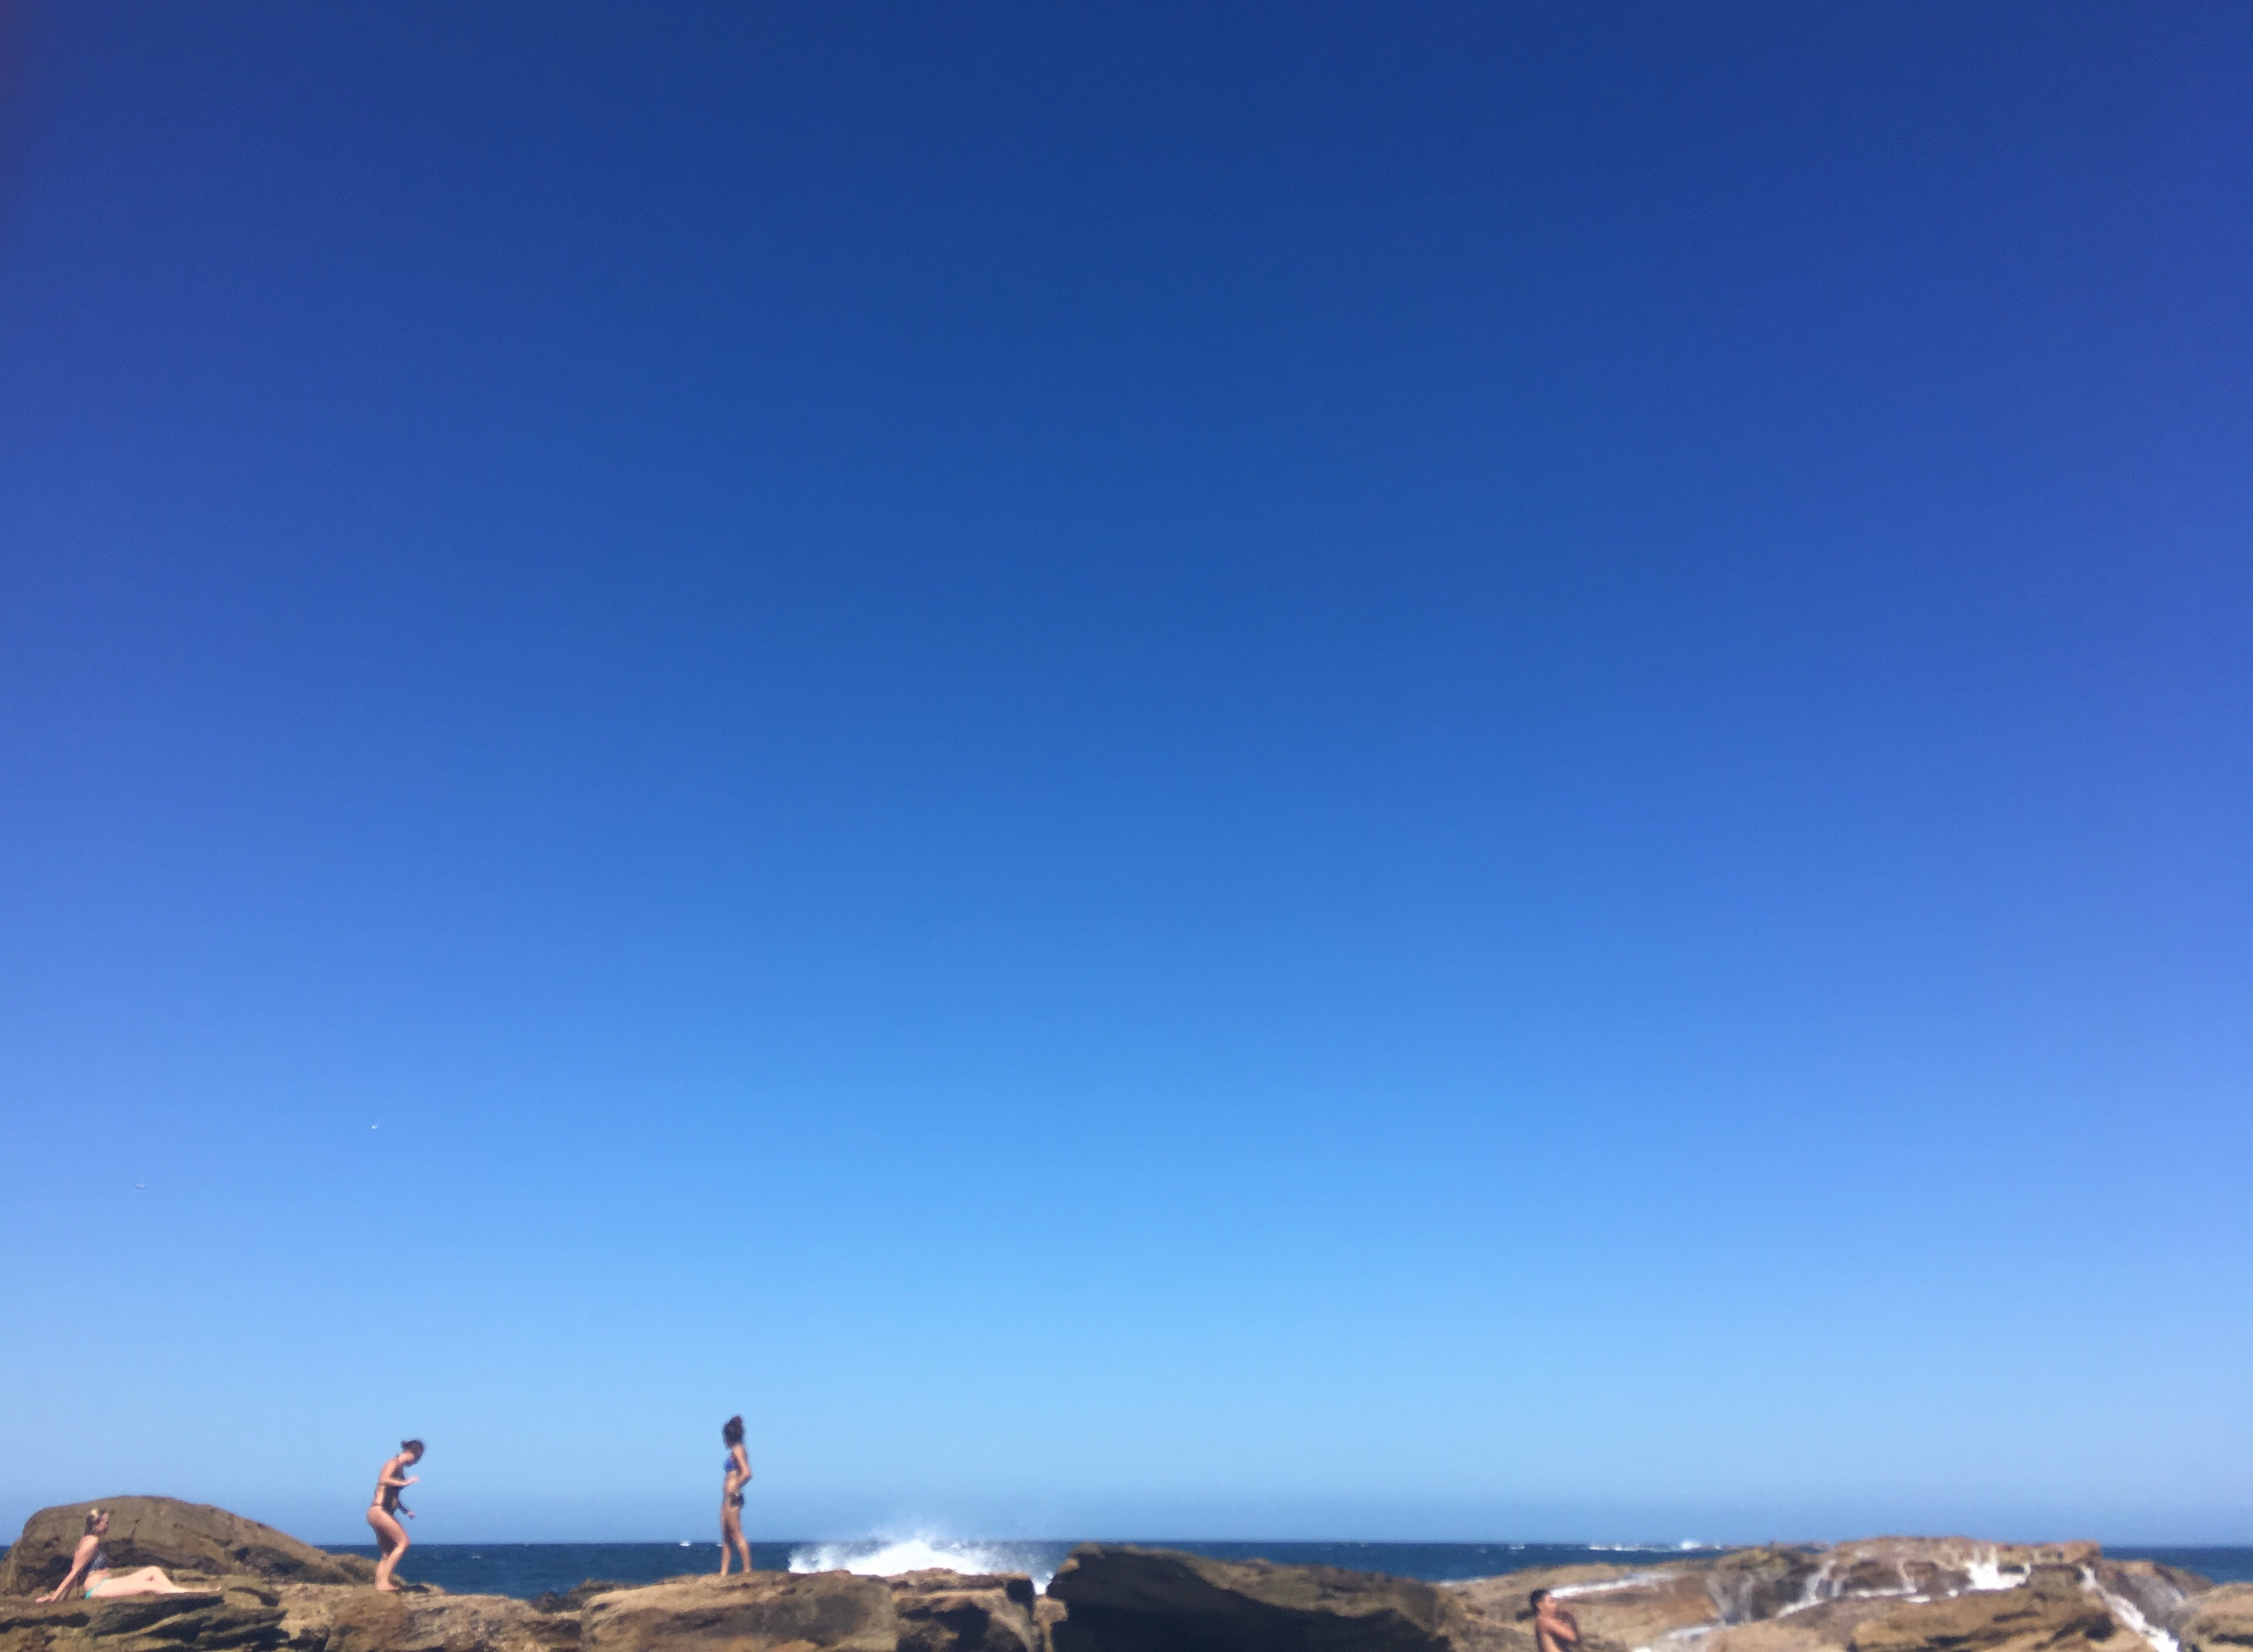
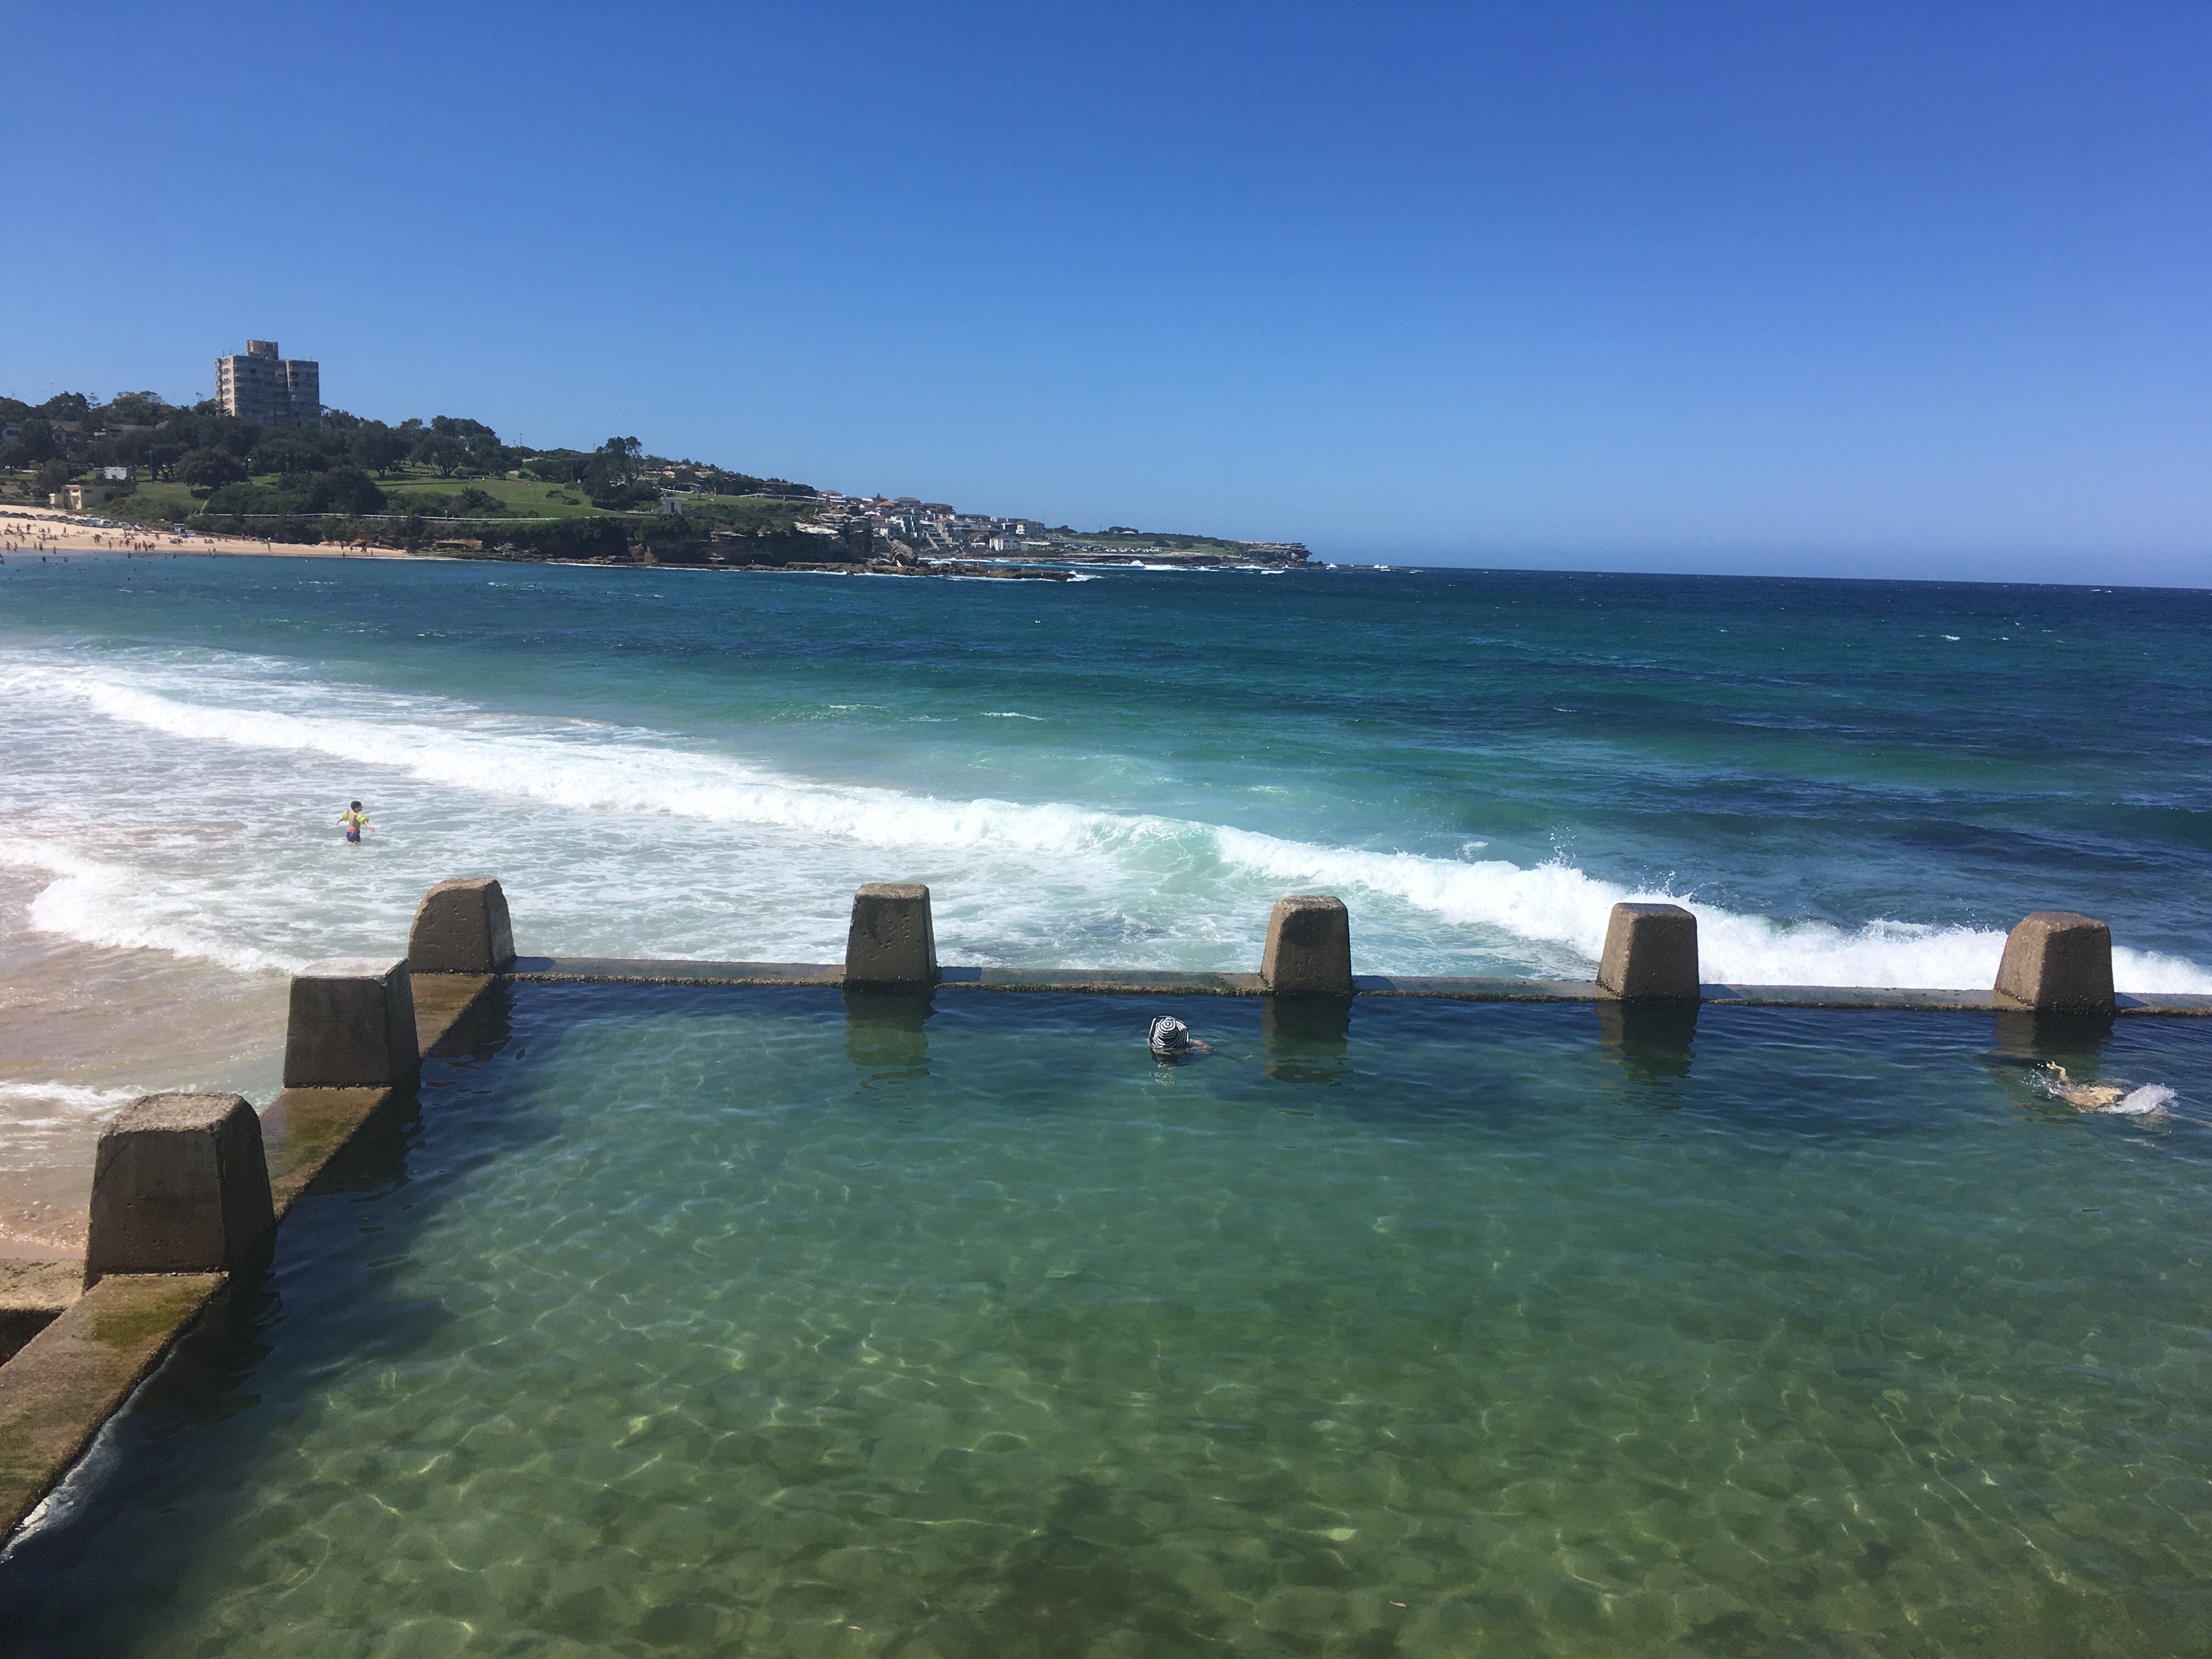
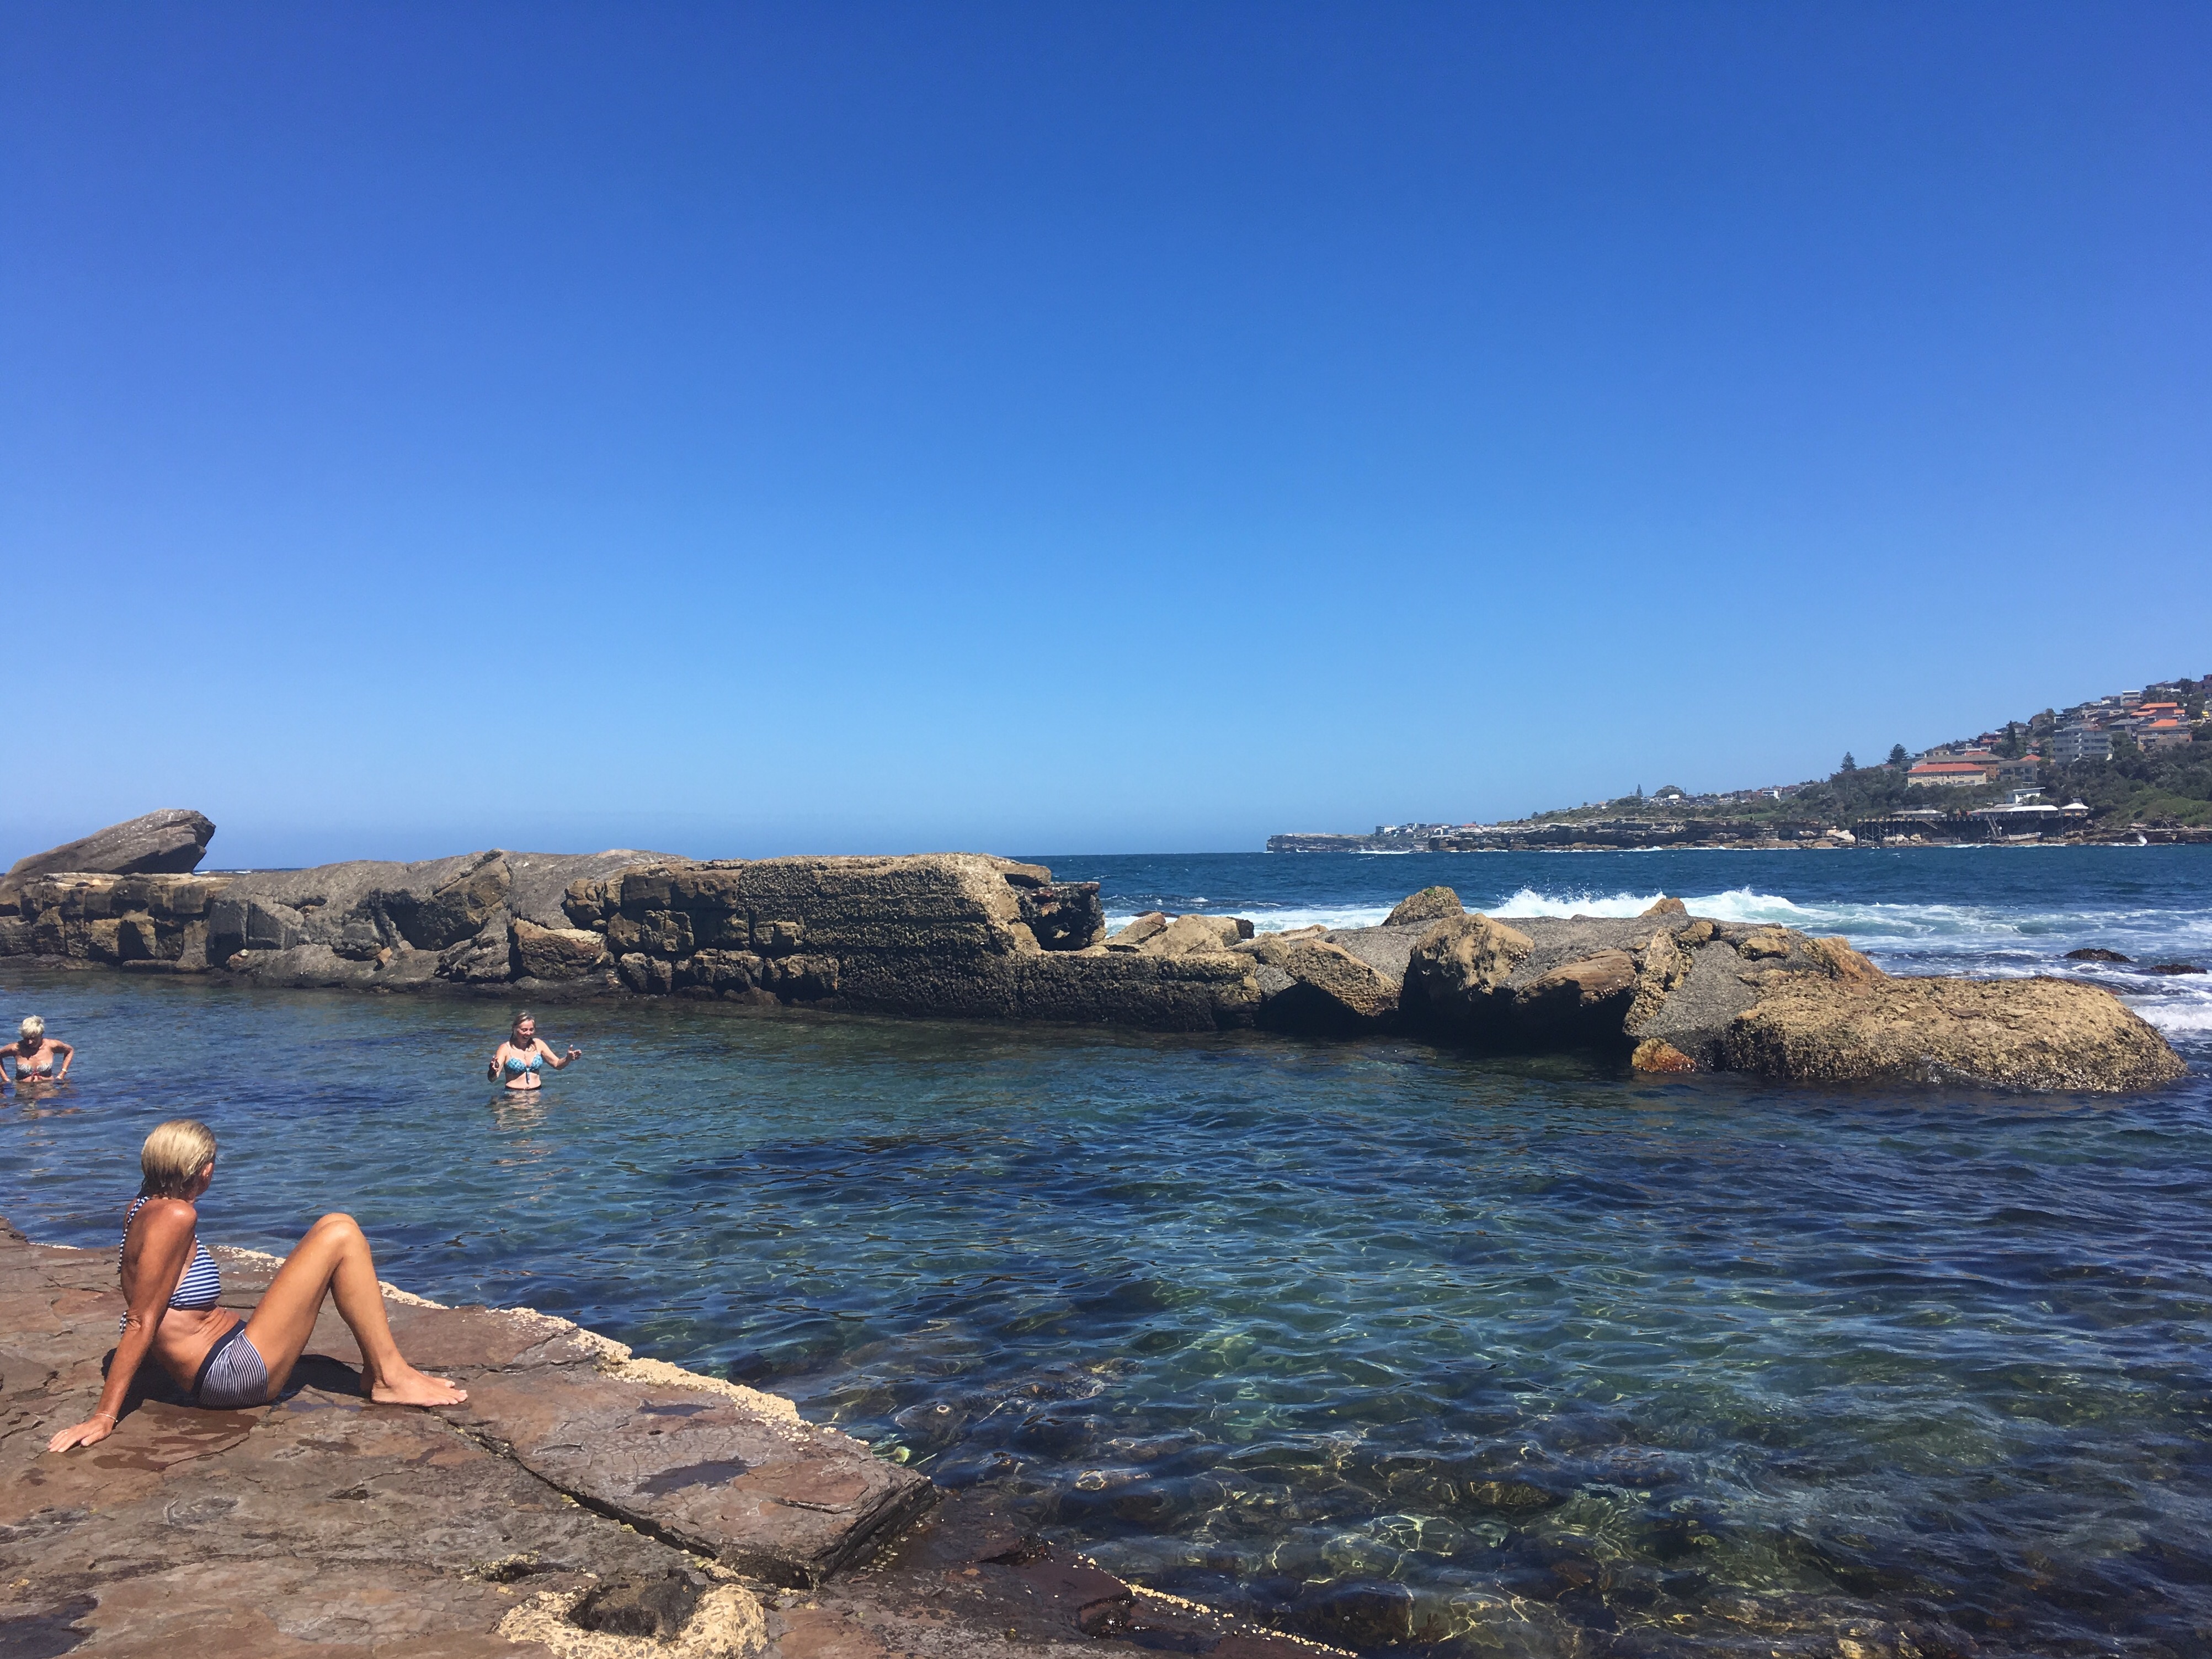
Take a dip in the rock enclosed tidal pool near Coogee. After you cool off, scramble over sandstone boulders, sunbathe by the sea and brave the incoming tidal waves. 

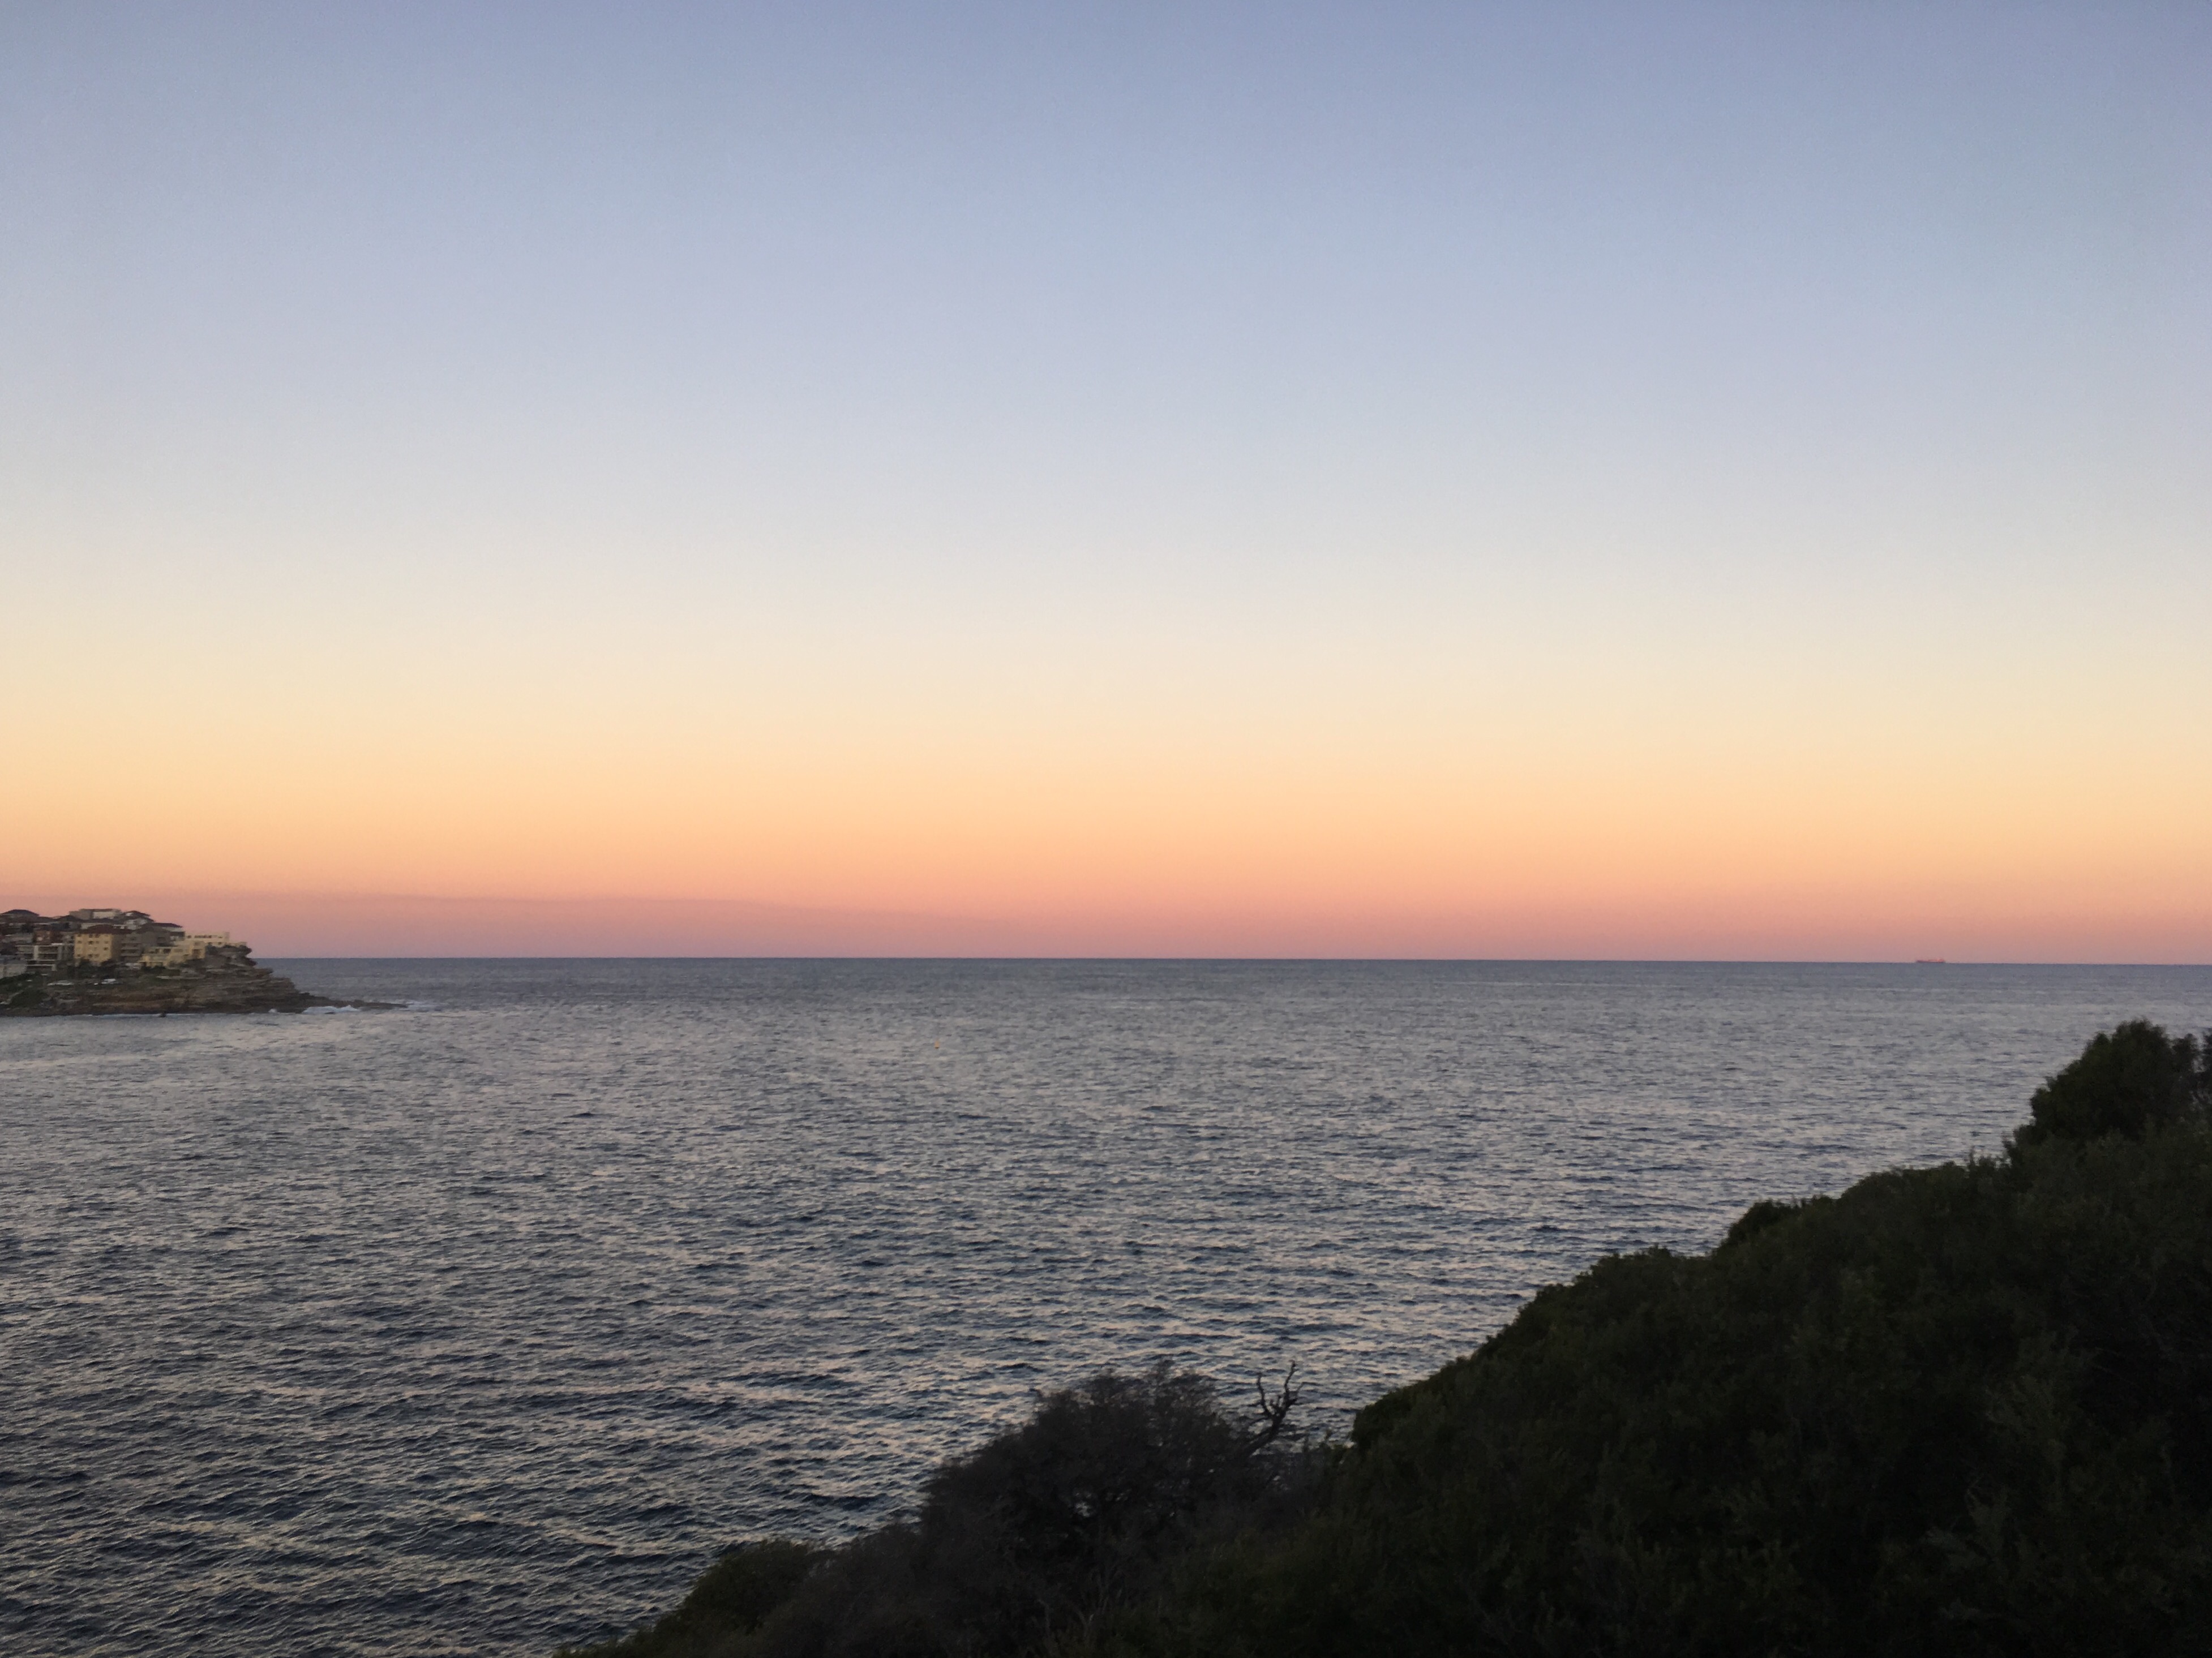
Now it’s time to begin the walk, head north to Gordan’s Bay and enjoy the pristine views. 

Take a seat in the shade at Bundock Park for a little rest while you watch the surf lap along a collection of rocks, fondly referred to at Wedding Cake Point, way out in the ocean, don’t worry, you’ll see them. 

After a little refresh, it’s time to head further north towards Clovelly Beach. If the rough Sydney surf intimidates you, the Clovelly ocean pool is the perfect solution. Swim a few laps, drip dry on the sunbathing deck and then pop into Sea Salt cafe for a little snack. 

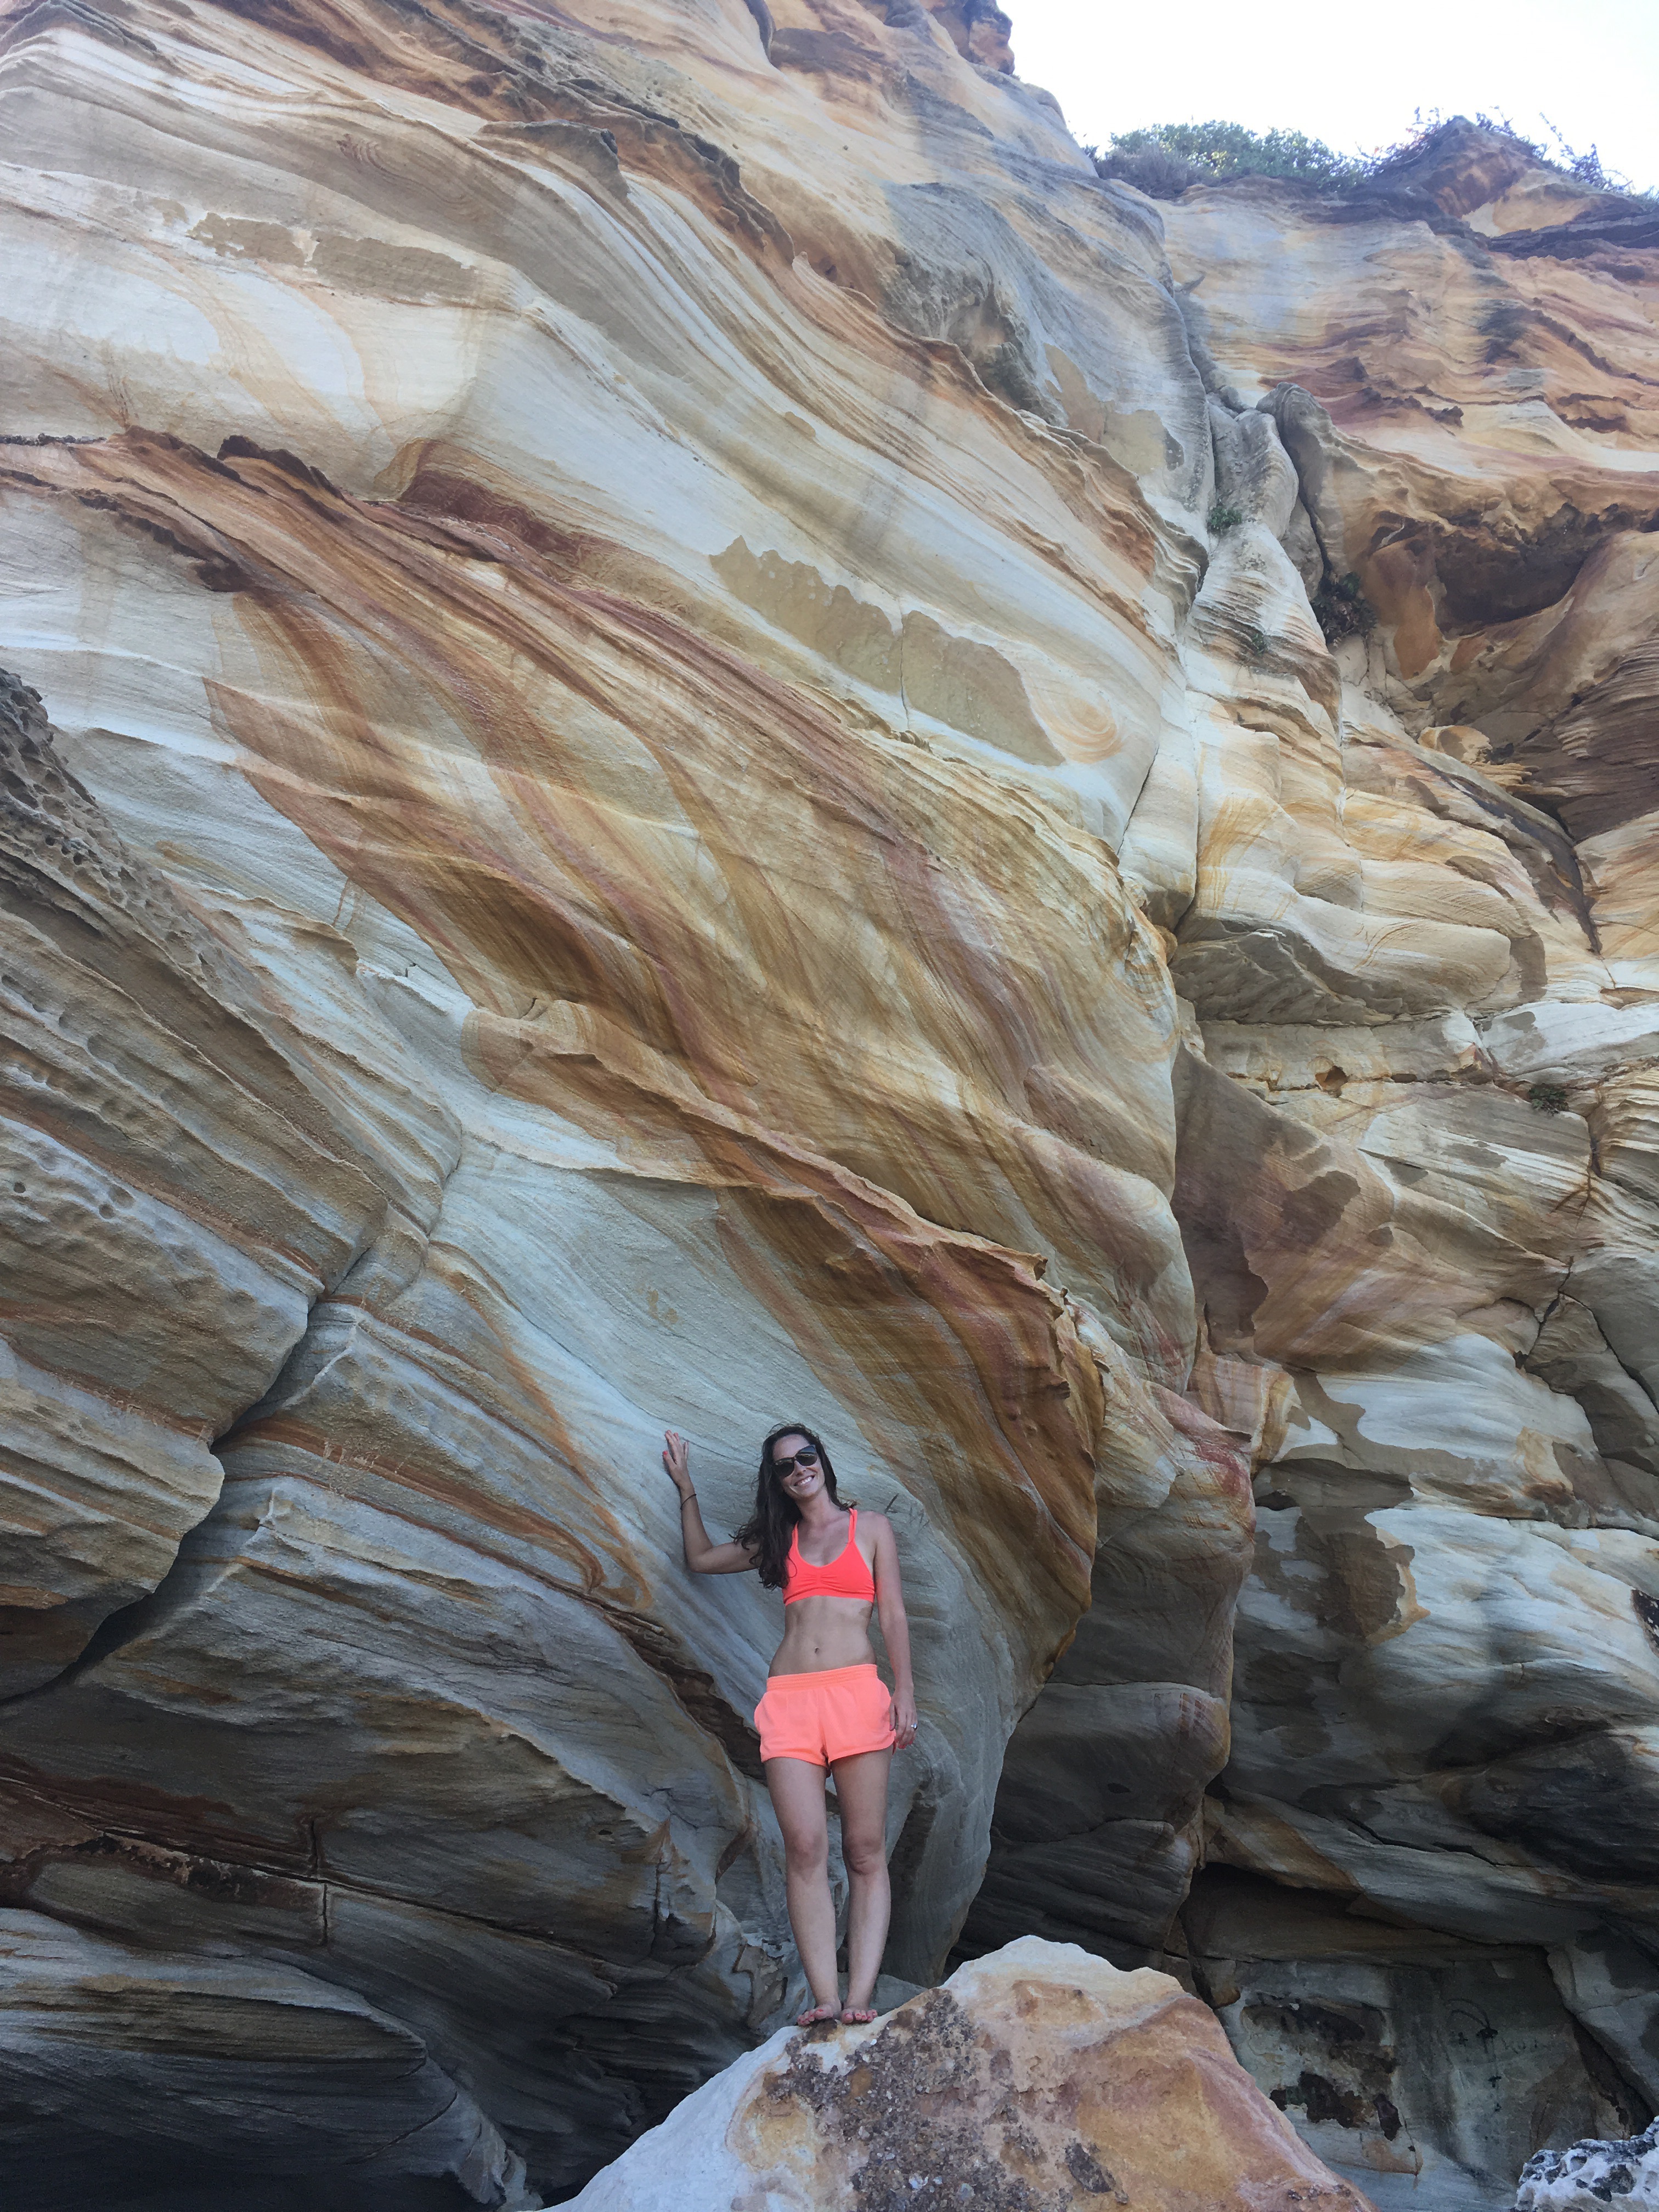
After a nibble, prepare yourself for Shark’s Point, a massive rock cliff that is sure to take your breath away. Sit and meditate here for a moment before walking on towards Clovelly Bowling and Recreation Club where you should certainly buy a drink to enjoy in the air conditioned event ballroom that overlooks the ocean. 

Once you’ve had a proper break and you’re all cooled down, walk through Waverly Cemetery towards Nelson’s Bay and Bronte Beach. Bronte baths is another nice seaside salt pool for swimming and lounging or you can head to Bronte Road, the street behind and parallel to the beach and park, for a lunch prepared with fresh ingredients. Over the course of the week, I ate at Jenny’s & Bronte Bela and both were yummy.

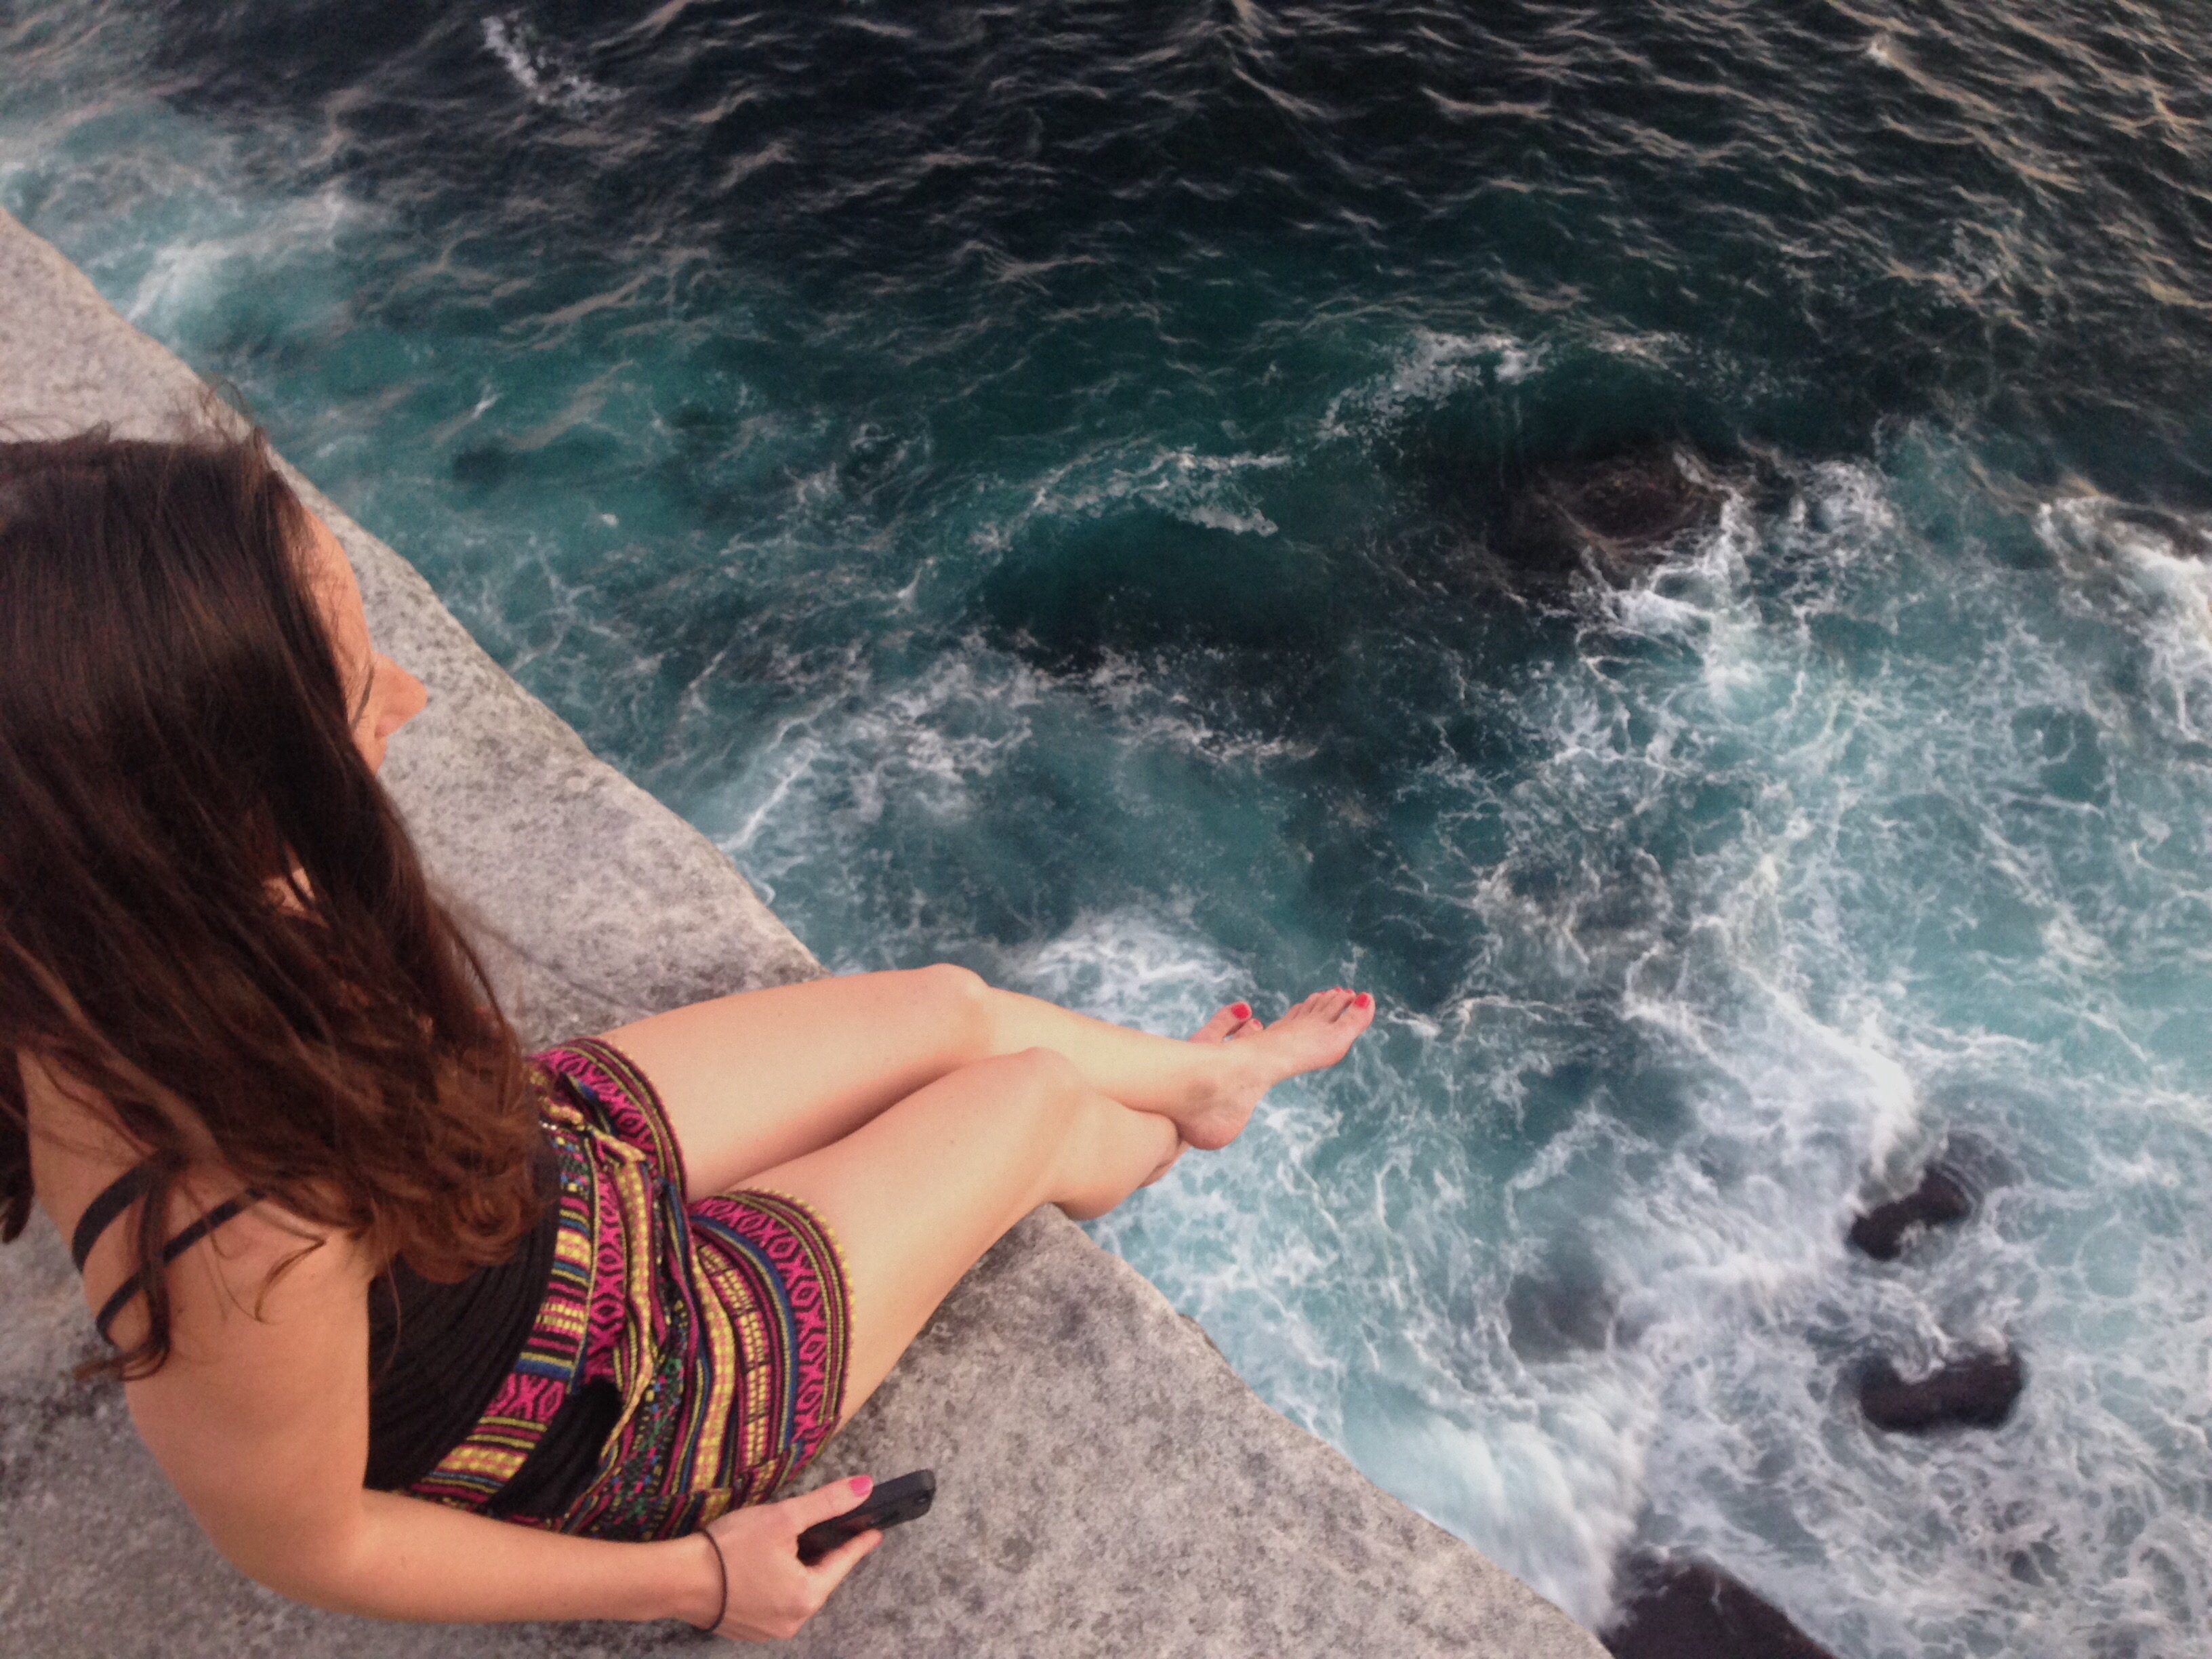
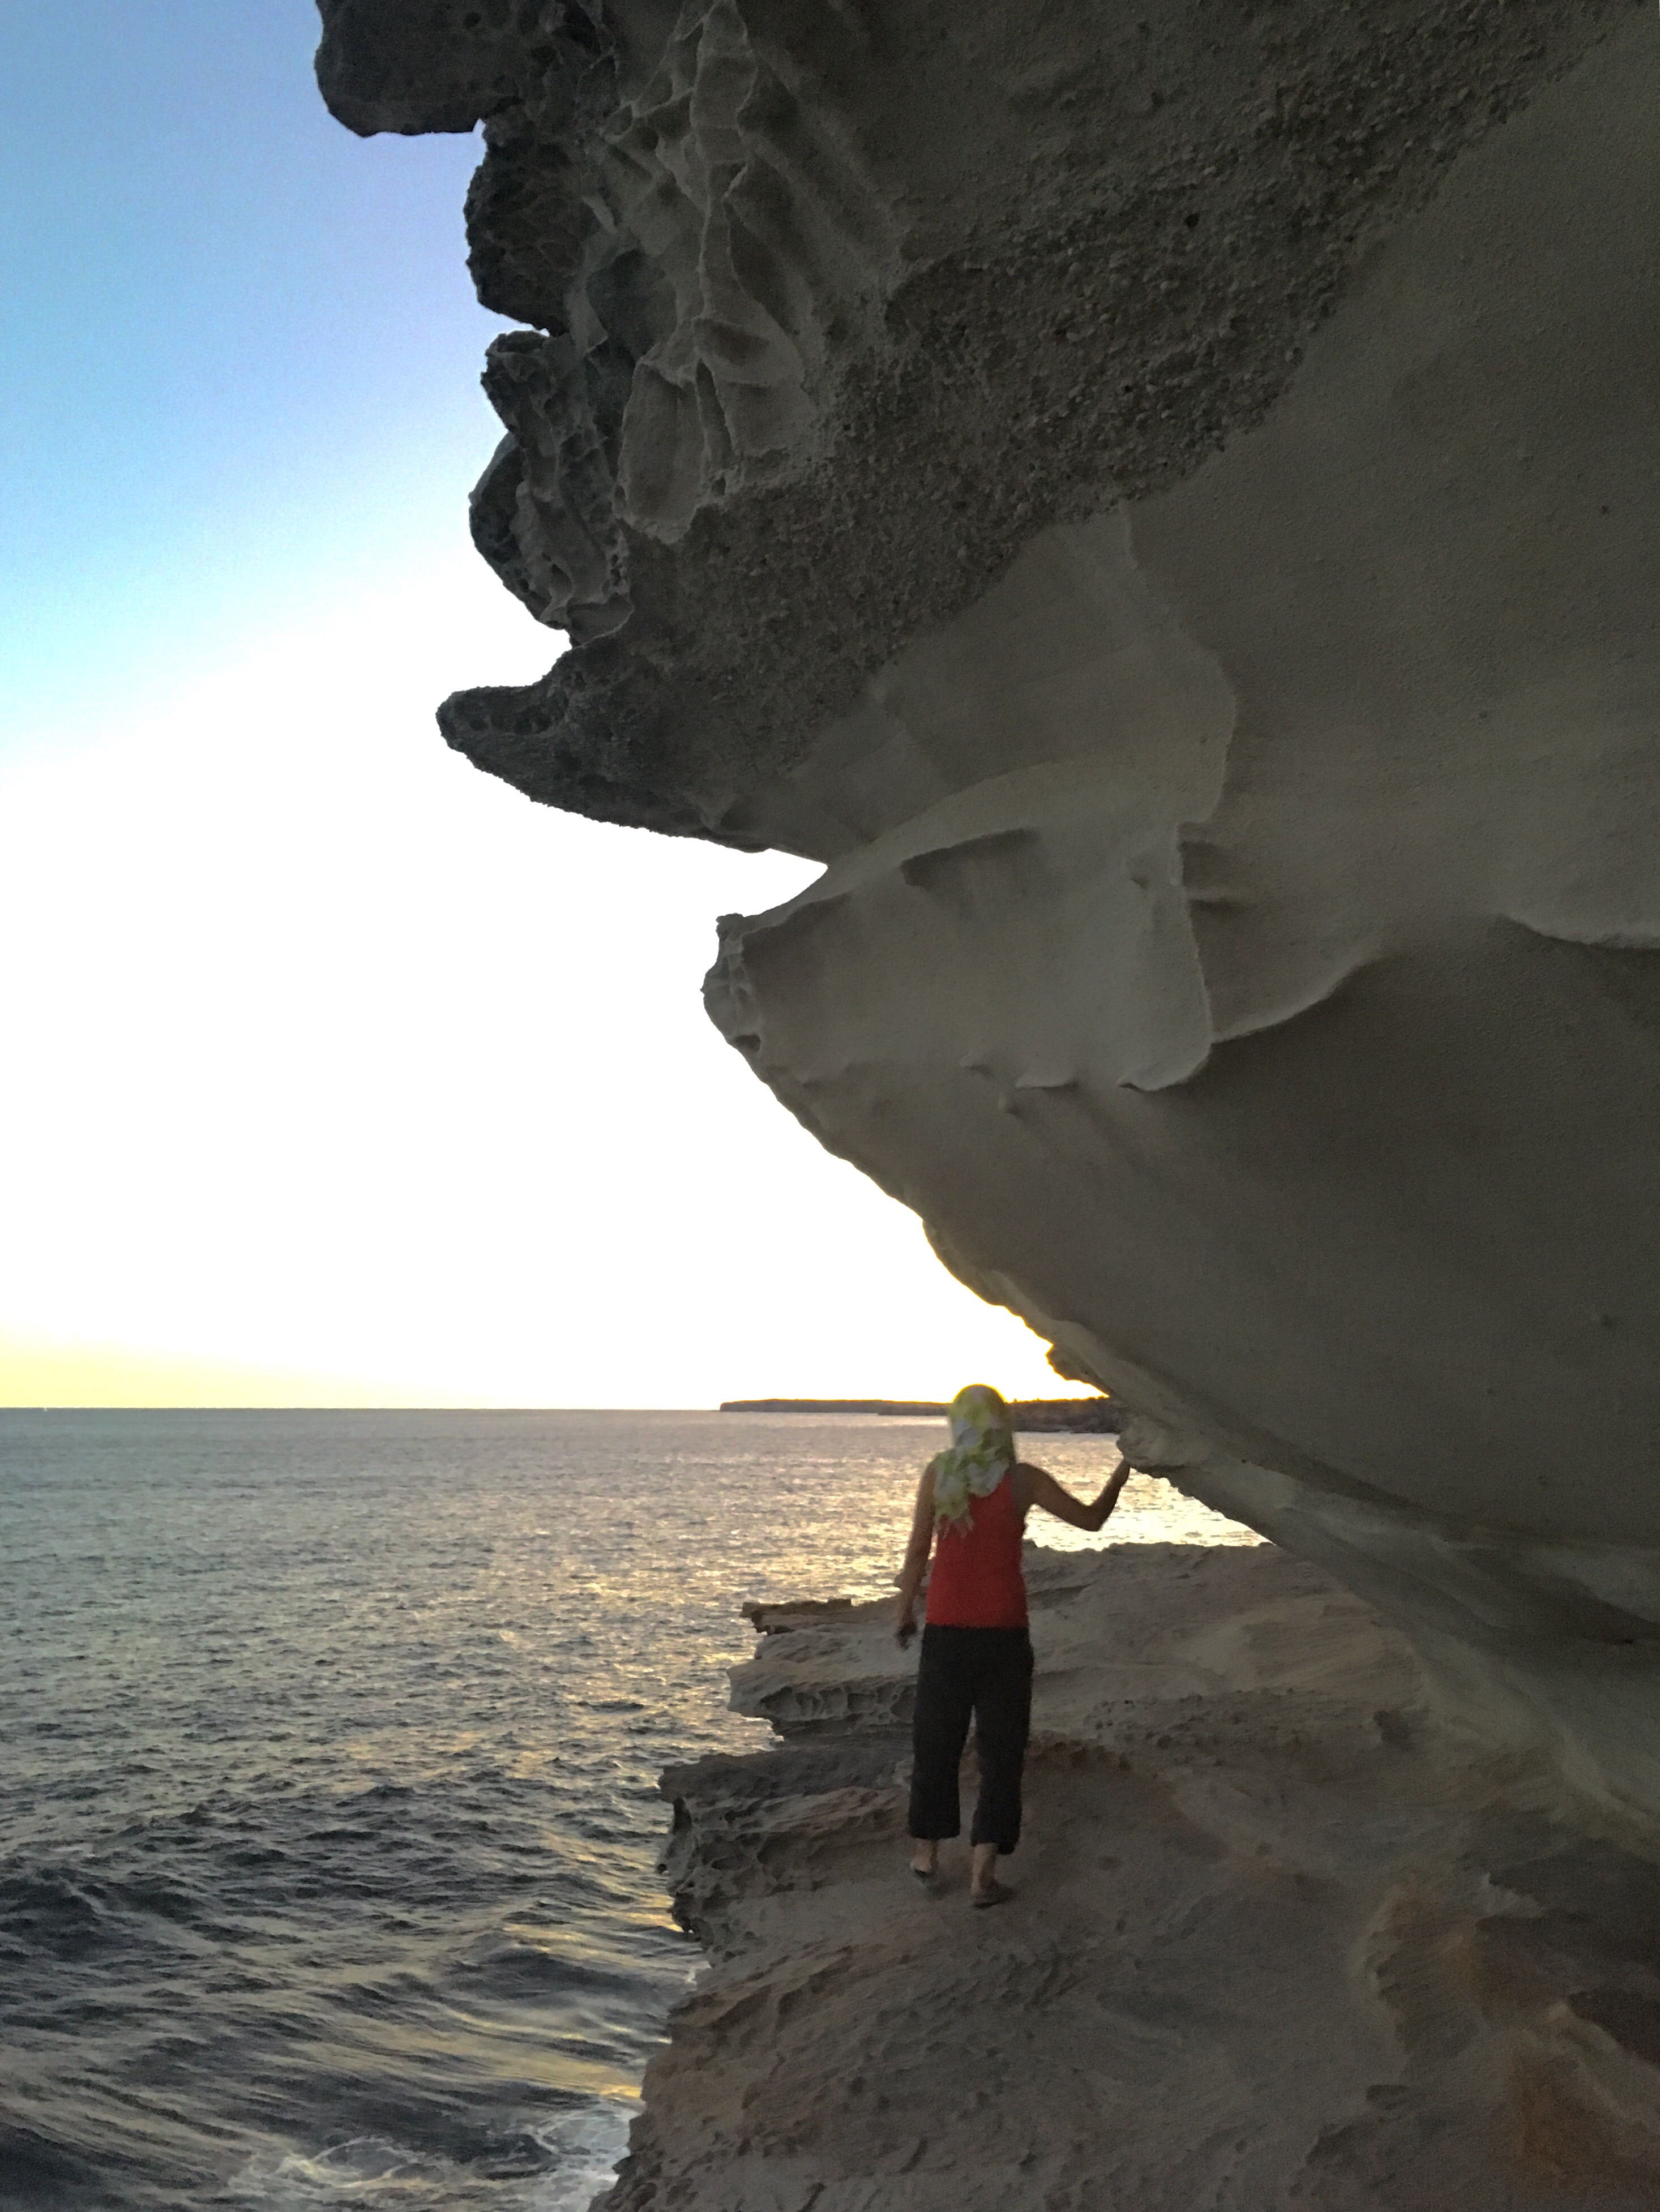
The next section of the walk, between Bronte and Tamarama is absolutely gorgeous so really take your time on the cliff and cave section and do some exploring.


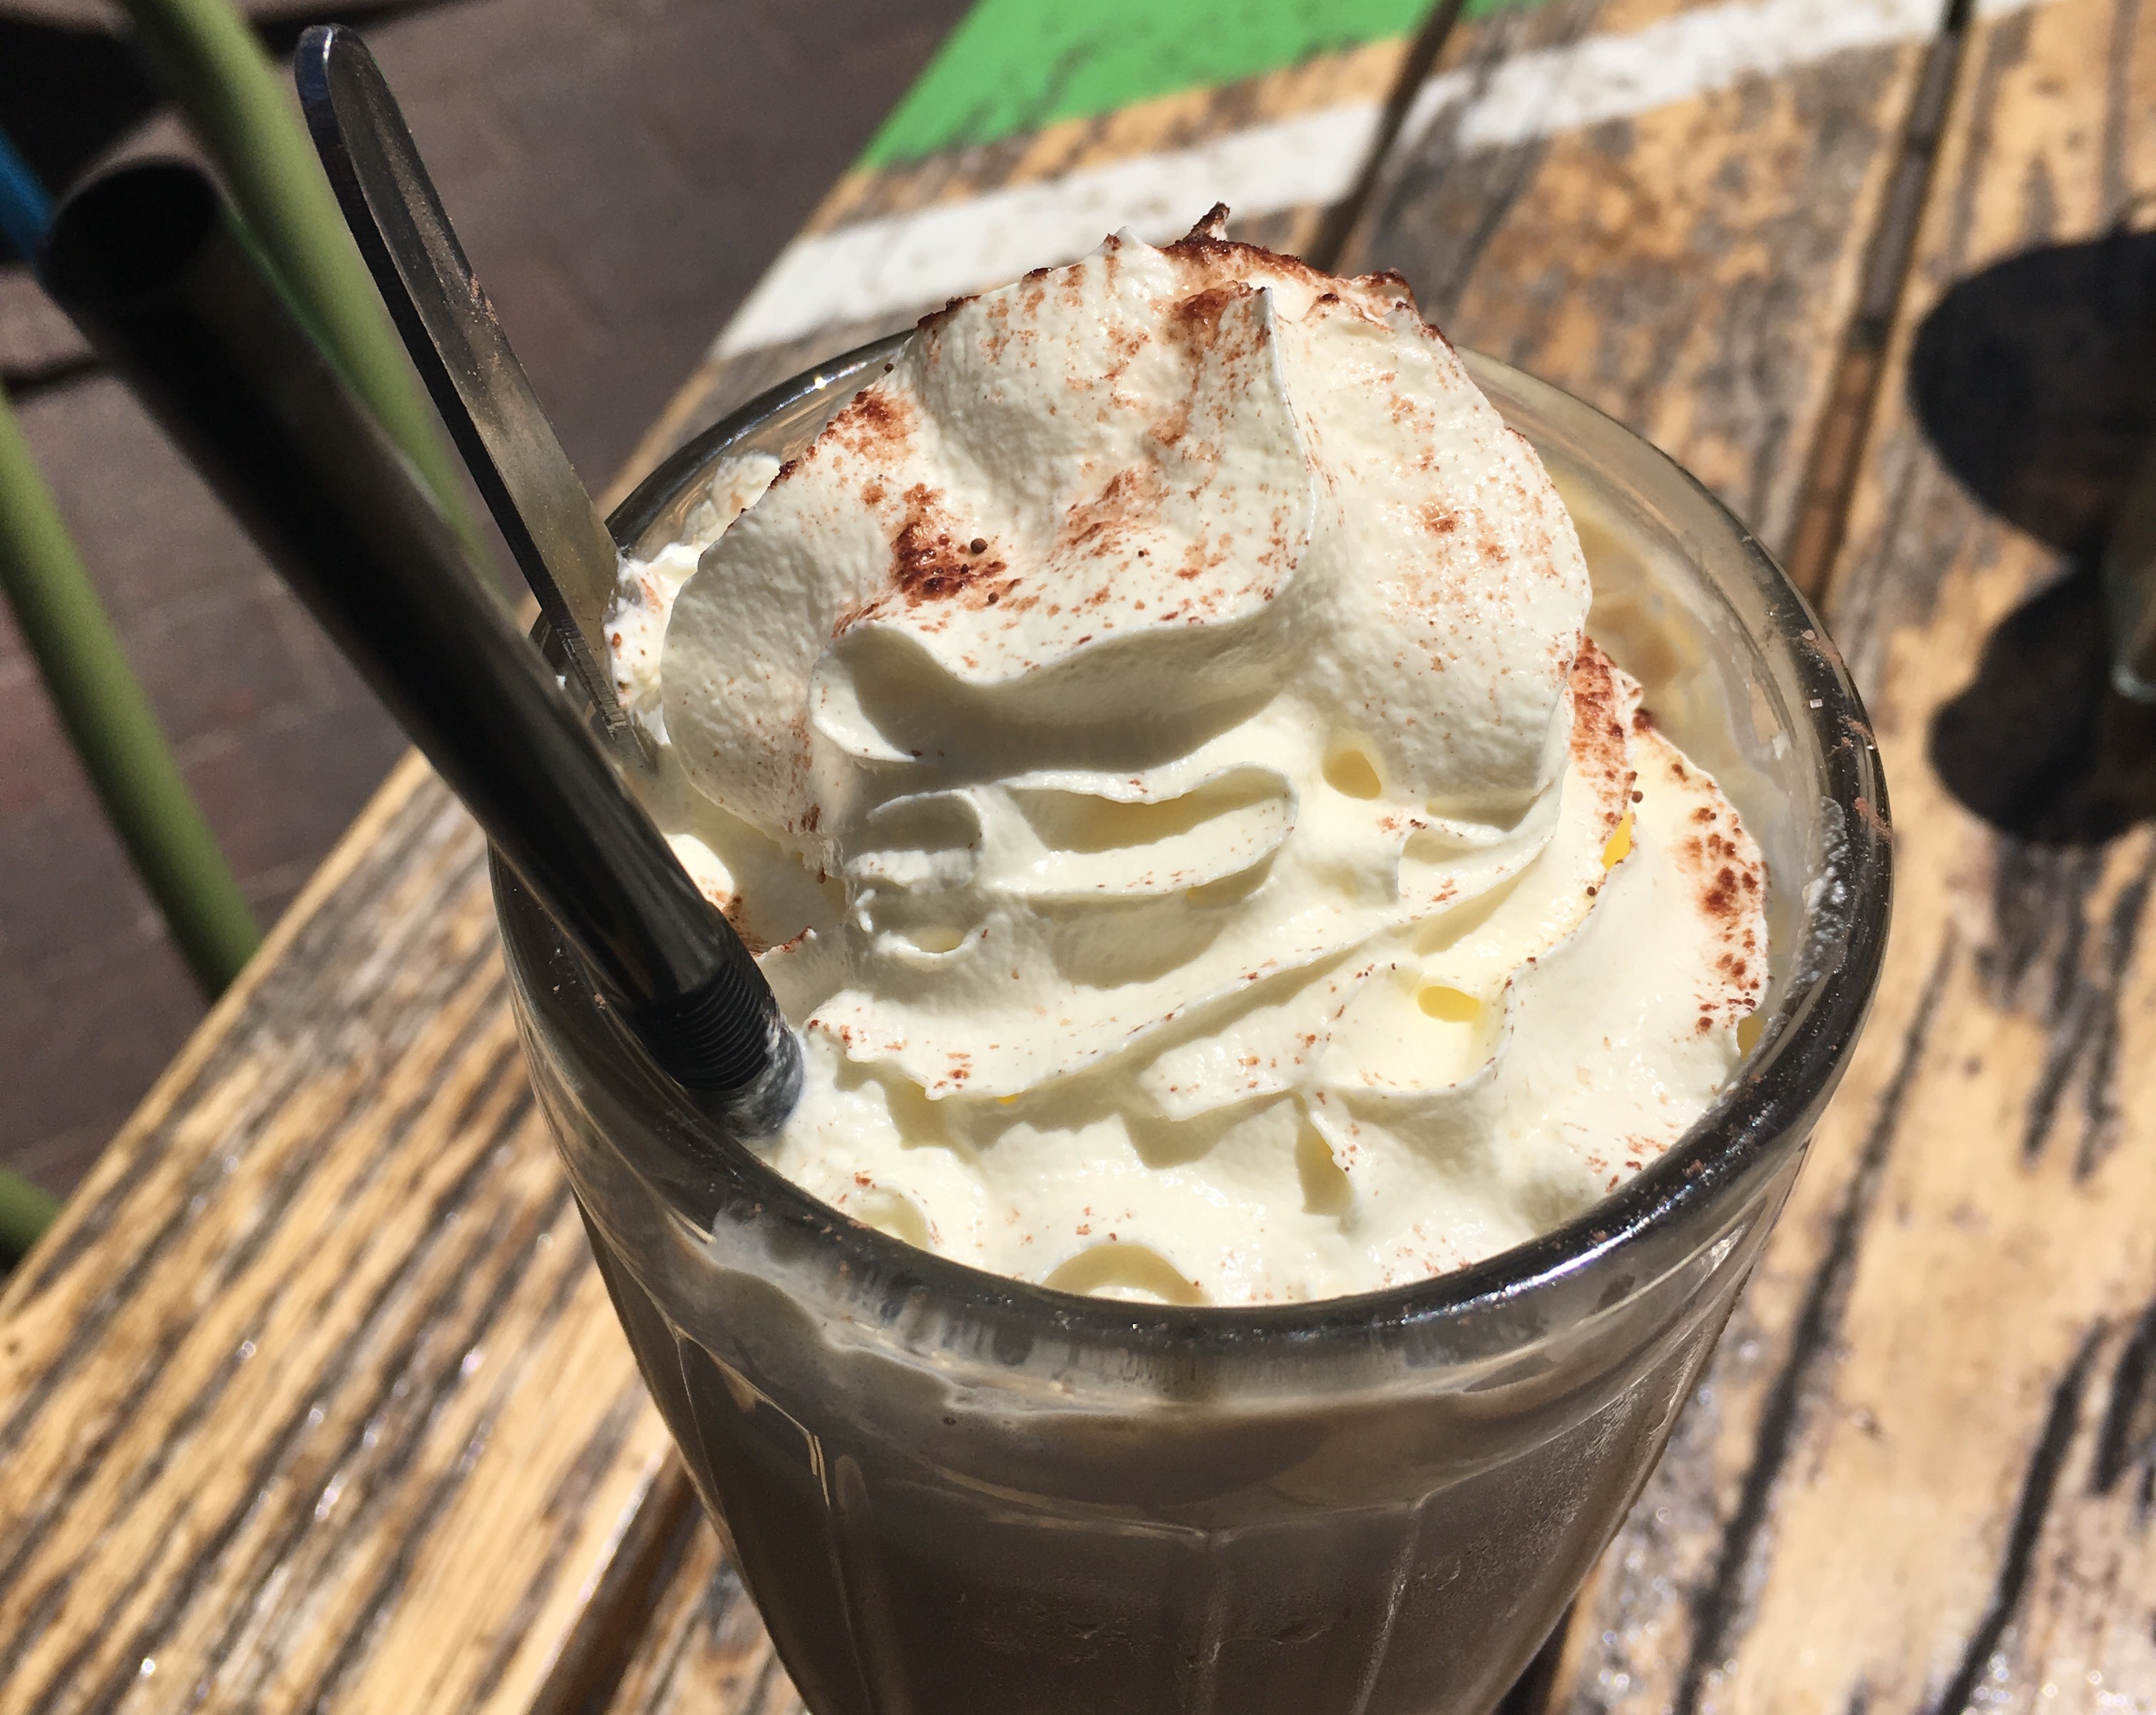
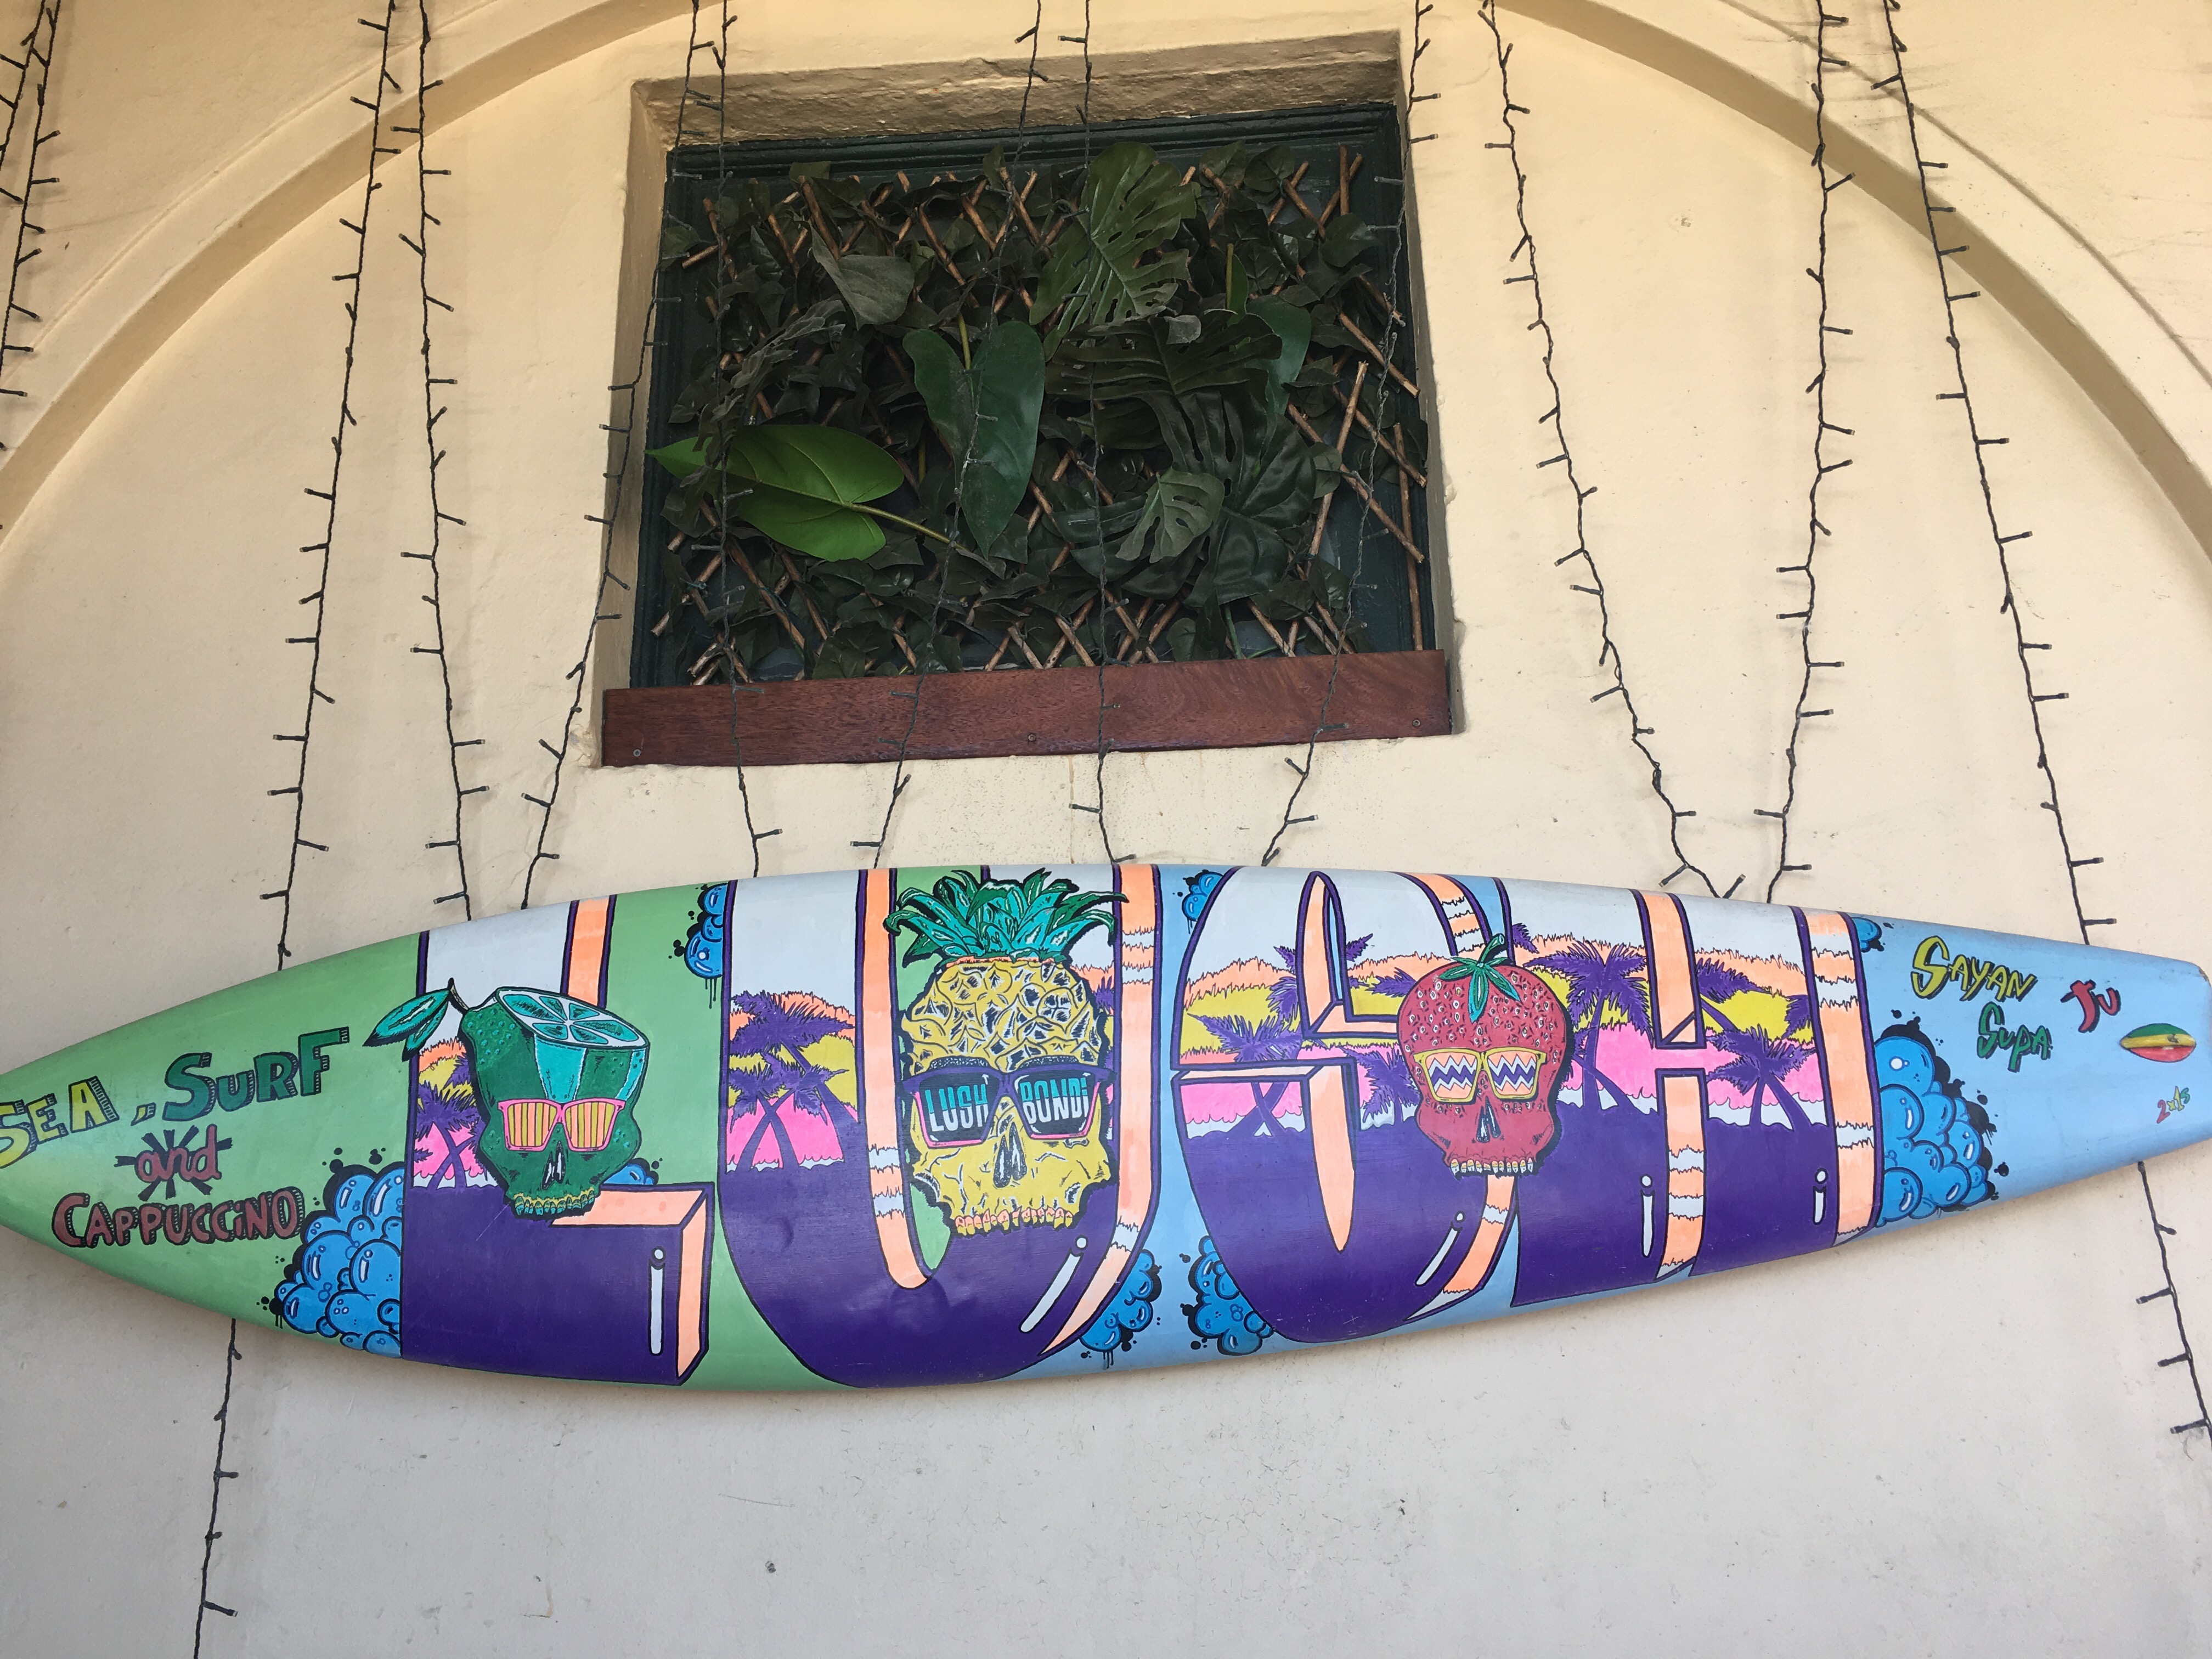
 Round Mackenzies Point and  enjoy the final stretch to Bondi Beach. Bondi is a surfer’s paradise and you’ll likely see hundreds in the water at any one time. After strolling past the beautifully painted cement wall that separates the grass and sand at Bondi, stop at Lush Cafe to reward yourself with a snack and libations.

You could easily end the night here by watching a movie in the park or grabbing dinner at one of the dozens of restaurants on Campbell Parade, but if you’re up for it, you could also stroll back once you’re feeling refreshed.


If you decide to walk back, which you should because the sun hasn’t set yet, end your night at Coogee Pavilion. It’s an enormous restaurant with multiple bars and a ton of game and play areas for families downstairs and lots more ocean view seating upstairs for a calmer chill, outdoor garden type of vibe.

After dinner and drinks, you’ll probably have to crawl back to the car, but I know it was worth it.

Pack a bag, tie up those trainers and hop on the coastal walk and remember, jumping off the path occasionally makes the experience last longer and fuels you for that next flight of stairs so take my suggestions and nibble, drink, meditate, swim and play along the way. Enjoy!

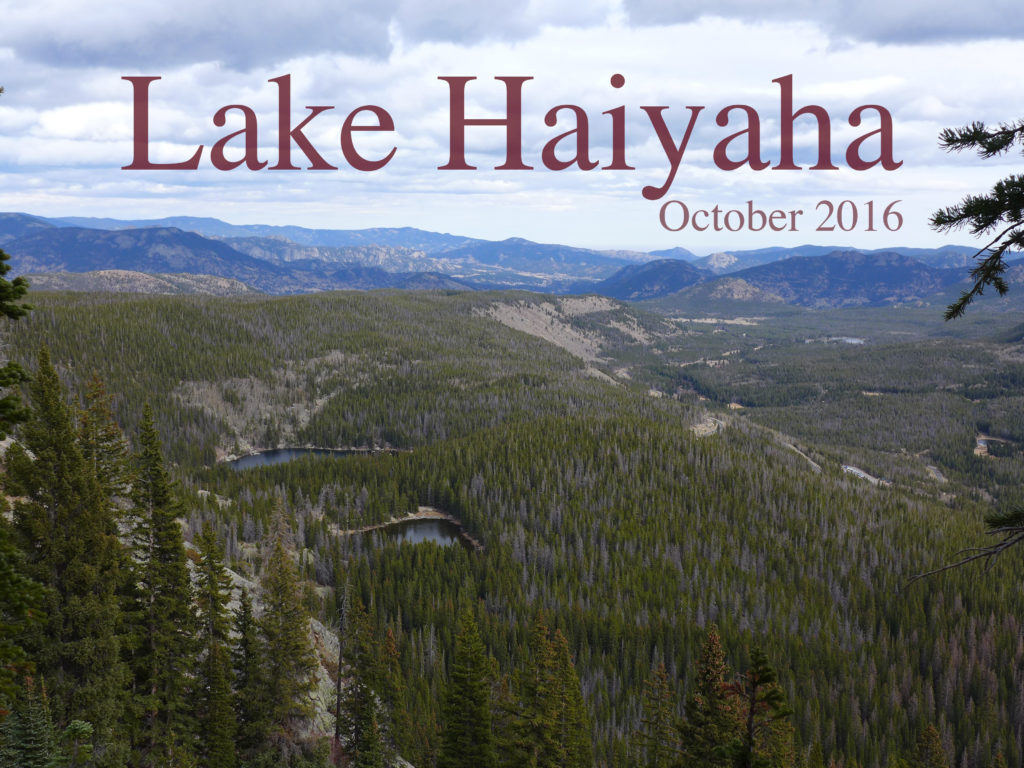
Lake Haiyaha Hike

We like a good hike, and every once in a while we have the chance to hike slow, take pictures, and share the adventure with you. You can check out some of our previous Colorado hikes here.

liveseasoned_haiyaha16b

These are photos from a hike that we took a few months ago, and I just happened to find them here in an unpublished post. I was so sure that I wrote about this hike, but a few searches finally convinced me that I’m crazy.

Continue reading

Mitchell Lake Trail

We like a good hike, and every once in a while we have the chance to hike slow, take pictures, and share the adventure with you. You can check out some of our previous Colorado hikes here.

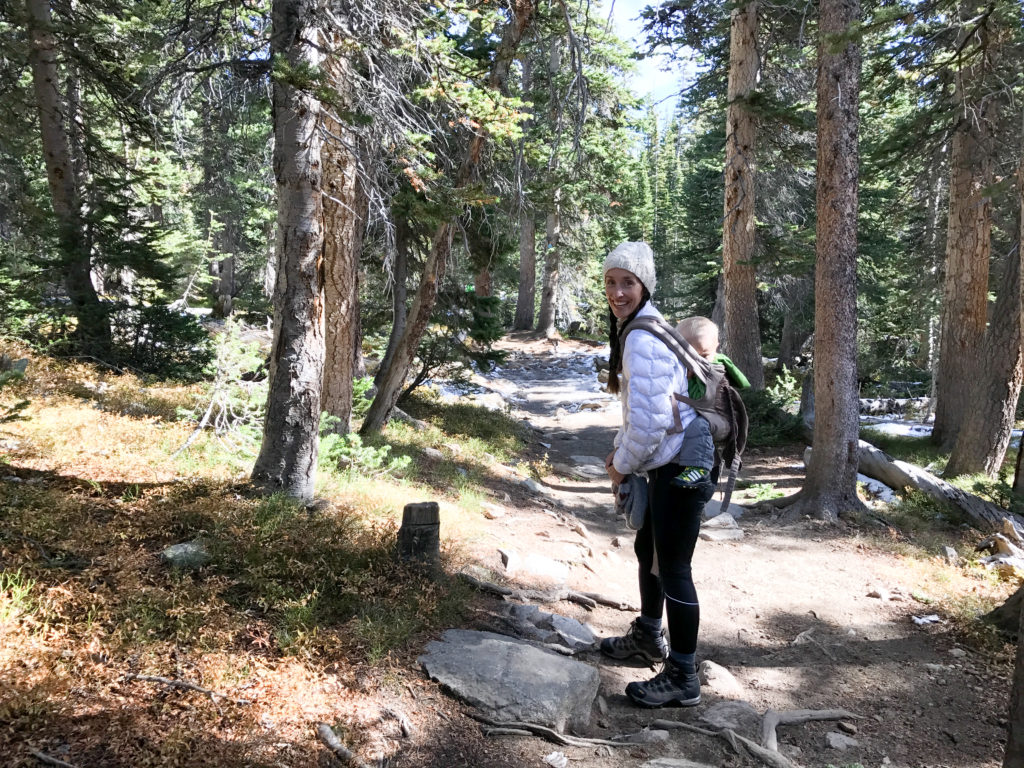
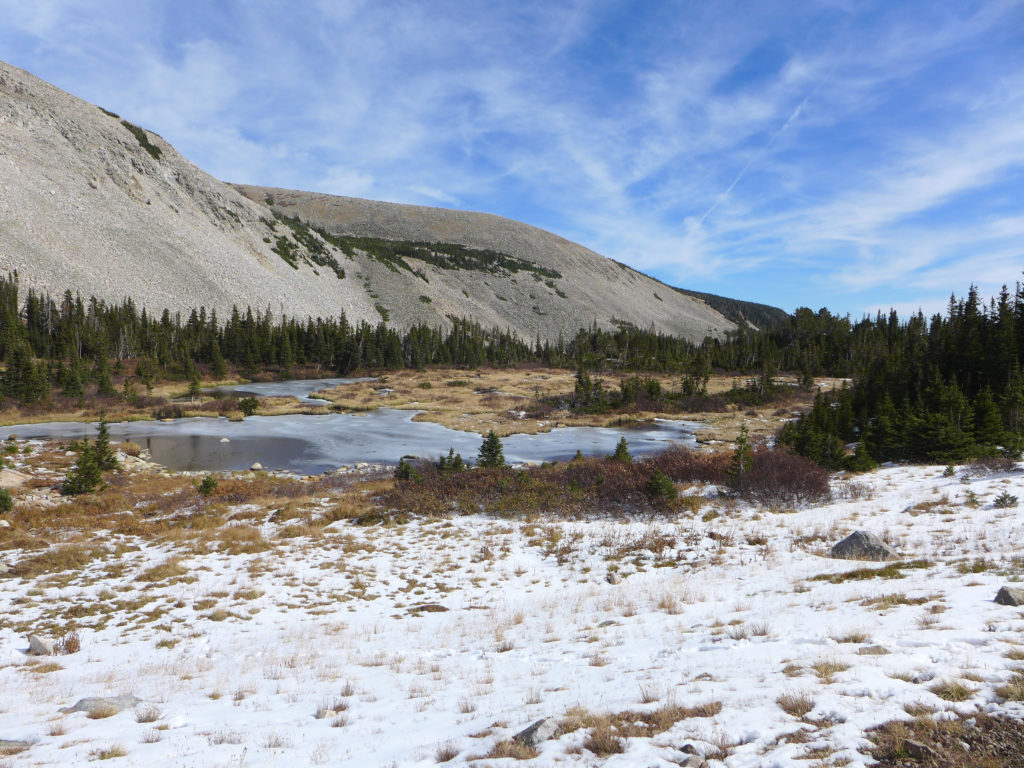
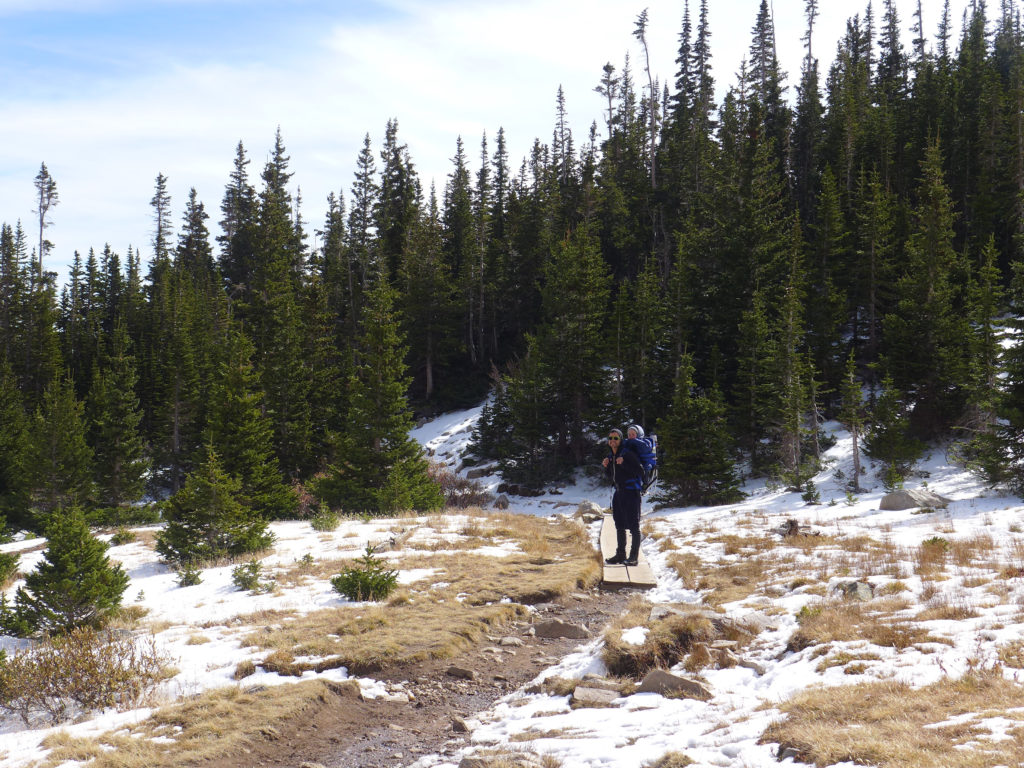
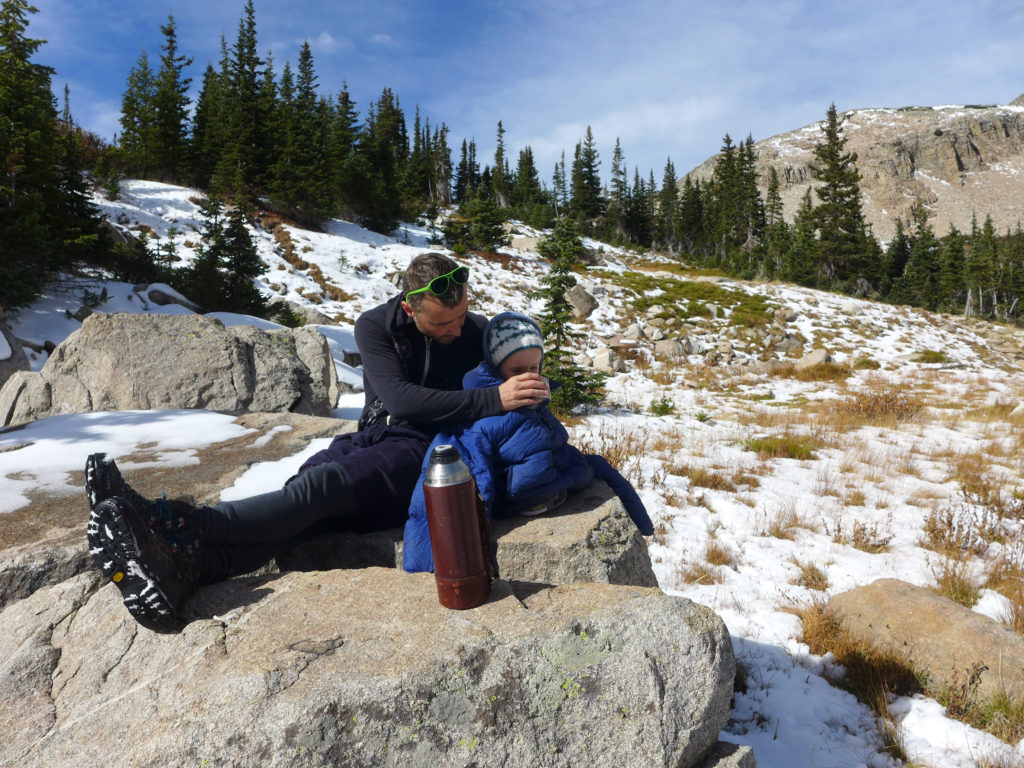
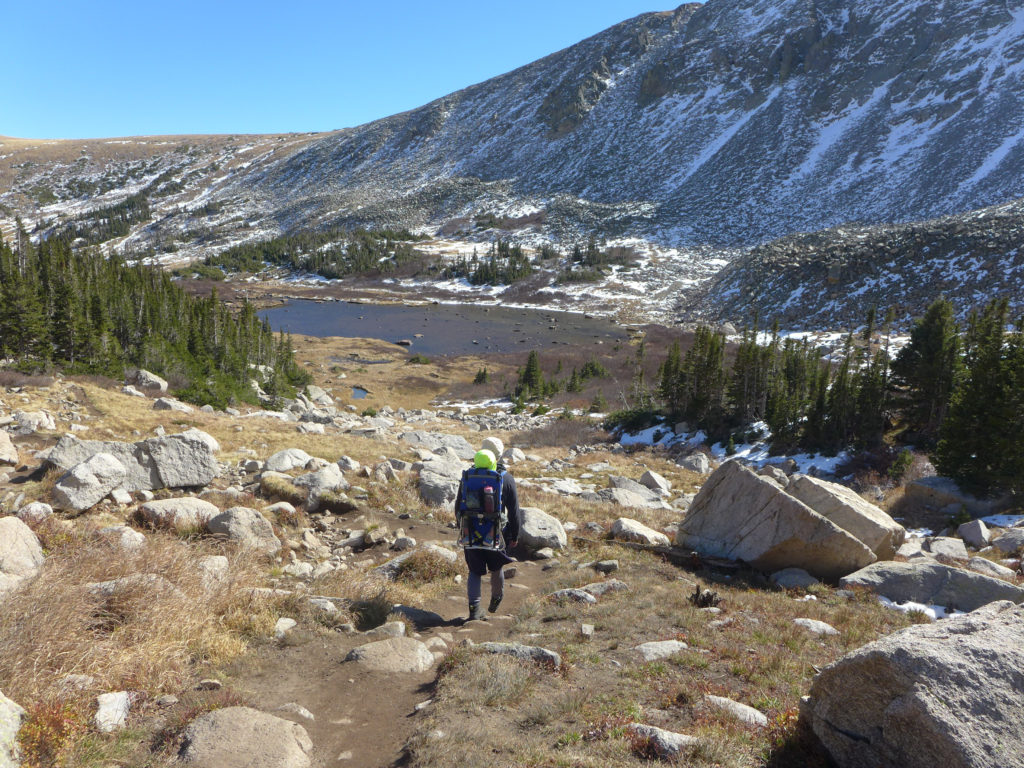
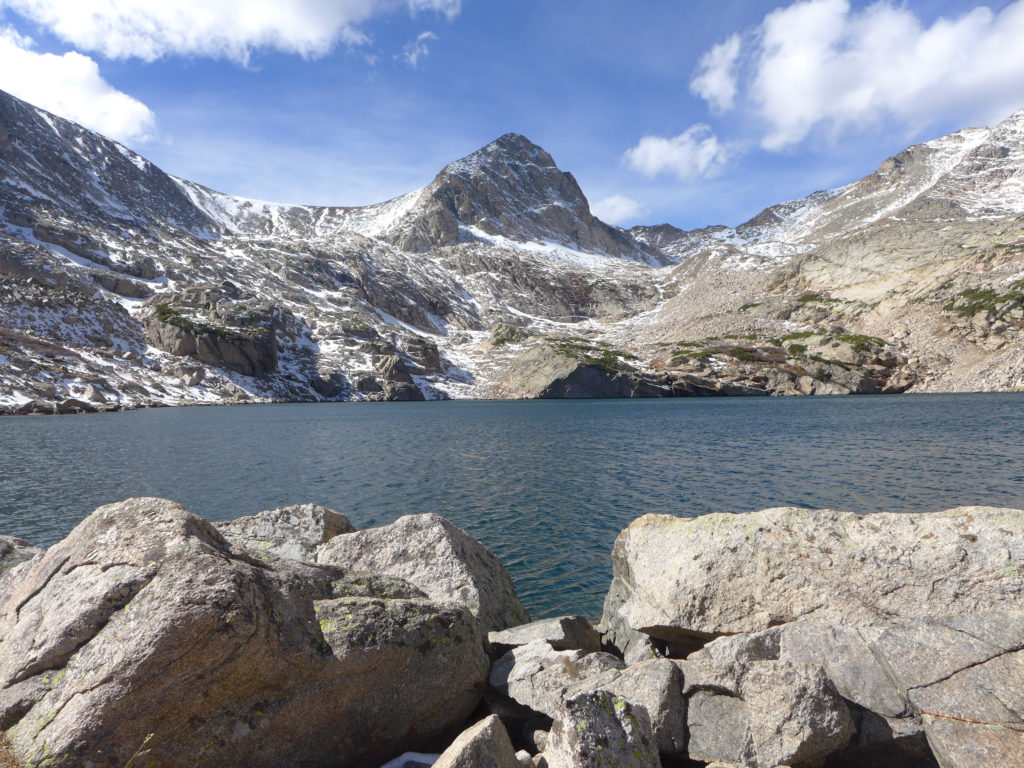
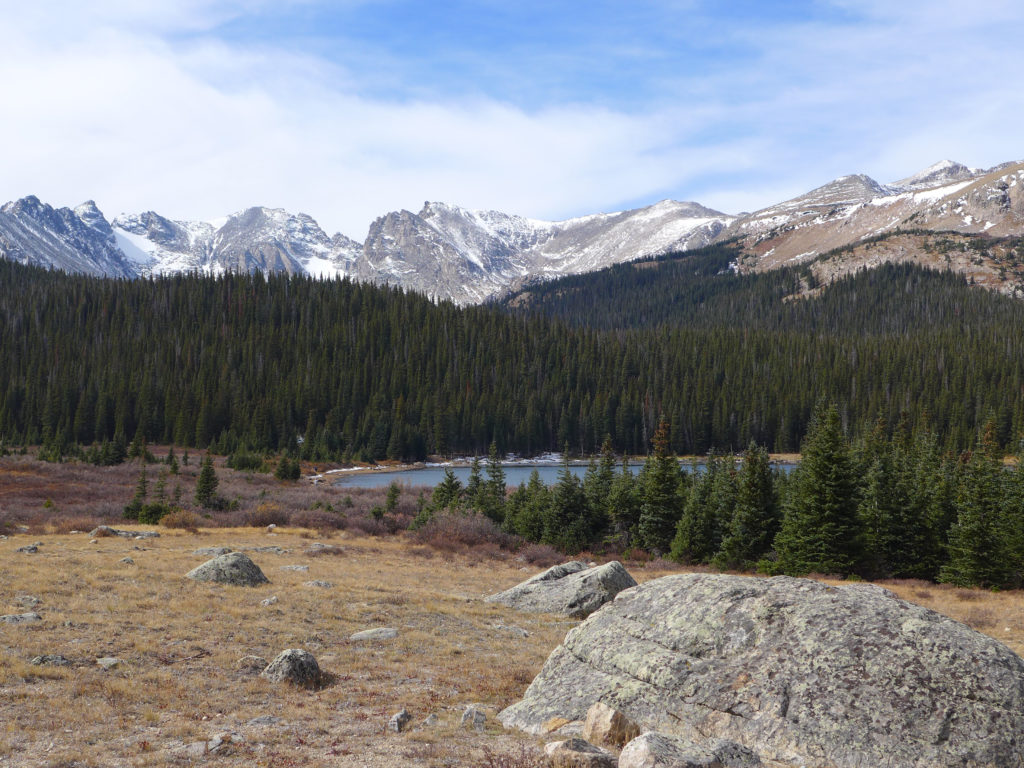
For the past two weekends, we’ve visited Brainard Lake Recreation Area and set out from the Mitchell Lake Trailhead. On our first trip, we did a short hike to Mitchell Lake, took a rest to have some hot chocolate, and then turned around. Yesterday we set out with the goal to make it all the way to Blue Lake, and we did!

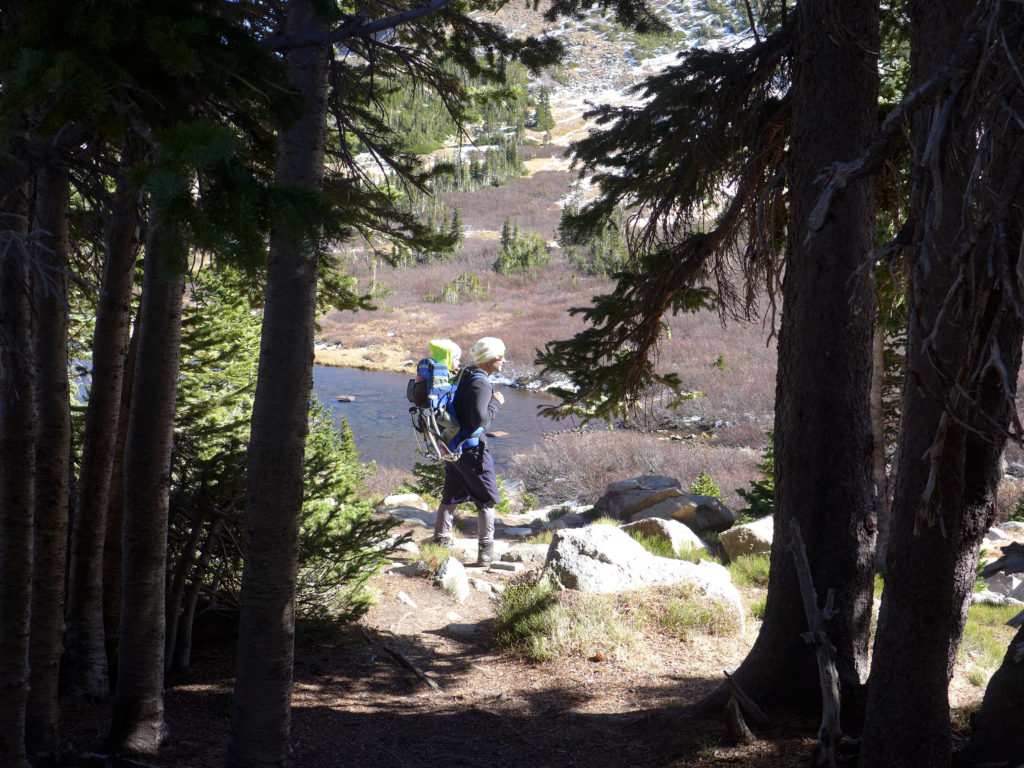
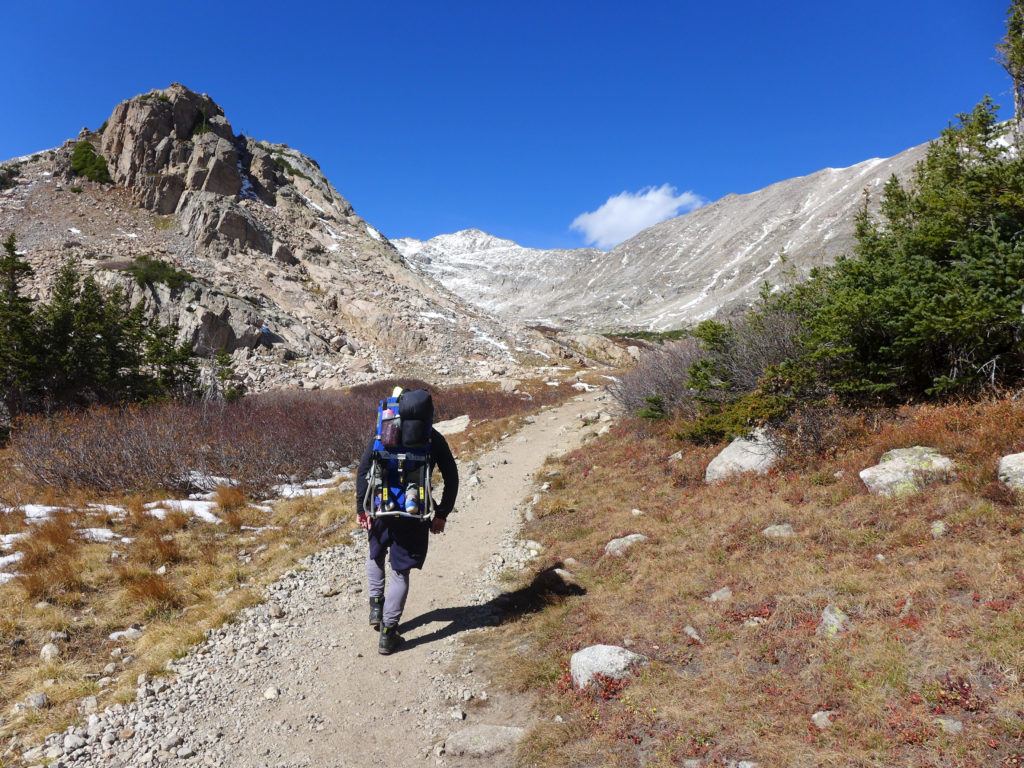
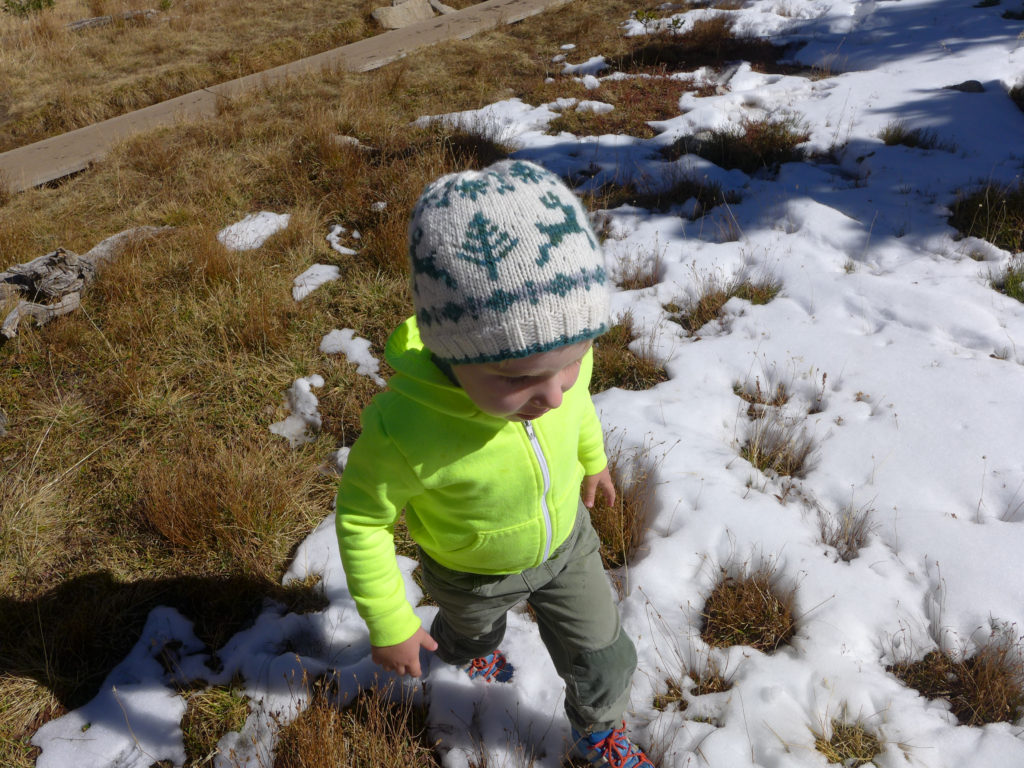
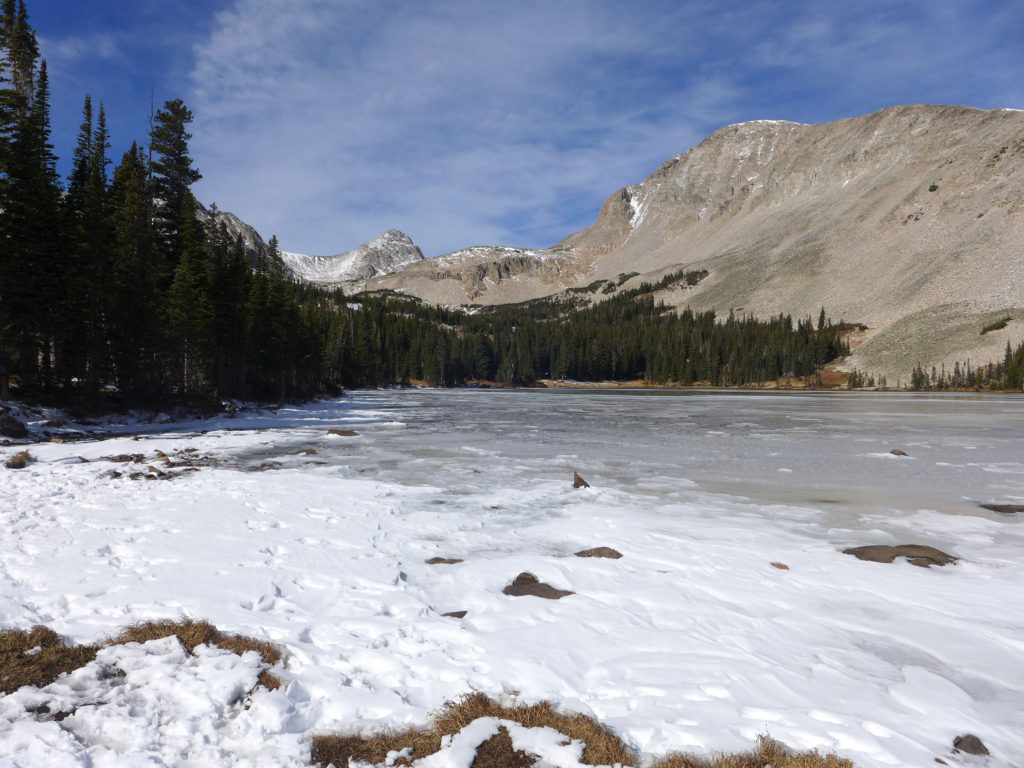
As in the tradition of our previous hike posts, I wanted to share some photos and a brief overview of the trail. These photos are from both trips and in no particular order, but they give you a great sense of what the trail is like during mid October.
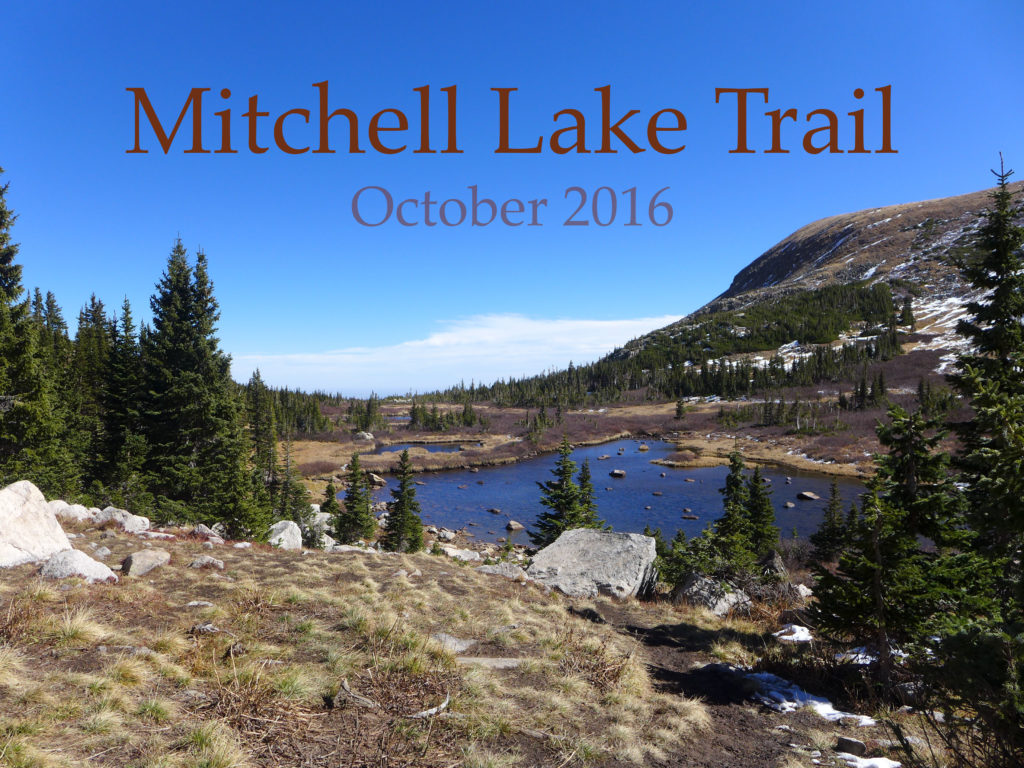
mitchell_lake3b

mitchell_lake10

mitchell_lake20

mitchell_lake15

mitchell_lake7

mitchell_lake4

Trail Location

The trail starts within the Brainard Lake Recreation Area, but quickly leaves that area and continues on into the Indian Peaks Wilderness Area.

Brainard Lake Recreation Area is open to vehicles from June – October, but the exact opening and closing dates vary each year based on the weather. The entrance fee is on a sliding scale from $1 if you’re walking to $10/car, BUT you can access this area for free with a Nation Parks annual pass. When the area is closed during the winter, you can still park at a lot near the entrance and then enter the area by foot/ski/bike.

During the summer months, you can drive into the area and park at a number of lots. There’s a day-use lot near the main lake that often has spaces, and then there are two smaller lots near the Long Lake and Mitchell Lake trailheads, but in our experience, both of these fill up fairly early and remain packed throughout the day.

If possible, park at the Mitchell Lakes Trailhead and you’ll be able to quickly access the trail, if the lot is full, you’ll have to park in one of the other lots and walk over to the trailhead.
mitchell_lake11

mitchell_lake12

mitchell_lake14

Trail Overview

The hike to Mitchell Lake is just under a mile, and it’s another 1.6 miles to reach Blue Lake. These are both out-and-back destinations, making the round-trip hike to Mitchell approximately 1.8 miles and the hike to Blue Lake five miles. The altitude at the trailhead is approximately 10,500 ft, with a gradual climb of just 200 ft to Mitchell Lake and then reaching a final altitude of 11,300 ft at Blue Lake.

This is a popular, well-worn trail that is easily visible when there isn’t much snow on the ground. I’m not sure what it’s like when covered with snow, and while there were some markers in the trees, I didn’t pay close enough attention to notice how well-marked it was.

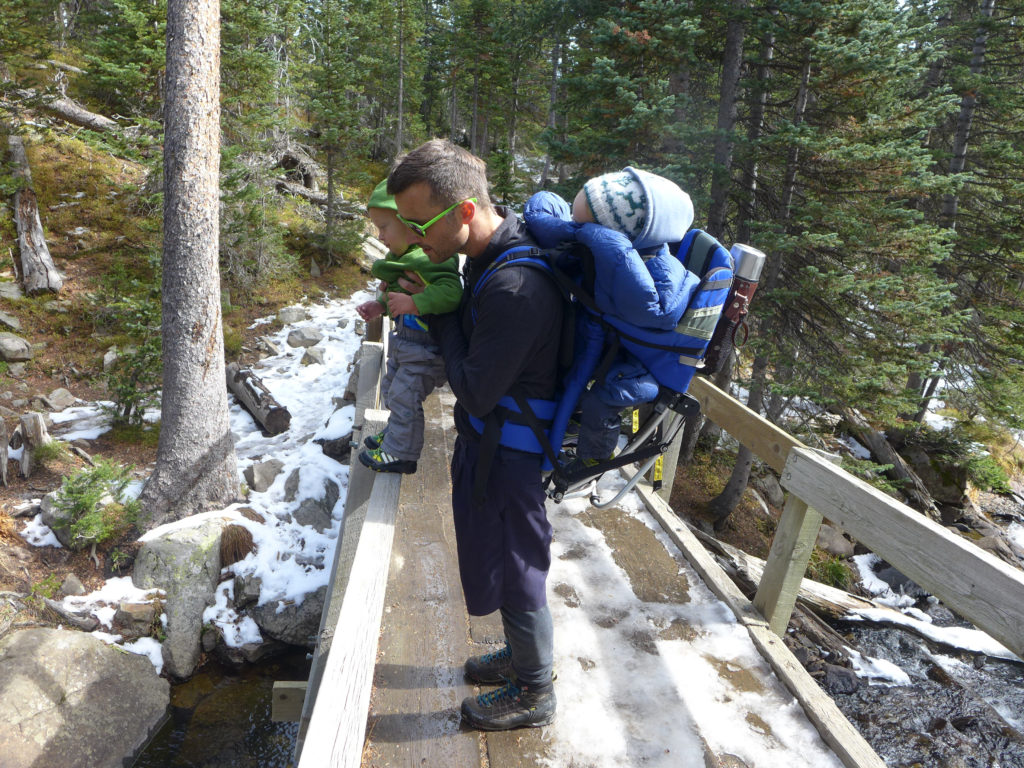
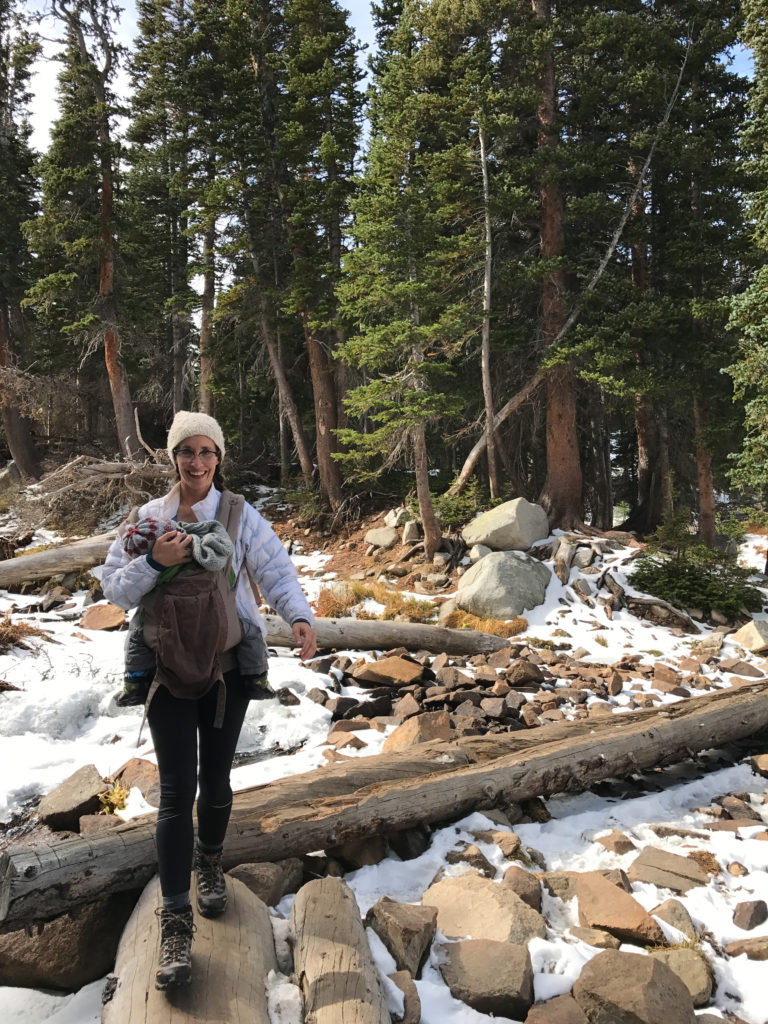
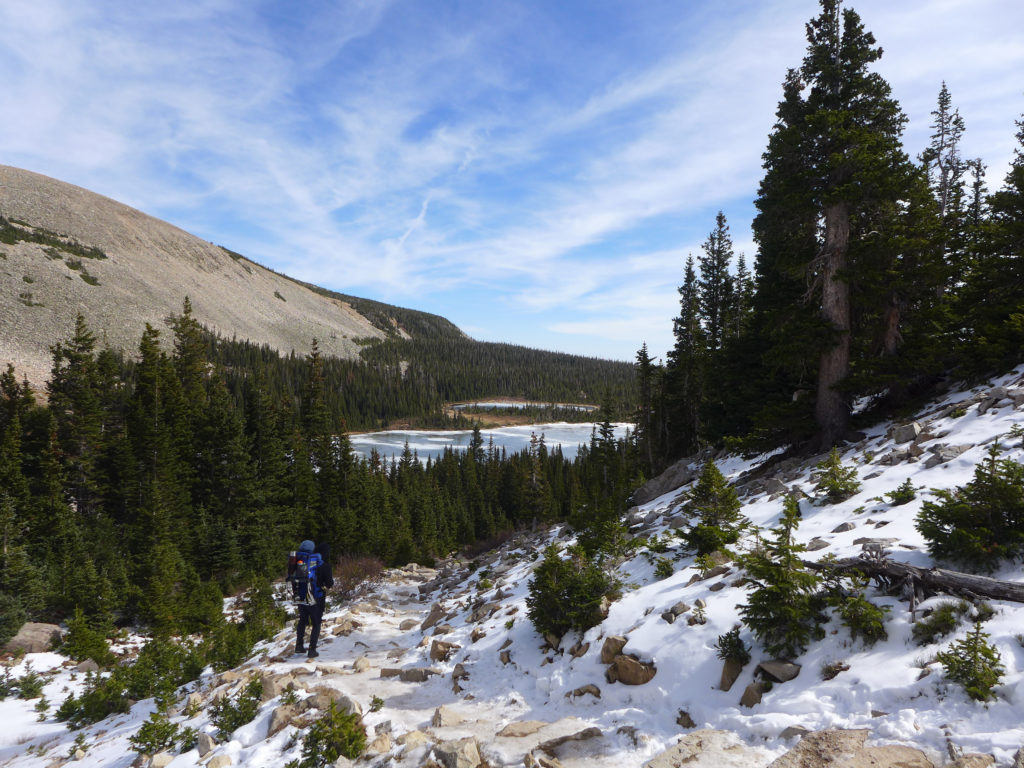
Near the base of the trail, hiking is relatively easy with that slow, gradual climb to Mitchell Lake. There is one large stream crossing over a short wooden bridge, and then another crossing over a wider stream with fall logs used as the bridge. In other segments, planks are used to keep hikers out of boggy areas. There are some steep areas where climbing the rocks is similar to climbing a steep set of stairs, with an increase in the portion of steep climbs as you approach Blue Lake.

During our first visit, there was some snow on the trail that had been tramped down and turned to ice, making some areas slick, but the following weekend this ice had melted, making hiking much easier. It was a nice reminder of how quickly weather and trail can change at that altitude.
mitchell_lake

mitchell_lake2

mitchell_lake17

Hiking with Kids

Young kids (4 to 8 year olds) should be able to hike to Mitchell Lake with minimal help but would likely need help making the full trek to Blue Lake. Older kids 8+ should have no trouble with the full hike. *** Having only 3.5 and 1.5 year olds, I may have to go back and revise those numbers as we continue to test the trail, but this is based upon the kids we saw out on the trails as we hiked.

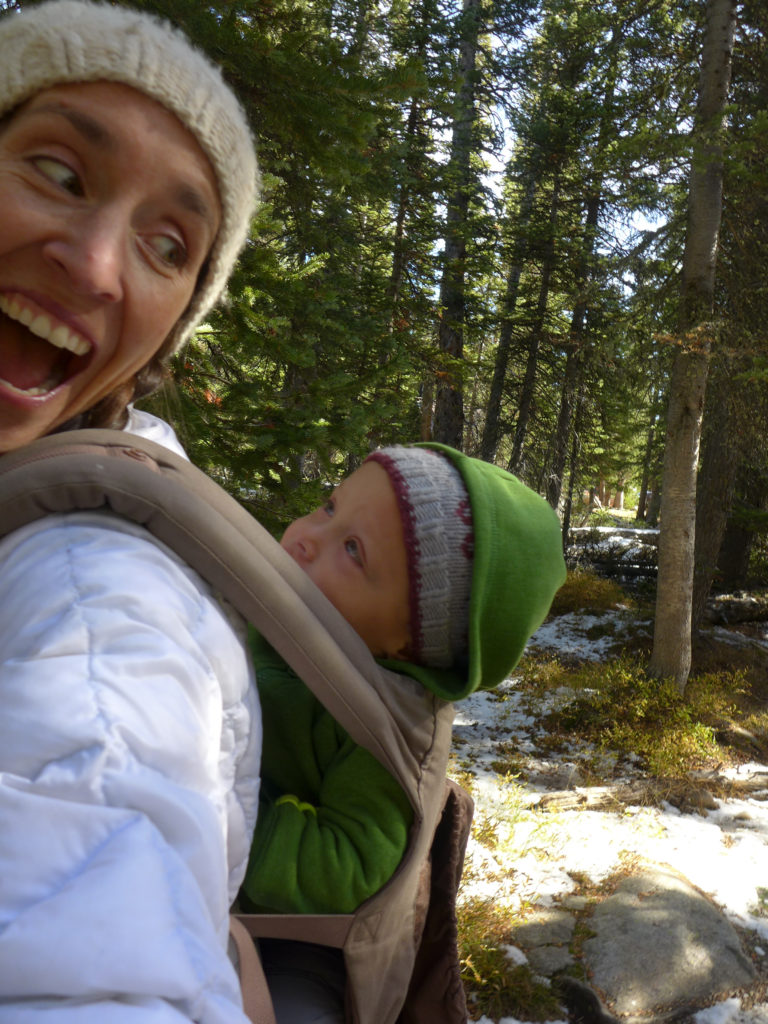
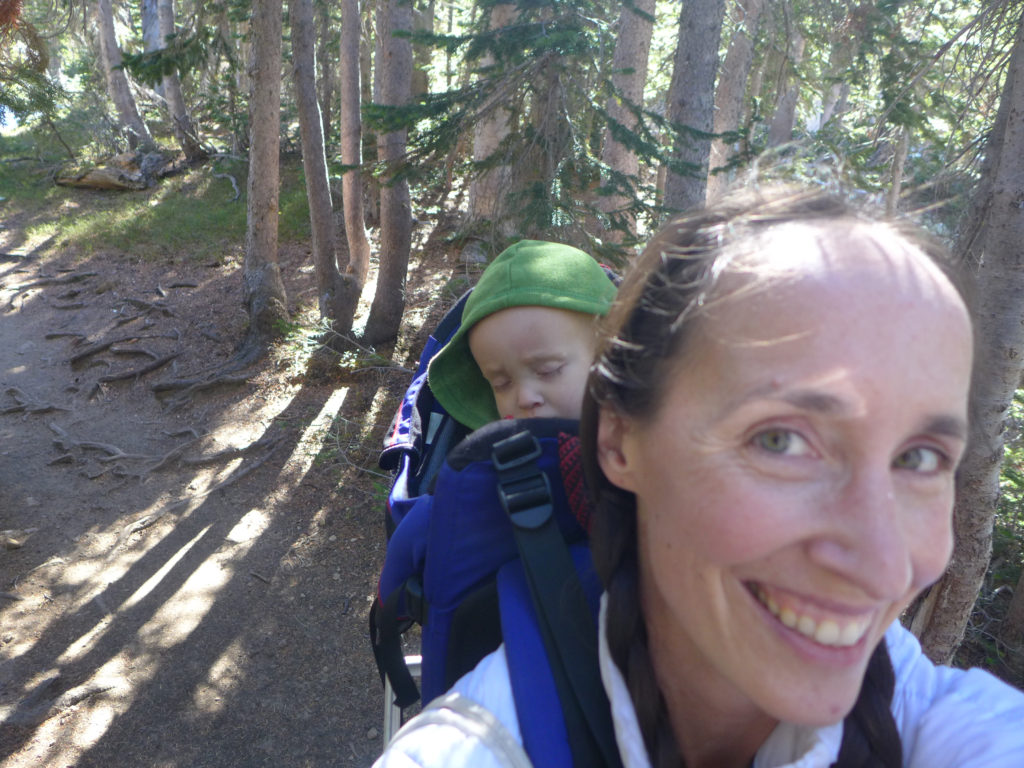
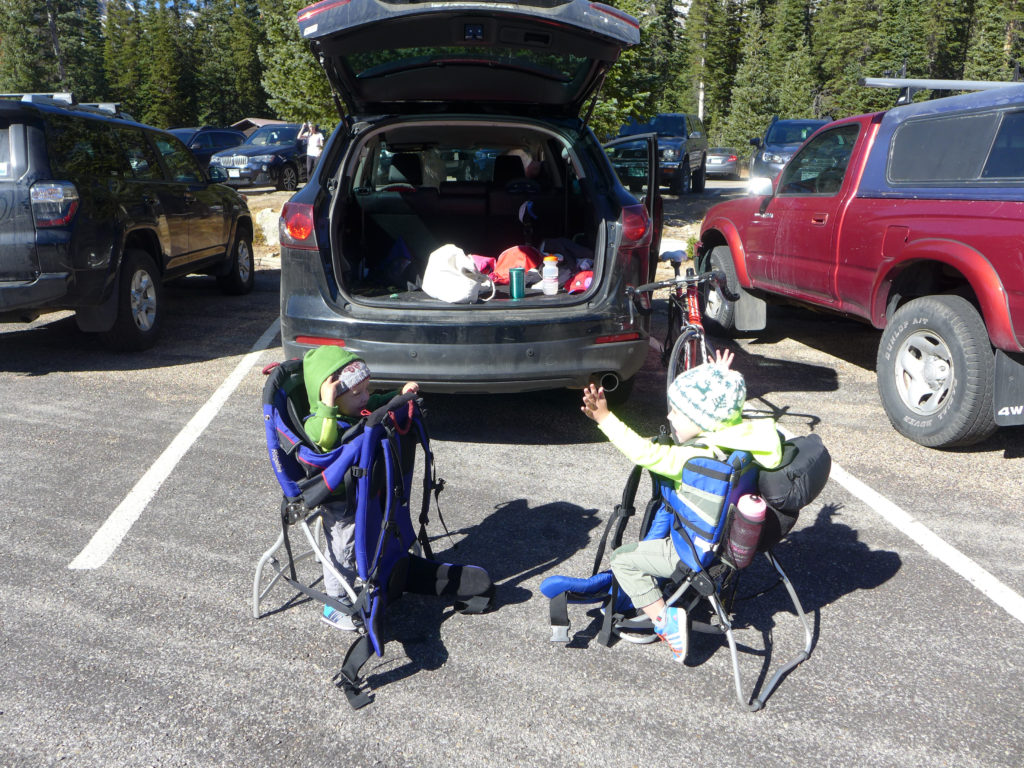
We ended up carrying both of our kids during both hikes. The first weekend it was because they were a bit under the weather, and the second weekend it was because we set out with the goal of the longer hike.

And I don’t know about your kiddos, but anytime we pull out a thermos of hot chocolate during a rest, they are happy hikers and totally oblivious to any chill in the air (pro-tip there)!
mitchell_lake9

mitchell_lake16

Dressing for the Trail

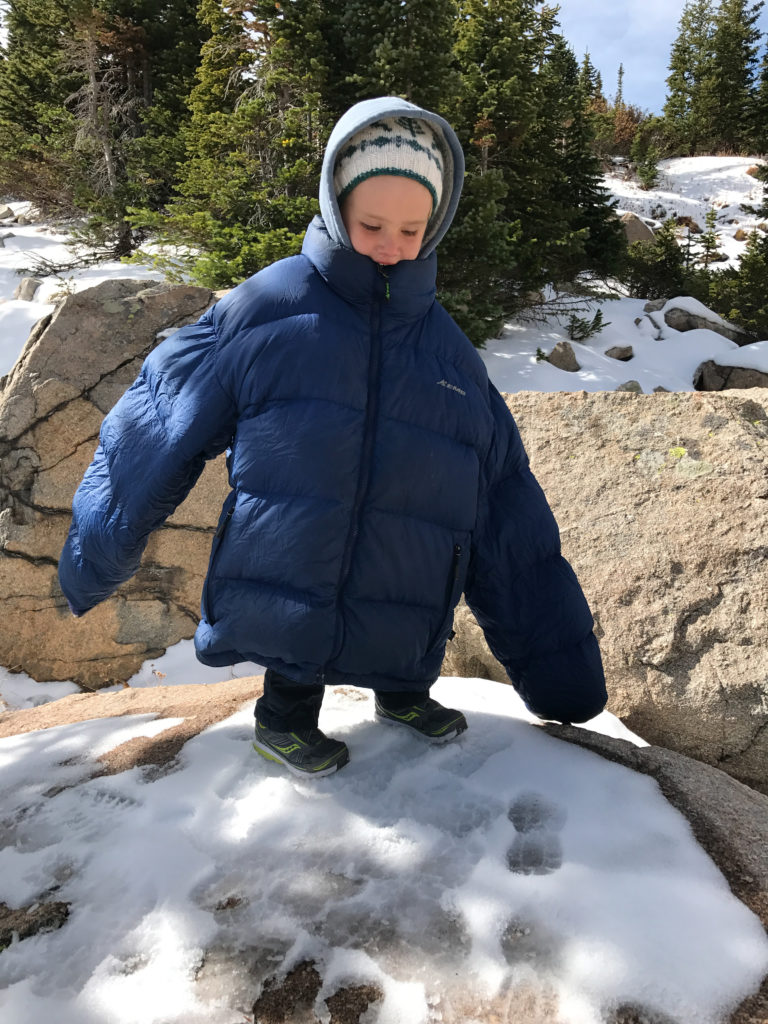
At this time of year (and almost any time!), it was really helpful to dress in light layers. I wore spandex on my bottom and then a tank, wool thermal, and a light down jacket on top. Calder did something similar. The boys wore lined pants, shirts, and hoodies. They could have been dressed a bit warmer, but we also used our down jackets to bundle around them when they were cold in the packs, which worked out well because it was often when we were hot from hiking and carrying them. We all wore wool hats that we put on and off all day.

It was particularly cold and windy at Blue Lake, but since we weren’t staying there long, it didn’t make sense to carry along extra layers just for that rest stop.

And don’t forget sunscreen! While there are some segments with plenty of shade, there is a lot of sun shining on much of the trail.
mitchell_lake19

mitchell_lake13 mitchell_lake6

mitchell_lake5By now, Calder and I both know that we live in a beautiful state, but even so, we couldn’t stop gushing about these two weekends spent hiking the same trail. We’re so glad we explored and now we’re anxious to hike it when the wildflowers are at their peak next summer. We’re also excited to have this hike at the ready the next time we have adventurous visitors in town.

If you’re in the Boulder area, this hike and the whole Indian Peaks area is definitely worth your time. Just know that everyone else loves the area too, so try to get there early before the lots fill up. Good luck!
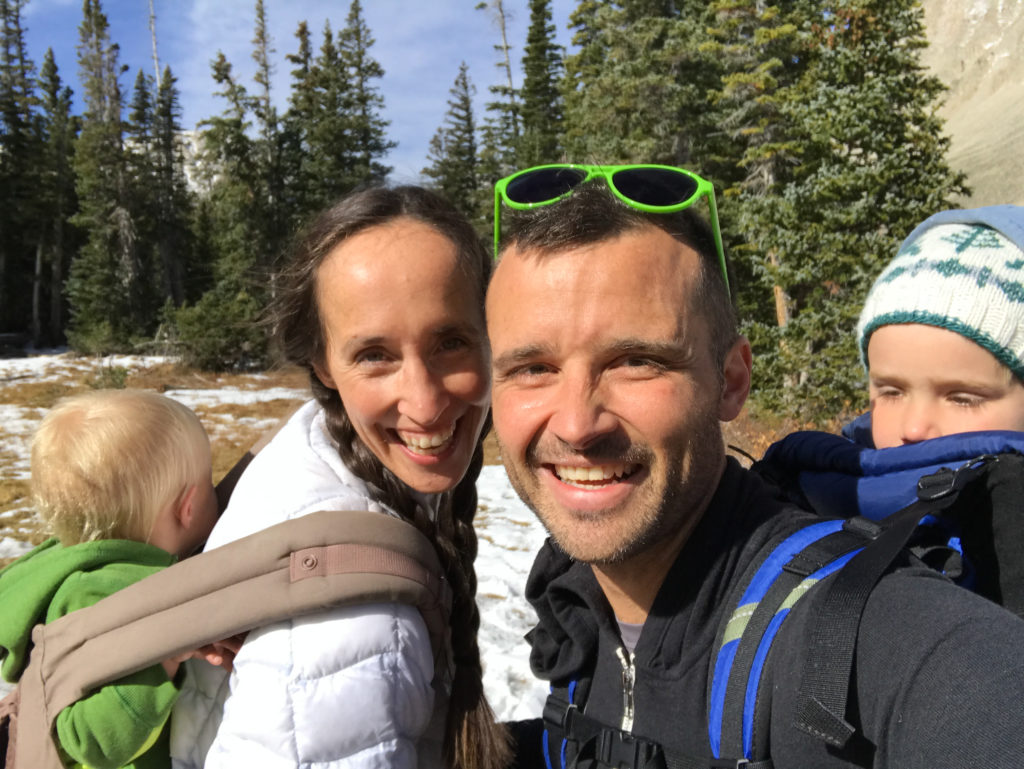
mitchell_lake18 mitchell_lake21

Five Ways to Have a Better Day

With my recent travel mishap, I’ve been thinking about moods and emotions and the power we have over them. I must say, I have the ability to become gruuuuumpy.  Nine times out of ten it’s because I’m hungry or tired and once I realized this correlation, I was amazed at how easily I could control my mood for the better.  It’s like once I recognized the problem, I was able to address the effects of it even if I couldn’t immediately solve it.

Admittedly, some days I have no idea what the problem is. I wake up and wish I were still sleeping. It could be attributed to something in my work life or maybe my student loan bill is due or maybe my personal relationships are troubling me, but whatever it is, an easy solution isn’t always present and I just want to lay under the covers for a few more hours.  Ultimately that makes me feel even worse.  Ignoring the day is no way to go about creating a happy life. It’s important to check in with yourself, acknowledge your pitfalls, but ultimately to shake them off, get out of bed, and get on with your day.  Easier said than done, right? I’m hoping these five ways to have a better day will have you up and at ‘em before you remember what’s troubling you.

DSC_0640

Take a moment and a mantra – Take a few deep breaths. I’m talking deep, belly breathing, breaths. Choose a mantra for the day and remember to talk to yourself like you would someone you love. If your bestie was having a rough day, what would you say to him or her? Decide on a few wise words or a mini goal, for instance: I am compassionate, I will use my actions to help others feel loved today, or whatever you think you need to hear and repeat that three times. I try to think of whatever I’m dreading for the day, maybe it’s completing a project or a deadline, and gear my mantra towards that goal: I’m creative and productive. My work is valuable and appreciated. Whatever you need to hear, say it to yourself, don’t wait for someone else to acknowledge your struggle or congratulate your triumphs.

Call an amigo – Even though I’m not really a phone person, talking to a friend or family member helps immensely.  Sometimes we all fall into a funk and we need a familiar voice to pick us up a little bit. It’s okay to reach out when you’re feeling stuck, chances are the person on the other end of the line has been there or is dealing with something else at that very moment.  You could be doing them more good than you know.

Spend five minutes enjoying nature – It is proven that a few minutes outside will improve your mood. Don’t wait until lunchtime to sneak a moment in the sunshine, go outside right now.  Spend five minutes taking in your surroundings.  Listen for birds, insects and frogs.  Notice the trees that you see.  Can you name any of them? Acknowledge the growth and decay all around you and appreciate both. Enjoy the absolute absurdity that is life on earth.

Drink Michael’s Secret Stuff – Drink a big glass of water, tea, coffee, kombucha, fruit juice, whatever is your favorite go to beverage, gulp it up.  Offer your body a bit of hydration to kick start your day. Water has the amazing ability to improve your mentality and energy levels.  If you’re fueled up, you’ll certainly function better so start with a big glass of h2o. Oh and if you didn’t get the Space Jam reference you need to reevaluate your life and re-watch the movie 😉

Work up a sweat – Get the blood flowing. Even if you start your morning with one sun salutation, your body will thank you. Stretching and sweating releases endorphins, which in turn improve your mood. When we’re feeling bummed, the last thing we want to do is go to the gym, but you don’t even have to take it that far. Simply lay down and do thirty crunches or hold a plank for thirty seconds.  After that try twenty lunges or squats, there is no way you’ll regret slipping in a few seconds of exercise and who knows, it may turn into an hour of sweating and stretching.

If that’s not enough, here’s a valid excuse to watch cat videos, which will definitely cheer you up!

Image by the loveliest lady

Colorado Hike : Eldorado Canyon State Park

We love to go hiking, and every once in a while we share our adventures on the blog. If you would like to see more hiking posts, click here.

liveseasoned_fall2015_eldoradohike1b

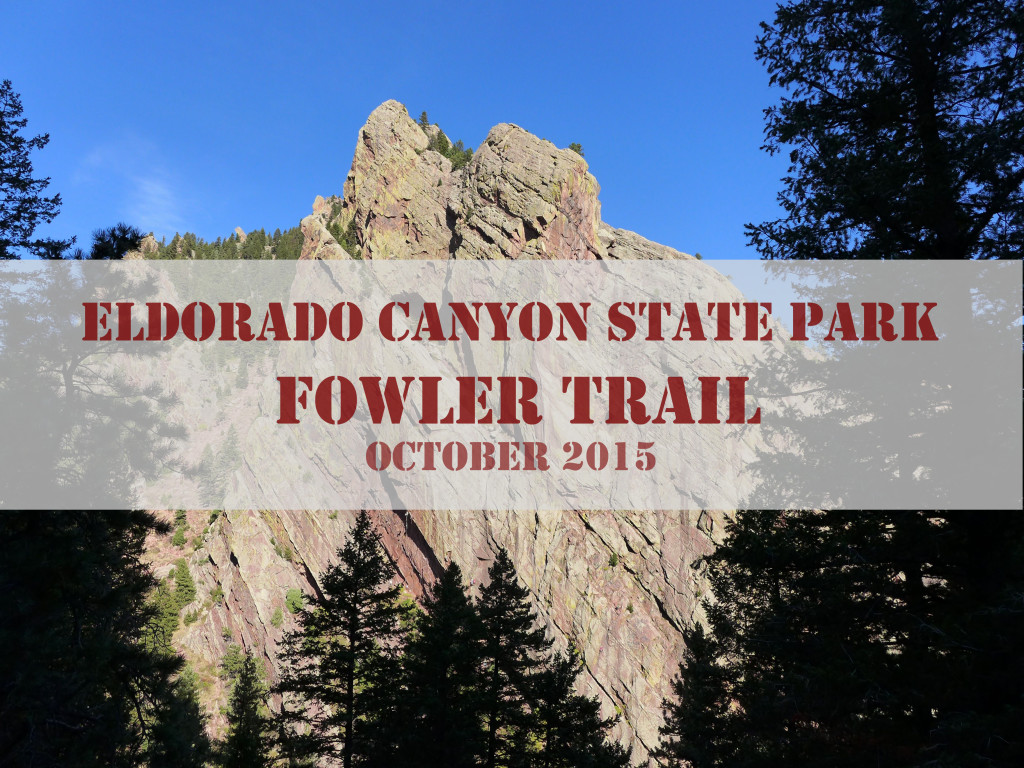
Last week a friend tipped us off to the awesomeness that is Eldorado Canyon State Park, in particular, Fowler Trail. As an active 2.5-year-old, Alex is really excited to get outside and do whatever we’re doing. Translating this to hiking, it means that he’s much happier walking along with us than riding in the backpack. Unfortunately, his little legs get tired fairly quickly, so I’m always on the hunt for trails that are not that steep or long. Fortunately, Fowler trail is both short* and relatively flat! As you’ll see in the photos, it also provides outstanding views of canyon walls filled with climbers, making it extra exciting for our little adventurer. One look at the climbers and he exclaimed, “wow, that’s wild!”.

Continue reading

Mt. Judah Hike

We like a good hike, and every once in a while we have the chance to hike slow, take pictures, and share the adventure with you. This is our first hike in California, but you can check out some of our previous Colorado hikes here.

liveseasoned_summer2015_mtjudah27_title

mt_judah_hike1

Trail Location:

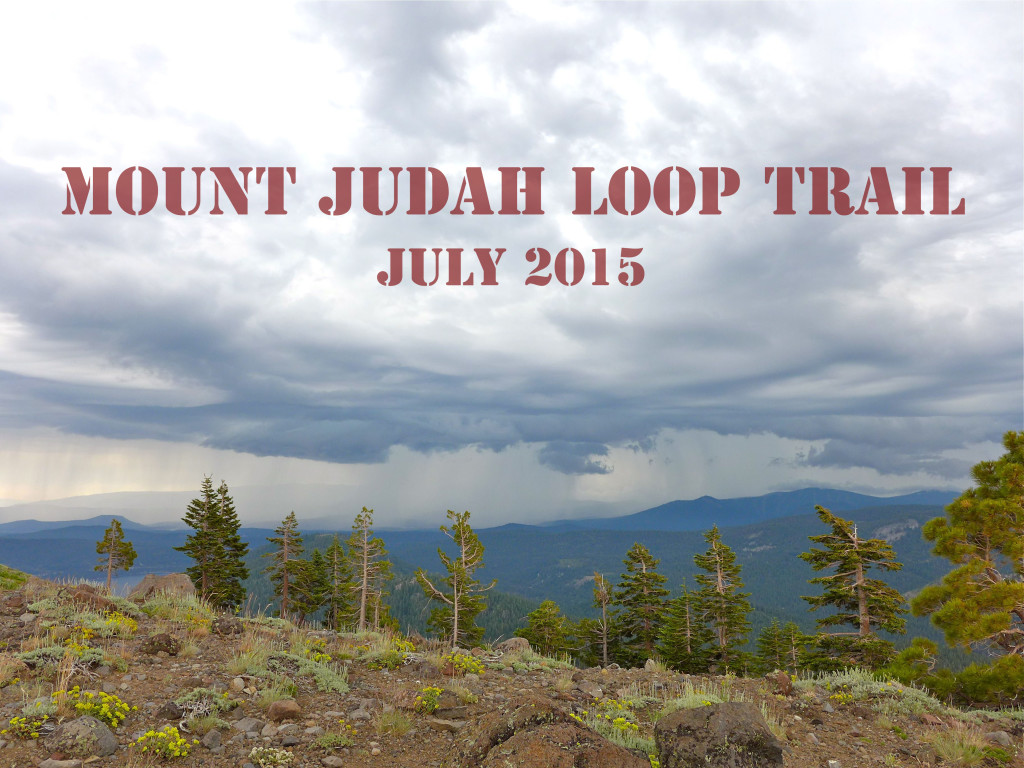
We found this particular hike in a book of trails that was in the house, but you can easily find information about it here and here. The trail is in the Northern Sierras, near Truckee, CA, and it’s just 4 miles from the Soda Springs exit on Route 80. It’s proximity to the highway makes it an easy and worthwhile stop if you’re on a road trip. There is ample parking in the lot next to the Sugar Bowl Academy (we visited in summer, I’m not sure if the parking situation changes when school is in session). From there, you have to take a short walk down the side road to get to the trailhead. You could also drive down that road and park at the trailhead, but I’m not sure how crowded that area gets on the weekend.

liveseasoned_summer2015_mtjudah4 liveseasoned_summer2015_mtjudah5

Trail Overview :

The total distance for this hike is about 4.5 miles. You begin on the Pacific Coast Trail, hiking towards the Sugar Bowl Ski Resort, and on one of the runs is where you’ll bump into the Mount Judah Trail. You could take a left there and head up the trail, but we continued on the PCT and took the second intersection with the Mount Judah trail (there are only two points of intersection). Whichever way you connect to Mount Judah, you’ll end up hiking the one initial PCT section both in and out to the parking area.

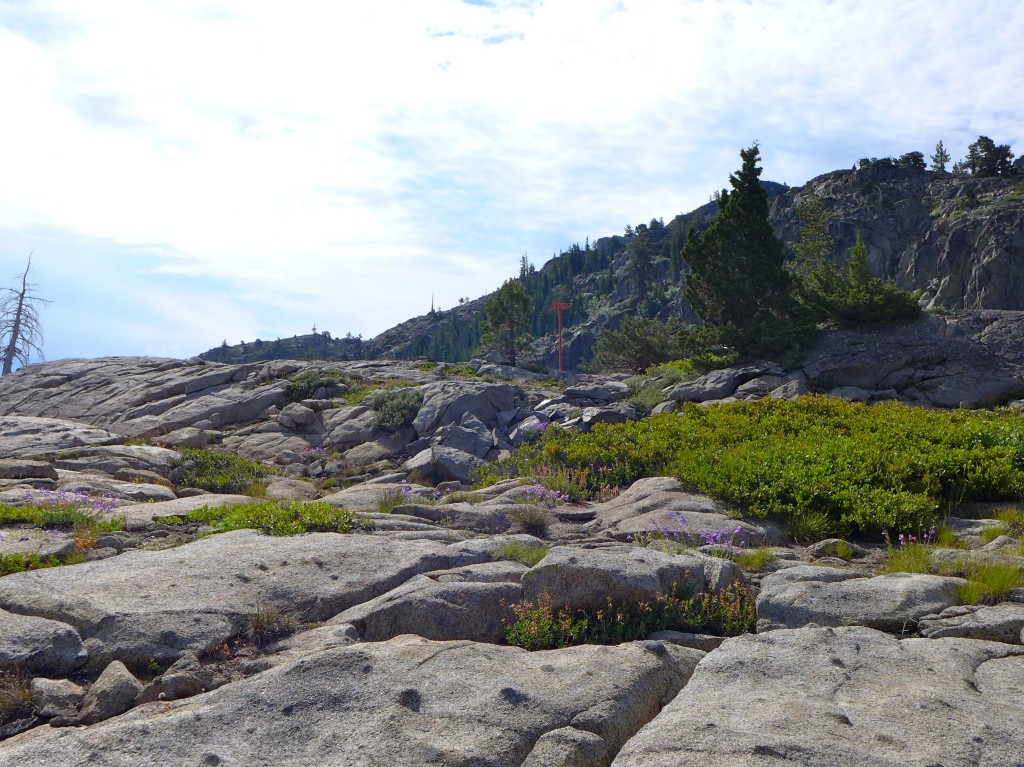
This hike is marked as moderate in the trail guides, and I would agree. The most difficult portion is the initial (and final) ascent (decent) on the PCT. The terrain is rocky, the trail relatively narrow, and the incline steep, but after those switchbacks, the rest of the trail is much less rocky with a more gradual climb. The trail covers a total elevation gain of about 1000 ft.

Side note : someone in our group was concerned about going on this hike with a bum knee, then Calder’s sister reminded them that they would be hiking with a septuagenarian, a pregnant lady, and a lady with a baby… if our rag-tag bunch could handle this hike, then most readers probably can too!

Continue reading

Colorado Hike: Flatirons 1 & 2

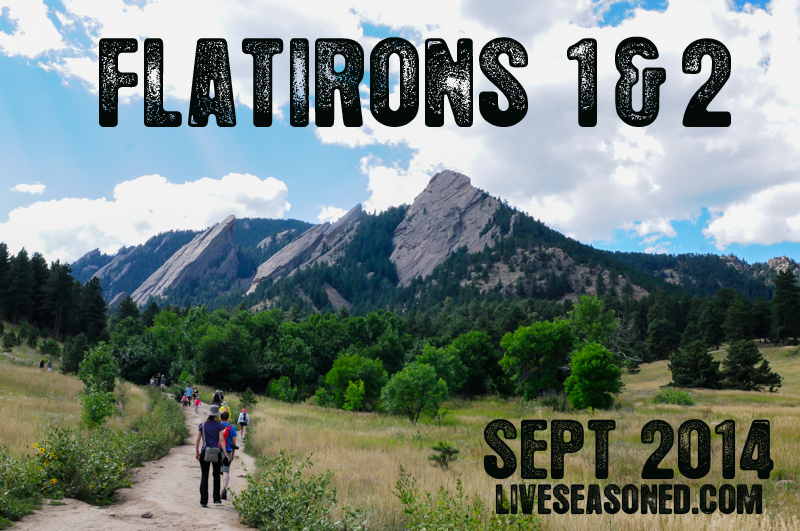
liveseasoned_fall14_flatironshike-1

About a month ago, Katie, Jeff (our brother) and I hiked the Flatirons 1 & 2 trail.  I’ve been meaning to write this post for some time since it was one of the most scenic hikes in Boulder, CO, so here goes:

liveseasoned_fall14_flatironshike-1-2

The hike starts at the Chautauqua Park trailhead.  Parking in the lot can be pretty tricky, especially on the weekends, but you can find additional parking on Baseline Road.  That being said, the trail is extremely crowded.  You won’t have the views to yourself, but hey, at least there is no chance of getting lost. After you find a parking spot, continue to the Chautauqua Park trailhead where the trail takes you through a lovely green meadow.  (Note that if you’re hiking right after a rainstorm, it will be pretty muddy since the trail is basically a path for runoff water. ) The Chautauqua trail connects with the Flatirons 1&2 trail and the signage is very clear as is the flow of people flocking to the Flatirons 😉

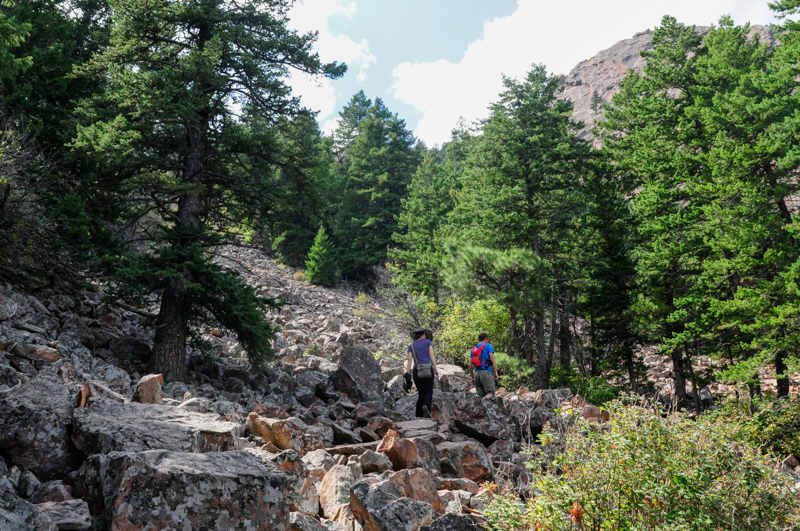
Over the course of this relatively short hike (about 2.5 miles), you will climb 1,400 feet in elevation.  Flatiron 1 is approximately 7,100 ft high, which makes for stunning views.  As you hike up the trail, there are plenty of outcroppings that are perfect for taking a break and enjoying the vistas.  The Flatiron trail is mainly switchbacks through thick forests of ponderosa pine that cut around enormous boulders.  Along the way, there are also several rock climbing access points.  Speaking of climbing, there is a very short section of the trail (about 15 feet) where you have to climb up a boulder.  There are footholds and handholds worn into the rock making it easy for adults, but I wouldn’t recommend taking children on this hike.  I would also turn back immediately if it starts to rain because the rocks will become slippery making a large portion of this trail fairly dangerous.
Once you finally wind up, up and up, the views are spectacular.  There are clear views of the city of Boulder as well as amazing views of Flatiron 3, which is sure to have rock climbers scrambling up it.  The top of the trail is a perfect spot to stop and have a snack or a picnic, but remember to hike all your waste out with you, even banana peels!  The top of the trail is like an adult jungle gym.  You’ll see folks in all different nooks and crannies.  It goes without saying that you should be careful when you’re climbing from boulder to boulder, don’t knock into any rocks that may fall and injure someone at a lower elevation.  After you’ve climbed your heart out and took a bajillion pictures, it’s time to make your way down the ridge.  Be mindful of other hikers who are still making their way up and if they look like they need encouraging remind them that they’re almost there!

Geology Rocks! I say that far too often, but I just can’t resist.  Here’s a quick rundown of some geological properties of the flatirons.  I’m going to give some definitions in case you slept through your geology lab class.

  • A flat iron is a steeply sloping triangular landform created by the differential erosion of a steeply dipping, erosion resistant layer of rock overlying softer strata. Differential erosion is erosion that occurs at varying rates, caused by the differences in the hardness and resistance of surface materials so softer and weaker rocks erode rapidly, while harder rocks remain to form ridges, mountains, or ding, ding, ding, flat irons!  Strata is simply sedimentary rock. Sedimentary rocks are those formed by the deposition of material either on the earth’s surface or in water.   And wouldn’t you know it, the Flatirons of Boulder coined this term, flatiron, in general geology.
  • Now you may be wondering how the Flatirons first got their name, which then coined the geography term. Well, there are two theories: the rock faces close resemblance to old fashioned clothing irons or their resemblance to the Flatiron building in NYC, which was completed in 1902. (It’s a pretty sweet building, but personally, I think it’s more likely they were named after the clothes iron, an object which many more folks were familiar with during the early 1900s)
  • The flatirons are made up of conglomerate sandstone of the Fountain Formation. Conglomerate sandstone basically means there are little clasts (bits of rock particles) mixed into the sandstone (rock comprised mainly of sand-sized minerals or rock grains). I don’t want to wind way down into a geological rabbit hole (for your benefit), but the Fountain Formation is a Pennsylvanian (the subsystem, not the state) bedrock unit found in Colorado and Utah that consists mostly of conglomerate sandstone or arkose.
  • The flatirons are estimated to be 290-296 million years old and they were tilted to their current orientation (the steep dip I referenced earlier) about 35-80 million years ago during the Laramide orogeny. The Laramide orogeny was a period of mountain building in western North America, which created the Rocky Mountains along with many other formations. I won’t go into right now, but it’s definitely interesting; if you like geology and want to learn more, read this.

What to expect:

  • Lots of hikers on the weekend.
  • Dogs both on and off leash.
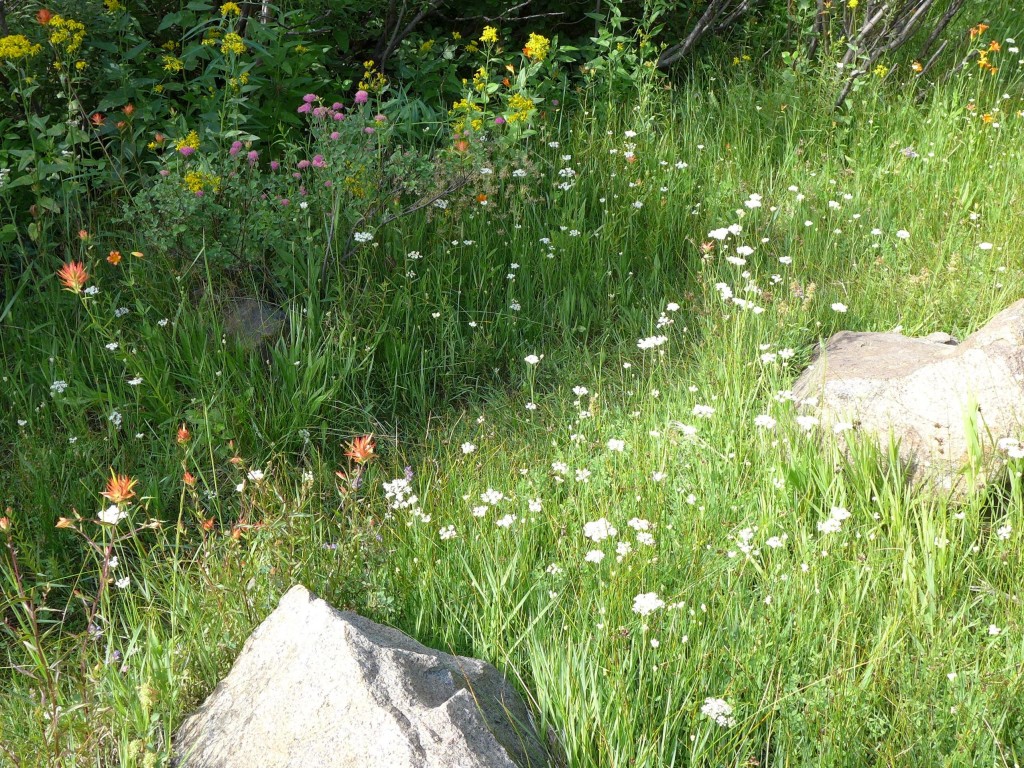
  • Plenty of wildflowers, various vegetation and trees and beautiful views.
  • Two hours (or more) of hiking.
  • A couple tough climbs over boulders, but mainly a moderately steep and well-maintained trail.


Before of after your hike, be sure to stop by the historic ranger cottage near the parking lot – you can’t miss it.  It has a wealth of information, free maps and dozens of stuffed birds and mammals.  I really enjoyed the station because I gained a better sense of what animals were sharing the forest with me.  It’s especially cool to see the animals you have very little chance of seeing in the wild like mountain lions, coyotes, and bobcats.  If you want a little snack, continue past the ranger station for about a block and you’ll see a little refreshment cottage with homemade hard ice cream and just about everything else.

liveseasoned_fall14_flatironshike-3-5

After the hike and the ice cream, you should probably treat yourself to an afternoon snooze! Happy hiking!

Colorado Hike : Ajax Mountain

liveseasoned_summer2014_aspen3

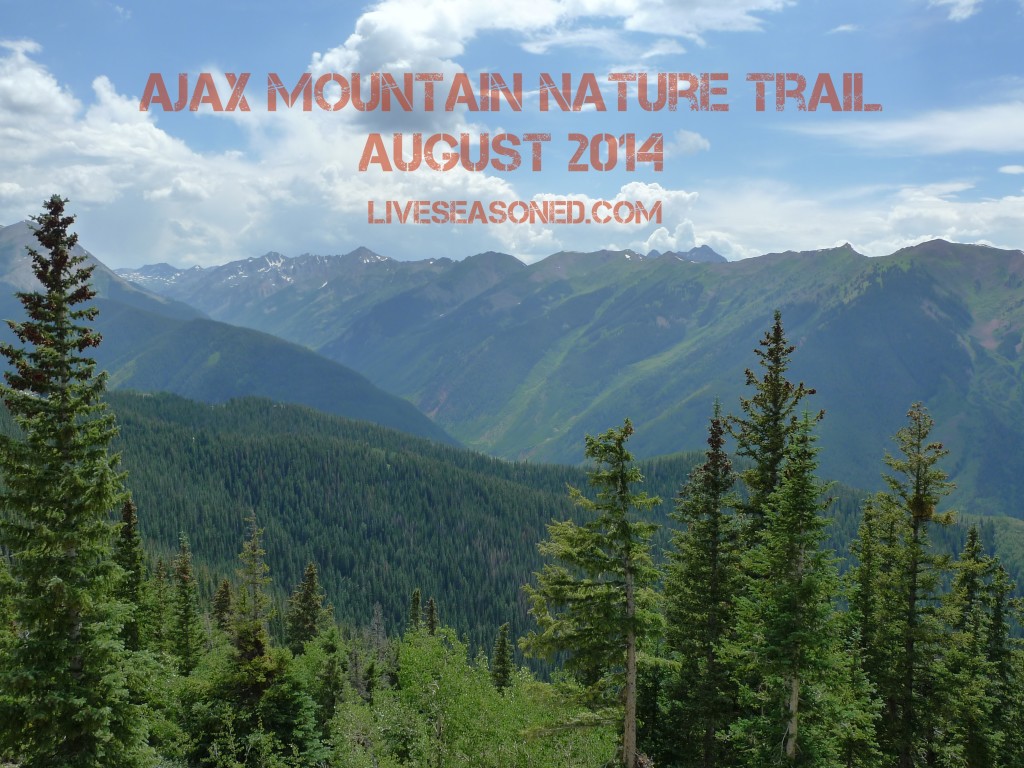
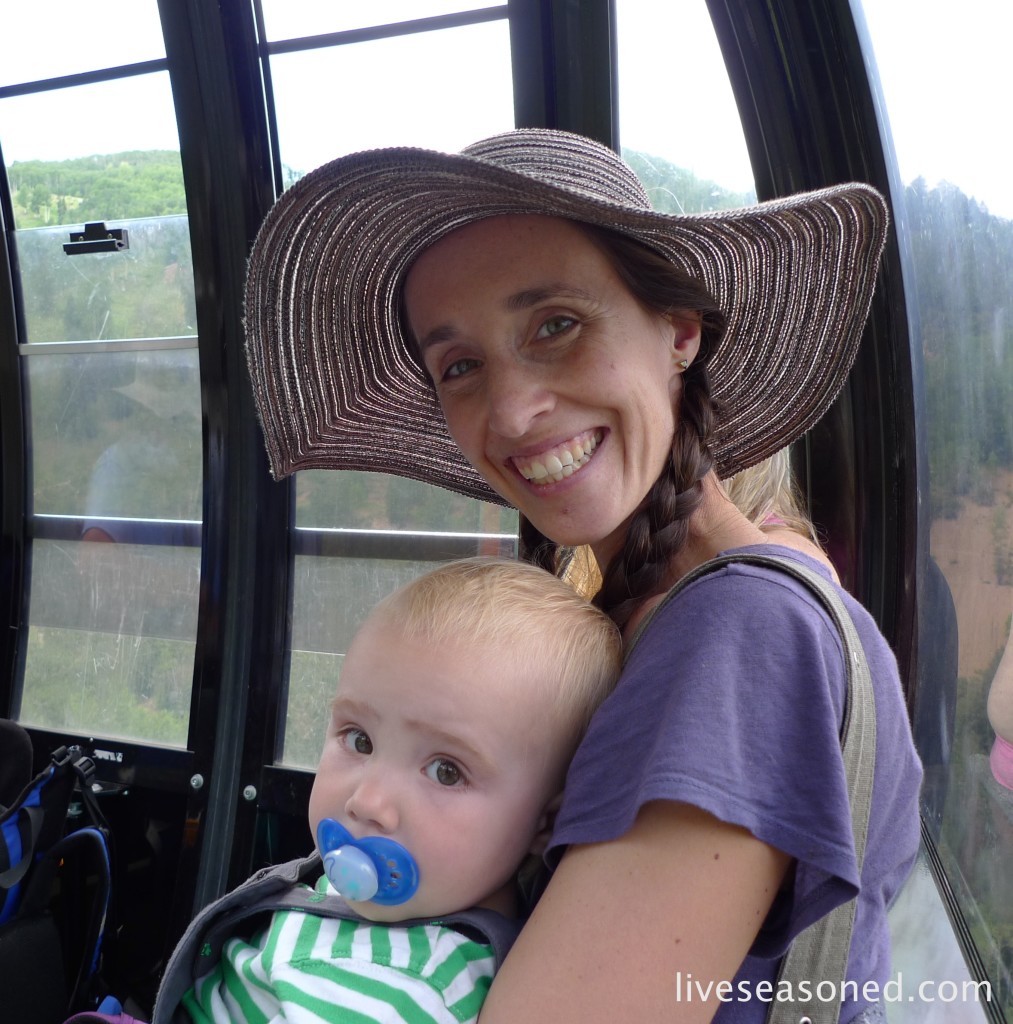
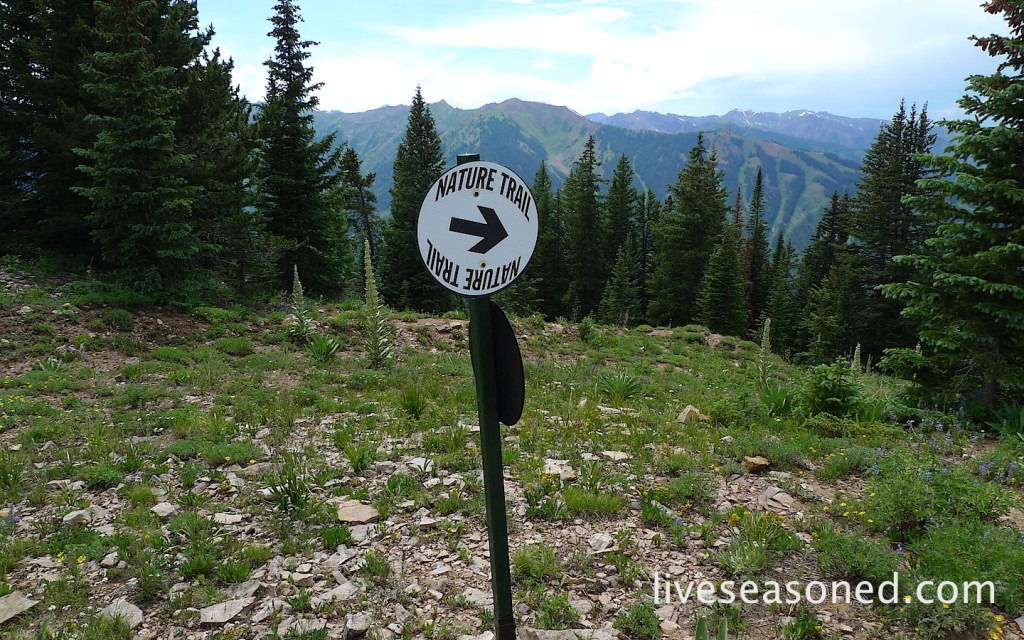
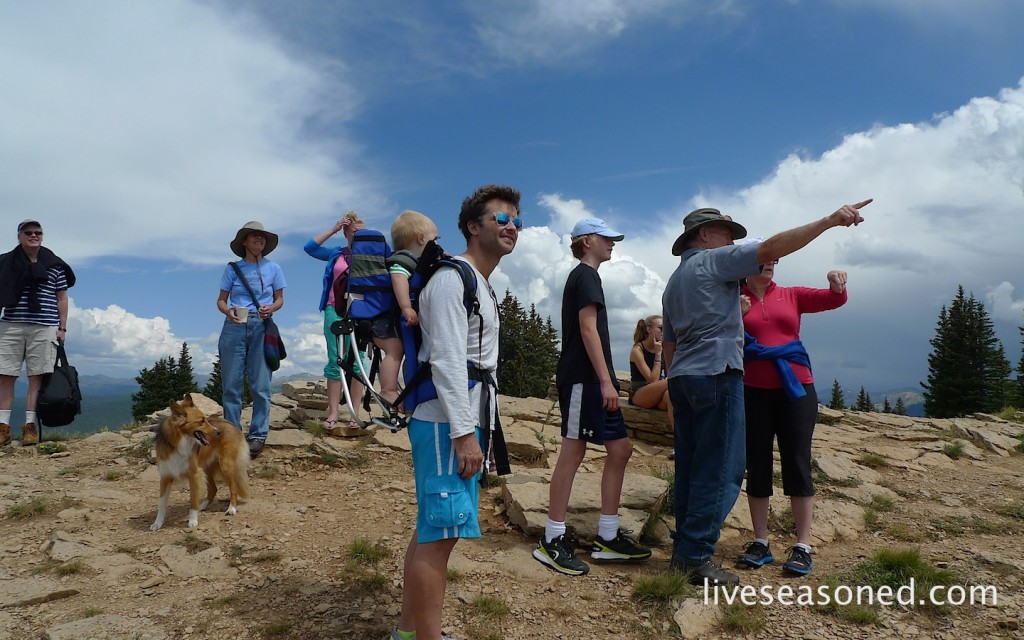
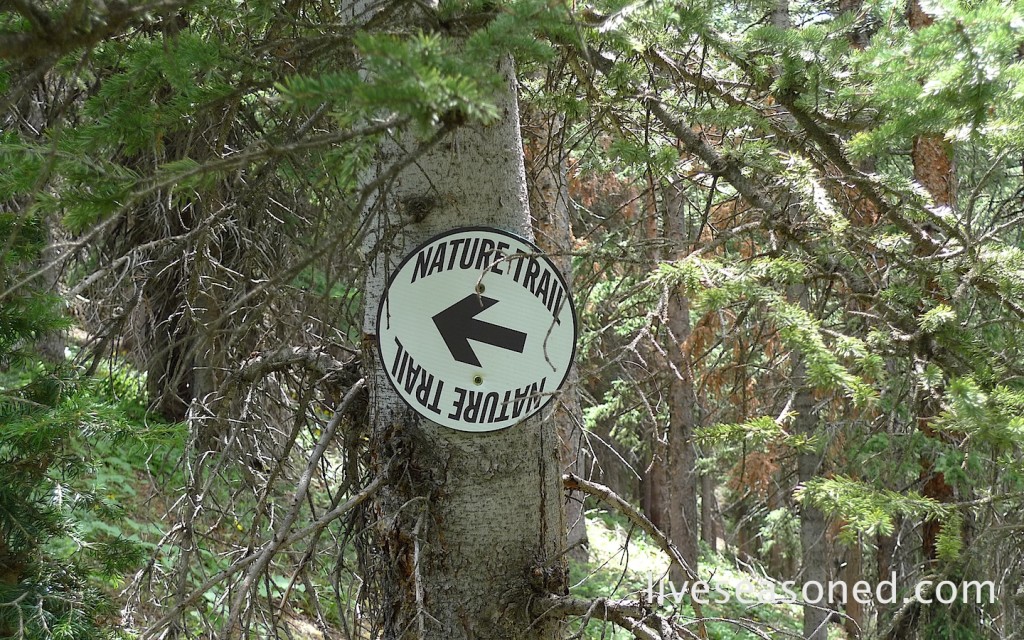
A few weeks ago we took a leisurely afternoon hike on the Nature Trail that starts at the top of Ajax, or Aspen, Mountain. This was an out and back hike that was super easy with barely any elevation gain because you do all of your climbing as you ride the gondola to the top of the mountain!

liveseasoned_summer2014_aspen1

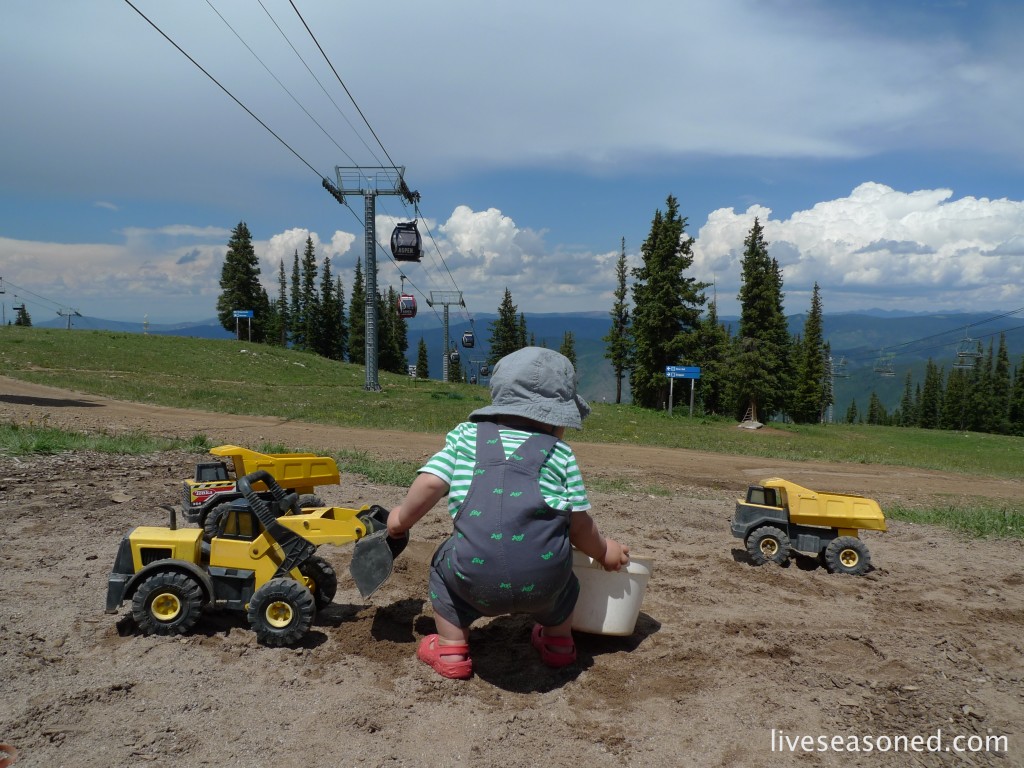
If you want to head straight for the hike, veer left as you get off the gondola and you’ll have no trouble finding the trail. If you’re heading up with kiddos, veer to the right and there are plenty of fun activities to let them burn off the energy before/after riding the gondola. Our little guy was just interested in the huge sand pit and trucks, but there are also spaces to dig for gold, go rock climbing, go trampoline jumping, and room for some good old running.

liveseasoned_summer2014_aspen2

liveseasoned_summer2014_aspen22

liveseasoned_summer2014_aspen20

liveseasoned_summer2014_aspen13

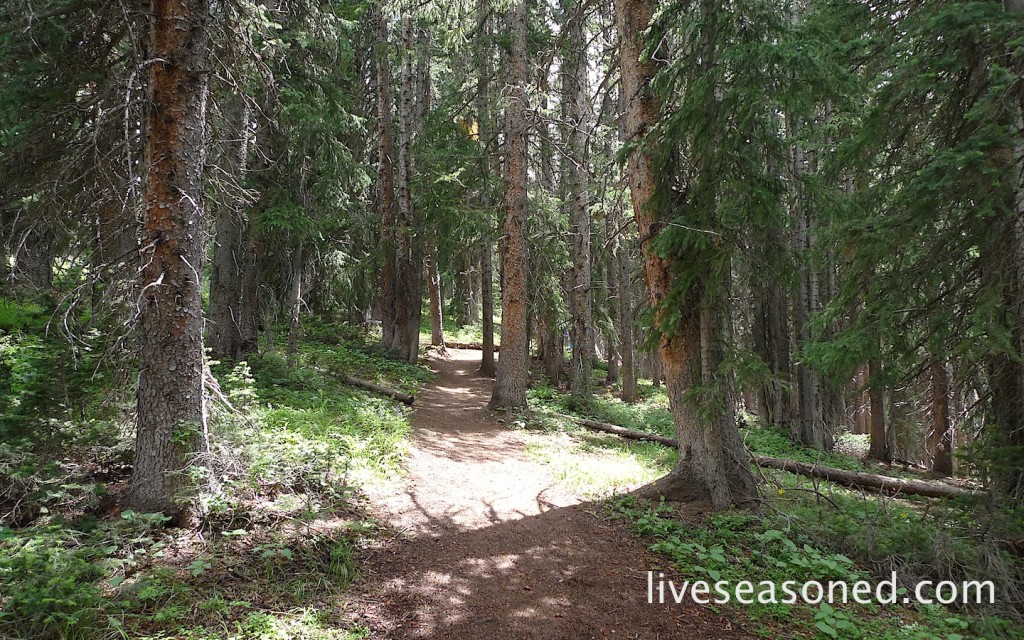
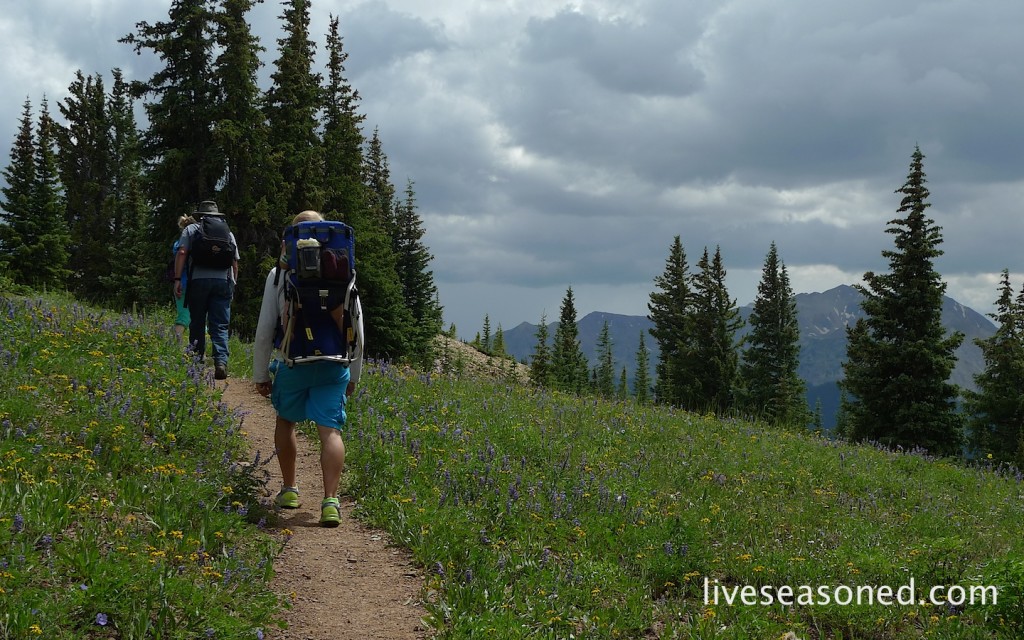
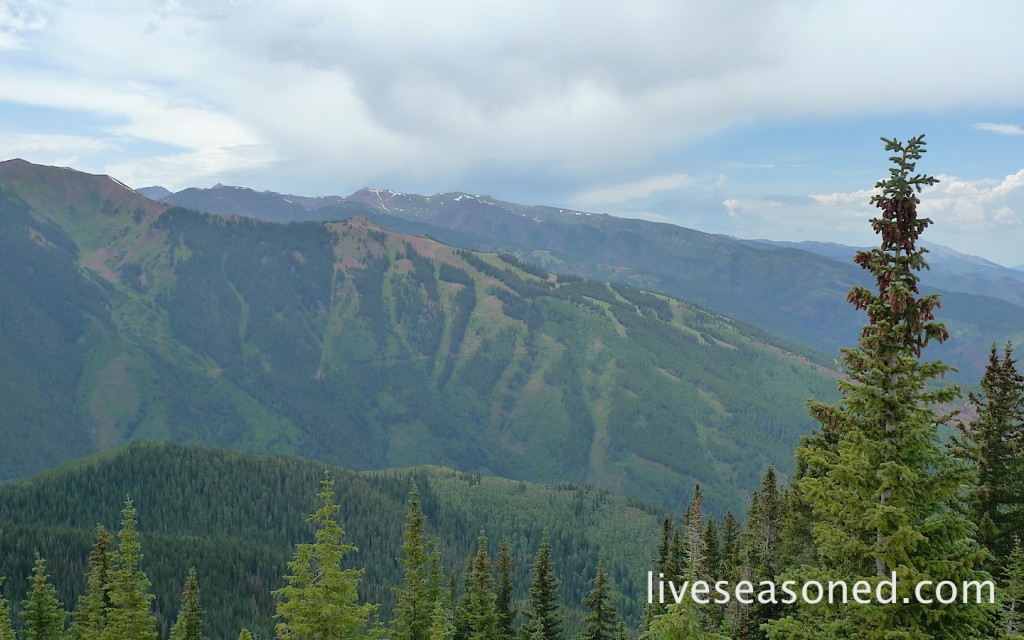
As well as delivering beautiful mountain views, the trail dips into the pine forest, giving you a reprieve from the bright alpine sun.

liveseasoned_summer2014_aspen21

liveseasoned_summer2014_aspen16

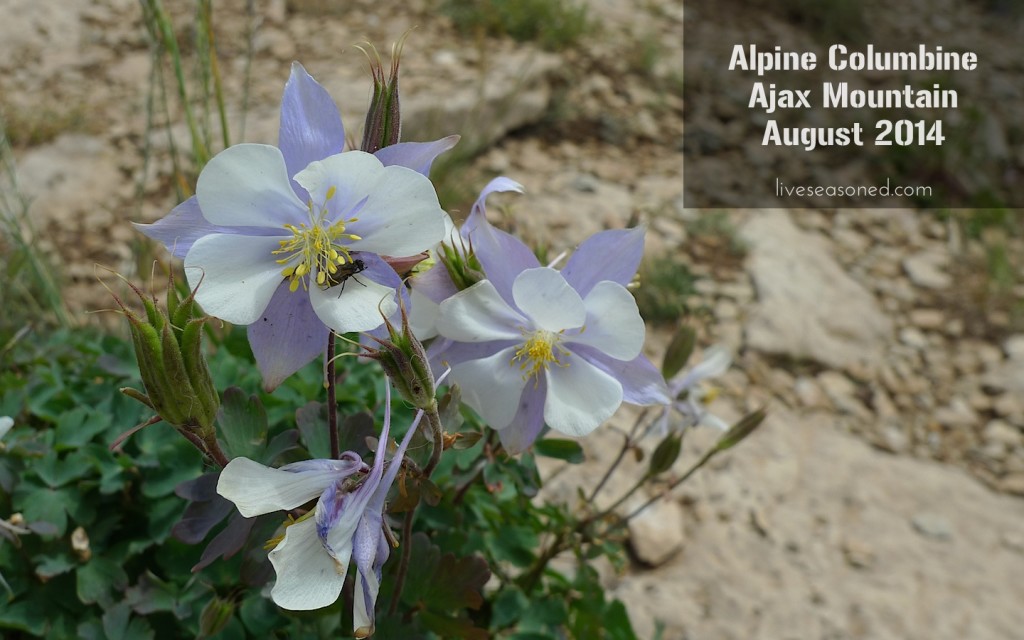
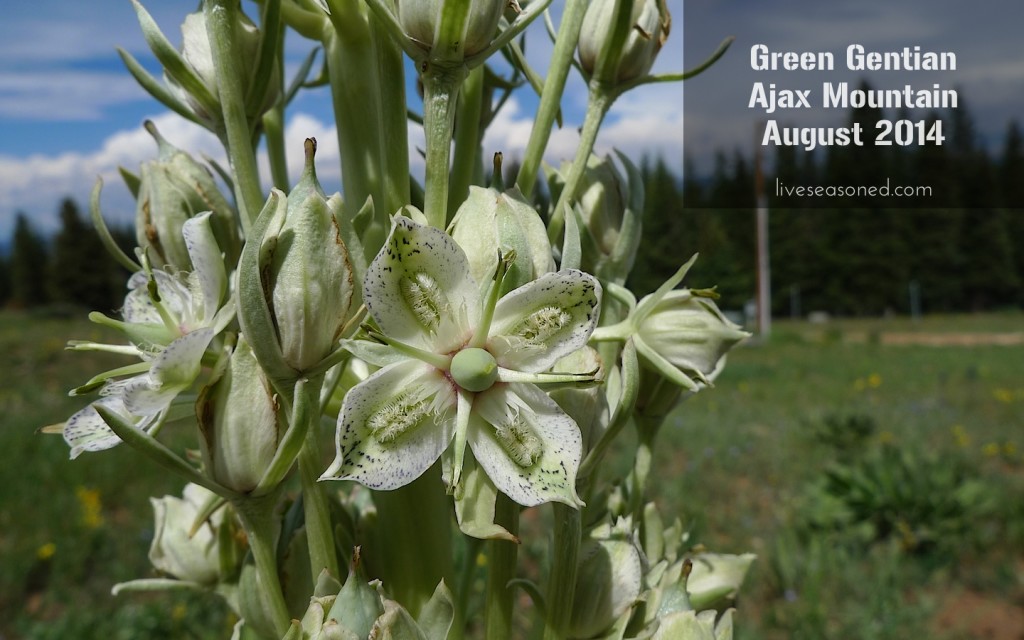
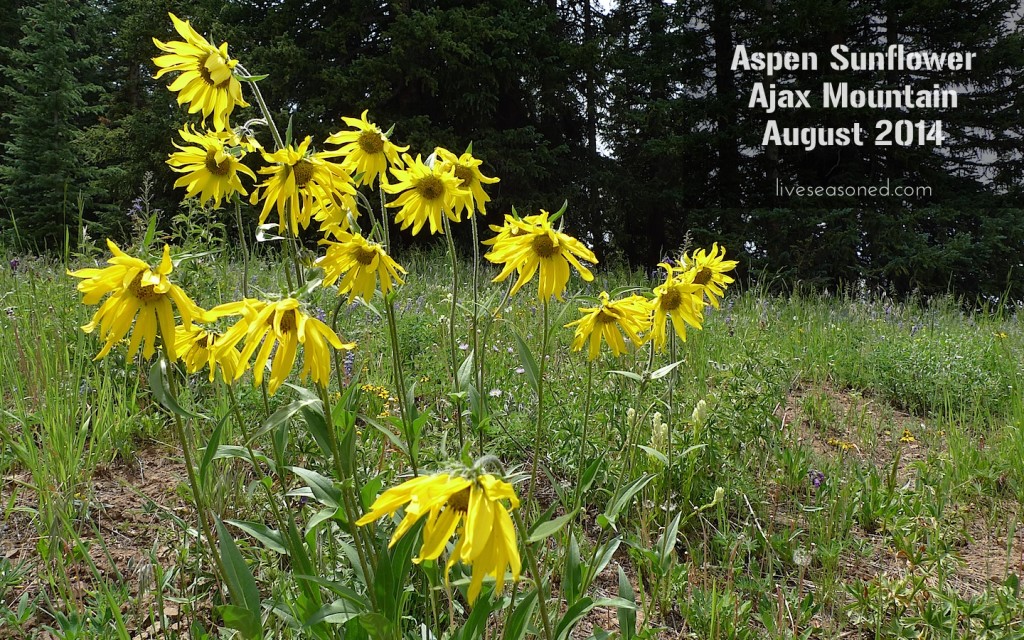
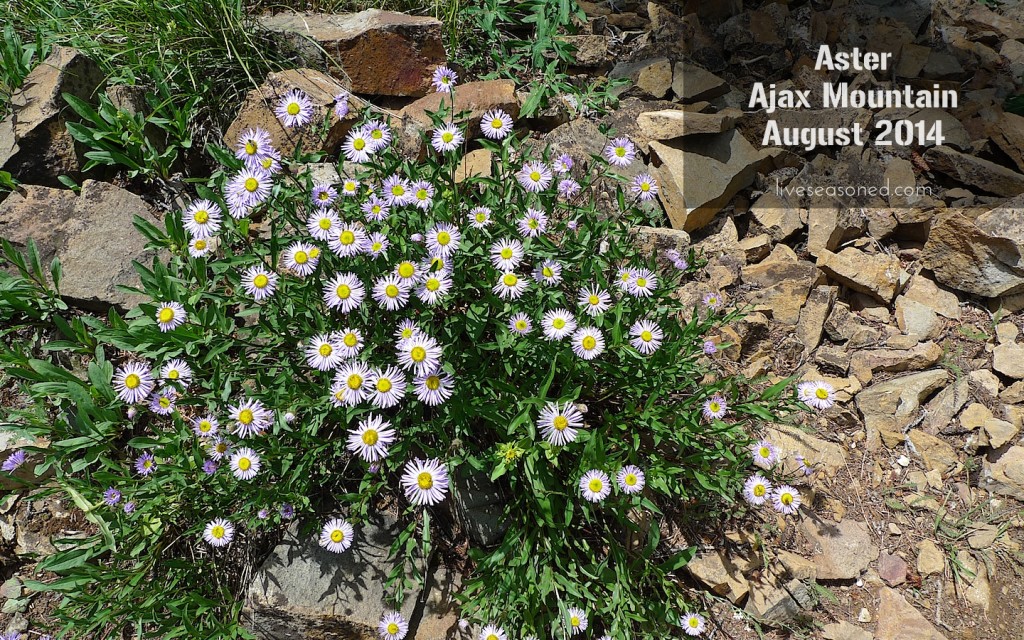
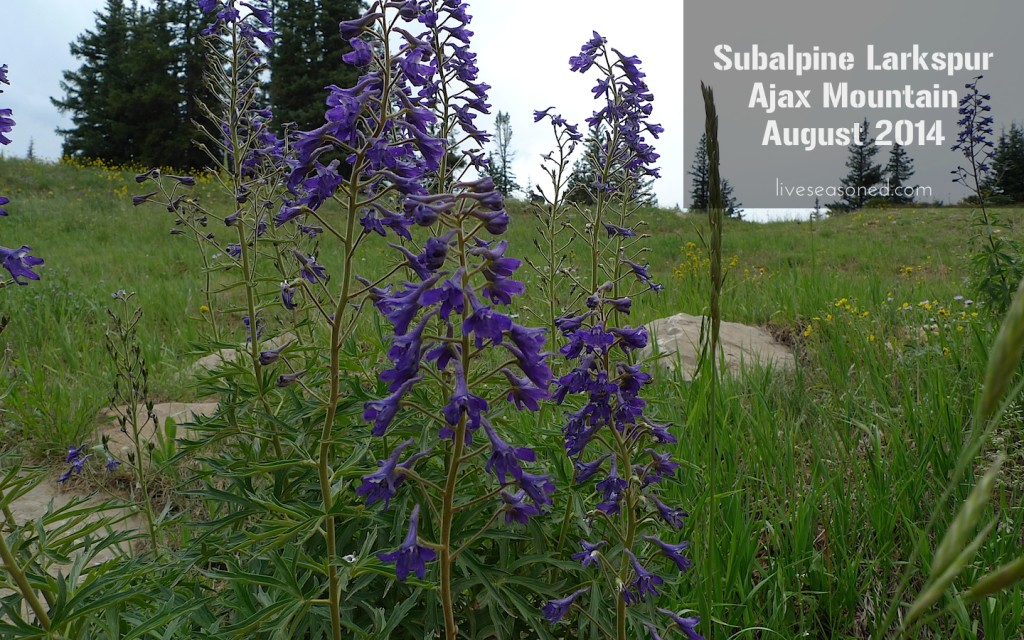
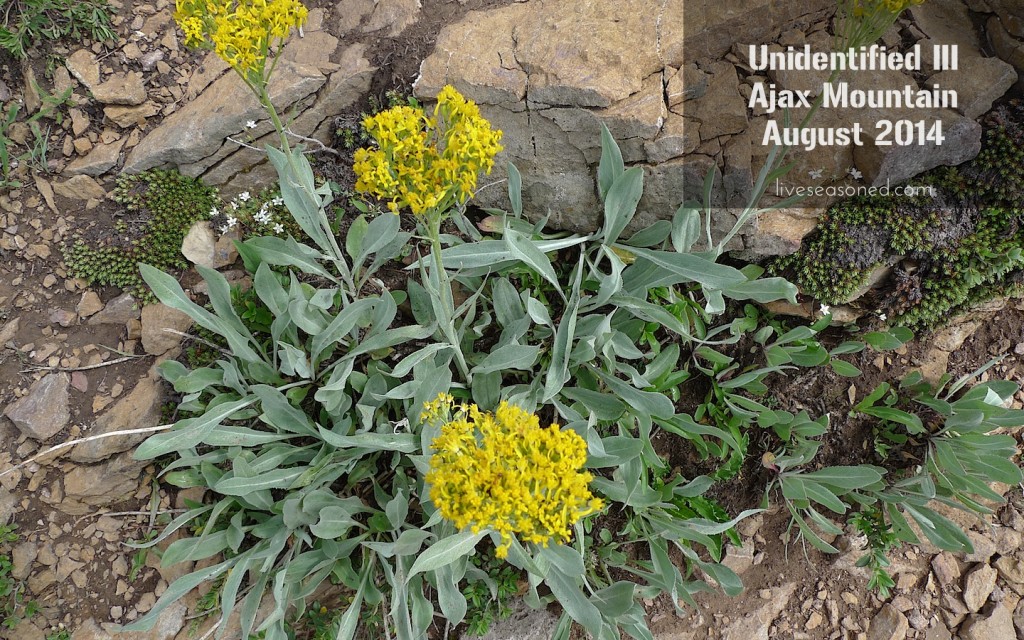
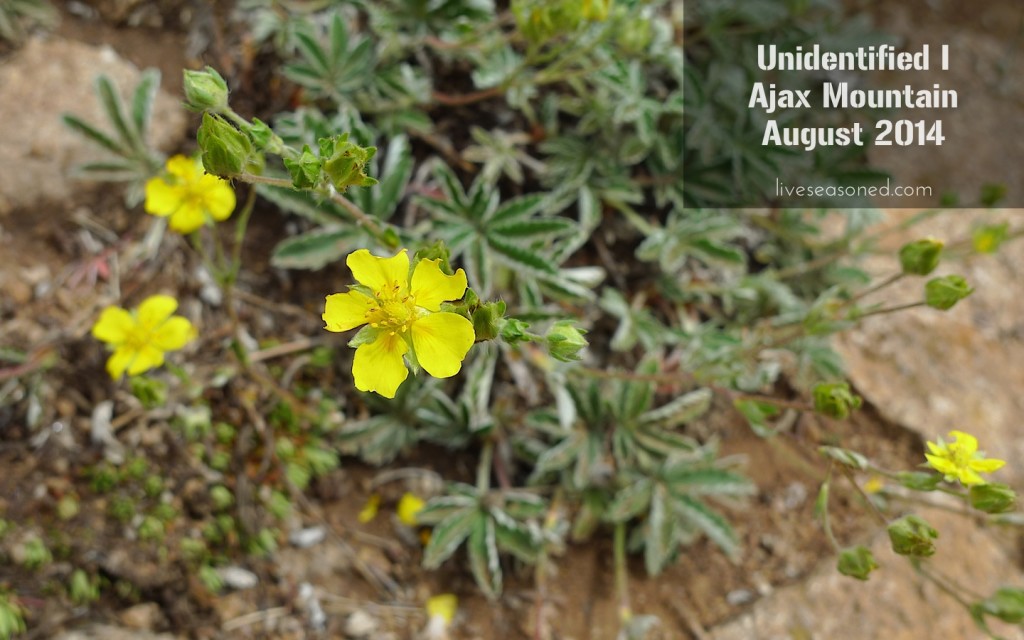
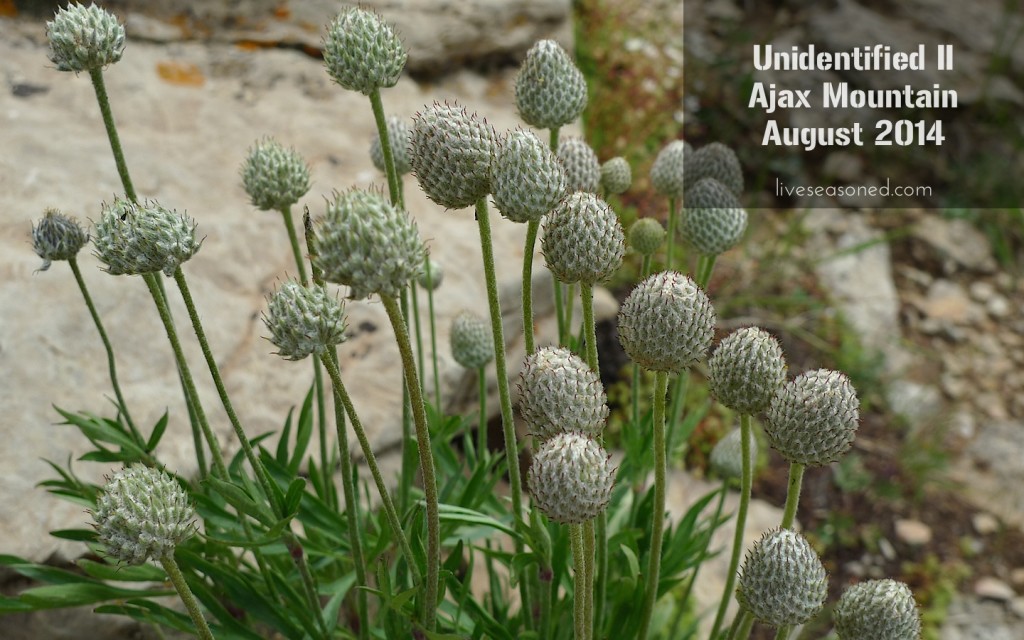
This was our third hike and I was excited to see yet more wildflowers in bloom. Unfortunately, I didn’t take a guide with me and had trouble identifying some new-to-me species from the photos. If you have any clues as to the names of the unidentified flowers below, I would really appreciate it!

liveseasoned_summer2014_aspen4

liveseasoned_summer2014_aspen7

liveseasoned_summer2014_aspen17

liveseasoned_summer2014_aspen18

liveseasoned_summer2014_aspen19

liveseasoned_summer2014_aspen5

liveseasoned_summer2014_aspen9

liveseasoned_summer2014_aspen10

We hiked out to the point where there was a perfectly clear view of the Aspen Highlands ski resort. At this point, you can also see the very top of one of the two Maroon Bells peaks. We spent some time sitting here, letting Little A out of the pack to tool around and throw some rocks, while C and I talked to other hikers. It seemed to be a common stopping/turning point for many people.

liveseasoned_summer2014_aspen6
liveseasoned_summer2014_aspen8

liveseasoned_summer2014_aspen11

Extra Details:

  • During the summer months, the gondola’s open daily from 10:00am-4:00pm. A single ticket costs $19.00, but if you’re staying for a few days, or planning to take the bus up to Maroon Bells, they have a great package for $29.00.
  • Of course, you’re welcome to skip the gondola and turn this into a more rigorous, multi-hour hike by starting your walk from the bottom of the mountain. This is something that you can do any time of day in the summer, but only before the gondola opens during ski season.
  • This is probably obvious, but take sunscreen and a hat! You’ll be more comfortable because the sun is bright and there are plenty of areas without tree cover.

liveseasoned_summer2014_aspen15