If you’d like to see more Utah adventures, click here! When we’re in Utah, we often camp on BLM land (it’s free and vast!). You can learn more about camping on BLM land in this post.

In early July, after camping near the Fremont River, we visited Capital Reef and hiked to Cassidy Arch. Want to see more pics and details from that hike?
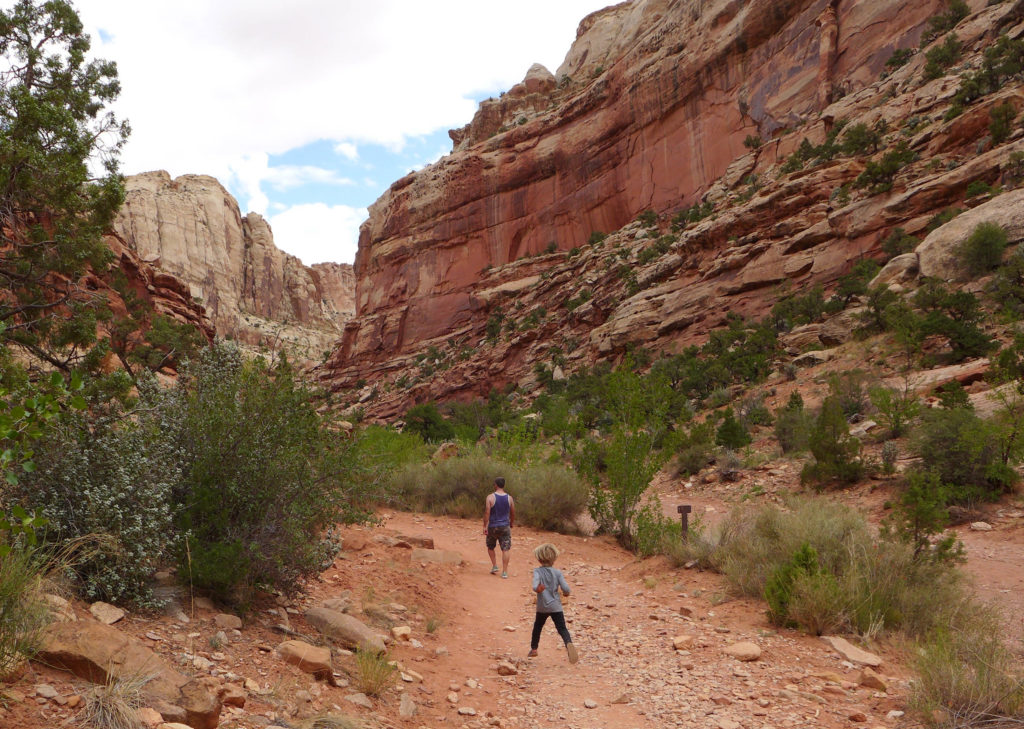
The hike starts down in a valley. You have to drive over a wash and then hike along it for a short distance before heading up, up, up!
It’s important to know those details about the wash, because if there’s always a chance for flash flooding during & after summer storms.
Cassidy Arch Trail
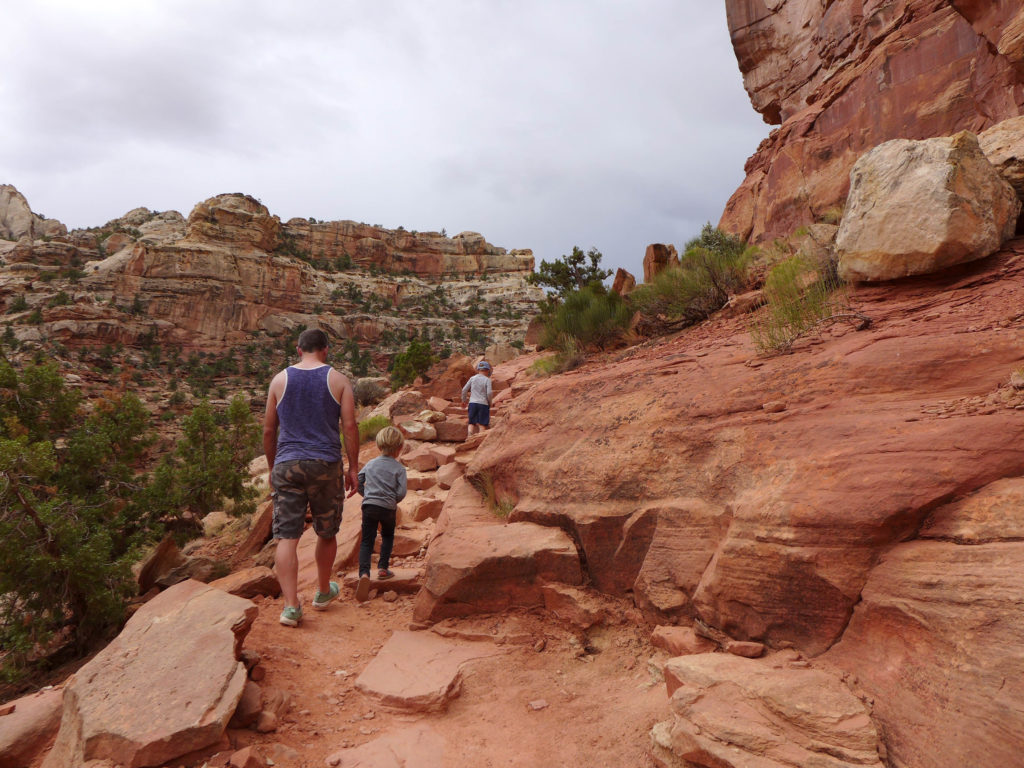
This is an out and back trail that’s 1.7 miles long each way. Not a lot of distance, and just under 700 ft of elevation gain, but at times the hiking is steep. The hiking surface is a mixture of gravel, large rocks and slick rock surfaces, which can be really slippery when wet. As if it couldn’t get more exciting, there isn’t much shade along the trail, especially as you get higher up and out of the valley.
The trail is pretty well defined, but there are a couple of spots where you could accidentally go off the route when the trail makes a turn. The way to avoid going off the trail is to pay attention to the rocks. If you find yourself stepping over a line of rocks to continue on your way, turn around and look to see if the trail actually turns (that line of rocks is supposed to delineate the edge of the trail, don’t walk over it). We saw this happen to a couple of groups, but, of course, they always found their way back to the trail. Closer to the arch, follow the cairns to stay on track.
We didn’t have any trouble hiking it, but I could see the overall experience being pretty strenuous for someone who isn’t a regular hiker.
But it’s worth all of that trouble to reach the awe-inspiring arch at the end! Trust us.
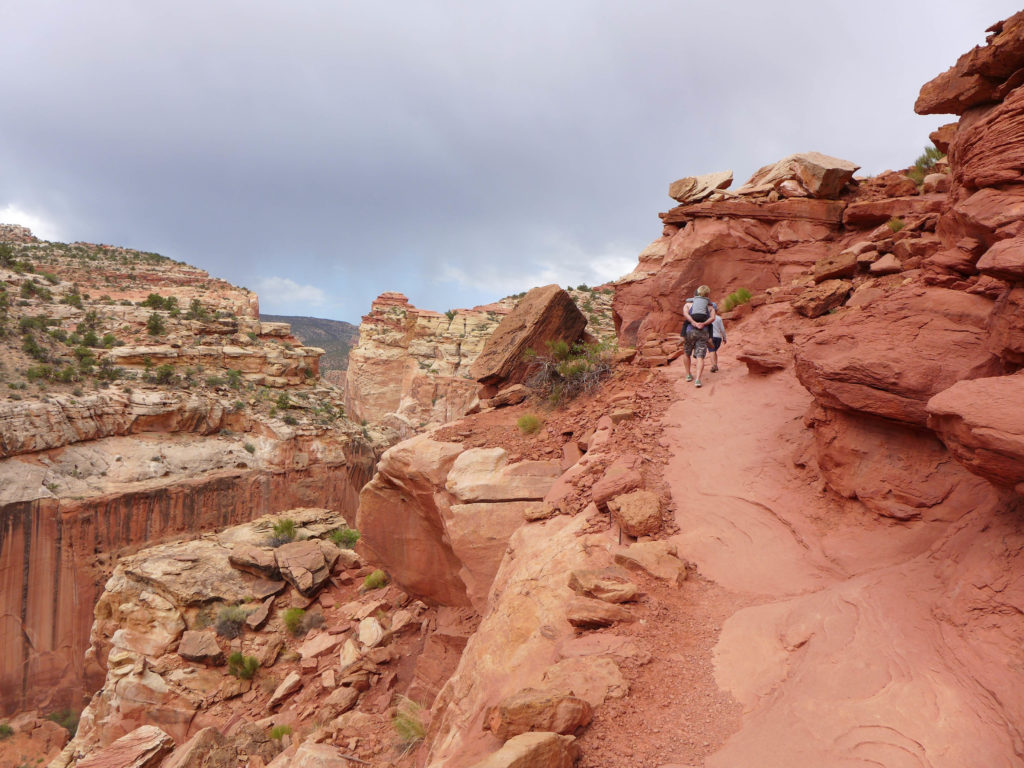
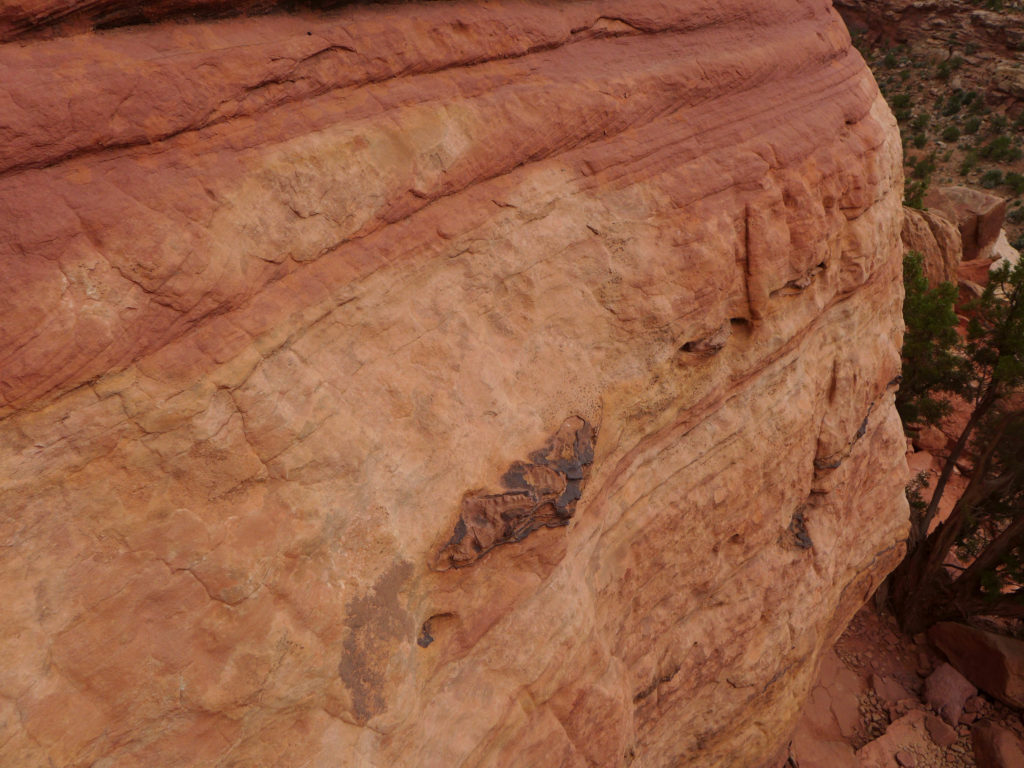
Along the way you might see a strange dark thing in the rocks and convince yourself that you’ve found the next great dinosaur discovery! Maybe we did, maybe we didn’t. Our five year old expert was too busy snacking to confirm the discovery.
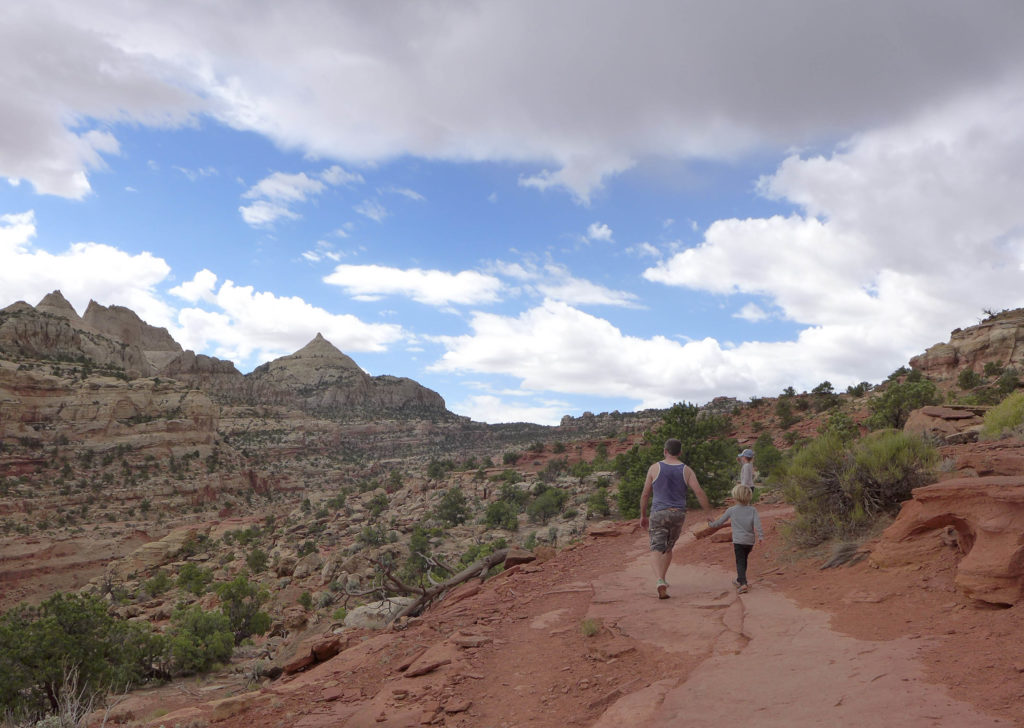
Preparations
When it comes to hiking, we keep everything super-light. So here are our recommendations, but you know your needs.
- plenty of water
- a good hat for shade
- good shoes for the varied surface
- a snack
- sunscreen – this is a short enough adventure that you could just apply it at the car and be fine
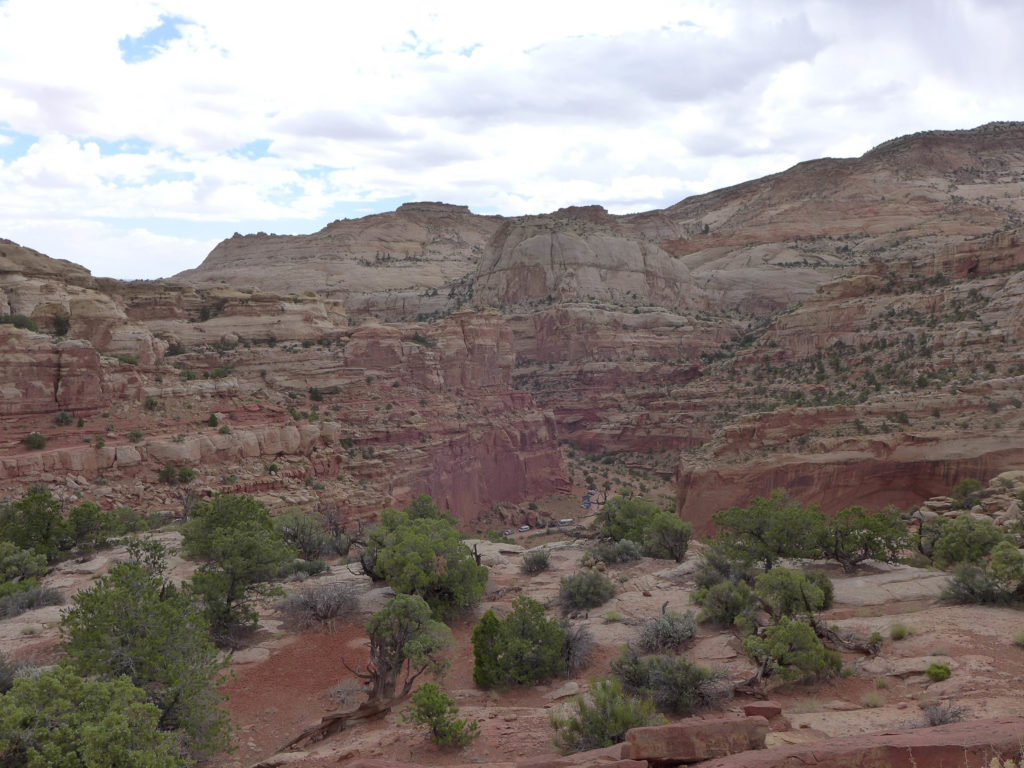
After quite a bit of hiking, when the kids are starting to drag their feet, you’ll reach a point where you can turn around, look down into the valley, and see your car! Ours is that smaller white van in the lower center section of the pic above. I don’t know about your kids, but mine love moments like this to see how high and far they’ve hiked.
It’s also around this time when you’ll turn a corner on the trail and the arch will be within sight! Can you see it off in the distance to the right of the photo below?
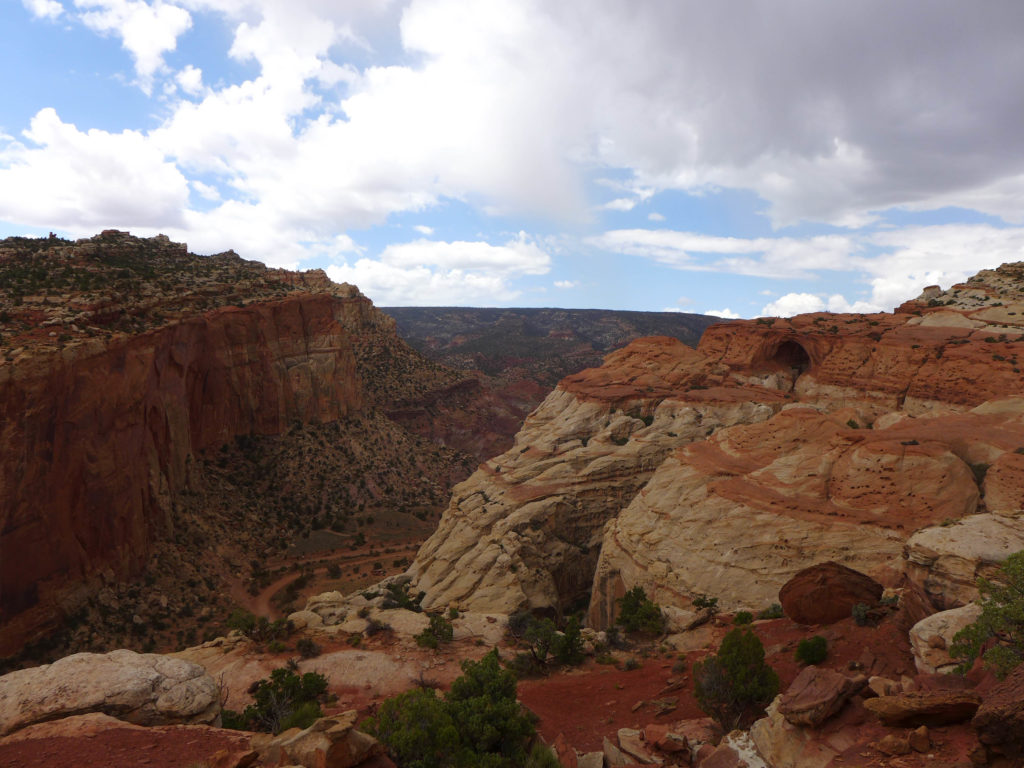
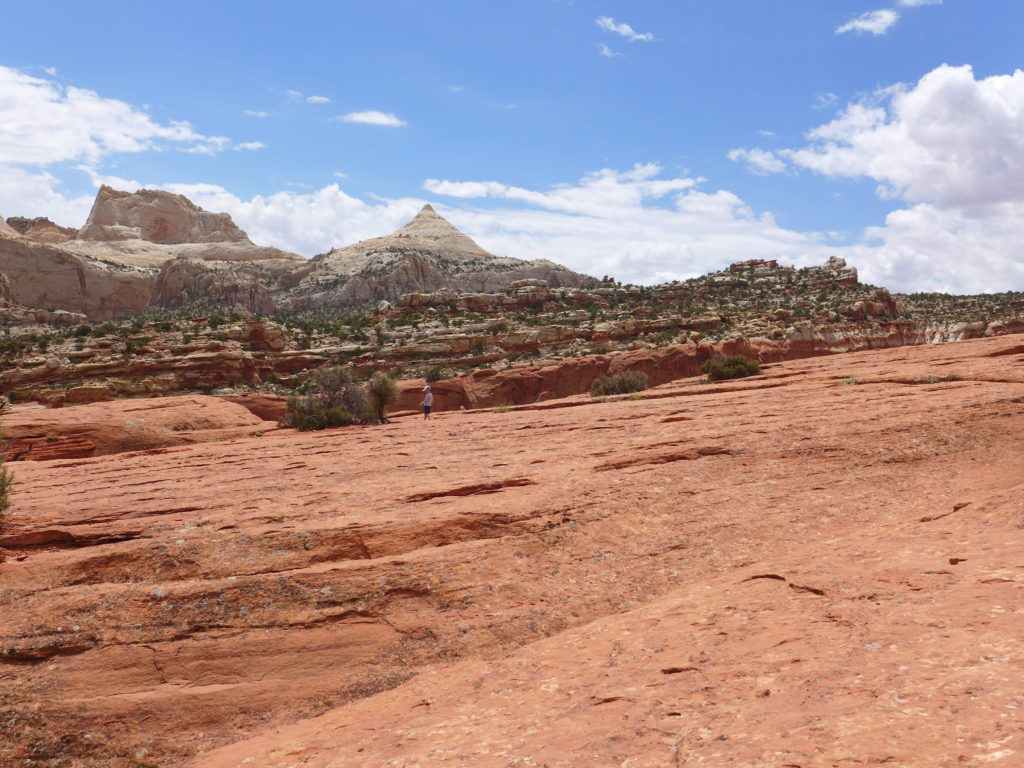
Once you reach the arch, there’s a big open area where you can relax and look out at the rock formations. Definitely take a break, drink some water, and eat your snack.
If there are a lot of other hikers at the arch, they are pretty good at taking turns having their picture taken ON the arch! Unlike many of the beautiful arches that you’ll come upon in Arches National Park, this is an arch that you are allowed to walk across. The surface that you’re walking across is wide enough that it doesn’t feel dangerous or scary, even though it looks that way to spectators!
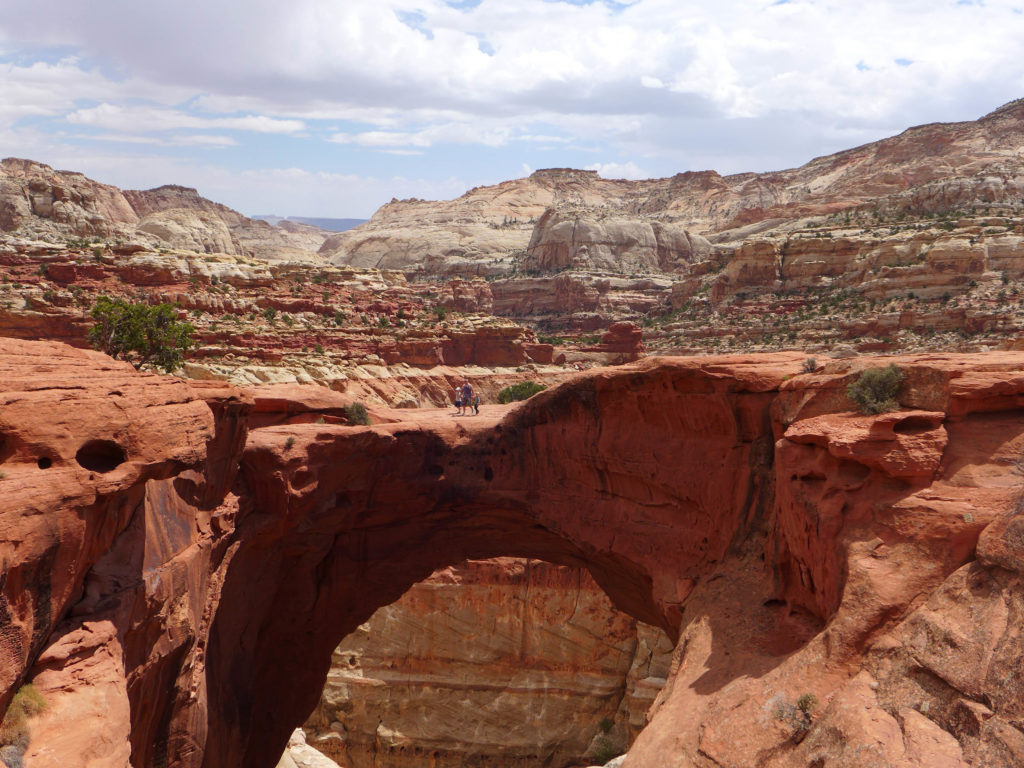
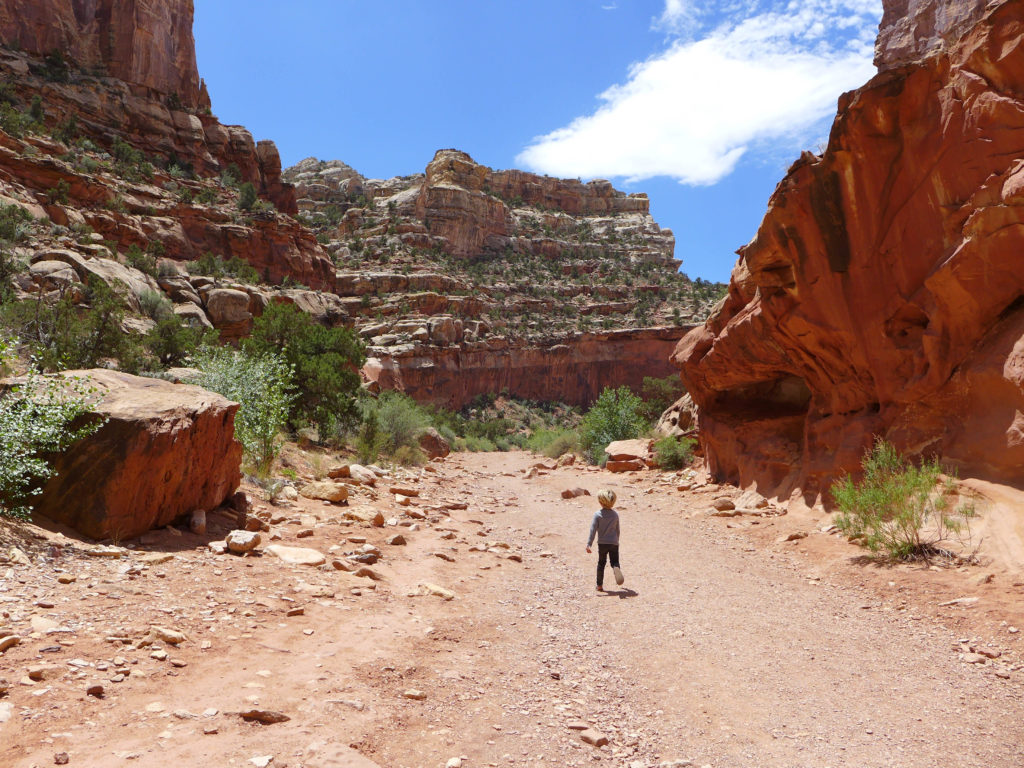
After your photo-moment on Cassidy Arch, it’s time to walk down the way you came. And just as you’re reaching the wash, if you’re Luc, the flat land will feel so good that you’ll want to run!
Hop in your car and head back into Fruita, the main area of the park, where you can pick fruit from the orchards (apricots were in season during our visit) and rest in the shade of the big cottonwoods.
