Alex turned two at the end of April, and the timing worked perfectly that we had a house full of family ready to celebrate! Since we weren’t inviting his super cute little friends, we didn’t bother to have a theme party. Plus, how could we pick just one theme for the guy who loves, in no particular order : kitty cats, anything with wheels (and wings!), dinos, tools, and speed? We could have gone with a bike-riding kitty cat holding a screw driver, but without including the dinosaur, why even bother, you know?
Even without a theme, I wanted to make a cake that the little guy would love. I also wanted it to be relatively simple. There are so many awesome ideas out there, just scanning Pinterest can put you into option overload. Want to see my kids’ party board? This is where I’ve become good at putting my blinders on. I have sense of what will excite Alex the moment he sees it, and that’s my first criteria in picking a cake. The second criteria is that it be simple, especially since I had my hands full this year. Once I found “the” cake, I stopped looking. And that’s that.
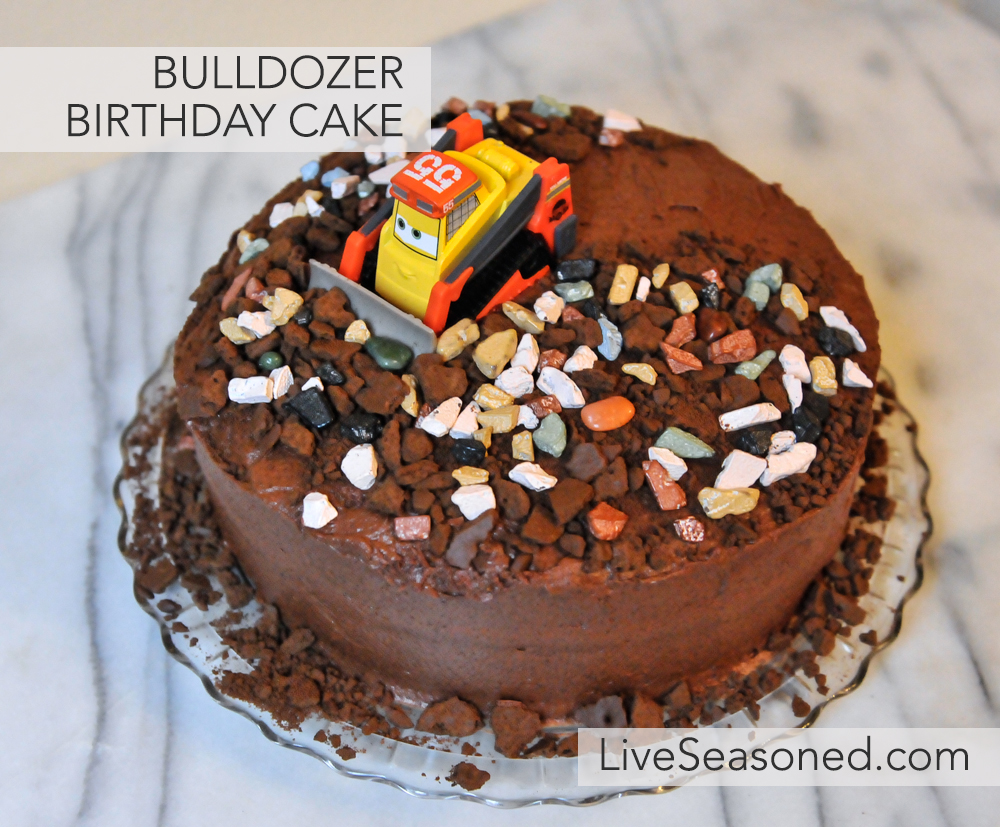
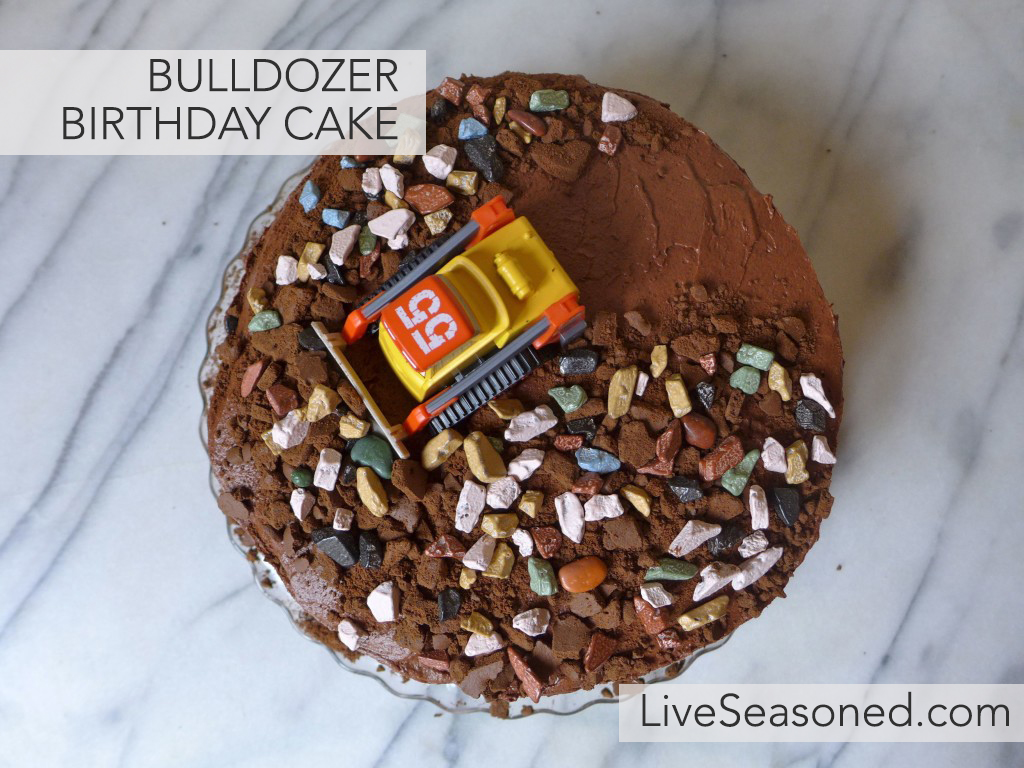
This year, the winning design was the simple cookie crumb construction cake.
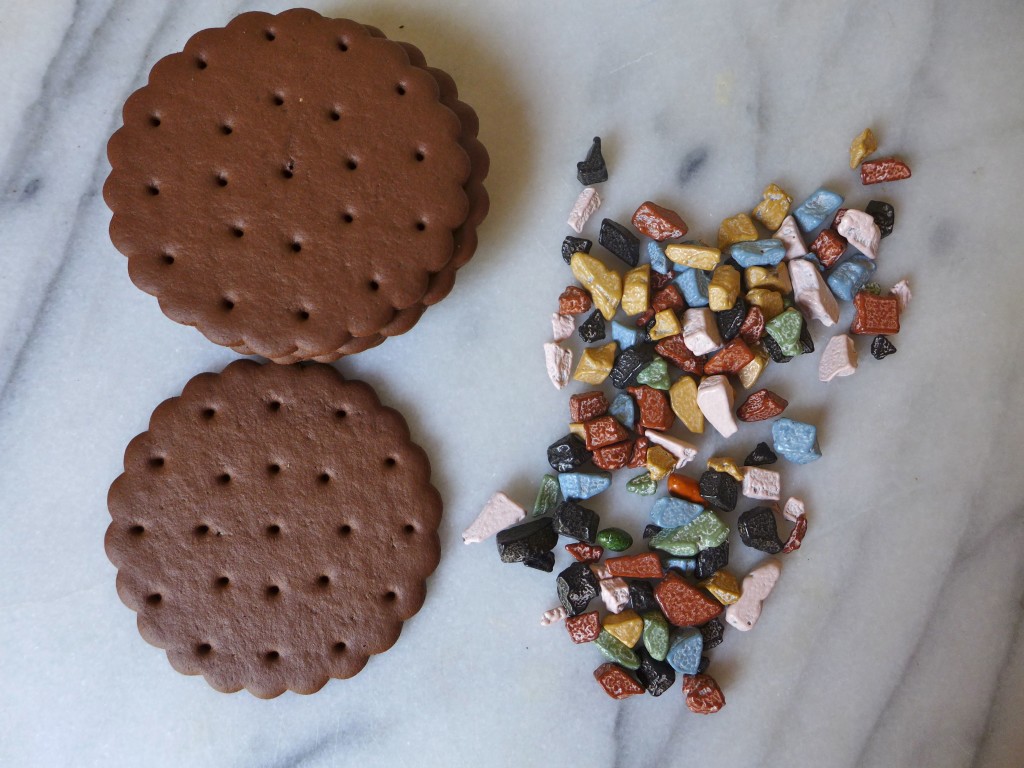
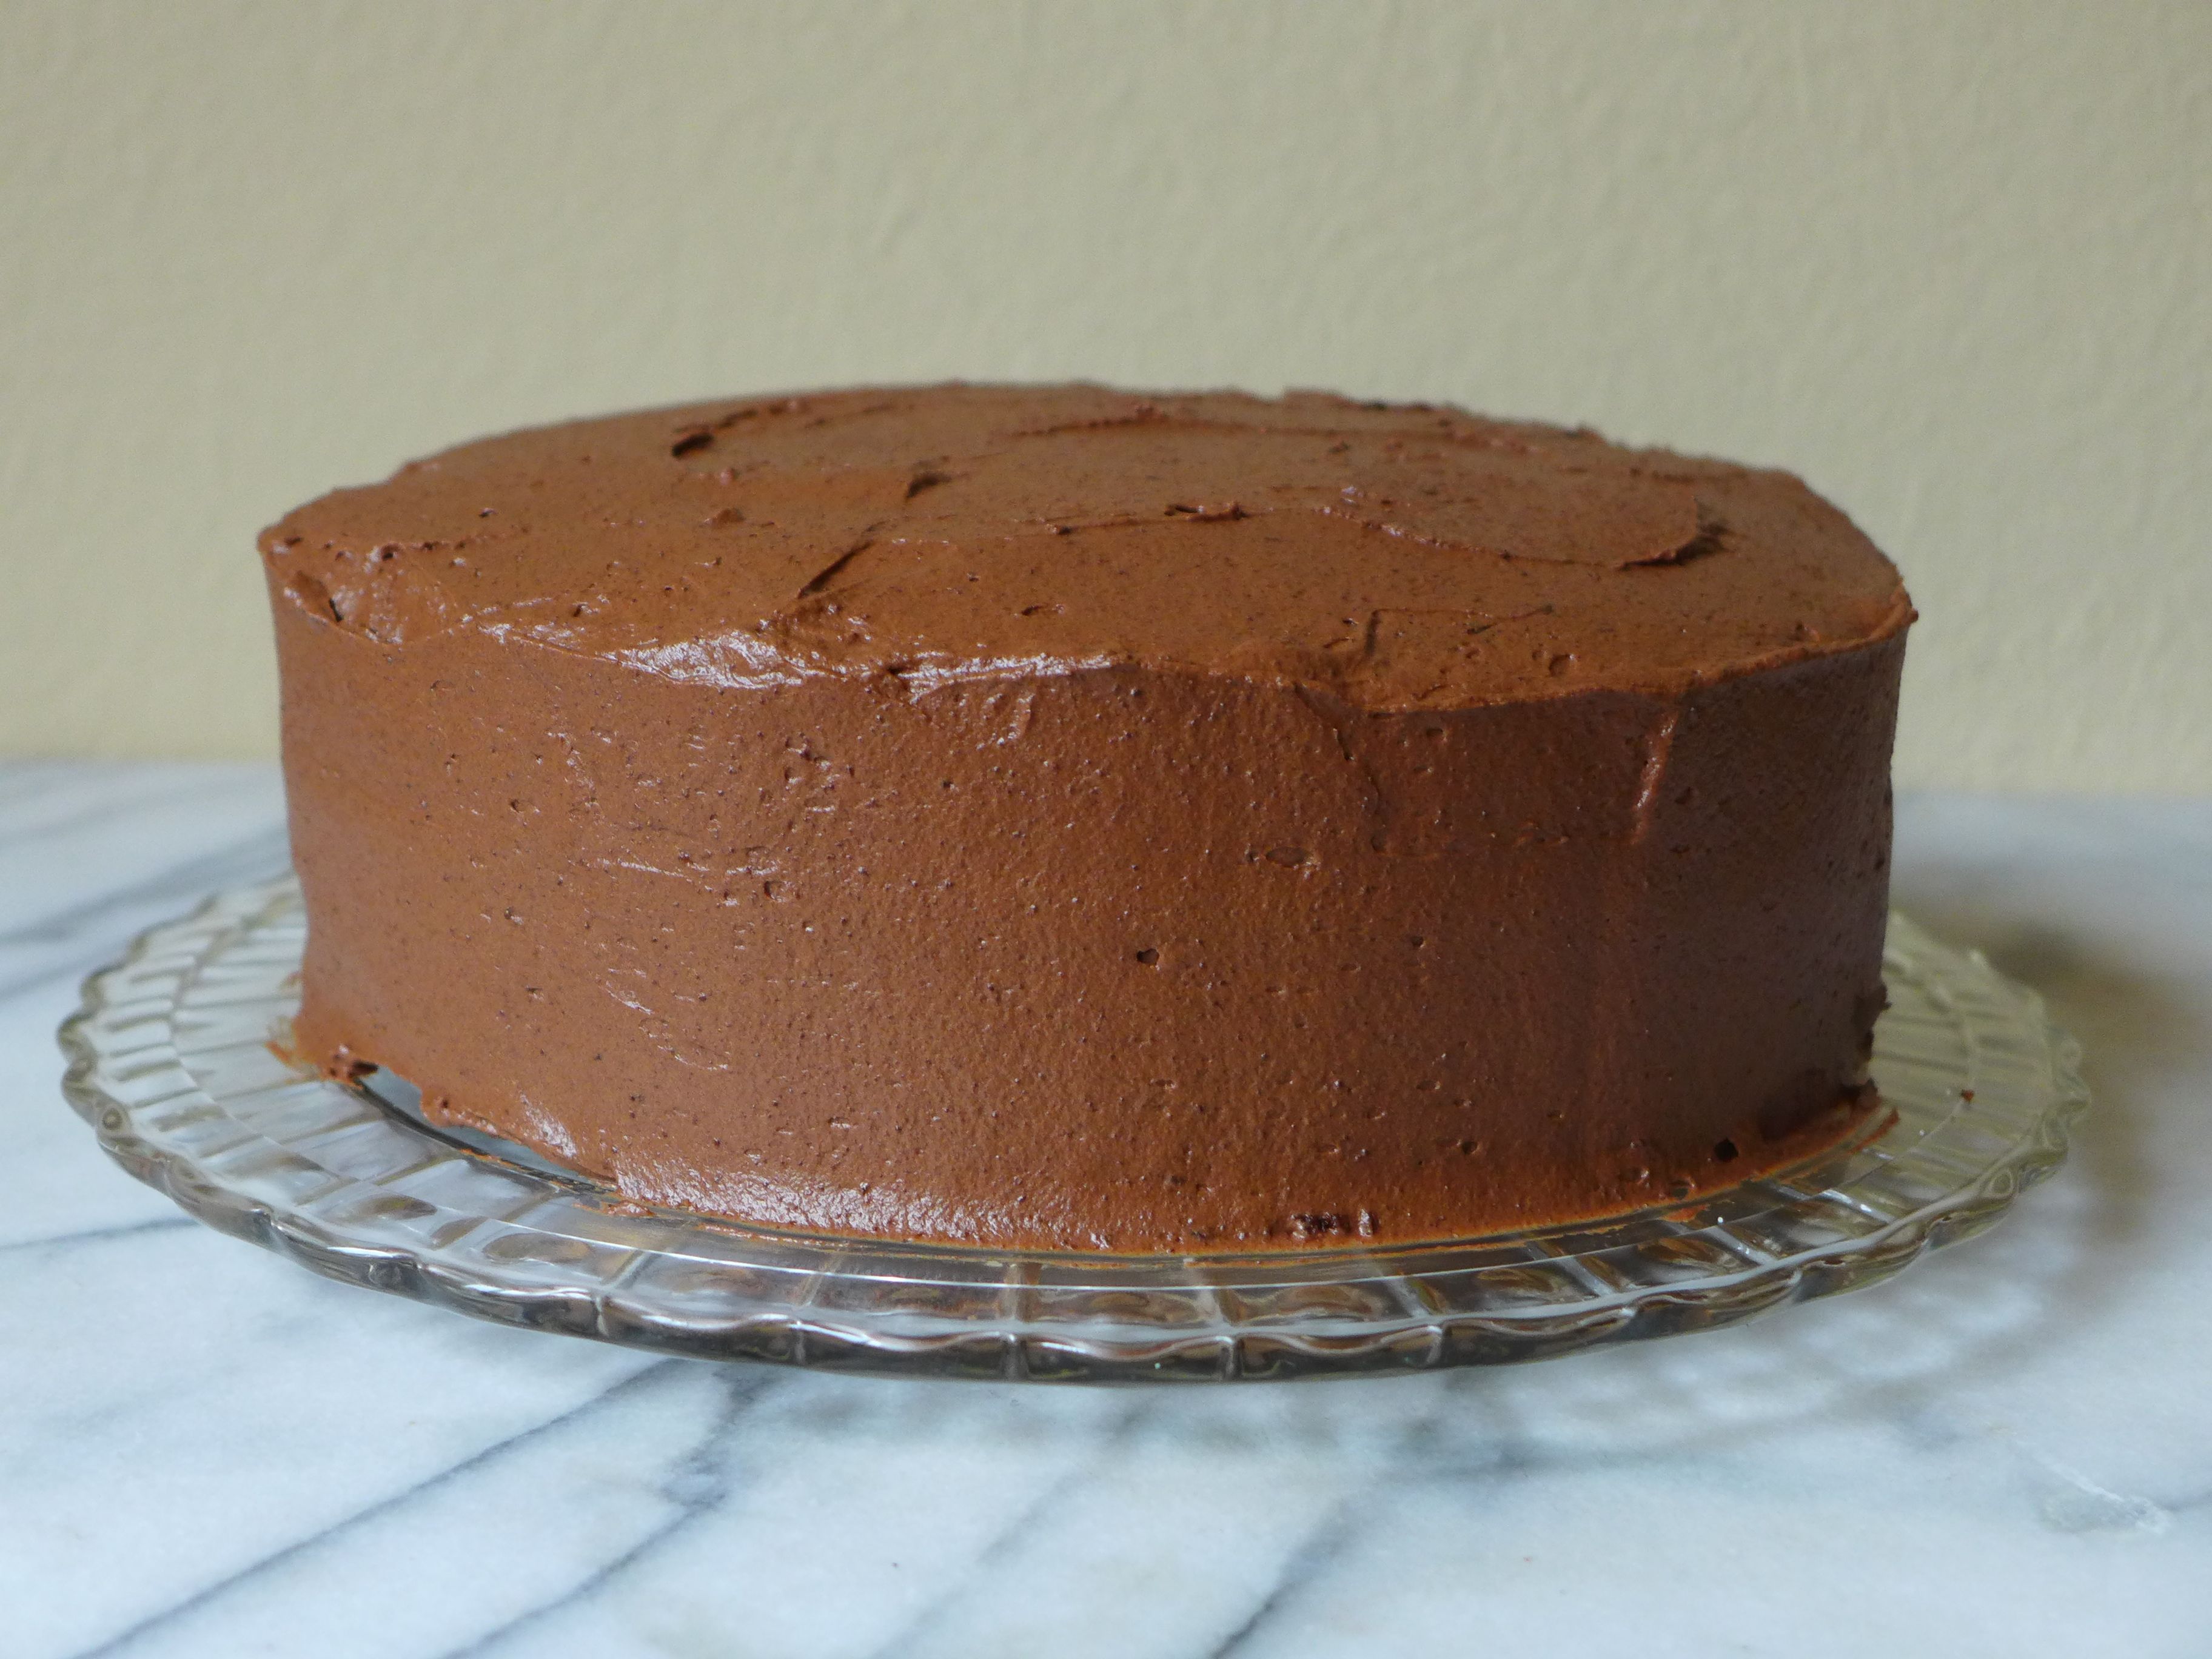
While the photos are self-explanatory, I’ll give you our protocol. We used our favorite chocolate cake and covered it with our favorite chocolate frosting (recipe below). To decorate the cake you’ll need a toy bulldozer or other construction vehicle, chocolate cookie crumbs, and chocolate rocks (not necessary, but extra fun!). Rather than using cookies with frosting, our mom picked up a bag of chocolate wafers that are used for ice cream sandwiches. These were perfect for the cake because they are easy to crush and you don’t have any of the pesky white frosting messing up your dirt. As for the rocks, if you haven’t seen them yet, they’re great, and as we learned, little boys love them! There are a variety of chocolate candy rocks out there, but we used these smaller pebbles that are marketed for decorating cakes.
After you’ve frosted the cake, and before covering it with the cookie crumbs, place your toy truck on the cake. Then you can add the crumbs, piling more in front of the bulldozer, and leaving a clear path behind where the “dirt” has been pushed aside.
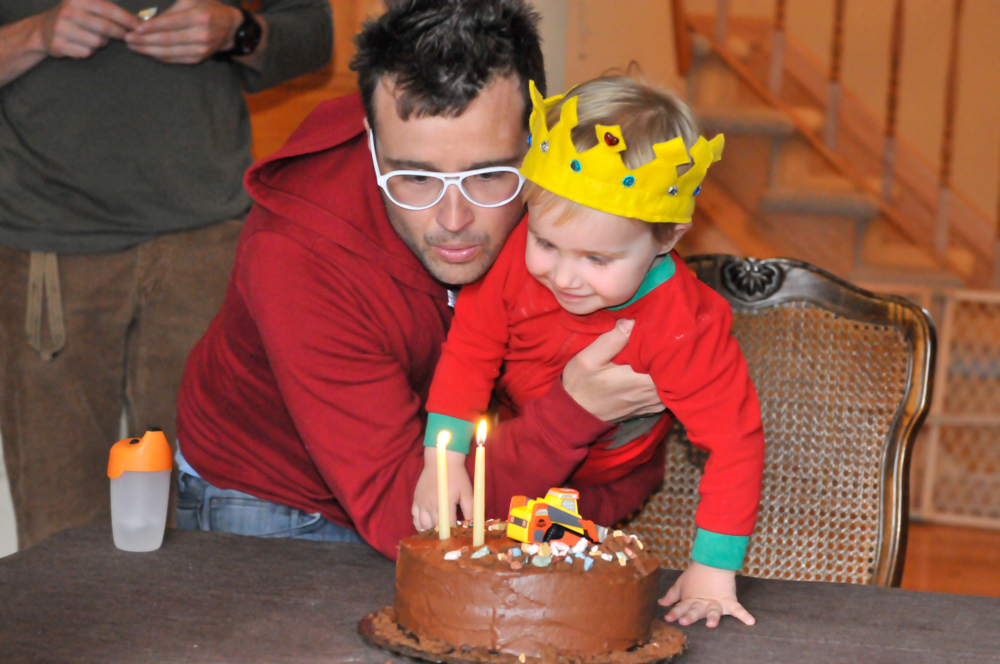
This cake was such a hit with the birthday boy! He accidentally caught a glimpse before the party and was immediately excited by the sight of the new truck (so much so that we had to hide the cake in order to keep his hands off of it). It was at that point that I knew we had a winner of a design on our hands. Once the candles were blown out and he had his first taste of the chocolate rocks, he was a little boy in a candy shop. He kept asking for “more rocks mouth”. And it was at that point that I realized that we had to make it clear that we only eat “inside rocks” and not “outside rocks”. Live and learn.
Ingredients
- 1 stick of butter, melted
- 2/3 cups cocoa
- 3 cups powdered sugar (but I always use a little bit less)
- 1/3 cup milk
- 1 teaspoon vanilla
Instructions
- In the bowl of an electric mixer, stir the cocoa into the melted butter.
- With the mixer on medium speed, alternately add the powdered sugar and milk.
- Add more milk (or use less sugar) if necessary to get the desired consistency.
- Add the vanilla.
- Spread that goodness on yo' cake!
- **** Ok, this time I was not reading the instructions clearly and I didn't melt the butter, but used a room-temp stick. It still turned out ok, but I did turn the mixer up extra high to make sure the butter and cocoa were fully incorporated. And as I said above, rather than adding more milk, I will often use less sugar, this is because I like my teeth and find most frostings to be too sweet. You should play around until you find what you like.
Sarah here : Now that you know how to create a cool kid’s cake, you should probably make sure your camera is all set to capture the moment. Photography is all about the light and while all homes and settings are different, there are a couple general rules I follow for birthday shots. First assess the light in the room. Is there enough light for your shutter speed to be faster than 1/150? (If you don’t know what that means – read this – it will simplify those numbers!) If so, you don’t need flash, but chances are there isn’t enough available light. Usually we dim the lights to better see the candles and there’s also a bunch of people crowded around the table, which tends to block the available light. That was definitely the case in these photos so I immediately set my camera up to use the pop-up flash. If you have an off camera flash that’s even better, but I didn’t have time to run and grab mine.
First, make sure your white balance is adjusted for flash (the lightning bolt icon) and your ISO is 400 or lower. Then take a test shot of another party-goer so that you’re positive you’ll get the shot when the birthday boy or girl is presented with the cake. I use all manual settings so I simply set the camera to a shutter speed of 1/150 (fast enough to freeze movement, but slow enough to allow the shutter to fully open while the flash goes off to properly expose the whole scene) the ISO to 200 (the lower the number the less sensitive to light, which is good because we’re using flash, which means a lot of light will flood the scene) and then I adjust the aperture to the correct exposure by reading the light meter. If any of that terminology was lost on you definitely take a look back at the Photography 101 guide. I promise it will all make sense after reading that post. Hope that helps, but if you have any questions, please ask!
Oh and just a general candid photography tip: clear the area behind the birthday boy and in front of the cake! You don’t want to see crumbled up wrapping paper and random water glasses in these precious photos. It’s probably obvious, but the less clutter the cleaner your photo will look
Ps. Katie forgot to mention that Alex used the bulldozer as a fork to eat his entire piece of cake! It was adorable.

