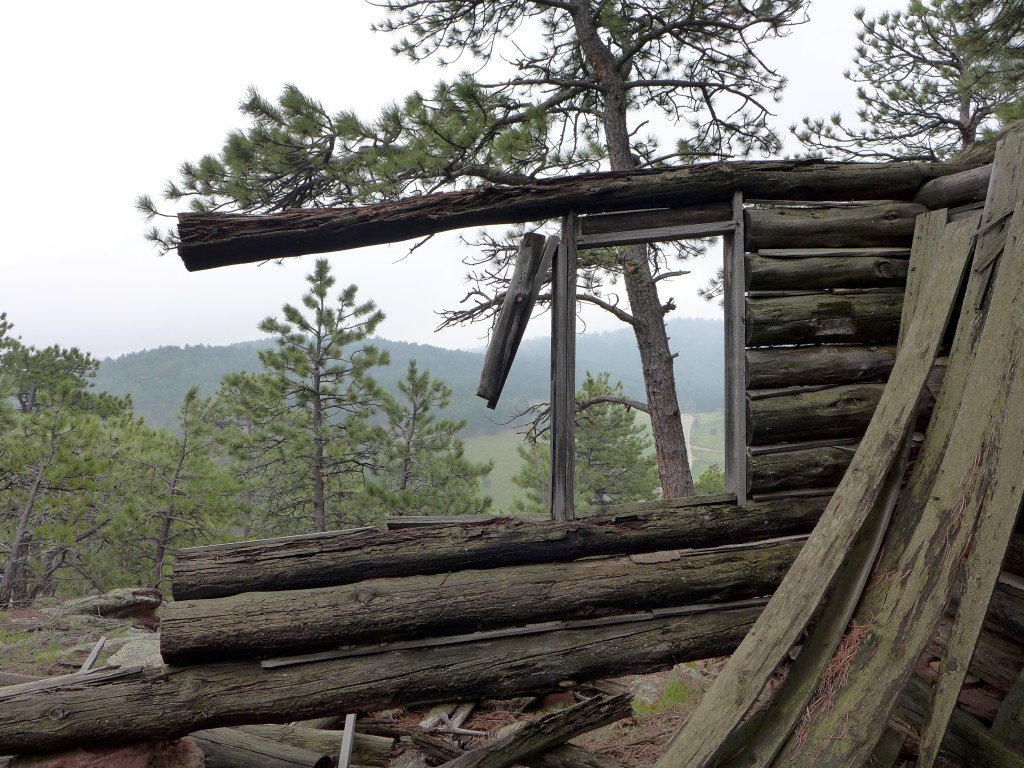
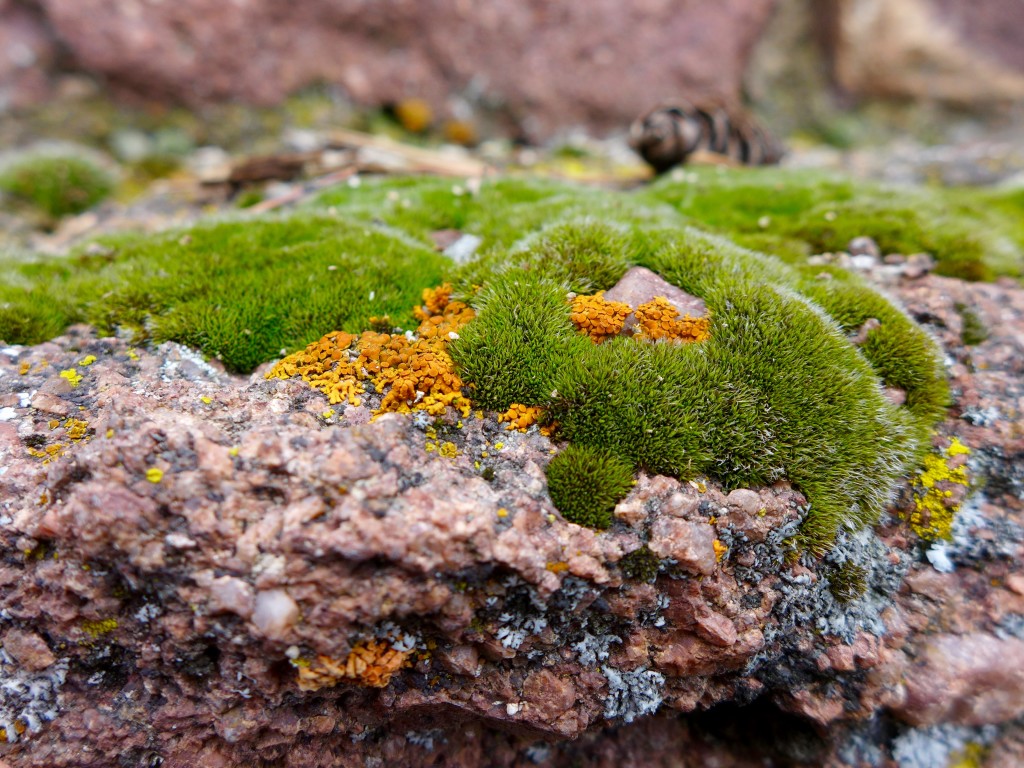
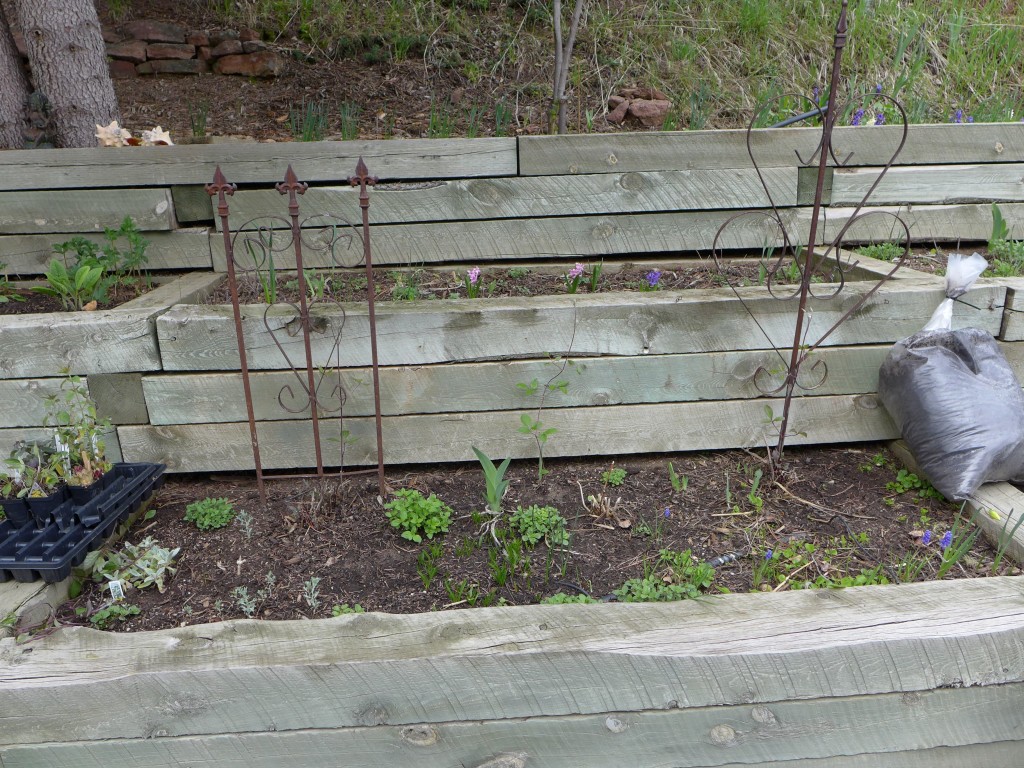
Throughout this summer I’m excited to keep a journal documenting the growth, updates, and general observations of the gardens around our house. Since it’s the start of the season, I thought it would be appropriate to begin with a little overview of the outdoor space. Admittedly, the photos in this post aren’t that exciting, but I’m happy for the visual record they’ll provide as the season progresses.
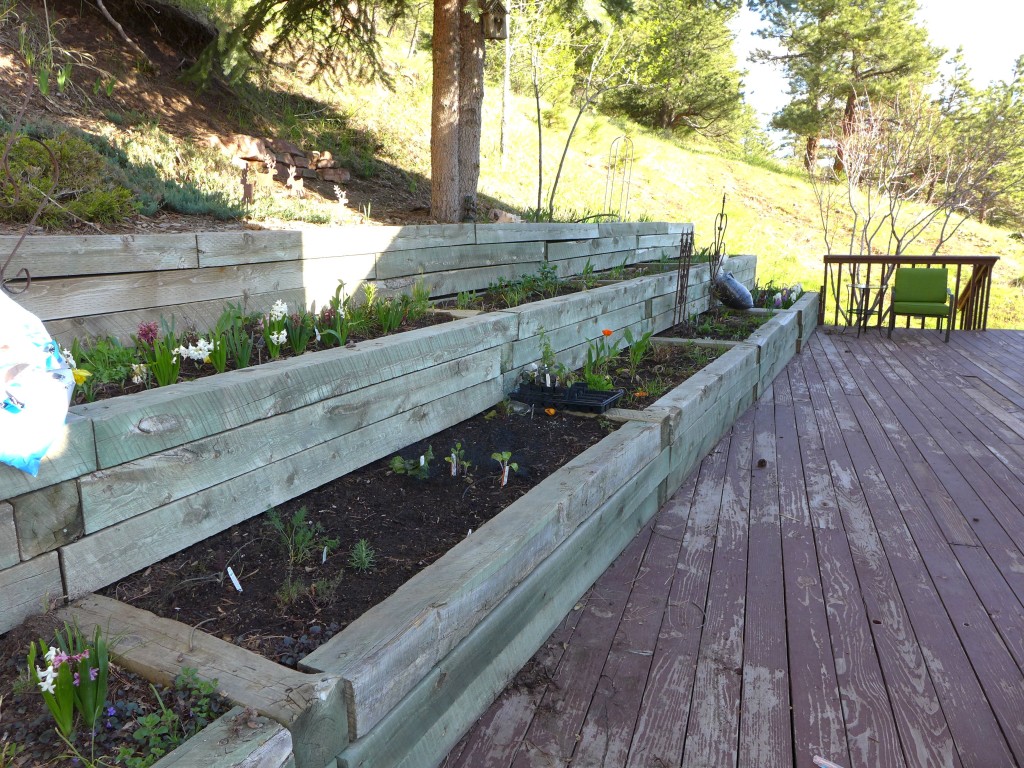
We have a very large deck, a number of raised beds, a small-ish pond with a waterfall/stream powered by a pump that we can turn on and off. There’s a small rock path leading from the deck to the pond, and then this path continues down the side of the hill to our driveway. The rest of our outdoor space is rustic. Our house is built on the side of a hill/mountain, and fortunately there is no landscaping, instead, we just get to walk off the porch and and are immediately immersed in the native Rocky Mountain foothills ecosystem, full of evergreen trees, cactuses, native grasses and flowers, and small shrubs, all dotted with many rock outcroppings.
Location
For anyone interested in the nitty gritty – I’m gardening in Boulder, CO in the foothills of the Rocky Mountains. We’re at about 6000 feet altitude, and in USDA zone 5b.
The Challenges
This is going to be my first real season gardening in Colorado. For the past two summers, I mainly grew herbs and a few things in pots on our deck, but this year my goal is to start improving the permanent spaces around our house. The main challenges that I want to keep in mind are water supply, animal predation, and length of the growing season.
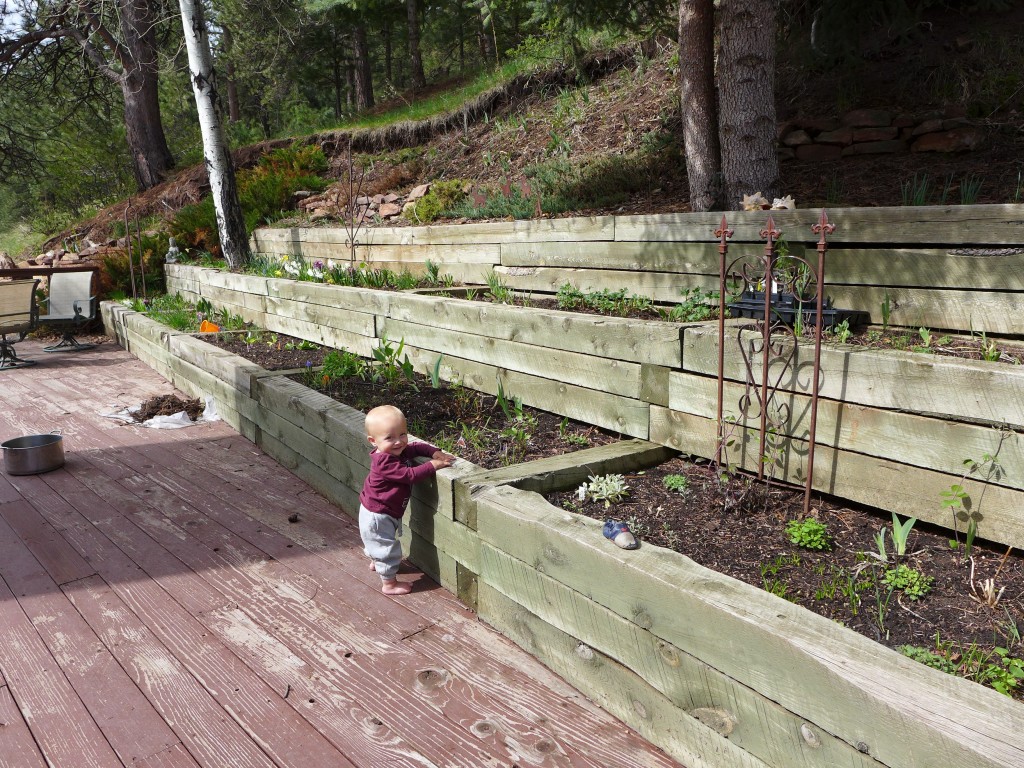
I think I’m already doing a good job of reining in my expectations when it comes to that last item. If this were PA, I would have been actively working in the garden and adding new plants back in April. But here, we saw some of our biggest snow storms just a month ago! That definitely helped to keep my expectations in check. It also helps that the nurseries (knowing what’s what) don’t put out many of their plants until we’ve entered the window where putting them in the ground is ok. So, I’ve just started to add some perennials to the flower beds, and while it *feels* late, I think I’m right on schedule.
When it comes to plant choices, I want to create a responsible garden, so I’m really focusing on plants that will do well in a more arid environment. Fortunately for me, many of the flowers that I like also fit the bill as having low-water needs. After their first season, that is. You want to water plants well in their first season to ensure that they become established in the beds, growing nice deep roots that will help them in future seasons with lower water supplies. We have a drip irrigation installed throughout the beds, so that will help with watering but even so, I want to make sure we’ve installed a water-wise garden.
The other challenge that I’m trying to keep in mind are the foragers that frequent/live on our property. There are families of Mule Deer living in this area, and they love to graze in our yard. They are often eating the native grasses growing on the hillside, but they also walk right onto the deck and will look for anything tender growing in the garden. We also have rabbits living in the yard and they have no qualms about eating from the garden. Again, I’m lucky that many of the flowers I want to add to the garden are generally considered to be deer and rabbit-safe, but this is not the case for most vegetables, so as you’ll see below, I have a plan…
The Raised Beds
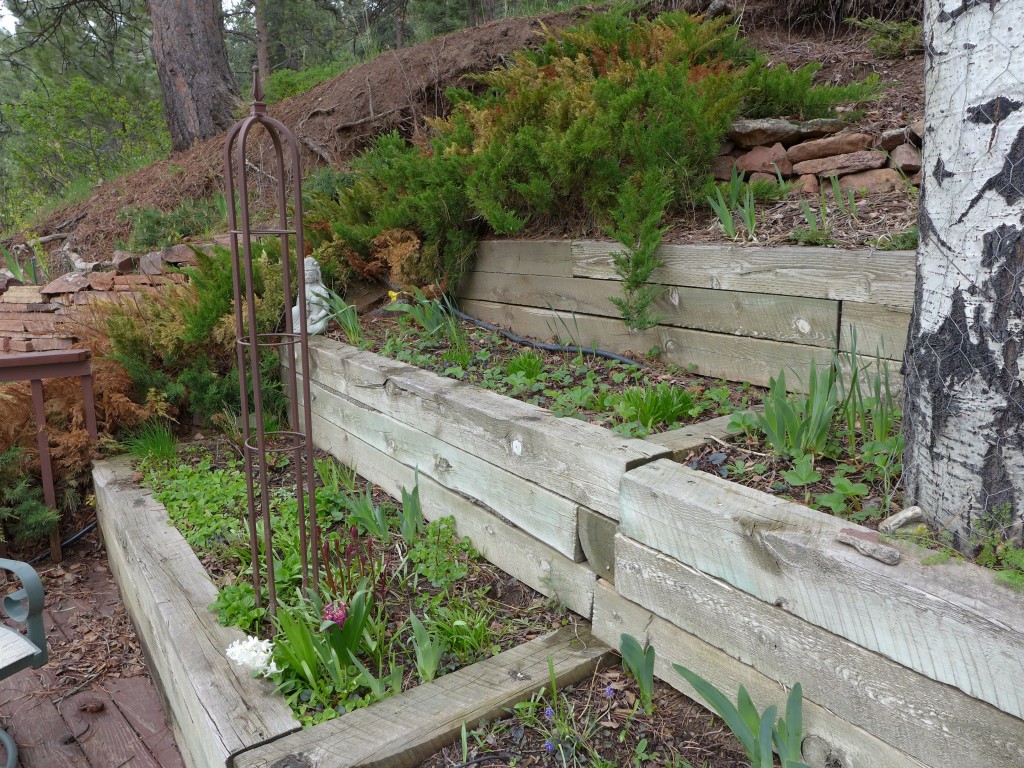
There are twelve tiered beds along one side of our deck, a few more that line the stairway from our driveway to the front door, and a couple more on the east-facing slope of our mountain below the house. We don’t see those last two on a daily basis, so I think I’ll end up ignoring them for most of this summer while I keep my focus on developing the plantings in the other beds.
Flowers
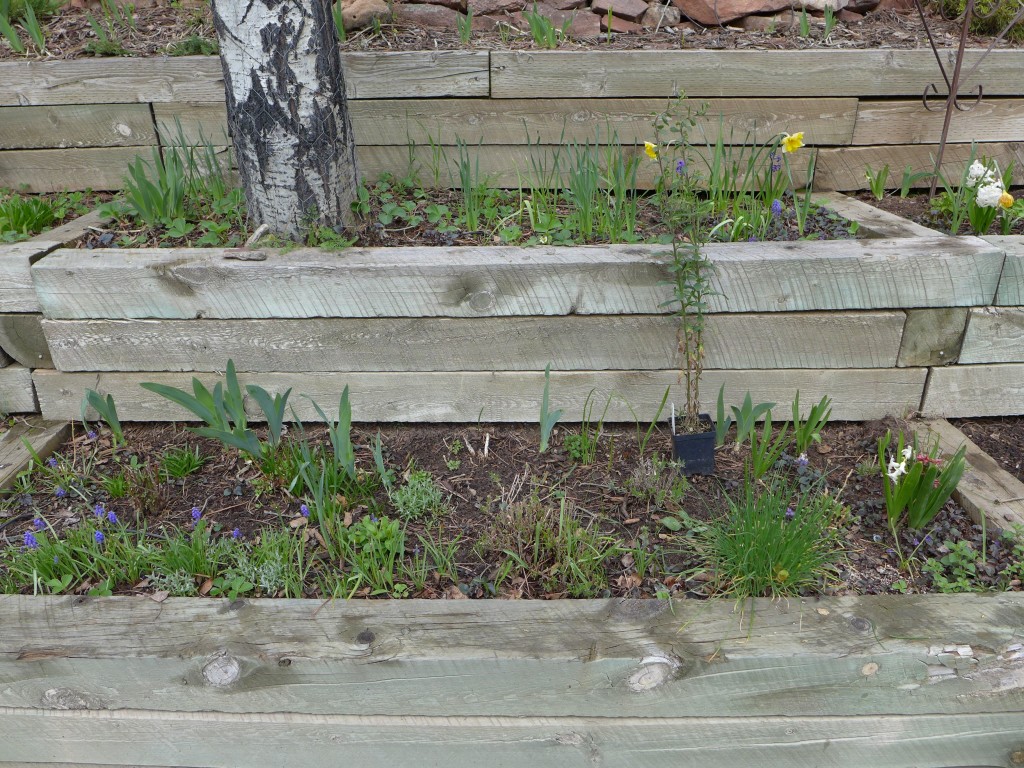
All of the planted areas currently contain a collection of early-season bloomers (daffodils, snowdrops, hyacinths). There are a few peony plants, lavender, roses, and a lot of bearded irises.
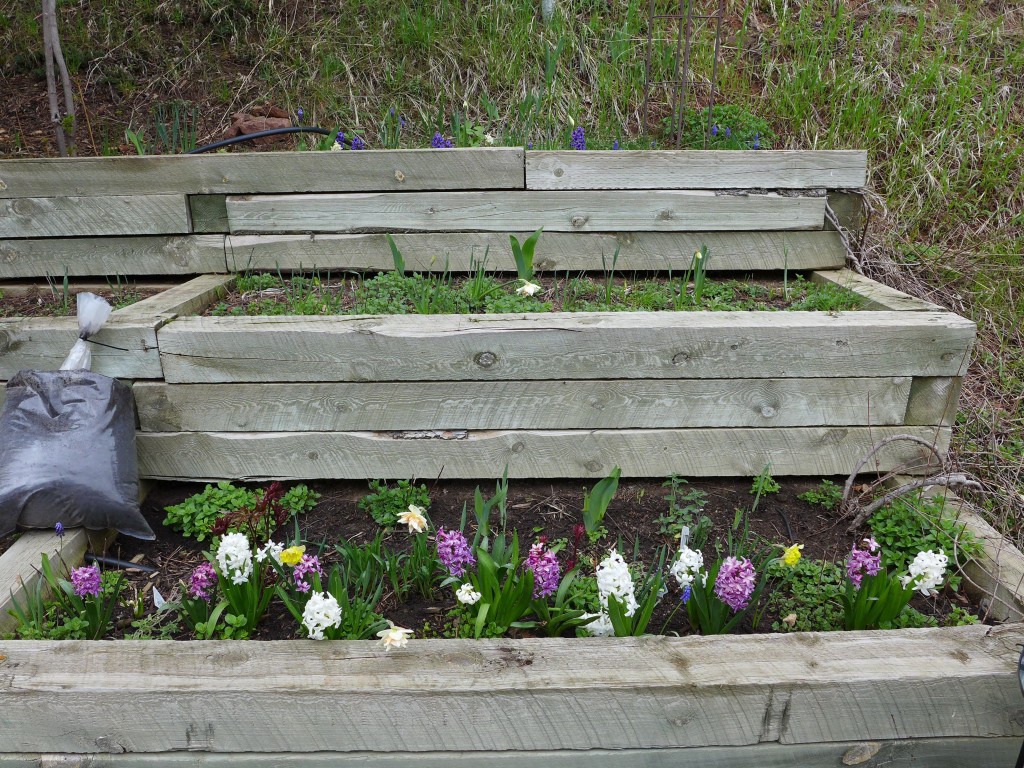
This year I’m hoping to expand the variety of flowers growing in these beds. My plan is to add black-eyed susans, purple coneflowers, bee balm, catmint, yarrow, goldenrod, and milkweed. From my research, these all fit the bill as having low water needs and also being relatively unattractive to foraging from deer and rabbits. And while I’m trying to keep away some animals, I’m hoping to attract others. These flower choices are all attractive to a combination of hummingbirds, butterflies, and bees.
In addition to the flowers, we have a number of ornamental shrubs – butterfly weed, flowering hydrangea, and lilacs. I don’t plan on adding any more shrubs at the moment; I just want to maintain what we have.
Edibles
We inherited a few edible plants in our garden. There are perennial herbs (sage, chives, oregano, and mint), a raspberry patch, and a few old strawberry beds.
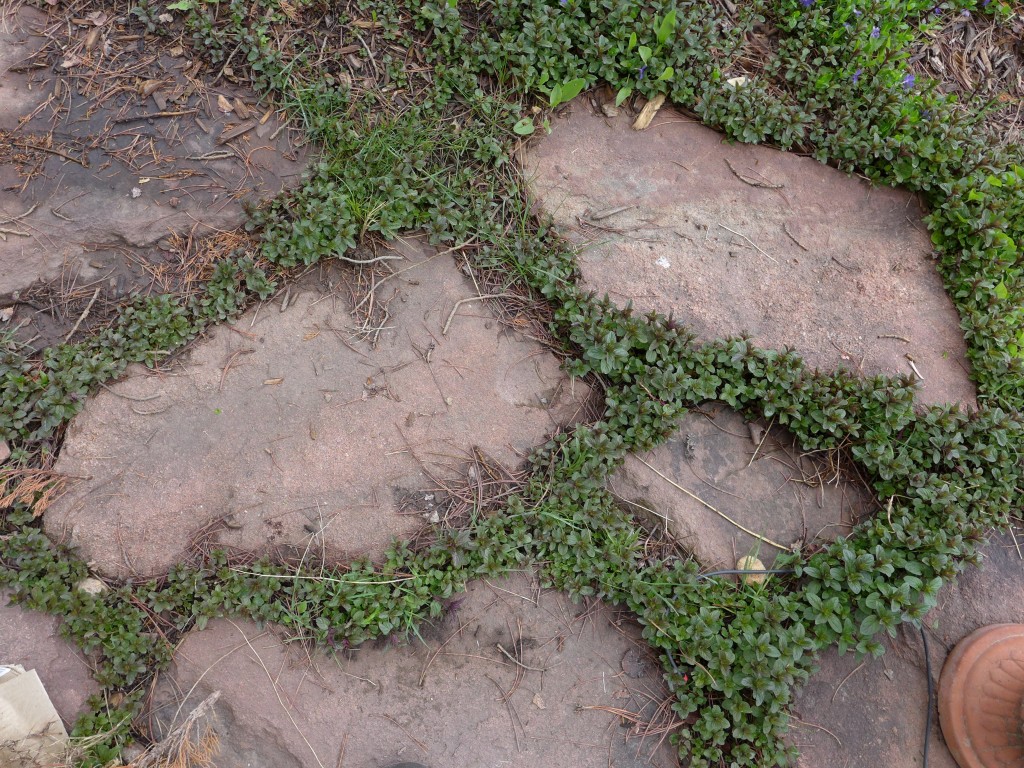
A lot of people flinch when they here about mint in the garden because it’s so invasive. We’re fortunate in that all of our mint is planted in the rock pathway between our deck and the pond. It’s slightly shaded and is an area with soil that stays more moist than other beds (perfect for water-loving mint), and fortunately, it can’t really spread beyond that zone because it’s cornered by the pond, stream, and deck.
I didn’t know anything about raspberries before moving in, and I still feel like there’s a lot to learn. I know that there are some varieties that produce berries late in the season off of new canes and other varieties that produce berries throughout the season off of old growth. Right?
Last summer I cut all of these canes back. We only ended up getting two berries (no joke!), but they were delicious! It could have been that we didn’t water the area enough? Or it could be that this is a variety that produces berries on old growth? I didn’t prune anything this season and am going to see what happens. I’ve also signed up for a “small berries” class at a local nursery. I’m hoping to walk away from the class with both tips for growing and caring for our berry plants as well as information about different varieties that do well in our area.
I think our strawberry beds are all past their prime. I’ve read and been told that a strawberry plant only has a few years in it before its production slows down. Last year we had quite a few flowers, and I think I saw a berry or two, but we never got to any of them before the animals (this might be an unavoidable problem). I’d like to re-energize our beds, but I think I’ll wait to do anything until after the class.
When we moved in, every one of our raised beds had something growing in it – some were more full than others. Calder and I were both excited to completely empty at least one bed for growing veggies. We don’t have high expectations, or necessarily a high demand since we have a farm share, but we want to grow a few things that we can pick and eat, and more importantly to give the boys the exposure to growing something that they can pick and eat.
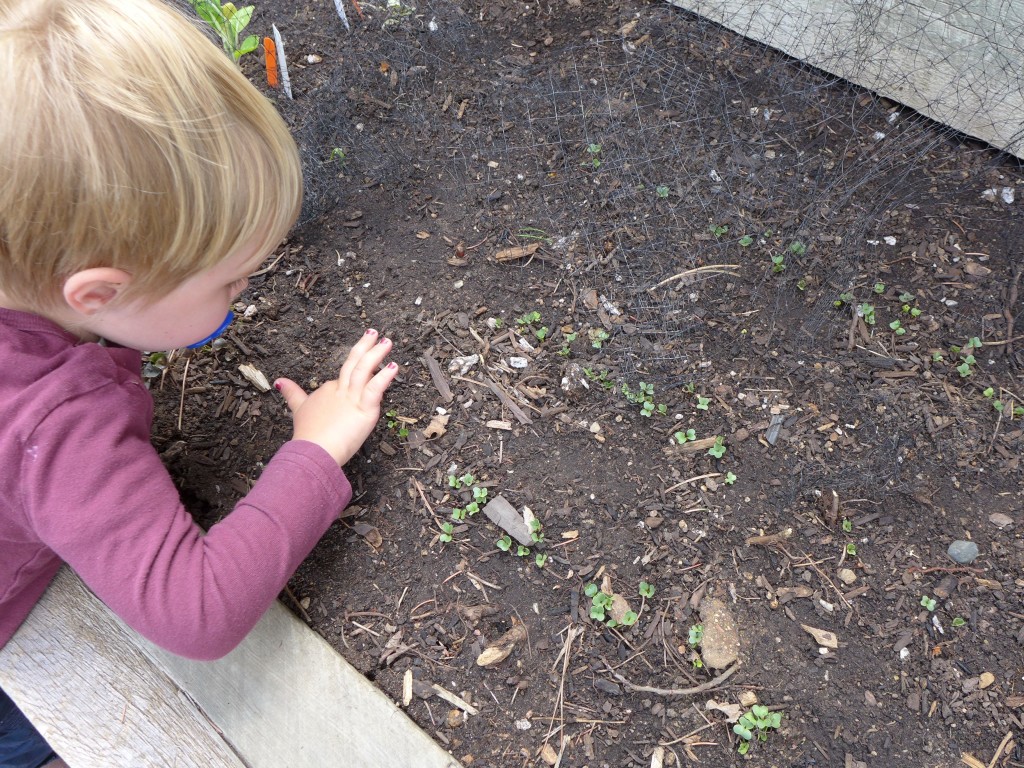
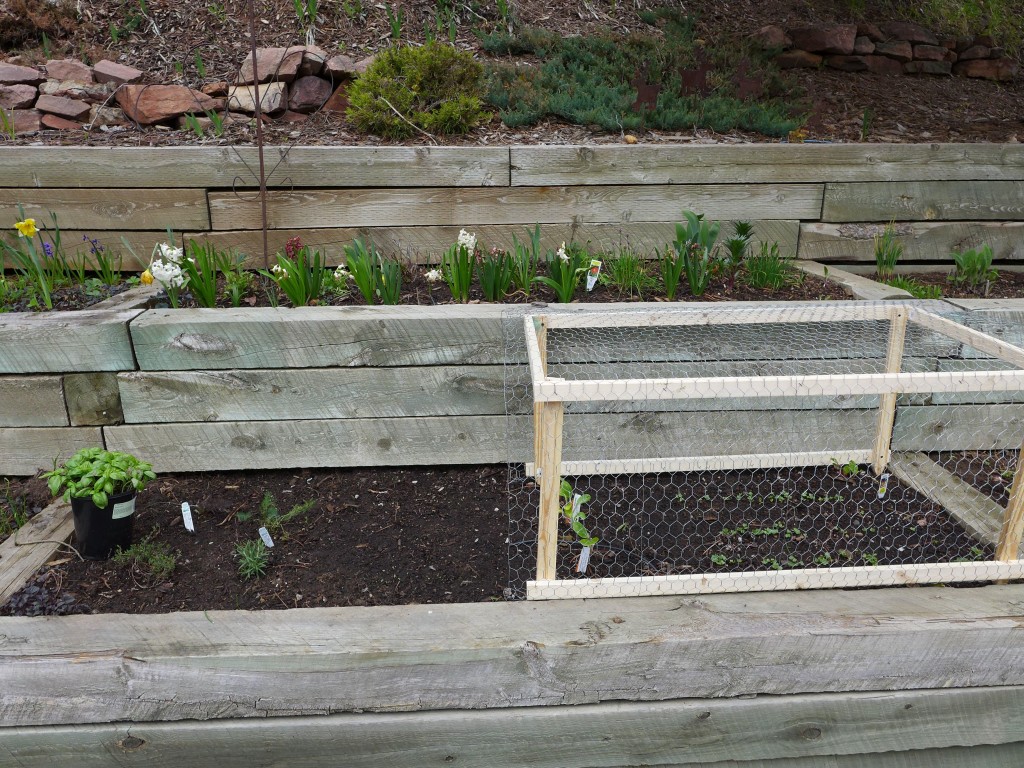
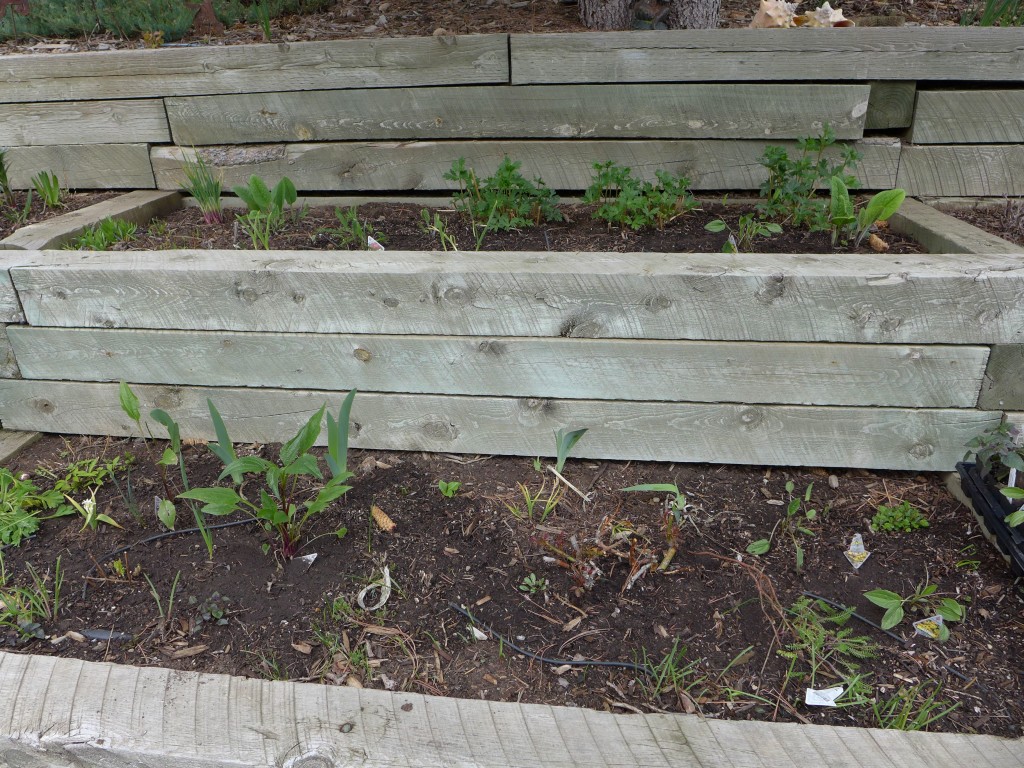
So this spring, I cleared one of the beds right off of the deck, moving most of the plants to open spaces in the surrounding beds. We then turned over the soil, added compost, and planted a few early-season veggies and herbs. Right now we have a little area of loose-leaf lettuces and another area of radish varieties (I’ve heard radishes are absurdly easy to grow, and I’m looking for an easy success in our first season). One side of the bed is dedicated to herbs – we have thyme and a hardy rosemary, if we’re lucky, both will be perennials in that space. We also added a dill and a fennel plant. In the middle of the bed I put in a couple of bok choy plants and one rainbow chard because we like to eat those greens. I think that as it gets too hot for the lettuce area, I’ll plant some basil in that zone.
This past weekend we built a couple of fenced boxes to fit over the vegetable bed. Nothing fancy just a super-simple frame using the cheapest wood from the hardware store with chicken wire stapled to it. I built the box in two pieces so that it would be easy to pick them up and move then aside when we’re working in that bed, and we can use only one if we only need half of the bed covered.
~
So that’s the state of the garden as of this week. Between the late snowstorms and recent rain, we’ve had a relatively wet spring, which is getting everything off to a really nice start (even if we are all going a bit stir-crazy inside!). The radish and lettuce seeds have sprouted! And all of the perennials I’ve planted thus far seem to be thriving. I’ll be excited to update this series throughout the summer as a record of how the beds change, and I’m hoping that the visuals will really help me each year as I think about what I’d like to add/change in the garden.
In the next post I’ll introduce you to our pond and my dreams for a big, lush water garden… they’re competing with Calder’s dream to turn the pond into our hot tub!

