Before the Honey Bee

It’s National Pollinator Week! Did you pick up some local ingredients to make your own pollinator power salad?

chive_fritters5

Originally I was going to write a post all about honey bees because they are fascinating creatures. We can’t talk about large-scale commercial food production, without acknowledging our reliance on bees. And if you want to really think about how intimate our relationship with honey bees is, just remember that we eat their vomit and enjoy it! If that isn’t fascinating, I don’t know what is. Continue reading

Chive Blossom Fritters

It’s Pollinator Week, and we’re sharing pics of bees and one of their favorite early summer treats in our yard. Coincidence? Possibly.

Chive fritters, because it’s fair season, and just like pickles, cheese, and ice cream, even flowers can be fried. Classy? No. Maybe. Delicious? Definitely.

Our house came with large patches of chives that produce an overabundance of beautiful edible blossoms every spring. I love the chives, but they also drive me slightly crazy because I feel bad when I’m not making use of the bunch. One of the easiest things to do is sending Alex out to pick chive and dandelion blossoms for our salads. He loves the independence that comes with being sent to do a job like this. I’ve also experimented with chive-infused vinegar. Remember the dressing in our pollinator salad? These fritters are yet another good use for the blossoms. chive_fritters1

But as it often happens happens, when I’m outside picking the blossoms, the bees are buzzing. They’re gently collecting pollen as they move from one flower to the next, and it’s then that I’m reminded that it’s perfectly fine to take a handful or two and just let the rest be. {Look at that bee bum!}

Continue reading

Garden & Pond Update

I’m documenting the growth, successes, and failures in our backyard space. It’s been about a month since I introduced you to the pond, and two months since I introduced the garden.

We have reached the height of summer here in the mountains. This is our hottest month, and while it seems dry out there, August is usually even drier. As you’ll see in the photos, there have been some real successes here in the garden, but what you don’t see is that there have also been a few failures/areas for improvement.

Fist, a surprising success : look at this clematis!

clematis

That vine grows in a small bed, that’s more like a container built into a little nook in our deck. It doesn’t have any irrigation, so the soil is extremely dry if not watered regularly. Last summer I was so busy with baby Luc, that I completely ignored this area. I barely watered it, and I didn’t care that the vine never grew (seriously, it grew maybe 10 inches and then died). Fortunately, with ample water, it came back in full force this summer and is covered in beautiful blooms!

I think that it also serves as a great reminder of the resilience of plants, and about how lush a garden can be with just a bit of care.

coneflower

In the photo above, I’m showing off the echinacea that I planted this summer. I planted four of these around the yard (two in this bed and two near the pond). As you can see, these are successfully blooming, and I’m hoping to let their seed ponds fall into the bed for some self-seeding action. Unfortunately, one near the pond died – it suffered from a lack of watering and also an attack by our garden mice!…

The mice seem to be living in the beds along the deck, and I’m looking for ways to get rid of them or at least minimize their foraging. They’ve been eating some of the black-eyed susan flowers that I planted as well as the veggies in our veggie patch (so we haven’t been eating the vegetables, just to be safe). Any mice advice?

Behind the echinacea is an extremely large pot – I have two of these, and both are planted with a purple grass and those flowers. I’m totally blanking on the name of those flowers. It’s a nice combination that’s done well for me two years in a row.

front_door_pots

The photo above shows one of my potting surprises. I planted these violas and pansies in early spring when I wanted something to fill the pot but knew that only something cold-hardy would do. I expected to fill the pots with something more heat tolerant once summer arrived, but these beauties keep flowering! They do look a bit leggy, but really not that bad, so I’m going to keep them here for a bit longer and then I’m hoping to transplant them to a shade spot under one of our Aspen trees, and see how well they do there (the violas should come back as a perennial).

raspberries

As I surmised in my introductory post, we have raspberries that fruit on old growth (known as floricane-fruiting). Since I cut down all of the canes when we moved in (spring of 2015), new canes grew last summer and now they are all producing fruit! We have so many berries out there right now, only a small handful of really ripe ones so far, but more and more and ready every day.

I’m not sure what method I’m going to use for maintaining the raspberries. Part of me wants to cut down all of the canes again after this growing season (new and old growth), but that would meant that then we won’t have any fruit next summer. Or, I could go in and selectively thin the canes – cutting down the old growth and keeping the new growth. If I’m feeling ambitious and have the time, I may try this method… either way, I’ll keep you posted, and in the meantime, we’re enjoying this year’s bumper crop! 
pond

In the pond, our waterlilies are doing fantastic!… so is the algae! It’s a daily battle to go in and remove the string algae, but if I stay on top of it, the pond looks beautiful. We have these two lilies blooming right now, and I can see that the plants are multiplying – sending out new roots and plants within the containers. They seem to be such vigorous growers that I’m thinking about putting them in even bigger containers next year to encourage new plants.

The smaller plants floating around the lillies are the fairy moss. It’s growing well, but I think that next year I’ll order even more, because it’s not covering the pond as quickly as I’d like (I want it to cover the pond to help shade-out the algae).

A few of our other pond plants are doing well, but are still relatively small, so I’ll share updates on those in a future post.

pond2

I’d still like to add a couple of fish to the pond, but without more plant cover, I think they’d be immediate prey for the birds and other wildlife around our house…

I’m definitely highlighting the successes, because that’s what makes the gardening fun, and these are the areas my eyes turn to every time I walk out the door. Maybe I’ll share more of my “eh” areas in the next post. There are a few spaces where I was hoping to see big changes this year, but I’m starting to realize that I may have to settle for a slower evolution of the space.

Garden Update : The Pond

Throughout this summer, I’m documenting our garden. How it’s growing, what we’ve planted, and any changes we make to the space. Here’s my introduction to the bulk of our flower and veggie beds here.

Ugg, we’re such lazy bloggers lately! I realized that if I didn’t put this post up soon, then I’d miss my window of opportunity for pond introduction photos. Without further ado ~

When we lived in PA, I experimented with a few water gardens on our deck. Click here to read more about those experiments and the Thai water gardens that inspired my experiments.

With this house we inherited a small pond. It’s not something that either Calder or I would want to instal in our yard, especially in such a dry area where it seems a bit frivolous, but since it’s here, I’m so excited to expand my water gardening to this bigger space!

pond - 1

The Pond

This pond is created using a waterproof rubber liner that is then covered with rocks. The pond is about 10 feet from our deck, and between those to spaces is a flagstone path with mint growing between the rocks (that’s what you see in the foreground above). The pond has a filter and pump system that pump water to a waterfall that’s about 6 feet high and 10 feet away from the pond. The water then trickles down a stream and into the pond. Last season we turned on the pump once (right after cleaning it), but then never used it again. This summer we’re hoping to tweak it slightly and use it a bit more, but I’ll discuss that feature in a future post.

Spring Cleaning

Both last year and this year we started the season by draining the pond and spraying it down to try to remove as much algae and silt as possible. I didn’t photograph that process, but realized I should next year. We learned a lot of things last year that made what was at least a 12-hour project the first time just a 2-hour jaunt this time.

We drain the pond with a big hose using this technique. You just fill the hose with water, submerging one end in the pond water and putting the other end at a lower point, letting gravity do the rest.

With a pond of our size, it takes a while for it to drain completely, so while it’s draining, I get to work removing the algae. I drag a large pitchfork through the water, picking up sheets/strings of algae that I then dump outside of the pond. As the water level goes down, I’ll hook another hose up to a water source and start spraying down the rocks on the side of the pond, trying to remove any algae and slime on them.

Once the pond is almost completely drained, you have to be careful that the draining hose doesn’t lose suction. It’s just a pain because then you have to fill it with water and get suction going again to get any remaining water. During this phase, I’m almost constantly spraying fresh water onto and between the rocks to wash out as much silt, slime, and algae bits as possible.

I don’t remove every bit of gunk from the bottom of the pond, but once I’ve done a fairly good job, the process is done and I start filling it again with fresh water.

pond - 1 (2)

Algae

If left unchecked, our pond came become overgrown by string algae. From what I understand, the algae is not a danger to us or other organisms, but cosmetically, it’s a bit unsightly and makes the pond look more like a swamp than an oasis.

One of the reasons that our pond seems to be a prime target is because it gets a lot of direct sunlight throughout the day, and just like other plants using chlorophyl to make their food, sunlight will encourage growth. I was told that I could eliminate the algae and have crystal clear water by adding bleach to the pond, but this is only a solution if I don’t want to have any other plants or animals growing in the pond (and if I don’t mind dumping bleach into the environment, which I do). There are a few other solutions, so this summer I hope to keep you updated with my algae successes and failures.

In addition to physically removing the algae (as described above) and using an algaecide (discussed below), I can try to physically limit the amount of sun reaching the water’s surface. One easy way to do this is by adding water plants that will grow on top of the water, so that’s what I’ll be experimenting with this summer.

pond - 1 (1)

Mosquitos

Because of the cool weather in the mountains and the lack of standing water in our dry climate, the mosquito population in the mountains is generally low. That said, we don’t want this pond to become a mosquito breeding ground. There are a few ways to avoid that.

Generally, mosquitos will successfully breed if they have access to the surface of still water and if nothing eats the larva. If we keep the waterfall on, this would agitate the water enough to deter mosquitos from laying their eggs. It’s unlikely that we’ll do that because of the noise, energy use, and increase in water loss that would happen. Another option is to cover the surface of the water in plants so that it’s hard for the mosquitos to lay their eggs. I’m going to attempt to cover most of the water with plants (more below), but it’s unlikely that we’ll completely cover the surface. If I do achieve relatively good plant cover, then I would love to add a few goldfish to the pond, and they would help to eat the larvae. So, there are some options, but they aren’t guaranteed to work at this point in our pond’s lifecycle.

So, for now, we’ve decided to add Mosquito Bits to the water. The mosquito pellets/dunks contain BTI, which is a bacteria that is toxic to the larvae and will kill them. The dunks are considered safe and non-toxic (when used correctly) for all other animals.

pond - 1

Plants

This year I’m hoping to do some experiments and expand the variety of plants that I grow in the pond.

Right now our pond contains two groupings of water lilies. Both are made up of lilies that I put in the pond last summer and they successfully spent the winter out there. Not only did they survive in our little pond, but they thrived, multiplying successfully in their pots. This year I repotted them and added another one that came as a dry root from Home Depot. I bought that one because it was so much cheaper than the live plants and I wanted to grow it as a test this year to see how well it does.

I’ve also added a curly rush, two canna lilies (from dried roots), and another mystery lily that I picked up in the pond section at Home Depot. You can see the leaves of the mystery lily just starting to sprout in the photo above. All of these plants live on the “margins” of waterways ~ along the edge where their roots may be submerged in water, but their stems and leaves aren’t. So I have them in pots near the surface of our pond. It isn’t the most beautiful presentation, but I’m hoping that the floating plants will disguise the pots, and if they plants are successful, then I’ll come up with a better solution next year.

I was going to use duckweed as a floating plant to cover the water surface, but I wasn’t happy that the batch I received in the mail. So just this week I placed an order for fairy moss (it’s the small floating plant growing in the photo above), and a couple of water lettuce (another floating plant that is larger, like a small head of lettuce, and multiplies like crazy).

~

That’s our pond in early spring. I’m hoping to get some lush growth from the plants this year. I would love to add a couple of goldfish, knowing that they will be super attractive treats for birds (thus wanting some good plant cover for them to hide under). We have a couple of frogs out at the pond now; we hear them but can never see them! Last year they laid eggs, so we’re hoping for another batch of tadpoles this year.

I’m excited to keep you updated as the pond grows and evolves this summer!

A Garden Introduction

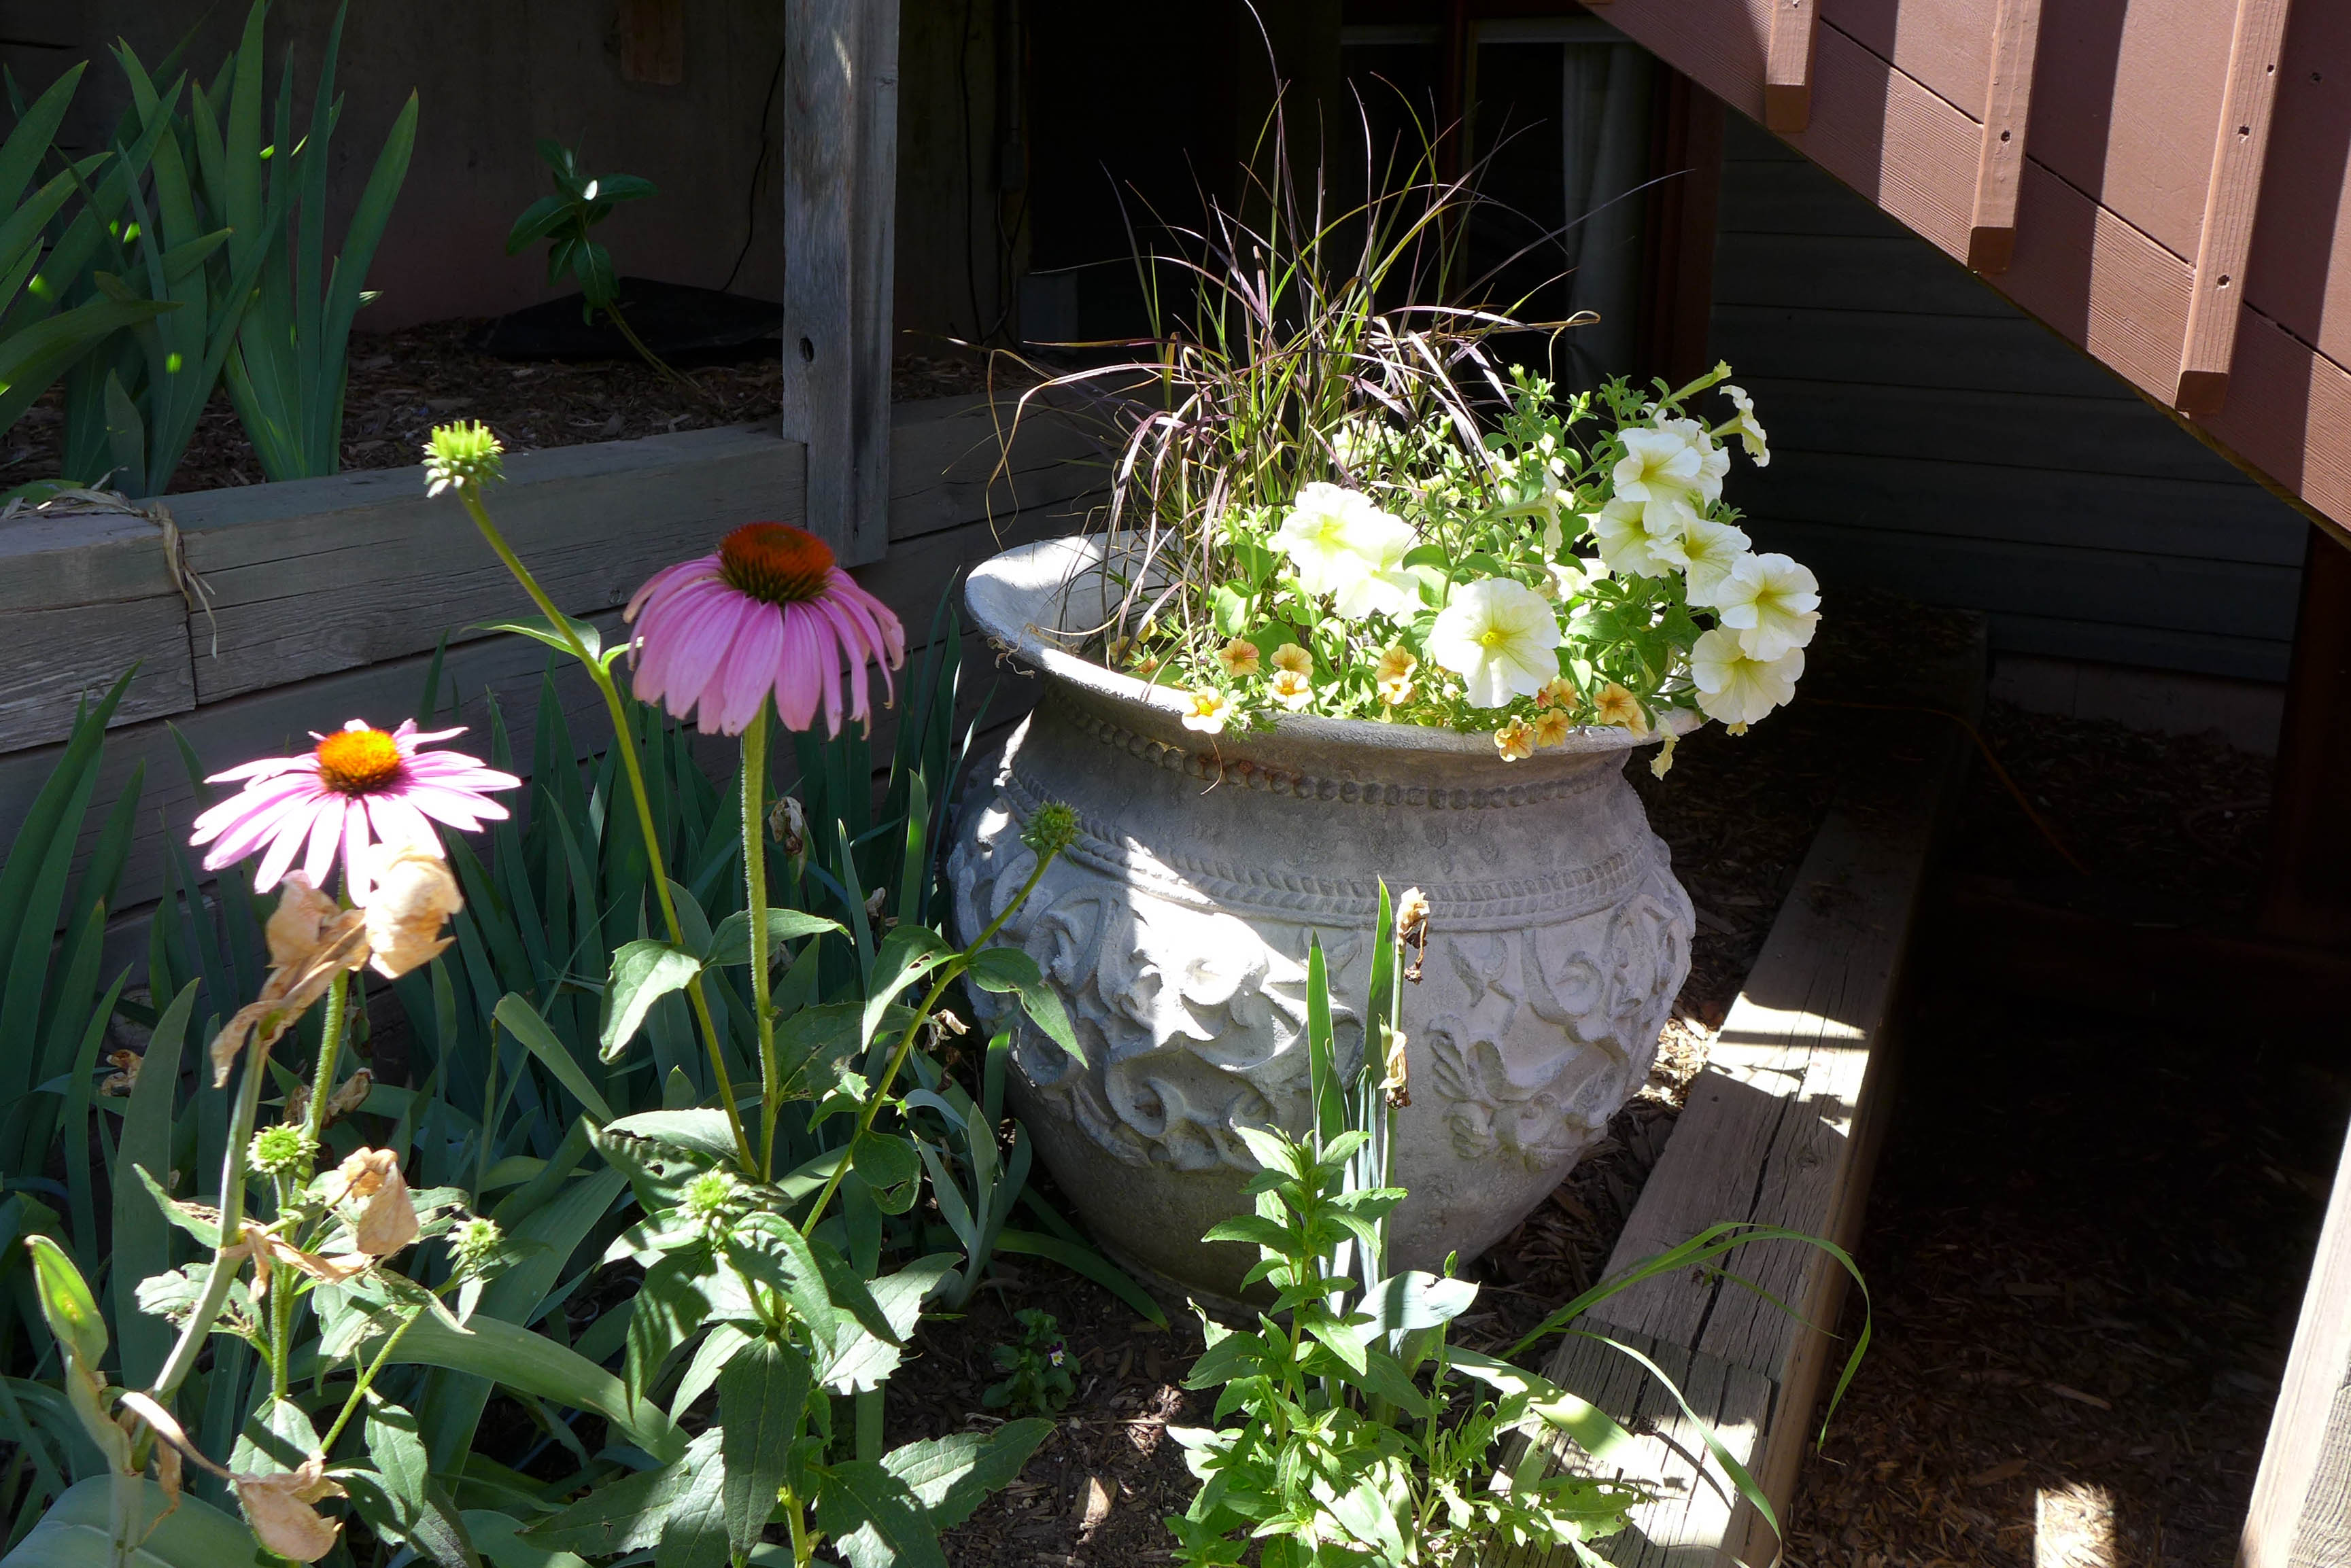
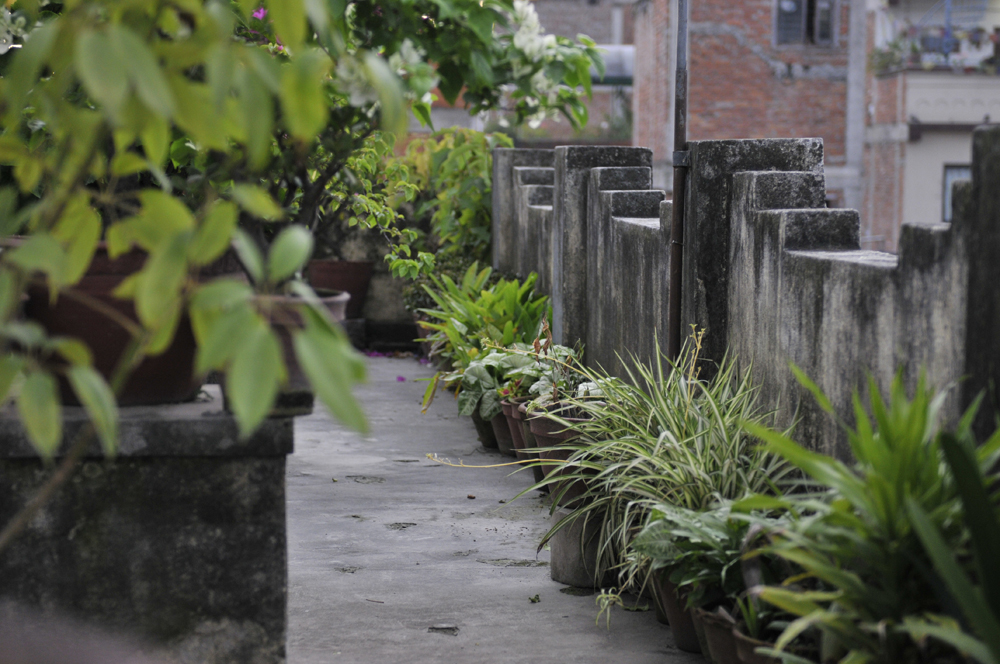
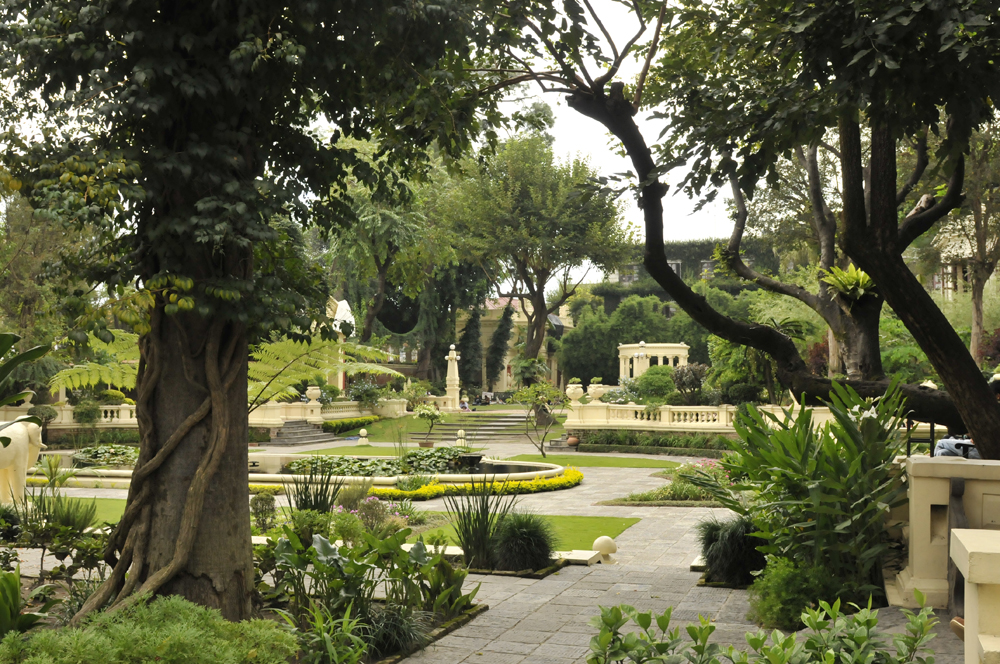
Throughout this summer I’m excited to keep a journal documenting the growth, updates, and general observations of the gardens around our house. Since it’s the start of the season, I thought it would be appropriate to begin with a little overview of the outdoor space. Admittedly, the photos in this post aren’t that exciting, but I’m happy for the visual record they’ll provide as the season progresses.

liveseasoned_spring2016_garden10

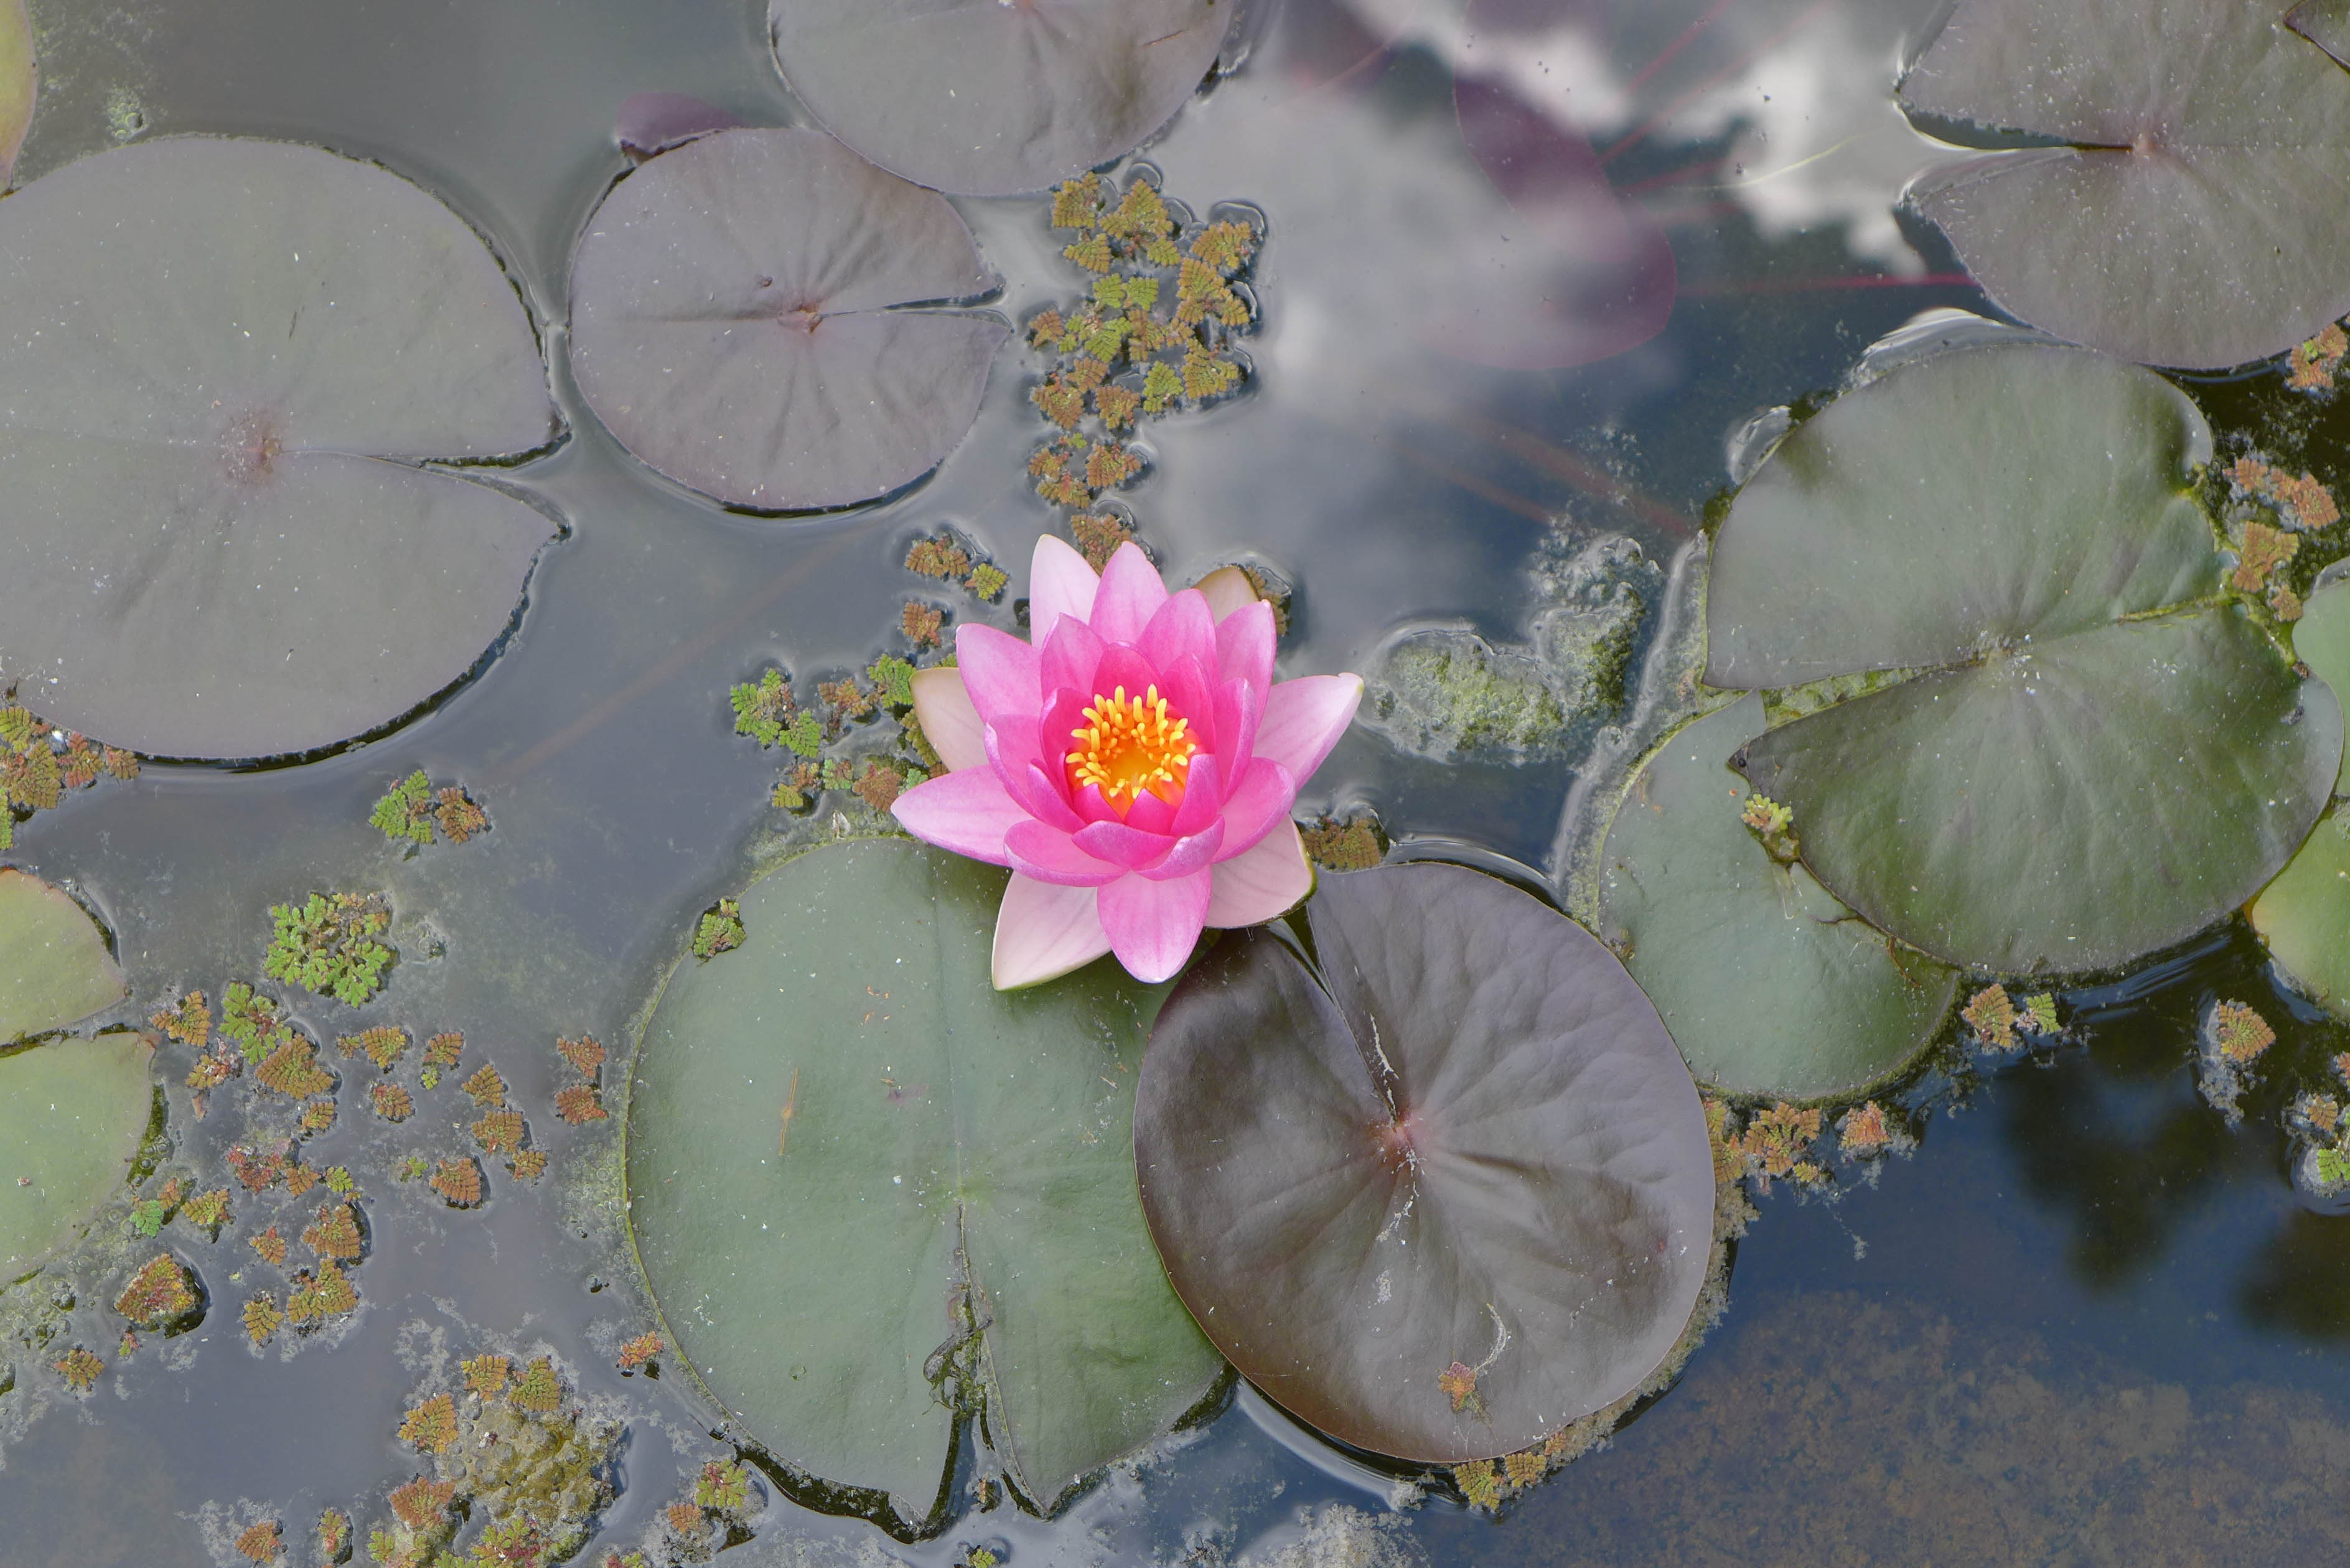
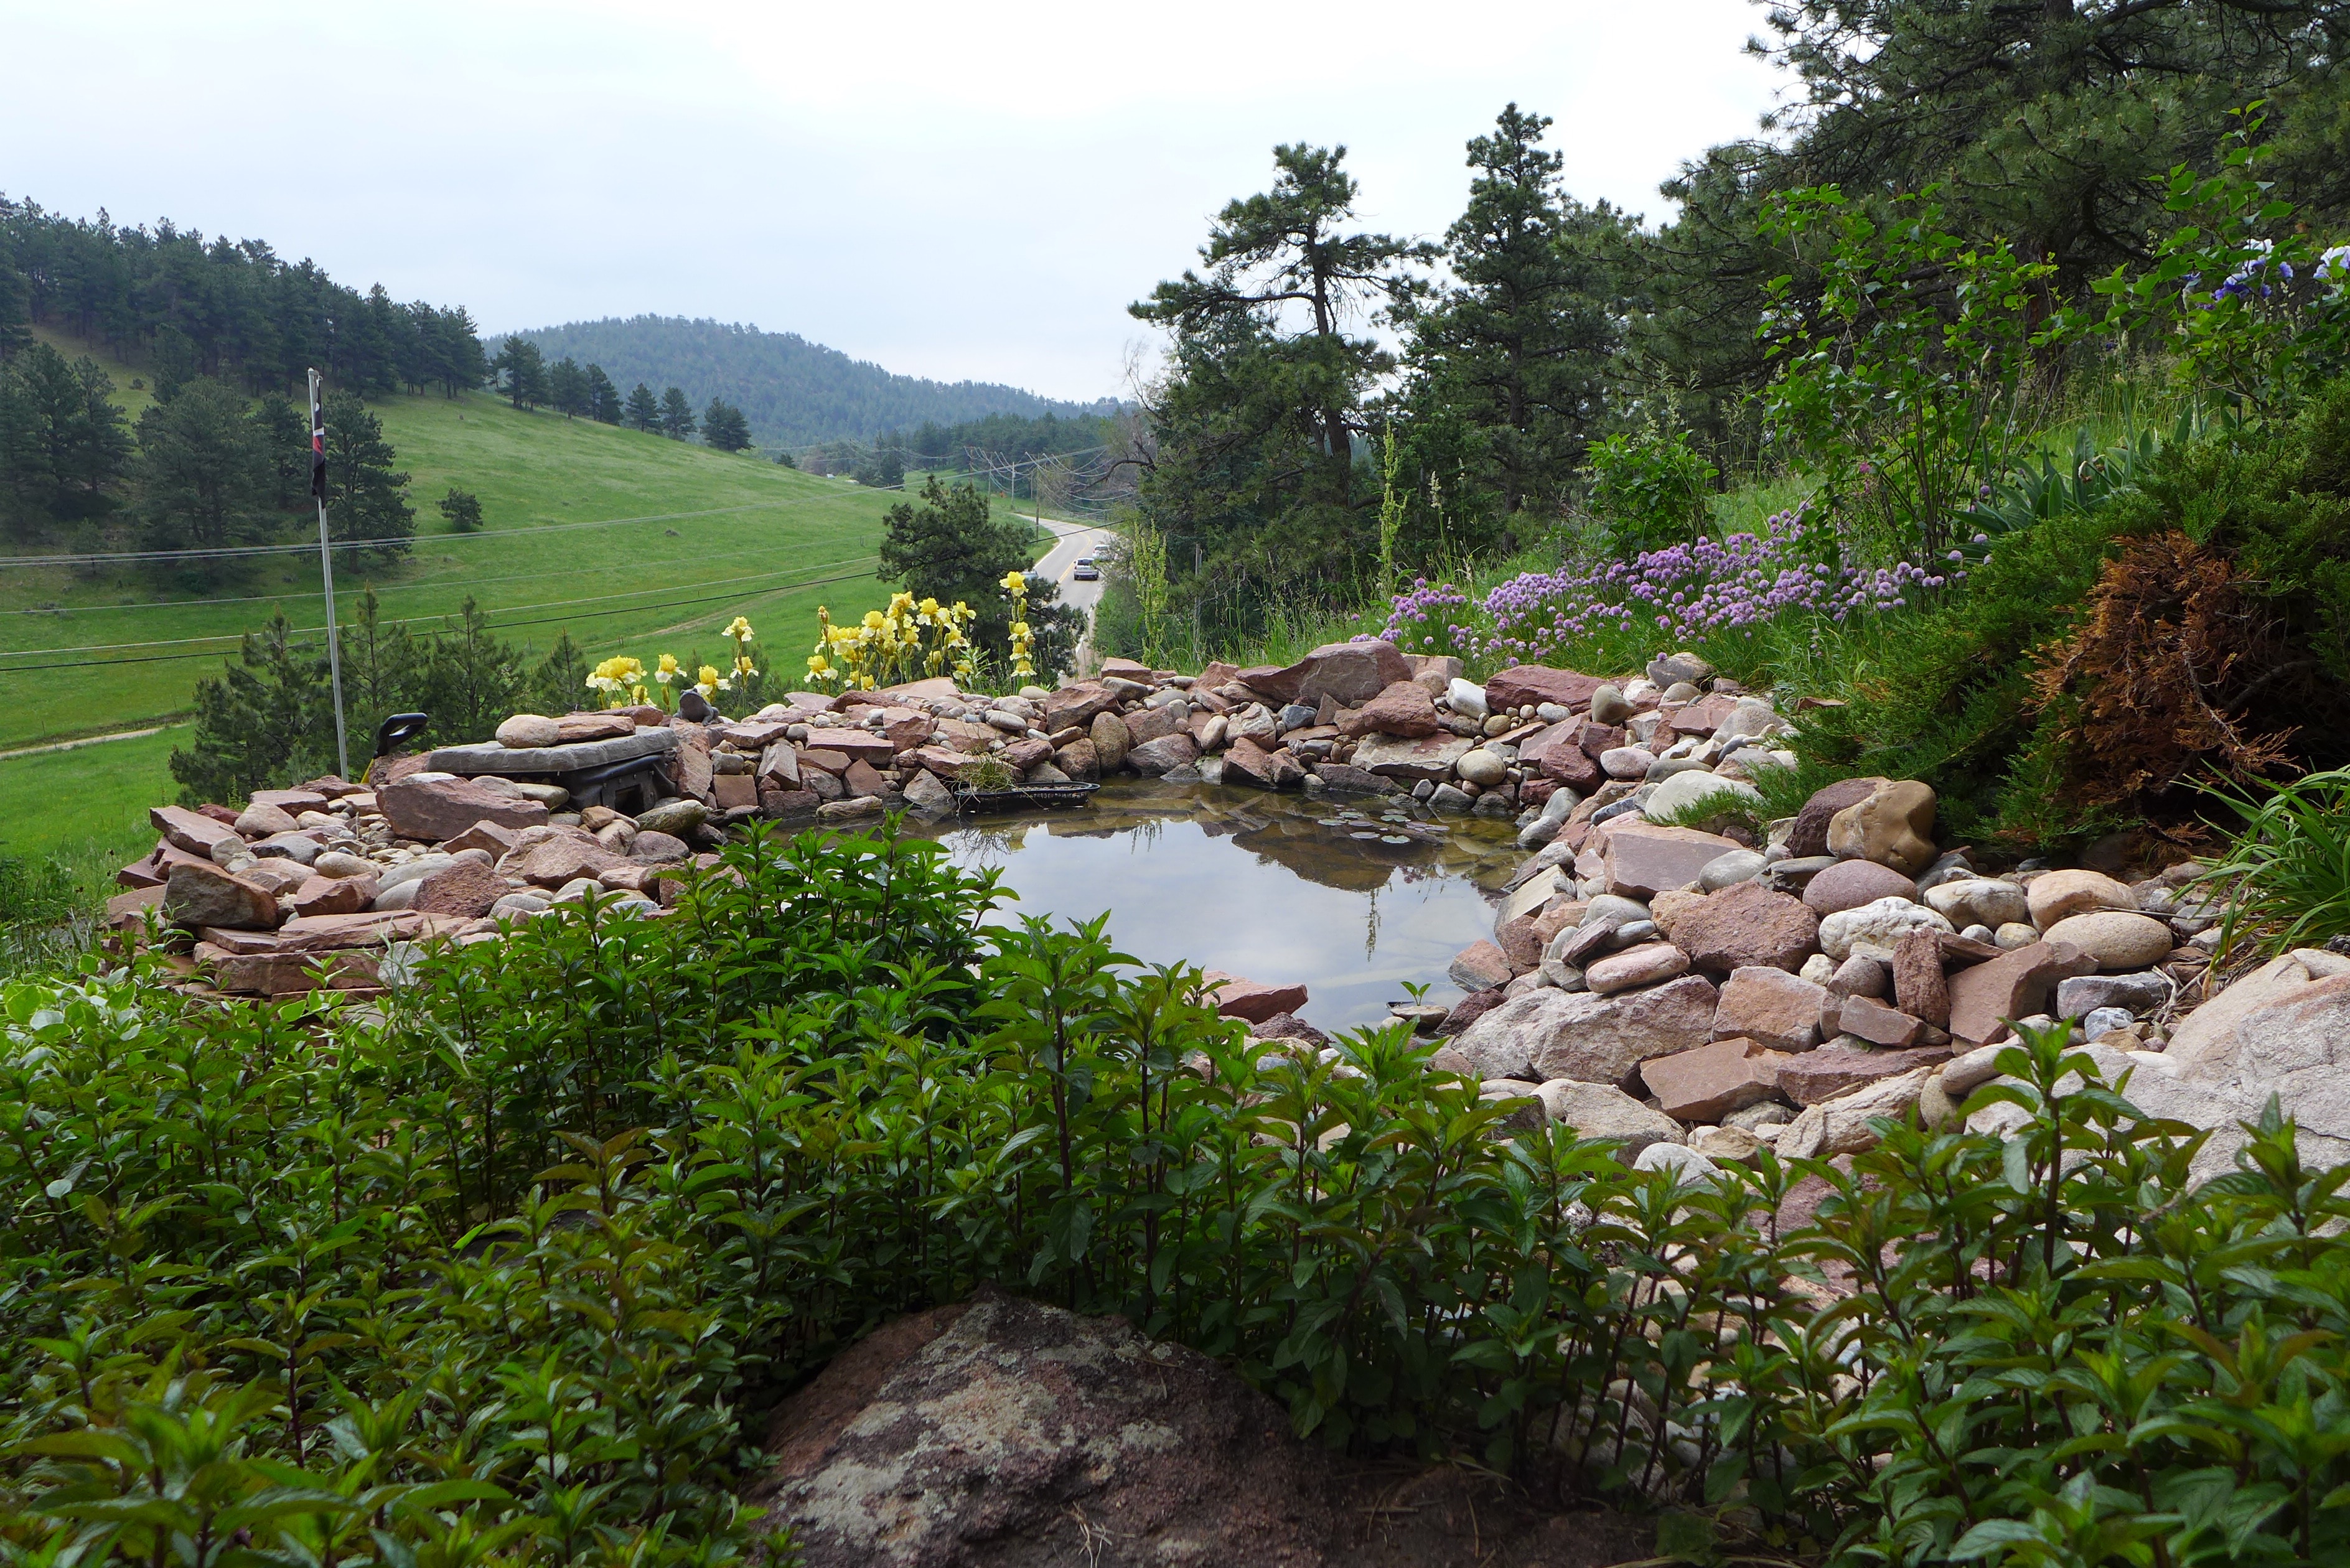
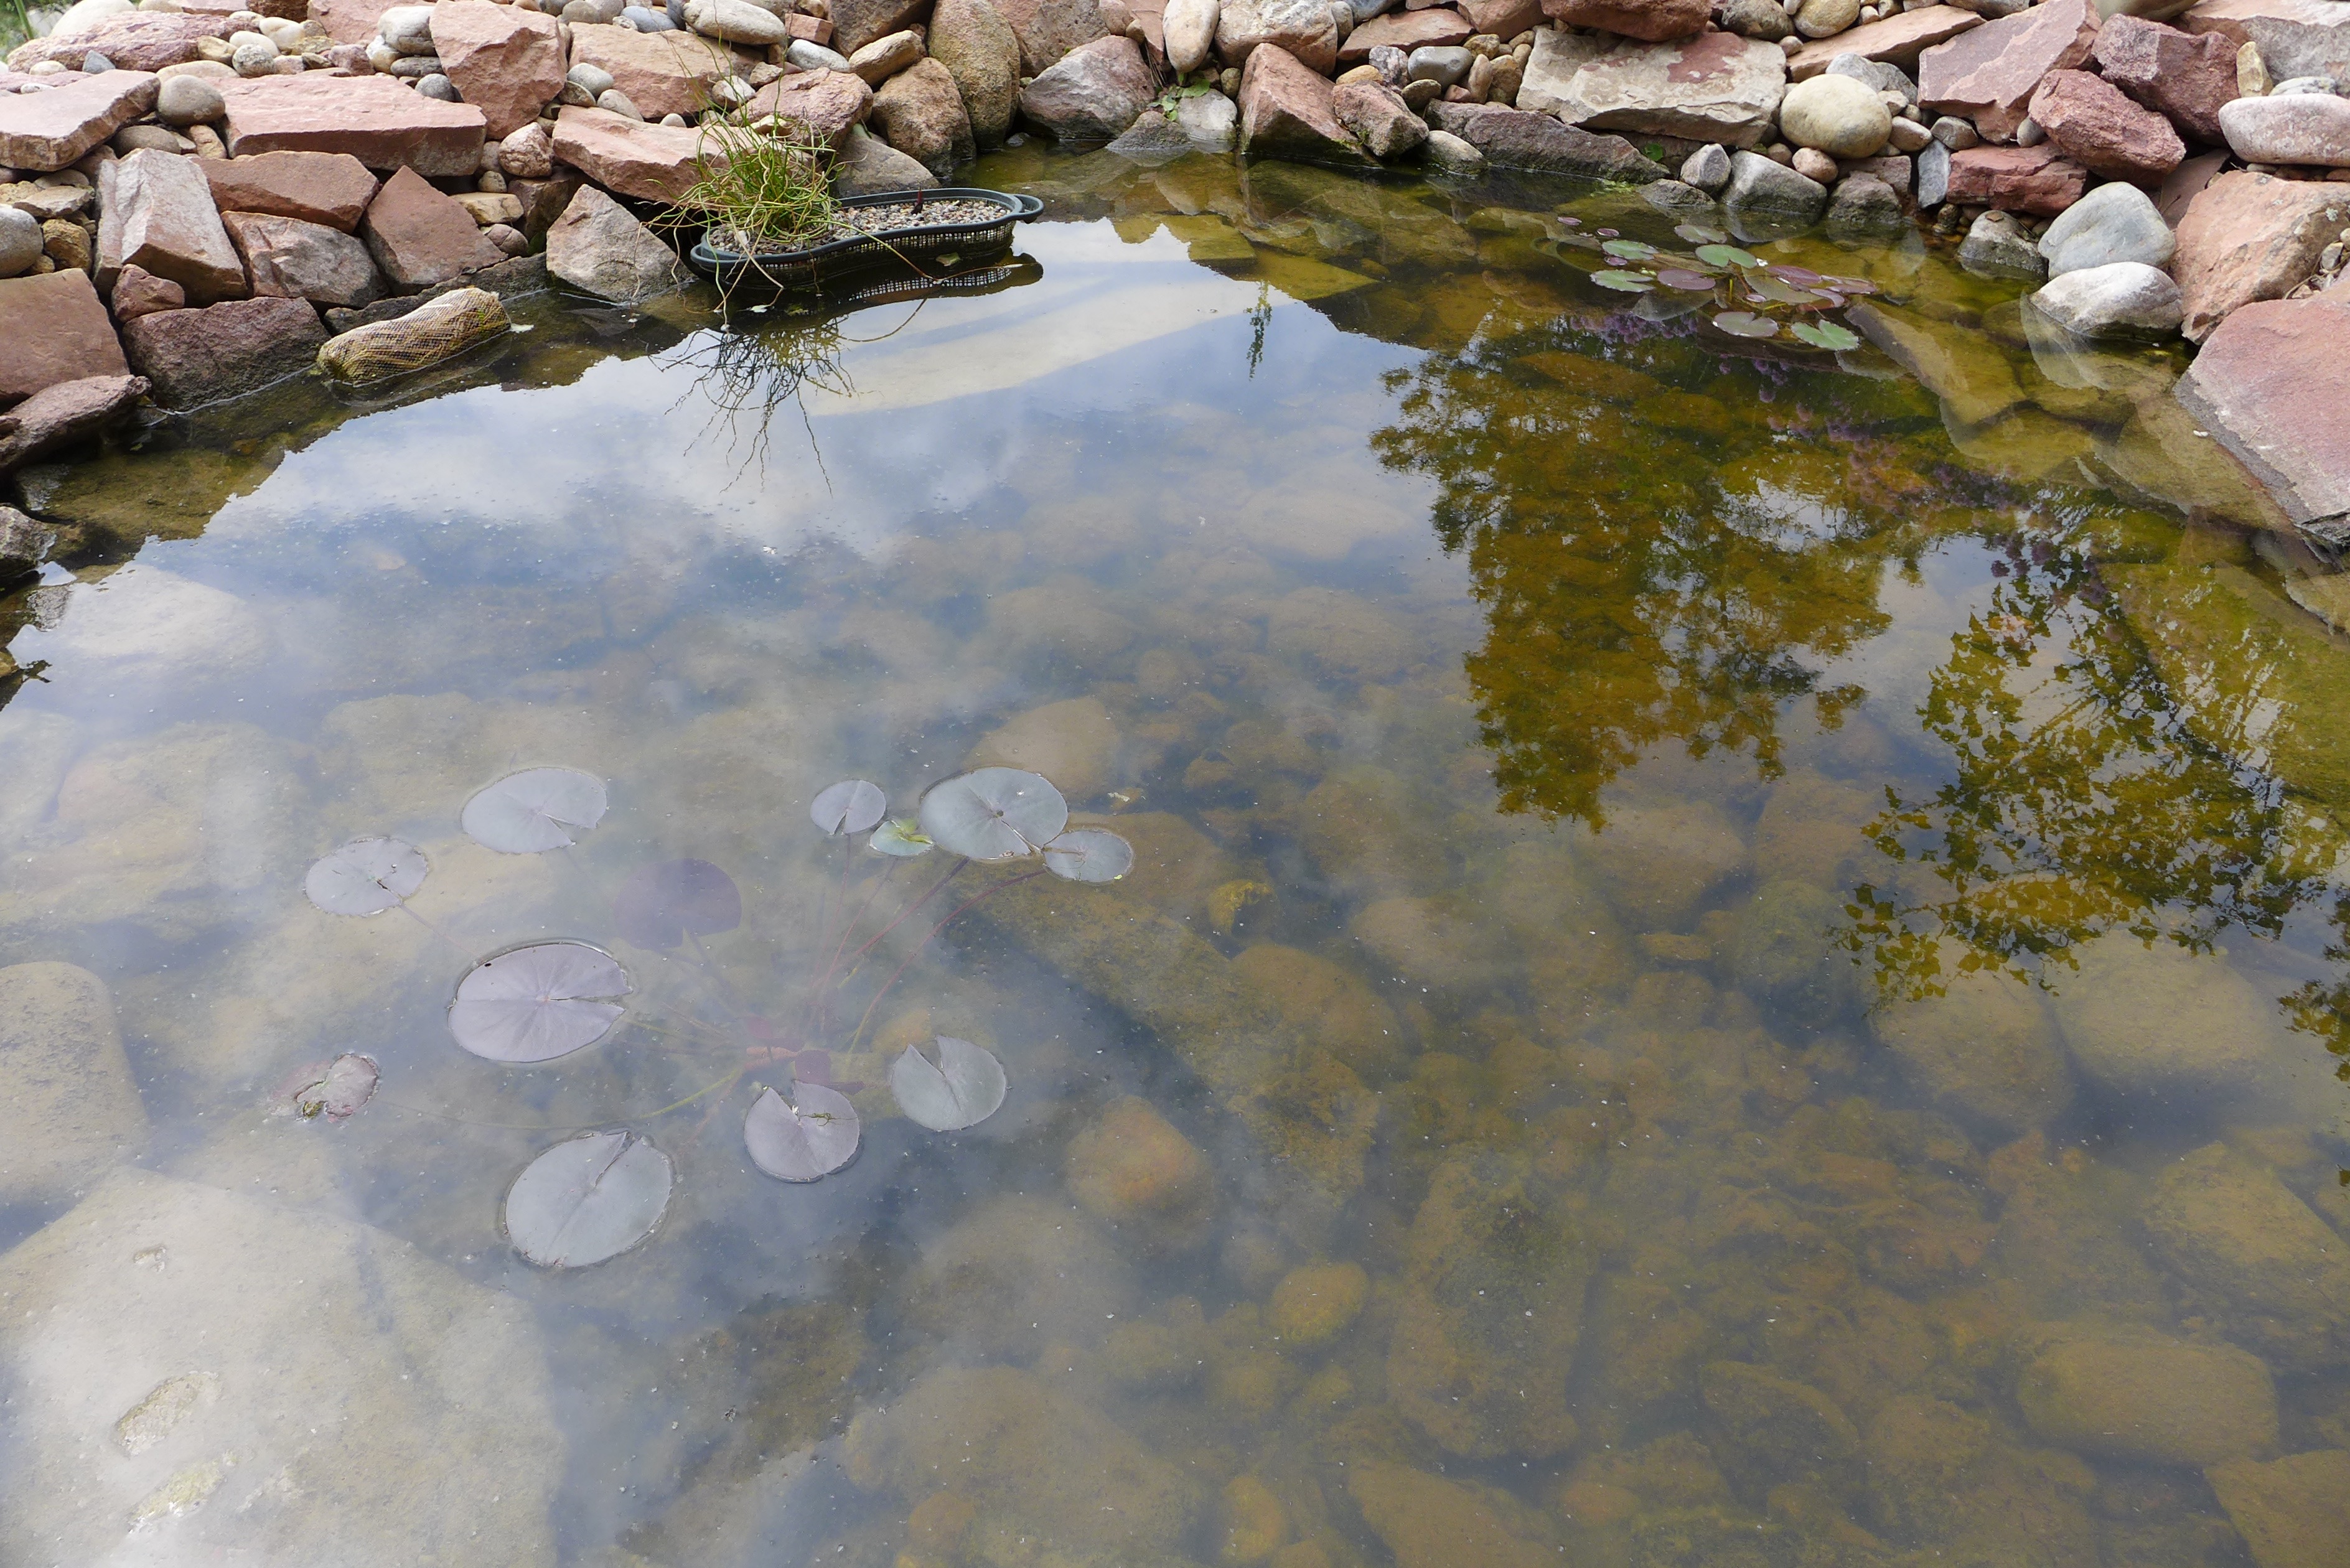
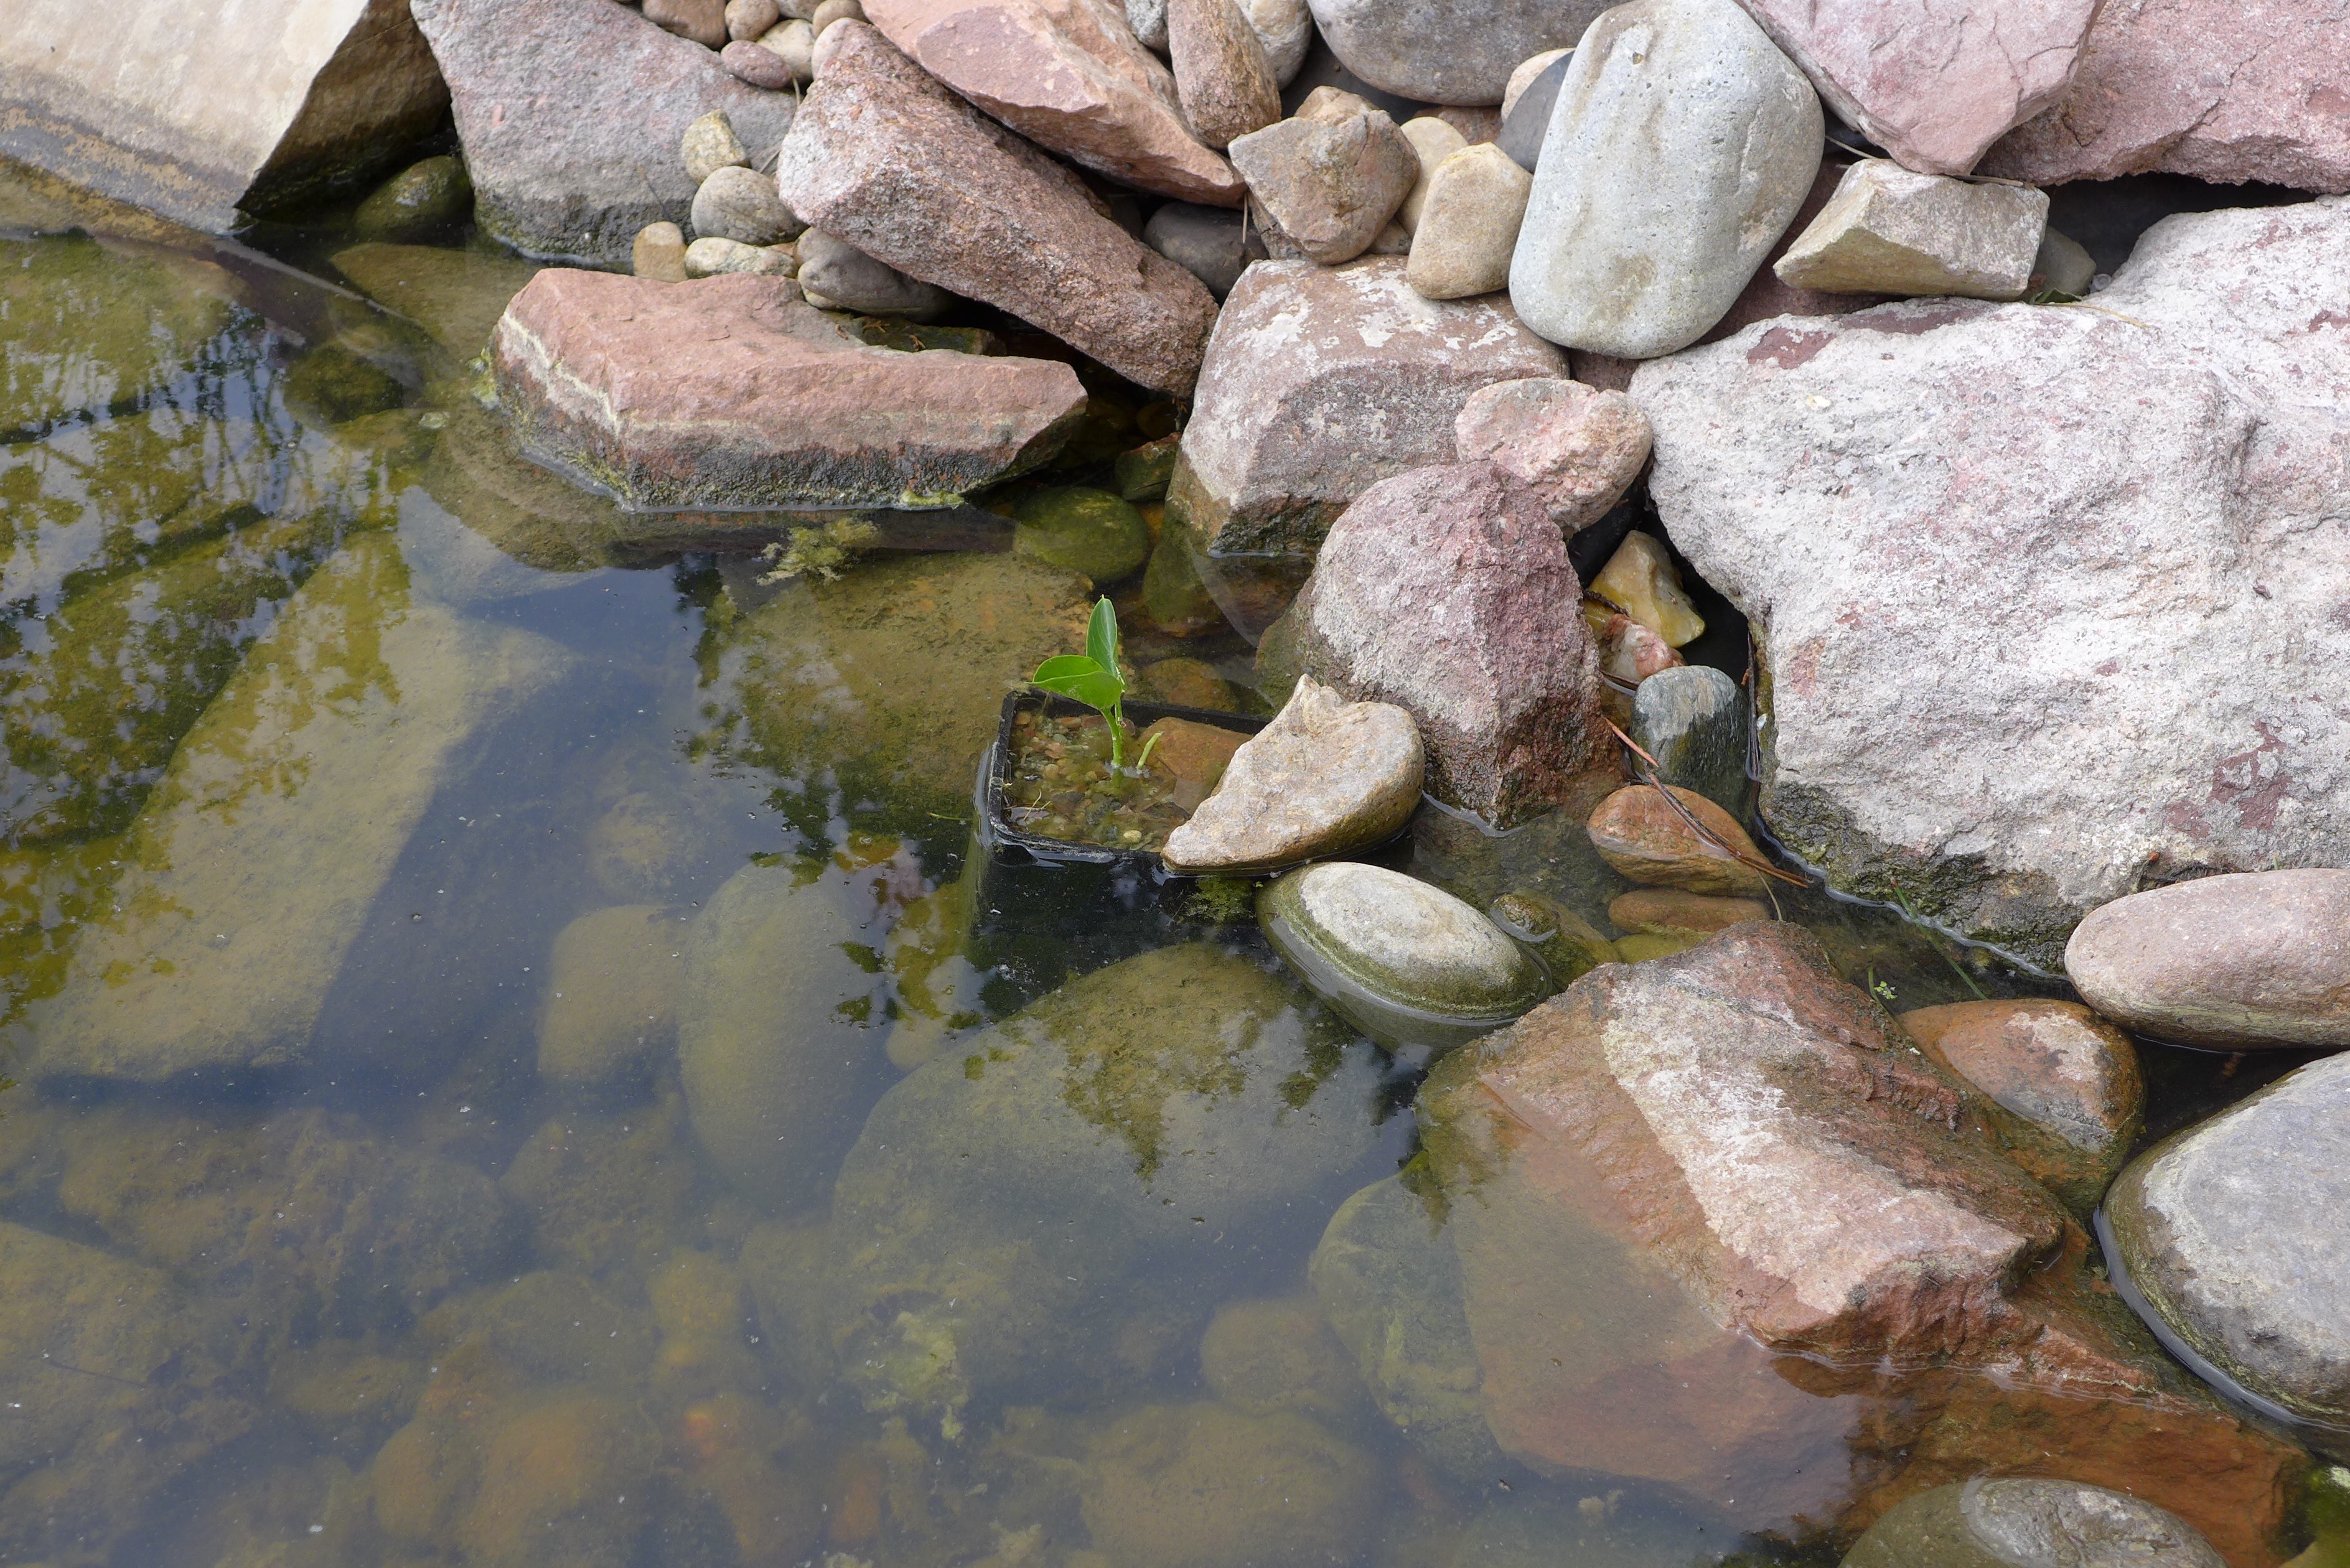
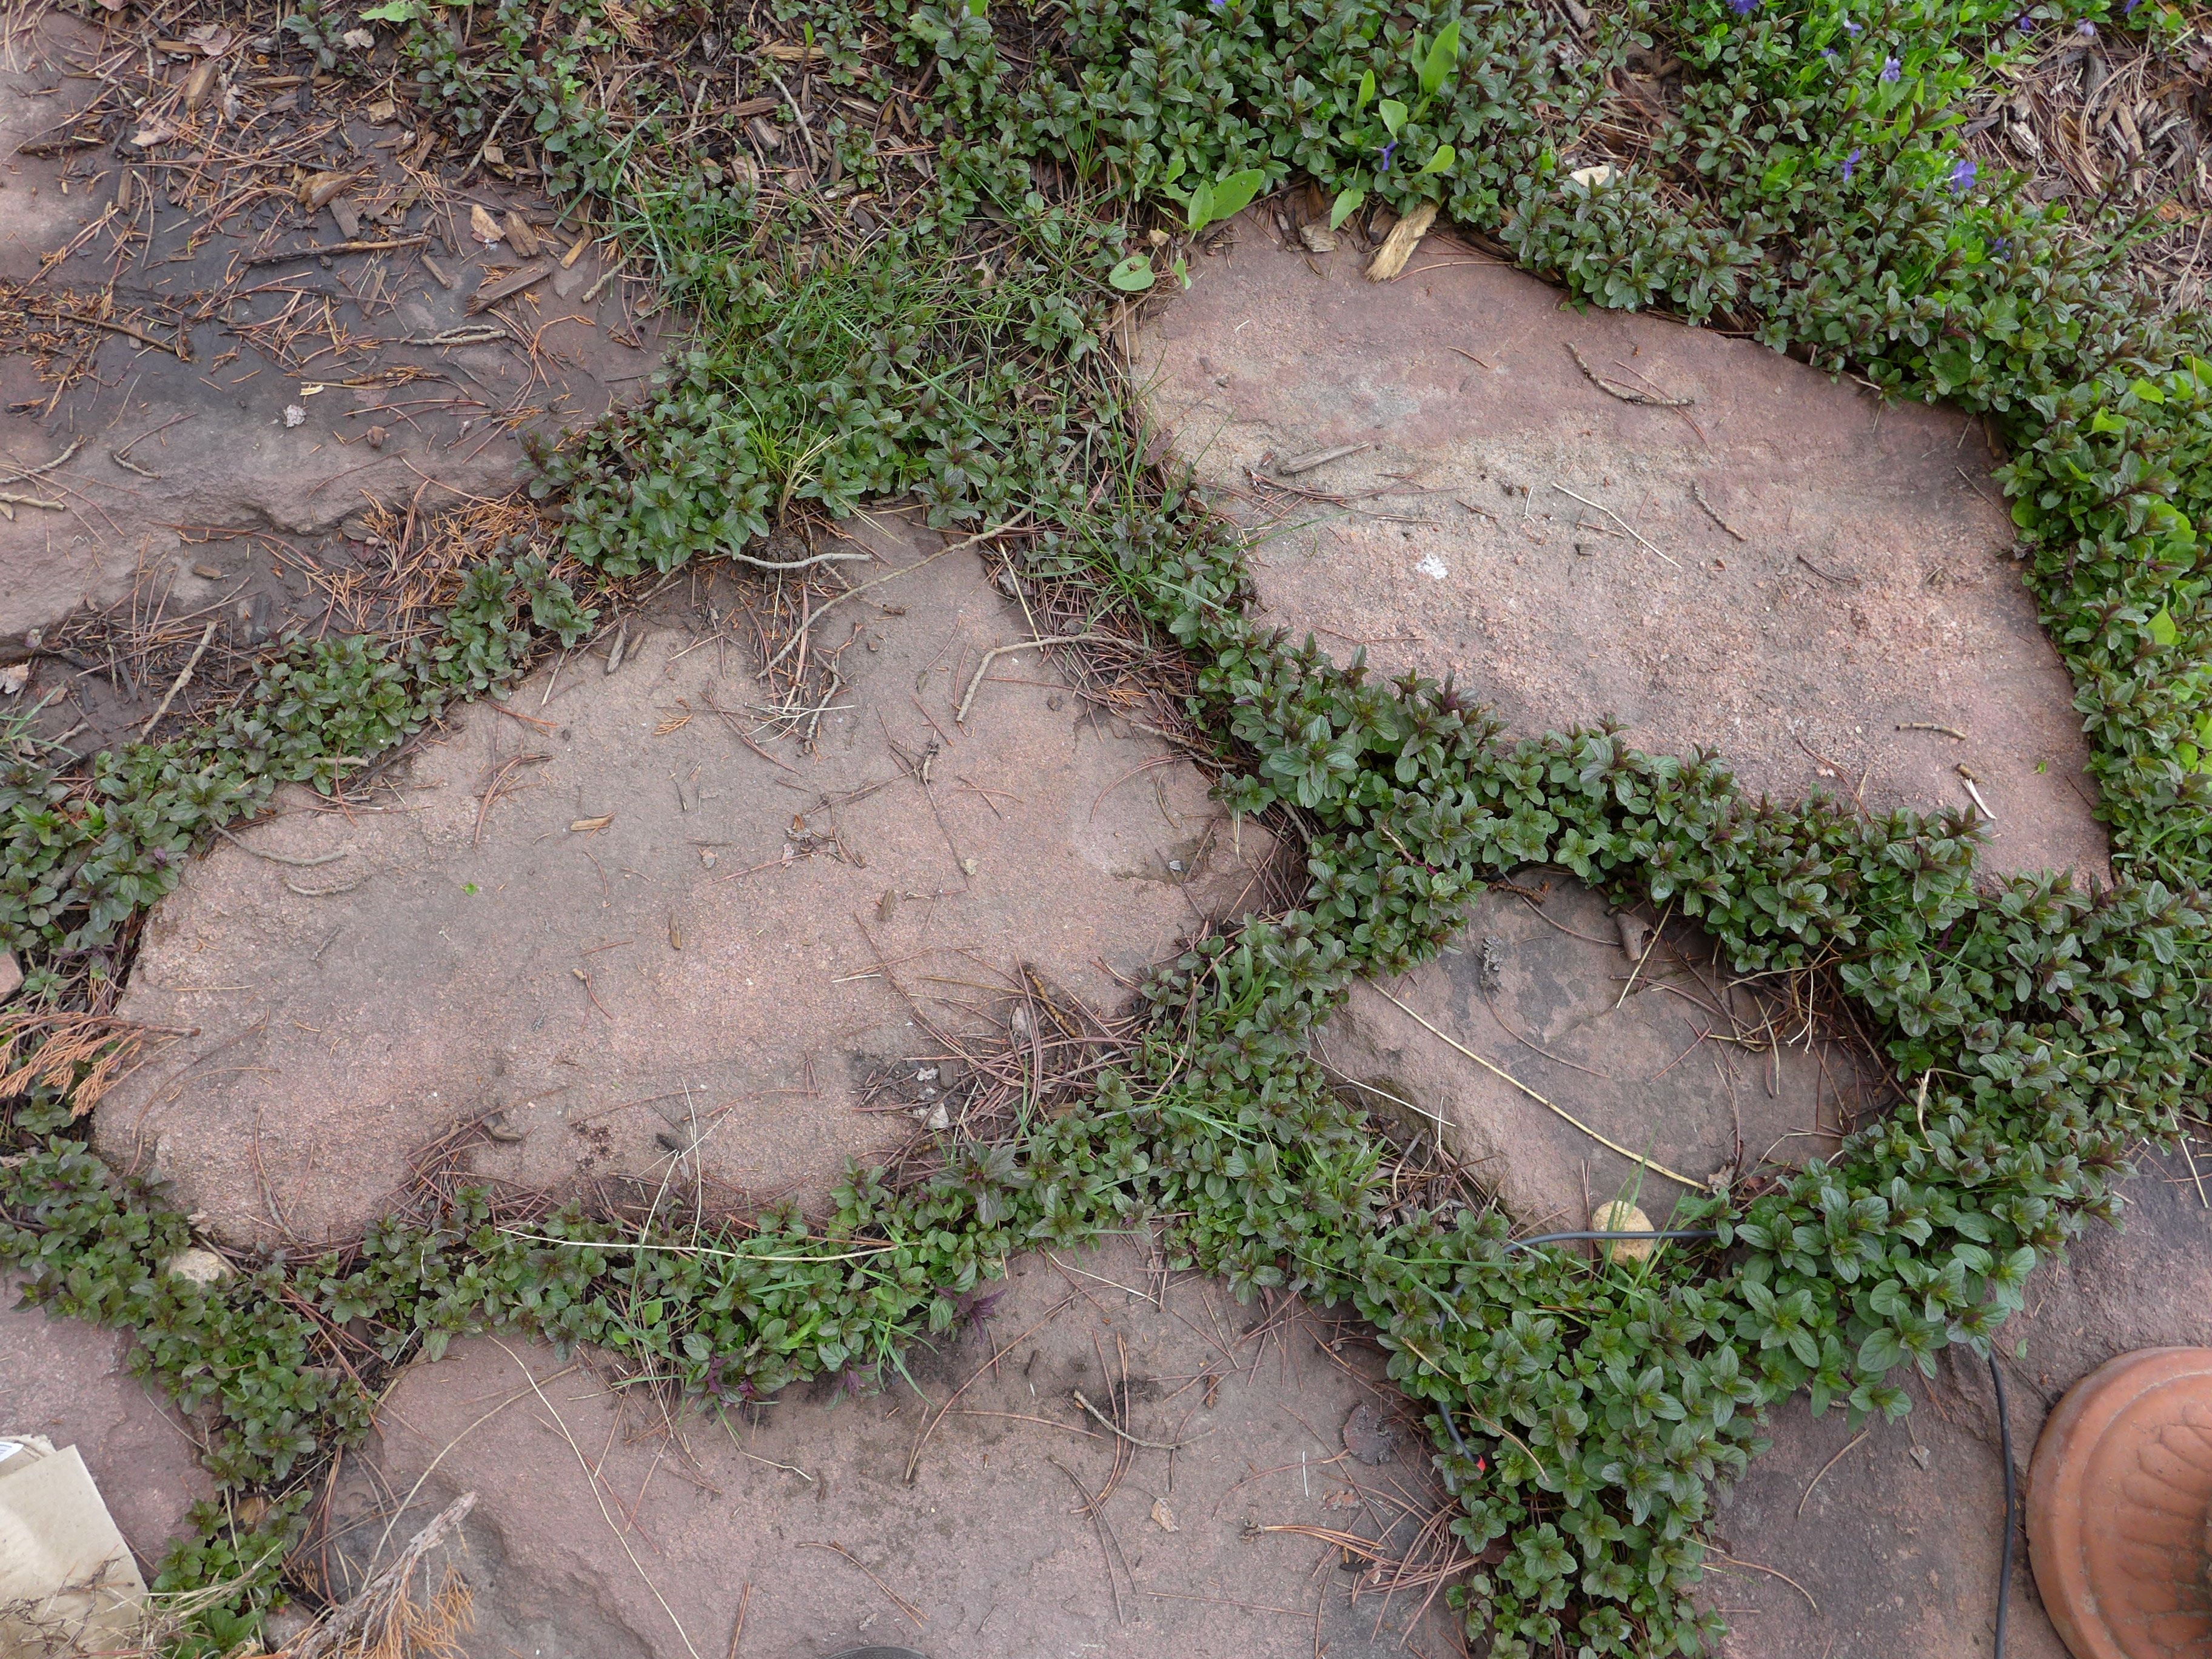
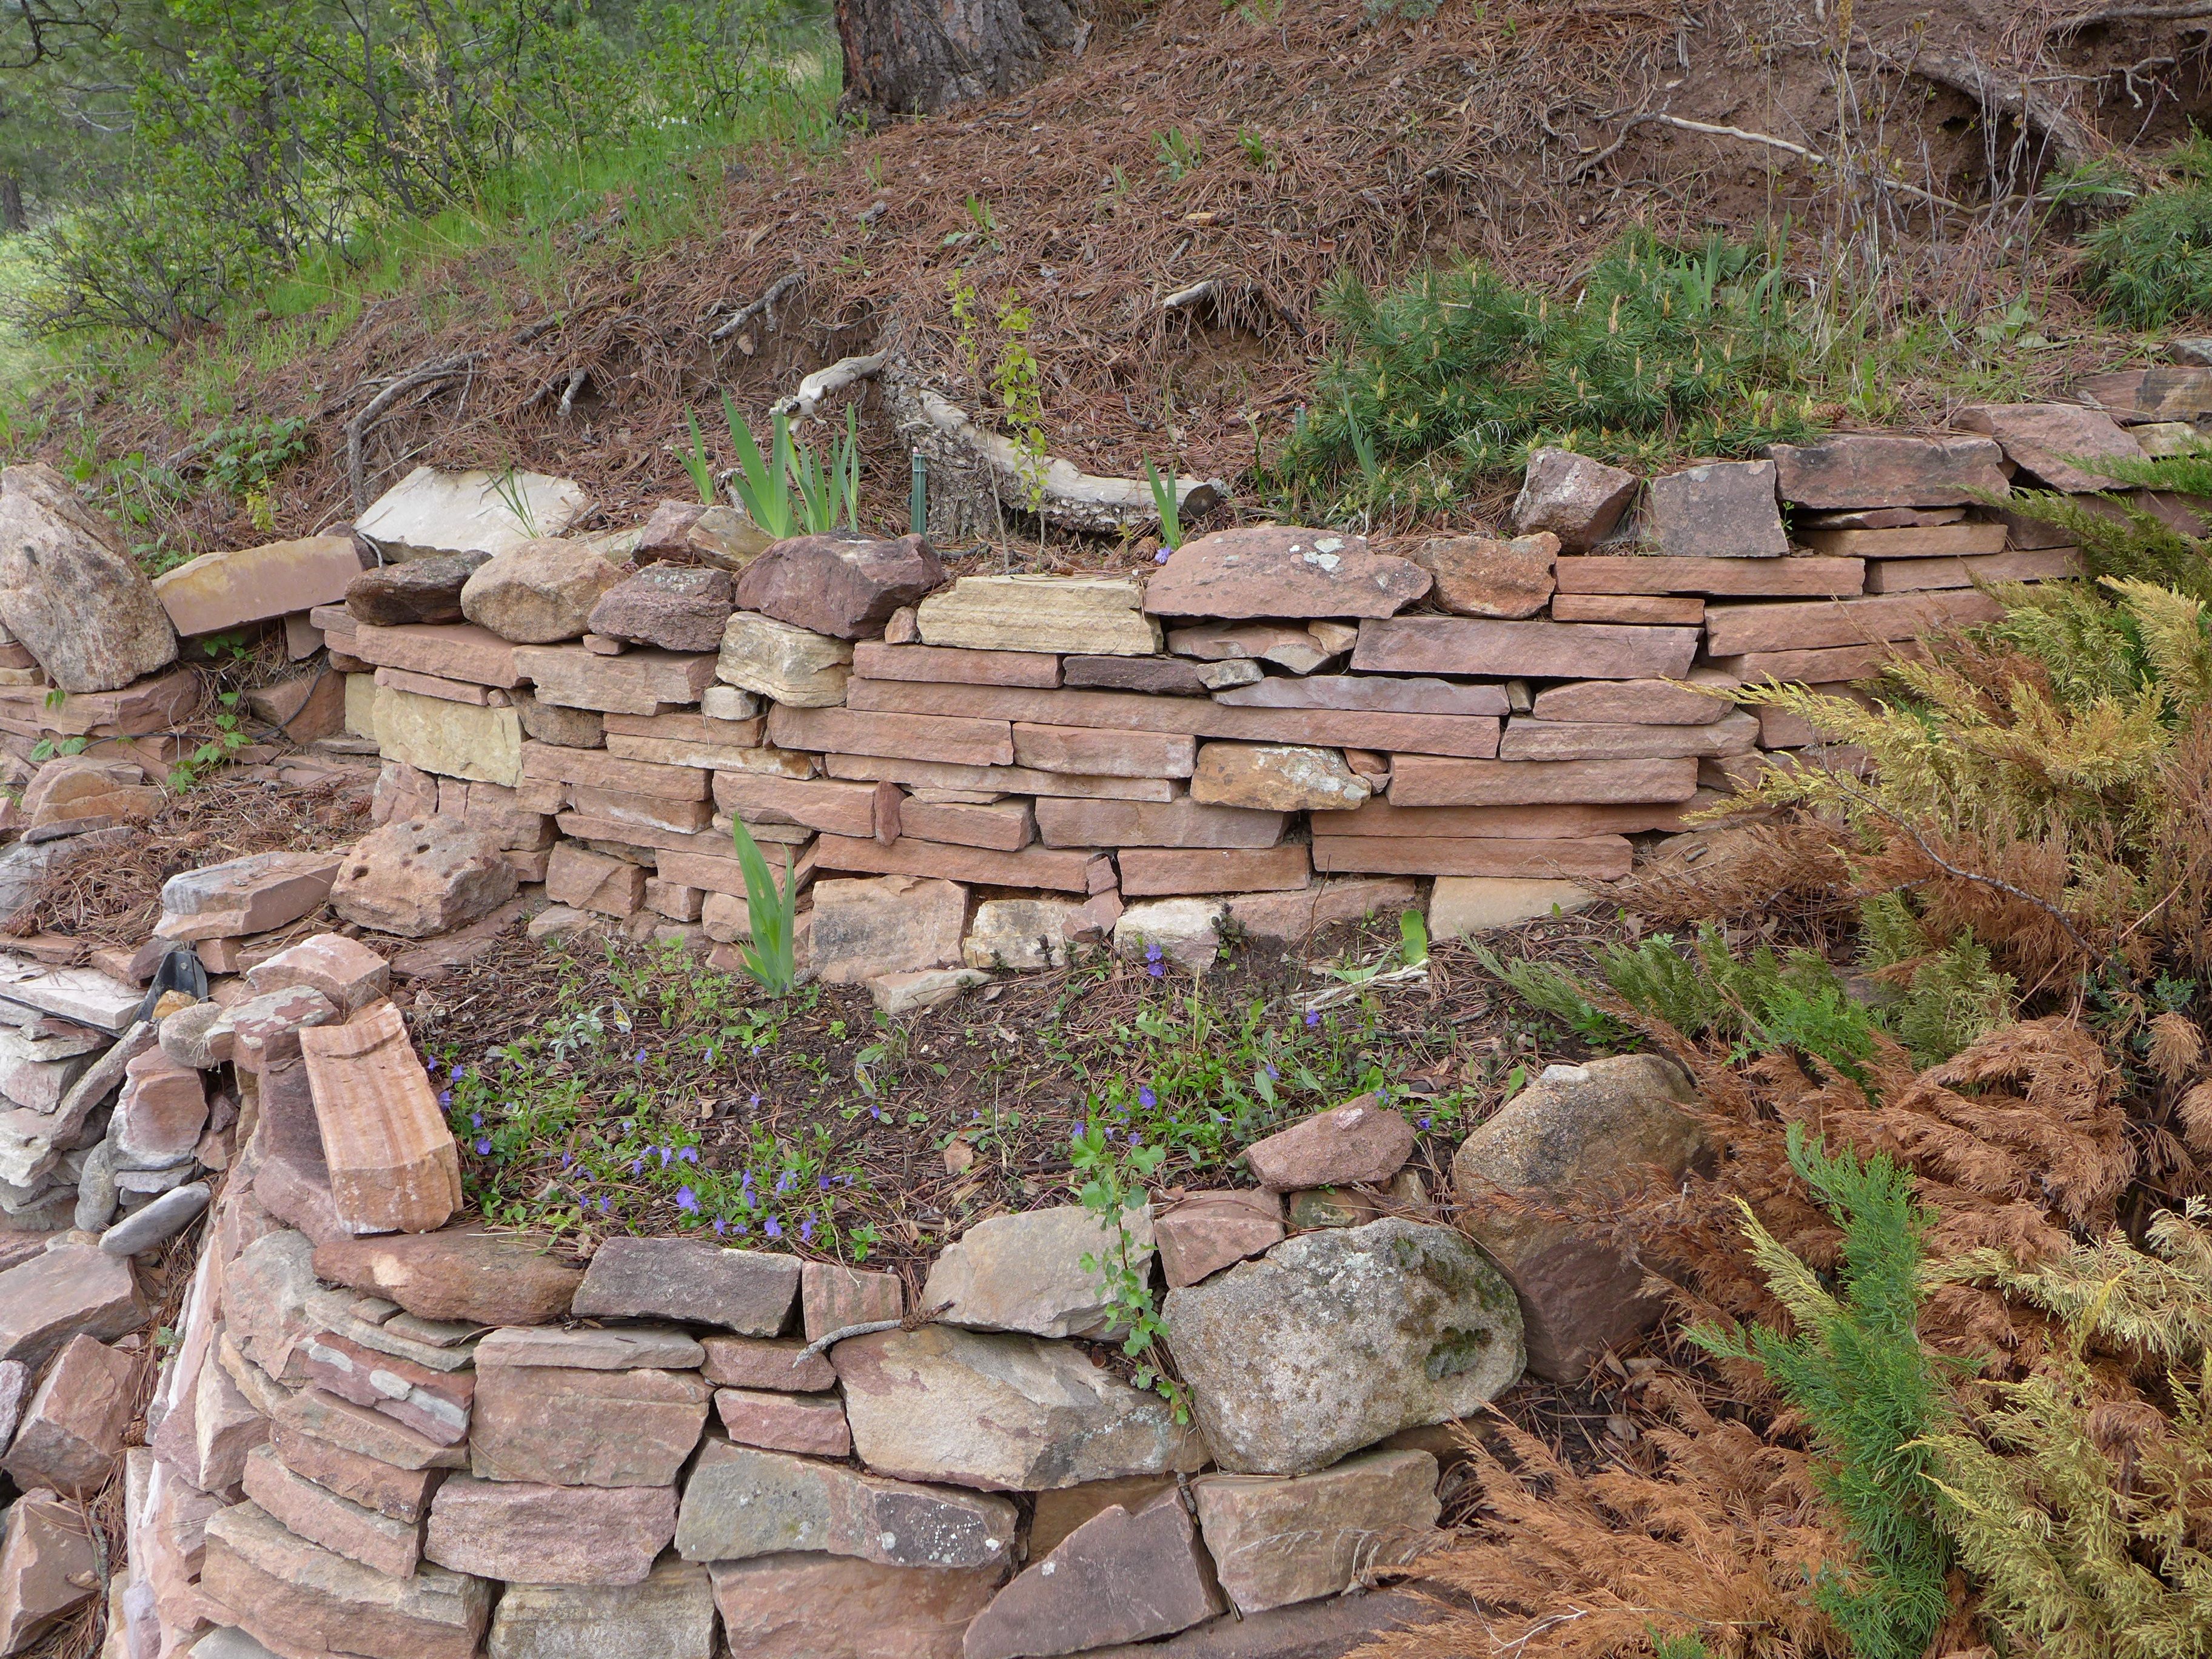
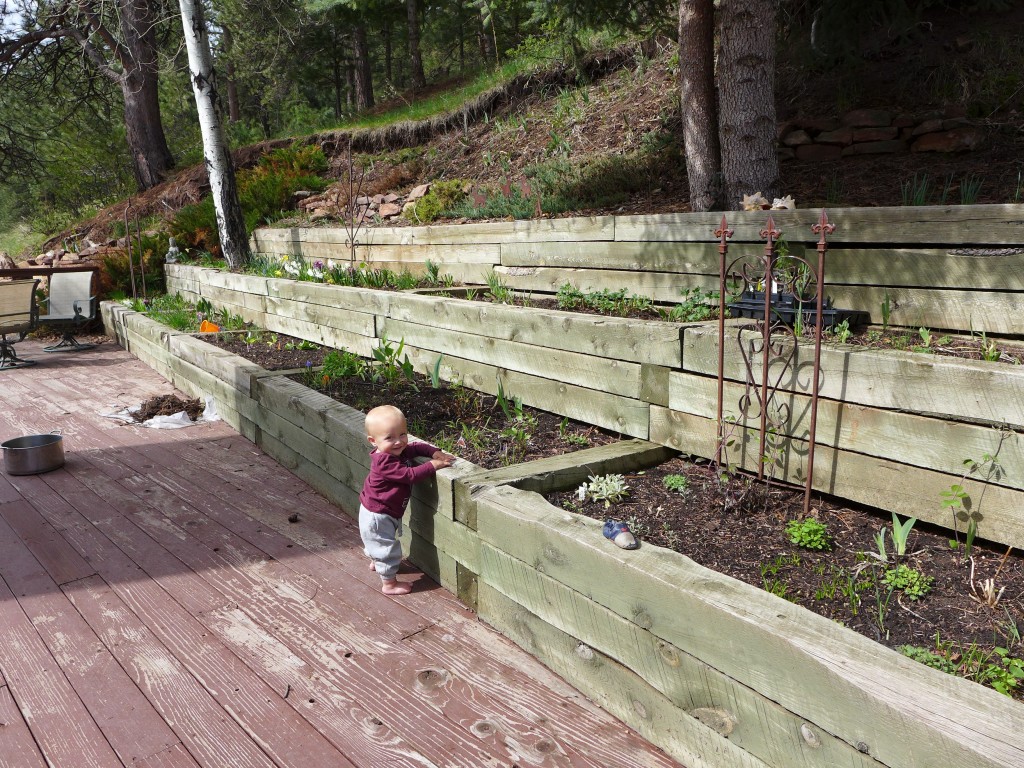
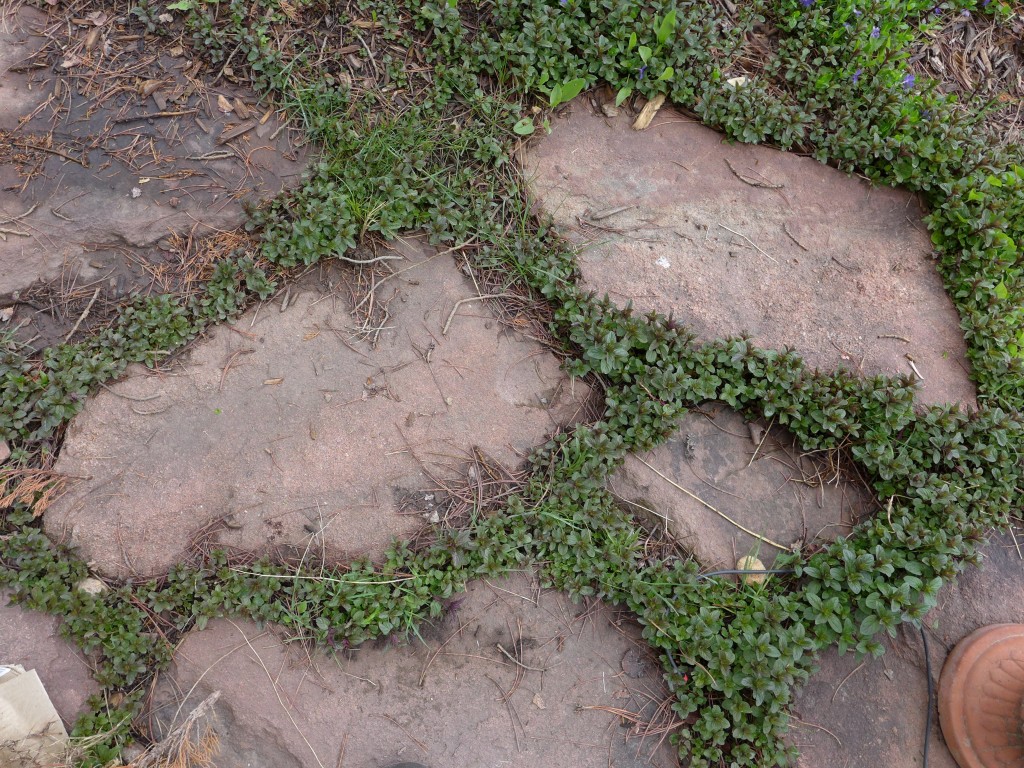
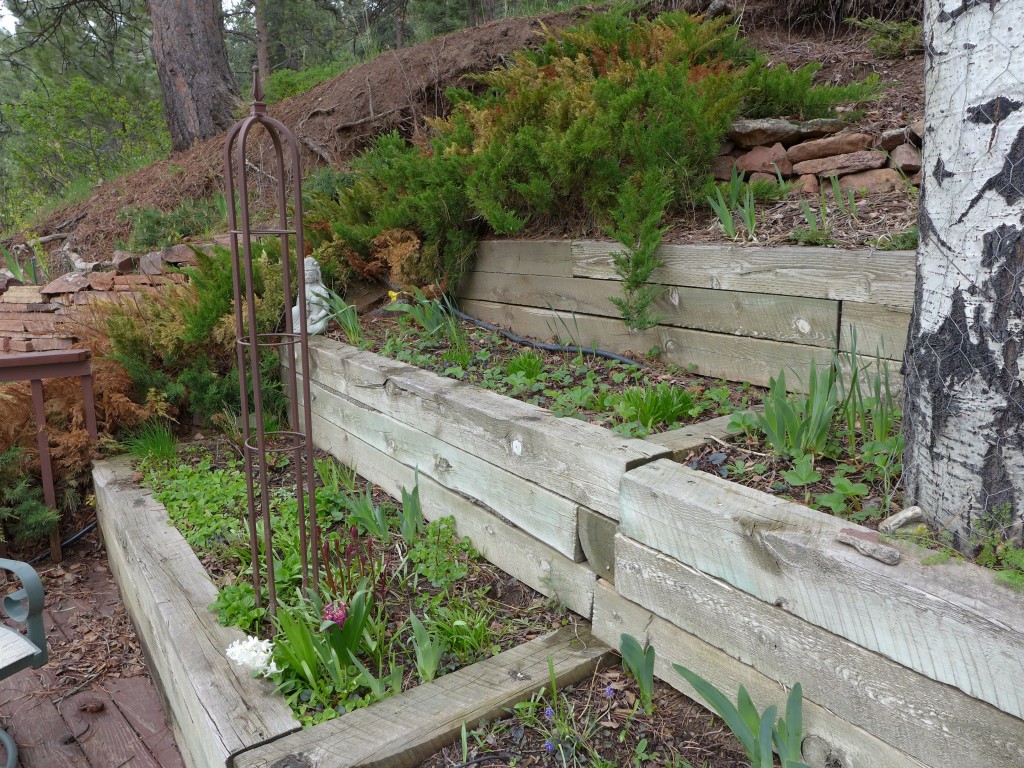
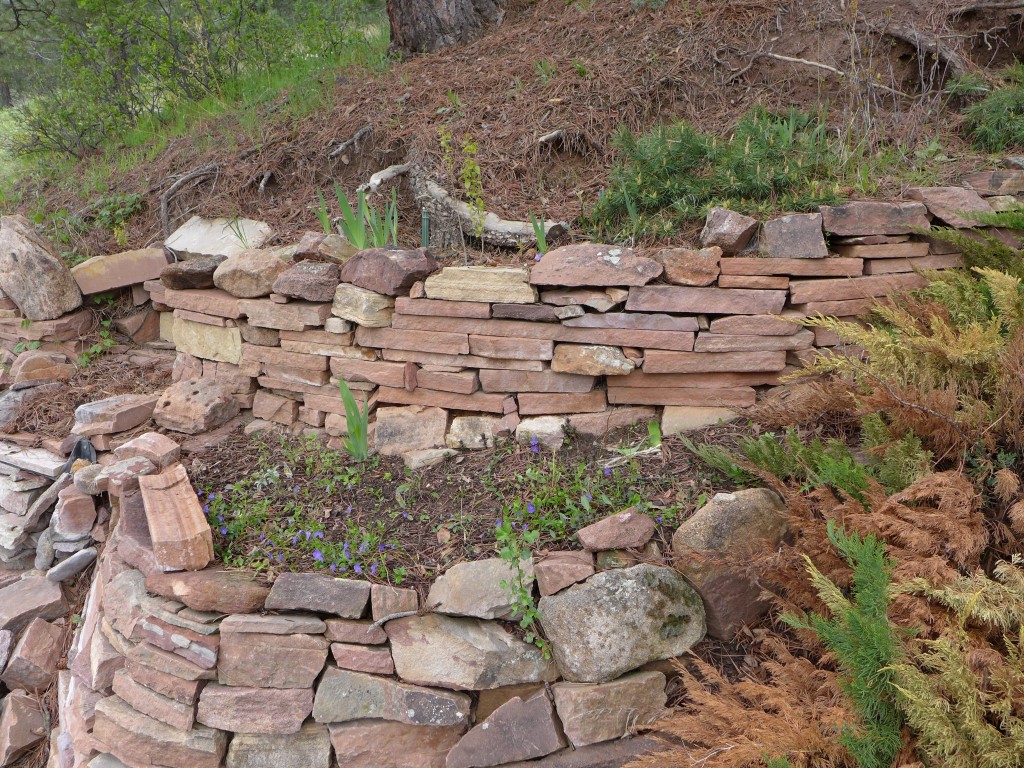
We have a very large deck, a number of raised beds, a small-ish pond with a waterfall/stream powered by a pump that we can turn on and off. There’s a small rock path leading from the deck to the pond, and then this path continues down the side of the hill to our driveway. The rest of our outdoor space is rustic. Our house is built on the side of a hill/mountain, and fortunately there is no landscaping, instead, we just get to walk off the porch and and are immediately immersed in the native Rocky Mountain foothills ecosystem, full of evergreen trees, cactuses, native grasses and flowers, and small shrubs, all dotted with many rock outcroppings.

Location

For anyone interested in the nitty gritty – I’m gardening in Boulder, CO in the foothills of the Rocky Mountains. We’re at about 6000 feet altitude, and in USDA zone 5b.

The Challenges

This is going to be my first real season gardening in Colorado. For the past two summers, I mainly grew herbs and a few things in pots on our deck, but this year my goal is to start improving the permanent spaces around our house. The main challenges that I want to keep in mind are water supply, animal predation, and length of the growing season.

liveseasoned_spring2016_garden11

I think I’m already doing a good job of reining in my expectations when it comes to that last item. If this were PA, I would have been actively working in the garden and adding new plants back in April. But here, we saw some of our biggest snow storms just a month ago! That definitely helped to keep my expectations in check. It also helps that the nurseries (knowing what’s what) don’t put out many of their plants until we’ve entered the window where putting them in the ground is ok. So, I’ve just started to add some perennials to the flower beds, and while it *feels* late, I think I’m right on schedule.

When it comes to plant choices, I want to create a responsible garden, so I’m really focusing on plants that will do well in a more arid environment. Fortunately for me, many of the flowers that I like also fit the bill as having low-water needs. After their first season, that is. You want to water plants well in their first season to ensure that they become established in the beds, growing nice deep roots that will help them  in future seasons with lower water supplies. We have a drip irrigation installed throughout the beds, so that will help with watering but even so, I want to make sure we’ve installed a water-wise garden.

liveseasoned_spring2016_garden5

The other challenge that I’m trying to keep in mind are the foragers that frequent/live on our property. There are families of Mule Deer living in this area, and they love to graze in our yard. They are often eating the native grasses growing on the hillside, but they also walk right onto the deck and will look for anything tender growing in the garden. We also have rabbits living in the yard and they have no qualms about eating from the garden. Again, I’m lucky that many of the flowers I want to add to the garden are generally considered to be deer and rabbit-safe, but this is not the case for most vegetables, so as you’ll see below, I have a plan…
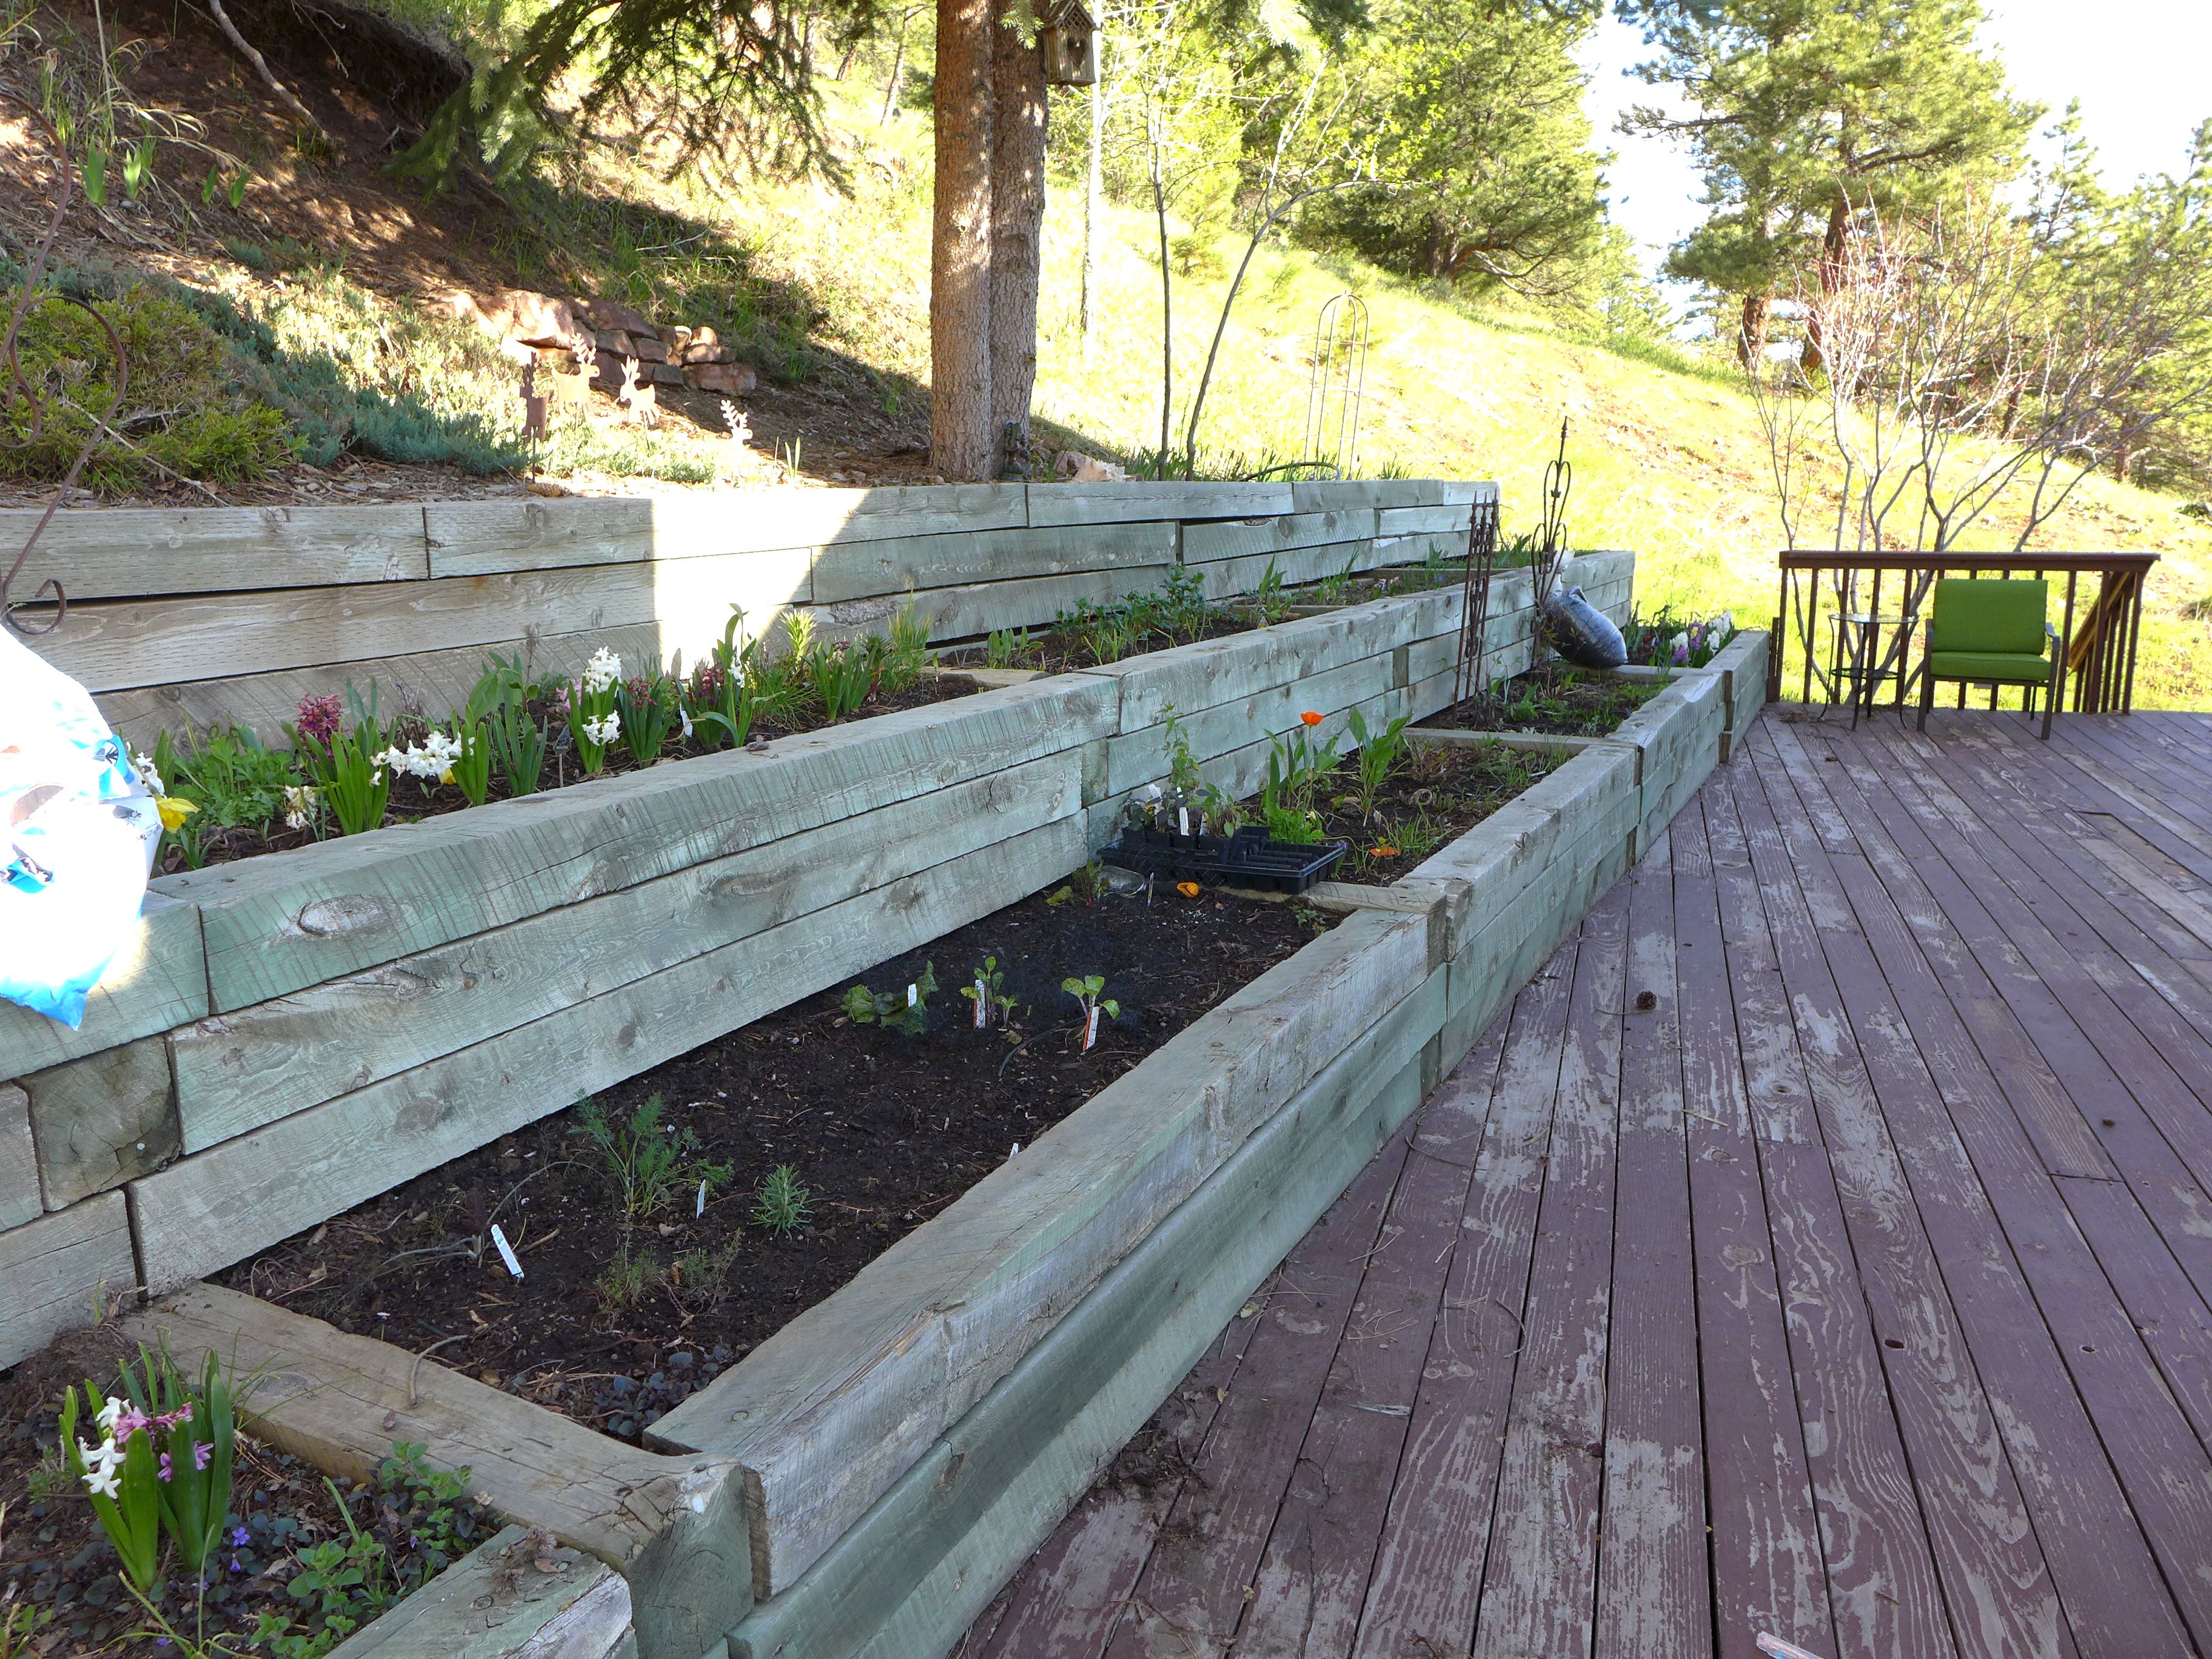
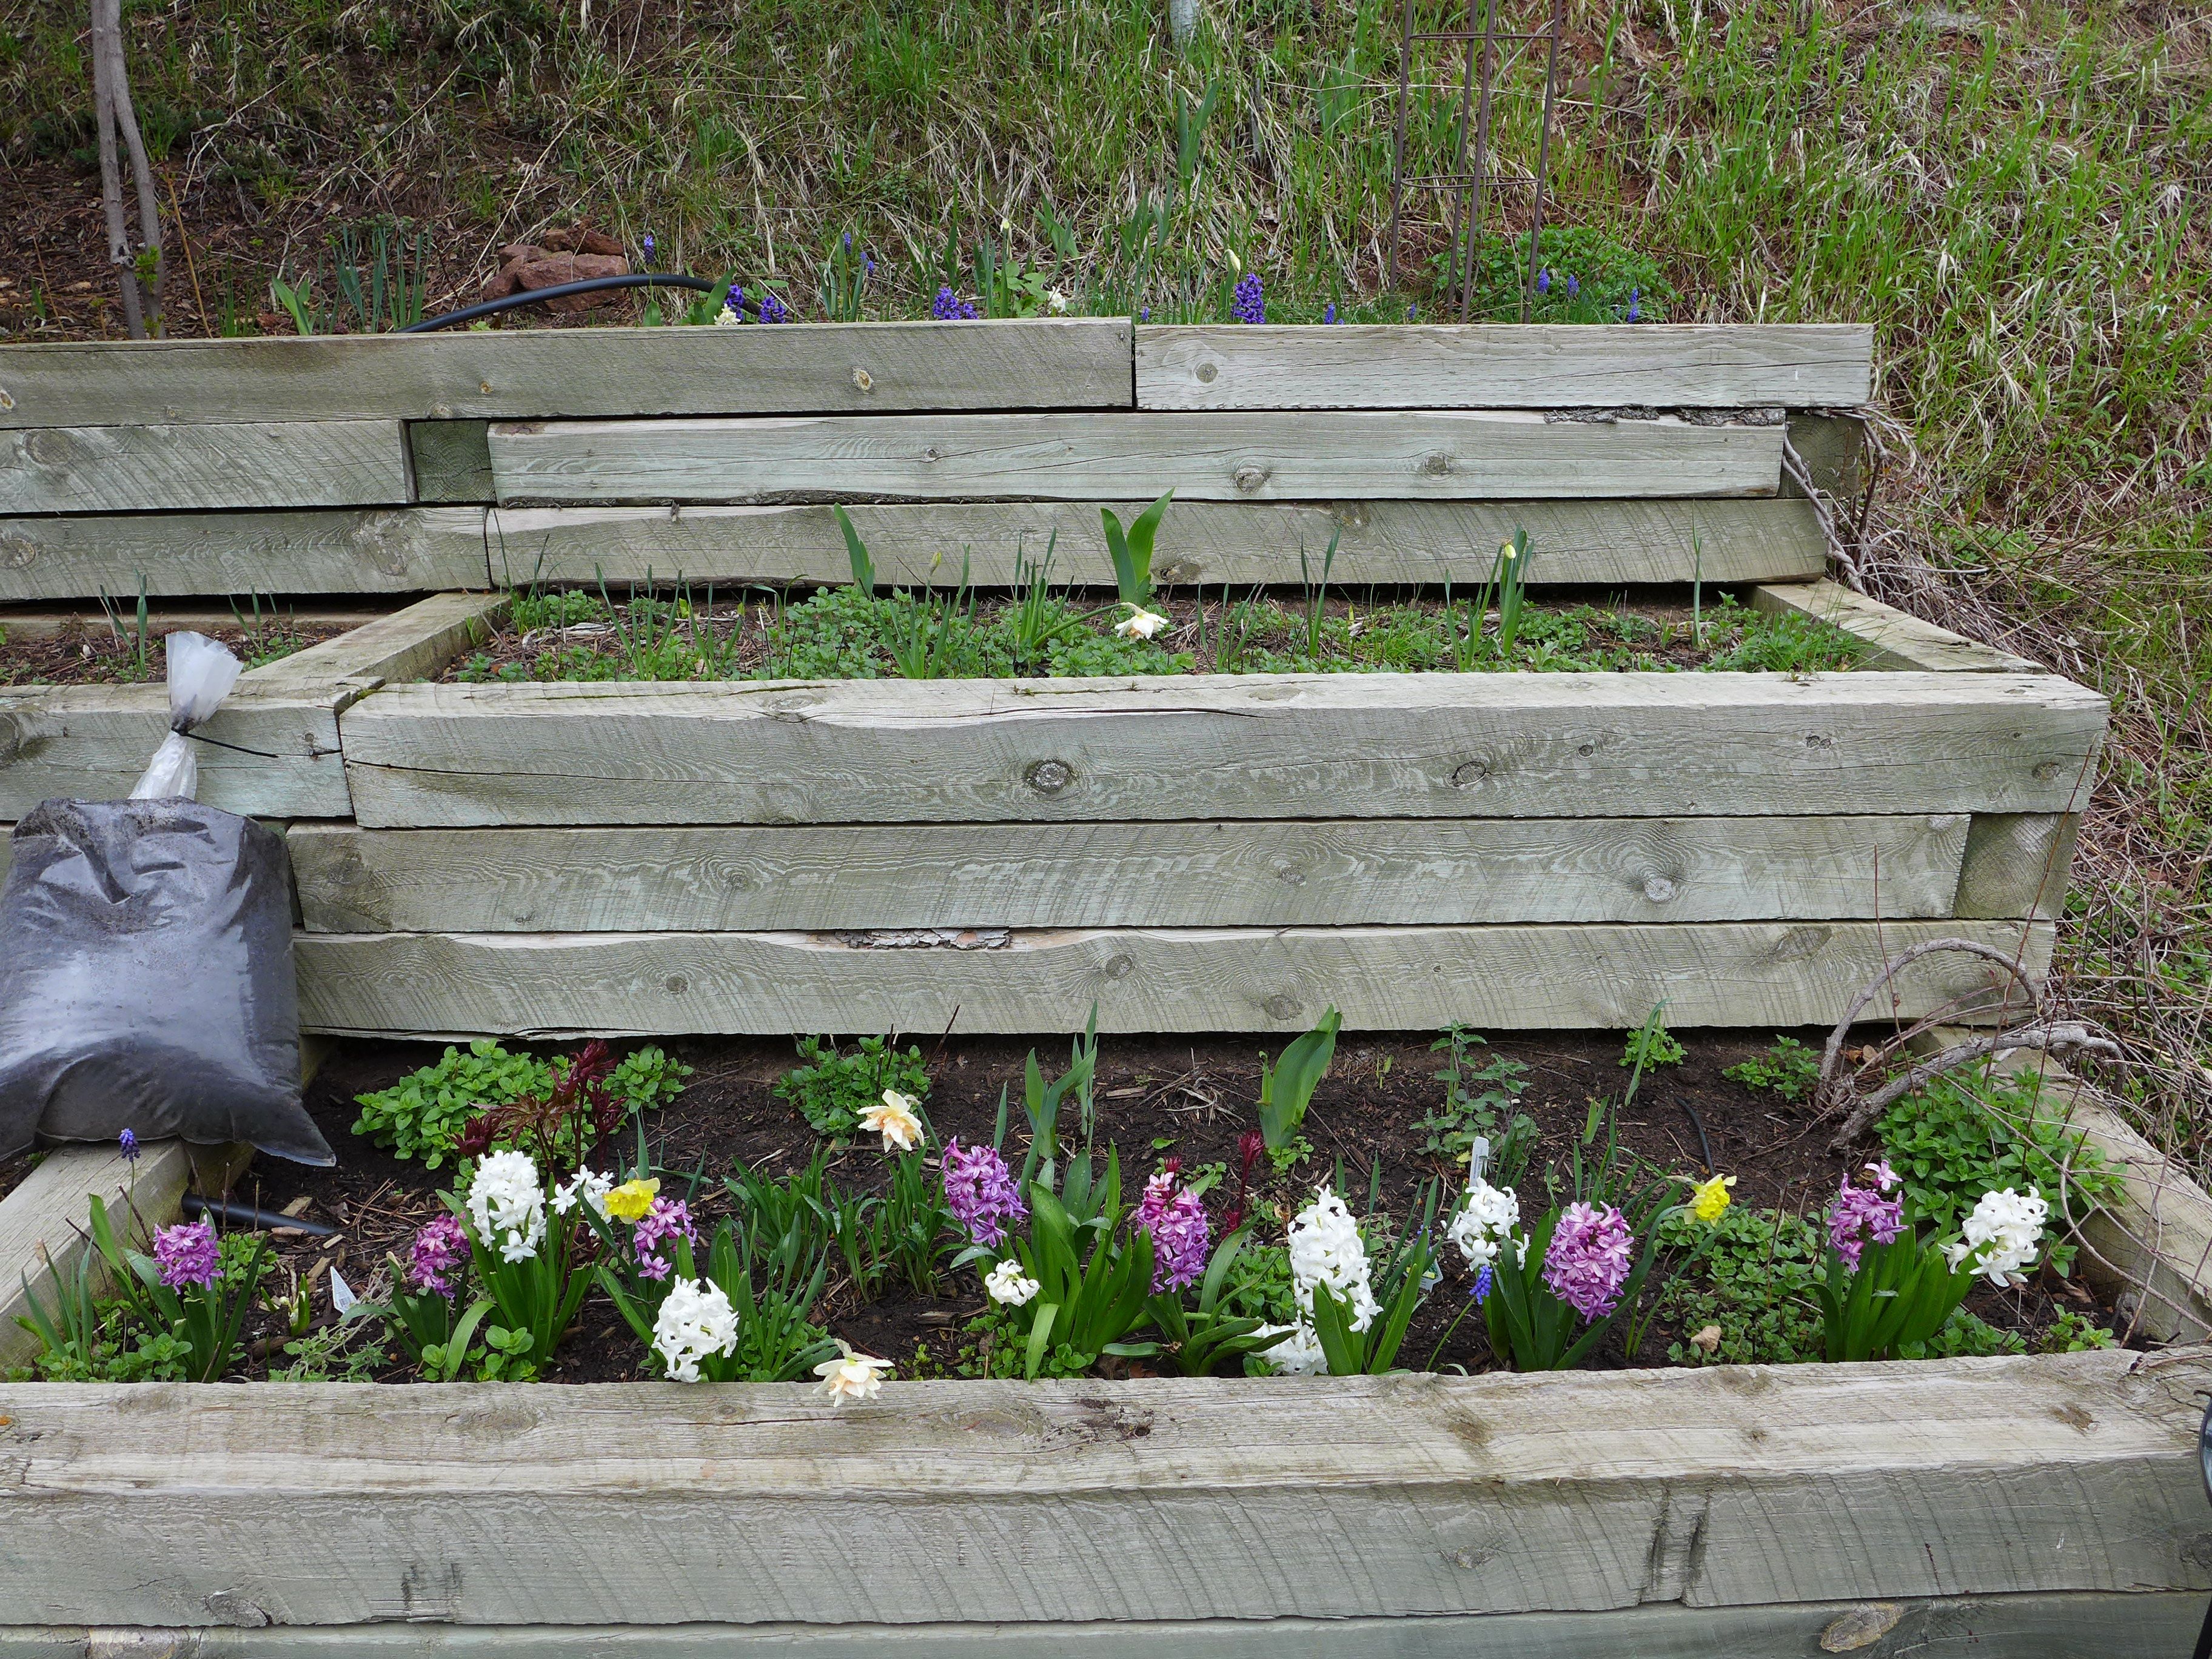
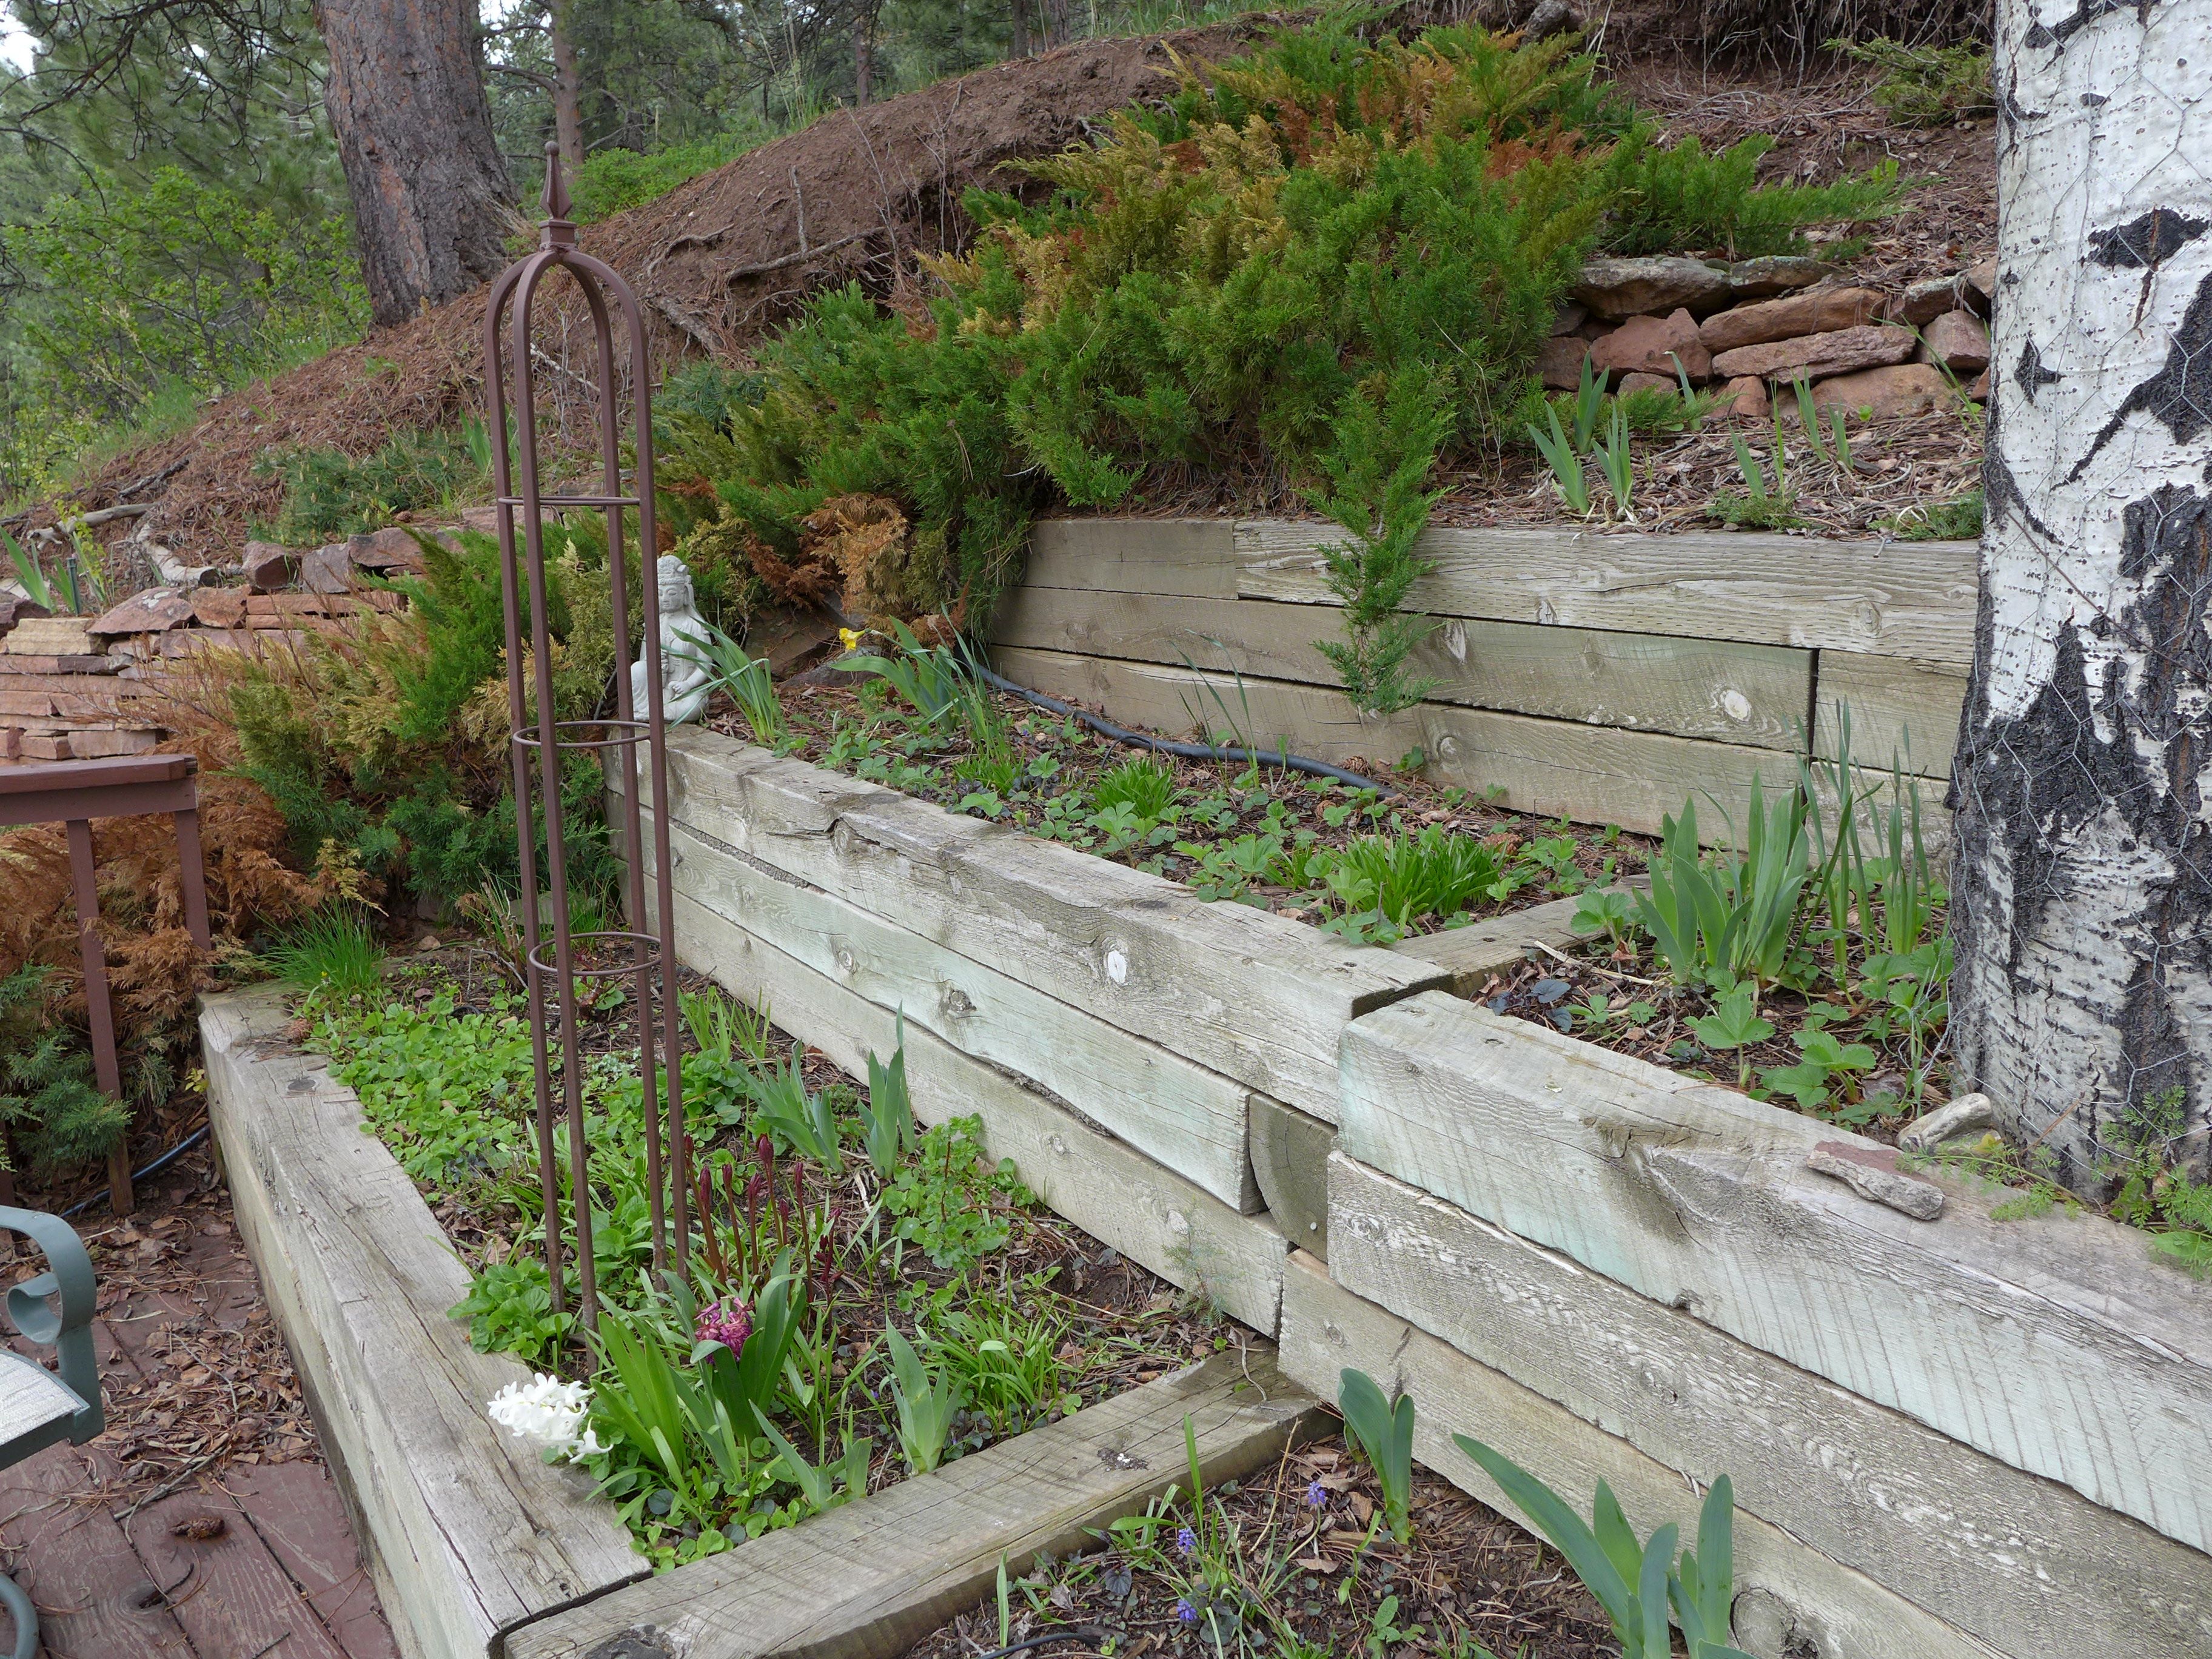
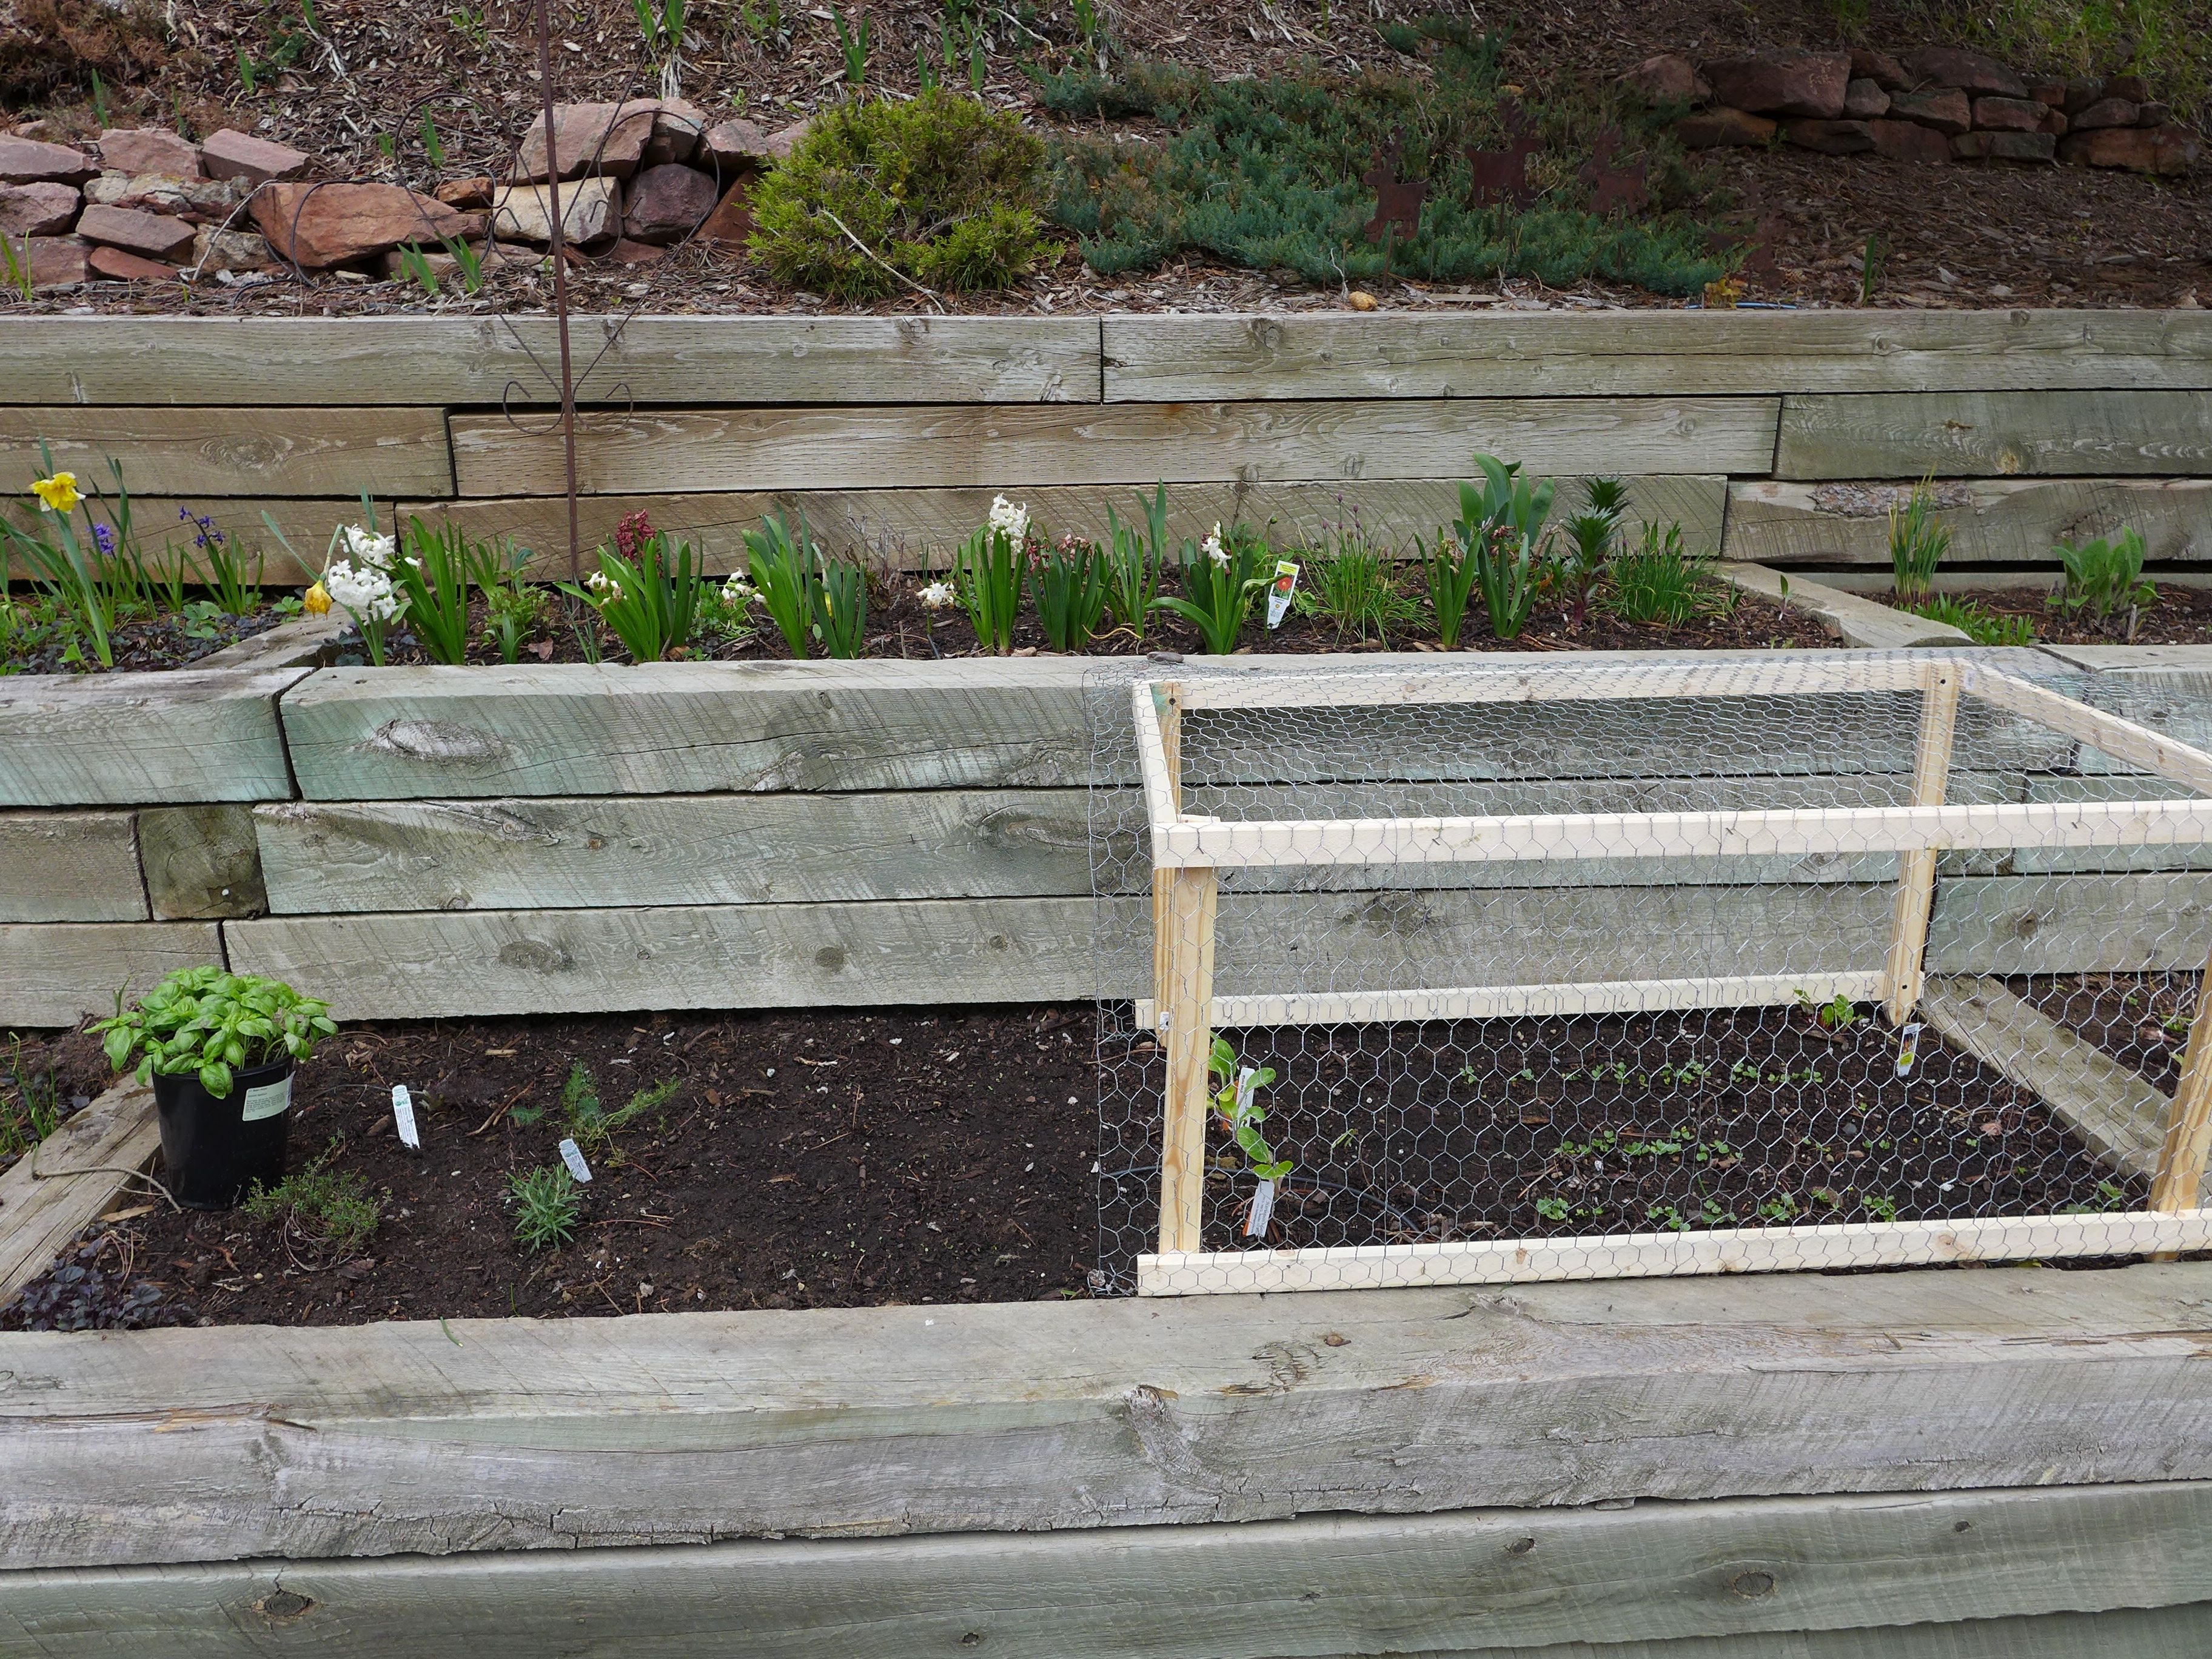
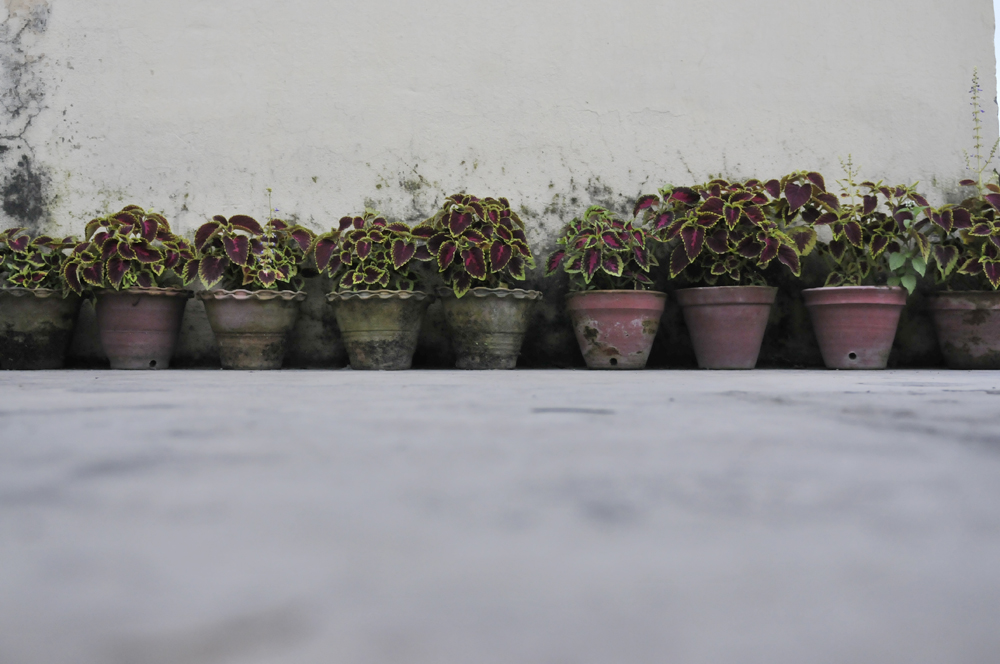
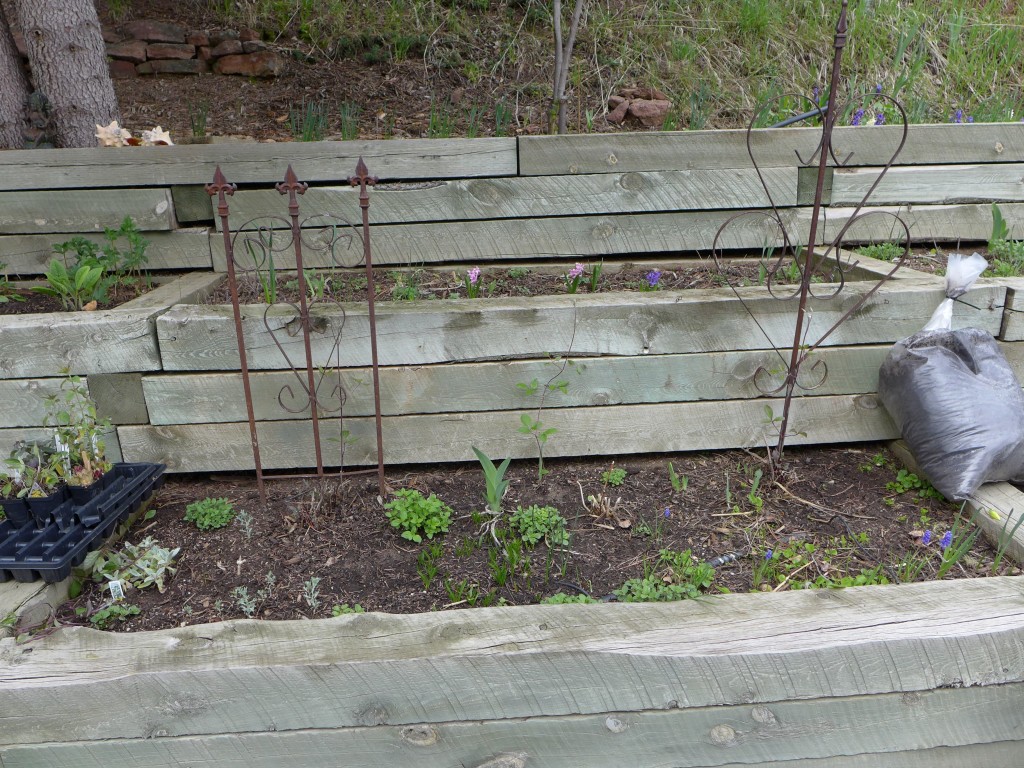
The Raised Beds

There are twelve tiered beds along one side of our deck, a few more that line the stairway from our driveway to the front door, and a couple more on the east-facing slope of our mountain below the house. We don’t see those last two on a daily basis, so I think I’ll end up ignoring them for most of this summer while I keep my focus on developing the plantings in the other beds.

Flowers

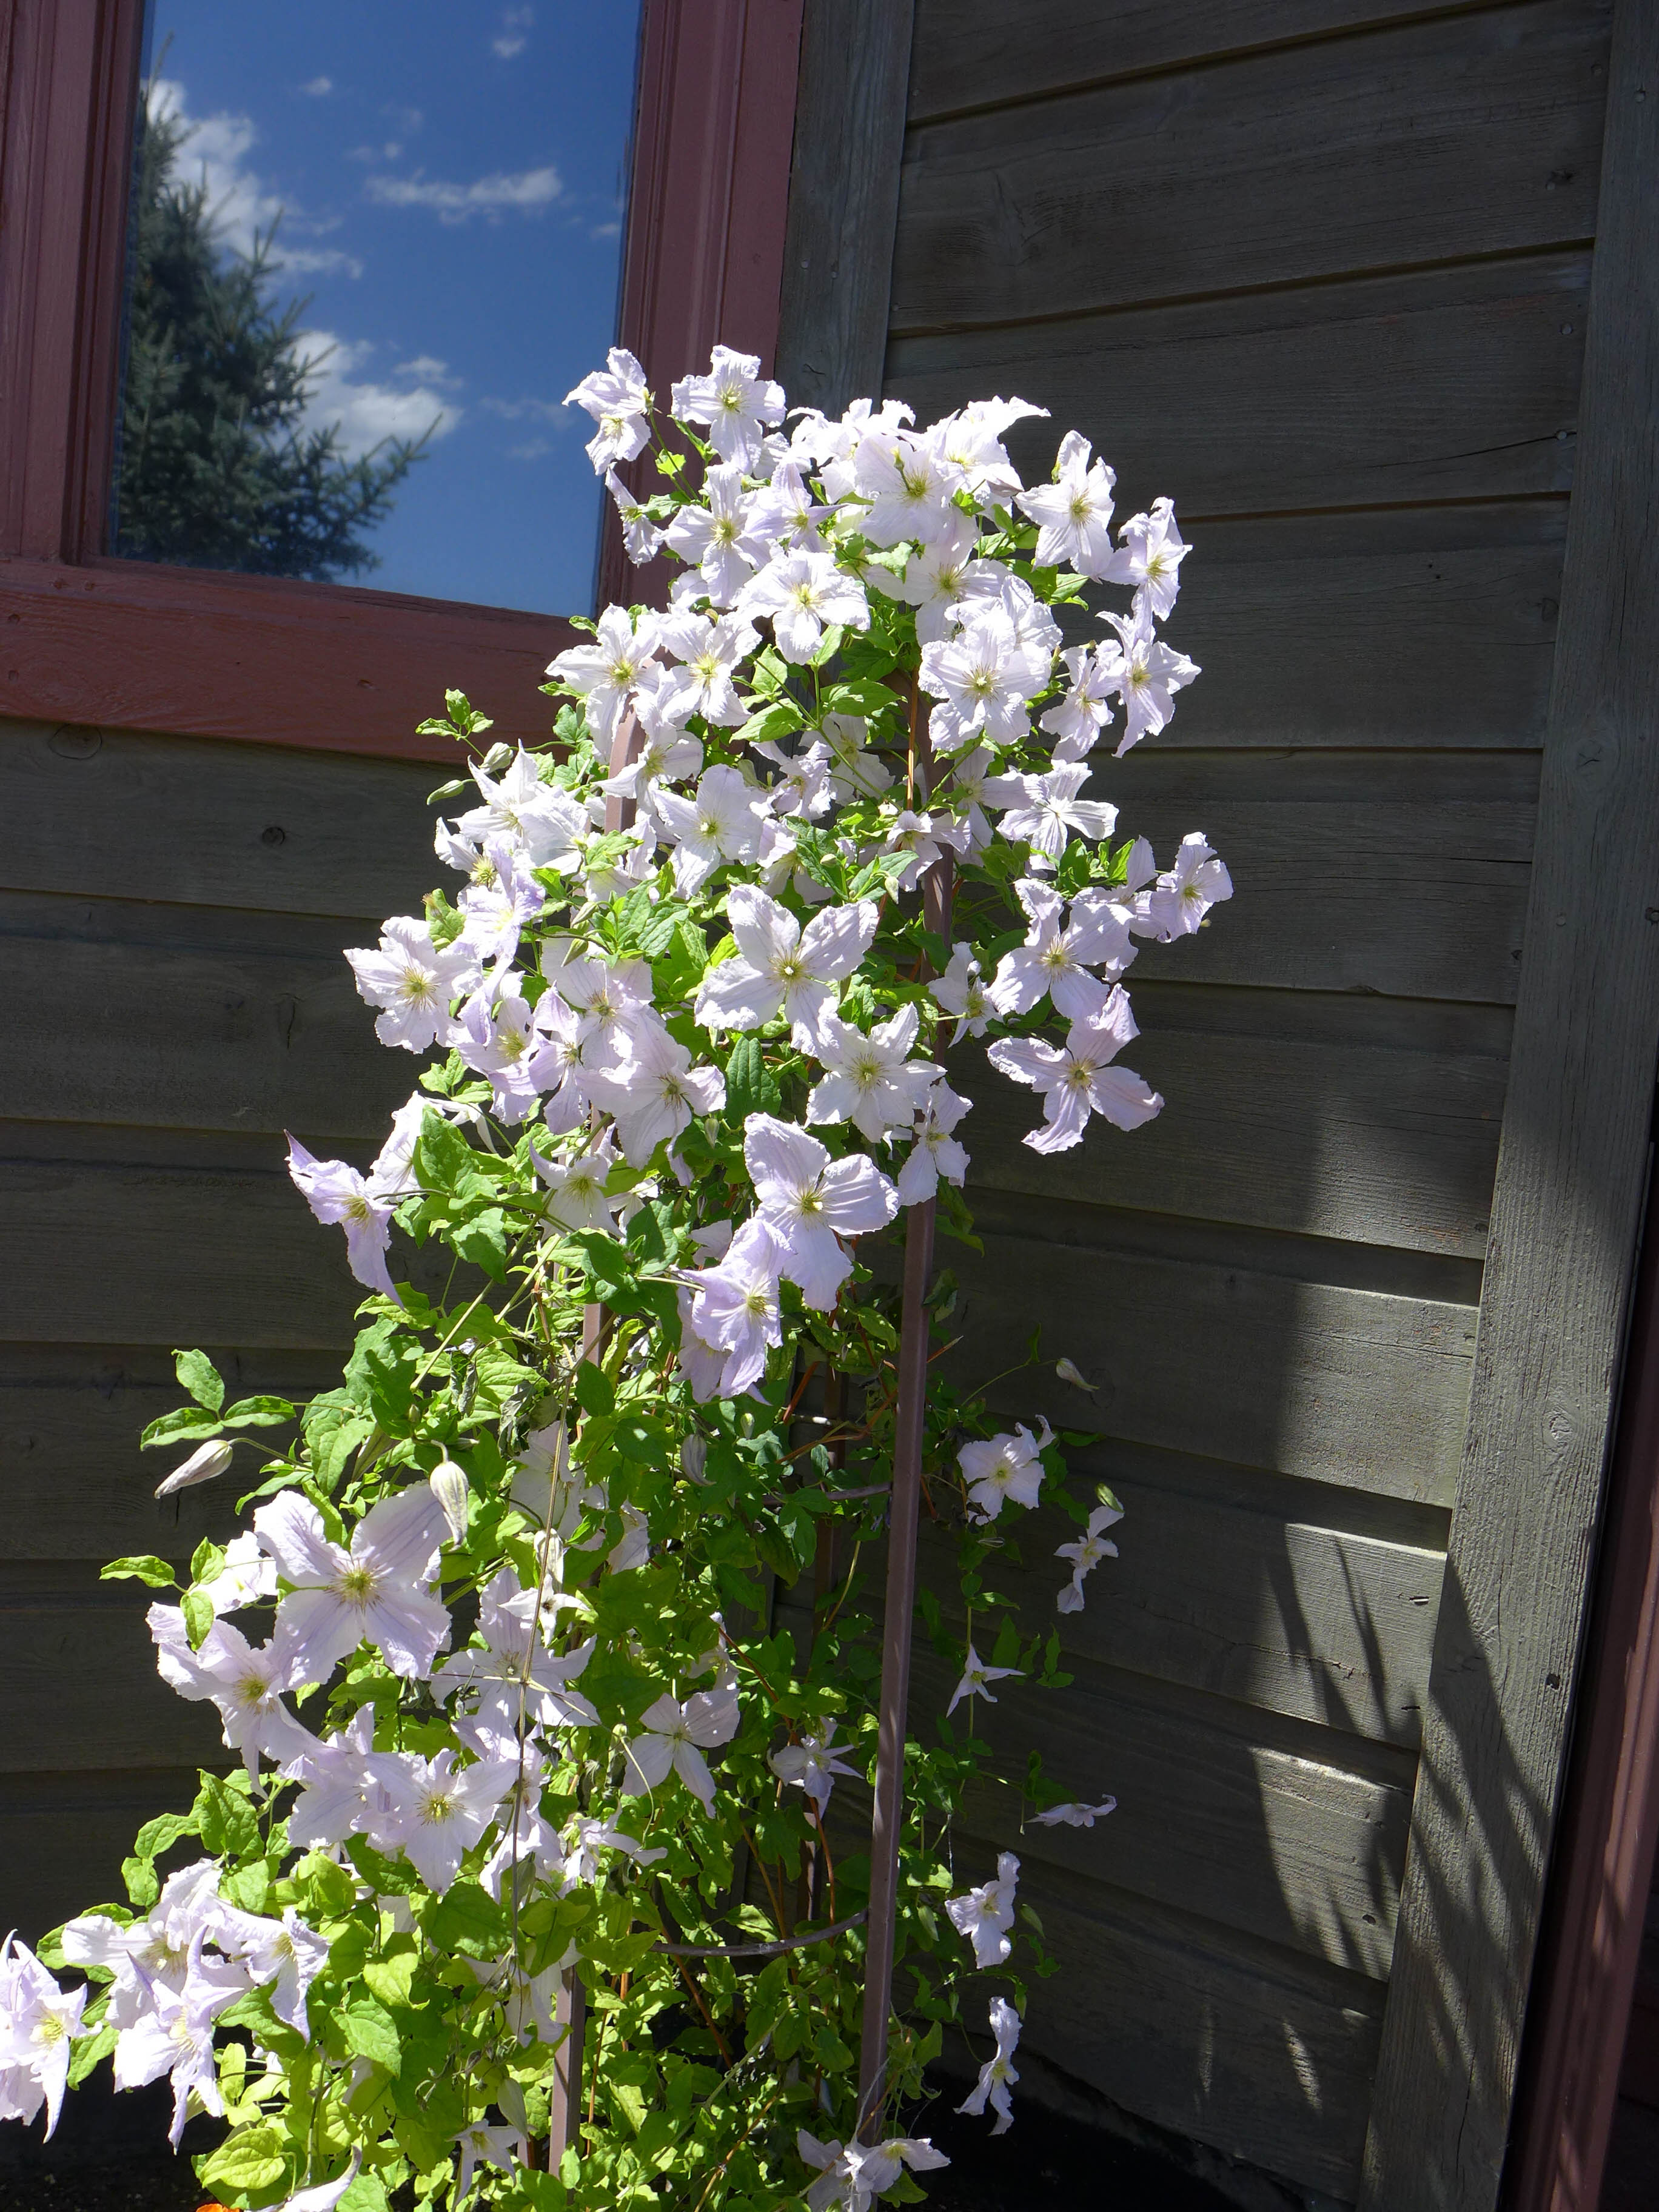
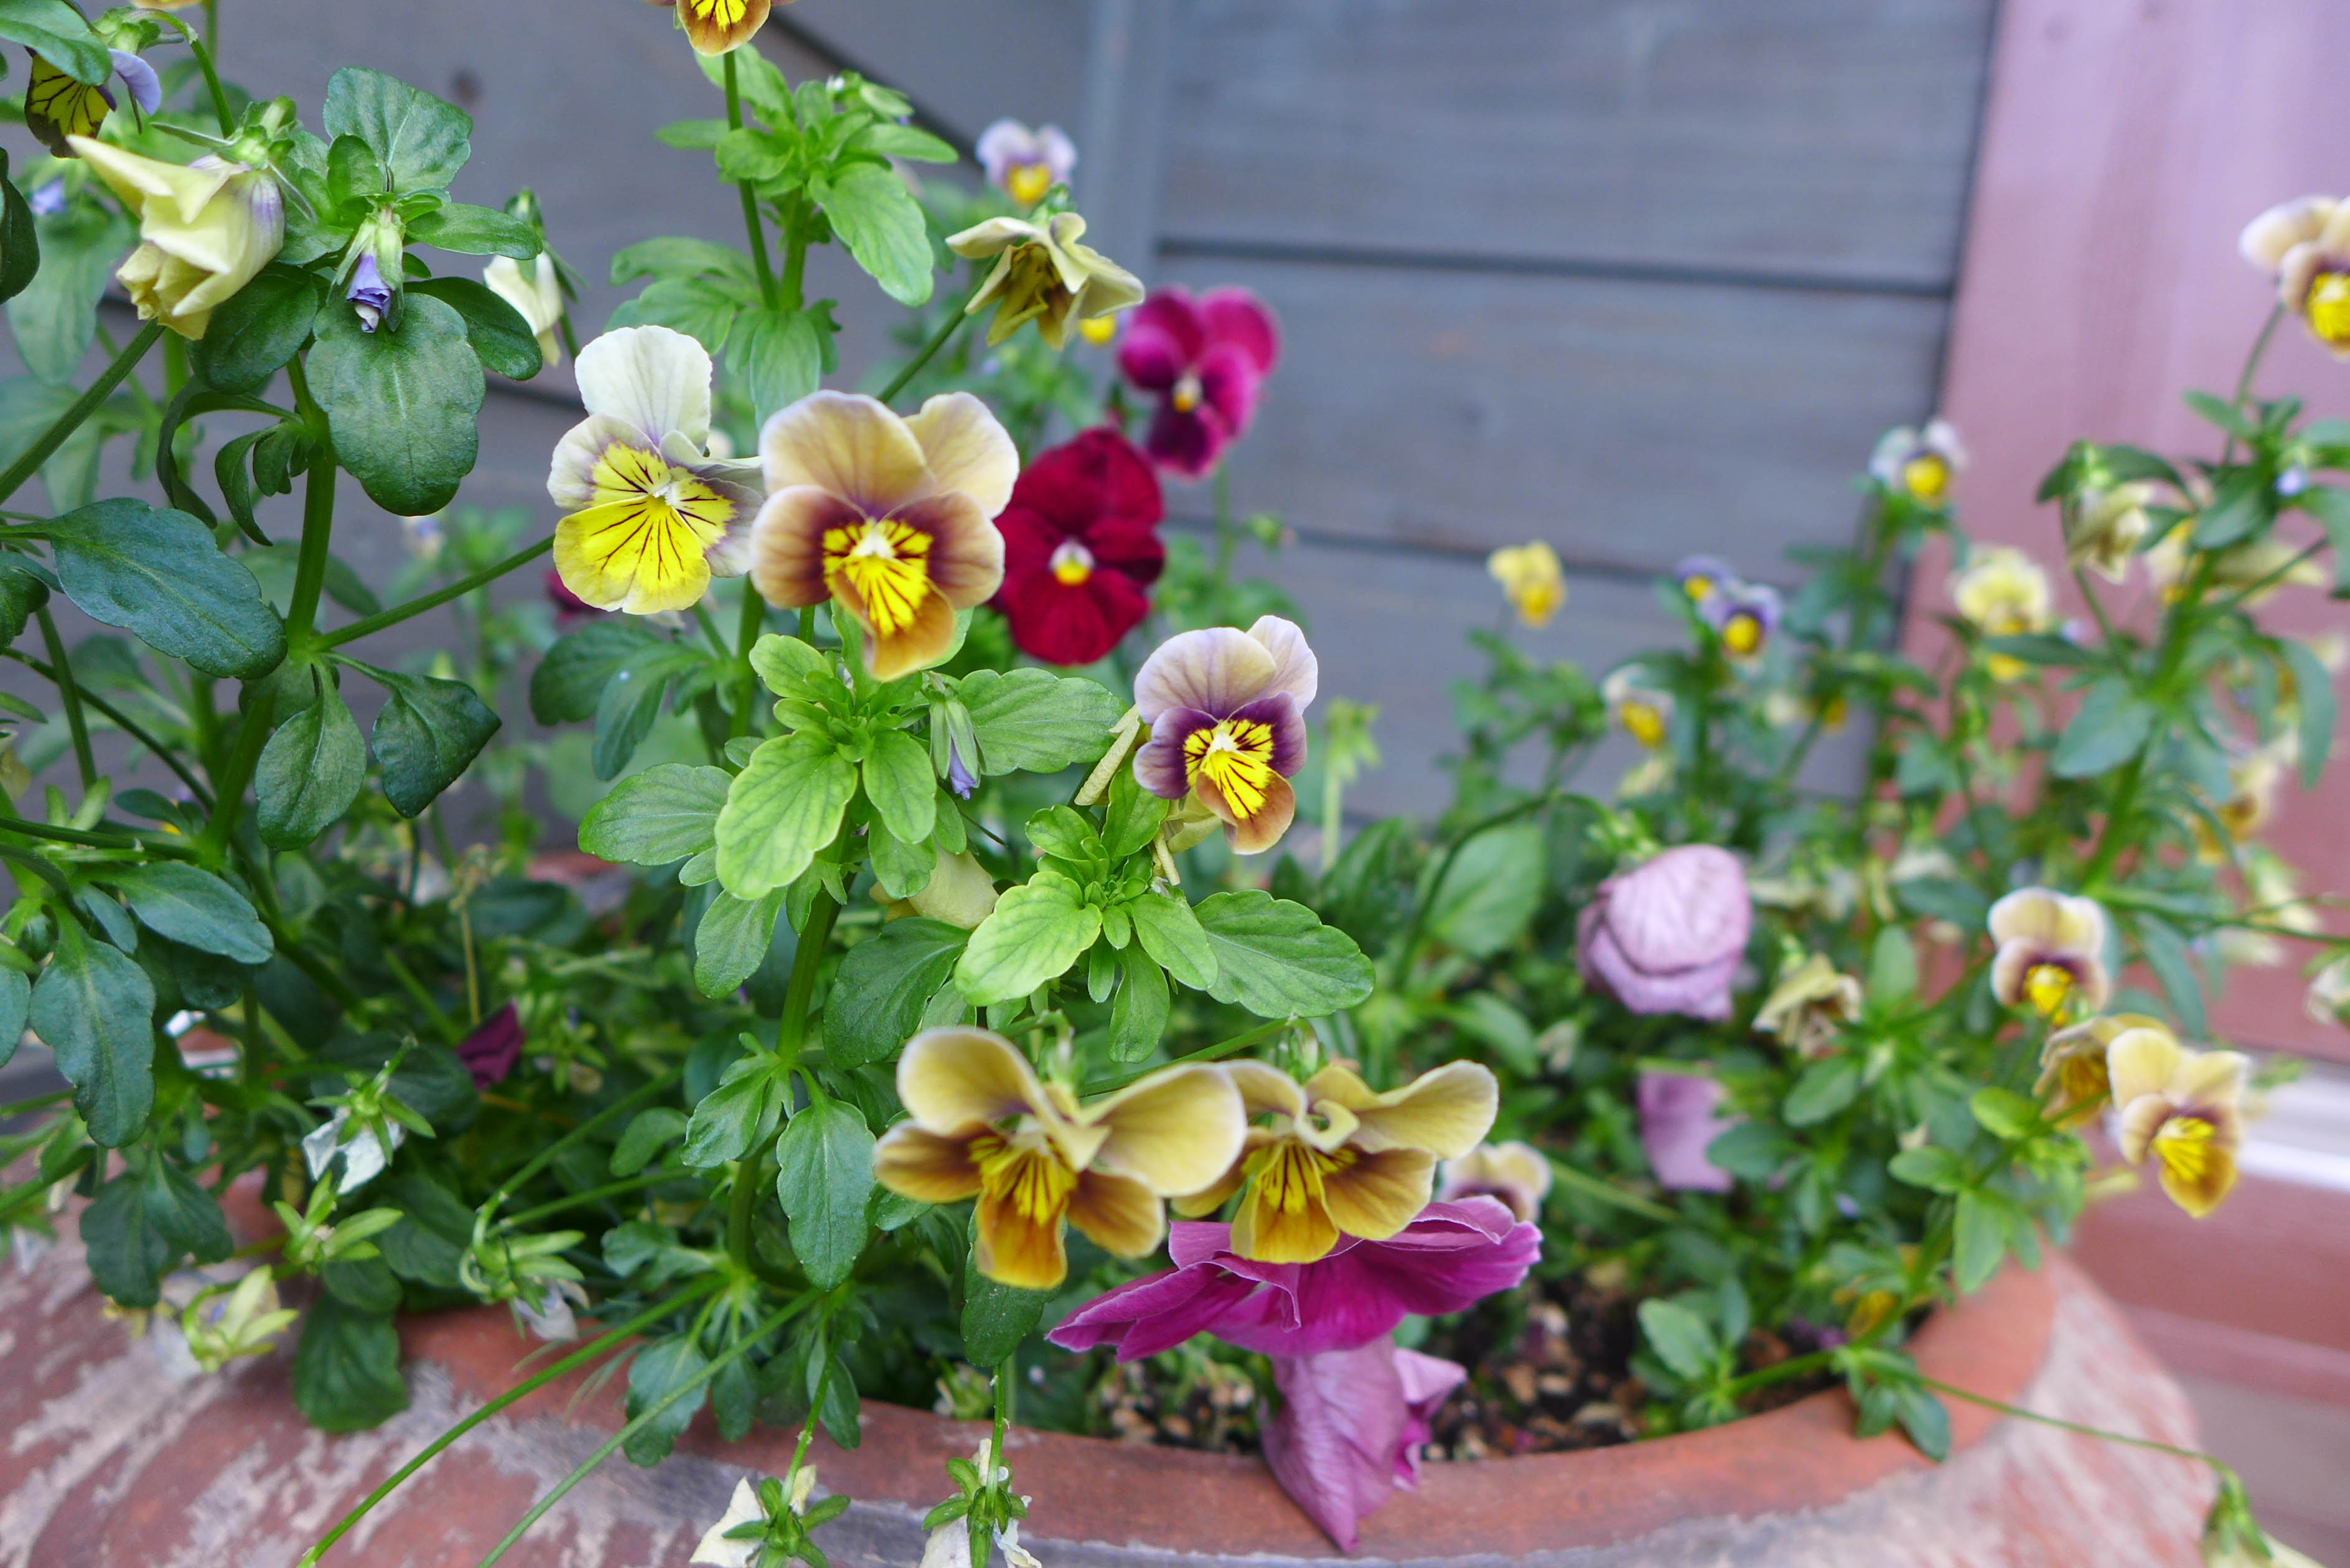
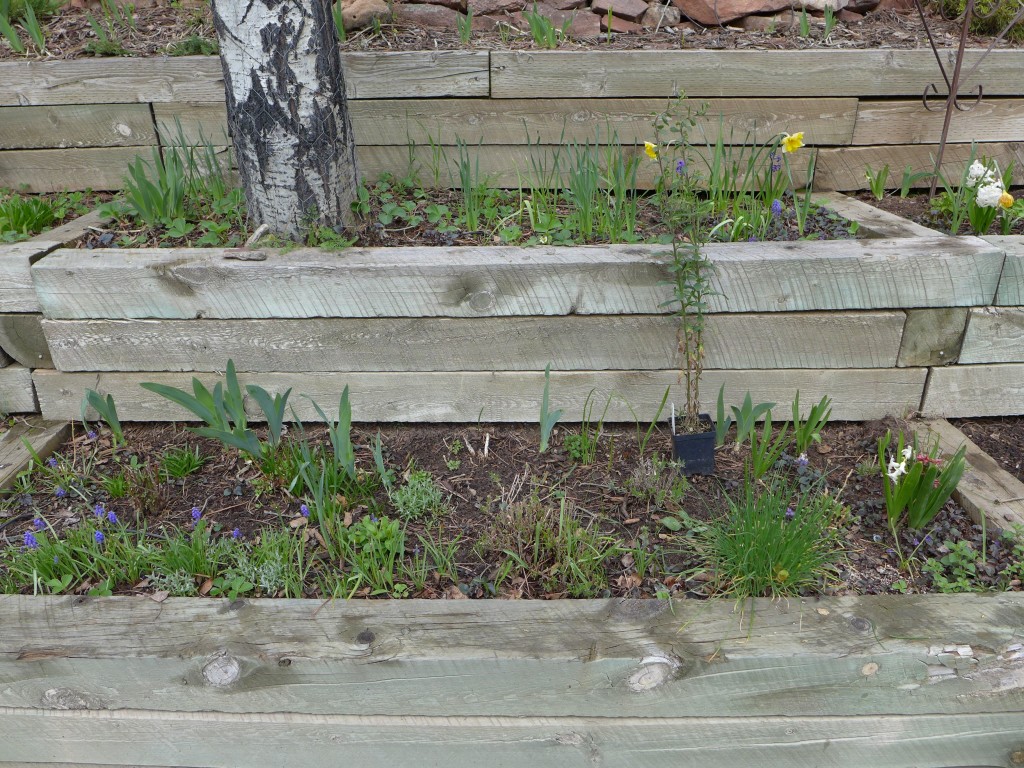
All of the planted areas currently contain a collection of early-season bloomers (daffodils, snowdrops, hyacinths). There are a few peony plants, lavender, roses, and a lot of bearded irises.

liveseasoned_spring2016_garden1

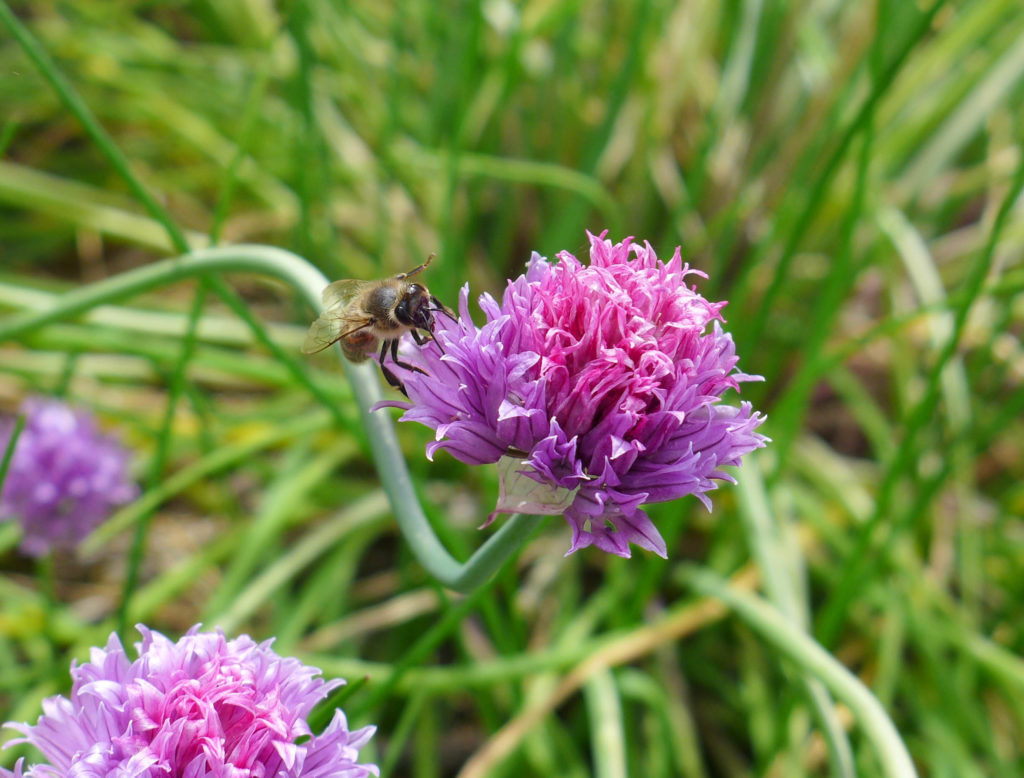
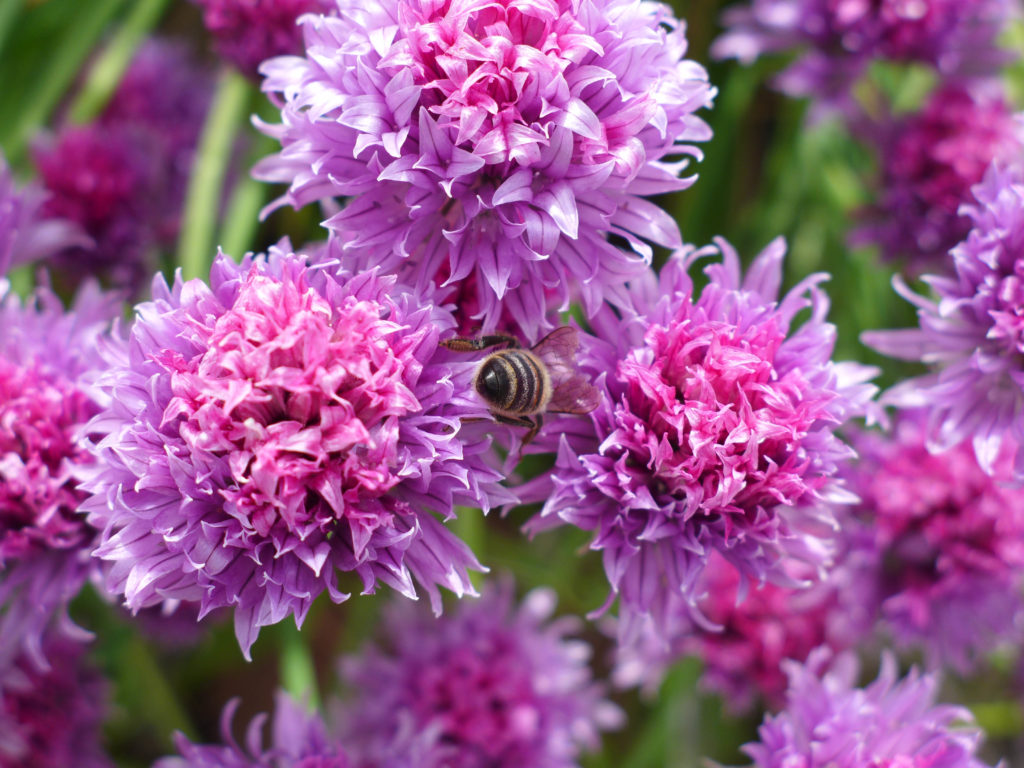
This year I’m hoping to expand the variety of flowers growing in these beds. My plan is to add black-eyed susans, purple coneflowers, bee balm, catmint, yarrow, goldenrod, and milkweed. From my research, these all fit the bill as having low water needs and also being relatively unattractive to foraging from deer and rabbits. And while I’m trying to keep away some animals, I’m hoping to attract others. These flower choices are all attractive to a combination of hummingbirds, butterflies, and bees.

In addition to the flowers, we have a number of ornamental shrubs – butterfly weed, flowering hydrangea, and lilacs. I don’t plan on adding any more shrubs at the moment; I just want to maintain what we have.

liveseasoned_spring2016_garden3

liveseasoned_spring2016_garden2

Edibles

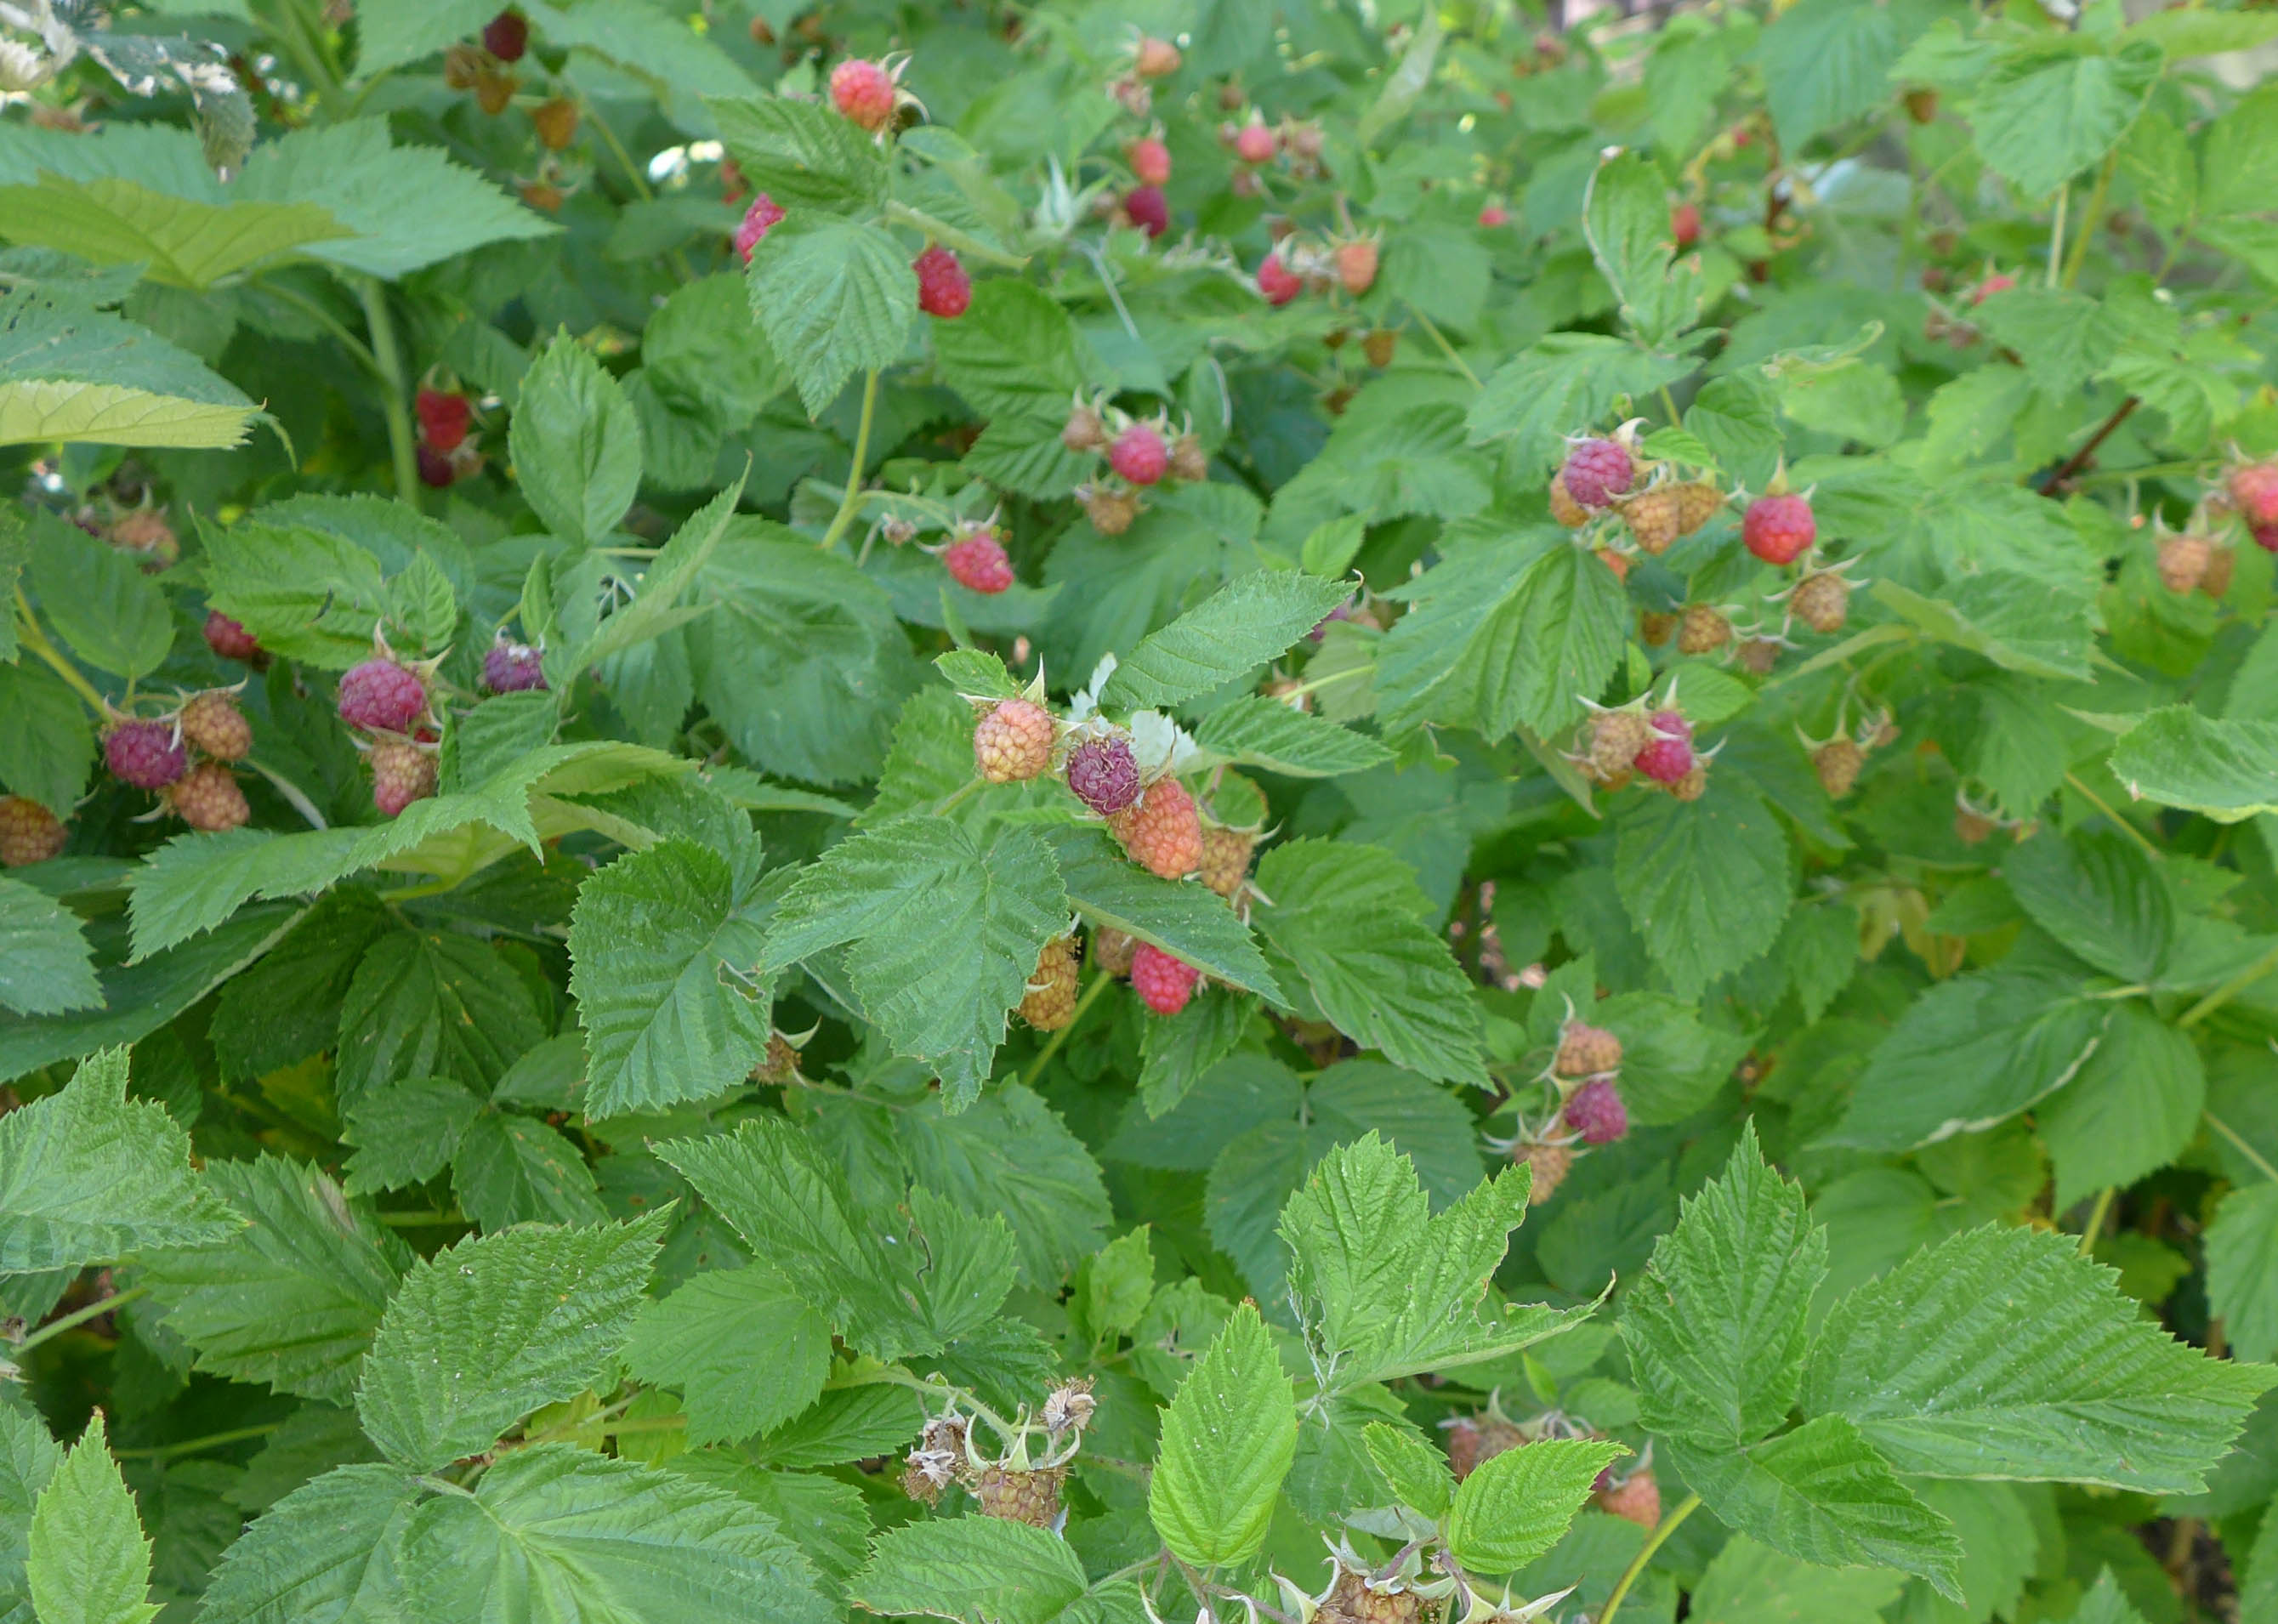
We inherited a few edible plants in our garden. There are perennial herbs (sage, chives, oregano, and mint), a raspberry patch, and a few old strawberry beds.

A lot of people flinch when they here about mint in the garden because it’s so invasive. We’re fortunate in that all of our mint is planted in the rock pathway between our deck and the pond. It’s slightly shaded and is an area with soil that stays more moist than other beds (perfect for water-loving mint), and fortunately, it can’t really spread beyond that zone because it’s cornered by the pond, stream, and deck.

liveseasoned_spring2016_garden9

I didn’t know anything about raspberries before moving in, and I still feel like there’s a lot to learn. I know that there are some varieties that produce berries late in the season off of new canes and other varieties that produce berries throughout the season off of old growth. Right?

Last summer I cut all of these canes back. We only ended up getting two berries (no joke!), but they were delicious! It could have been that we didn’t water the area enough? Or it could be that this is a variety that produces berries on old growth? I didn’t prune anything this season and am going to see what happens. I’ve also signed up for a “small berries” class at a local nursery. I’m hoping to walk away from the class with both tips for growing and caring for our berry plants as well as information about different varieties that do well in our area.

liveseasoned_spring2016_garden6

I think our strawberry beds are all past their prime. I’ve read and been told that a strawberry plant only has a few years in it before its production slows down. Last year we had quite a few flowers, and I think I saw a berry or two, but we never got to any of them before the animals (this might be an unavoidable problem). I’d like to re-energize our beds, but I think I’ll wait to do anything until after the class.

When we moved in, every one of our raised beds had something growing in it – some were more full than others. Calder and I were both excited to completely empty at least one bed for growing veggies. We don’t have high expectations, or necessarily a high demand since we have a farm share, but we want to grow a few things that we can pick and eat, and more importantly to give the boys the exposure to growing something that they can pick and eat.

liveseasoned_spring2016_garden7

liveseasoned_spring2016_garden4

So this spring, I cleared one of the beds right off of the deck, moving most of the plants to open spaces in the surrounding beds. We then turned over the soil, added compost, and planted a few early-season veggies and herbs. Right now we have a little area of loose-leaf lettuces and another area of radish varieties (I’ve heard radishes are absurdly easy to grow, and I’m looking for an easy success in our first season). One side of the bed is dedicated to herbs – we have thyme and a hardy rosemary, if we’re lucky, both will be perennials in that space. We also added a dill and a fennel plant. In the middle of the bed I put in a couple of bok choy plants and one rainbow chard because we like to eat those greens. I think that as it gets too hot for the lettuce area, I’ll plant some basil in that zone.

This past weekend we built a couple of fenced boxes to fit over the vegetable bed. Nothing fancy just a super-simple frame using the cheapest wood from the hardware store with chicken wire stapled to it. I built the box in two pieces so that it would be easy to pick them up and move then aside when we’re working in that bed, and we can use only one if we only need half of the bed covered.

liveseasoned_spring2016_garden8

~

So that’s the state of the garden as of this week. Between the late snowstorms and recent rain, we’ve had a relatively wet spring, which is getting everything off to a really nice start (even if we are all going a bit stir-crazy inside!). The radish and lettuce seeds have sprouted! And all of the perennials I’ve planted thus far seem to be thriving. I’ll be excited to update this series throughout the summer as a record of how the beds change, and I’m hoping that the visuals will really help me each year as I think about what I’d like to add/change in the garden.

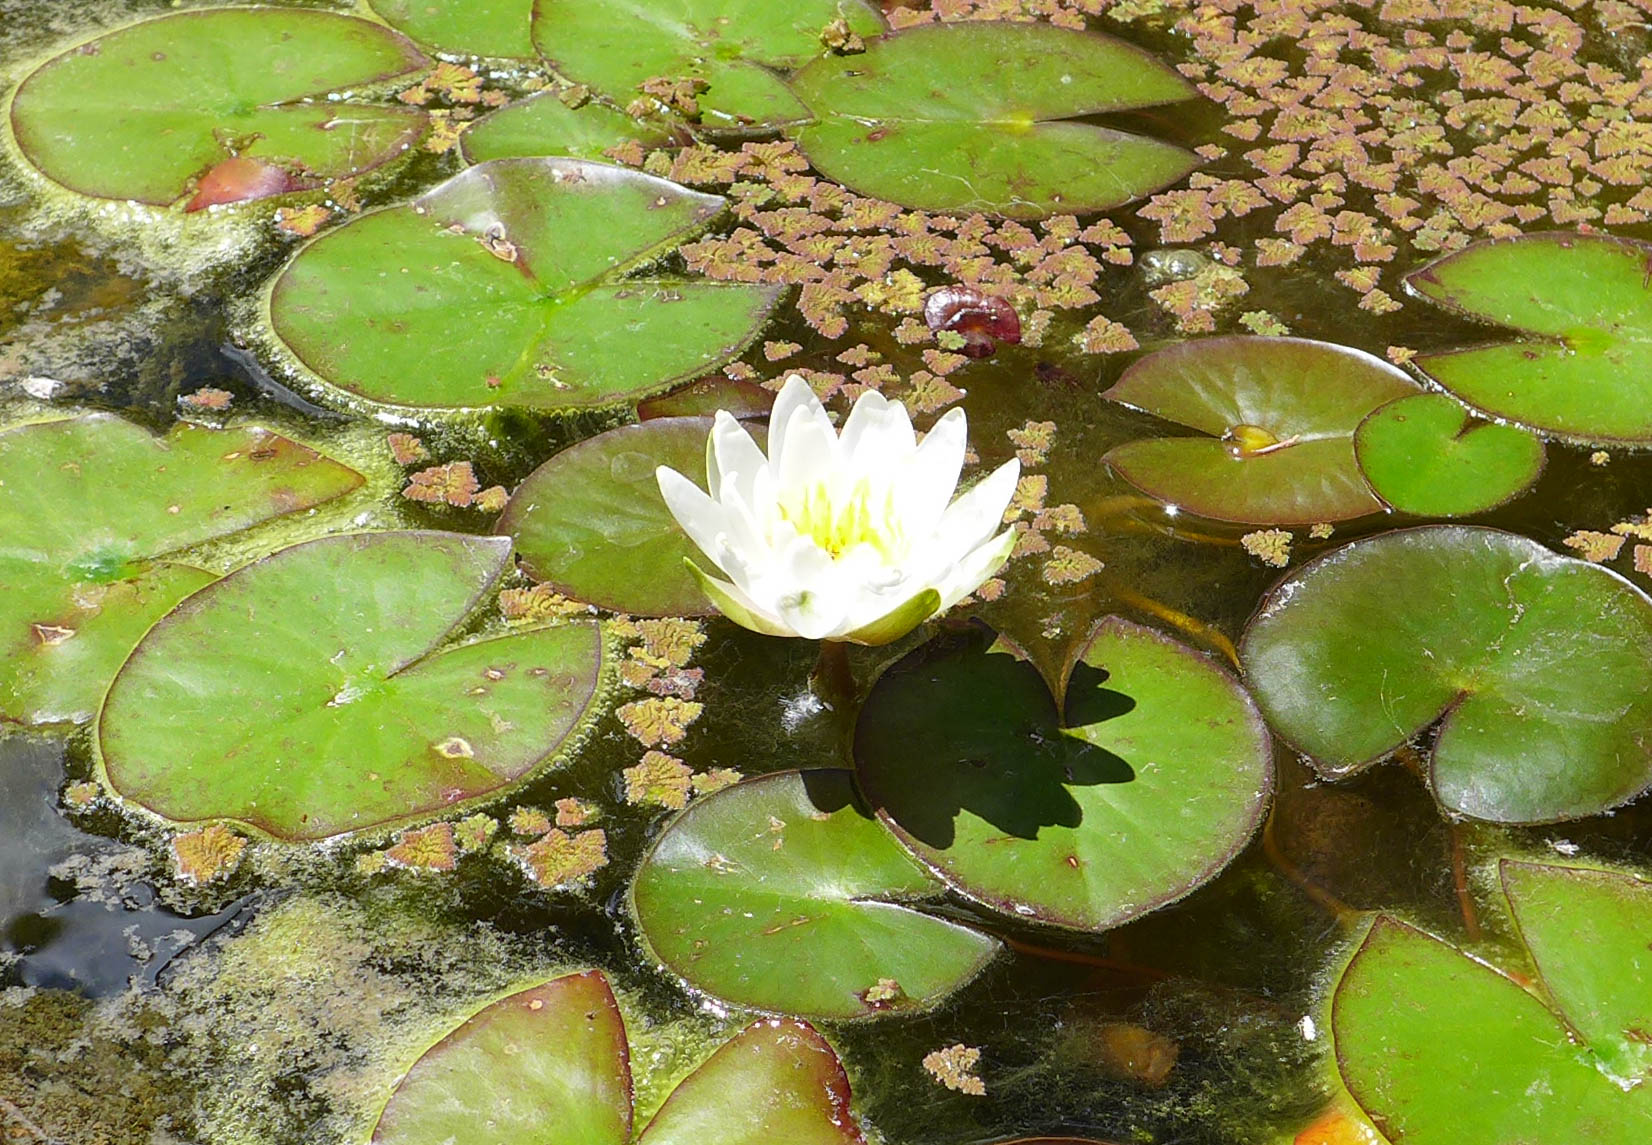
In the next post I’ll introduce you to our pond and my dreams for a big, lush water garden… they’re competing with Calder’s dream to turn the pond into our hot tub!


Gardens of Nepal

liveseasoned_fall_nepal gardens6

Namaste from Nepal!  I arrived in busy Kathmandu on Tuesday afternoon at which point I found a cozy little guesthouse in thamel and promptly went to sleep.  I was so worn out from thirty-six hours of travel that I needed a long nap.  I ended up sleeping from 6p.m. on Tuesday until 4 a.m. on Wednesday morning.  When I woke up, I decided to go up to the rooftop garden to read until the sun came up.  Later in the afternoon, I ended up wandering into another lovely garden that I enjoyed so much I spent four hours there.

liveseasoned_fall_nepal gardens7

liveseasoned_fall_nepal gardens4

liveseasoned_fall_nepal gardens3

liveseasoned_fall_nepal gardens8

The rooftop garden at my guesthouse is so quaint and beautiful that I had to share it here today.  It is the perfect representation of so many small rooftop gardens all over the city of Kathmandu.  While there is currently a broader initiative to promote vegetable rooftop gardening in Kathmandu, it is already widely popular to cover roofs with potted plants of all varieties.  I most often see jade, spider, and coleus plants with a bunch of other beauties sprinkled in.  I admire the simplicity of the rooftop garden.  Nothing too fancy just a whole lot of potted plants.  I love how my guesthouse rooftop garden was arranged by type of plant.  That is something I probably would not have done.  I’m always mixing and matching plant types on shelves and windowsills, but now I think I’m doing it all wrong. What do you think?

liveseasoned_fall_nepal gardens

liveseasoned_fall_nepal gardens5

The view looking down from the roof at the courtyard isn’t too bad either, right?  I couldn’t have been more lucky with my choice of guesthouse this time around.  If you’re staying in Kathmandu, I highly recommend Pilgrims. Don’t be afraid to haggle on the price either, I shaved a few bucks off of each night.

liveseasoned_fall_nepal gardens2

After watching the sunrise and having breakfast, I took yet another nap.  I woke up around lunchtime ready to explore Kathmandu by foot.  I decided not to take a map since I giggle at tourists squinting at their paper maps in the sun and the last thing I want to be is a hypocrite, but really, Kathmandu is a fast paced city and there is no time or space on the sidewalk to be looking at fine print.  Instead of relying on a map, I made sure to be extra observant about where I was going, when I was turning or crossing streets, and any major landmarks or buildings that seemed unique and memorable.  After a couple hours of wandering around, I conveniently ended up near the border of thamel again.  Just as I heard my belly growling and felt my feet aching, I passed a small sign that said, Garden of Dreams.  There was no other hint at what might be beyond the ten foot wall so I figured what’s there to lose and I wandered through the small gate and into an oasis.

liveseasoned_fall_nepal gardens23

liveseasoned_fall_nepal gardens22

After paying a small entrance fee of 200 rupees ($2), I was granted access to a beautiful neo-classical garden that spans over 74,000 square feet.  The Garden of Dreams was also known as The Garden of Six Seasons, but I must admit, if it was named Kathmandu Botanical Gardens or something similar I would have passed right by.  There is something enchanting about a mysterious high-walled garden sitting right in the middle of crazy Kathmandu, with a name like Garden of Dreams, that encourages the passerby to stop and explore.

liveseasoned_fall_nepal gardens16

liveseasoned_fall_nepal gardens11

liveseasoned_fall_nepal gardens12

The Garden of Dreams sits across the street from the former Royal Palace and was originally thought up by Field Marshall Kaiser Shumsher Jung Bahadur Rana in the 1920s.  (Imagine trying to remember that name at a cocktail party.)  Apparently upon completion, the Garden of Six Seasons (as it was known then) was considered one of the most sophisticated private gardens of that time, which surprises me none at all.  Traditionally Nepal has six seasons: spring, early summer, late summer monsoon season, early autumn, late autumn and winter.  The garden was designed by Kishore Narshingh, a prominent architect who designed and constructed Singha Durbar (a massive palace) in 1907.  In the 1920s, the Garden of Six Seasons had six pavilions, numerous fountains and sunken pools, verandas, pergolas, urns and birdhouses. He erected six impressive pavilions, each dedicated to one of the six seasons of Nepal.  Today, only half of the original garden and three pavilions are in existence, but the renovations pay homage to the beautiful garden of the past.

liveseasoned_fall_nepal gardens15

liveseasoned_fall_nepal gardens14

liveseasoned_fall_nepal gardens13

liveseasoned_fall_nepal gardens17

It was interesting to learn that the Garden of Dreams was restored in cooperation with Austrian Government in the early 21st century.  Inside one of the buildings, there is a photo gallery with images of the garden in complete ruins during the nineties and what it looks like today.  It was really neat to see the comparison of what looks like an overgrown jungle to the beautifully manicured lawns of the present.  Several changes have also been made that lend well to transforming the private Garden of Six Seasons into a space that can be utilized by the public for events and leisure.

liveseasoned_fall_nepal gardens19

liveseasoned_fall_nepal gardens18

liveseasoned_fall_nepal gardens20

While the Garden of Dreams boasts itself as a tourist destination, I must admit not one person recommended I visit or even mentioned the gardens to me.  I hadn’t read about it in a guidebook or seen flashy photos of the garden on any brochures or signs and a selfish part of me is glad.  When I first arrived at the garden around 2 p.m. there were only five other people on the grounds.  I loved wandering around taking photos uninhibited by crowds.  As the hours moved on dozens and dozens more people arrived and it overjoyed me to see that all but a couple were native Nepalese.  The Garden of Dreams is their garden and knowing it is affordable, accessible, and actually used by Nepali people made me really happy.  Seeing all the couples and throngs of friends gathered in the gardens that afternoon had me feeling like I was in on a local secret.  I just had to share it with you in hopes that you’ll make it to the Garden of Dreams one day.

liveseasoned_fall_nepal gardens9


Species Spotlight : Argiope aurantia

If you’ve been following along with our Instagram feed, then you’ve seen a few photos of the spider living at the beach house. We’ve all become a bit enamored with her and wanted to share more information. First a formal introduction, meet Argiope aurantia, common referred to as the black and yellow garden spider.

liveseasoned_summer2015_spider6

Even we can admit that she looks equal parts mesmerizing and scary, fortunately, she’s relatively harmless. She has no interest in biting humans, and would only do so if grabbed (although she would rather drop down from her web and hide). If she does bite, the result is said to be no worse than a bee sting. Did you get that? If you come across a garden spider in your yard, don’t worry, don’t scare her away, and definitely don’t kill her!

liveseasoned_summer2015_spider2

Continue reading

Indoor Herb Gardening 101

If you haven’t grown your own food yet, we think herbs provide one of the easiest ways to begin gardening.  Herbs can be grown indoors or outside, whichever you prefer.  Once they get growing, they’re relatively low maintenance, and you can begin harvesting almost immediately.  I recently moved to an apartment with no yard so I began an indoor herb garden.  This post contains a few things I’ve learned about growing herbs indoors, and that terra-cotta pot painting tutorial we promised is at the end of the post!

liveseasoned_spring2014_herbsguide

Continue reading