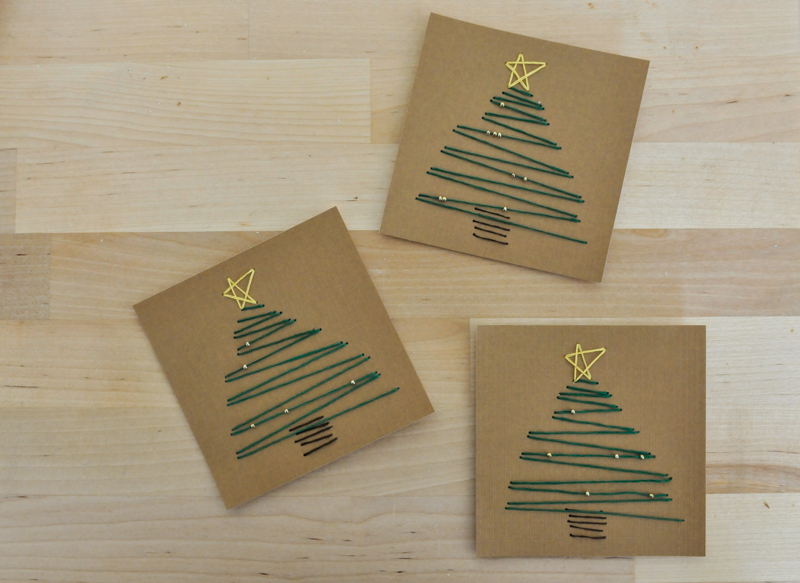
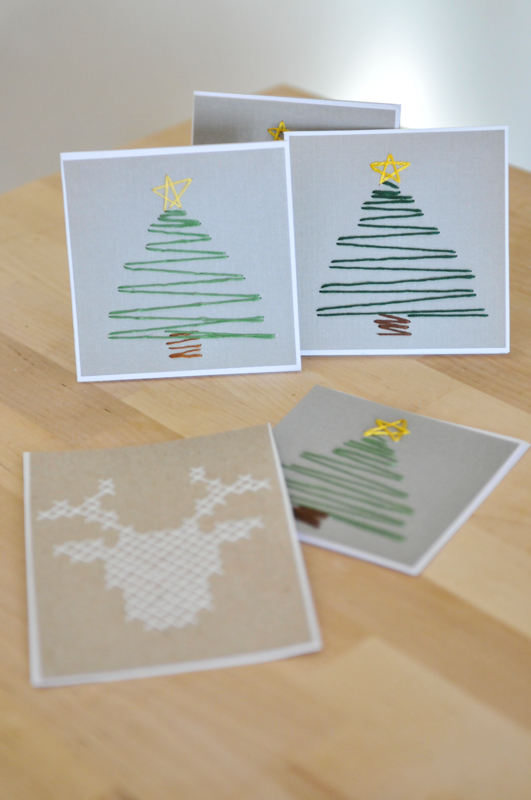
 I like to call them stitchmas cards. I wanted to make cards this year, but I don’t have a printer so I had to think of an easy way to add a design. I drew a few doodles, messed around with some graph paper and I came up with these simple card ideas. Depending on how detailed you want to get, this is a great kids craft as well. Add a few cute and easy stitches to your handmade Christmas cards this year. I dare ya.
Supplies:
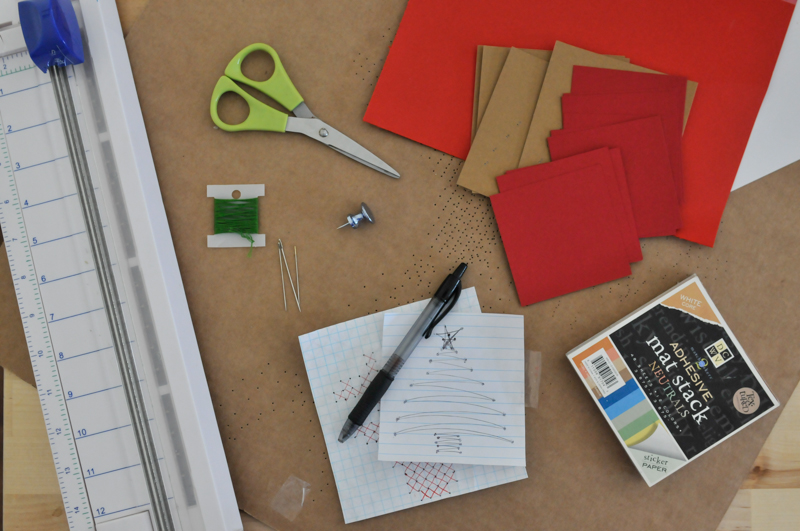
- Piece of cardboard or foam to work on
- Card stock (I used scrapbooking paper and these in neutral)
- Blank cards or folded card stock
- Paper cutter (optional)
- Scissors
- Thread
- Needle
- Thumbtack
- Pen
- Paper
- Tape
- Glue
The How:
- Doodle a design on a piece of notebook paper. It’s up to you how complex you want to make your cards.
- Tape the design onto the card stock and the piece of cardboard you are working on. Use the thumbtack to poke holes at every angle in your design. If you’re using graph paper, poke holes in each corner of the squares.
- Carefully remove the tape and doodle. At this point, I poked secondary holes onto my tree design adjacent to the original holes. I did this so I would not have to backstitch the entire design; instead it is similar to a running stitch. The design and hole placement is really up to you. There’s no strict rules for stitching cards, just a general practice.
- Once you are finished stitching with a particular color, use a small piece of tape to secure the thread. If you’re using paper with an adhesive backing leave the thread loose until the entire design is stitched. Carefully remove the backing, pull the threads tight and stick them down. Adhere the sticky sheet to the front of your card and place it under a stack of books. If using regular card stock, use rubber cement to glue the design to the front of your card and place under a stack of books.
Have you already mailed out your holiday cheer this year? I like to wait until the last moment so that my friends and family open their card closer to Christmas and New Years. That or I procrastinate until the week before where you’ll find me hustling to make them all in time 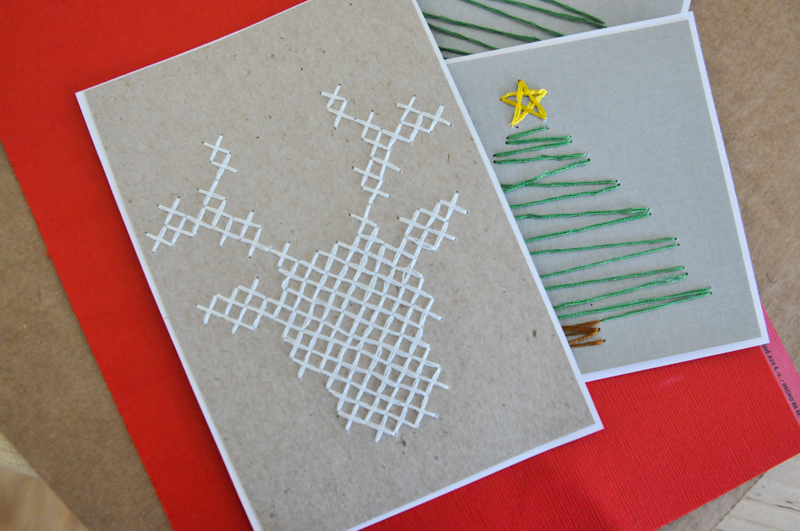



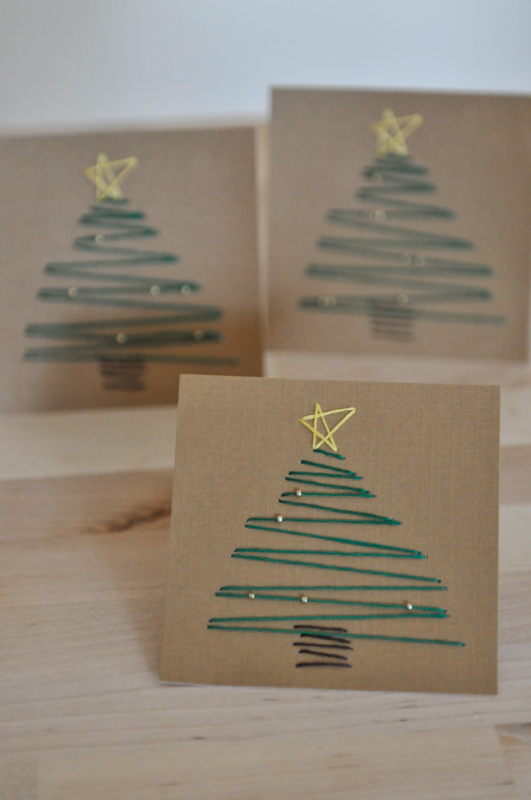


Love the tree design and the few beads added just the right touch…great idea!
Thanks!