Happy Monday! How was your weekend? Did you get your tree? We had a disappointing, but funny, experience at a local tree “farm”. In more uplifting news, I was excited to realize that we’re almost done with the Christmas shopping! Unbelievable, right? Of course, there’s still a bit of Christmas crafting to do, but I’m feeling confident that it will get done. As a result, I had time to work on some of the decorations that have been on my list. First up ~ some super simple and quick Christmas trees for our mantel.
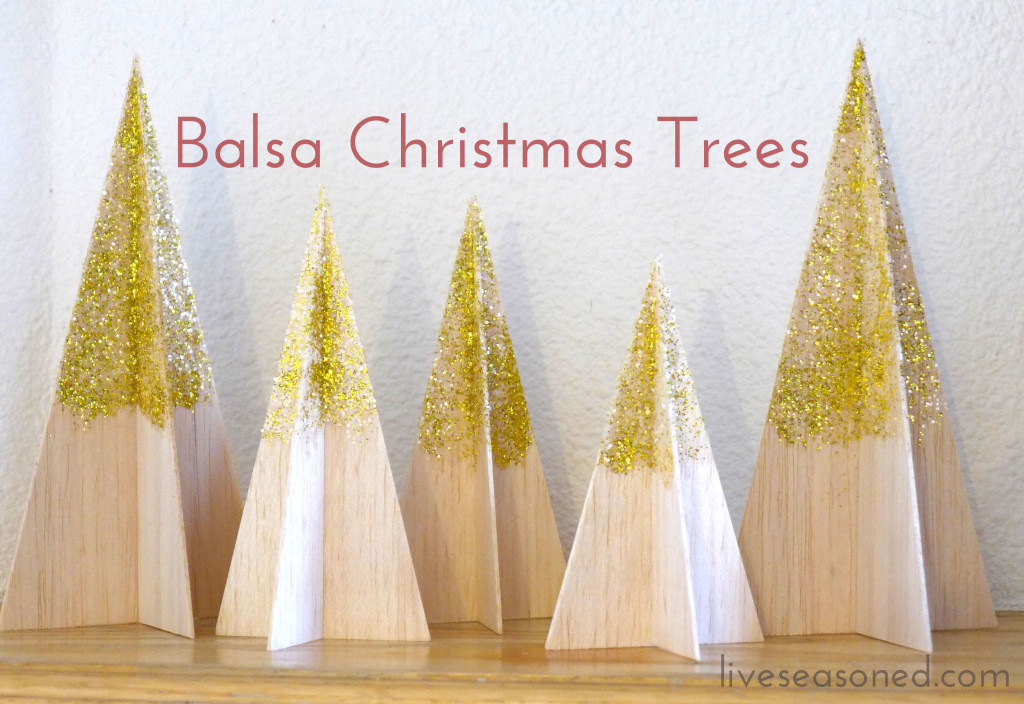
As I mentioned in my Elving post a couple of weeks ago, browsing Pinterest provided the inspiration for many of my Christmas decorations this year, including these simple Christmas trees. It started when I found an image from this post. I liked the simplicity of those trees and that they were made using balsa wood (no power tools or hard cutting required). I wasn’t as excited about how they were put together – mainly using glue to hold the pieces together. Having also come across this wooden tree post, I knew there was an easier way to build the same tree. And really, between those two posts, you have all the information you need for this project, but I’m happy to share my process photos below. And again I want to stress how quick these trees were to make – with all of the materials on hand, it took me less than an hour and a half to make the five trees from first cut to last dash of glitter!
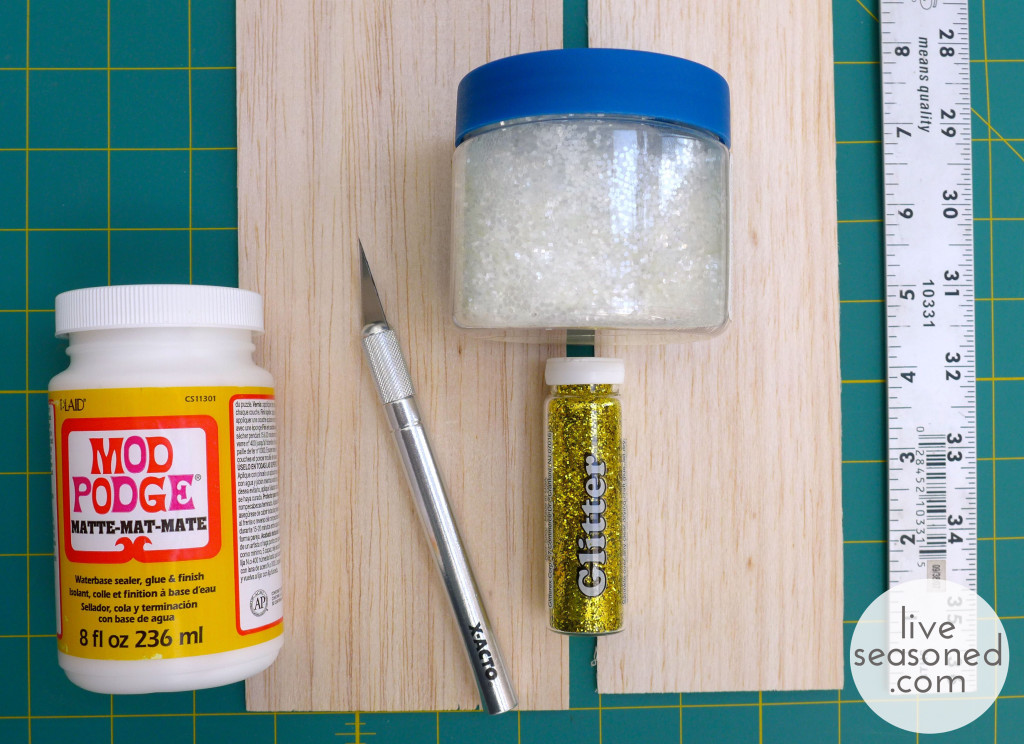
Materials & Tools
- balsa wood
- Mod Podge
- glitter
- Exacto knife
- ruler
- cutting mat or board
About the wood : You can find balsa wood at many crafts stores, but not all (some Joann’s and some Michael’s carry it, but not all). If you’ve never worked with it, balsa wood is extremely soft and very easy to cut with an exacto or craft knife. It comes is a variety of thicknesses and widths, and there is no strict rules as to what you should buy for this project. I picked up two 36” long and 1/8” thick balsa boards; one was 3” wide and the other was 4” wide.
Process
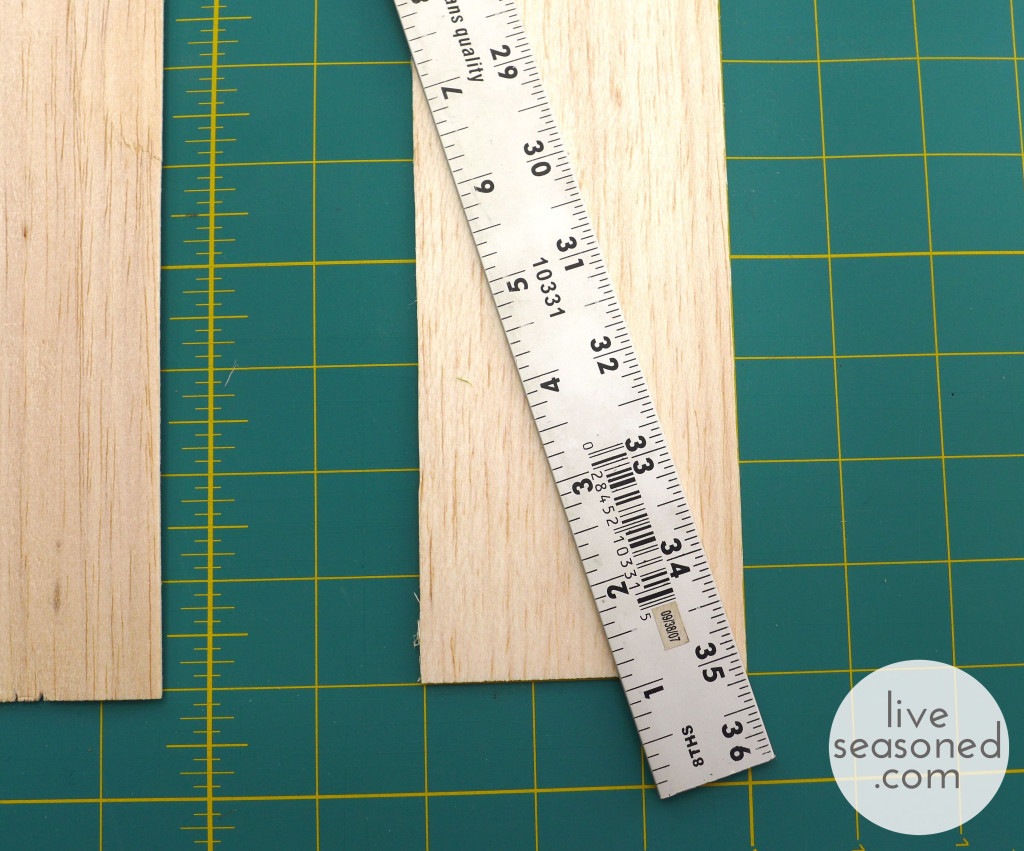
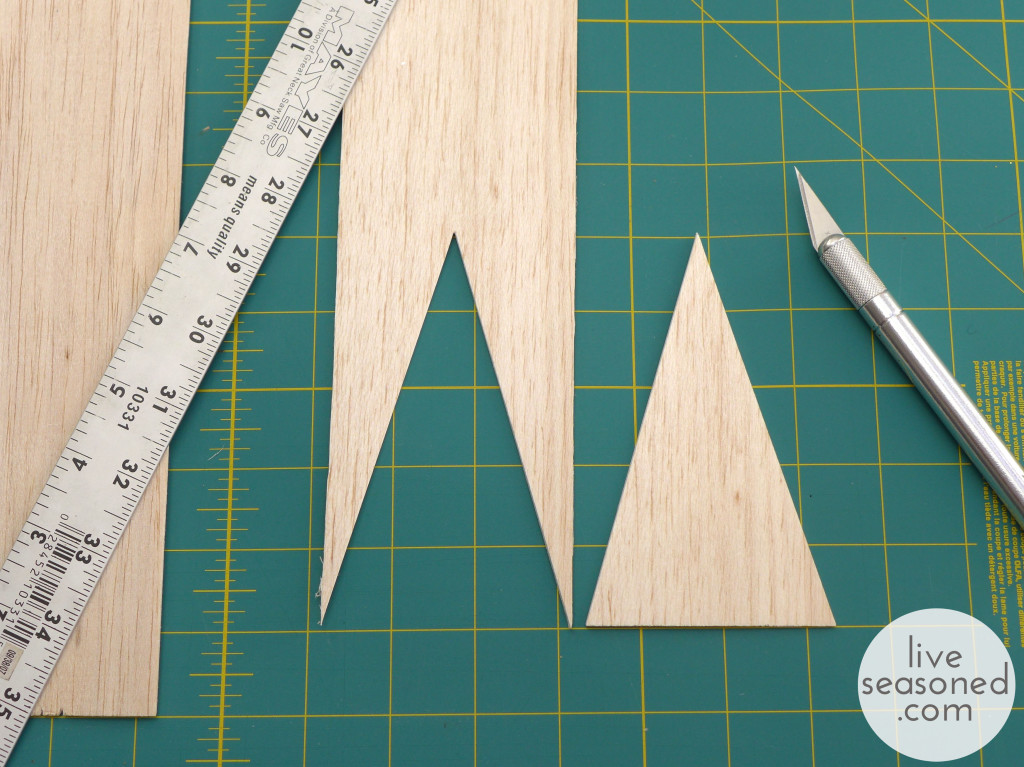
- Cut two isosceles triangles of the same size. I found that it was easy to do this without using a pen or pencil. Just mark the height of your triangle with a small cut, noting with a poke of your knife where the middle point of the board is width-wise. For example, the tree I’m cutting in the photo above is going to be 5” tall on the 3” wide board. The middle top point of the triangle is at the 31” mark on the ruler above. To cut the sides of the triangle, just place your ruler on the board, so that the ruler’s edge is at a diagonal from one of the bottom triangle points to the top middle point (as I did in the photo above). Make a cut along the ruler, and then follow this same process to cut the other side of the triangle.
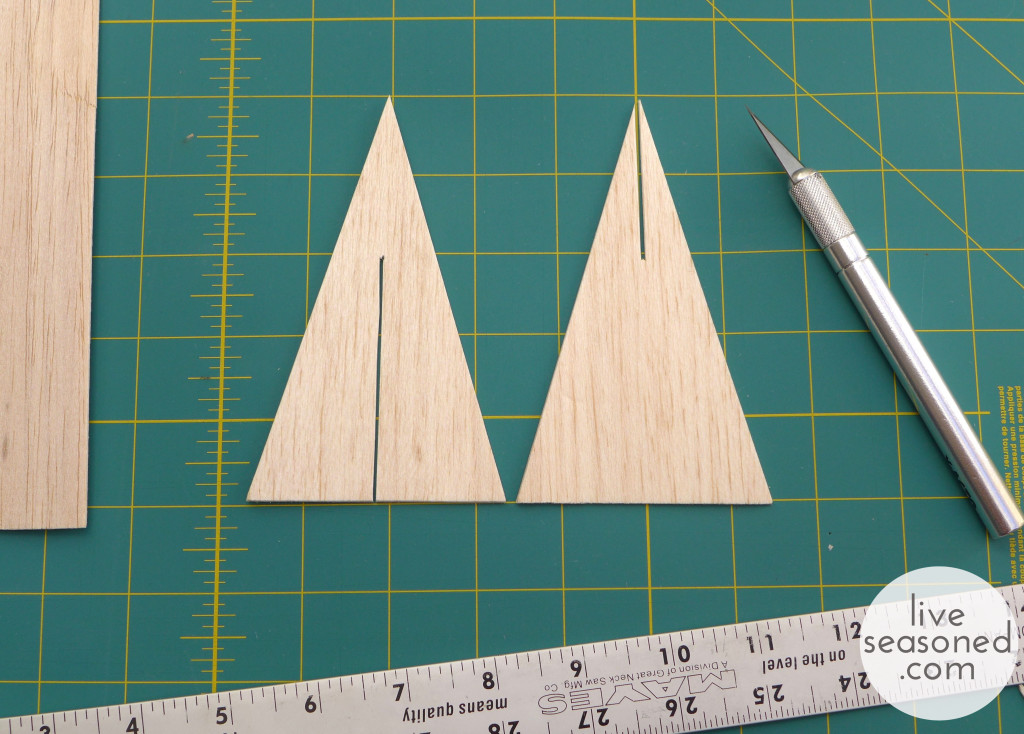
- Following the image above, cut the slits that will be used to fit your triangles together. You want to cut a slit in each triangle that is as wide as the width of your wood (1/8” in my case). One piece will have a slit that runs from the top middle of the triangle halfway down the height of the tree. The other triangle will have a slit that runs from the bottom middle of the triangle halfway up the height of the tree.
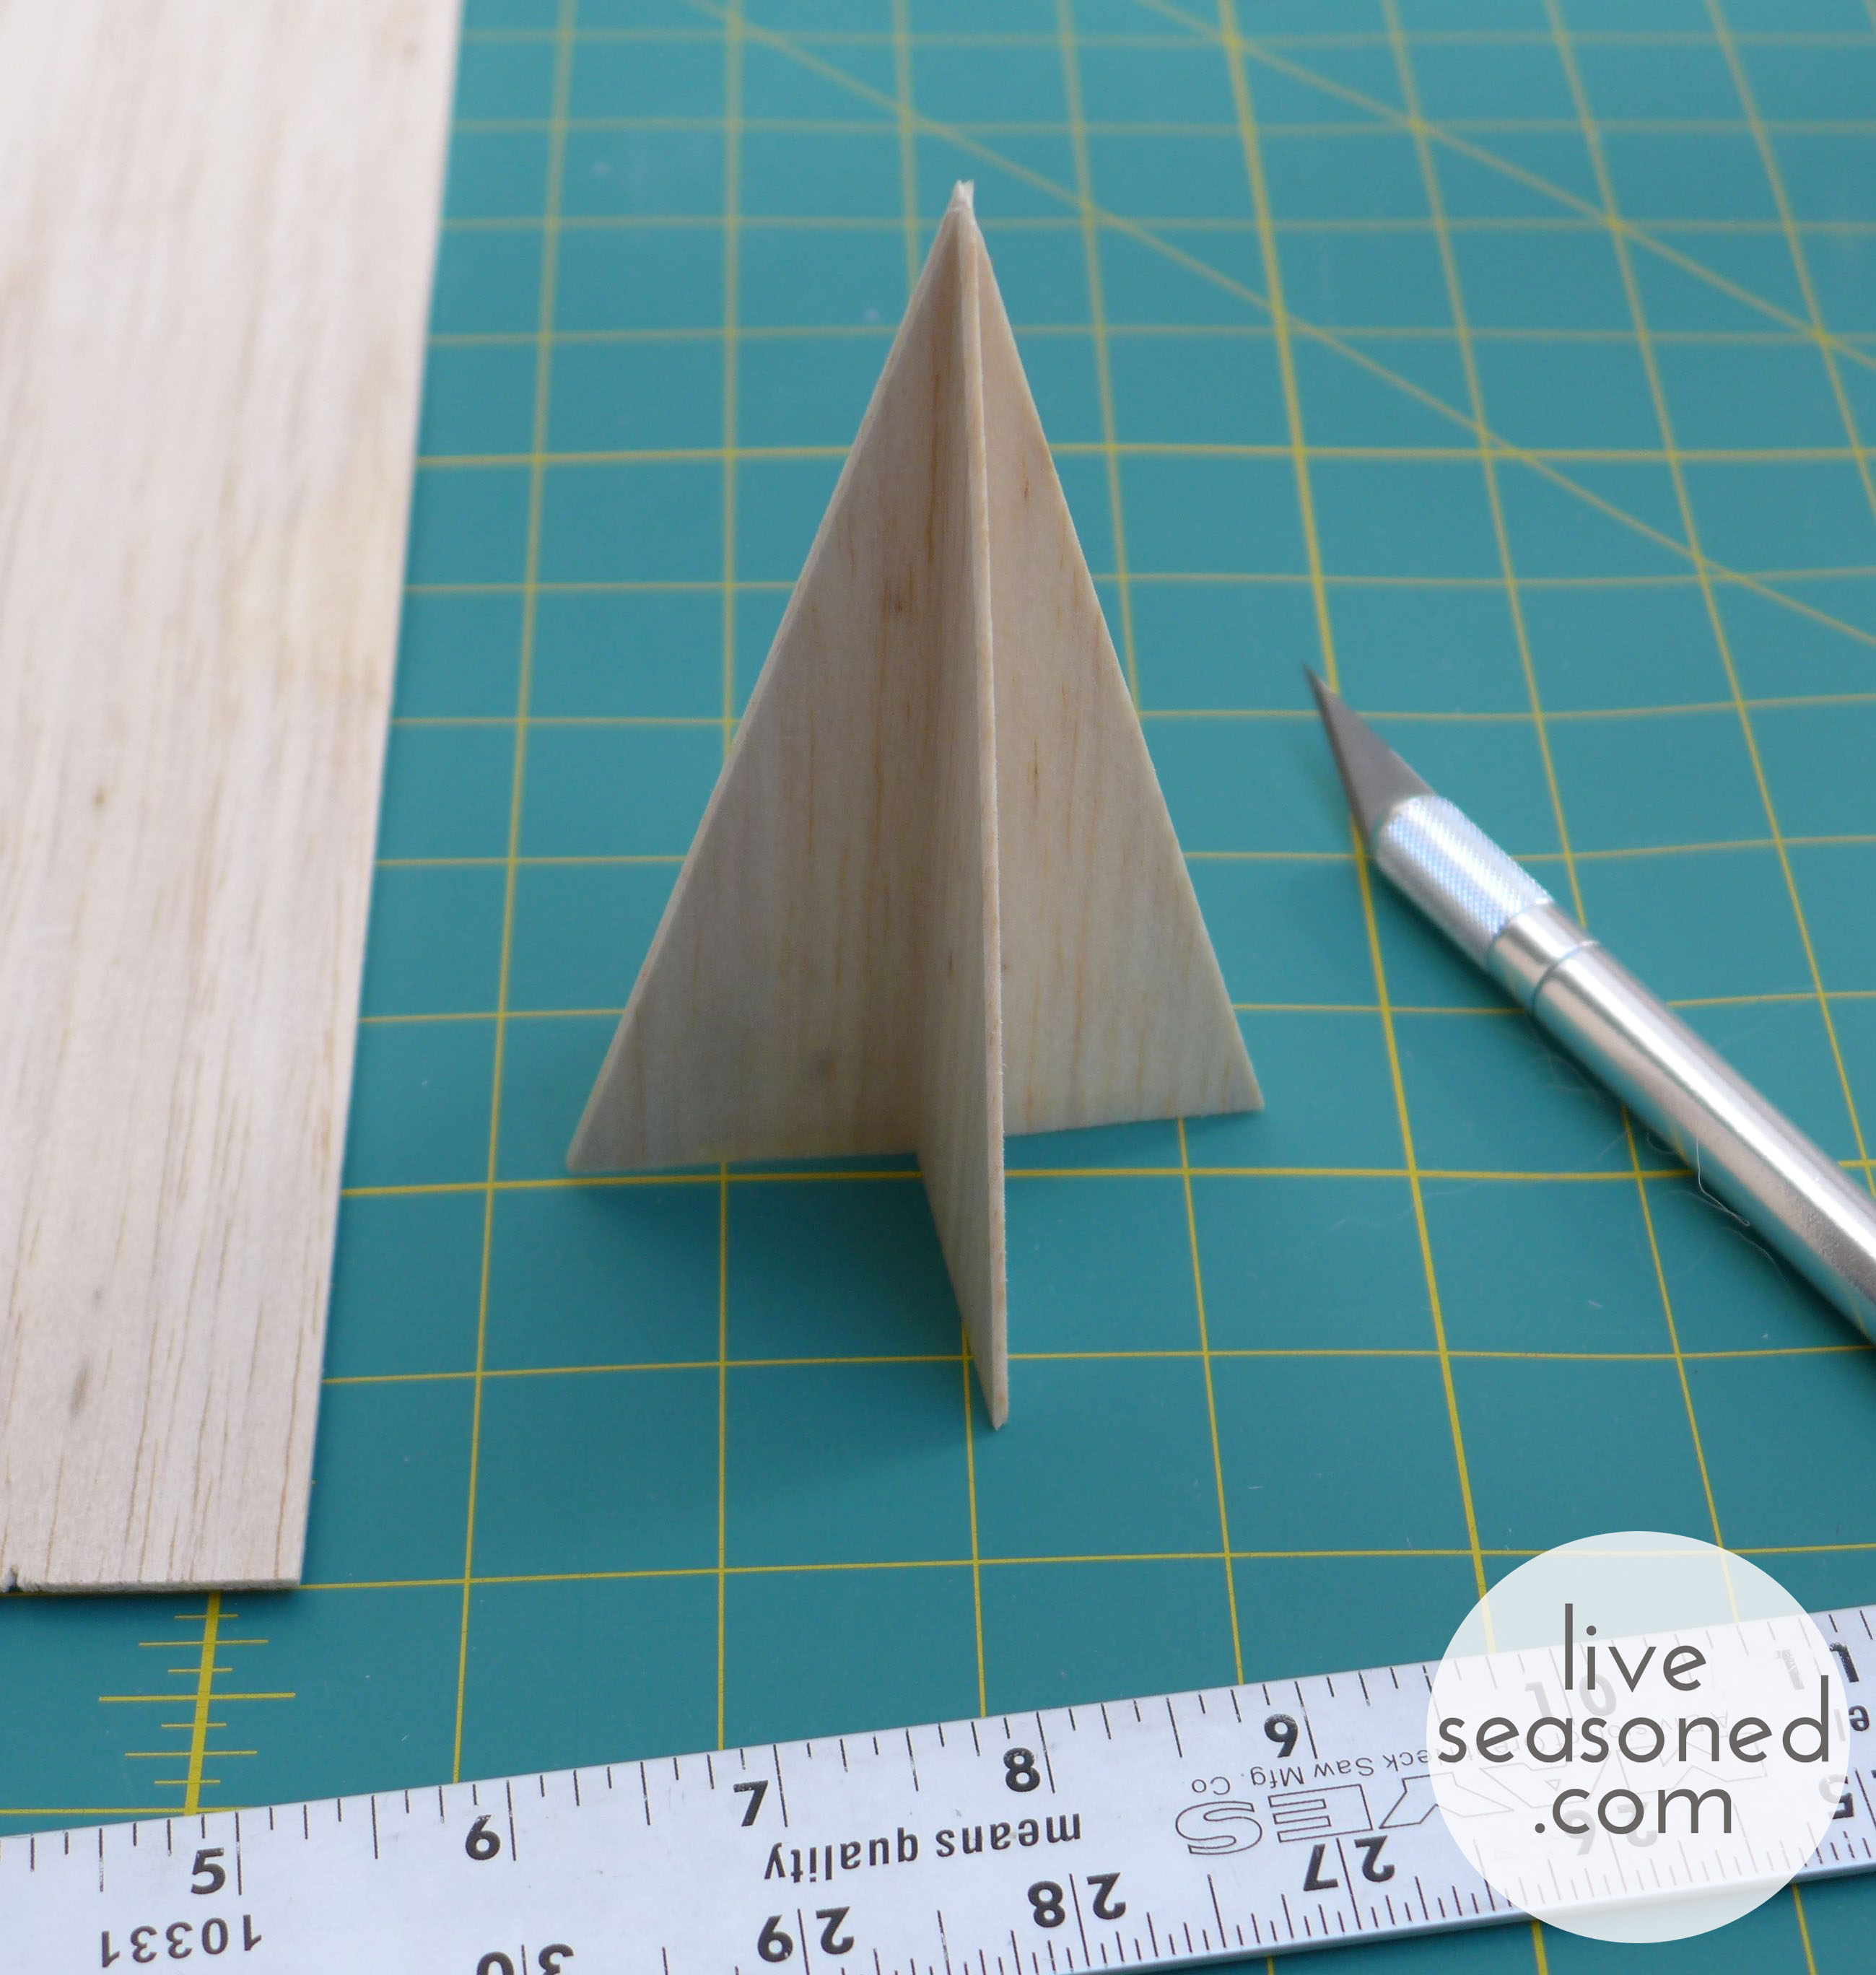
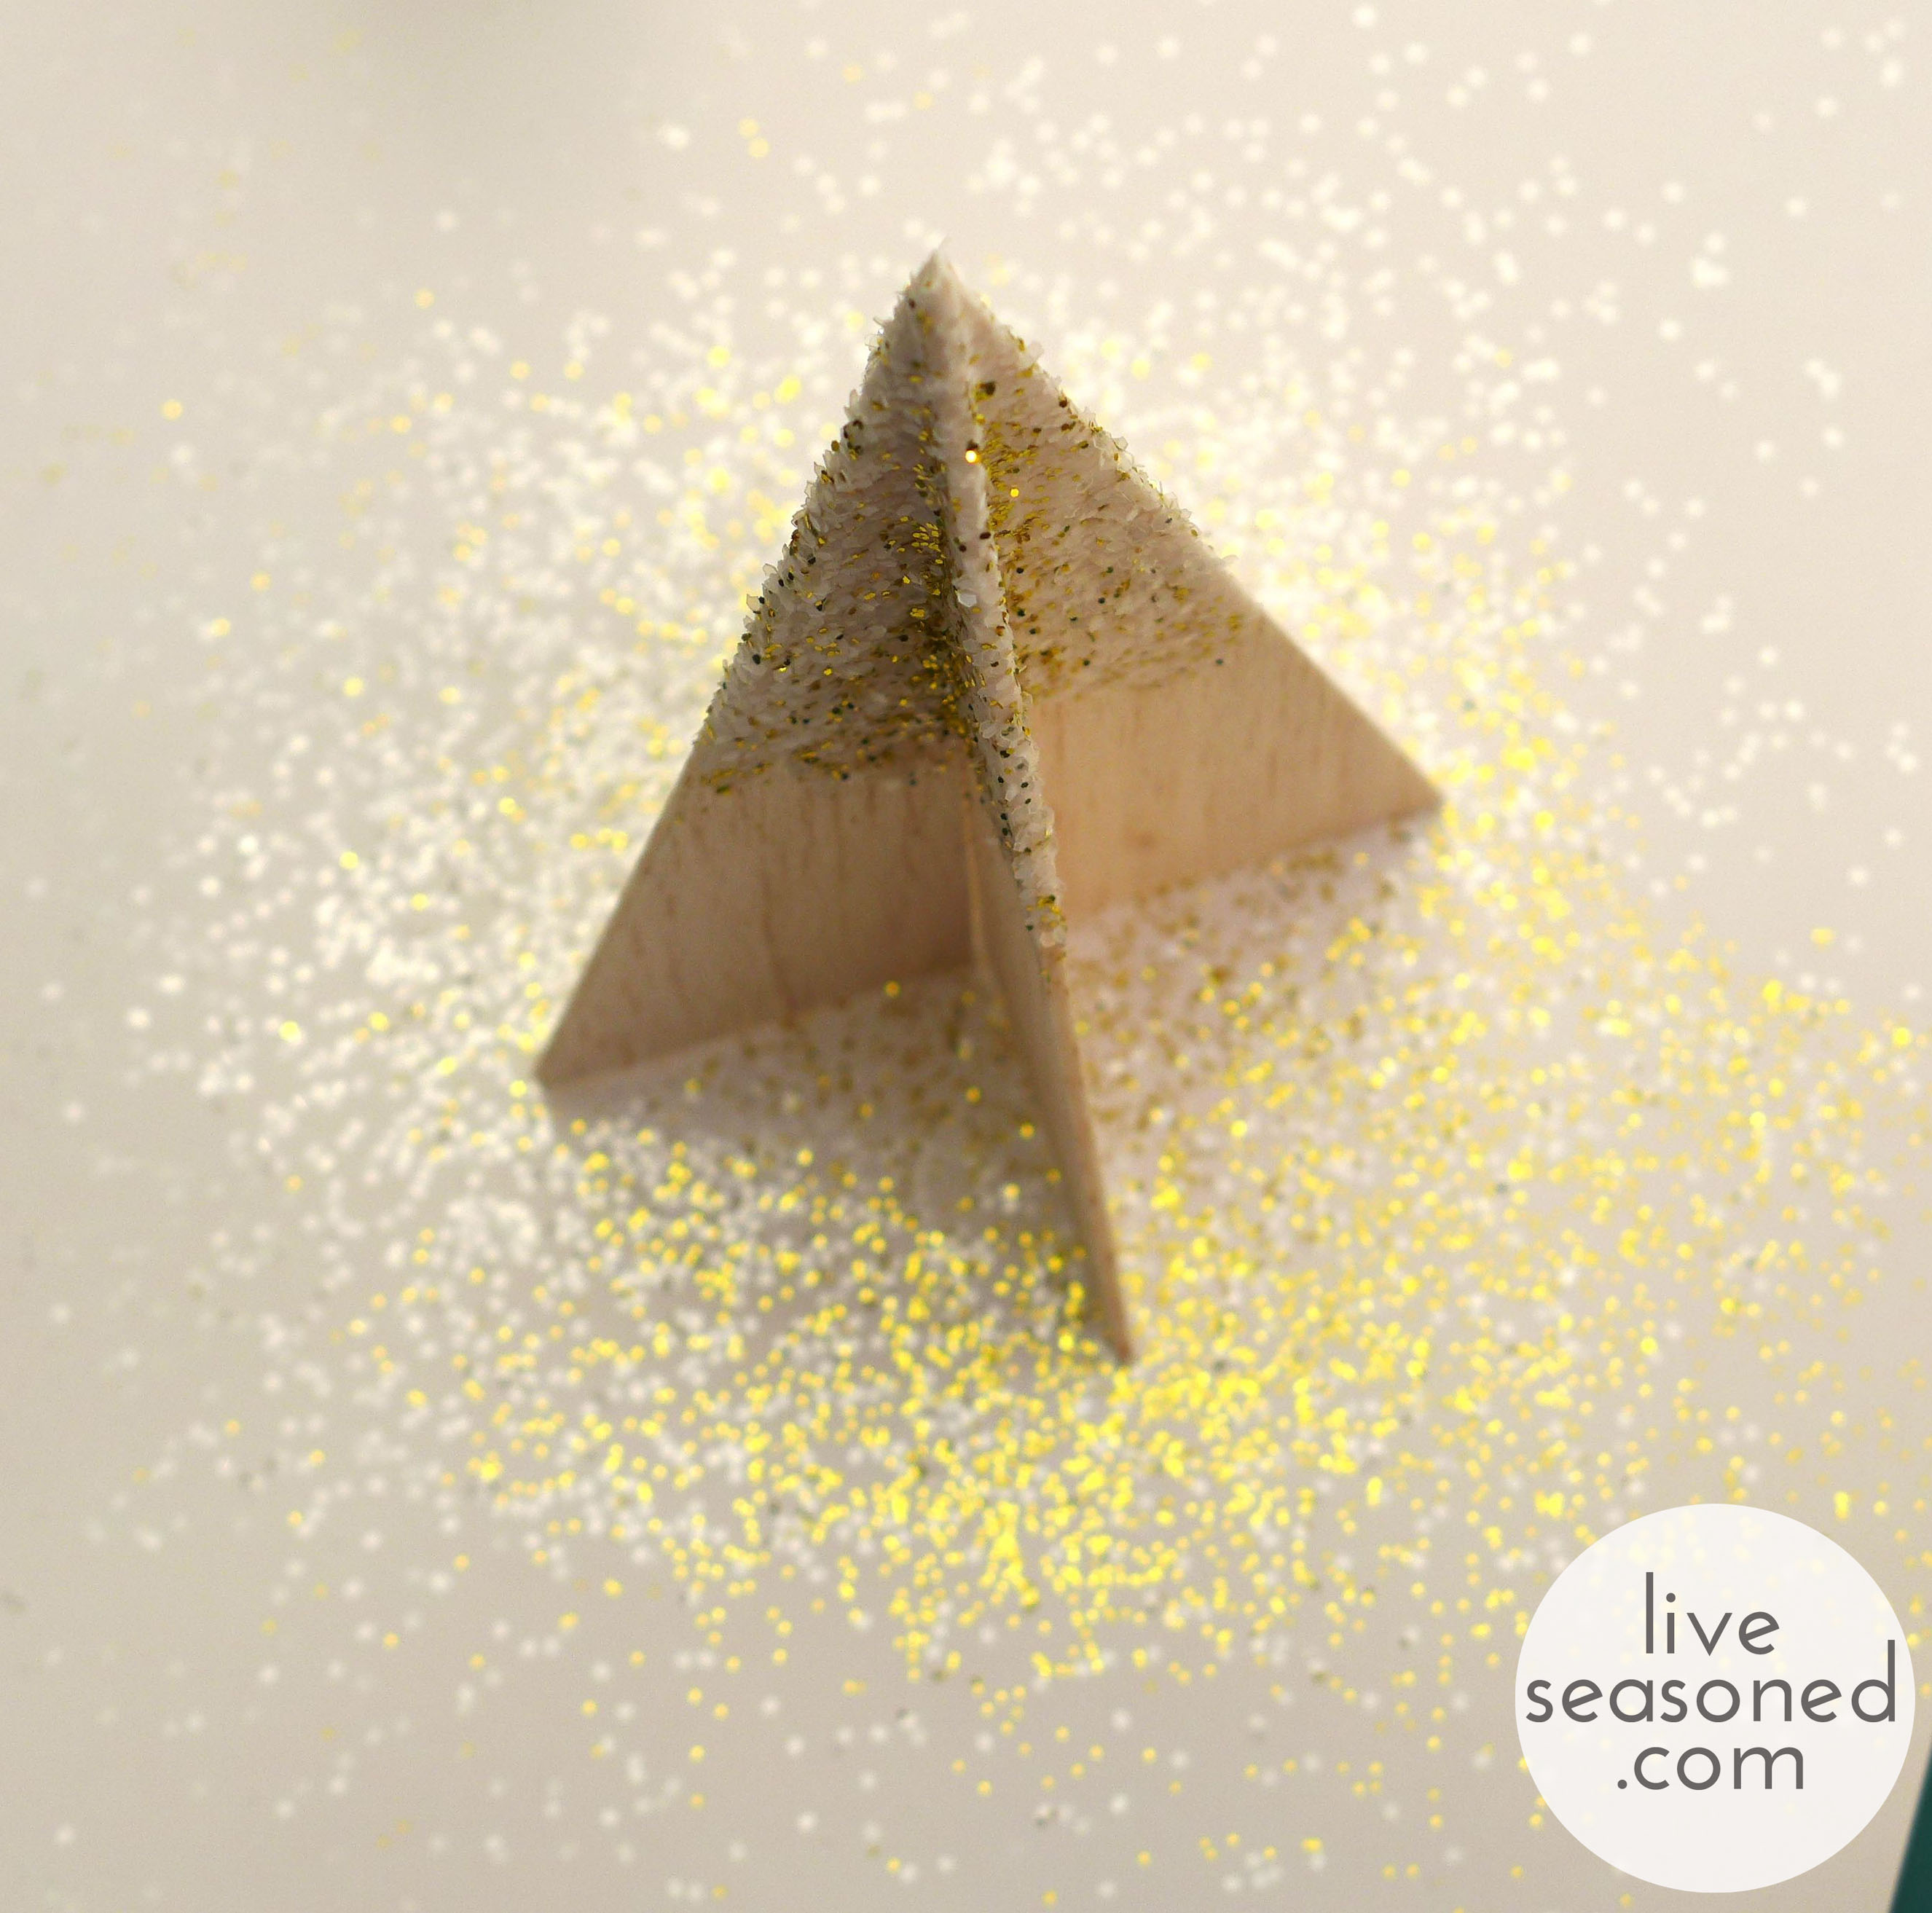
- Put your tree together! Placing the triangles perpendicular to each other, slide the piece with the bottom cut down over the piece with the top cut. You’ll produce a free-standing tree that looks like the photo above.
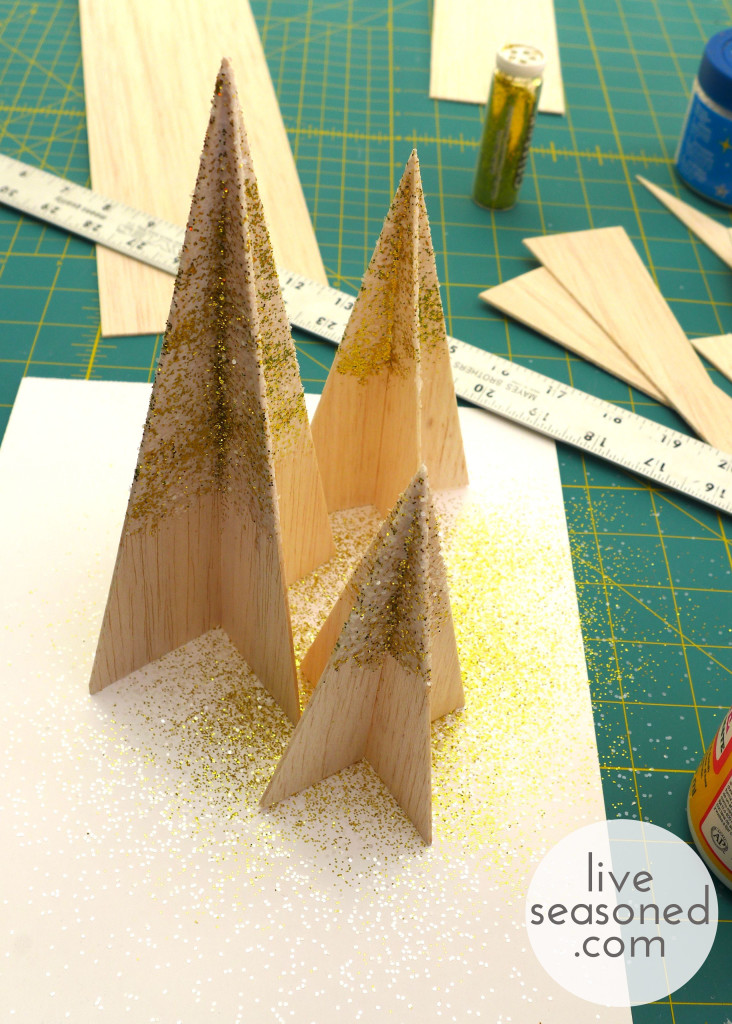
- Decorate your tree! I put a layer of Mod Podge on the upper portion of my trees, and then sprinkled iridescent and gold glitters over the surface. Do what you want: you could leave your trees natural, add glitter, or paint!
- Repeat the process making trees of different heights. From the 3” wide board I made two trees that are 6” high and one that is 5” high. From the 4” board I made two 8” high trees.
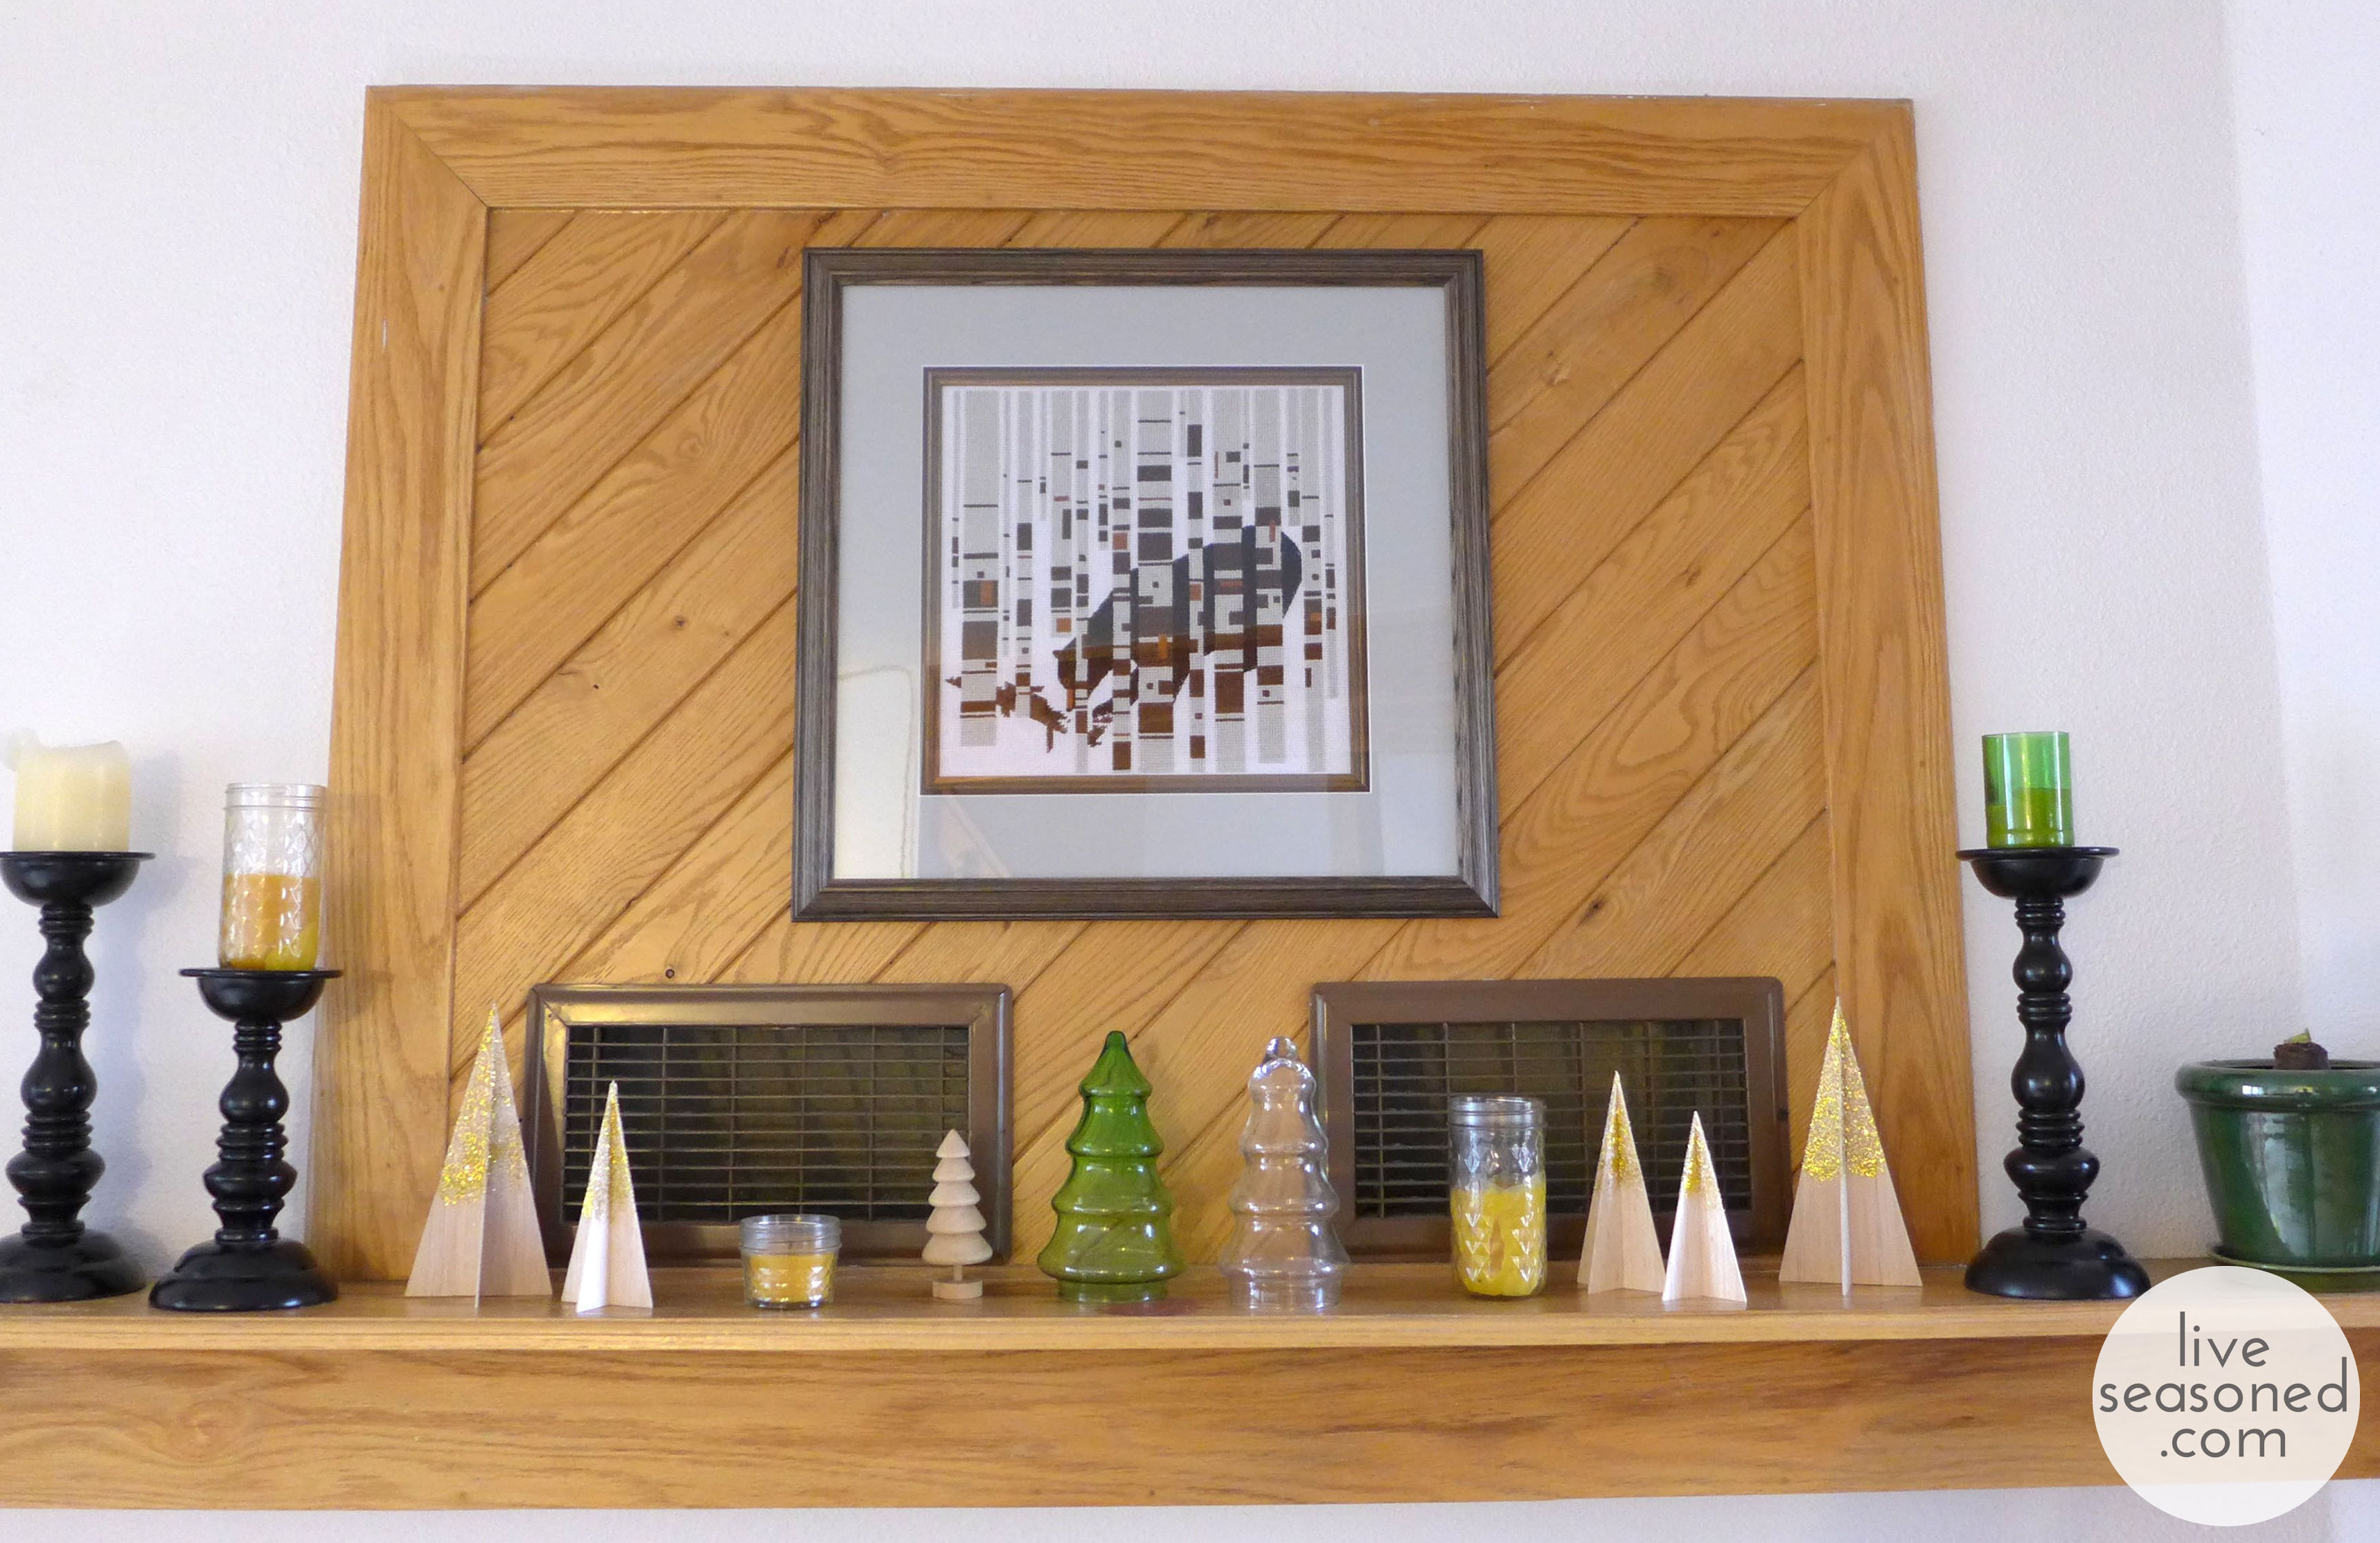
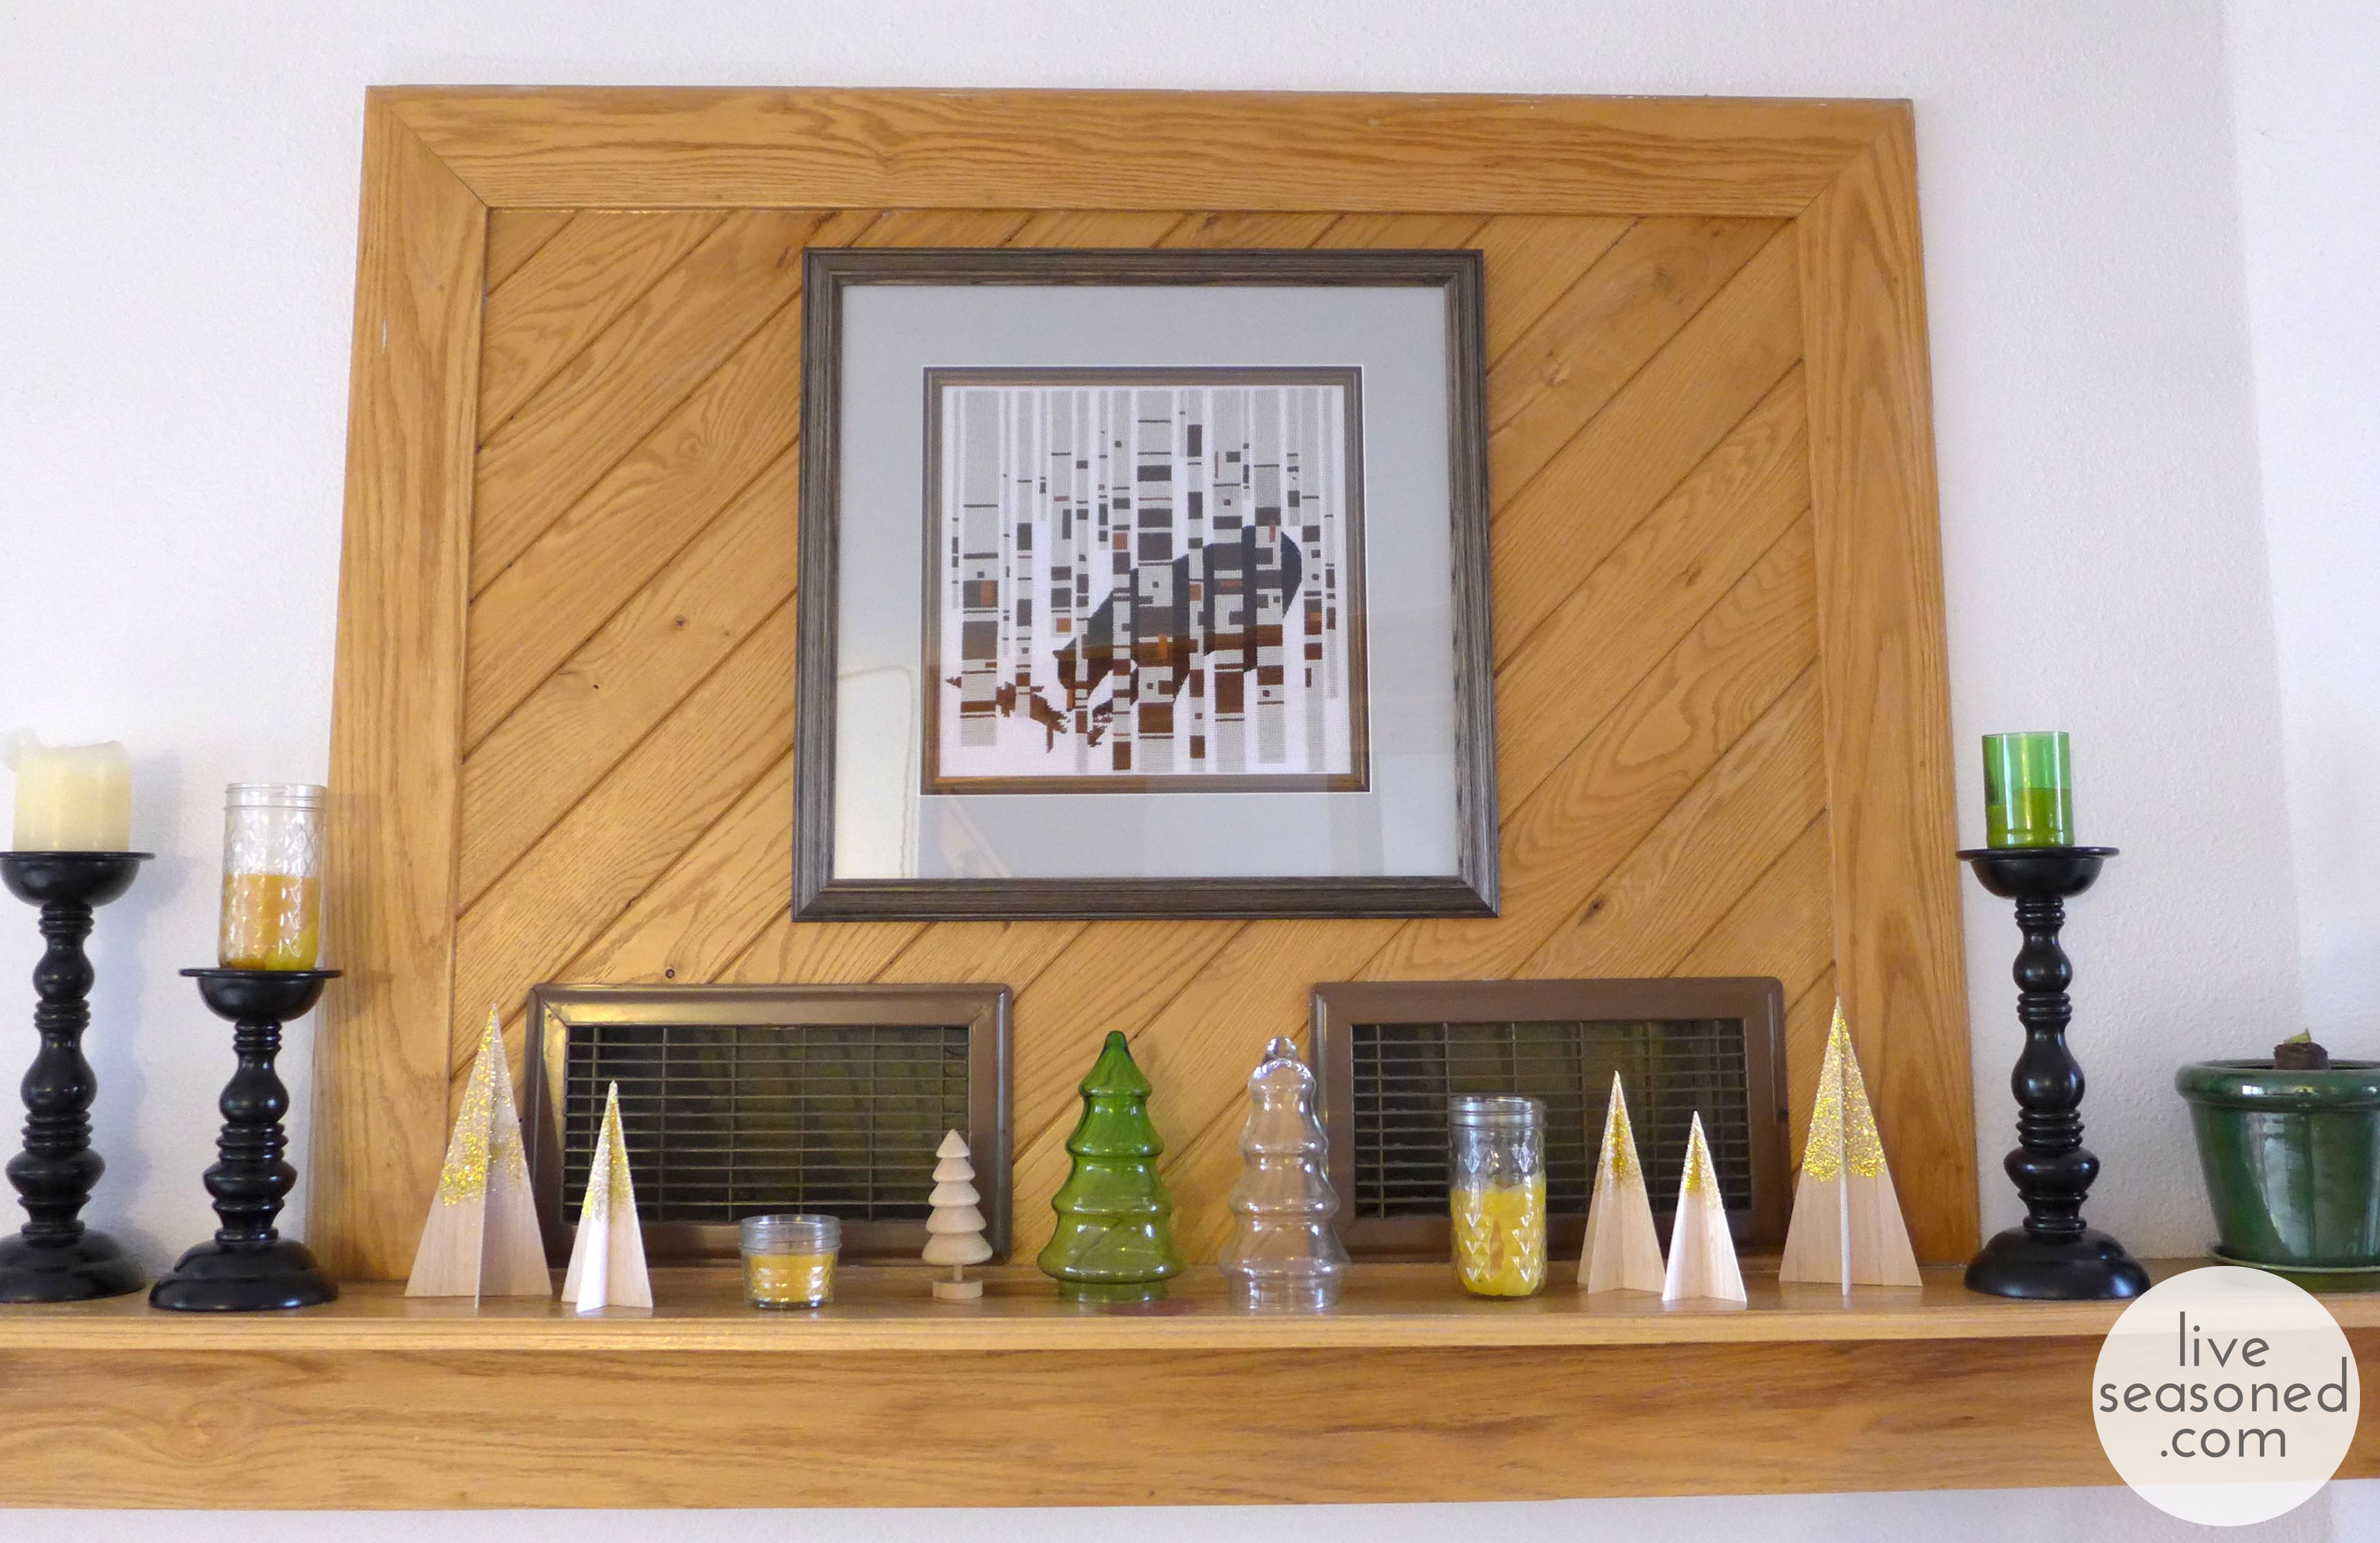
I used these trees for simple forest scene on the mantel ~ pairing them with a cute little wooden tree from Michael’s and a couple of old glass trees that were once candy dishes (they have an opening on the bottom, but without their lids, they’re just glass trees). In addition to the trees, I added a few beeswax candles that were leftover from our wedding. You can read about how we made the candles (choosing your wick is key) and cut the green bottles here and here.
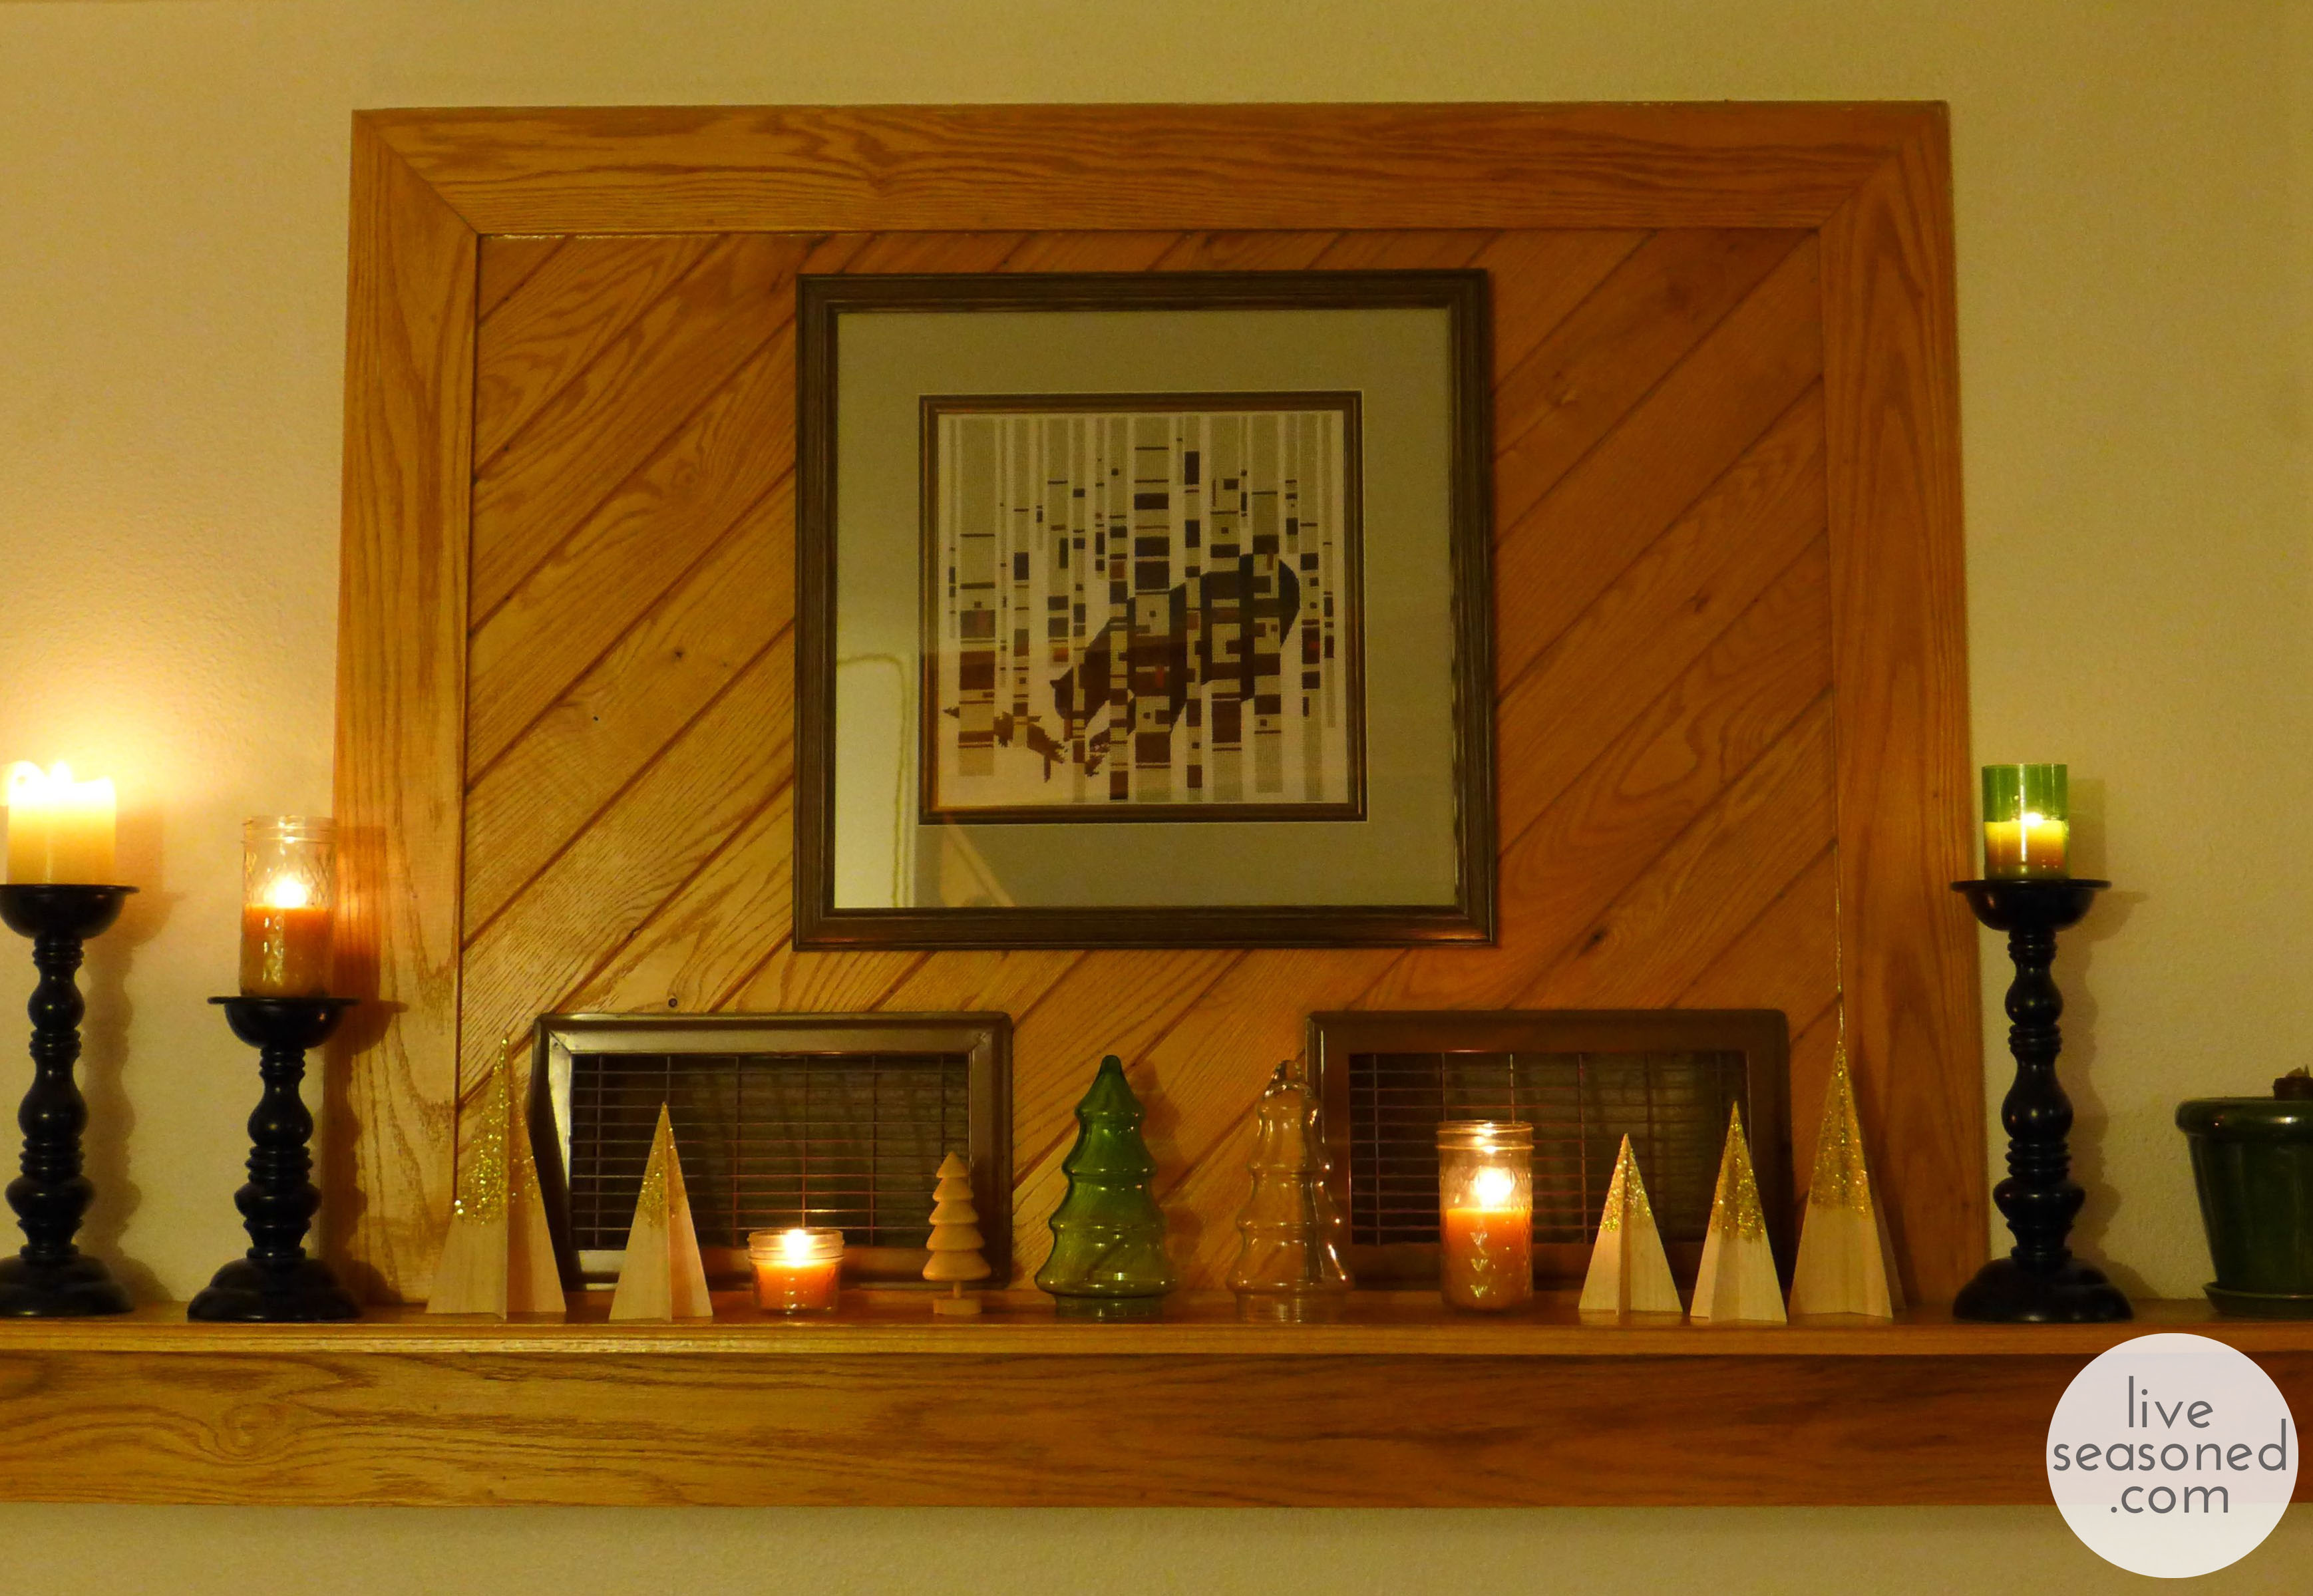
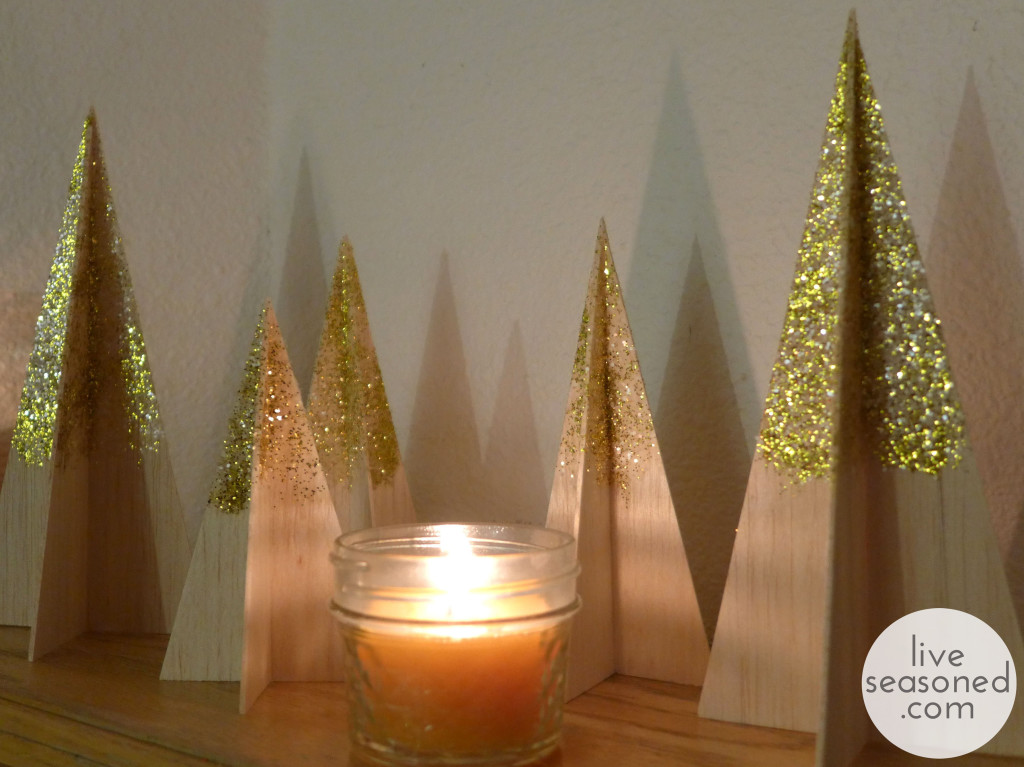
It’s so much fun to see the trees sparkle in the candlelight and to see their shadows on the wall. Calder mentioned that they also look like mountain peaks, which I think is really true when they are grouped together creating overlapping shadows!

these are SO CUTE!!! if i get my act together i’ll have to craft some up, this is the first year that boyfriend is requesting holiday decorations!
Yay! Glad you like them, and you shouldn’t definitely do it. I expected it to take more time, but was so surprised when I realized I had them all done and little A was still napping (that’s a crafting success in my book!).