
Sarah is a professional freelance photographer – she’s always sharing tutorials. Learn how to find flattering natural light for selfies and portraits or catch tips on photographing kids and pets. See what camera Katie shoots with or check out my favorite lenses.
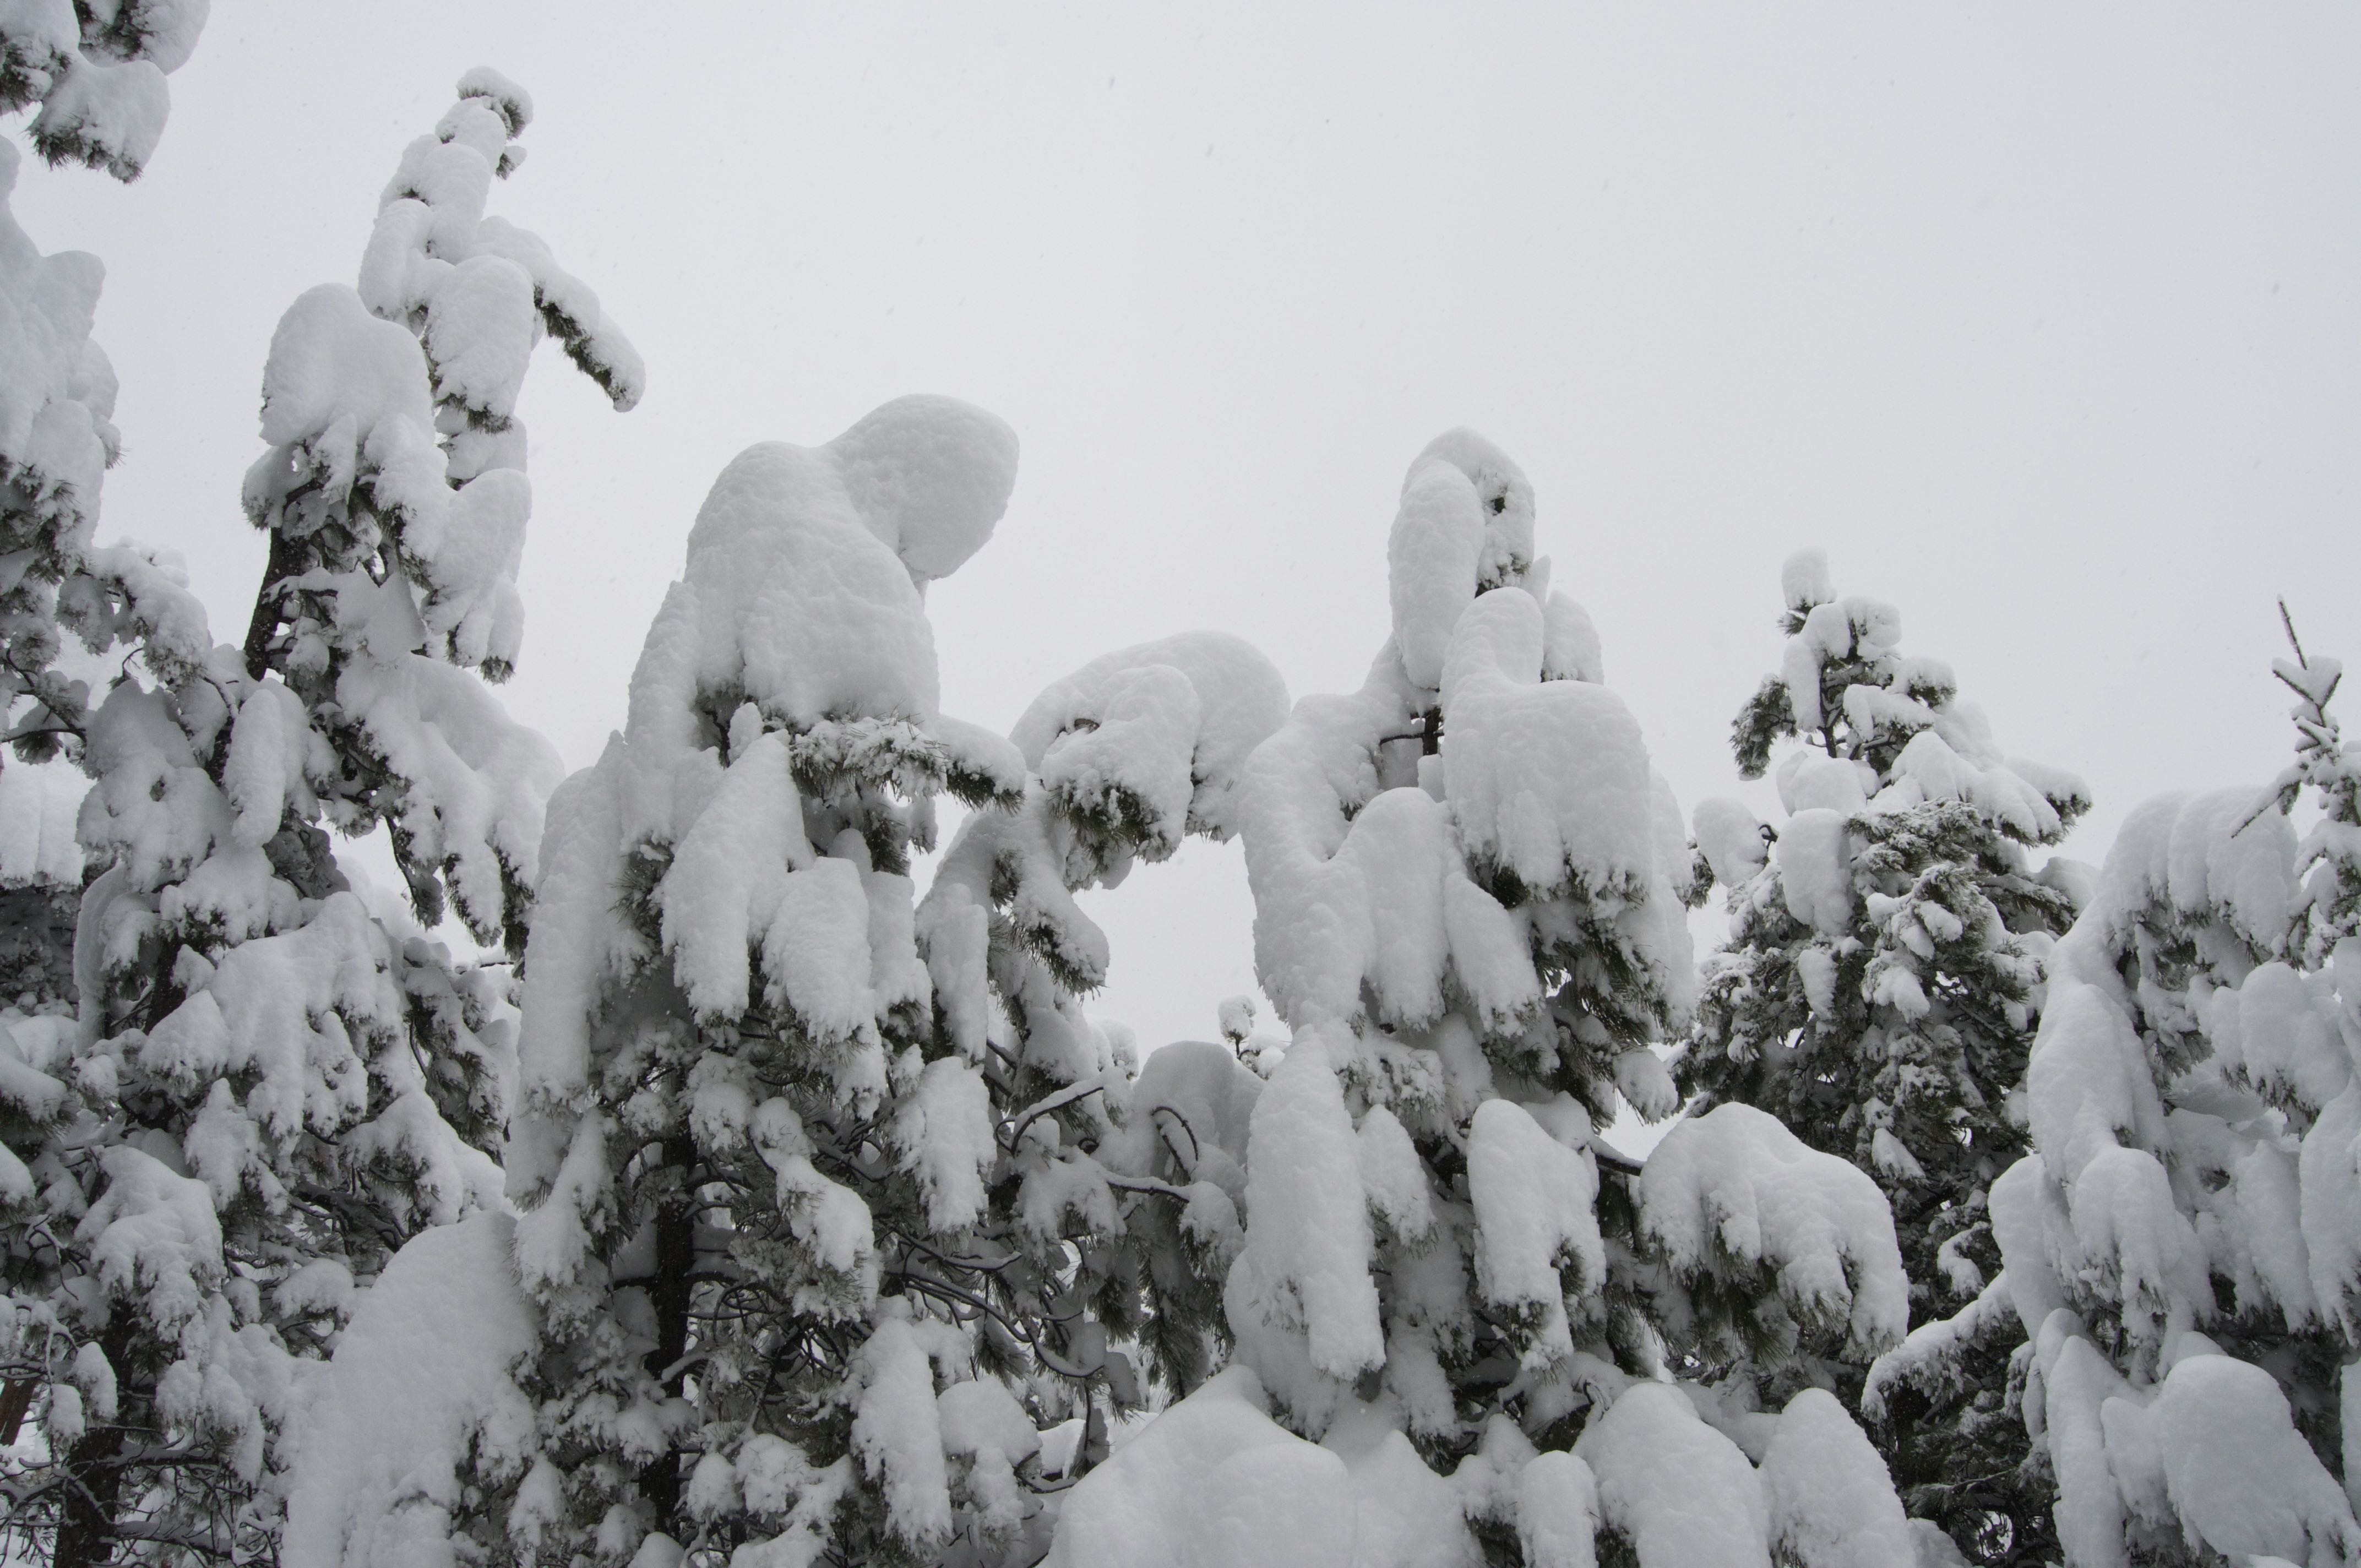
 We agree, it’s a little bit strange to talk about Winter Photography Tips in mid-April, but did you see all the snow that fell in Boulder this past weekend? It wouldn’t stop! With a house full of food and relatives and the fire on full blast, we enjoyed every second of the snow. We even made it outside for a hike up the mountainside. If you’re still enjoying wintery snowscapes, here are a few practice pieces of advice for photographing in the snow.
Aperture Priority Works Well in Winter
Usually I shoot on manual, but changing settings and knobs while shooting in weather is tough. I’m usually wearing gloves and already worrying about manually focusing a low-contrast scene. 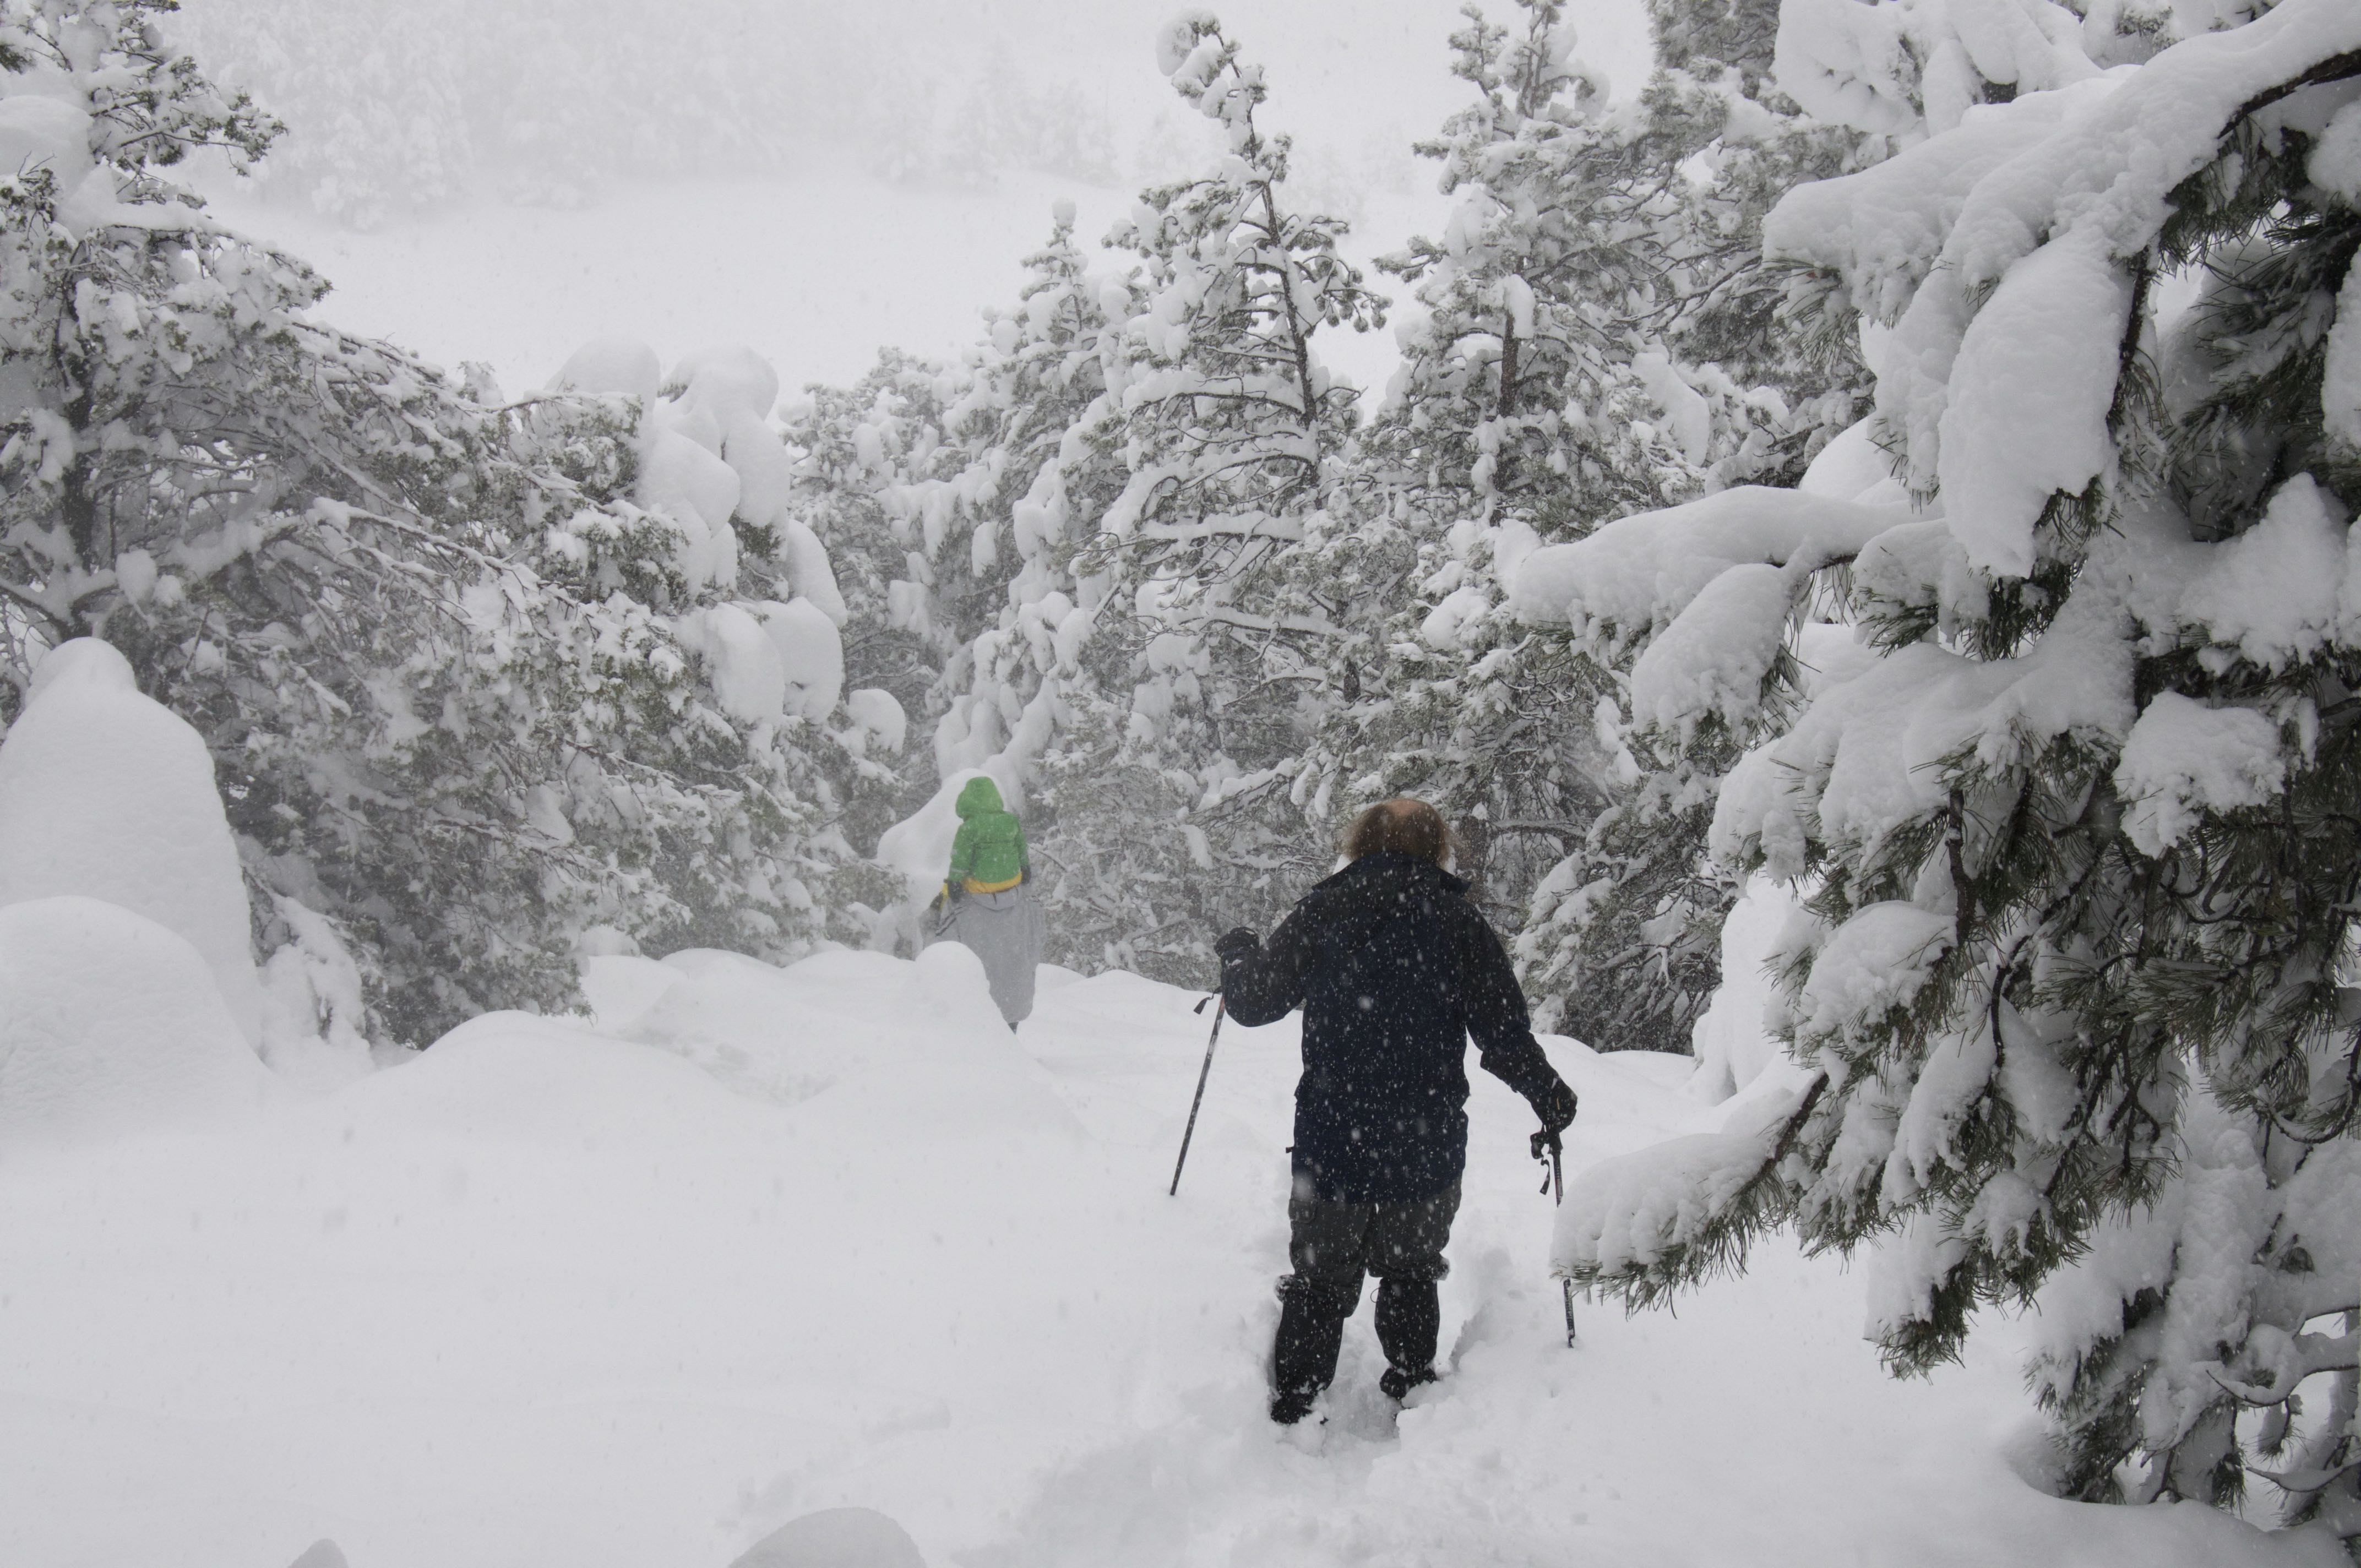
Pay Attention to Shutter Speed if Shooting Falling Snow
If it’s snowing while you are shooting, remember that faster shutter speeds (1/250+) will freeze the snow fall making it appear as dots, while slower shutter speeds (1/60) will look like streaks. Of course the speed of the snow also comes into play, so mess around for a few shots and decide which look you like best. If you’re shooting on Aperture priority like I suggested, you would increase the f number (aperture), which in turn slows down the shutter speed, creating snow streaks or vice versa for snow dots. 
Increase the Exposure Compensation
One of the most challenging things in winter is achieving correct exposure. Snow is very reflective. Too much white confuses the camera metering system, which is then likely to underexpose since all metering systems are calibrated to base exposure on neutral tonality. Thankfully one button solves this problem. Dial in a +0.3 or +0.7 exposure compensation and judge if the exposure inaccuracies are solved. (This is a good time to consult your camera’s histogram – more on that in a second) In some scenes, no exposure compensation will be needed, other scenes require up to +1.0. Today it was cloudy and bright, so I shot with +0.7 exposure compensation all day and I still had to brighten them up a little bit in post production. All situations are a little different and it really depends on the subject, light, metering mode and framing. 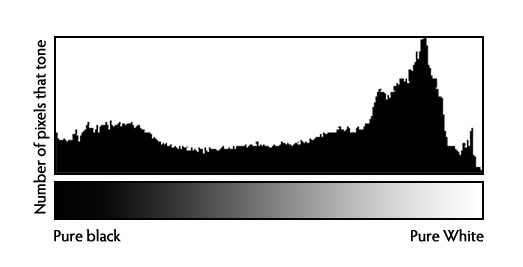
Look at the Histogram
Instead of trying to judge the accuracy of your shot based on the LCD screen, read the histogram. You could also set an Exposure Warning in your camera’s custom display functions. The overexposed areas will blink. It’s okay to have some small areas blinking, but you don’t want the entire sky or snowy field to be blinking. If that’s the case, lower the exposure compensation.
Use Manual Focus if Necessary
With conditions of low contrast, like when snow is falling, your lens may experience difficulty focusing on the scene. You might notice your automatic focus fluttering. This happens when your lens is constantly looking for something to focus on (a point of contrast or movement) and it can’t locate one. Another common problem arises when the lens focuses on falling snow instead of your stationary subject. If you have a lens with a combined M/A focus setting that allows you to override the automatic focusing during confusing shots use that. If not, simply change your focus permanently to M (manual) and find your subject before each shot. 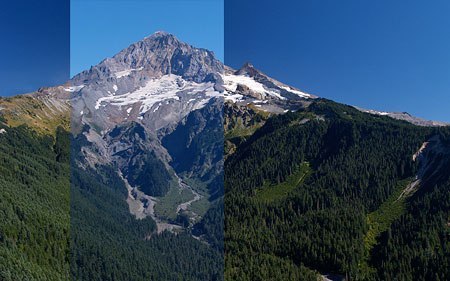
Use a Polar Filter
I usually always have a polarizer with me and it’s perfect for landscapes. It’s a great tool for darkening blue skies, adding definition to bright or reflective surfaces and eliminating glare. In turn a polarizer basically adds saturation to the entire scene. Whatever you do, don’t use the polarizer for every shot unless you’re used to working with one. There are times when it will oversaturate skies leaving them looking moody and unnatural. 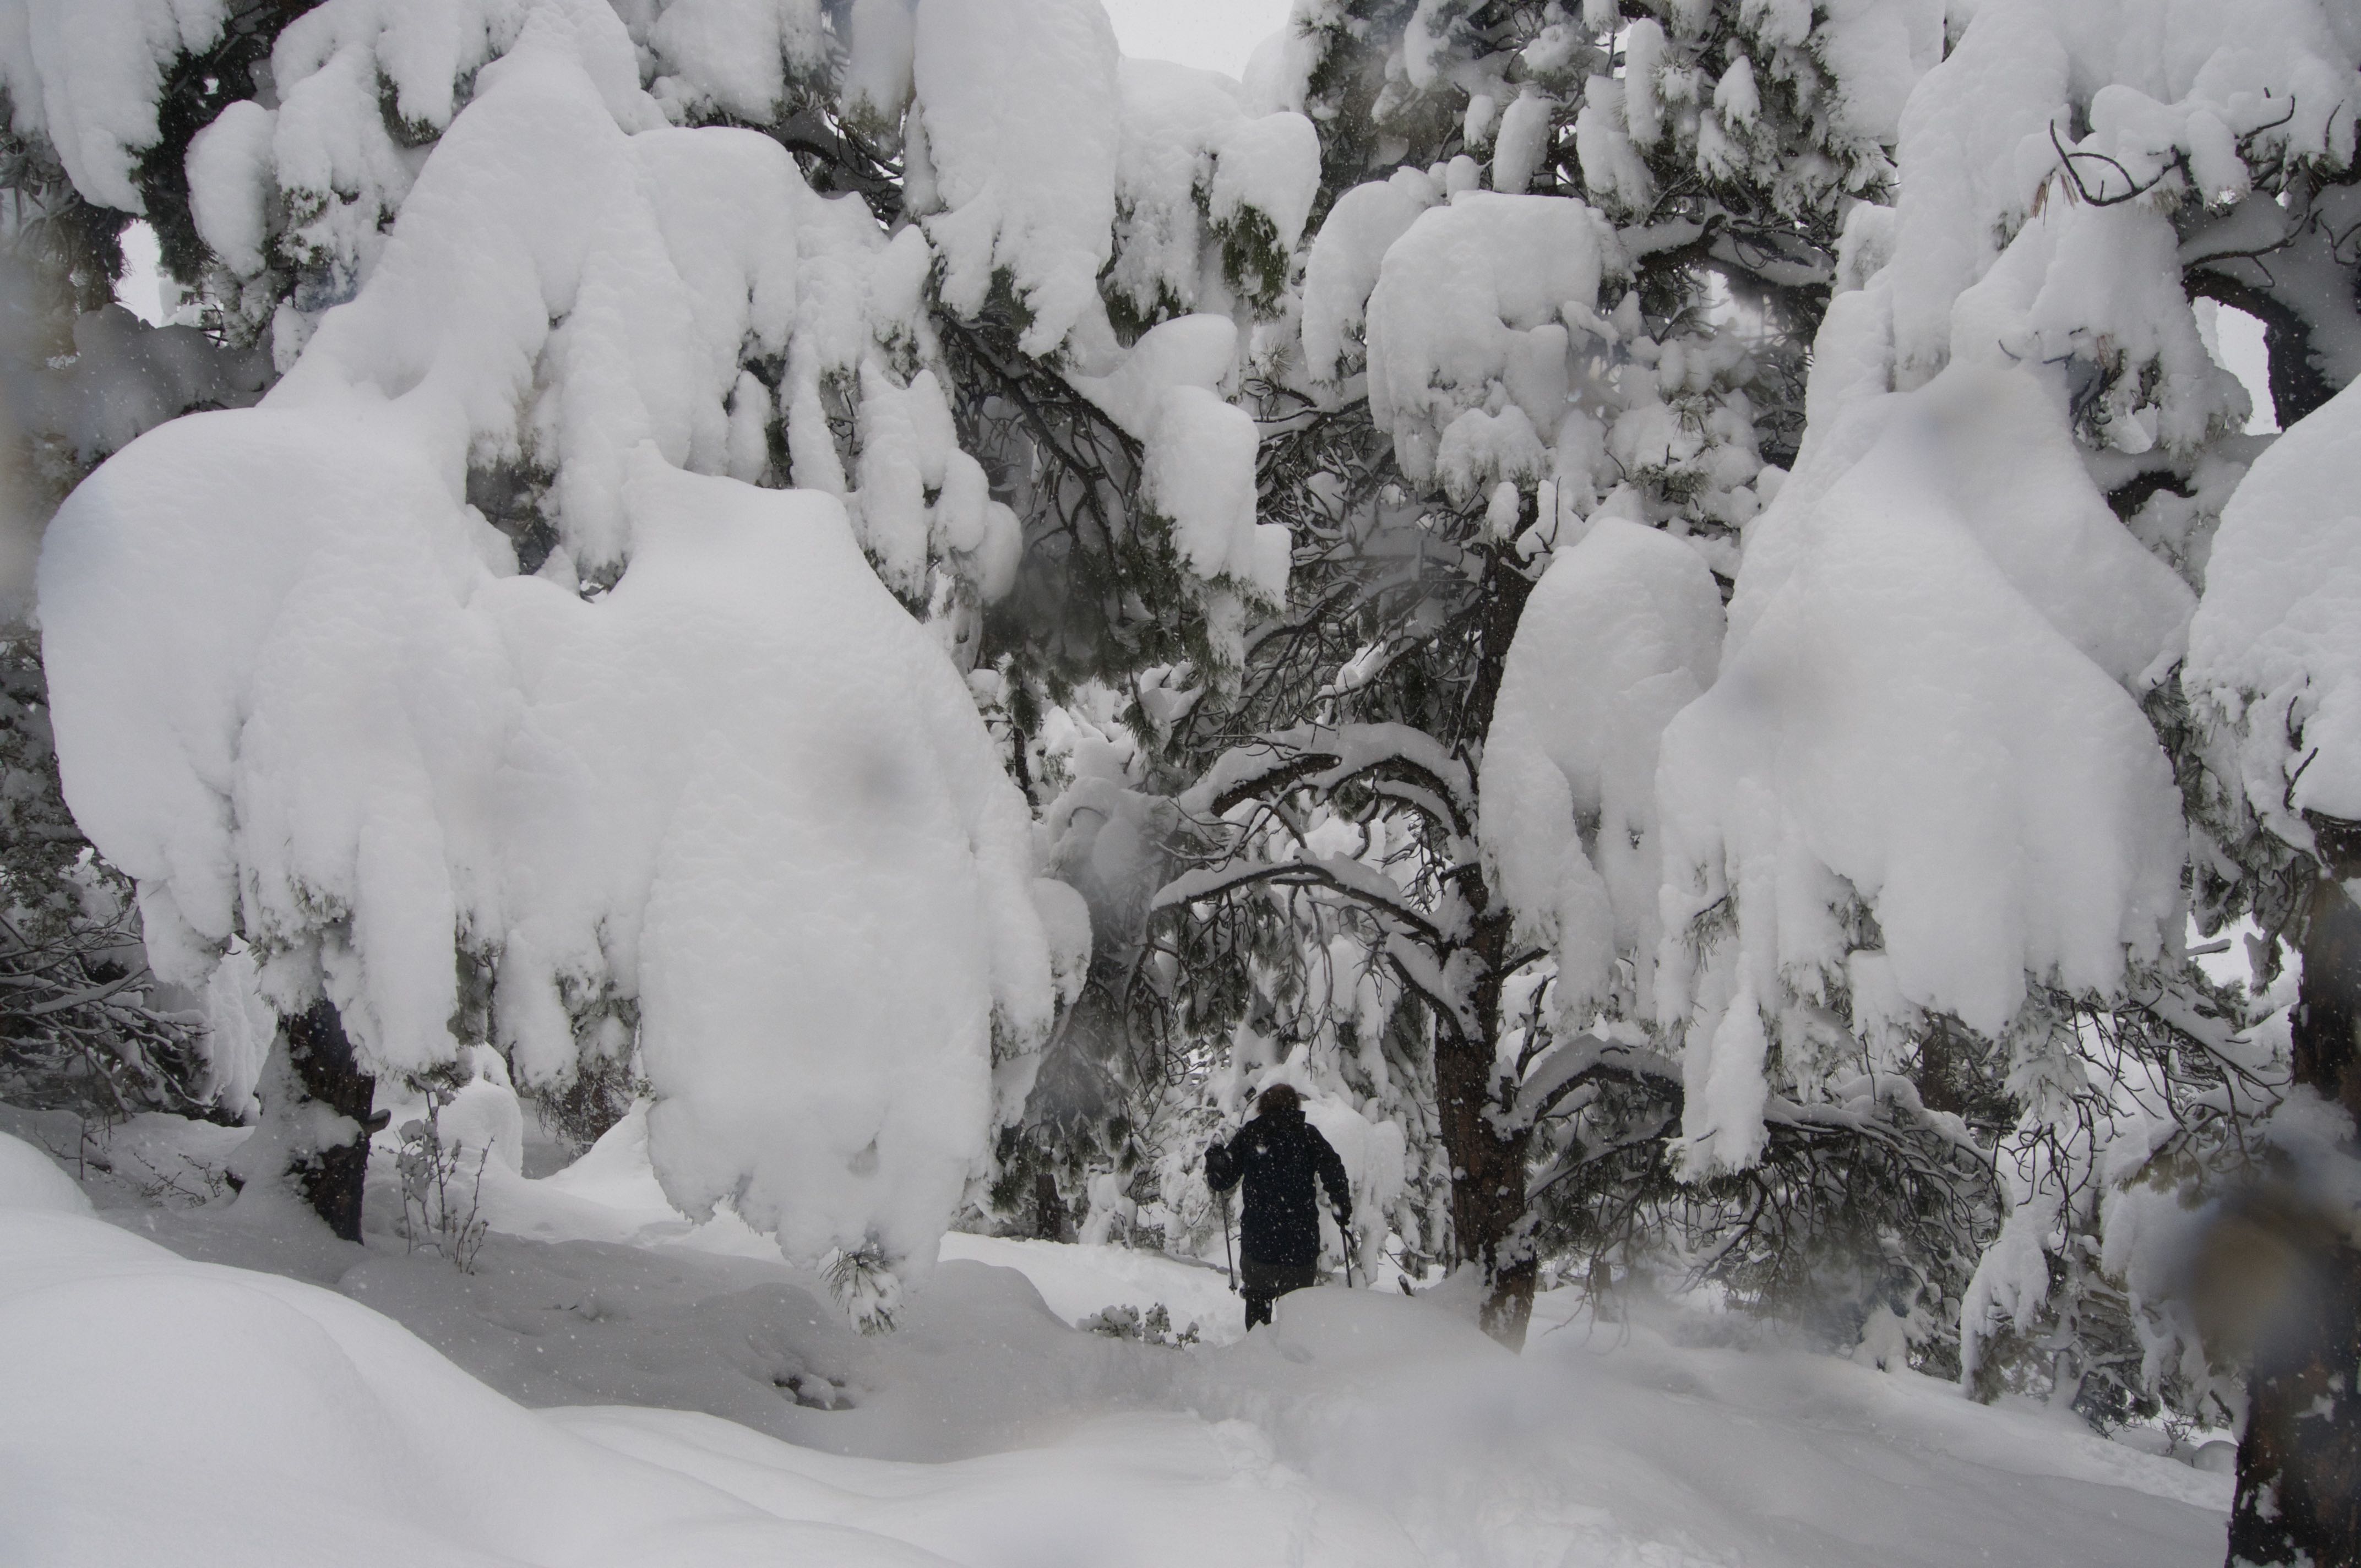
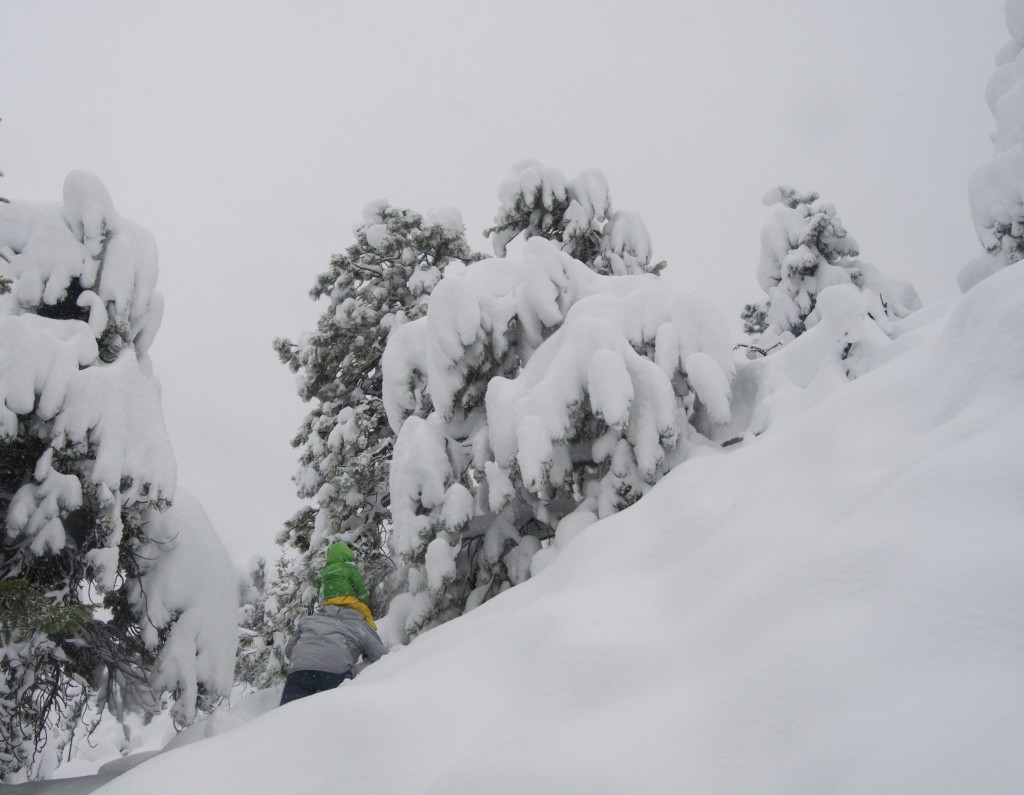
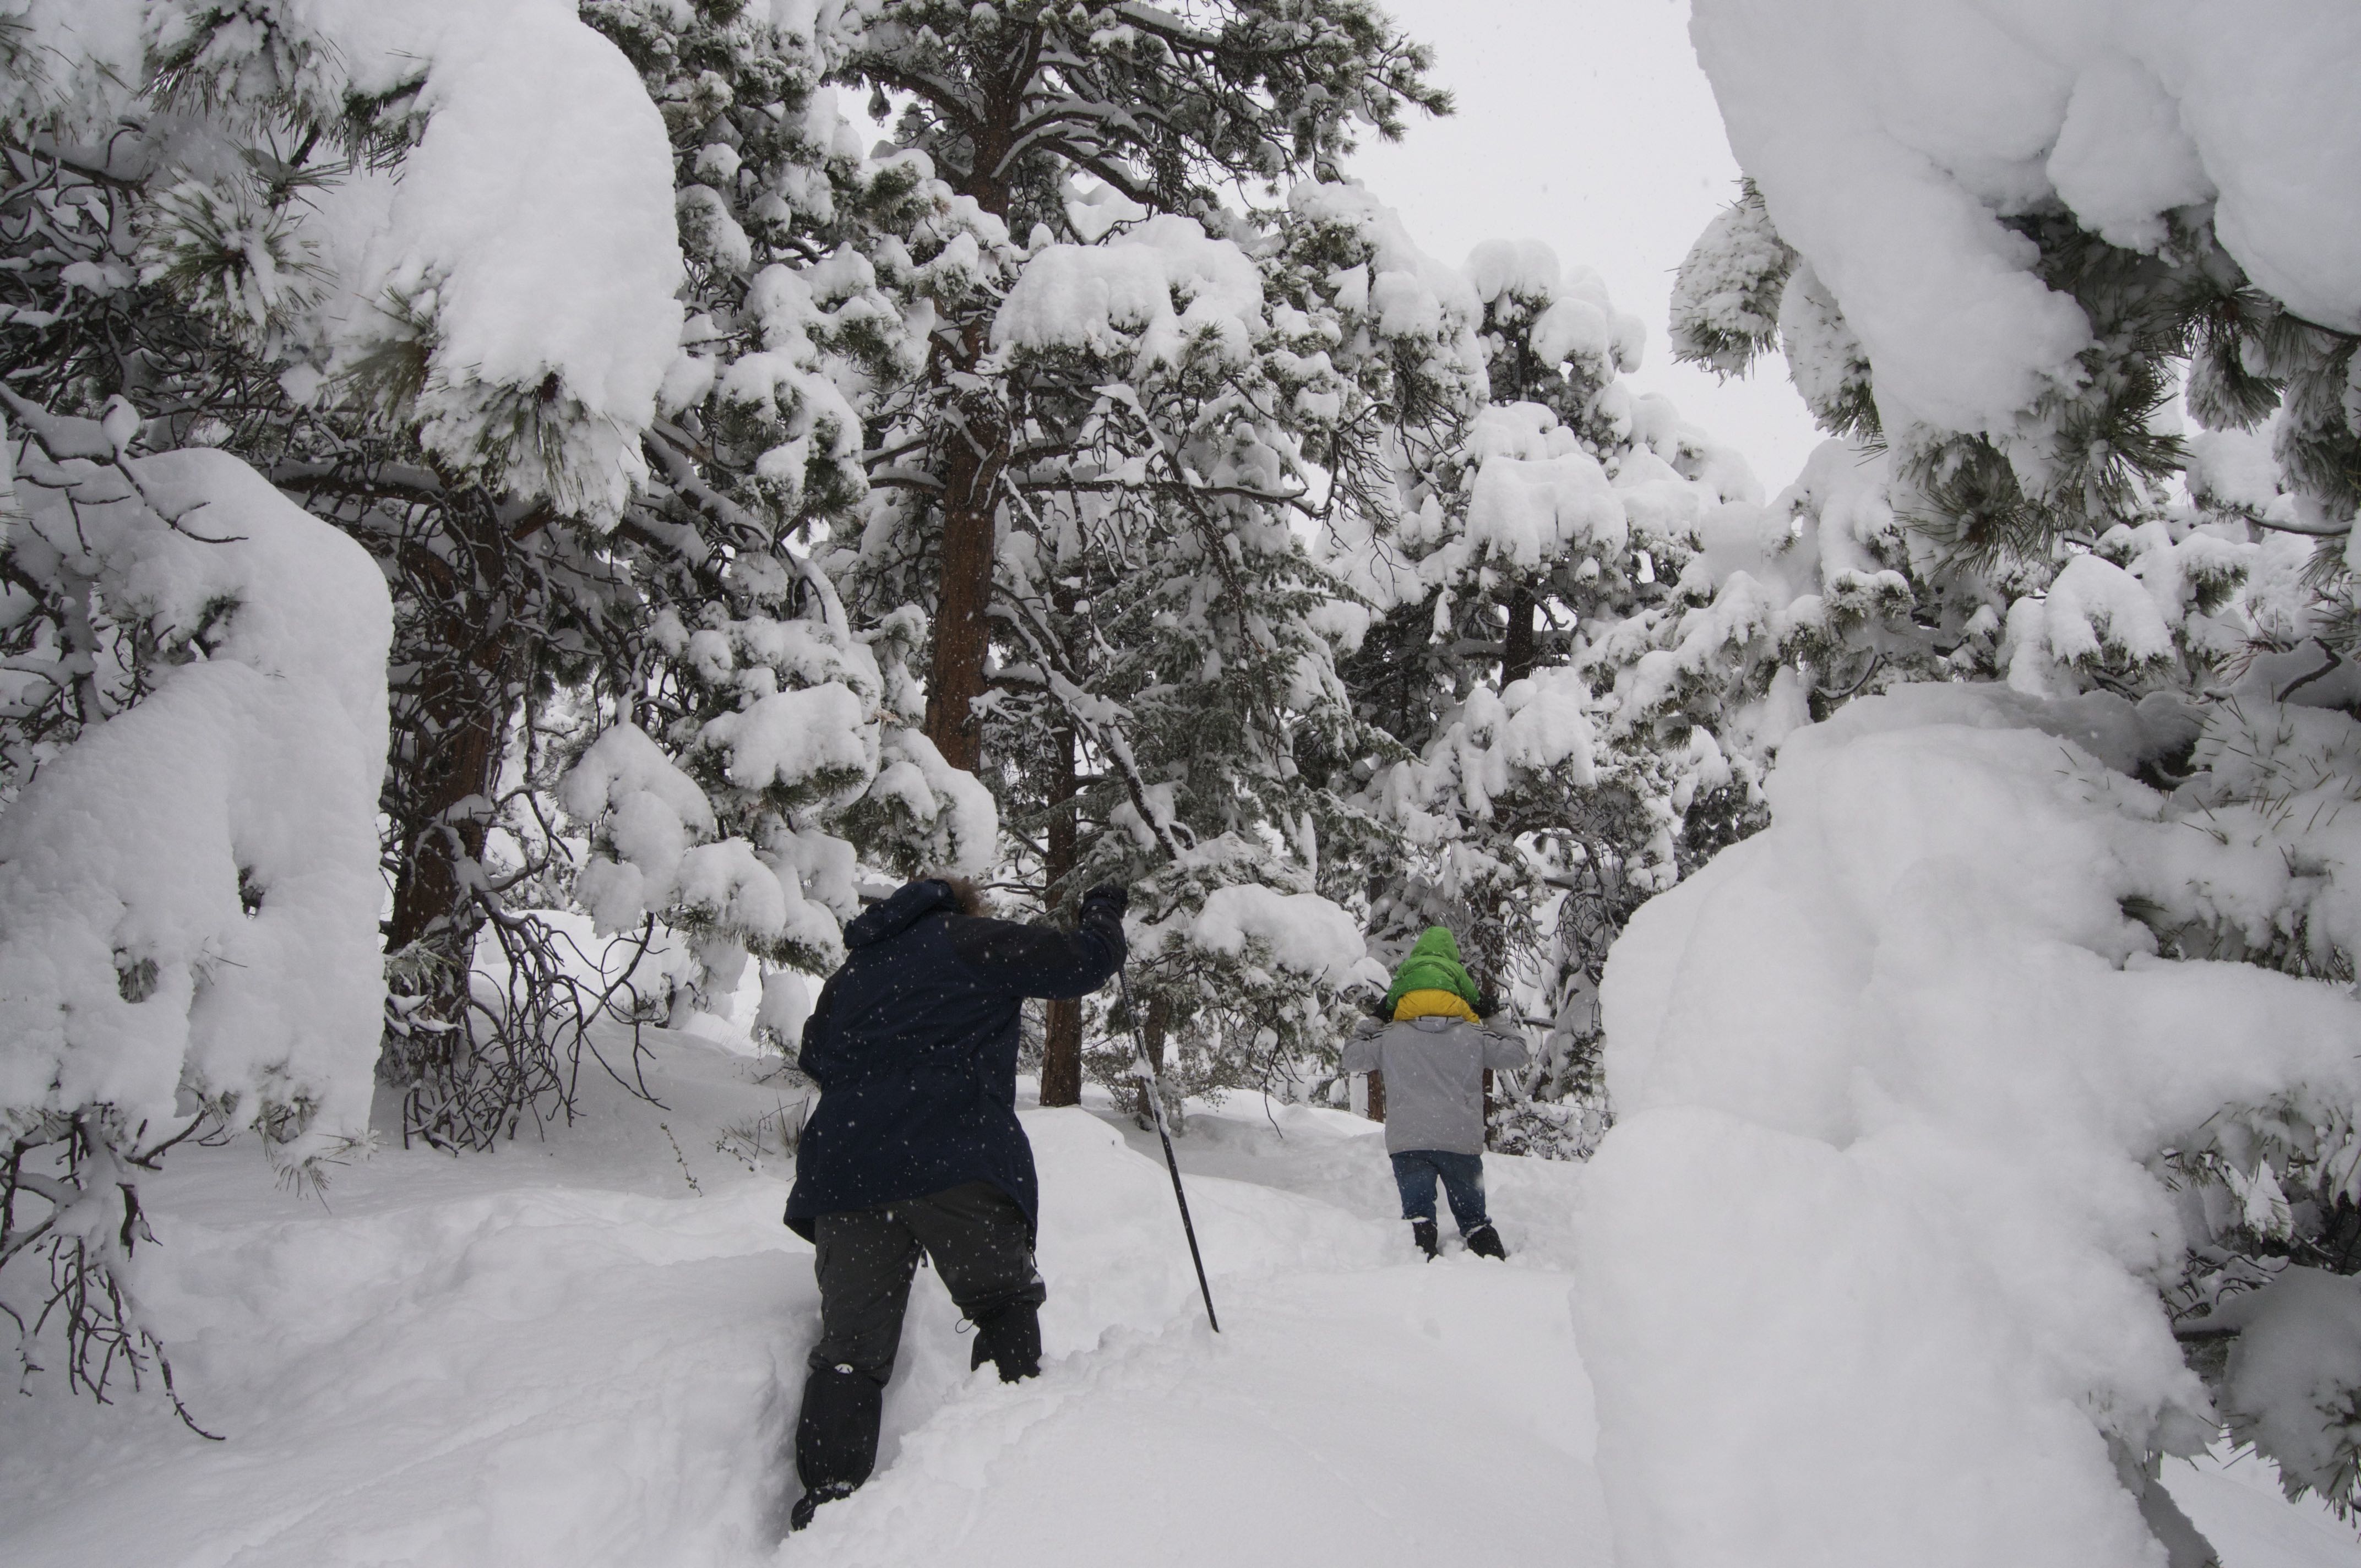
Find Some Scale
Add scale to epic powder pictures. Viewers will get a better sense of the scene. Human figures add a level of familiarity while also increasing the enchanting effects of snowy scenes. If no one is around, photograph common objects in an artistic way. Photograph your house, car, fence, something in which the scale will be familiar ten years down the road. 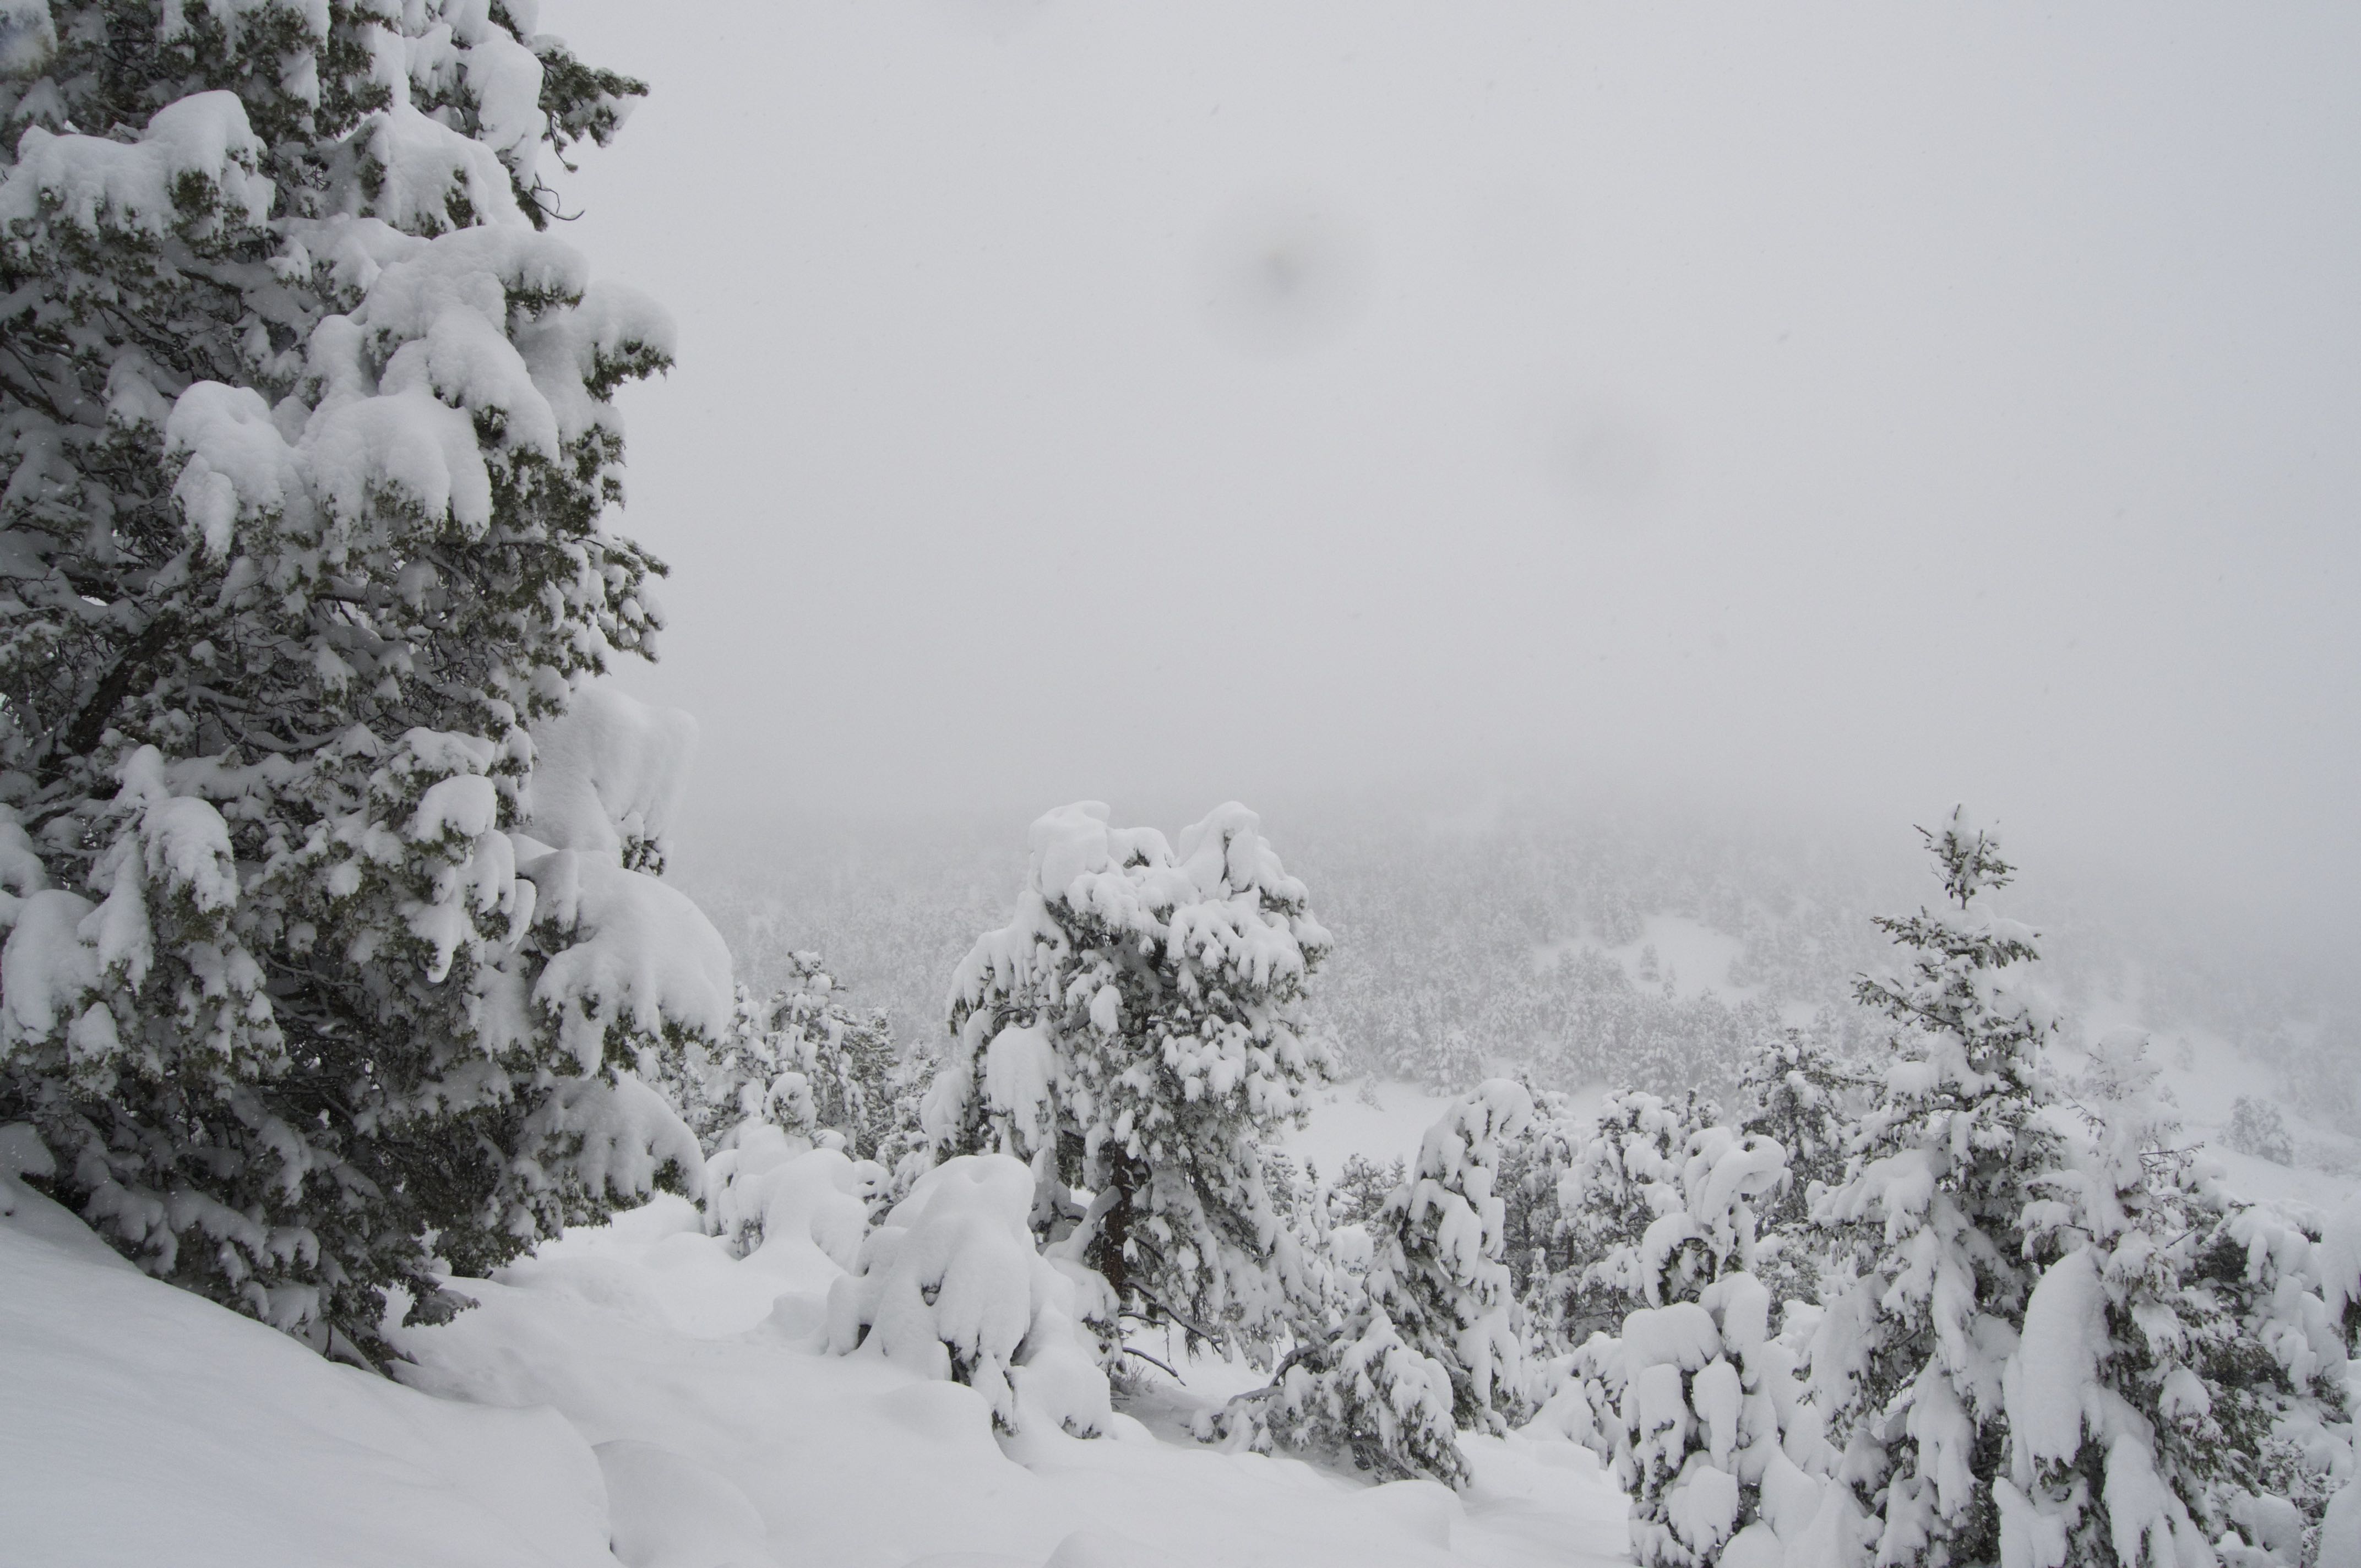
Protect Your Gear
- Alway keep a plastic bag in your pocket in case of emergencies or weather changes.
- Use a sun hood so that snowflakes don’t fall directly onto the glass, which will surely create smudges and wet spots. I forgot mine today and it’s evident in the shots above. This shot requires extra post processing.
- Dry, fluffy snow really isn’t a problem as it will likely fall or blow off, just try to keep your camera as dry as possible without putting it in your jacket or something similar. Quick transitions from cold to hot will cause moisture to form in and on your lens. Not good. Flakes will land on your camera, try to resist rubbing them off, which will inevitably just rub them into your equipment.
- Batteries fail quickly in the cold so carry a spare and keep it close to your body. You want your spare battery as warm as possible.

Protect Yourself
- It’s so important to be warm, but not too warm. Wear layers of breathable fabrics like wool and polyester. A wind and waterproof shell is imperative. Sweating will only lead to discomfort, so I like to wear a wool hat that can be removed instead of a hood that may be suffocating.
- I tend to wear lightweight gloves or fingerless gloves. I also try to set my camera up for success ahead of time by using Aperture Priority and Exposure Compensation to my advantage that way I don’t have to manually control each shot.
- In snow this deep, snowshoes make walking incredibly easy. If you don’t have any, walk behind people who do (that’s what I did today) since they’ll create a path of packed down, easily navigable snow. Ski poles or trekking poles with snow baskets provide even more stability when walking through deep snow. Just know yourself and prepare for the conditions so you don’t put yourself or your gear in danger.
- Lip balm and sunglasses are imperative! Usually my sunglasses end up in my pocket for most of the trip, but you will certainly need a few minutes of relief from the blinding snow.
A Little Post Production Goes a Long Way
Normally, I do very minimal post production and the same is true for wintery landscapes however, I almost always add a bit of contrast and sharpening to each photo. In most cases, I also bump up the exposure to account for the camera’s confused metering. You may also need a little color correction (warmth) if you’re using Auto White Balance, as the camera will tend to sway towards cooler tones. I try to load my photos onto the computer almost immediately after a shoot. I edit one shot to mimic what I saw outdoors that way if I don’t edit the rest of the photos for a few weeks, I’ll still have an accurate depiction of what to work towards. Those are the basics! If you were feeling a little lost with terms like aperture and shutter speed, refresh your memory of Photography 101 here.