
Hey there! We can’t believe it, but four years ago in June, Calder and I got married! It was such a fun day, and whenever the topic of our wedding comes up, we always look back on it with fond memories. Just the other day we were telling new friends about our “meat and greet” line, where Calder grilled the steak and salmon and got to say hello to every guest as he served them their main course. While we can’t offer you a fillet of salmon, we thought it would be fun to look back at our wedding and share some of the other homemade elements that we incorporated into the big day.
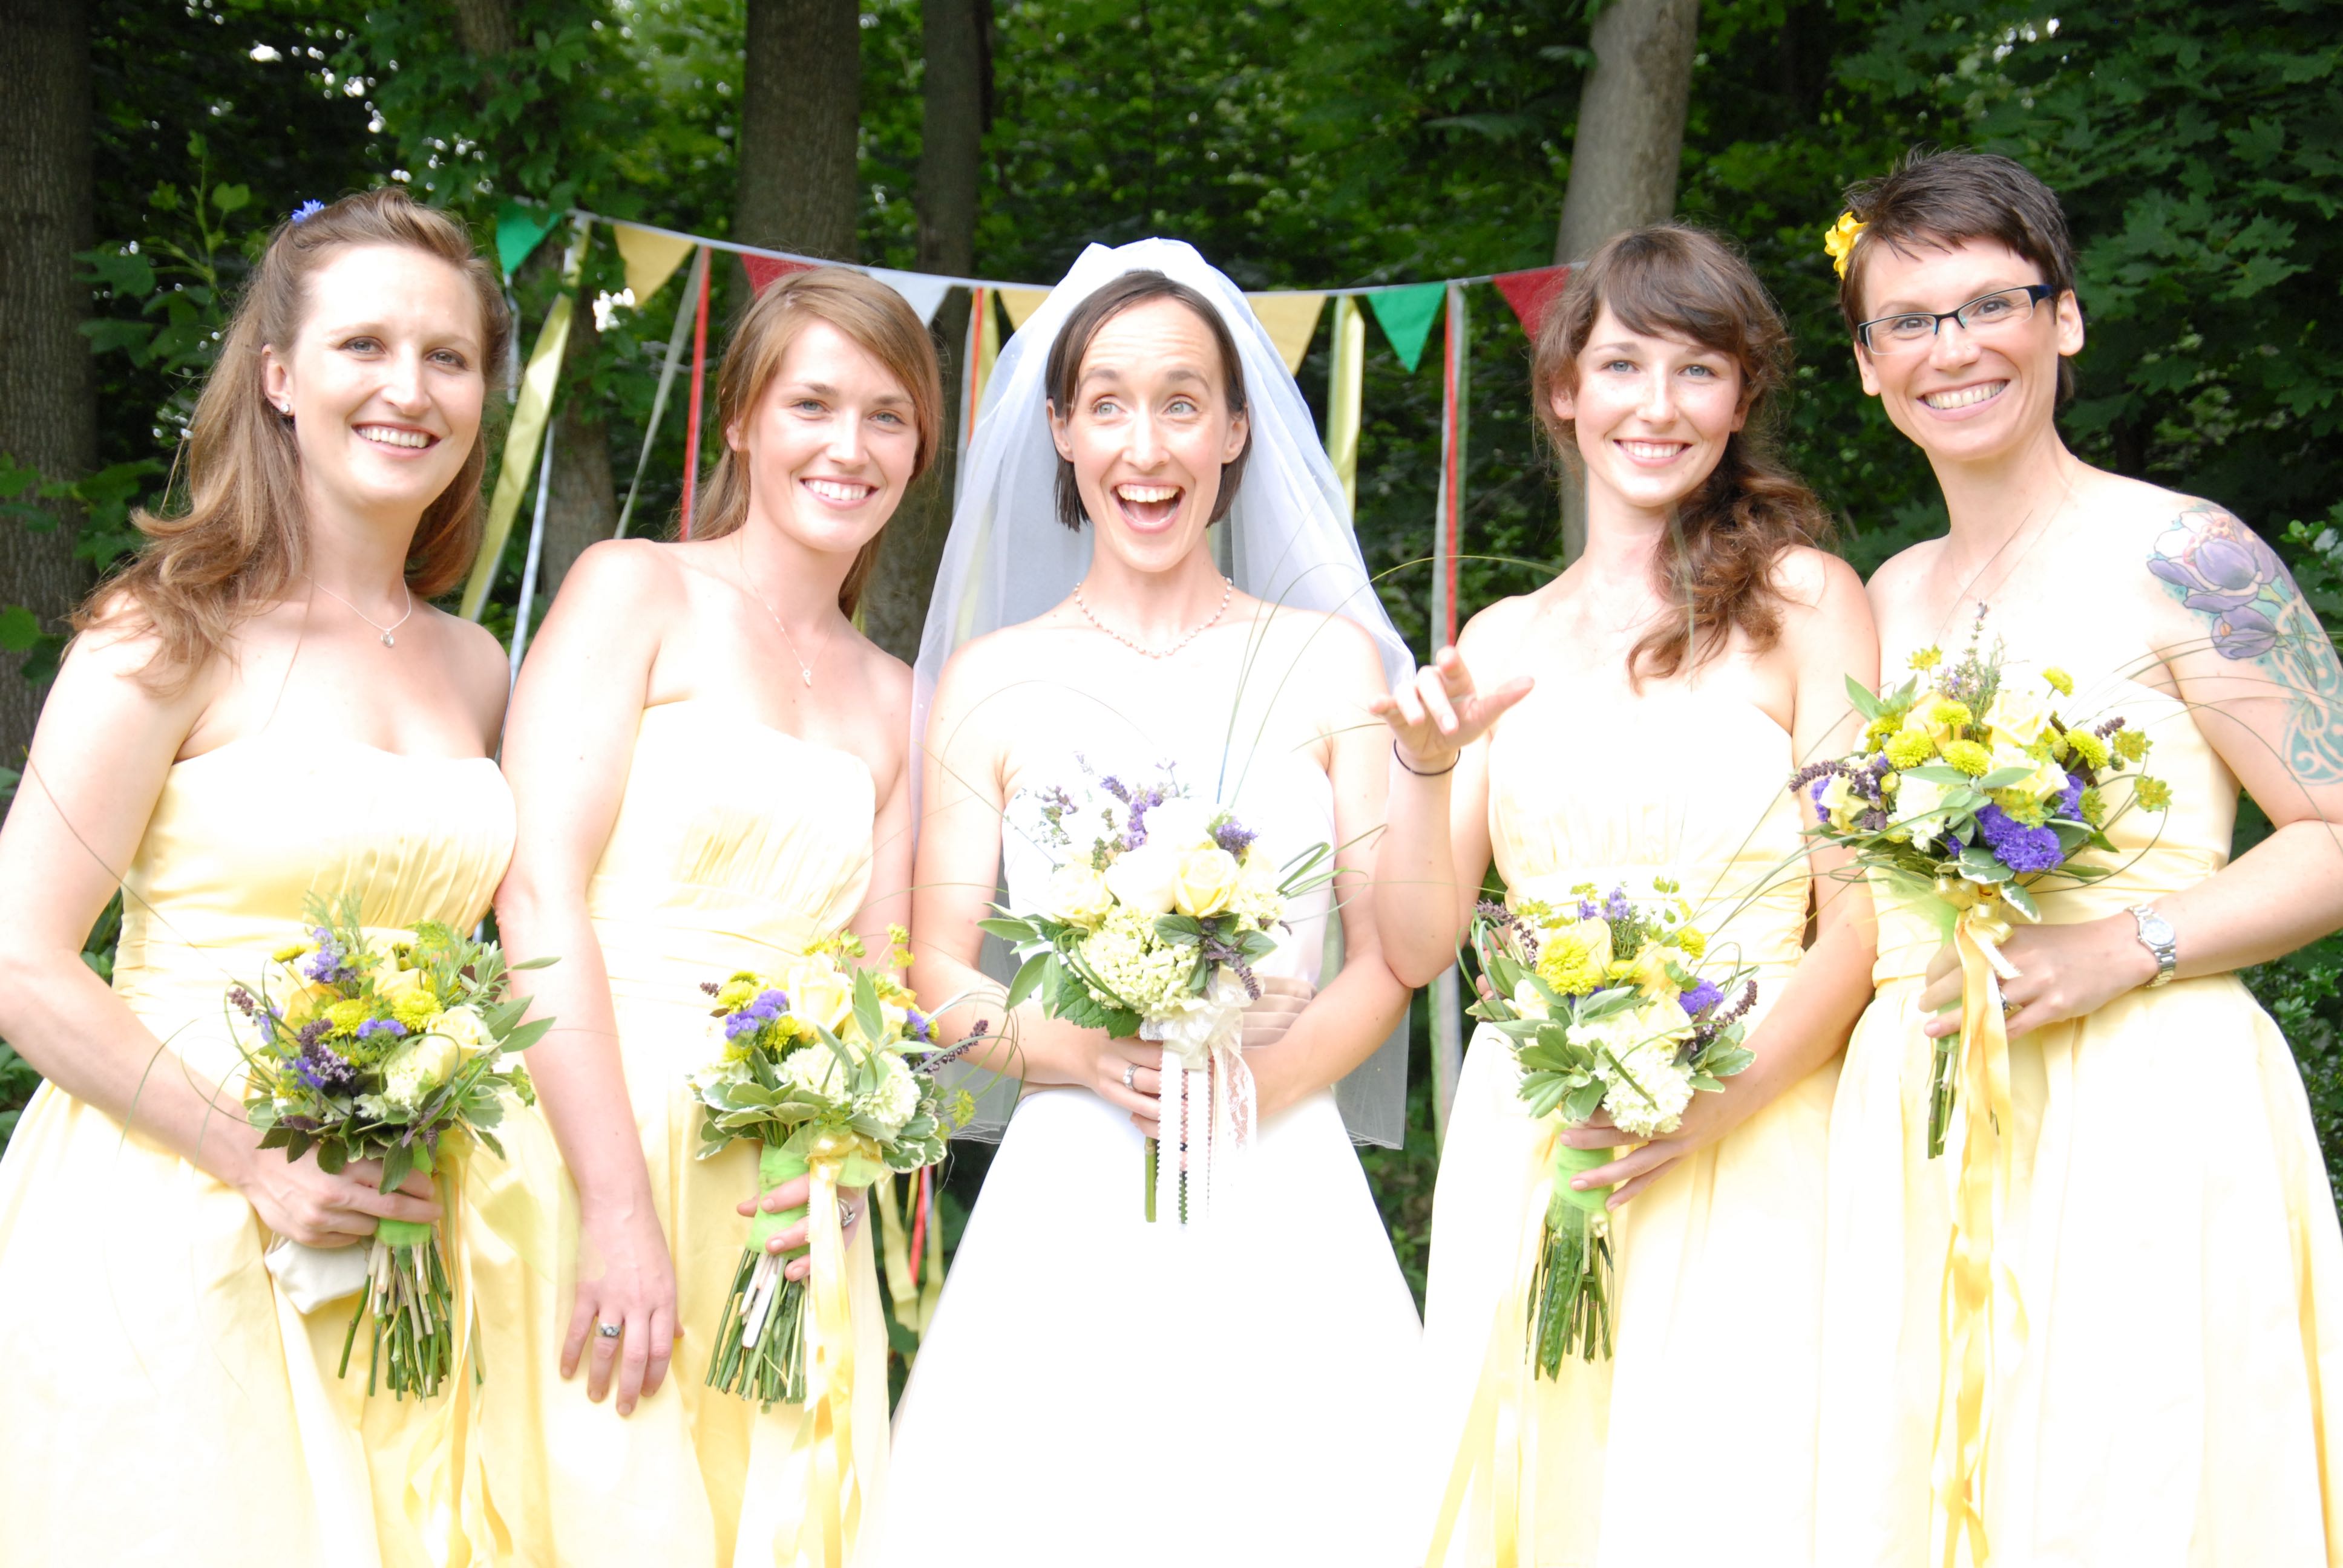
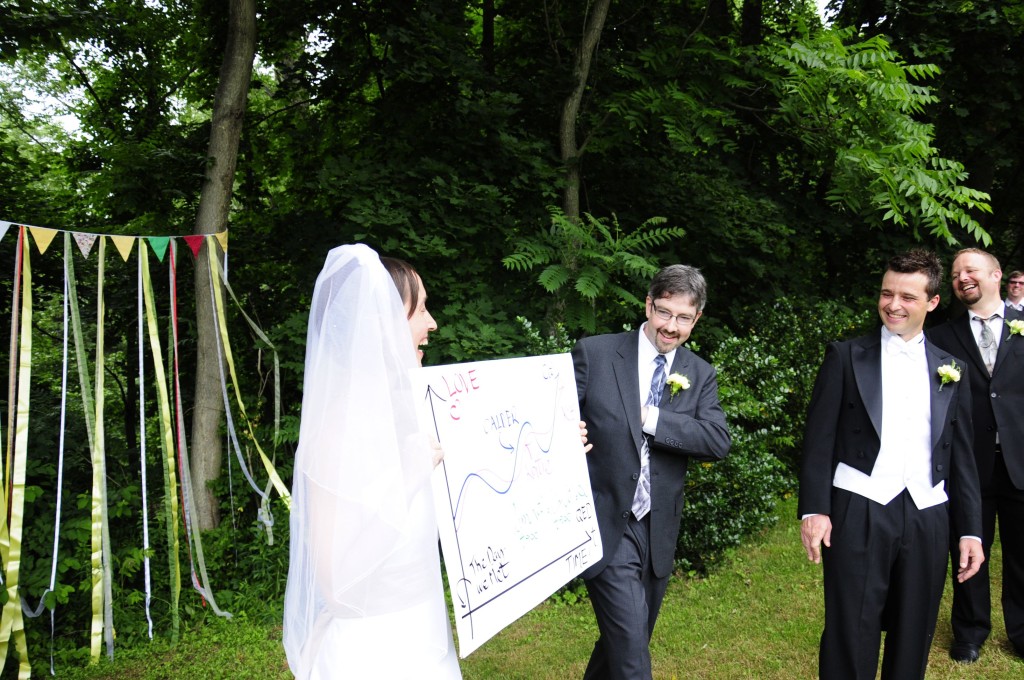
{I had to include the photo above, because when do you ever get to use the wedding outtakes?!… and sometimes they’re so cute.}
We had the wedding at my parents’ farm in central PA, and being the hands-on, crafters that we are, everyone in my family was excited to help personalize the wedding. My brother designed and printed our invitations, my mom made the cakes and hand-beaded the sash for my wedding dress, my sisters helped with homemade signage, and styling the dancing barn that our dad had just finished rebuilding, and the list goes on.


When it came to planning our wedding, I took my design cues from both the old farm and nature, and that was especially true for the colors. When you start planning a wedding, you’re often asked what colors you’re going to use. I always kept the answer simple and said yellow, but we incorporated a bit more color than that. Our bridesmaids’ dresses were a nice, buttery shade of yellow. Our invitations were another shade of yellow with green. And I knew that the reception tents would be even more festive if we threw in other colors, so red was added to the mix! Red also popped up again in the baker’s twine that was used to tie thank you notes to our favors. In the end, I like to think that we took our color inspiration for this June wedding from strawberries, since it’s also their month to shine.
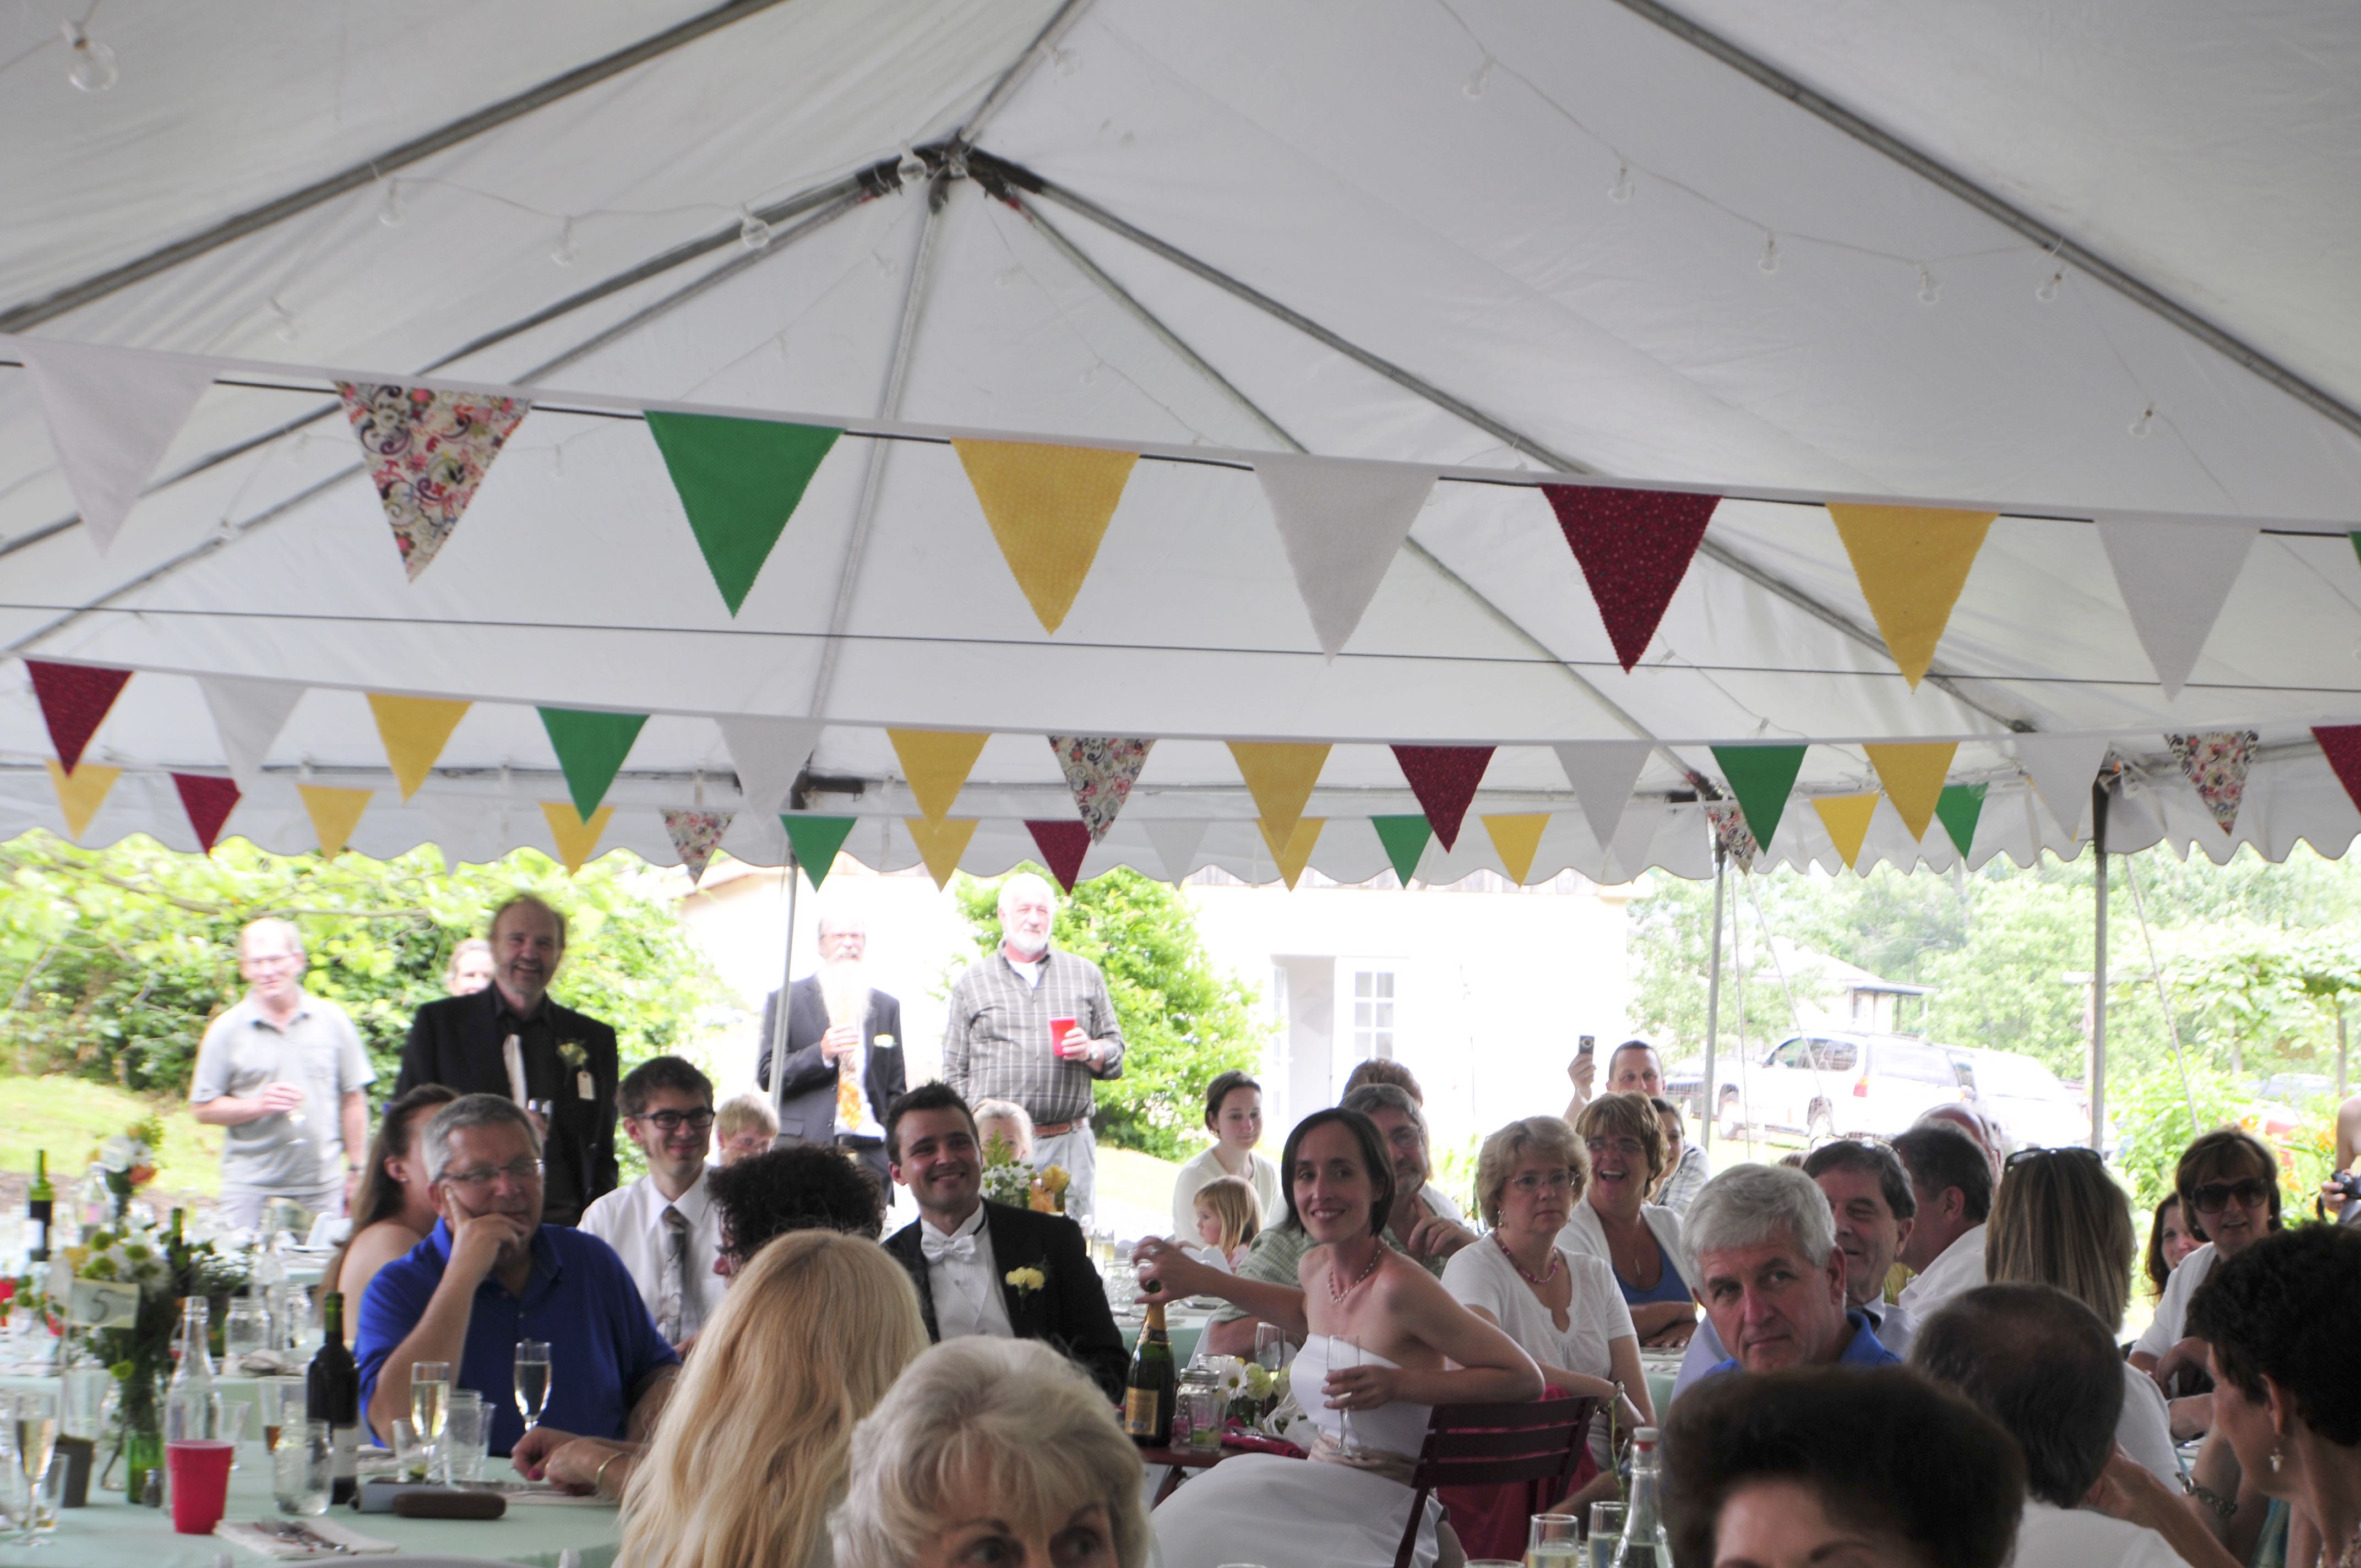
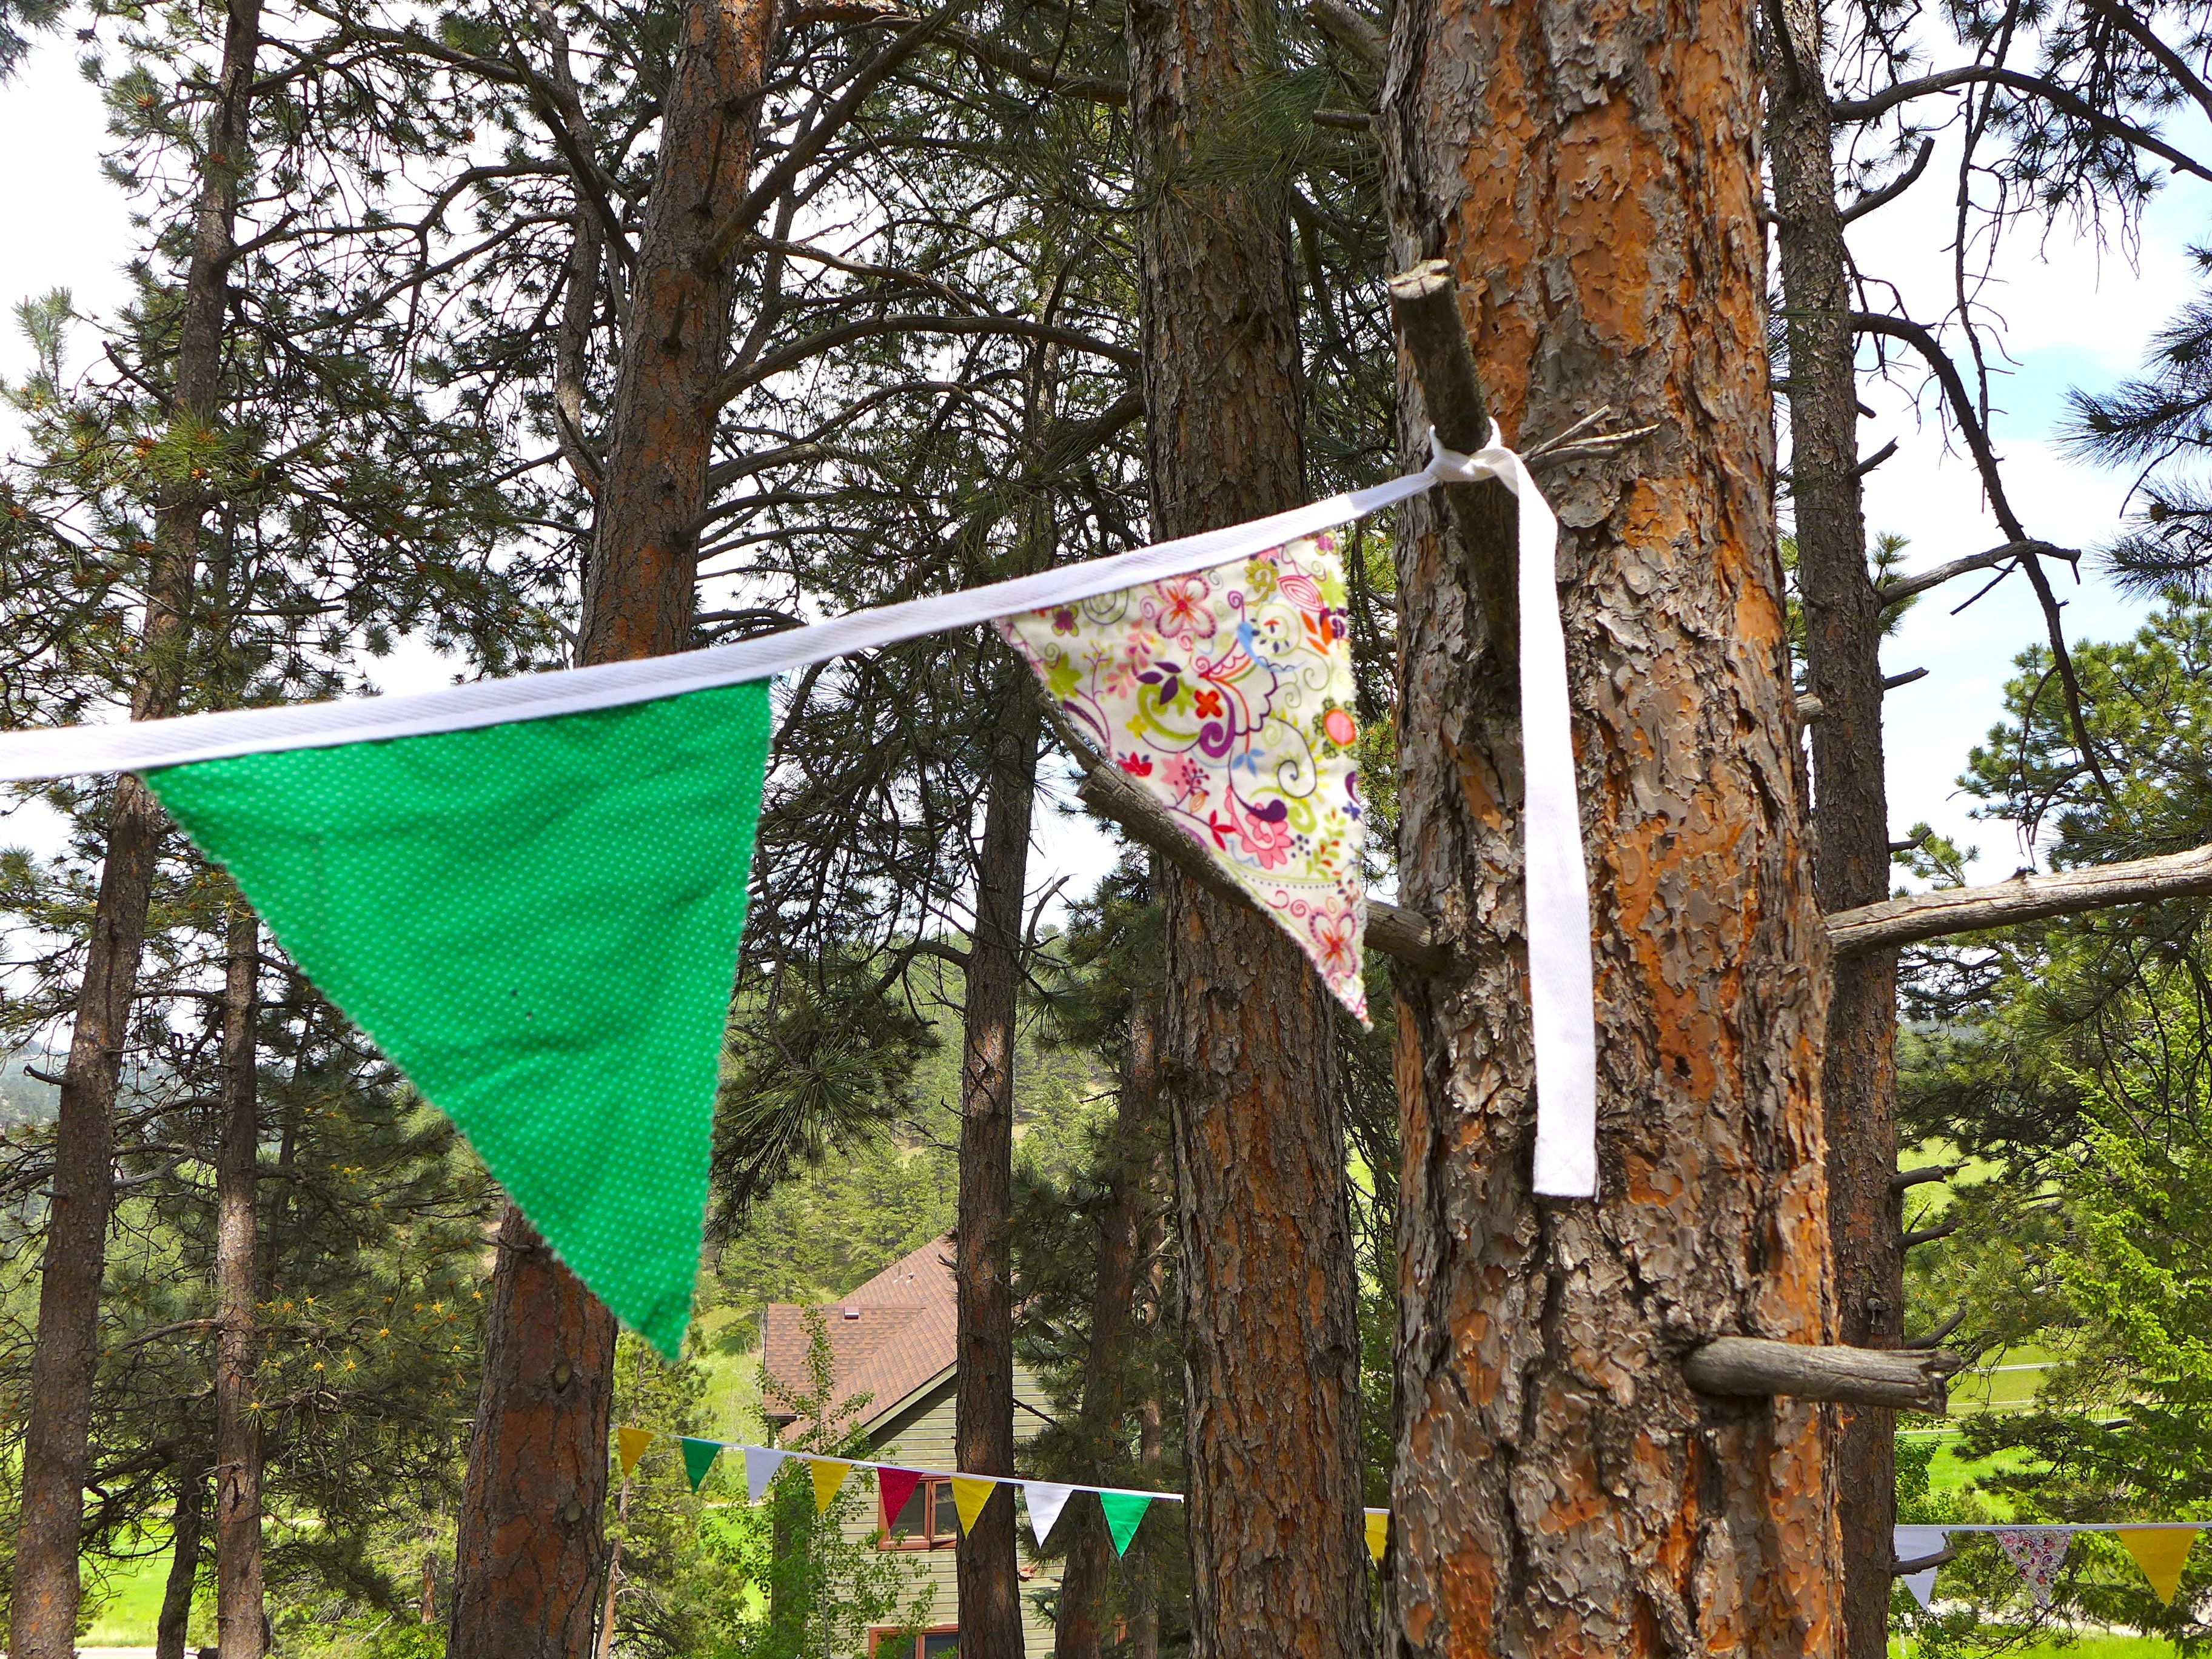
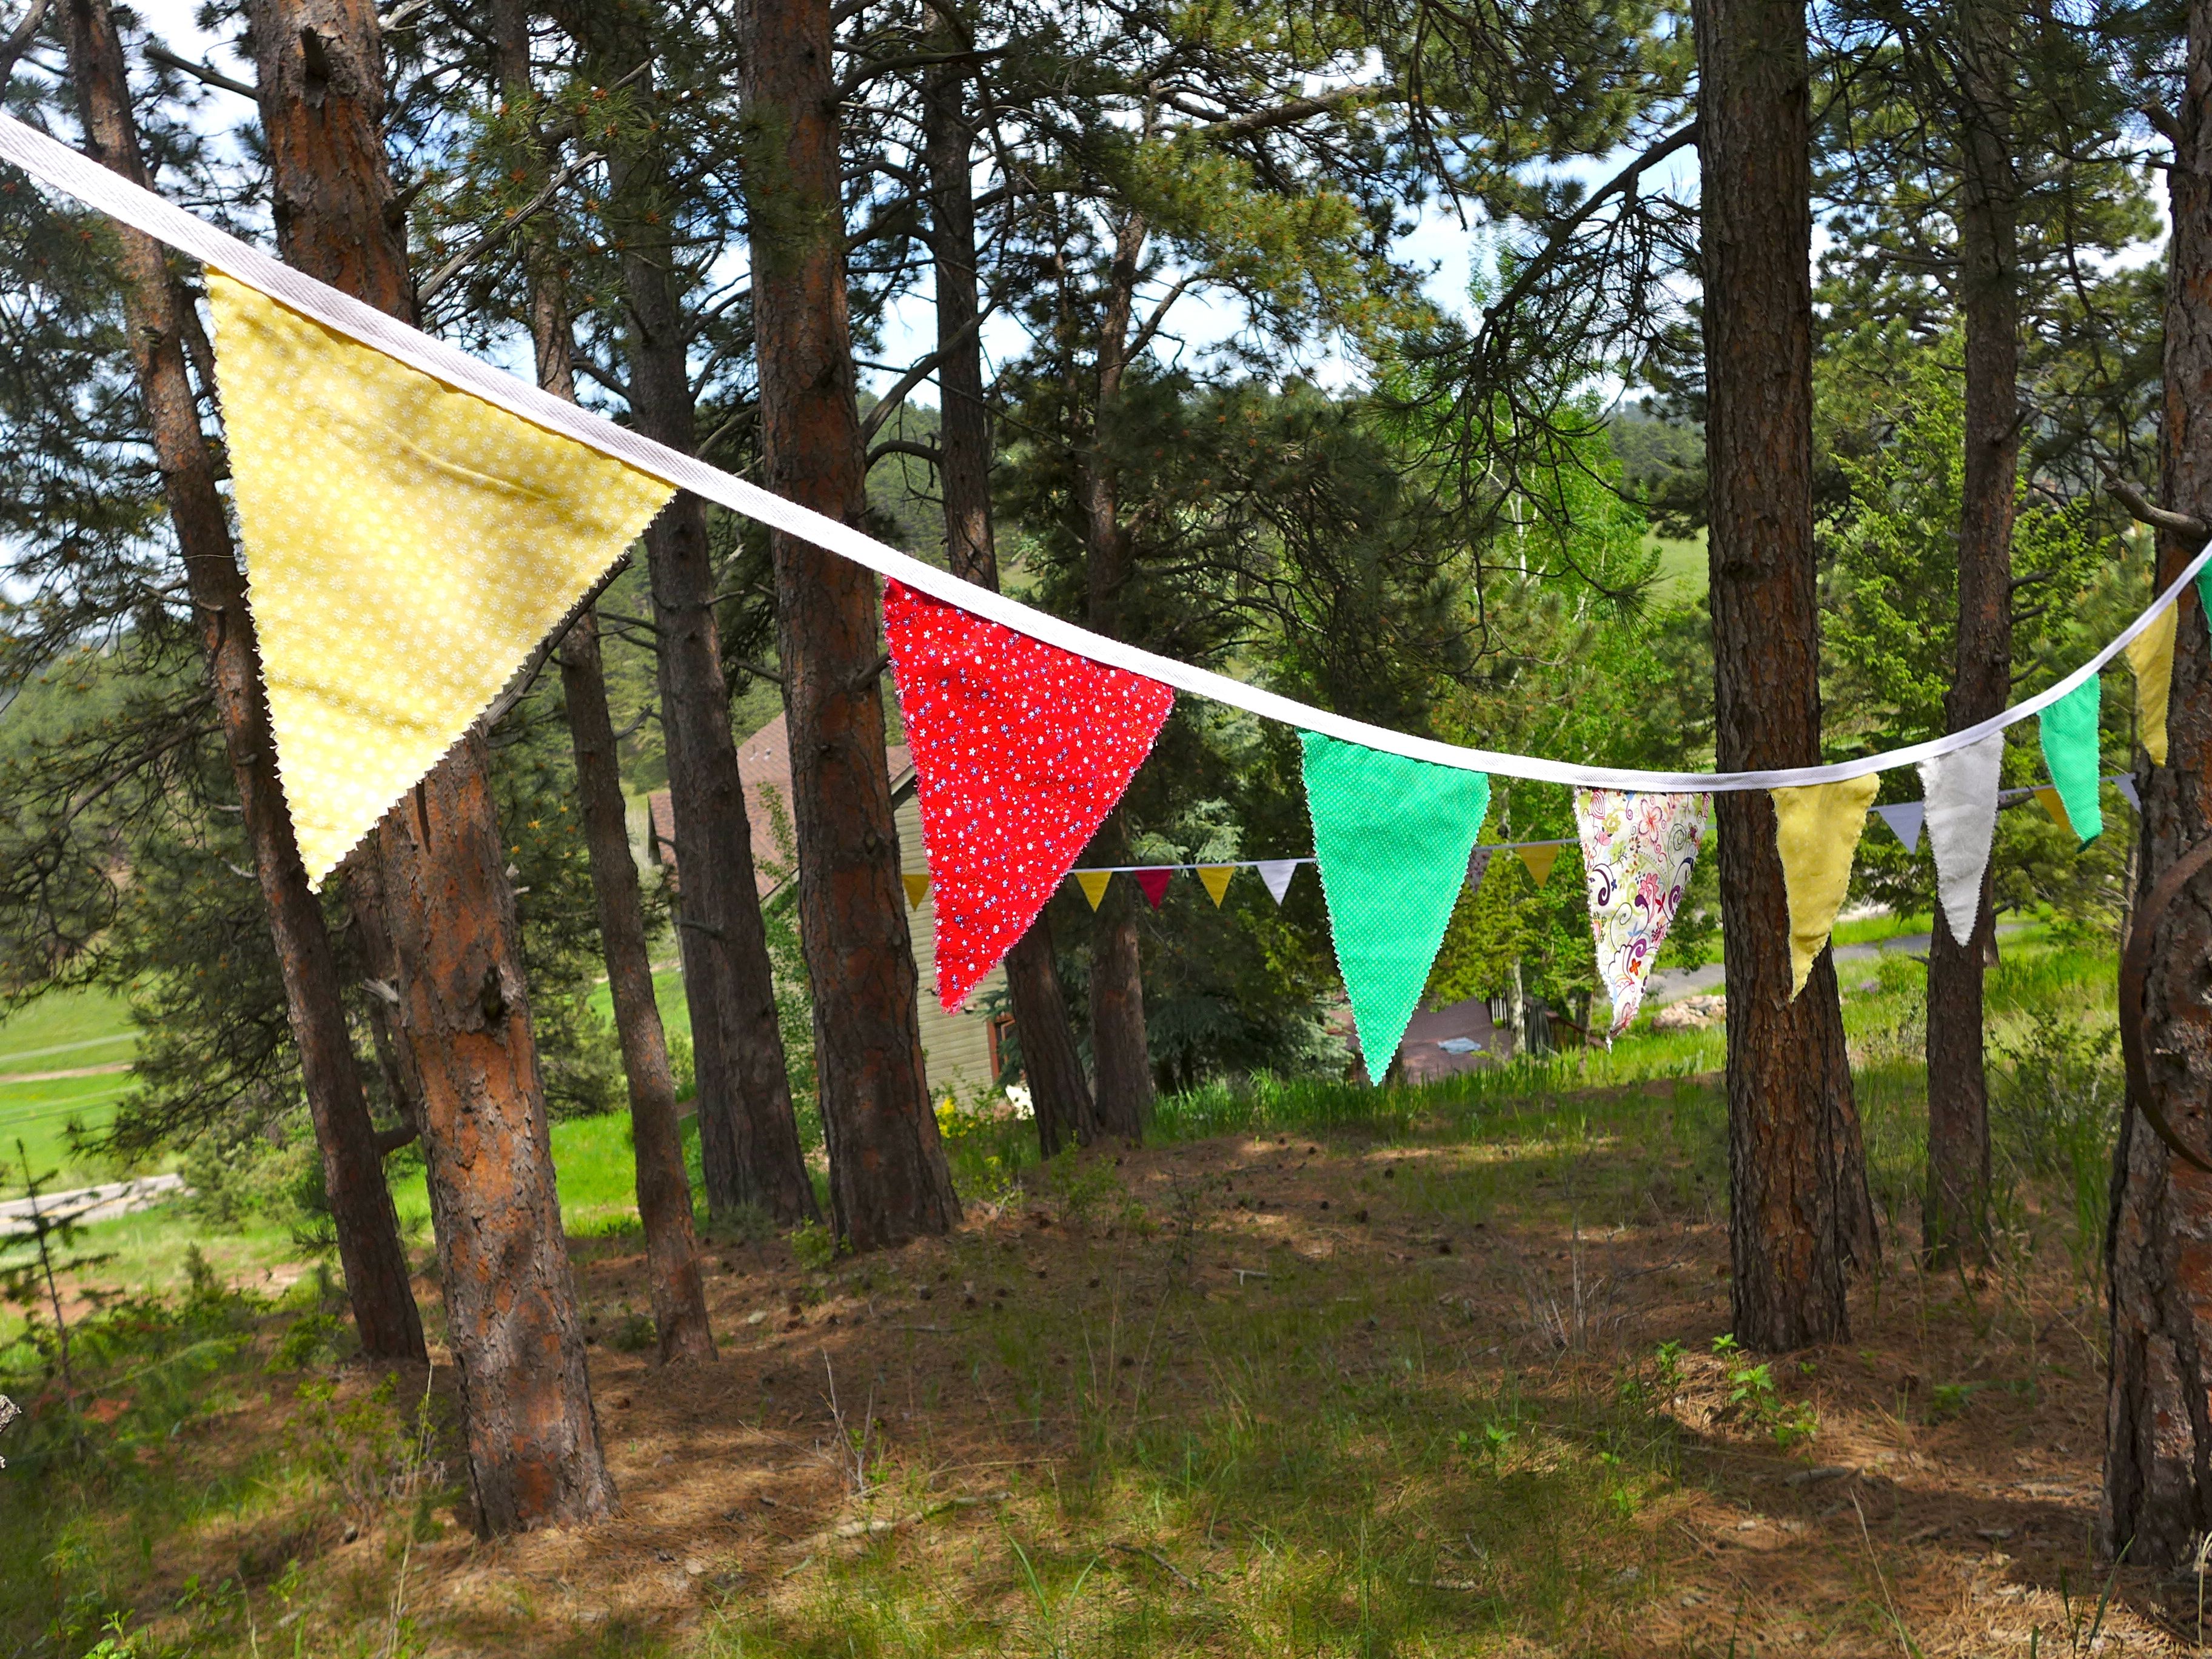
We rented a couple of large white tents for the reception, and I had decided early on that I wanted to use bunting to decorate them. Making this bunting couldn’t have been easier. I went to Joann’s and picked out a few different cotton fabrics for the flags. Rather than use solid colors, I picked two different yellows, a white, a green, and a red fabric that all had a small-scale design printed on them in white. In addition, I wanted to throw one fabric into the mix that had a larger scale design on it with a few different colors in it. With some red, green, yellow, and a few other colors, I thought that this paisley design would help to glue together the red, yellow, and green even more.
Materials & tools:
- fabric ~ a few yards of 4 or 5 different colors, with more yardage of colors you would want to be more dominant, for me that was the yellow and green
- twill tape ~ enough yardage for the length of your bunting plus about 45 additional inches for each bunting to create long ends for hanging. Since I was making a lot of bunting, I bought the 72 yard roll of 1 inch heavy weight tape from twilltape.com (I love that that site exists!). You’ll end of folding the tape in half, so a 1 inch tape will actually create a half-inch border ta the top of the bunting.
- thread for your sewing machine
- sewing machine
- pinking shears ~ they stop the raw edges from fraying!
- cardboard scrap to make the triangle template
- fabric pencil
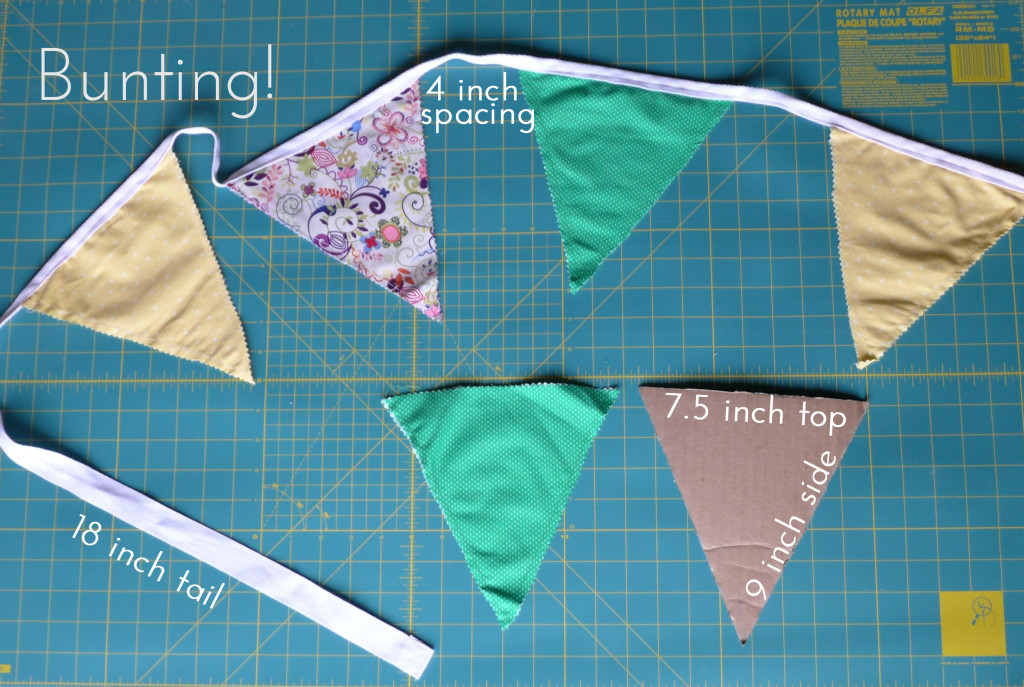
Making the Bunting
- Decide on the size for your triangles. Mine were 7.5 inches across the top and 9 inches down each side. I wanted something that was big enough to make an impact in the huge white tents and when hung outside between trees.
- Make a cardboard template using your final measurements
- With your fabric folded in half, trace the triangles onto the fabric. It’s Ok if you draw on the “right” side of the fabric, because if you cut directly over the lines with your pinking shears, the pencil marks will almost disappear, and any little marks that remain will rub off as you handle the bunting (that was my experience). *Do this for as many triangles of you want of each color.
- Cut out the triangles. You will cut through both pieces of fabric since it’s folded in half, and you should keep these two triangles together, with the wrong sides facing.
- Sew the two pieces of each triangle together. You’re making double-sided triangles so that the bunting looks great from both sides.
- Sew the bunting! Hem one end of your twill tape to prevent fraying. Leave an 18 inch tail, then fold the twill tape in half and sew it down for about 4 inches. Place the top of your first triangle on the twill tape, folding the tape in half so that there is a half inch border on the front and back of the triangle. Sew through the twill tape and triangle top. Then sew the folded over twill tape (without a triangle) for 4 inches to create the space between flags. Continue in this manner adding flags and then allowing for the space between flags until your bunting is as long as you want it. Sew the twill tape for a final 4 inches, then leave an 18 inch tail, remembering to hem the end of the twill tape.
- Hang your bunting and enjoy!
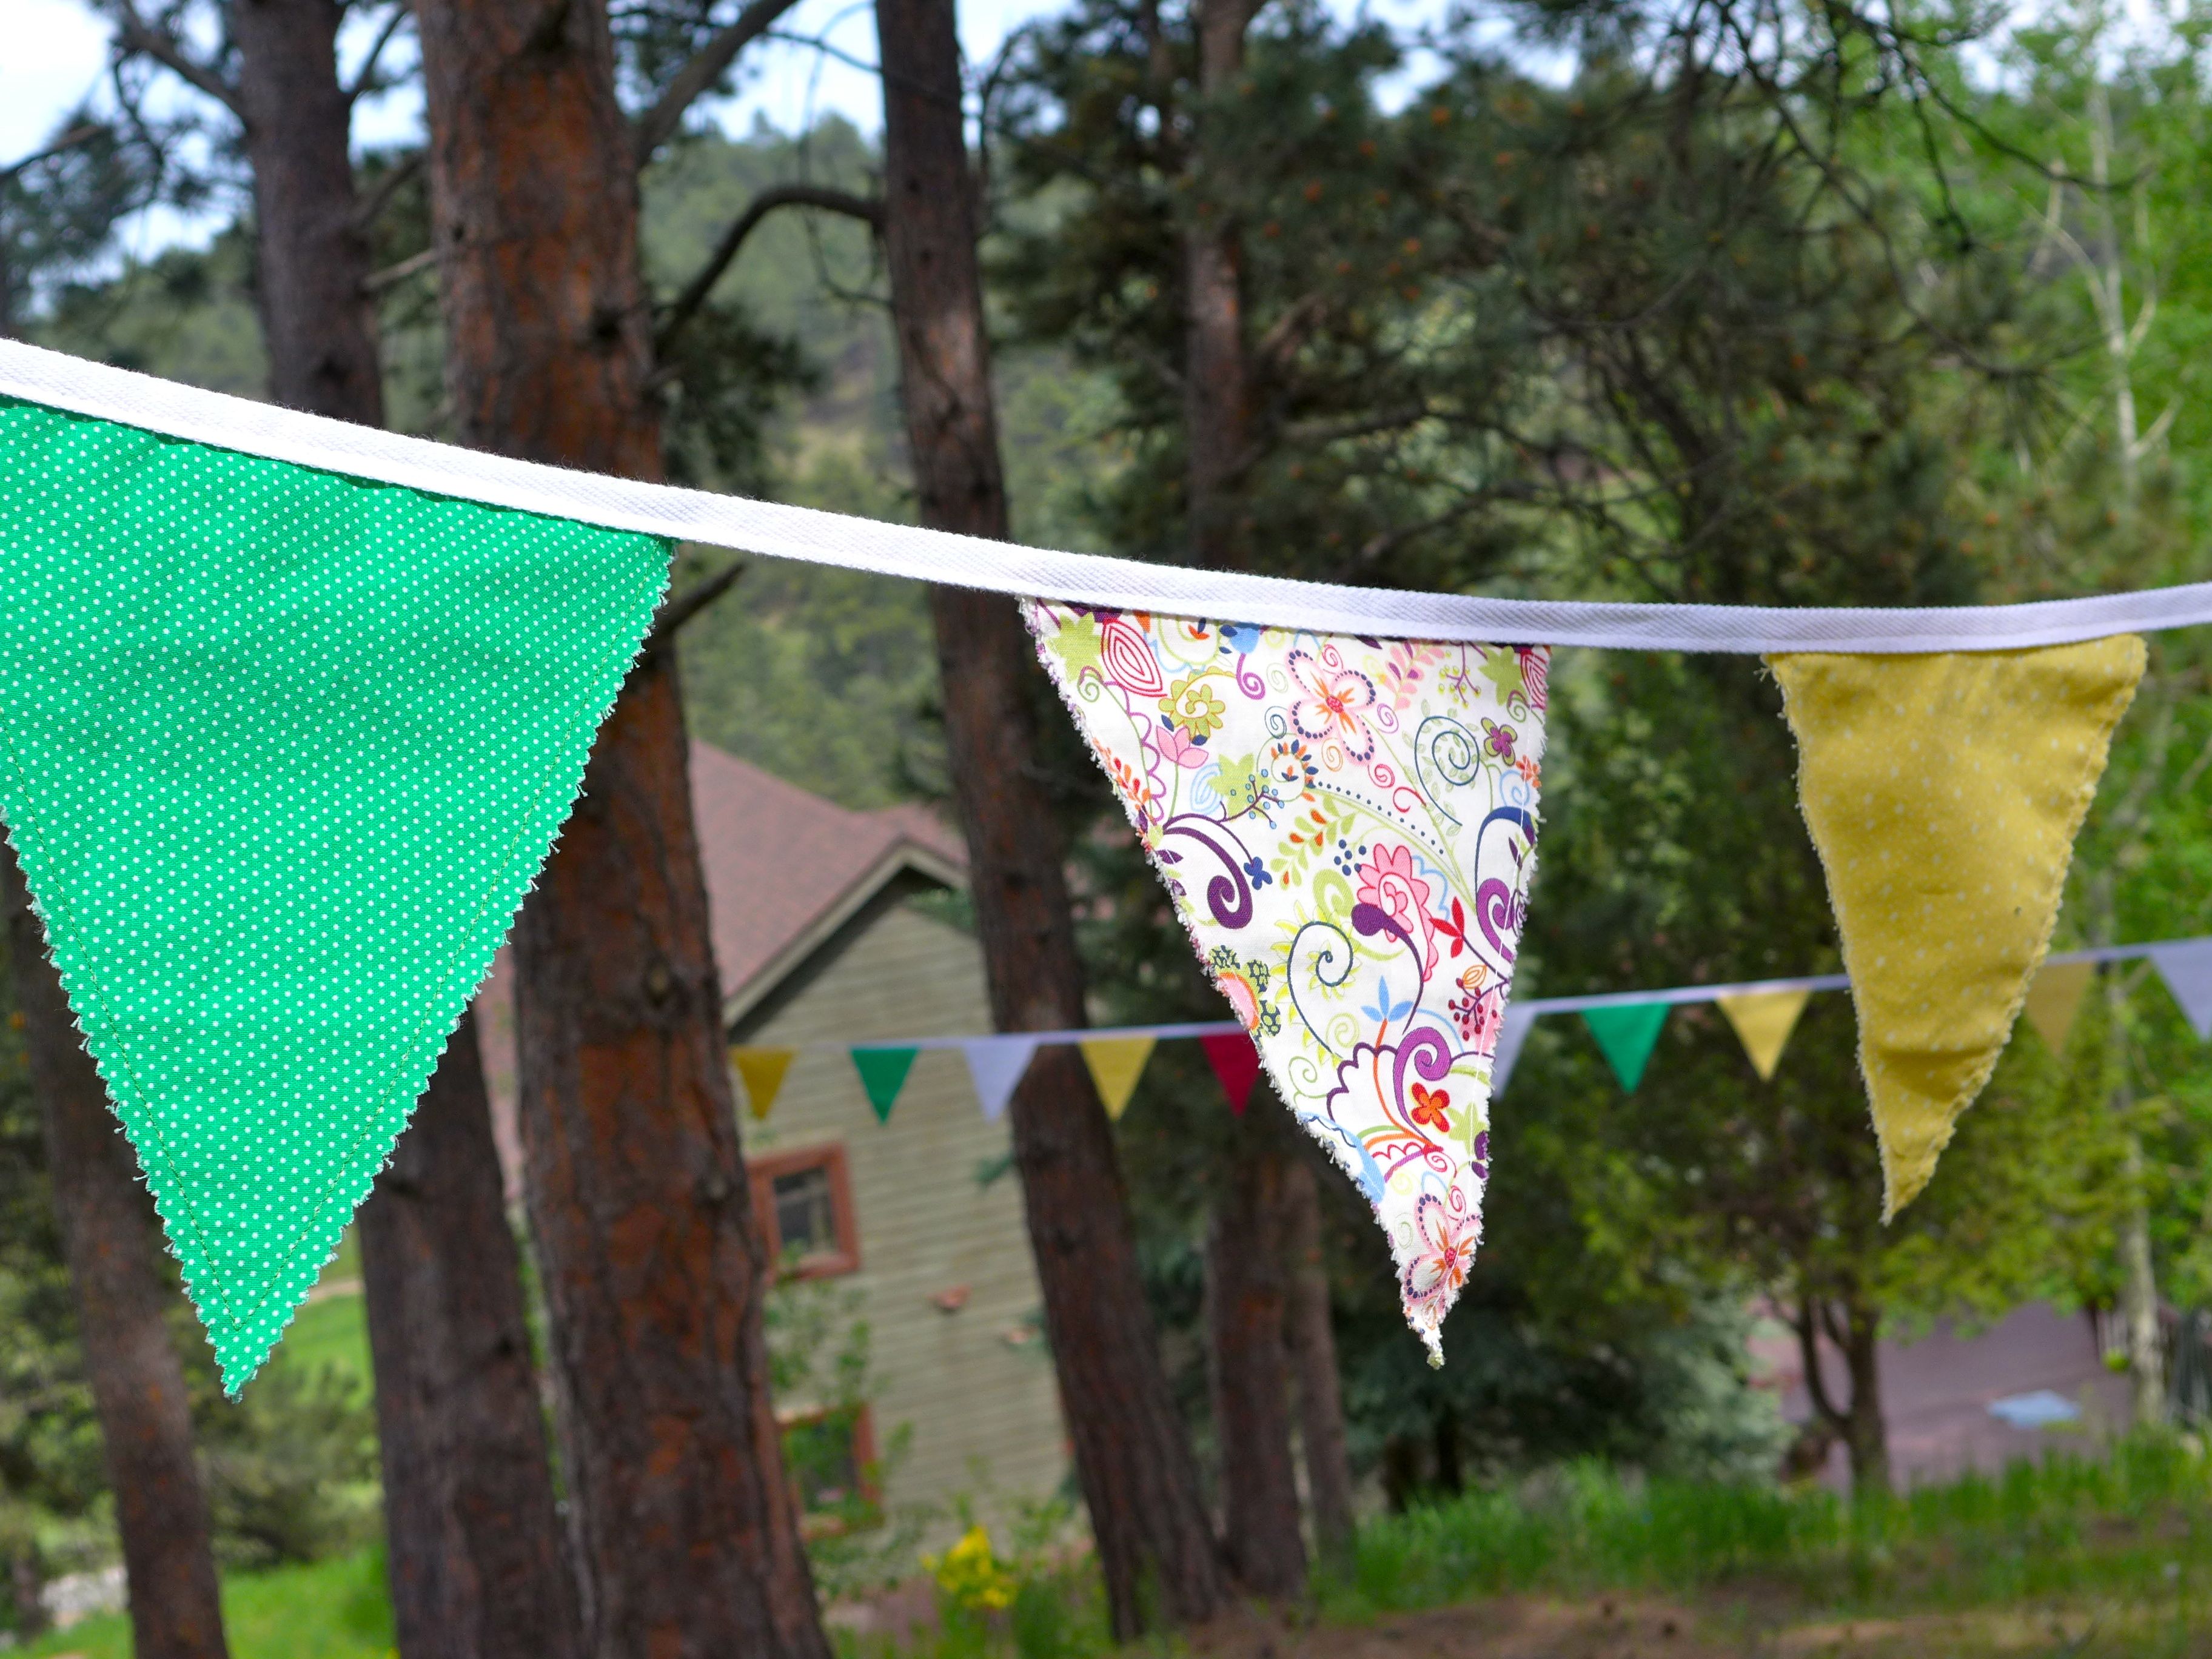
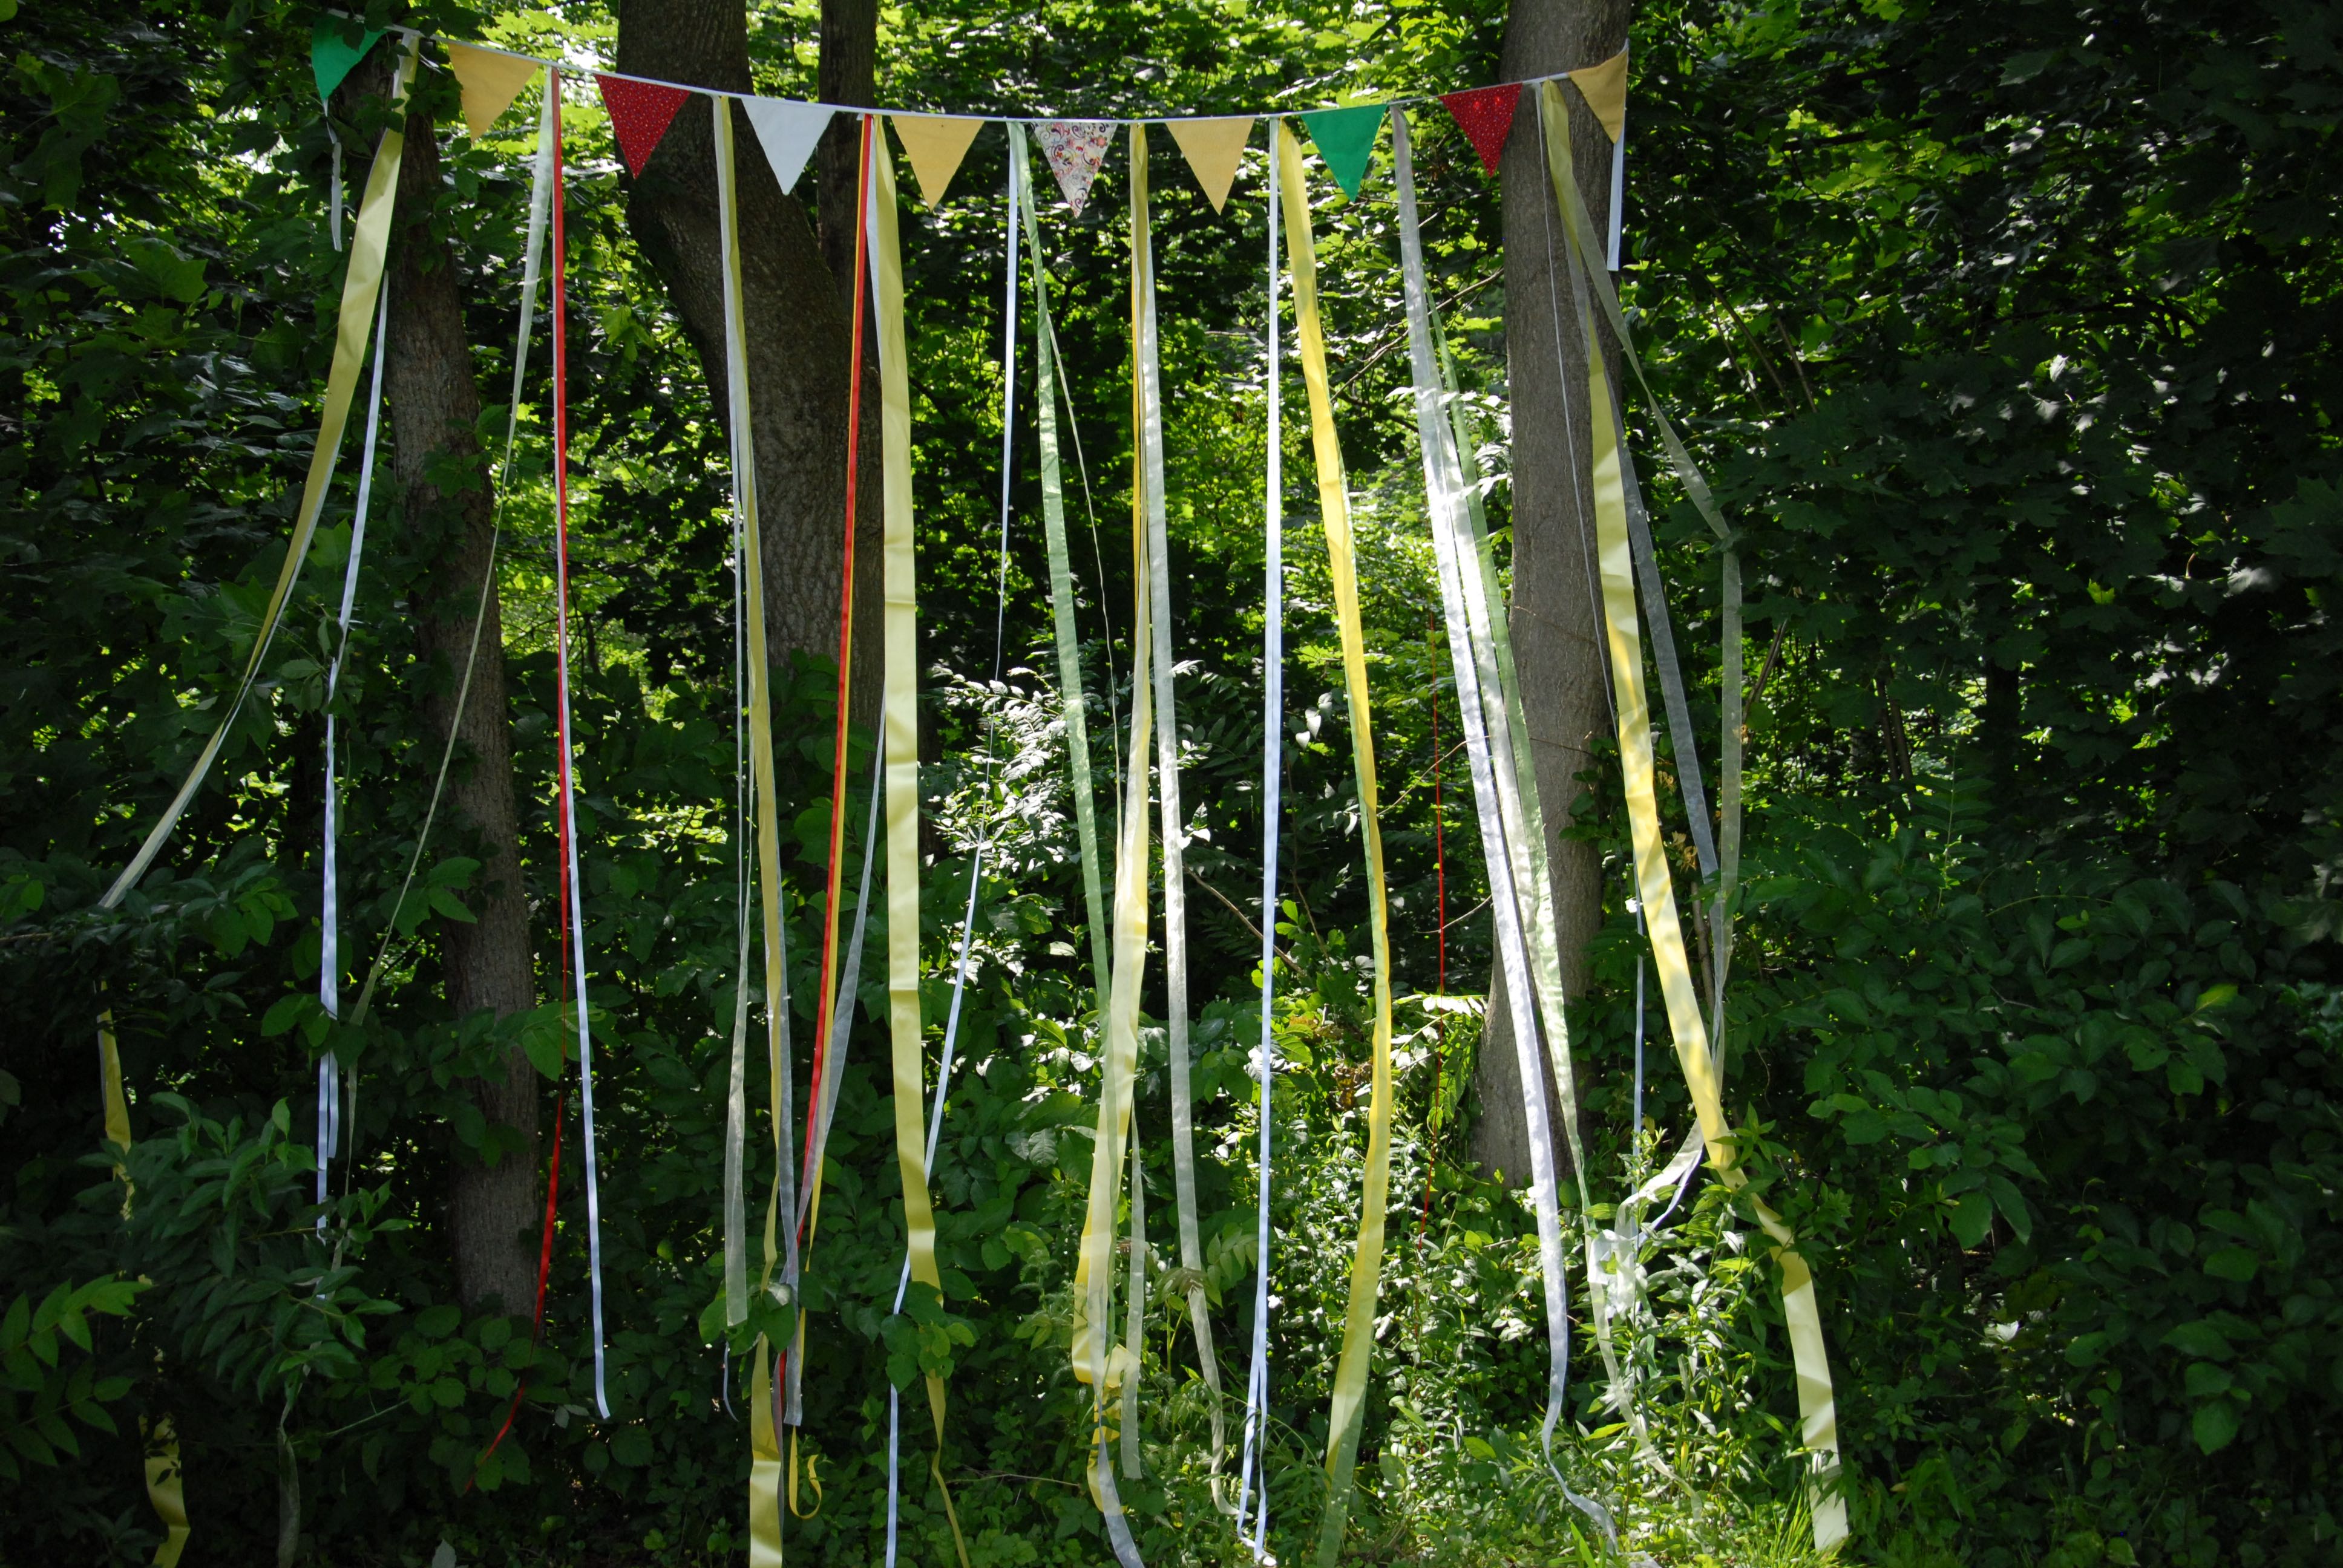
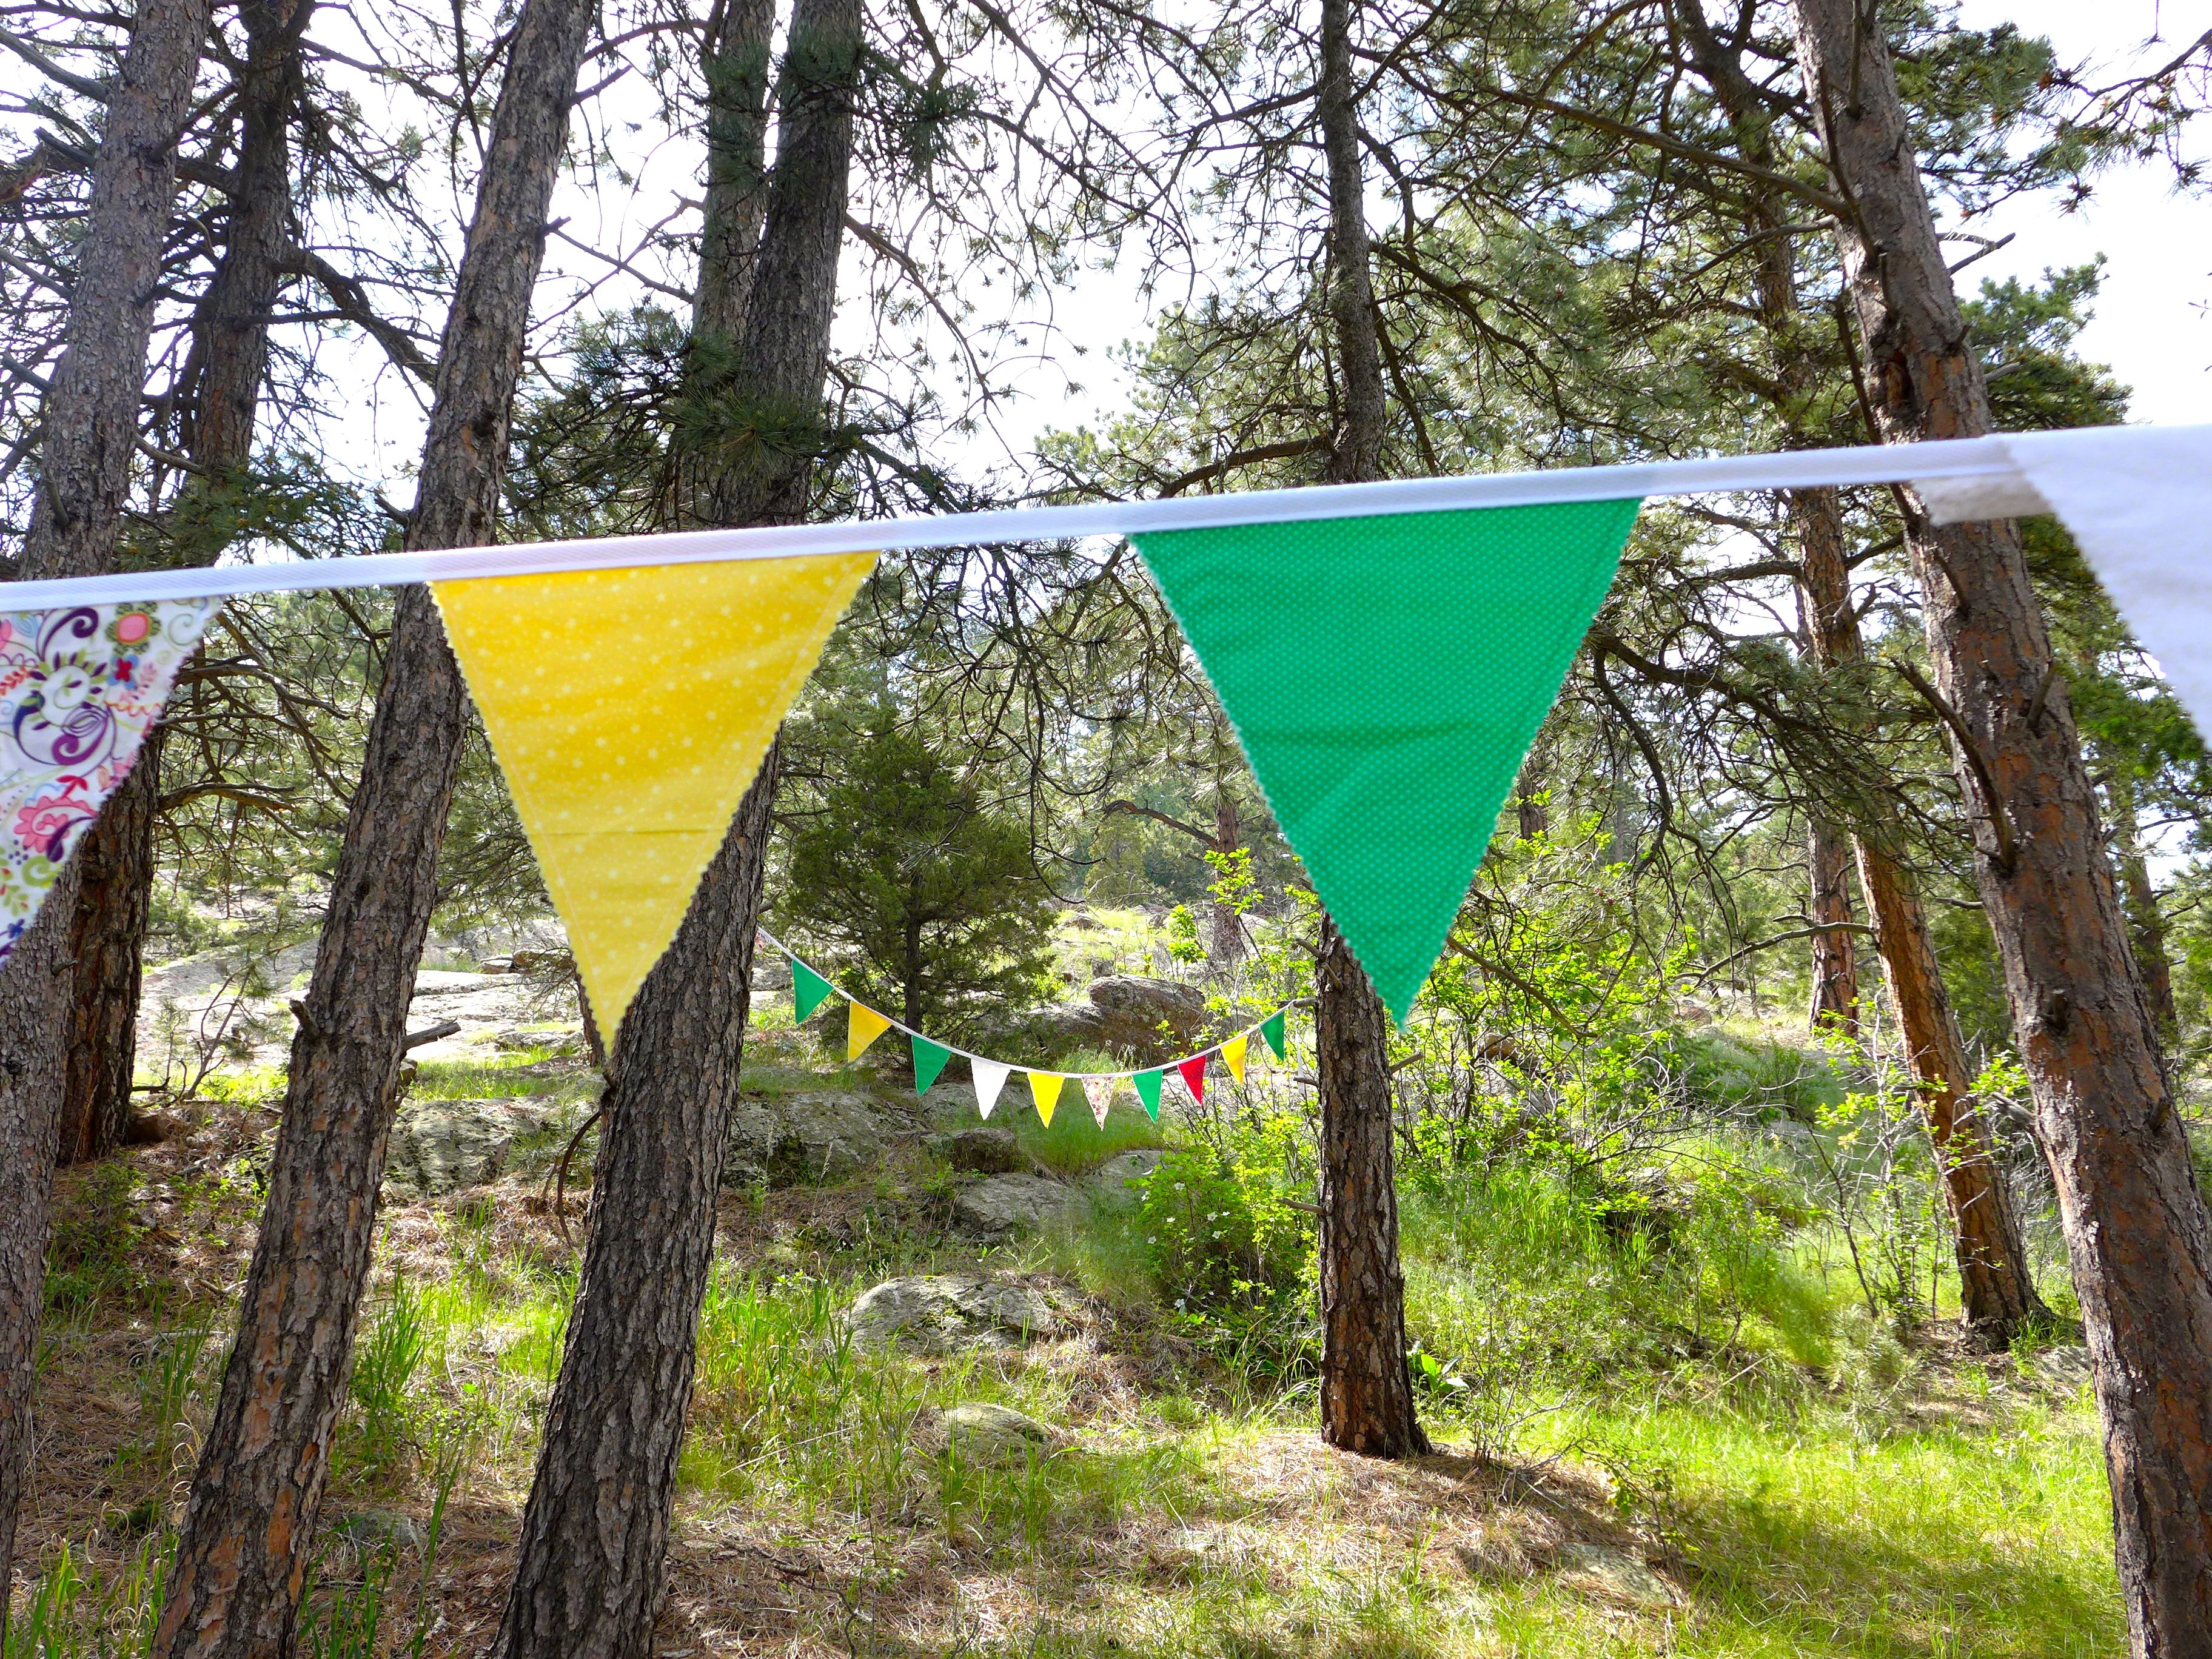
To make the backdrop for the ceremony, we just took one length of bunting and tied long strands of ribbon between the flags. Easy peasy, and it gave some vertical interest to the bunting. We then tied the bunting to two trees that were behind the ceremony area ~ it gave a nice pop of color to the already beautiful forest background.
Tips and Tricks:
- If you’re making this for a specific occasion, get the dimensions for the tent or other location where you know you’ll be hanging the bunting. It’ll make planning the length of your bunting much easier.
- Make extra strands of bunting in other lengths, both longer and shorter. You may or may not use them, but it’s so nice to have them on hand in case a decorating idea strikes at the last minute. Most of our bunting had 21 flags for the tents, but I also made some with 11, 5, and 3 flags (odd numbers are more appealing to the eye).
- In line with the previous two points, the long length at the end of the bunting will give you a lot of decorating flexibility. It was longer than I needed to tie around the tent poles, but it gave me some wiggle room in case we needed the bunting to be longer than I thought, or in case we wanted to tie some pieces around tree branches.
- Give away some of your bunting at the end of the night! Unless you know you’re going to use it all again, this is a fun gift for people who helped to plan your party, because they can always use it for random celebratory moments. I gave most of ours away, but kept a few strands of different lengths and have used it again and again to decorate the house for birthdays… We even took a strand to the hospital for Luc’s birth and used it to decorate our hospital room!
This bunting was so easy and inexpensive to make, and I love the festive note that it brought to the tent and ceremony, but possibly even more, I love that we still have something homemade from our big day to bring out for other festive occasions, like little Alex and Luc’s birthdays!
It really is so much fun looking back on our wedding, and I’m excited to share a few more projects with you throughout the rest of the month.
Such a beautiful picture of all of you!!!
Thanks, Ginny! xoxo