
Teachable Moments is an ongoing series where we share simple ideas for exciting and encouraging learning anytime and everywhere. You can see previous posts here.
Today we’re popping in with a super simple science activity : flower dissections!
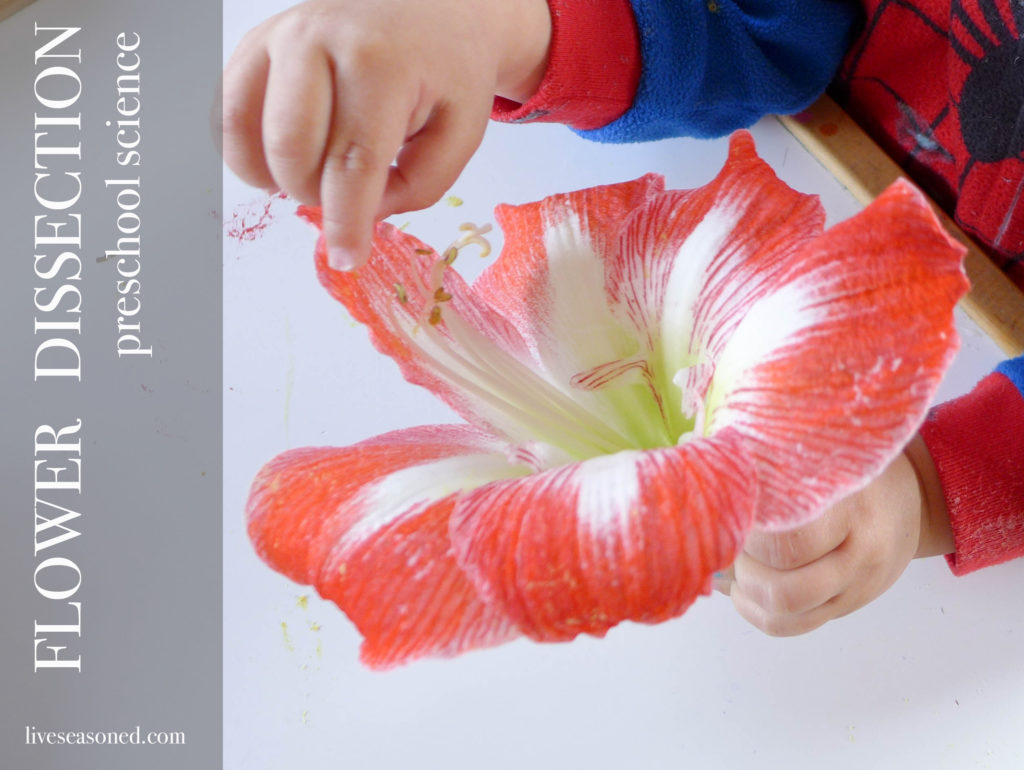
Flowers aren’t often the first thing that comes to mind when someone mentions a dissection (maybe you’re thinking about that frog or shark from high school biology?). Read on to see why we think flowers are the perfect specimen for preschool dissections.
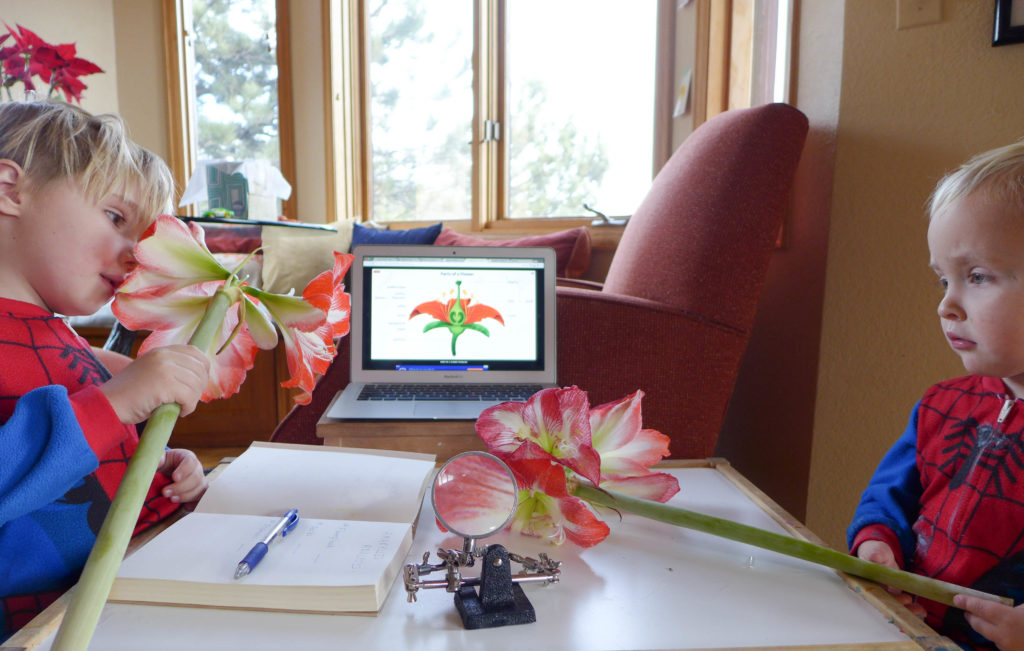
This activity was born as our amaryllis was starting to fade. I usually hold on to these winter flowers for as long as I can, but this year I thought that it would be more fun to let the boys dissect the flowers. When I told them what we were going to do, their excitement was palpable.
Why Dissect?
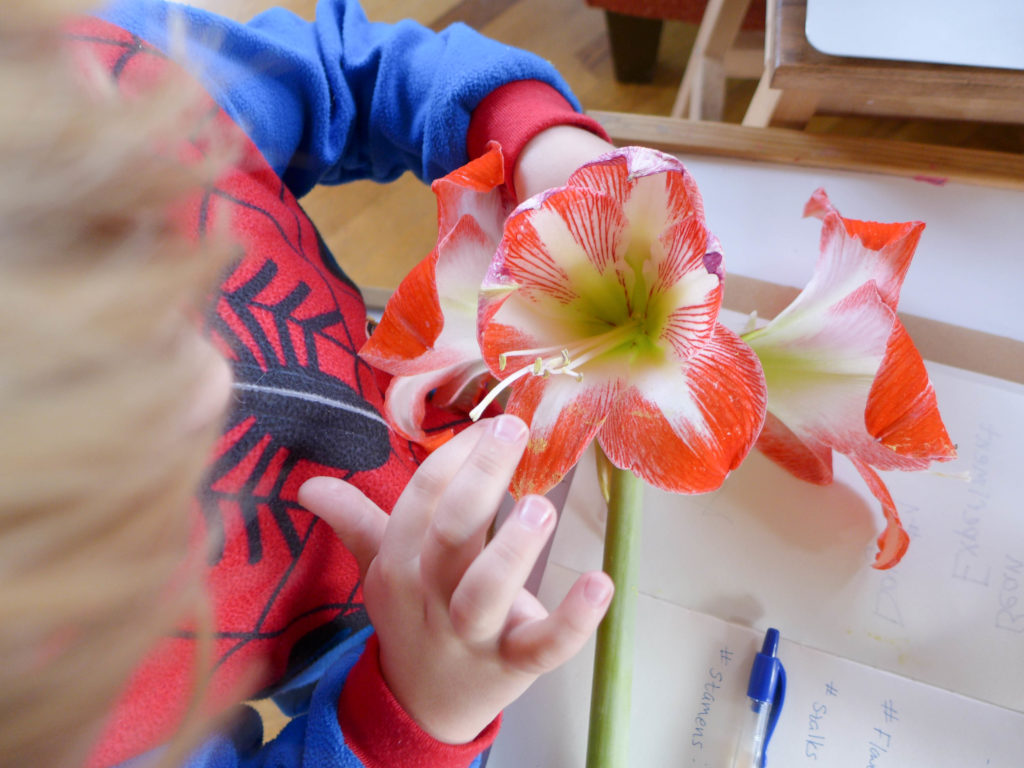
- observation : Dissection is an activity that encourages your kids to practice their observation skills. In this case, I asked the boys a lot of “how many” questions. How many flowers on a stalk? How many petals per flower? How many stamens per flower?
- use reference materials : I’m a huge proponent of reminding kids (and adults) to use reference materials. I want these guys to be comfortable using reference materials and to think of research as a common way to find the answers to their questions.
- create your own reference materials : As I’ll mention below, I had Amax take a few notes about the flowers. This will come in handy for our next flower dissection when we discuss how flowers are different and the same. It also creates a sense of importance around the project if the boys are using their science journal.
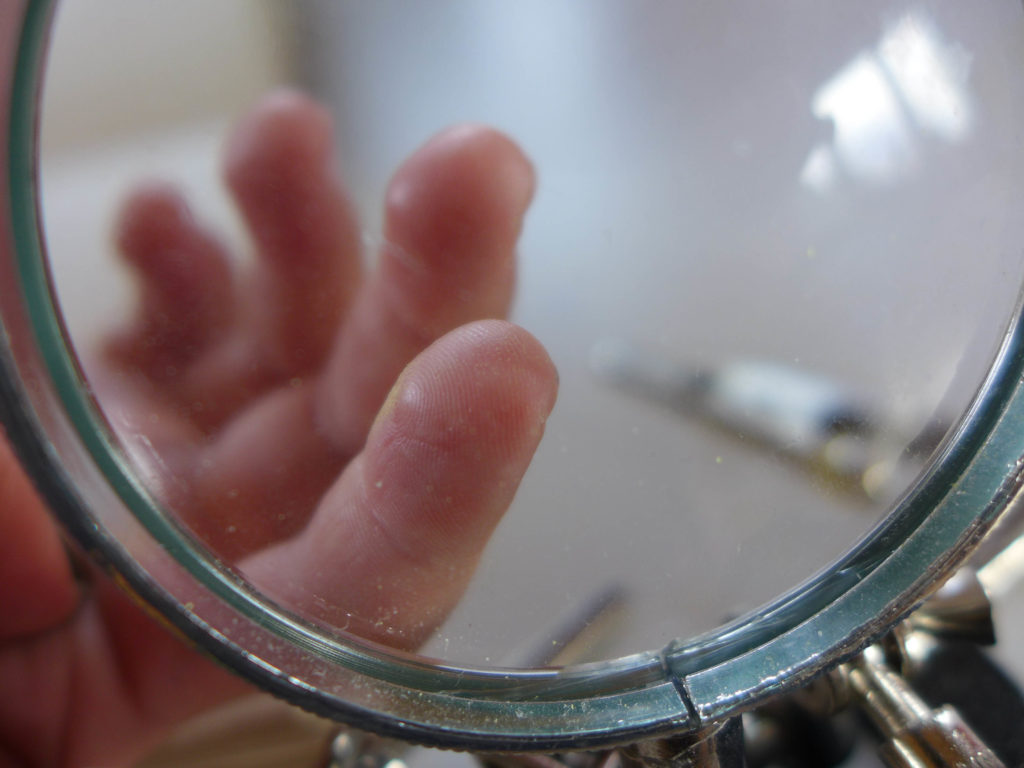
- study biology in action : This was a great way for the boys to get a more intimate understanding of flowers. Before today, they would happily tell you that bugs and bats drink nectar and pollinate flowers. They could also tell you that a flower had petals, but they didn’t know the names of the other parts of a flower. While dissecting the flowers, we reviewed the names for the other parts of a flower. Talked about where the seeds form and discussed how pollen has to get from the anther to the anther to the stigma. They also got to see firsthand that the pollen would stick to their fingers (just like it sticks to bugs!) when they would try to reach deep inside the flower. They won’t remember all of these details or names, but they now have a familiarity with flowers that will make it easier for them to remember the details during their next flower dissection.
Dissection Set-up & Tools
I created an intentionally simple space for our dissection, keeping the focus on the flowers.
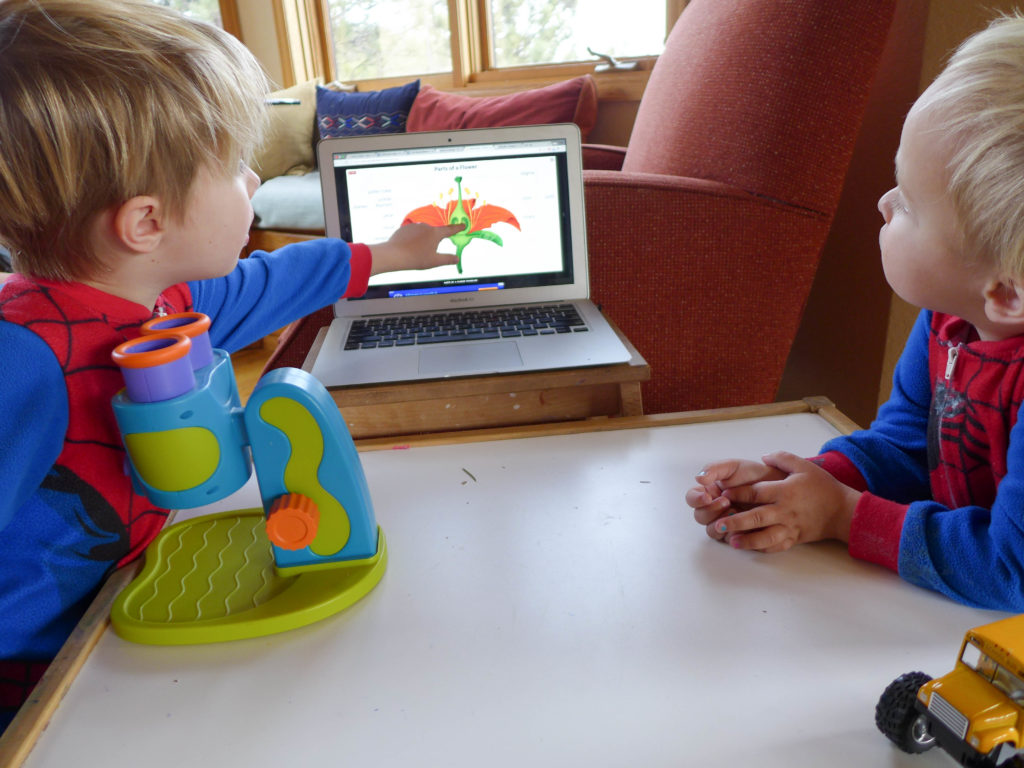
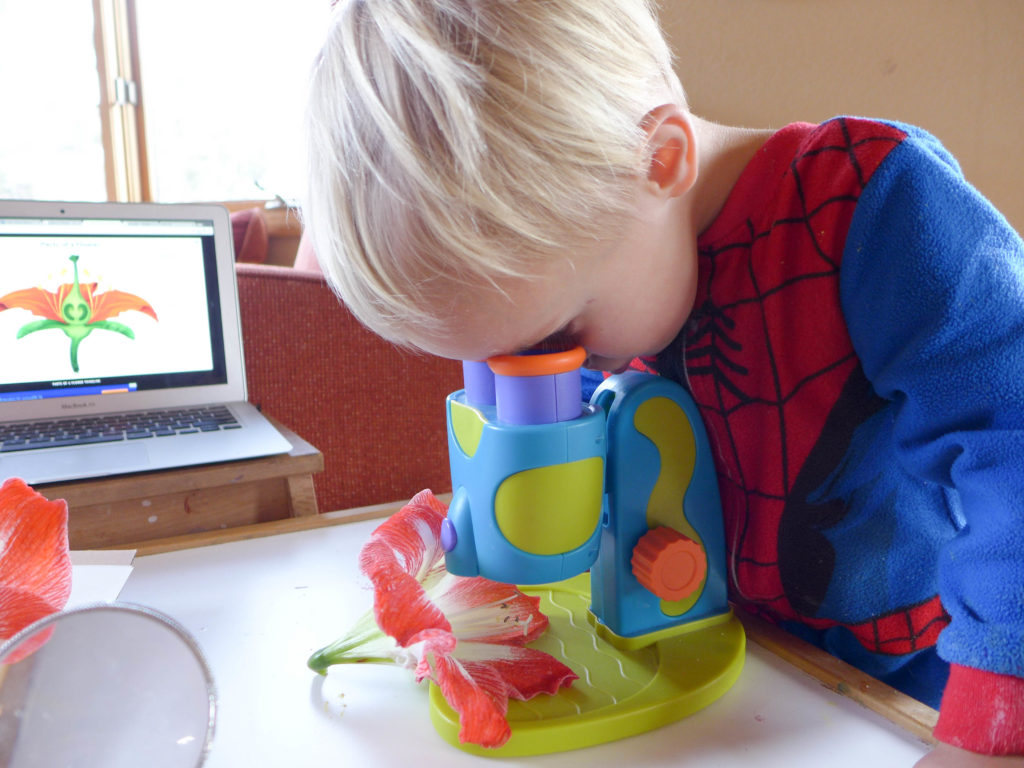
- flower diagram : We began by reviewing the parts of the flower on a simple diagram that I pulled up on the computer. We kept this diagram open throughout the dissection so that the boys could reference it.
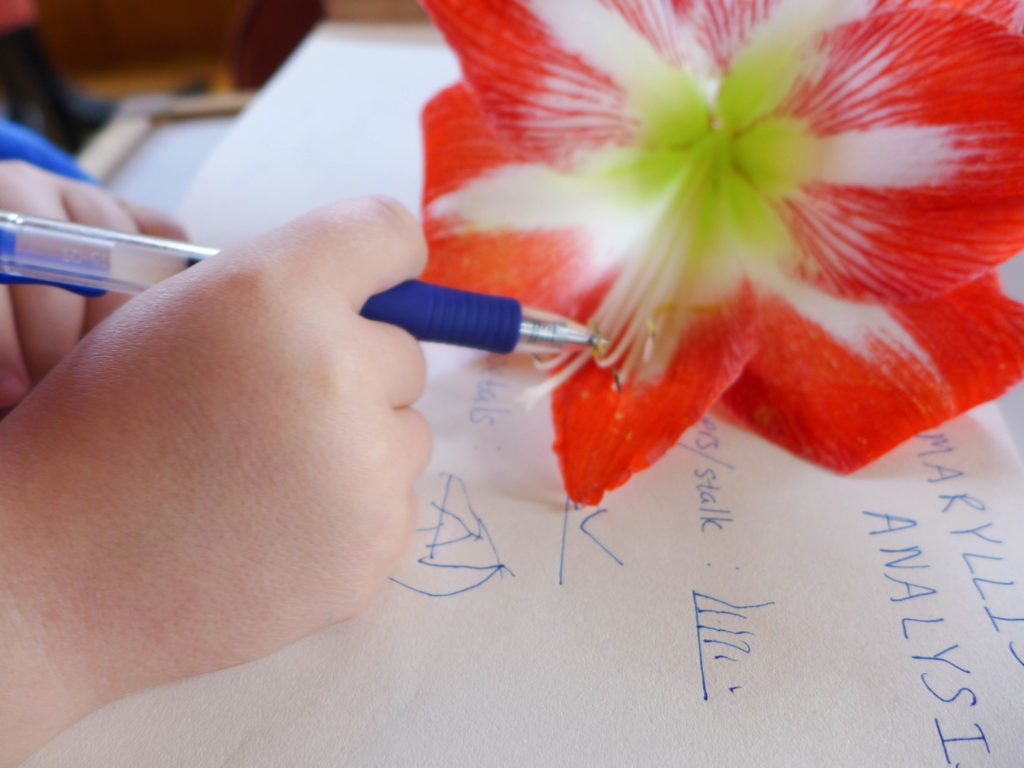
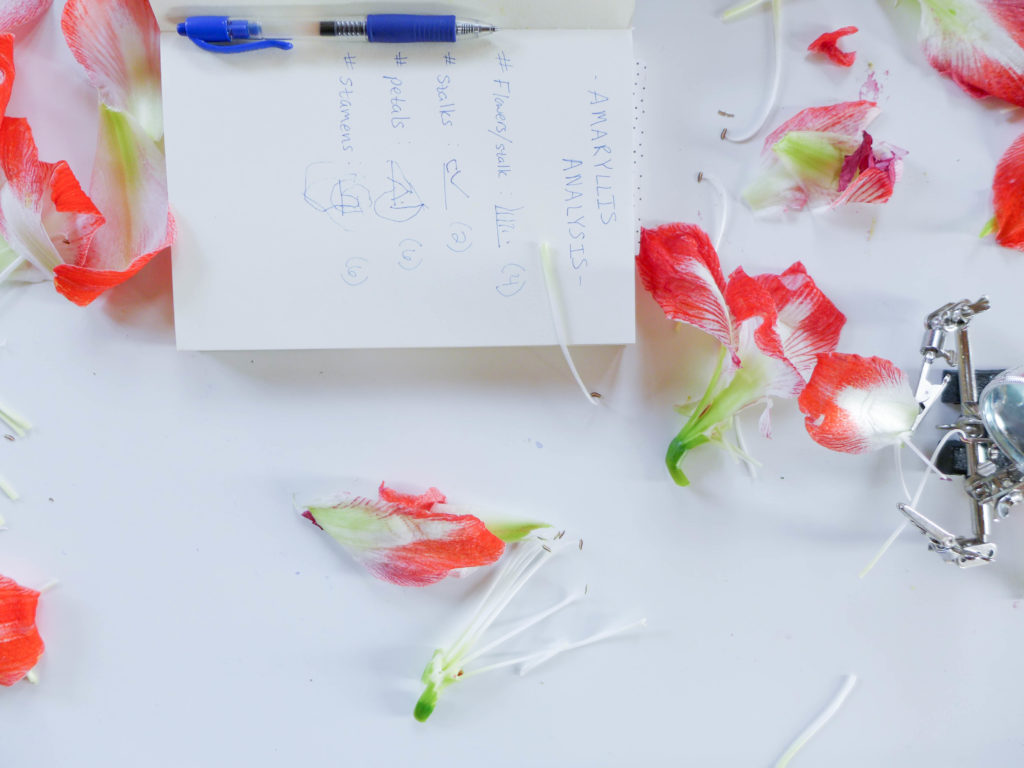
- notebook : We have a very simple science notebook that we use to record projects. For this project, I wrote down a few lines related to my “how many” questions about. While dissecting the flowers, I would remind Alex to fill in the answers to the question. You’ll notice that on this particular day he was really into making dashes and checks rather than writing numbers, but because I want us to reference this page when we do future flower dissections, I added the actual number answers (Amax was totally fine with my contribution to his notes). And as I mentioned above, the simple act of taking a few notes causes the boys to take these simple projects more seriously.
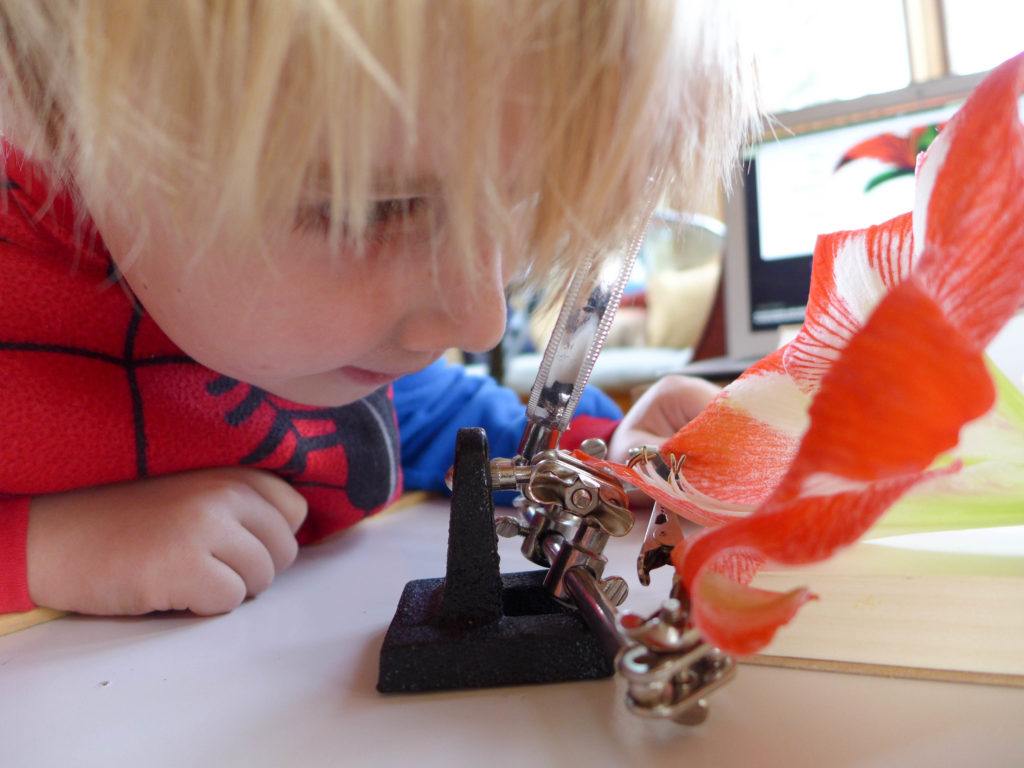
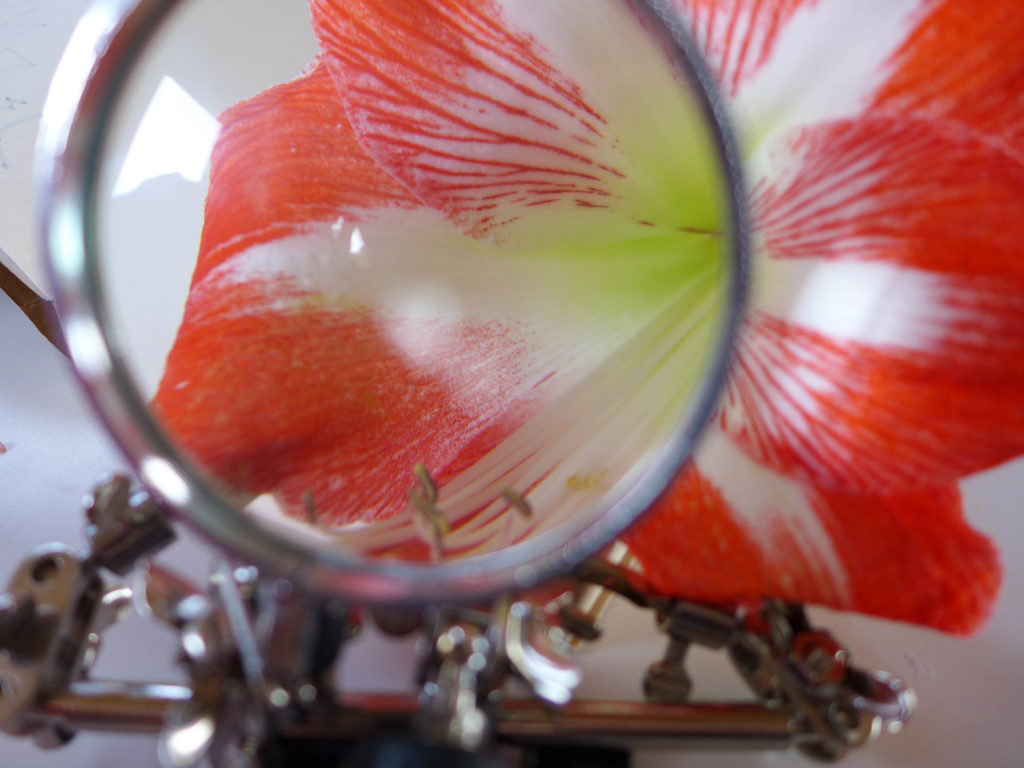
- magnifying tools : After the boys spent some time observing the flowers with their eyes and hands, I added their magnifying glasses to the table. We love this “microscope” and this table magnifying glass with clips.

Tips
If you’re going to do a flower dissection at home, we have a few tips.
- know your flower! : I don’t mean to be captain obvious, but it’s helpful if you take a minute to review flower biology before starting the project with your kids. You don’t want to make a simple mistake like telling them that the red leaves of the poinsettia are its petals. BUT you may want to tell them a fun fact like the many “petals” of the sunflower (like the coneflower) are actually individual flowers!
- enjoy the flowers first : buy a bouquet (rainforest friendly!), put in vase, and then after a few days of commenting about how pretty the flowers are, let the dissections begin! You’ll win the fun-mom-of-the-day award.
- have multiple flowers available : it’s always nice to have an intact specimen as a reference when you’re working your way through removing parts.
- start big : Larger flowers make it easier to identify the different parts. And even with your given flower, start with it in its whole form and then start to break it down. For this project, I gave each boy an amaryllis stalk. The stalks each had four flowers. After letting them examine the whole thing, then I cut off one flower and gave it to them. This made their flower dissection more manageable and also gave us back-up flowers in case they wanted to refer back to what their flower looked like before they started removing petals.
- take notes : a few simple notes are a great way to log the activities that you do at home, and they may come in handy if you dissect other flowers in the future.
 If you have little ones at home, we hope you’ll give flower dissections a try. It’s the perfect indoor activity for an afternoon. You’ll stimulate your little one’s mind, sense of wonder, and powers of observation. What could be better?