Apples are our ingredient of the season, so far we’ve covered a variety of baking and drinking recipes. Today it’s all about the condiment!
Have you tried apple butter yet? Apple butter is a more concentrated form of apple sauce, taking all of fall’s best flavors and turning them into the perfect little condiment. It was originally developed as a form of preserved apples that would last longer than apple sauce because of its higher sugar content. If you’ve never had it, it may be because it’s more of a regional food. Apple butter was developed in Germany and the Netherlands, making it a more popular condiment in regions of the US that were settled by people from those countries, particularly the Amish. If you haven’t had it, I encourage you to seek out a jar (or jump in with both feet and make our version below) ~ it’s soooooo good! Stumped on how to eat it? The spread is often eaten with bread, but I’ll share a few more fun ideas below.
I have to admit, two weeks ago when I was making this batch of apple butter, I was exhausted and little A was squawking because he wanted to go outside, making me question why I wasn’t just running to the store to pick up a commercial jar. But I quickly had a change of heart. Other than the hour of peeling and chopping, this butter required so little work, that I’m solidly convinced it’s worth the effort, especially since I can tailor the recipe to my wants, being sure to buy organic apples, lowering the sugar, and upping the spices. Plus, the concentrated apple and spice flavor is such a perfect condiment for the season, and that’s what we’re all about!
I have made apple butter many times, and never the exact same way, but every time it turns out delicious. I’ve made batches that started with 40 lbs of apples all the way down to this measly batch that started with 4.5 lbs. I’ve also made it in an electric roaster, an electric frying pan, and a crockpot. I’ve found the crockpot to be the easiest, but use what you have! That’s all to say – this particular condiment is so forgiving. As long as you start with a big pile of apples and allow them to cook down slowly with a touch of spices, liquid, and sugar, you’ll end up with something delicious. I promise.

Ingredients
Recipe makes approximately 5 cups of apple butter.
- 4.5 pounds of McIntosh Apples, peeled, cored, and chopped
- 1 cup brown sugar
- 1 tbsp ground cinnamon
- 1/2 tsp ground nutmeg
- 1/4 tsp ground cloves
- 1/4 tsp salt
- 1.5 cups water (or you could substitute apple cider for half or all of the water)

How-to
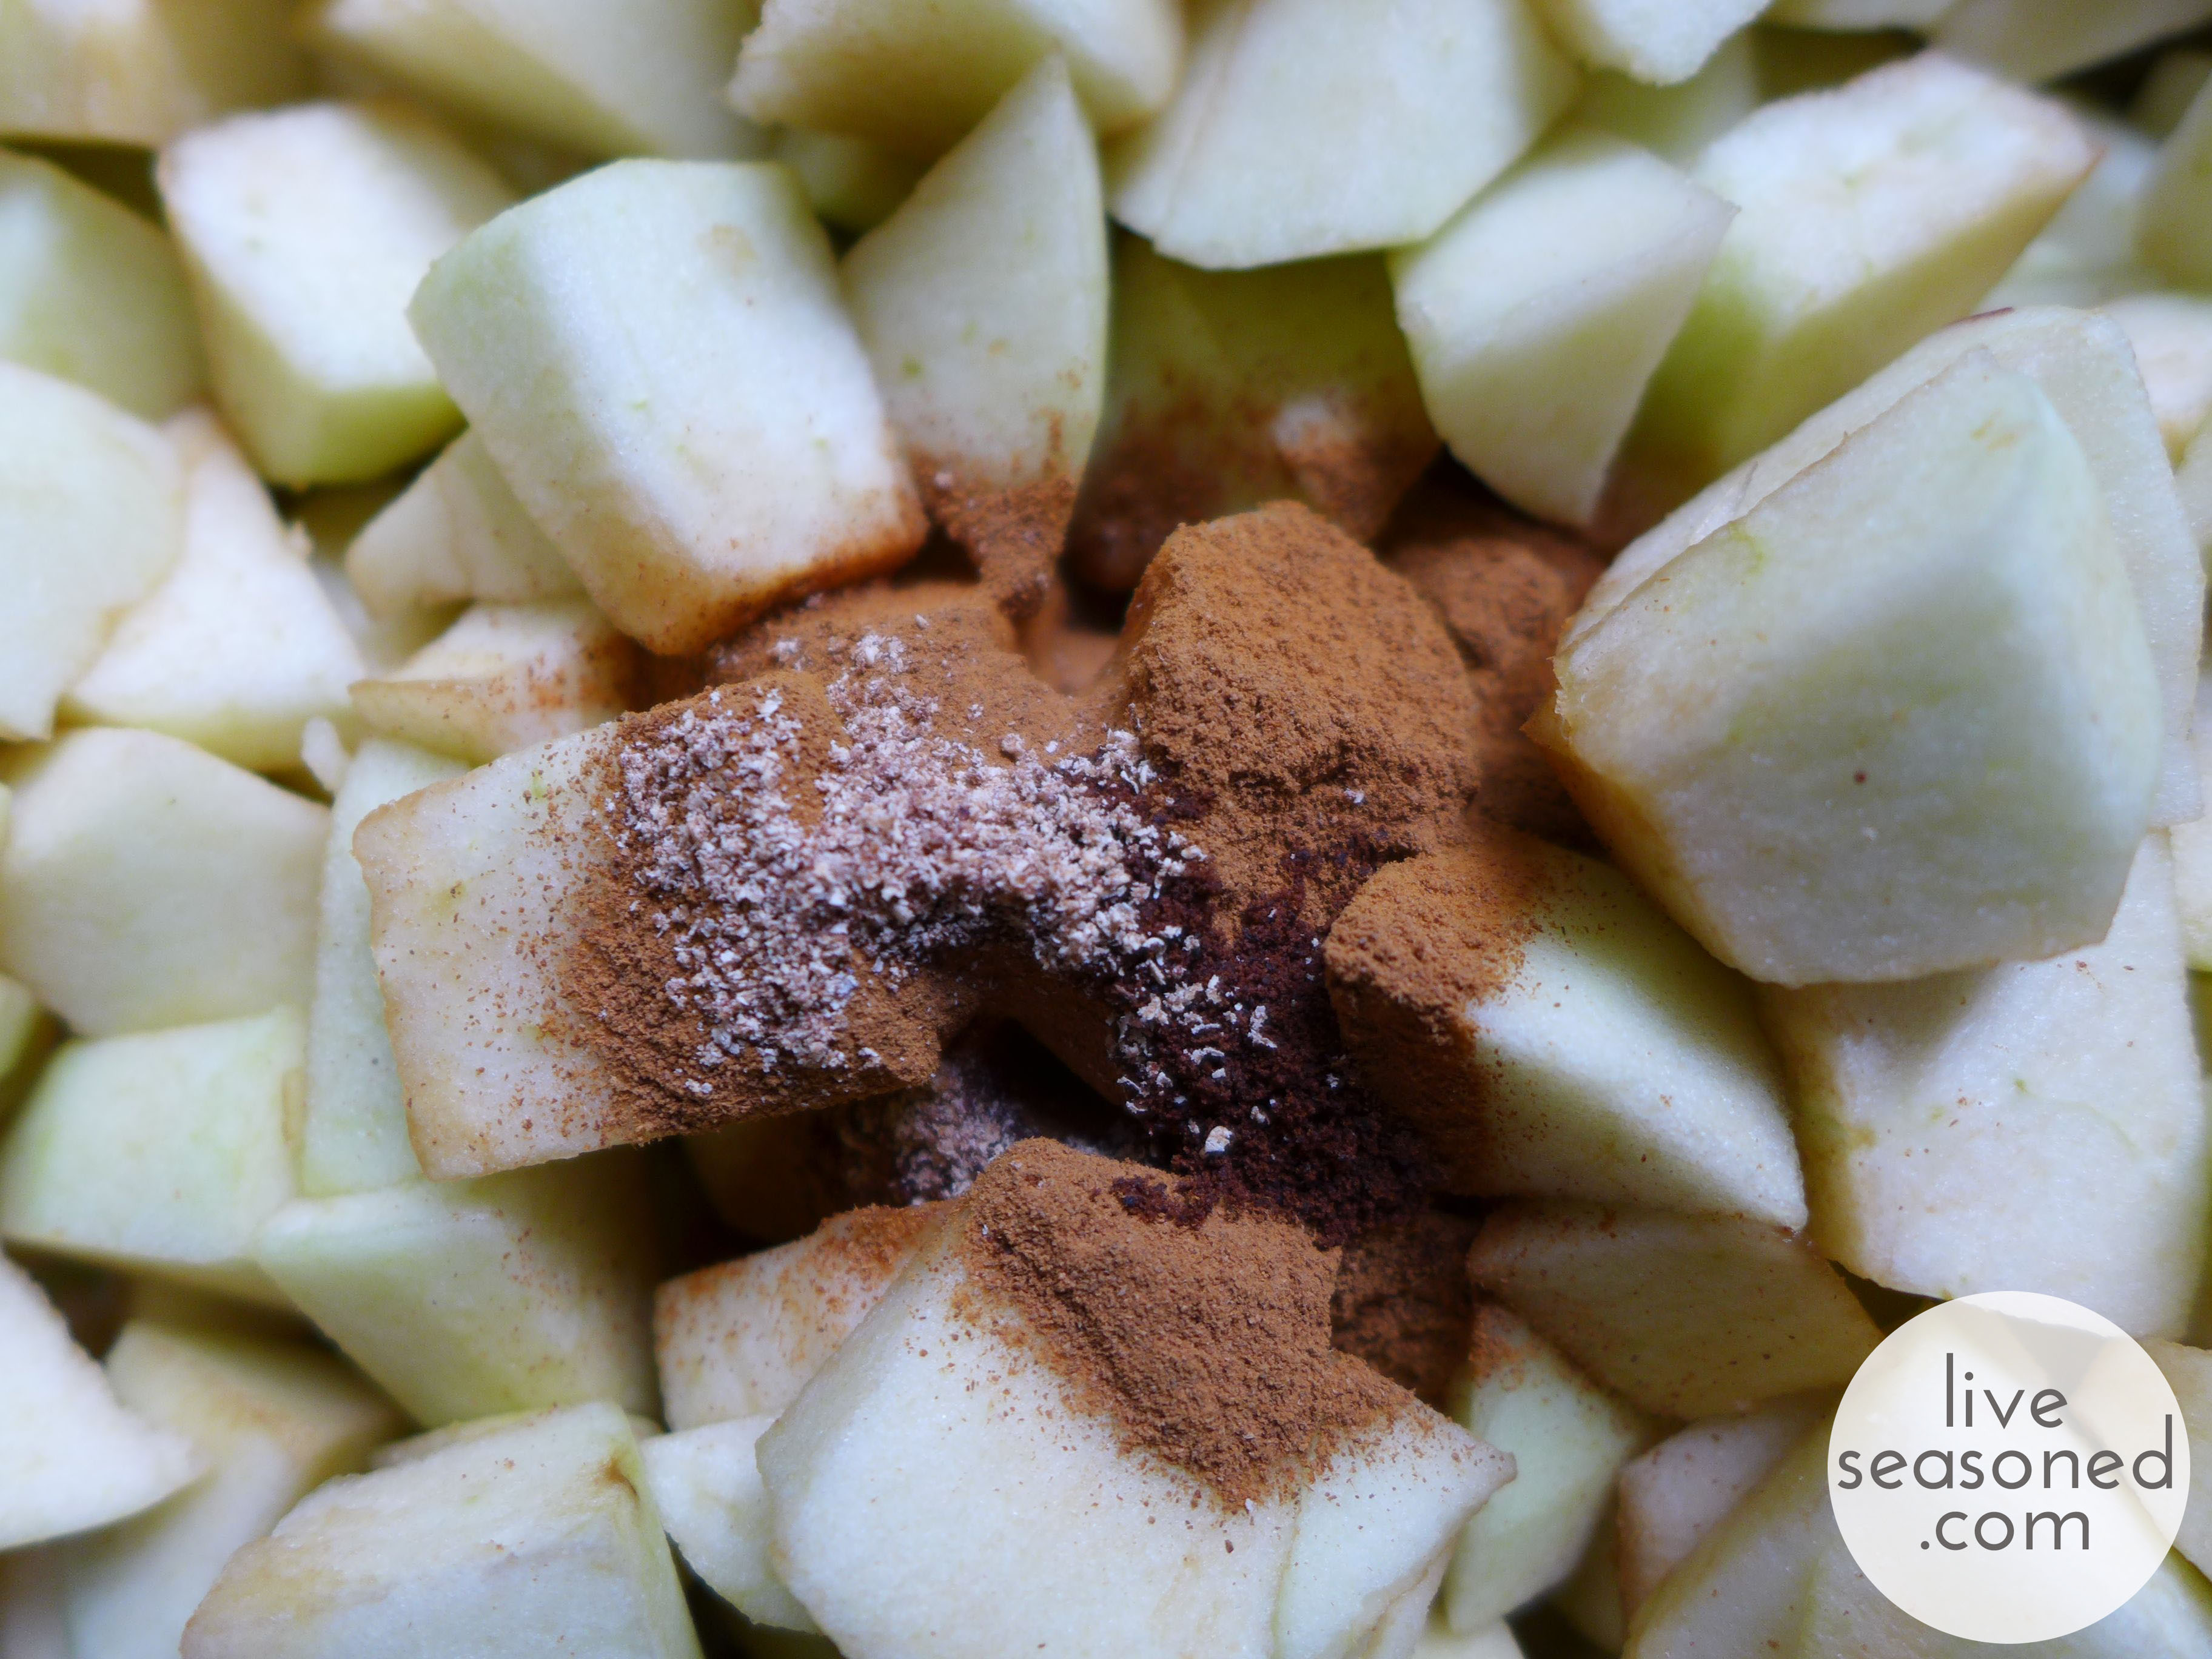
- Mix all ingredients together in your slow cooker and put the lid on, but leave it slightly ajar to allow steam to escape.
- Turn it on high for 3 hours, at the end of three hours give it a good stir and assess the pot. If there’s a lot of liquid, you could keep it on high for another couple of hours before turning it to low. If the apple butter is more concentrated, you can turn it to low immediately and let it cook for an additional 4-5 hours (or longer) until you reach your desired apple butter consistency. You can even remove the lid in the last few hours of cooking if you want to let more steam out, but as your butter nears the end, be careful to stir it and watch for any signs of burning (this is less of an issue if the lid is partially on, slowing the evaporation).
- When your butter is done cooking, let it cool. I do this with the lid off to allow for that final dose of evaporation and concentration. Transfer it to a container and refrigerate.

A freshly mixed batch.

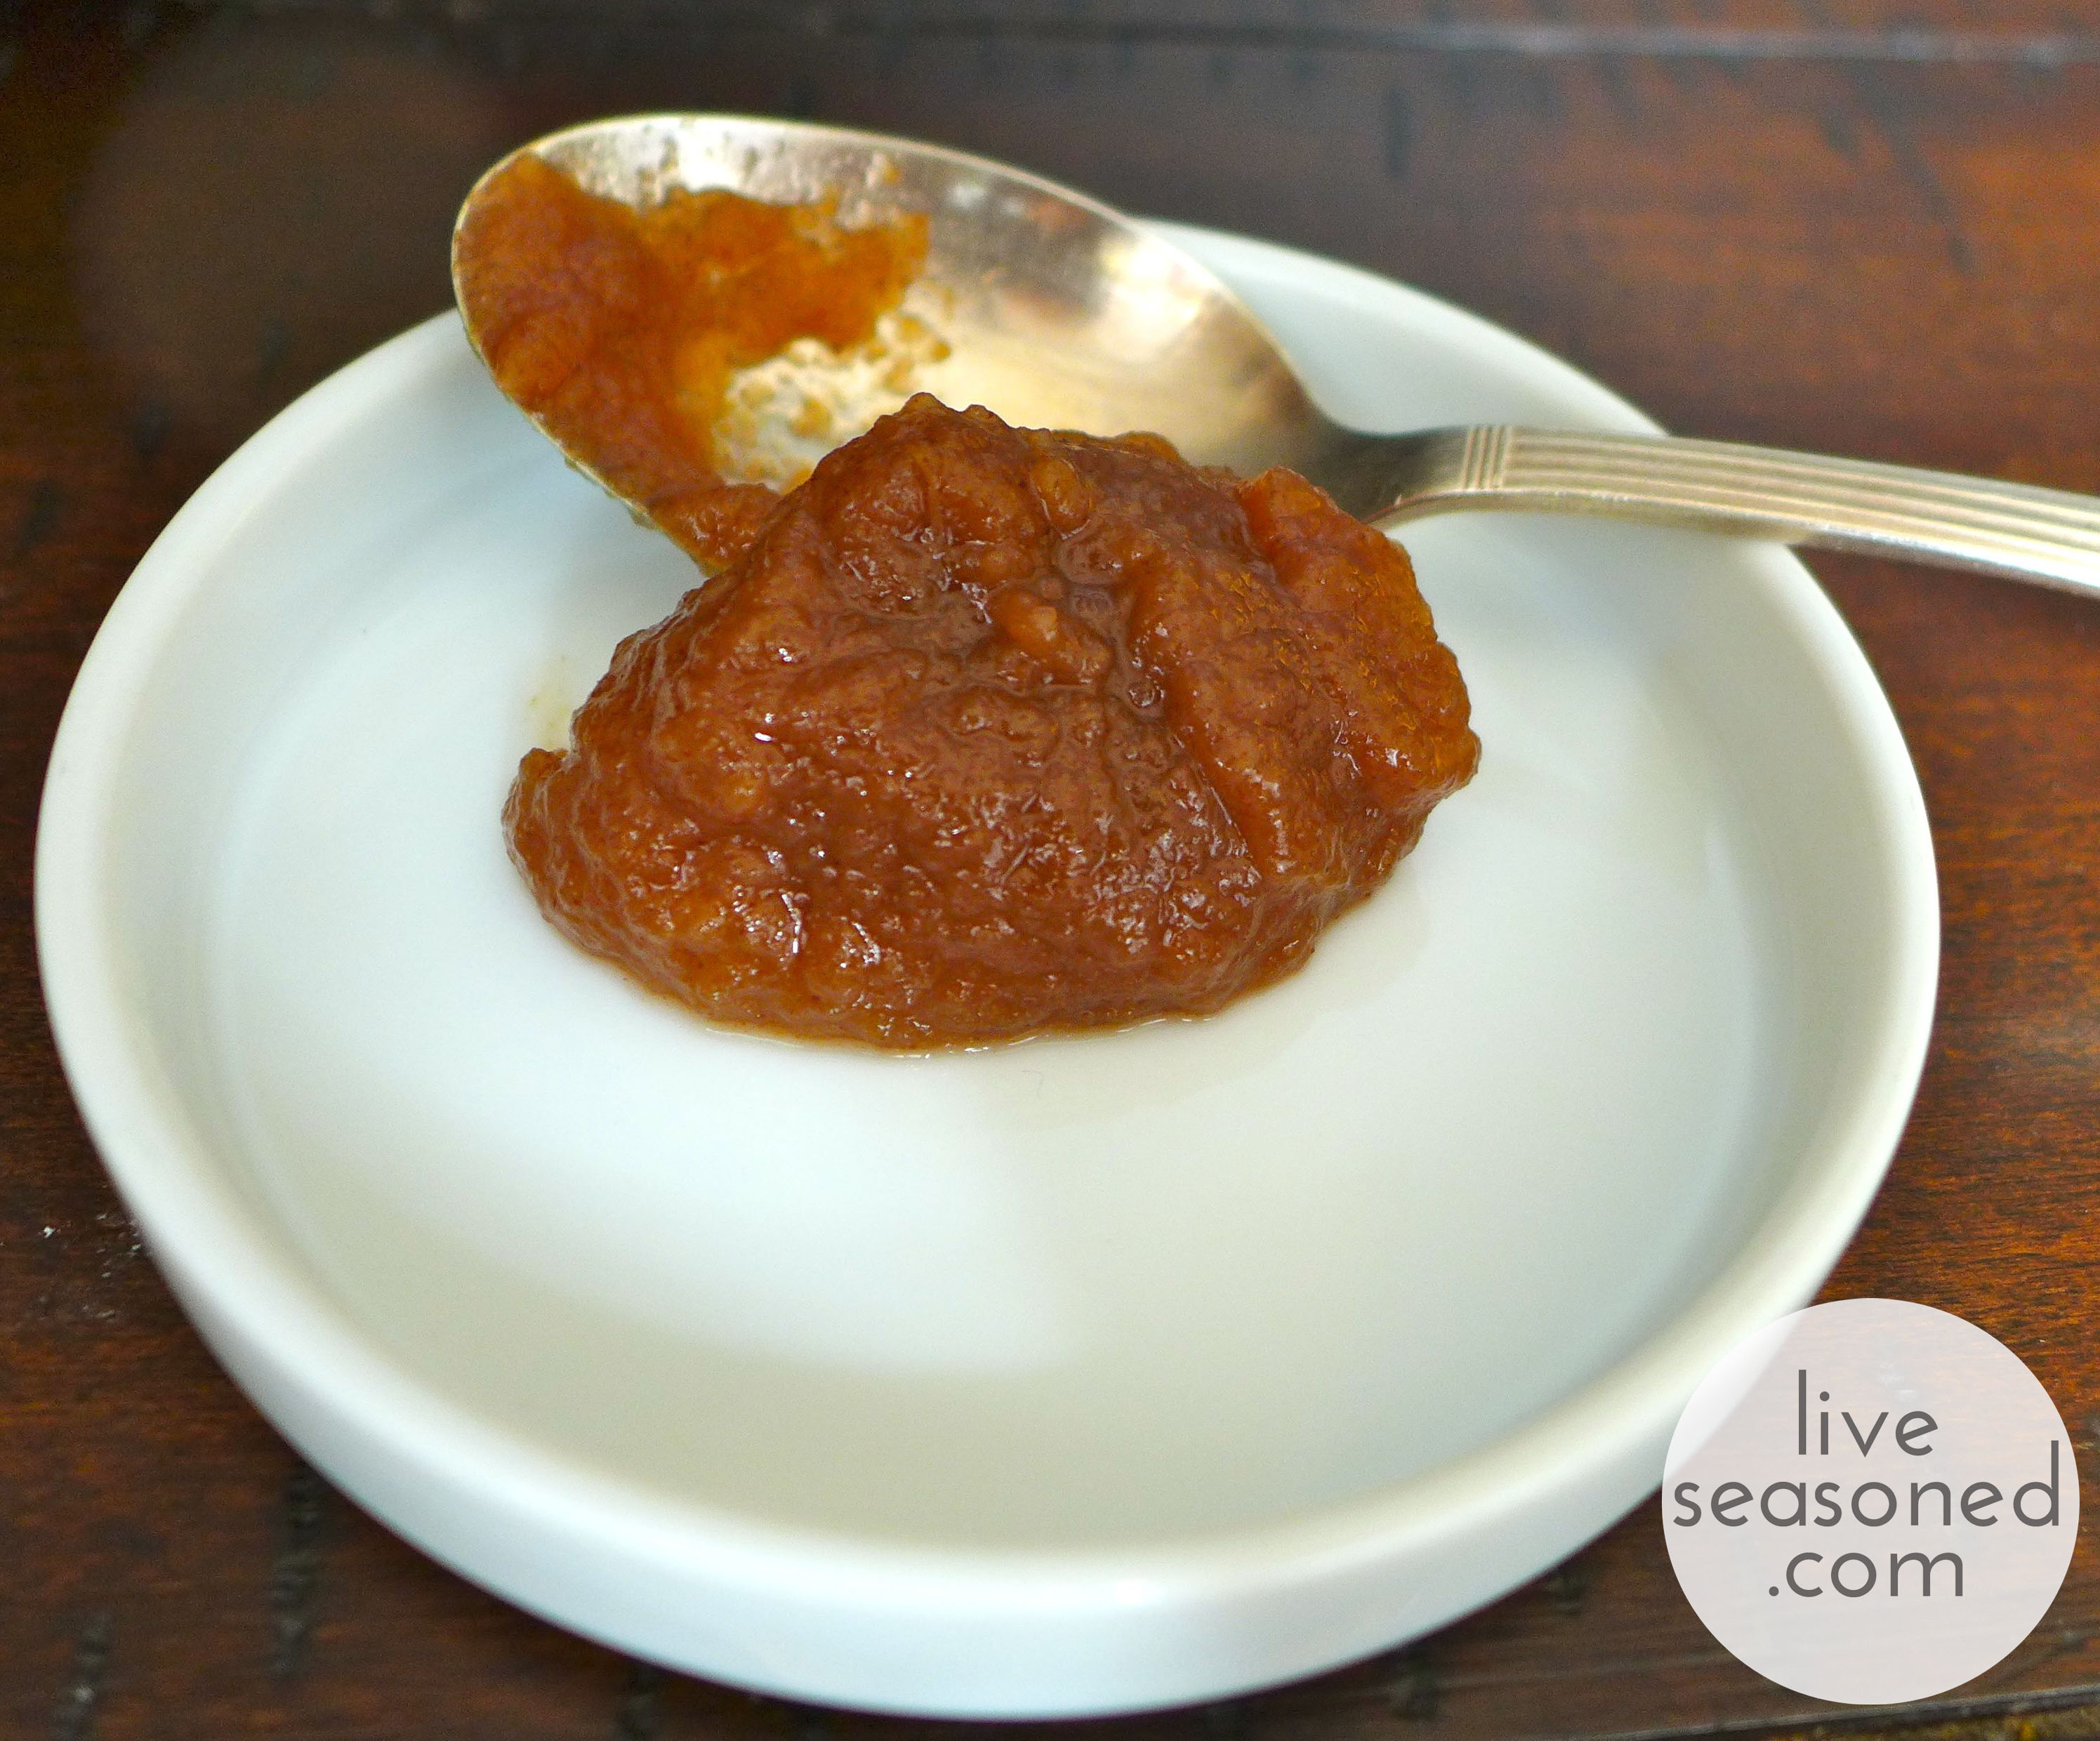
The same pot after 3 hours of cooking on high in a crockpot.
Tips and Tricks
- Use a wire whisk for all of your stirring. It’s a great way to break up the apples and get a smoother consistency than if you use a spoon.
- If you have to leave the pot for while at work, just start with the crockpot on low for that time. Similarly, some people will start their butter at night and let it cook on low while they sleep. After 8 or so hours, give it a good stir and then you can always turn it up to high for a few hours if there’s still a bit of liquid in the pot (I’ve made apple butter while at work and it’s always turned out fine).
- If you’re unsure about when it’s finished, you can scoop out a bit on a spoon and pour it onto a plate – if it holds its shape and doesn’t become a pool of liquid, then it may be done.
- If you feel like the liquid is evaporating too fast and your apples aren’t cooking down and creating that caramelized brown color, then you can always add more liquid! This was the case for me when I was making big batches in the electric roaster, with such a large opening, it would let out a lot of steam (unless I had the lid positioned just right). Just add a cup at a time, stir it in well, and let the mixture continue to cook.
- As I said, I’m prone to using less sugar and more spices than other recipes may call for. Feel free to adjust those levels as you see fit. There really is so much wiggle room ~ I’ve really never had a bad batch!
Serving Suggestions
This batch made 5 cups of apple butter. We’re currently down to about 2.5 cups, so yes, we have plenty of serving suggestions!
- As I mentioned, it’s common to spread apple butter on bread. As with my jam, I like to spread on a layer of butter first and then the apple butter. It’s particularly good on bagels.
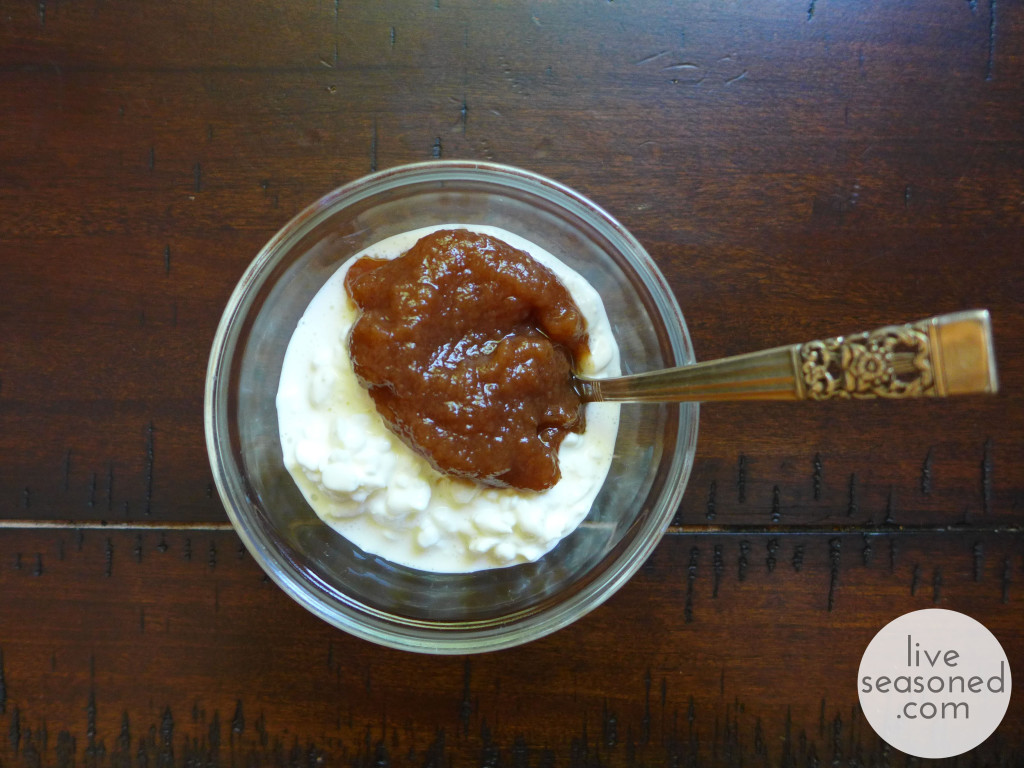
- A very common way to serve apple butter in Amish communities is with cottage cheese. This is one of my favorite ways to eat it (and Alex’s too!). If you’ve ever eaten at a salad bar in the area around Lancaster, PA, it’s very common to see cottage cheese and apple butter next to each other in the salad bar (and now you know why!).
- Similar to cottage cheese, I like to stir some into plain yogurt.
- Last weekend we added a spread of apple butter to our Saturday morning crepes with ham and cheddar cheese (Calder’s figured out a super easy way to use Bisquick for crepe-making, we’ll have to share the recipe soon!).
- When we had some dinner guests last week, I added a ramekin of apple butter to the cheese plate. It was delicious spread on baguette with either brie or cheddar!