Getting Outside : Week Day Doses

*As the corona virus is pushing us to stay home, it doesn’t mean that it has to keep us inside! We’re re-publishing this post with the hopes that you’ll take care of your mental and physical health by finding moments to get outside.

live seasoned camping greenpoint canada-12

Recently Katie shared a great post encouraging you to Get Outside! In it, she included a bunch of tips for heading out the door and after reading it, I wanted to focus on the first one: Take it easy. You don’t need an epic adventure to reap the benefits of nature. This is so true and something that’s often forgotten.

Getting outside is as simple as leaving the four walls that confine you. That’s it. Step out into the light.

I know I know this, that we all know this, but I think it was made even more clear to me while attending Adventure Fridays at Townsend Bertram & Co last week. On the third Friday of every month, TB&C invites the community to a free event to listen to an adventurous speaker and drink free beer from Steel String Brewery. The community gathers, gains inspiration, and then chats for a bit before parting ways.

Last week’s message was about the therapeutic nature of the outdoors. How nature heals us, makes us happier, and healthier humans. That was actually the main focus of my July Crafting Ritual and Cultivating Mindfulness Retreat. I was excited to go and learn from these ladies and to share my own experiences. When I arrived, I was delighted to see that the event was being held on the back deck of the shop instead of inside. This simple shift caused the whole crew of 20-30 people to spend two hours outside that otherwise would have been spent inside. I even came home with a few simple tips for spending even more time outside.

live seasoned camping greenpoint canada-10

Spend More Minutes Outside:

  • Eat breakfast, drink coffee or tea outside each morning
  • Make phone calls outdoors
  • Pay bills outside
  • Fold laundry on your porch
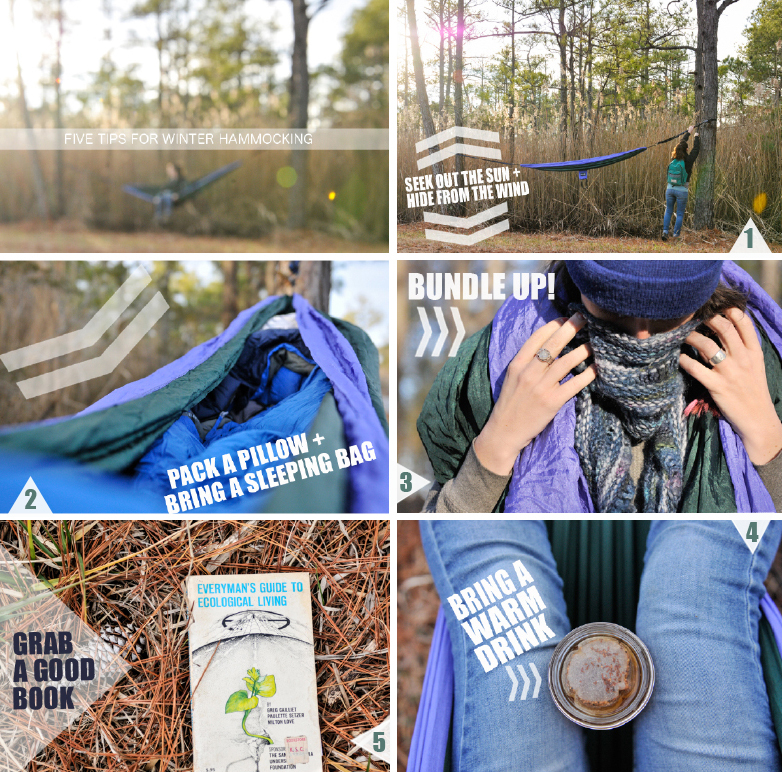
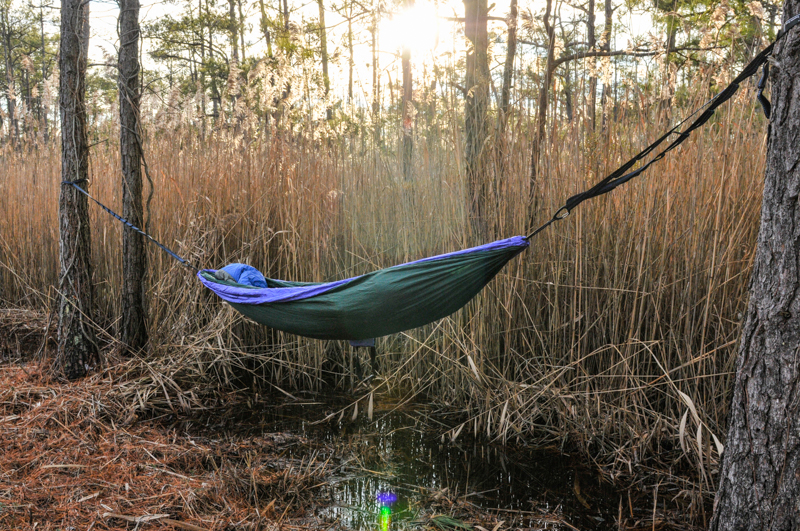
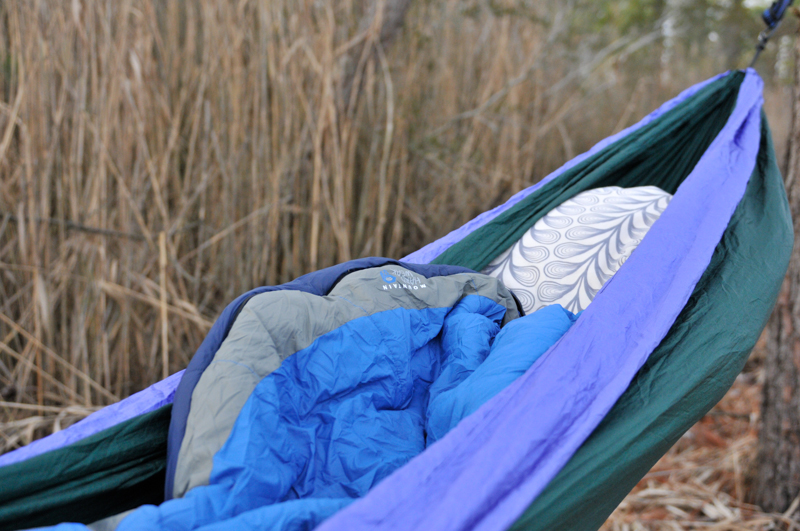
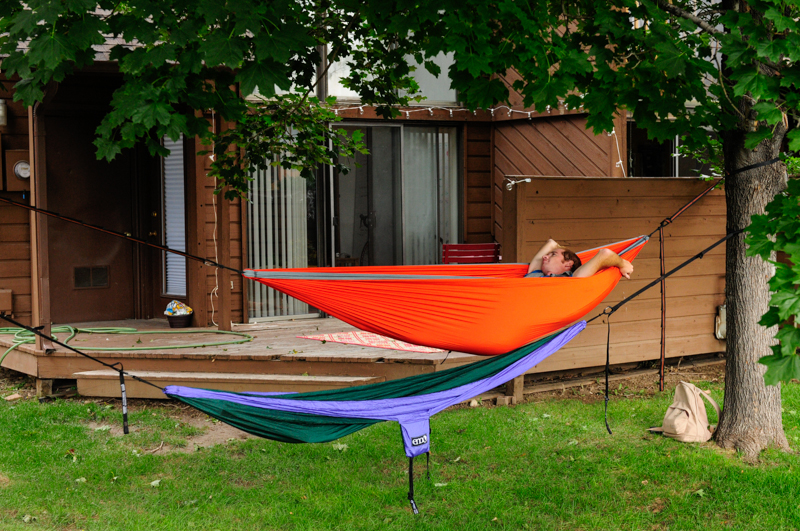
  • Hang up a hammock or set up a chill spot outside
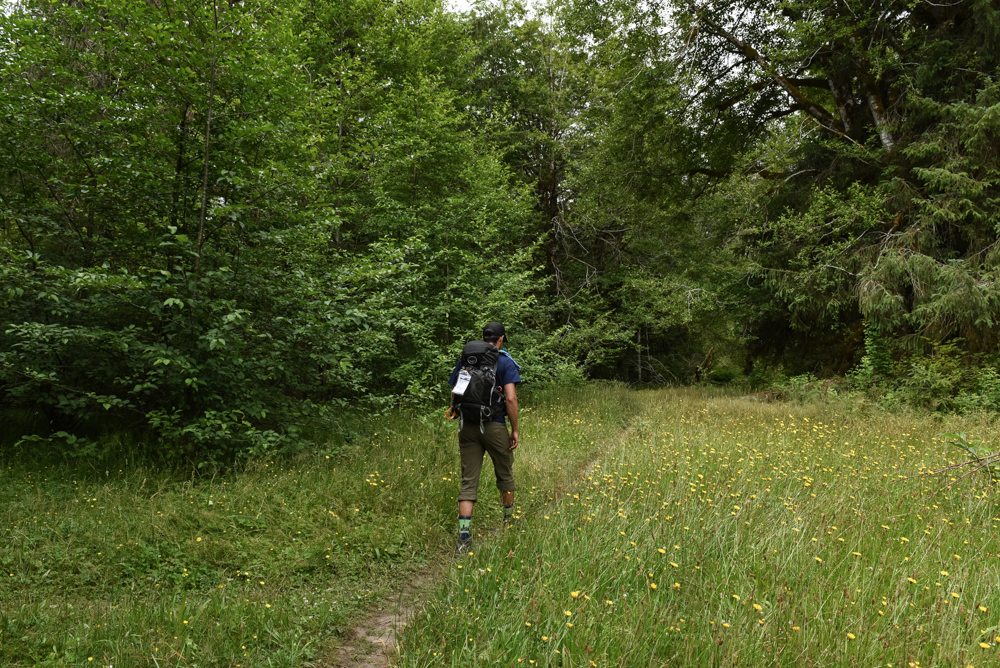
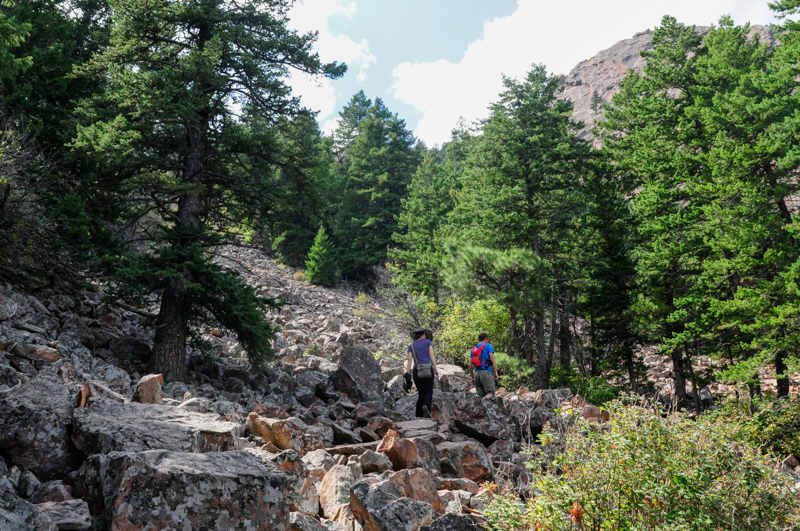
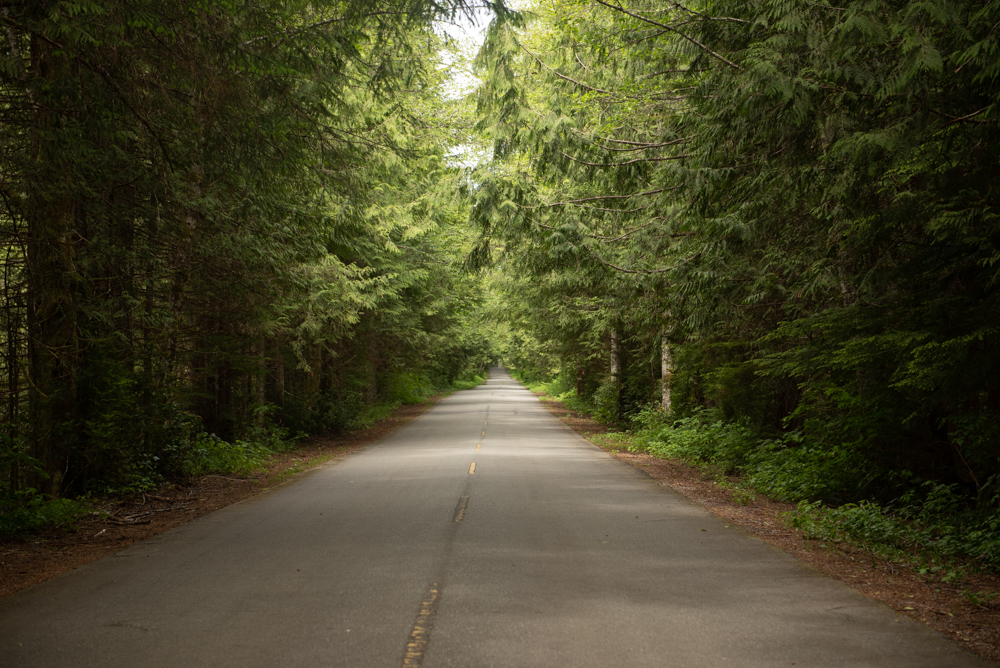
  • Invest in an outdoor hobby that doesn’t require much like hiking, biking, disk golf, etc
  • Set up an outdoor play spot (for kids this could be as simple as a rock pit, for adults as easy as a basketball hoop or disk golf hole)
  • Treat your dog walk as your own walk instead of a chore
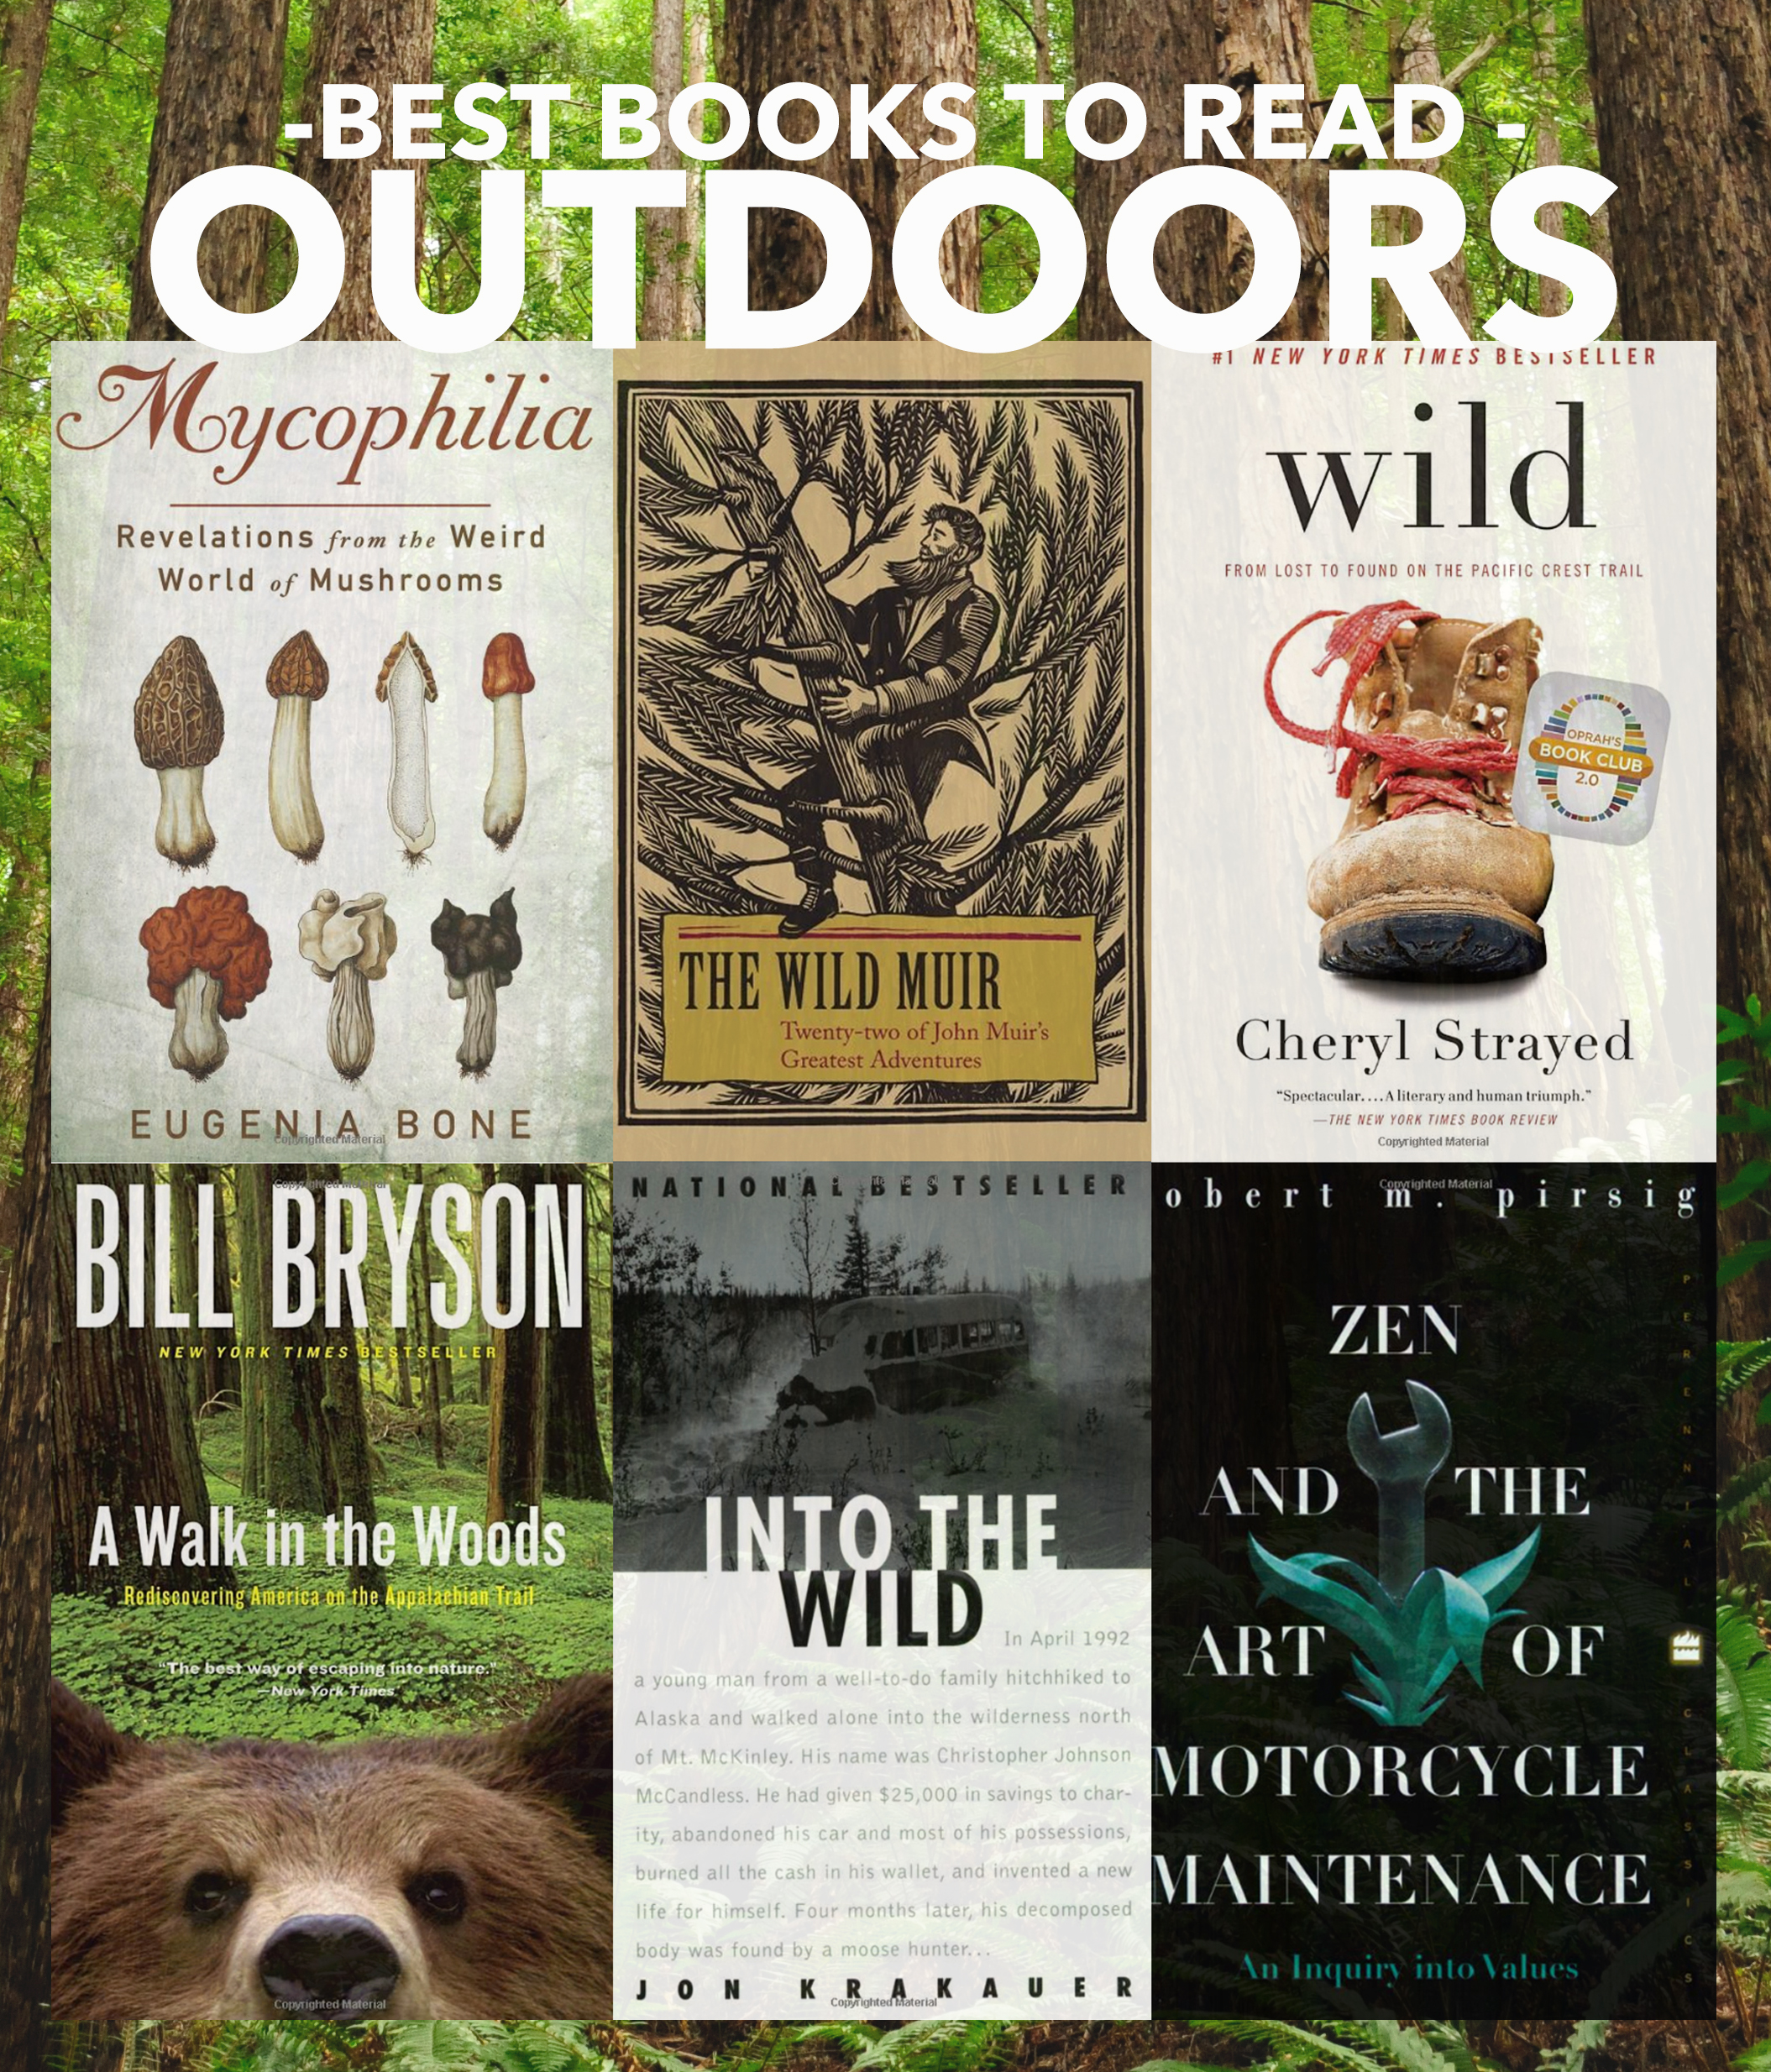
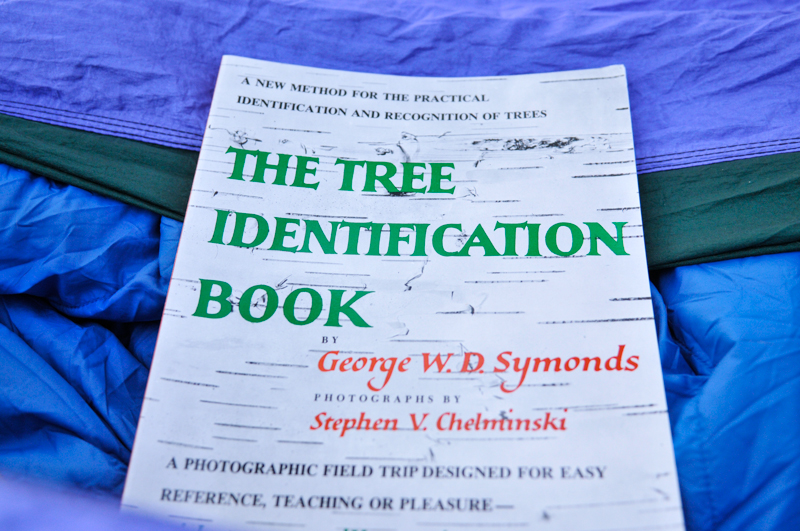
  • Read outside whether it’s the newspaper, your kid’s report card, or your novel
  • Walk to get your mail instead of picking it up out of your car window
  • Walk to the coffee shop, post office, or any errands that are nearby
  • Eat outdoors – whether it’s at home or at a restaurant
  • Make it a family thing, maybe you walk around the block every evening before bedtime
  • Commute outdoors, even if it’s once a week, you could cycle or walk every Wednesday
  • Schedule outdoor time, sometimes all it takes is holding ourselves accountable
  • Don’t hesitate to visit the same trail you’ve hiked a hundred times, you haven’t seen it on this day at this hour
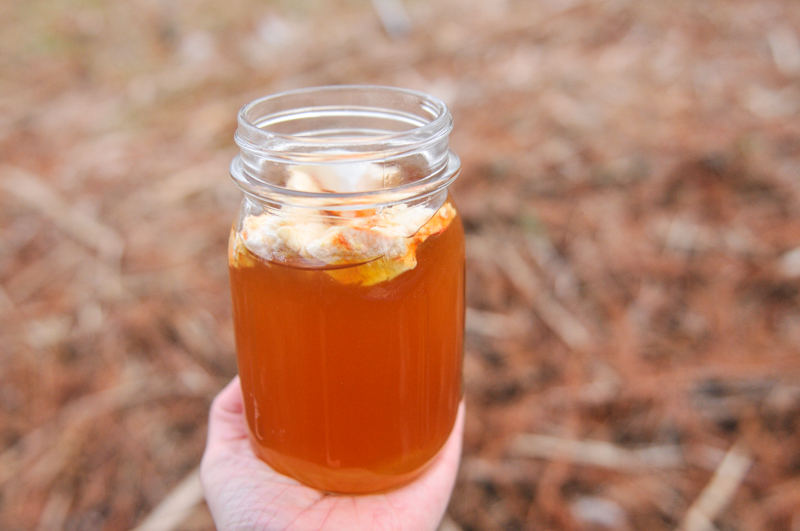
  • End your evening with wine, beer, or a smoke on your stoop
  • Shower outside (better start working on that outdoor shower 😉 )
  • Sleep on a sleeping porch (okay, this one also requires you to have a sleeping porch, but man I want one!)

These ideas may seem simple and yet how often do we act on them? Just yesterday, I decided to make some calls while sitting out on my stoop. Normally, I would dread calling AAA and the mechanic and my cell phone company, but as I sat outside I was able to hear the bugs and the birds, watch a silly squirrel shoving way too many nuts in its mouth, and meet a new neighbor and dog. All of which wouldn’t have happened if I didn’t pop out to make the calls. Think of all the magical little moments you’re missing when you’re doing the mundane inside? Take it outdoors!

Sarah’s Favorite Wilderness Reads

Happy Earth Day! I just returned from eight days in the Himalayas with no wifi and it was absolutely wonderful. During that time I spent hours each day reading. If you find yourself out in the woods or simply wanting to dream about them, here are a few of my favorite wilderness reads. I linked to the paperback versions, so pull out your headlamp and start flippin’ pages.

live seasoned outdoor reads

Mycophilia: Revalations from the Weird World of Mushrooms – This is the type of book where you read a few pages and then run into the next room to tell someone else all the cool things you just learned. Mycophilia is a beautifully written first person narrative of the fungi world. Author Eugenia Bone meets masters of the mushroom sphere as she discovers and researches all type of uses from scientific to culinary. If you have any interest in mushrooms, I highly recommend this informative read.

John Muir – any of his essays or journals – I actually recommend Muir’s writings as a way to fall asleep and here I’m recommending it as inspiration for your own nature journals and writings. Reading about Muir’s adventures will have you sitting in your cozy camp chair in admiration as he details his romps in the wilderness with nothing more than a heel of bread and an army blanket.

Wild: From Lost to Found on the Pacific Crest Trail – Made famous because of the movie, Wild, is a first person account of hiking the Pacific Crest Trail completely unprepared. These types of accounts encourage me to just do it. Stop the research and prep, go for it and see what happens. I enjoyed both the movie and the book – in that order too.

A Walk in the Woods: Rediscovering America on the Appalachian Trail – Bill Bryson’s account of the Appaliachian trail blends his witty walk in the woods with the history of the wilderness and suggestions for how we can conserve our wild lands. As someone who is itching to walk the AT, I love reading about others’ experiences with the trail.

Into the Wild – You probably know the story, but have you read the book? Into the Wild is one of those stories that has always stayed with me because I see so many similarities between myself and the main character, Chris McCandless. I also noticed the public’s split opinion, some feeling bad for Chris, while other’s did not and were almost angry with him because he was in the wilderness messing around. I find it interesting that any of us, even the most prepared, think that we’re capable of mastering mother nature. He did the best he could. RIP Chris.

Zen and the Art of Motorcycle Maintenance: An Inquiry into Values – This book. I need to come clean here.. by the time I finished this book, I absolutely hated it. I was treking at high altitude and ripping out pages and burning them when I was finished. I was so over it. Cut to today and I’ve realized many, many times that Zen and the Art of Motorcycle Maintenance has had an enormous impact on how I view quality (a term that pops up at least 3,000 times in this book) and work. Believe it or not, I just ordered it again so I can read it with appreciation this time.

That’s that! My very favorite books to read outdoors. A perfect mix of inspiration and admiration lie within these pages. Don’t have any camping plans coming up? No problem, I’m in the habbit of turning off all my lights, opening the windows (to let the sounds of insects in) and reading by headlamp. At my little hut here in Chapel Hill, I feel like I’m in a tent in the middle of the woods 🙂


Backcountry Backpacking Kitchen

live seasoned hoh river trail-1-3

Earlier today we shared Car Camping Kitchen Essentials and now we’re back with backpacking must haves. When it comes to backpacking you basically want to get away with as little gear as possible. Below is what I take on any standard backpacking adventure.

Backcountry / Backpacking Kitchen Essentials

  • Jetboil Stove
  • Windscreen
  • Fuel + Extra Fuel
  • Cookset (The Jetboil comes with a cooking cup)
  • Pot grabber (The Jetboil comes with a sleeve)
  • Bear-proof Food-storage canister
  • Water purification system
  • Water bottle or bladder
  • Bowl + Mug
  • Spoon + pocket knife
  • Matches/lighter
  • Biodegradable soap
  • Tiny sponge

Notes about gear options

The Stove – this is a very personal decision. How many are you cooking for? Are you crafty? My pop has used this DIY stove for over a decade and loves it. I bought this lil’ guy when I was backpacking solo a lot. Recently I’ve used the Jetboil a lot and I really like it so that’s what I linked to here.

Bear Proofing Measures – will depend on your location. In most National Parks out west, bear canisters are required and available to rent for super cheap. I have researched bear canisters for hours and still haven’t come to a conclusive decision so I haven’t purchased one yet. Now that I’m typing this, I bet there are some used ones floating around out there that I could buy. I’ve already invested in this bear bag so you could see why I’m not jumping into another investment.

Water Purification System – there are several options and I really don’t know what’s best for you. I rely on the tablets. I don’t mind that they take thirty minutes to dissolve. I have owned a SteriPen in the past, but it failed on me. I’m still upset about it.

5 Tips For Winter Hammocking

liveseasoned_winter14_hammocking-1

If you’re in the northern hemisphere and it is cold, cold, cold right now, but if you still want to enjoy nature, we have a remedy for you.  Curl up, cozy up, comfy right on up in your hammock!  We’re not talking about your grandma’s macrame hammock, although those are cool too. If you’ve haven’t seen them yet, we’re talking about a more heavy-duty yet light-weight camping hammock. It’s a great way to get outside while still kind of hibernating. Let me explain.

Once you stick to these tips and jump up into your hammock, you’ll feel as cozy as a caterpillar in a cocoon.  The most important thing about having fun outside in the winter is, you guessed it, staying warm!  If you’re uncomfortable freezing your butt off you will have no fun, none! So follow these quick tips and take a trip outside, it’s time for some winter hammocking.

liveseasoned_winter14_hammocking-10

Seek out the sun and hide from the wind.

  • The sun is your bestie.  We all know that, especially when winter comes and we’re begging, calling, and singing to the sun.  Find a spot where the sun is shining on you, but keep in mind that you also want to find a bit of natural shelter from the wind.  See how I’m snuggled right up against those tall grasses?  They are the perfect wind buffer.  The field of high grass extended at least a mile in the distance that the wind was blowing from, which means the wind had to travel through all that way just to get to me.  You could also venture into the woods where you’re surrounded by a barrier of trees or you could find an enormous rock or wall of some type that will offer some protection.

liveseasoned_winter14_hammocking-9

Pack a pillow and a sleeping bag.

  • I can guarantee you will have the most miserable time if you don’t pack a sleeping bag.  I wouldn’t wish that hammocking experience on anyone.  Cold winter air is swirling above and below the hammock, but if you’re snuggled into a sleeping bag and your head is on a bed of down you’ll be comfy as a clam. That’s a saying, right?  There are hammock-compatible sleeping bags, but I usually just hang out for an hour or two so I don’t think one is necessary for this purpose.  There are also handy insulation pads.  You also can make your own with a space blanket.

liveseasoned_winter14_hammocking-15

Bundle up!

  • Are you sensing a theme here? Stay warm! Definitely wear some warm, wool socks and a knit hat.  You’ll be taking off your boots when you climb into your sleeping bag (obviously) so you really want to make sure you have a great pair of socks on.  Throw in a scarf and some gloves and you are all set.

liveseasoned_winter14_hammocking-27

Bring a warm drink.

  • You should always take water with you when you go out exploring, but in this case I like to bring a jar of tea.  I choose to pack a jar instead of a thermos or drink bottle because you can screw the lid on tight and stick it down in your sleeping bag.  If you’ve ever used a mason jar as a tea mug you know the glass gets hot, which is great in this case!  It’s just one more way to keep those toes toasty.

liveseasoned_winter14_hammock-1

Grab a good book.

  • Bring along a book or really anything to keep you entertained.  After ten minutes, I promise you’ll be warm and cozy and totally lost in whatever you’re reading or thinking about.

If you’re at all curious about what gear I’m using, here you go: hammock, seriously awesome straps, sleeping bag, and pillow.

Colorado Hike: Flatirons 1 & 2

liveseasoned_fall14_flatironshike-1

About a month ago, Katie, Jeff (our brother) and I hiked the Flatirons 1 & 2 trail.  I’ve been meaning to write this post for some time since it was one of the most scenic hikes in Boulder, CO, so here goes:

liveseasoned_fall14_flatironshike-1-2

The hike starts at the Chautauqua Park trailhead.  Parking in the lot can be pretty tricky, especially on the weekends, but you can find additional parking on Baseline Road.  That being said, the trail is extremely crowded.  You won’t have the views to yourself, but hey, at least there is no chance of getting lost. After you find a parking spot, continue to the Chautauqua Park trailhead where the trail takes you through a lovely green meadow.  (Note that if you’re hiking right after a rainstorm, it will be pretty muddy since the trail is basically a path for runoff water. ) The Chautauqua trail connects with the Flatirons 1&2 trail and the signage is very clear as is the flow of people flocking to the Flatirons 😉

Over the course of this relatively short hike (about 2.5 miles), you will climb 1,400 feet in elevation.  Flatiron 1 is approximately 7,100 ft high, which makes for stunning views.  As you hike up the trail, there are plenty of outcroppings that are perfect for taking a break and enjoying the vistas.  The Flatiron trail is mainly switchbacks through thick forests of ponderosa pine that cut around enormous boulders.  Along the way, there are also several rock climbing access points.  Speaking of climbing, there is a very short section of the trail (about 15 feet) where you have to climb up a boulder.  There are footholds and handholds worn into the rock making it easy for adults, but I wouldn’t recommend taking children on this hike.  I would also turn back immediately if it starts to rain because the rocks will become slippery making a large portion of this trail fairly dangerous.

Once you finally wind up, up and up, the views are spectacular.  There are clear views of the city of Boulder as well as amazing views of Flatiron 3, which is sure to have rock climbers scrambling up it.  The top of the trail is a perfect spot to stop and have a snack or a picnic, but remember to hike all your waste out with you, even banana peels!  The top of the trail is like an adult jungle gym.  You’ll see folks in all different nooks and crannies.  It goes without saying that you should be careful when you’re climbing from boulder to boulder, don’t knock into any rocks that may fall and injure someone at a lower elevation.  After you’ve climbed your heart out and took a bajillion pictures, it’s time to make your way down the ridge.  Be mindful of other hikers who are still making their way up and if they look like they need encouraging remind them that they’re almost there!

Geology Rocks! I say that far too often, but I just can’t resist.  Here’s a quick rundown of some geological properties of the flatirons.  I’m going to give some definitions in case you slept through your geology lab class.

  • A flat iron is a steeply sloping triangular landform created by the differential erosion of a steeply dipping, erosion resistant layer of rock overlying softer strata. Differential erosion is erosion that occurs at varying rates, caused by the differences in the hardness and resistance of surface materials so softer and weaker rocks erode rapidly, while harder rocks remain to form ridges, mountains, or ding, ding, ding, flat irons!  Strata is simply sedimentary rock. Sedimentary rocks are those formed by the deposition of material either on the earth’s surface or in water.   And wouldn’t you know it, the Flatirons of Boulder coined this term, flatiron, in general geology.
  • Now you may be wondering how the Flatirons first got their name, which then coined the geography term. Well, there are two theories: the rock faces close resemblance to old fashioned clothing irons or their resemblance to the Flatiron building in NYC, which was completed in 1902. (It’s a pretty sweet building, but personally, I think it’s more likely they were named after the clothes iron, an object which many more folks were familiar with during the early 1900s)
  • The flatirons are made up of conglomerate sandstone of the Fountain Formation. Conglomerate sandstone basically means there are little clasts (bits of rock particles) mixed into the sandstone (rock comprised mainly of sand-sized minerals or rock grains). I don’t want to wind way down into a geological rabbit hole (for your benefit), but the Fountain Formation is a Pennsylvanian (the subsystem, not the state) bedrock unit found in Colorado and Utah that consists mostly of conglomerate sandstone or arkose.
  • The flatirons are estimated to be 290-296 million years old and they were tilted to their current orientation (the steep dip I referenced earlier) about 35-80 million years ago during the Laramide orogeny. The Laramide orogeny was a period of mountain building in western North America, which created the Rocky Mountains along with many other formations. I won’t go into right now, but it’s definitely interesting; if you like geology and want to learn more, read this.

What to expect:

  • Lots of hikers on the weekend.
  • Dogs both on and off leash.
  • Plenty of wildflowers, various vegetation and trees and beautiful views.
  • Two hours (or more) of hiking.
  • A couple tough climbs over boulders, but mainly a moderately steep and well-maintained trail.


Before of after your hike, be sure to stop by the historic ranger cottage near the parking lot – you can’t miss it.  It has a wealth of information, free maps and dozens of stuffed birds and mammals.  I really enjoyed the station because I gained a better sense of what animals were sharing the forest with me.  It’s especially cool to see the animals you have very little chance of seeing in the wild like mountain lions, coyotes, and bobcats.  If you want a little snack, continue past the ranger station for about a block and you’ll see a little refreshment cottage with homemade hard ice cream and just about everything else.

liveseasoned_fall14_flatironshike-3-5

After the hike and the ice cream, you should probably treat yourself to an afternoon snooze! Happy hiking!