Waste Less Wednesday: Dye Eggs The Natural Way

This week’s Waste Less Wednesday post was originally published in 2014, but we still approach egg dyeing the same way – with whatever we can find in the kitchen!

Have you ever dyed eggs the natural way, using veggies and spices? It’s a lot easier than you’d think and the results are terrific!  You gotta love that dyeing eggs the natural way allows you to use up some kitchen scraps and there’s no need to run out and purchase a dyeing kit. Start this project today as I let my eggs sit in the dye bath for a full 36 hours before removing them. That way your naturally dyed eggs will be ready for Easter festivities.

For these dyes, I rummaged around in my cupboards and used ingredients that I had on hand.  This post gives you the details of five different dyes, but there are many more options to explore. Once you get the hang of it, there is no need to use a recipe, just experiment and have fun!

liveseasoned_spring2014_naturaldyedeggs9 copy

liveseasoned_spring2014_naturaldyedeggs7

Continue reading

Cooking with Kids : Banana Pancakes

Our Cooking with Kids post are taking a major step forward this week in that there are no parents involved! We’re going to have to change to name of this series to Kids Cooking. And I’m 100% A-OK with that.

Both boys love to help with meal prep, but 7 y.o. Alex was really itching to make a meal (that required the stove) completely on his own. And it couldn’t be something as a simple as an over-easy or scrambled eggs. He wanted it to be more complex, so we gave it a thought a came up with banana pancakes!

These are nothing new, and I’m sure most parents of toddlers are familiar with this tasty two-ingredient recipe (four ingredients if you count the salt and butter!). Anyway, we realized that not only is this dish a great early food for your baby, it’s also a great “first recipe” for your budding chef.

Banana Pancakes

  • 1 ripe banana
  • 2 eggs
  • butter
  • salt

Peel and mash the banana. In a separate bowl whisk the eggs. Add the mashed banana and mix well.

Warm a frying pan over medium heat. Add a tab of butter and let it coat the bottom of the pan. Pour in the appropriate amount of batter to make a pancake that’s a “flippable” size for your kiddo. We found that having a smaller ladle for pouring the batter into the pan helped with this task and with keeping the pancake size consistent.

After the pancake has cooked on one side, flip it and allow the other size to cook. We determine doneness based upon color and how well the pancake sticks together (it can fall apart if you try to flip it too soon).

Add a sprinkle of salt and then serve! We don’t add any additional condiments, like maple syrup, but you’re welcome to cross that sticky bridge if you’re feeling courageous.

Additional Tips

You know your kids and their skill level best, but here are a few things that we found helpful.

  • Teach the kids how to use the burner and be specific about where the knob should be facing for the best cooking temp. We helped Alex learn the trick to turn the burner to high at first and then turn it down to the best temp for the burner he commonly uses. You could even add a tiny sticker to the knob area to identify where the knob should be pointing.
  • Having designated tools for the job really helps kids to tackle the task without your help. As I mentioned above, we have a specific ladle that he uses which helps to keep the pancakes consistent. He also has two different pans that he’s comfortable cooking on. Neither of them are non-stick (one is cast iron and the other aluminum), but he’s become comfortable using either.
  • Rather than using hot pads, we really like these pan handle covers. They stay on the pan well while he’s cooking so he doesn’t absentmindedly grab a hot handle and there’s no risk of them getting too close to the burner and catching fire.
  • Get a good metal spatula. This is one of our favorites and it’s make in the USA! I find that the thin metal spatulas make lifting the edge of pancakes and flipping them easier than trying to wiggle a thick spatula underneath. I also like that you don’t have to worry about the end of the spatula getting banged up or misshapen from the heat.
  • Your kids will be so excited to make a meal for the family. You can make it an extra fun experience by letting younger kids wait on you. They can take your order and deliver the dishes to the table.

August Afternoon Cocktail

Need a drink? More cocktail recipes here!

There aren’t many August Afternoons left. Use them wisely.

august_afternoon_title

Last week we had a pile of ripe Colorado peaches sitting on the counter. With that as my inspiration, I wanted to come up with a cocktail highlighting the ripe fruit and evoking the pleasure of a late summer afternoon. I think you’ll agree that this is it. <3

August Afternoon Cocktail

The creaminess for this cocktail comes from the addition of an egg white. You can read more about my love affair with egg white cocktails along with a bit of information about how to make them in this post.

  • 2 oz vodka
  • 1 oz ginger simple syrup
  • 1 oz fresh lemon juice
  • 1/4 to 1/2 of a peach, chopped
  • 1 egg white
  • splash of ginger beer
  • dash of bitters, optional
  • ice

august_afternoon2

  • Place the vodka, simple syrup, lemon juice, and peach in a blender. Blend for a couple of seconds to break up the peach.
  • Add the egg white and blend again.
  • Pour the blended ingredients into a cocktail shaker with ice and shake to chill.
  • Pour into a glass over ice. Add a splash of ginger beer, garnish with a peach slice, and add a splash of fancy floral bitters.

Normally you would just see a layer of foam over the cocktail, but in this case you’ll see any extra bit of layering/separation due to the blended peach fruit. It may look a bit funny, but it’s definitely worth it. You could always serve this some fancy textured tumblers… but maybe those should be reserved for piña coladas?!

august_afternoon3

Cheers to august afternoons and juicy peaches. <3

The Quiche Equation

I’m piggybacking off of Katie’s Summer Quiche post from 2016. I’ve been such an absentee blogger that I didn’t realize she recently republished it in May. Kudos. I loved that post and the simple idea it offered: recipes can be equations. Once you remember the key ingredients, there’s no need to measure or stick to a page in a book. You can wander through the farmers market or your fridge and come up with something just as delicious.

live seasoned quiche 2 Happy Thursday and hello from the other side. Since moving to Seattle a couple of months ago, it seems like I don’t have much time to do anything besides work, eat, and sleep. I’m busy hunting for apartments, shopping for a new bicycle, and getting into the rhythm of a 9-5 job. Over the past two weeks, I started to finally find time to plant flowers at my new place, go grocery shopping, and even buy a new mattress, *gasp*. I also managed to make a couple of quiches and teach my boyfriend my beloved quiche equation.

I never use a recipe when I make quiche and I can’t say I’m ever disappointed with the result. I normally start by picking a meat and cheese and then I daydream about the most complimentary veggie combination. These last two quiches have been great experiments because I’m not only creating them off the cuff, but I’m also teaching my man how to make them too.

live seasoned quiche 3

The quiche equation is a great introduction to cooking for young, old, and in between. It allows the maker enough flexibility to mess around, but enough structure to feel secure in their creation.

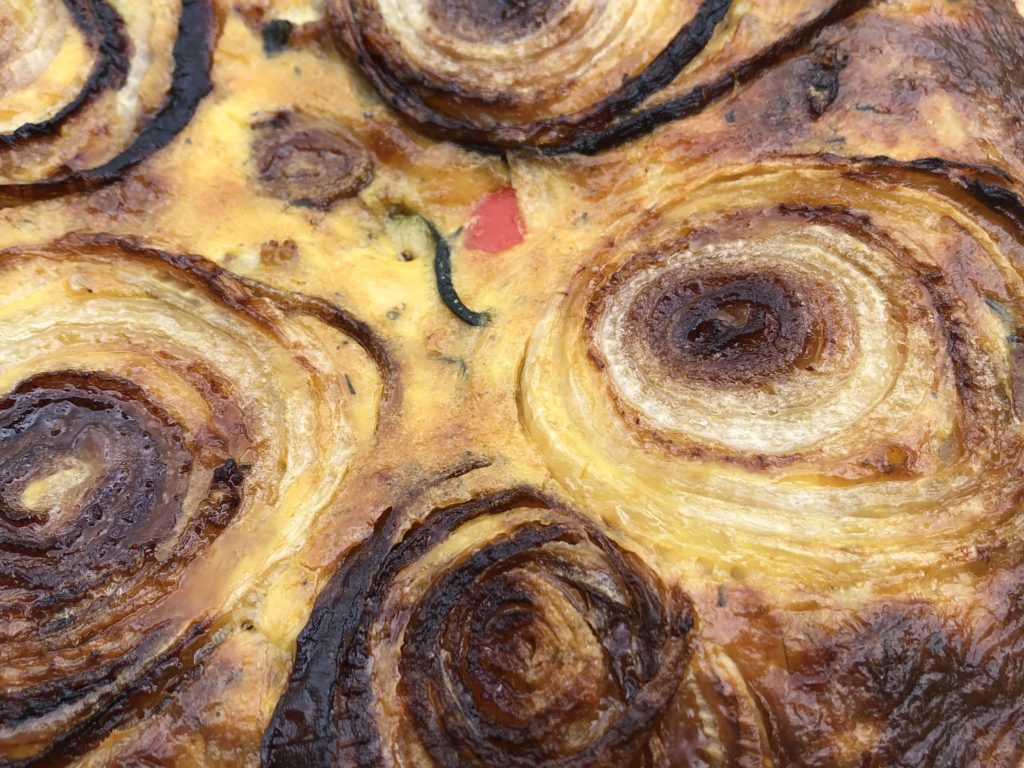
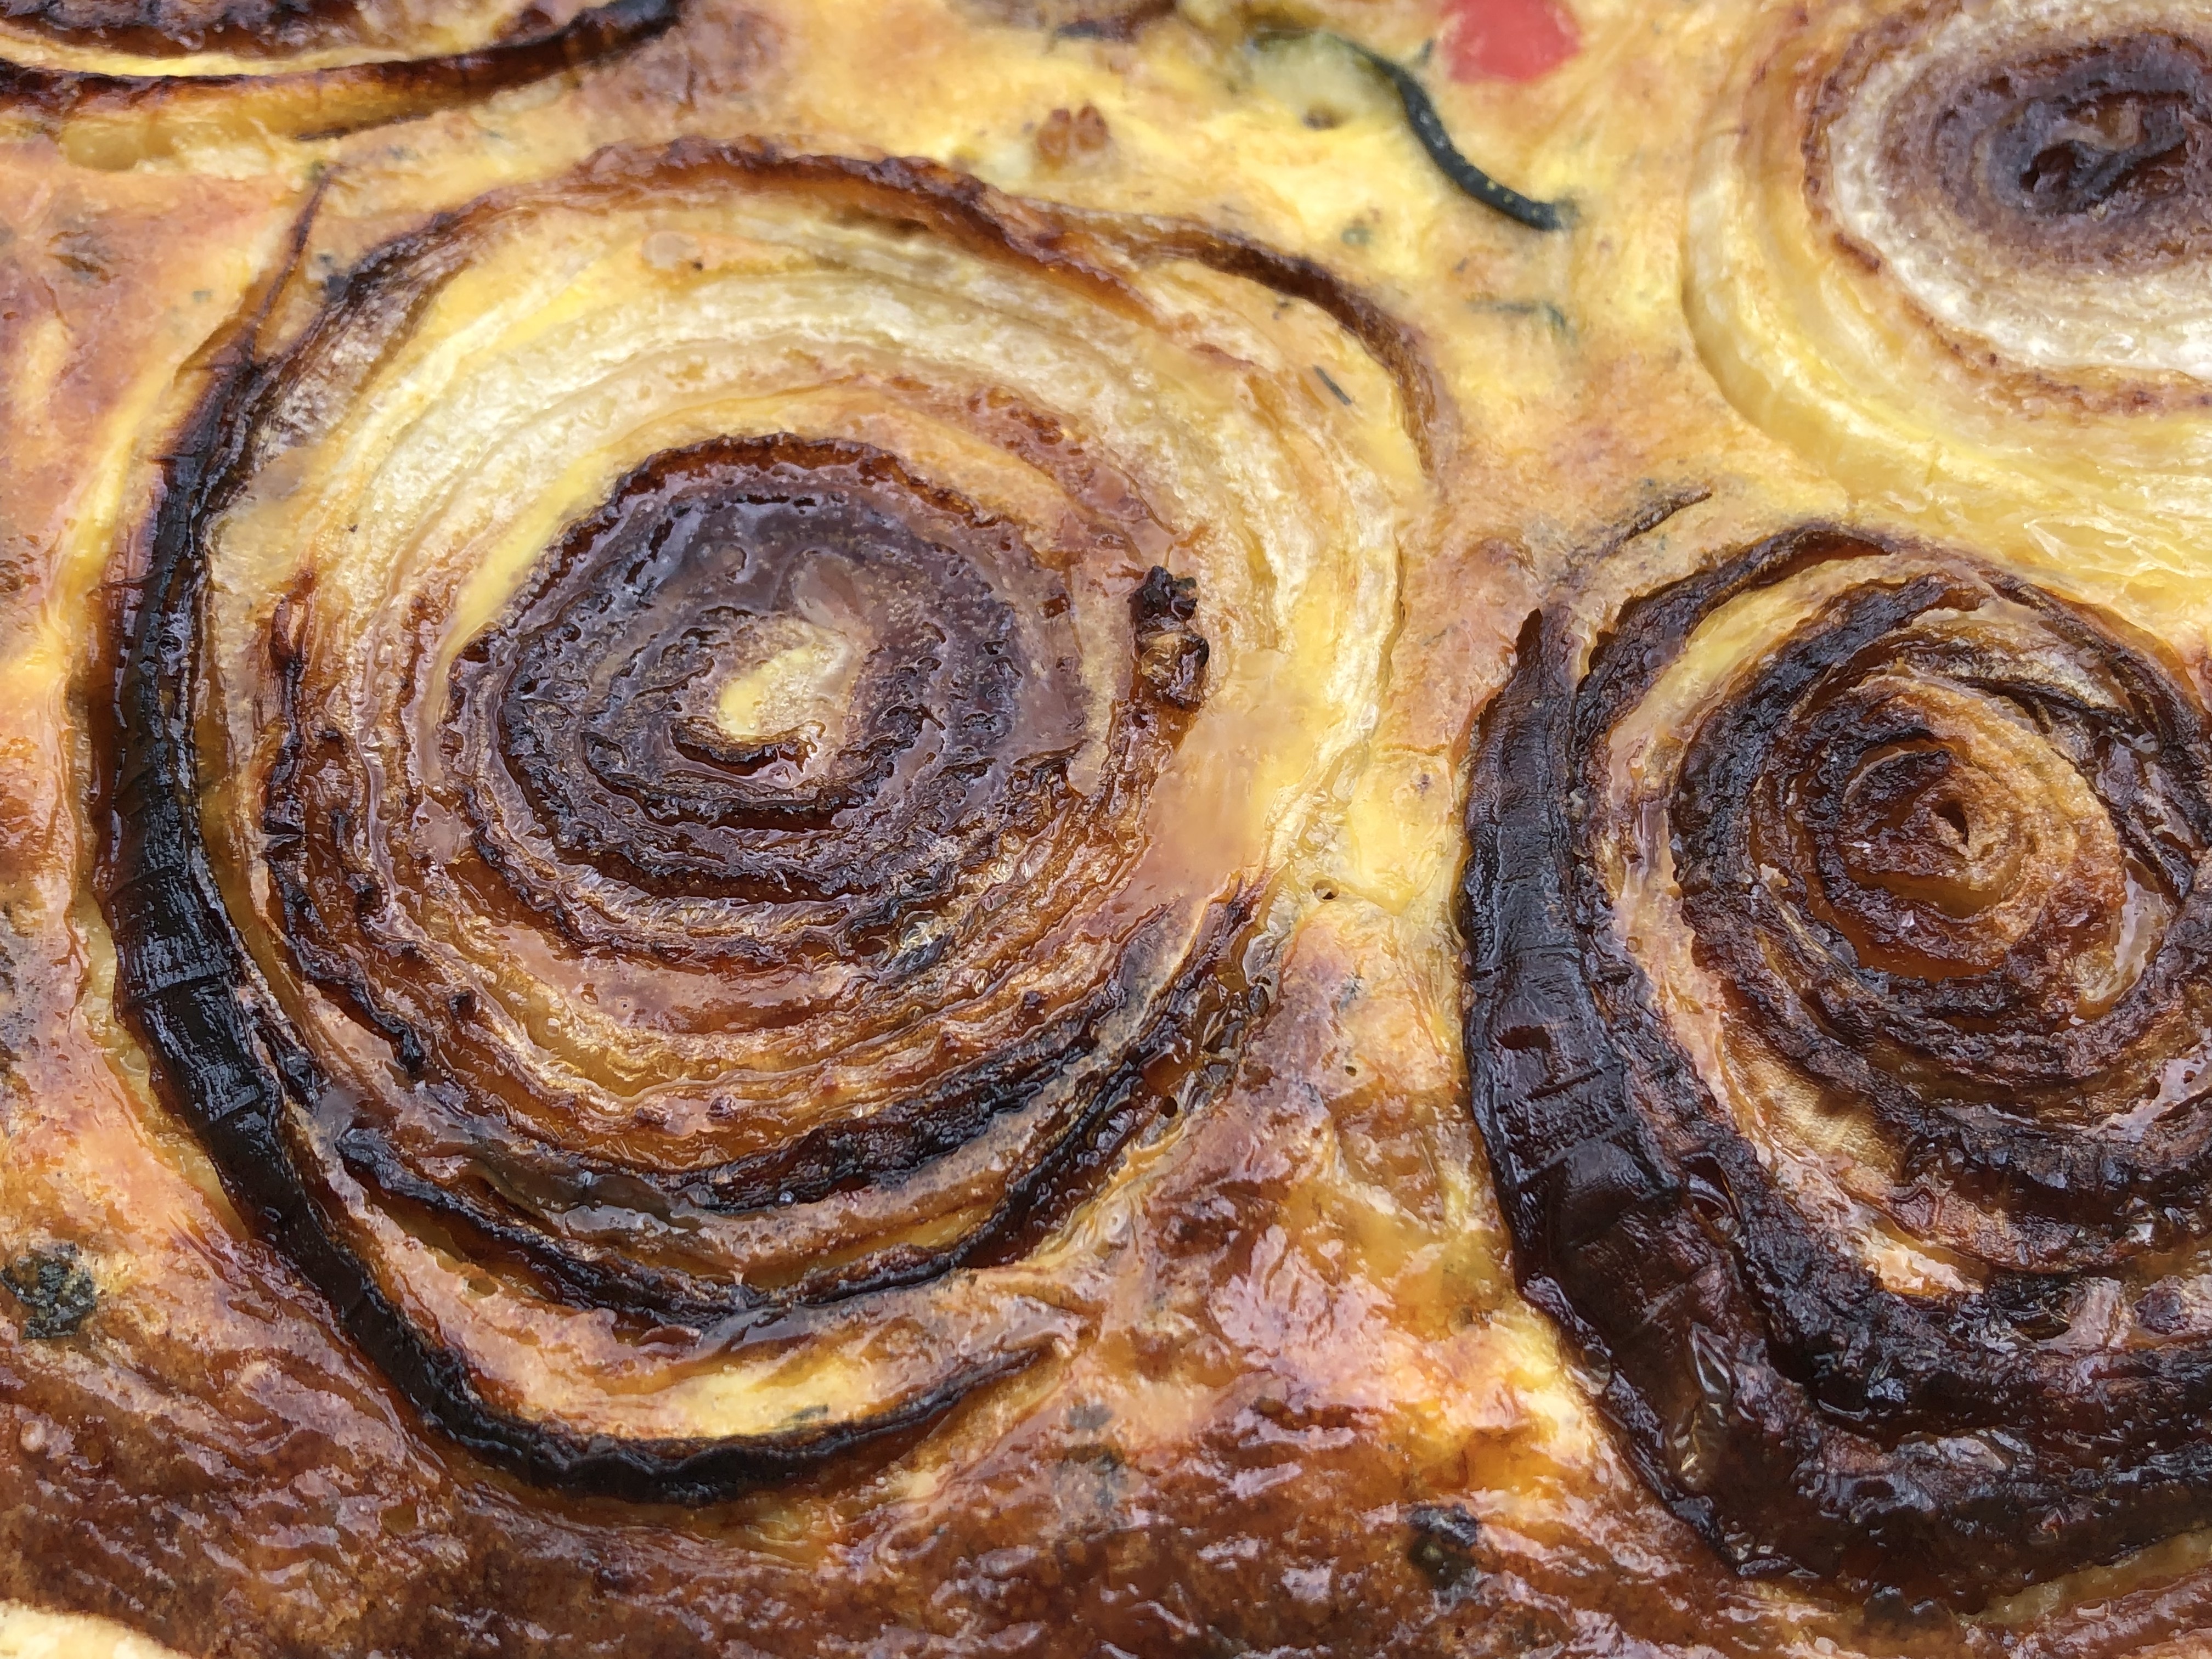
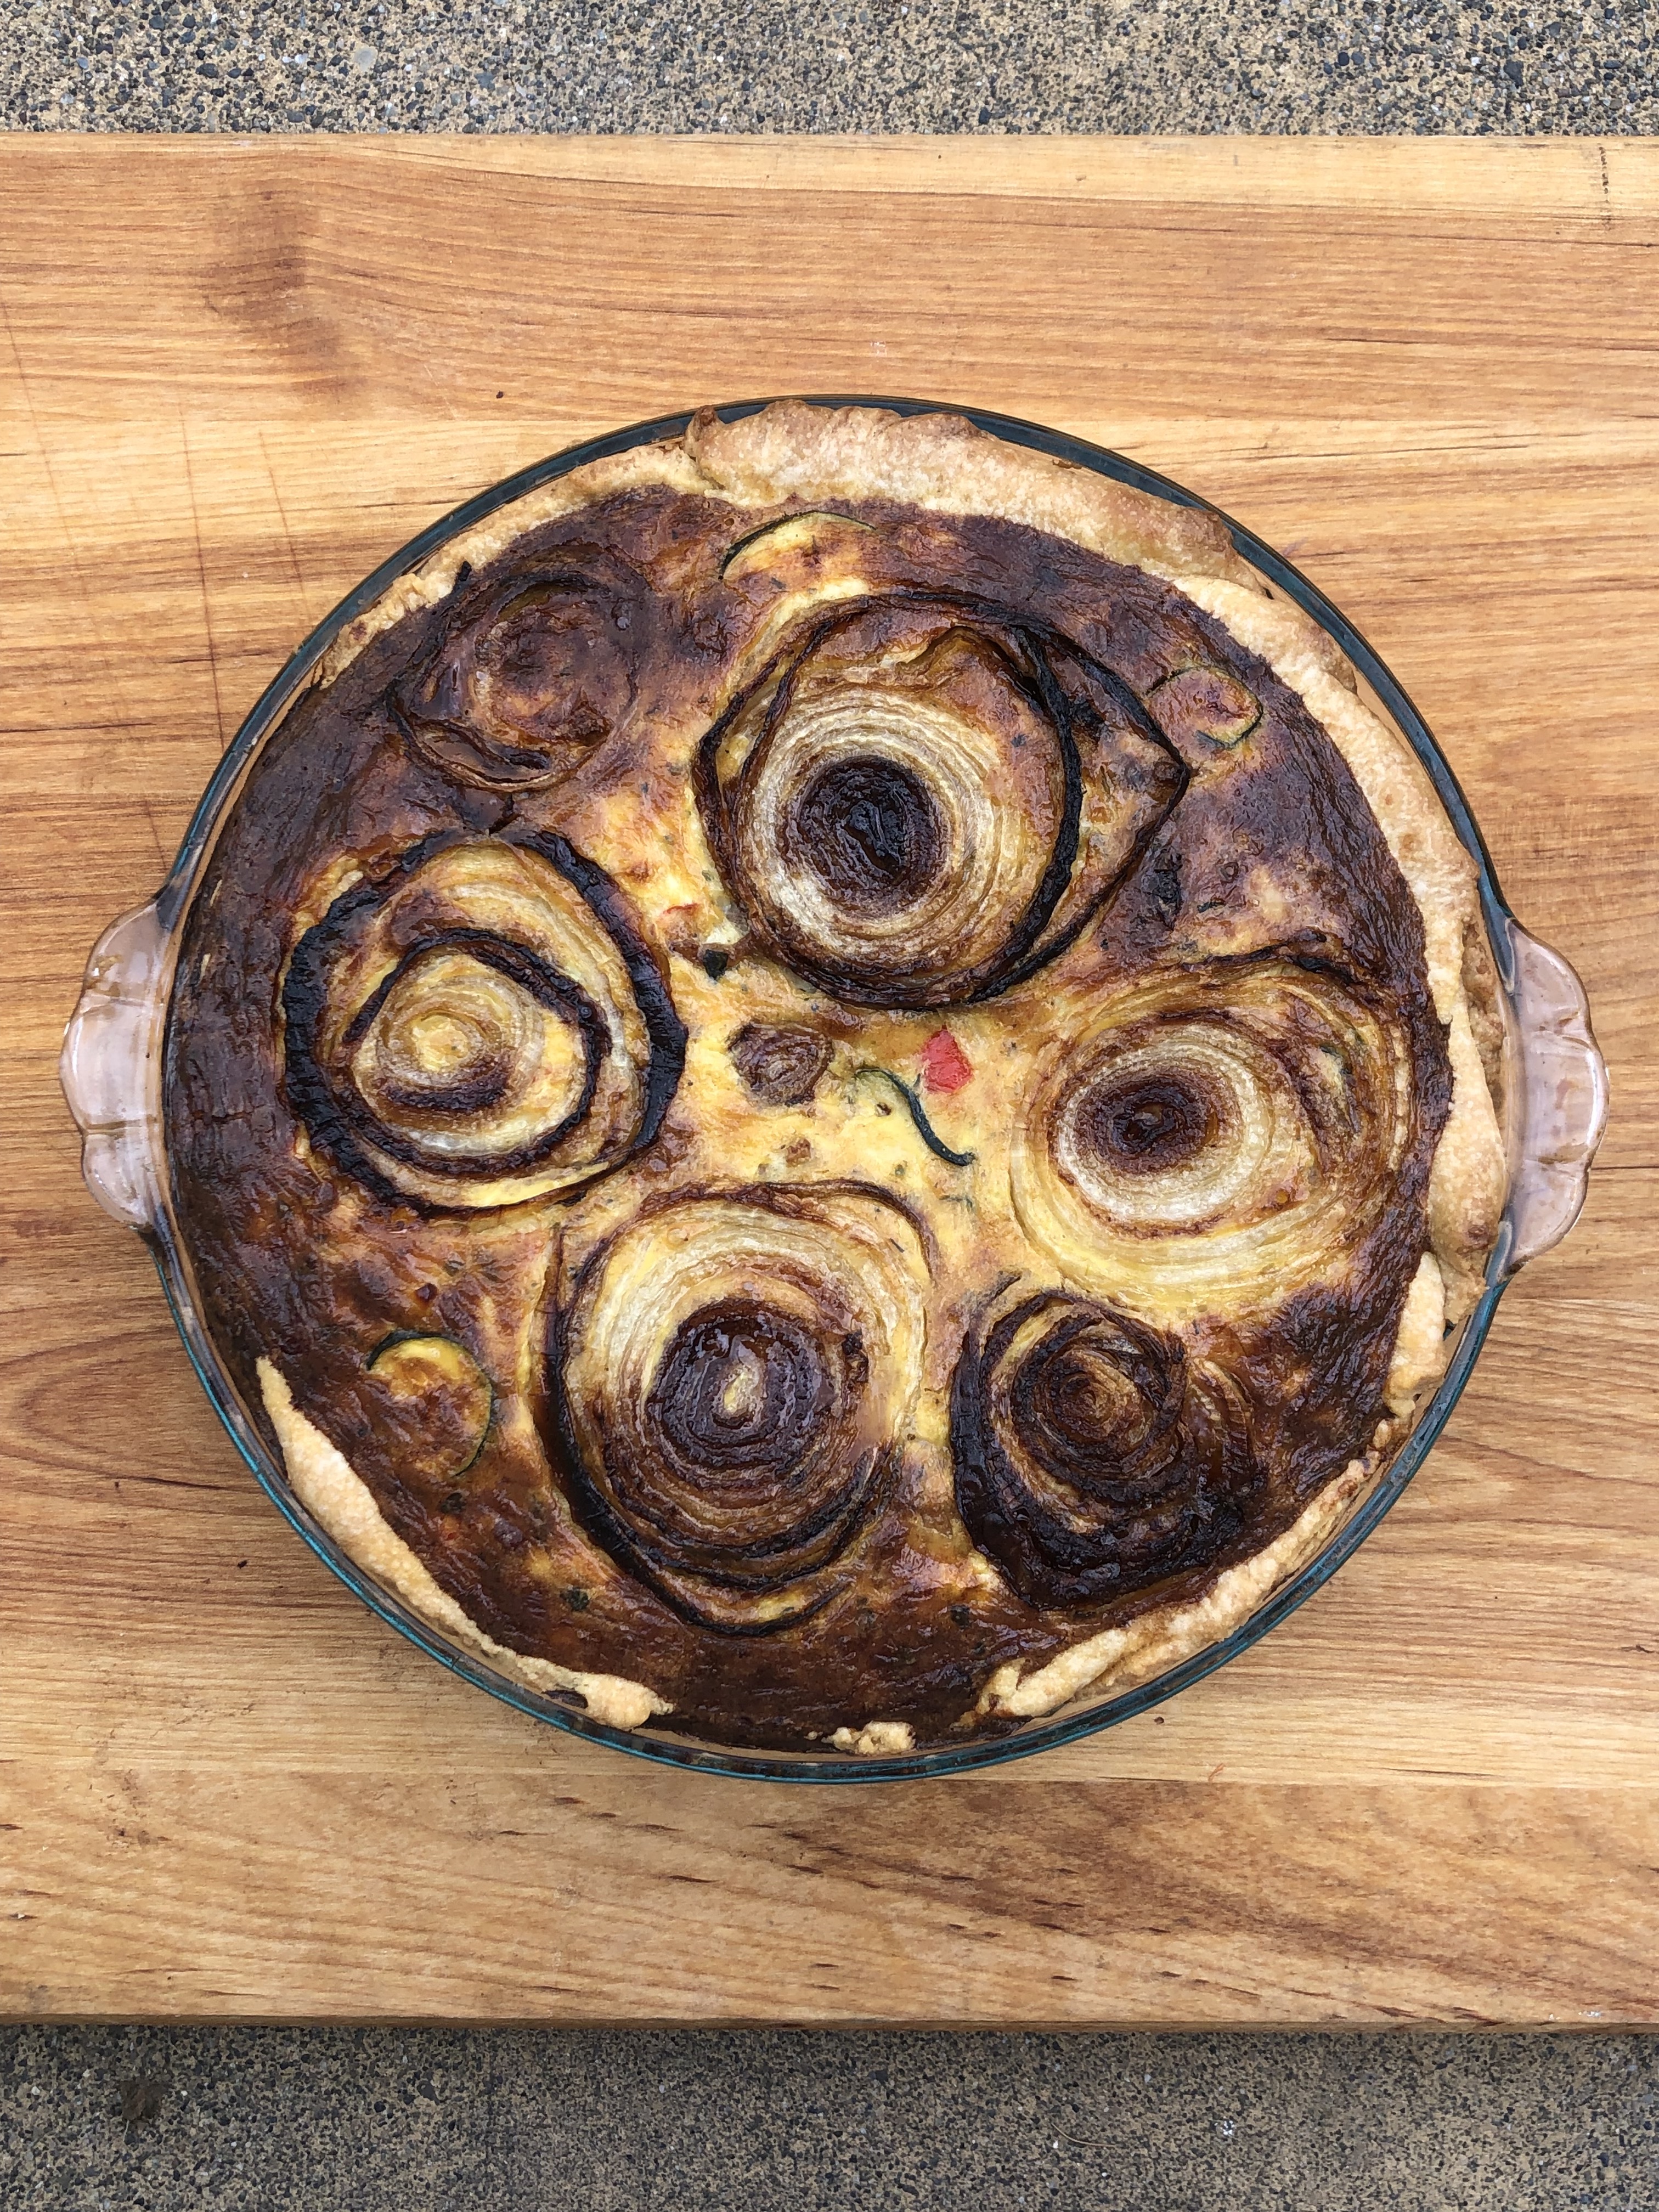
This quiche contains a mild Italian sausage, sharp cheddar cheese, eggs and milk. Mixed in are sauteed peppers, onions, and zucchini seasoned with salt, pepper, and dried Italian herbs. The whole thing is topped with sweet yellow onions that I allowed to brown in olive oil before placing them on top of the quiche. The quiche actually looks a lot browner in the photos than in real life. The crispy browned onions add the perfect punch of flavor up front and really shine alongside the cheddar cheese, yum

live seasoned quiche 1

The Quiche Equation

  • pie crust. I always use store bought.
  • egg & milk mixture. I use anywhere from 4 or 6 eggs whisked with 3/4 to a cup of whole milk. Like Kate, it’s always an estimate. I’ve never measured and never had a mishap.
  • cheese. I use about a 1/2-3/4 cup of grated cheese. Again, I never measure it, I just eye it up and toss it in. Normally I use sharp cheddar. Sometimes gouda, sometimes a mixture of parmesan and others. Really it’s whatever I have on hand or what calls to me in the Trader Joe’s cheese aisle.
  • seasoning. I add a pinch or two of salt to the egg and milk mixture. Otherwise, I season my cooked veggies to taste, a little salt and whatever other flavors I’m aiming for. If I have fresh parsley, sage, or rosemary I will add one of them to the mix.
  • savory ingredients. Like Katie, I always cook my veggies before putting them into the quiche. Most of my quiches involve a sweet onion and some garlic or chives for flavor. I also like some combination of peppers, zuchinni, mushrooms, and asparagus. Of course, I usually end up using bits of whatever I have in the fridge.
  • meat (optional). I find myself adding sausage, chorizo, ham, and smoked salmon most often. With the exception of the salmon, I cook and drain the meats before adding them to the quiche mixture.

That’s that. I’ve been making my quiche ingredients the night before, storing them in a bowl in the fridge, putting it all together, and baking it the next day. This makes the whole process feel more manageable to me. I’m usually eating a meal while making it too, which helps my overall happiness level. Enjoy!
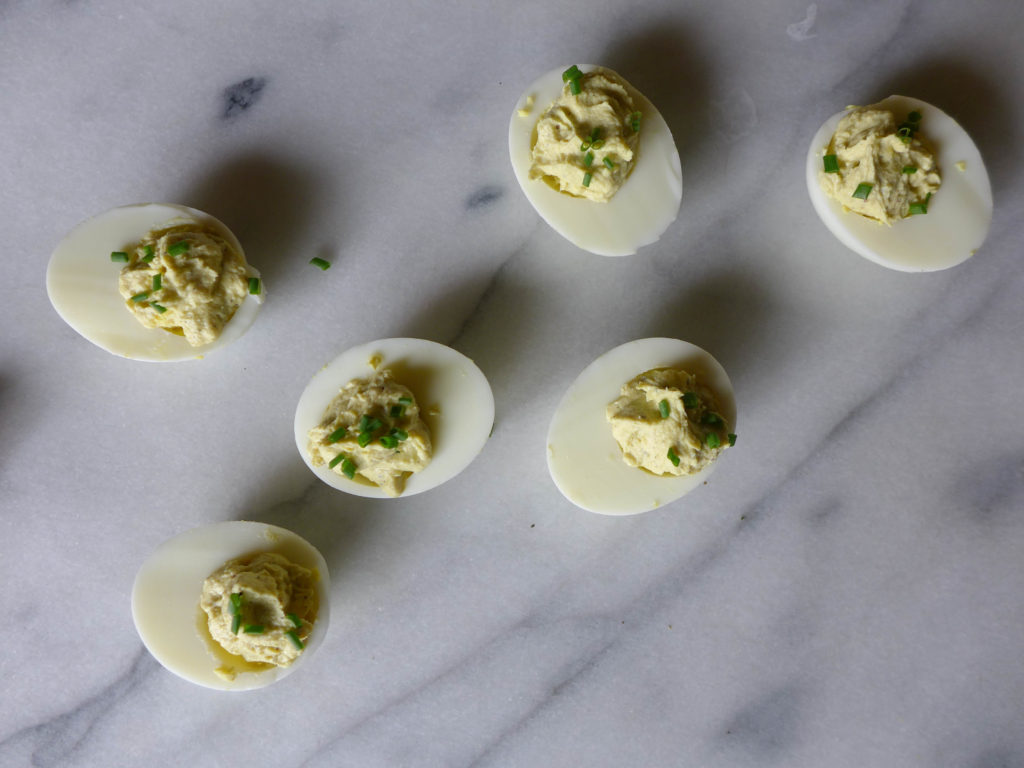
Sour Wildflower

Eggs are our ingredient of the season. That link will take you to our archive of egg posts.

rose_grapefruit_cocktail3

I still can’t believe how much I love these cocktails with a creamy foam created by egg whites. While I understand the chemistry behind the egg white + acid + simple syrup mixture, I still can’t get the drink names straight. Continue reading

Bento Box Eggs

Eggs are our ingredient of the season. That link will take you to our archive of egg posts.

Have you heard or seen the crazy awesome bento box lunches that Japanese mom’s make for their kids? Apparently some moms spend hours every morning crafting these works of art… we aren’t suggesting that you do that, but we do have a couple of fun tools that can make snack time more fun and funny.  Continue reading