Easy Date & Nut Energy Balls

Looking for another nut and fruit snack? Try these nut & fruit bars!

My kids love store-bought date & nut energy balls. I’ve never bought any, BUT some of our play-date regulars often have plenty to share. 🙂

Since these treats have such a simple ingredient list, I thought it’d be fun to try making some at home. Turns out they are super easy to make and easily customizable. I hope you enjoy these energy-packed snacks as much as we do.

Continue reading

(Paleo) Pumpkin Popsicles

Pumpkin is our ingredient of the season. So far we’ve used it to make some pumpkin butter, and cheated by using butternut squash to make a quick weeknight pasta.

Luc is able to eat solid foods now and teething in a major way, so I was inspired to make a round of pumpkin popsicles that he could enjoy with the rest of us because we have plans to ride the popsicle train well into fall! As for the paleo aspect of this treat, we aren’t paleo, and that was a complete surprise to me until I stumbled upon the info when trying to decide if I should drink the little bit of the mixture that didn’t fit in the molds or would that be crazy (answer : it’s not crazy, all the paleo folks are whipping up almost this exact mixture and calling it a smoothie).

liveseasoned_fall2015_pumpkinpops3 copy 

Continue reading

How To Use It: Coconut Oil

liveseasoned_coconutoil

Hey all you nutty kids! Katie and I have a bunch of products that make their way into our daily lives in some form or another and one of those is coconut oil.  We thought it might be helpful to explain how we use coconut oil in case you’re at a bit of a loss.  Personally coconut oil is used so often in my house that I have a jar in my kitchen, bathroom and car!  I can’t get enough of the stuff and while I like other oils too like argon and olive, coconut is so cheap and versatile that I find myself using larger quantities of it than the others.

Continue reading

Nut & Fruit Bars

Nuts are our ingredient of the season. If you’re as excited as we are with this selection, you can get a head start with some of our past nut recipes, which we’ve added to the archive.

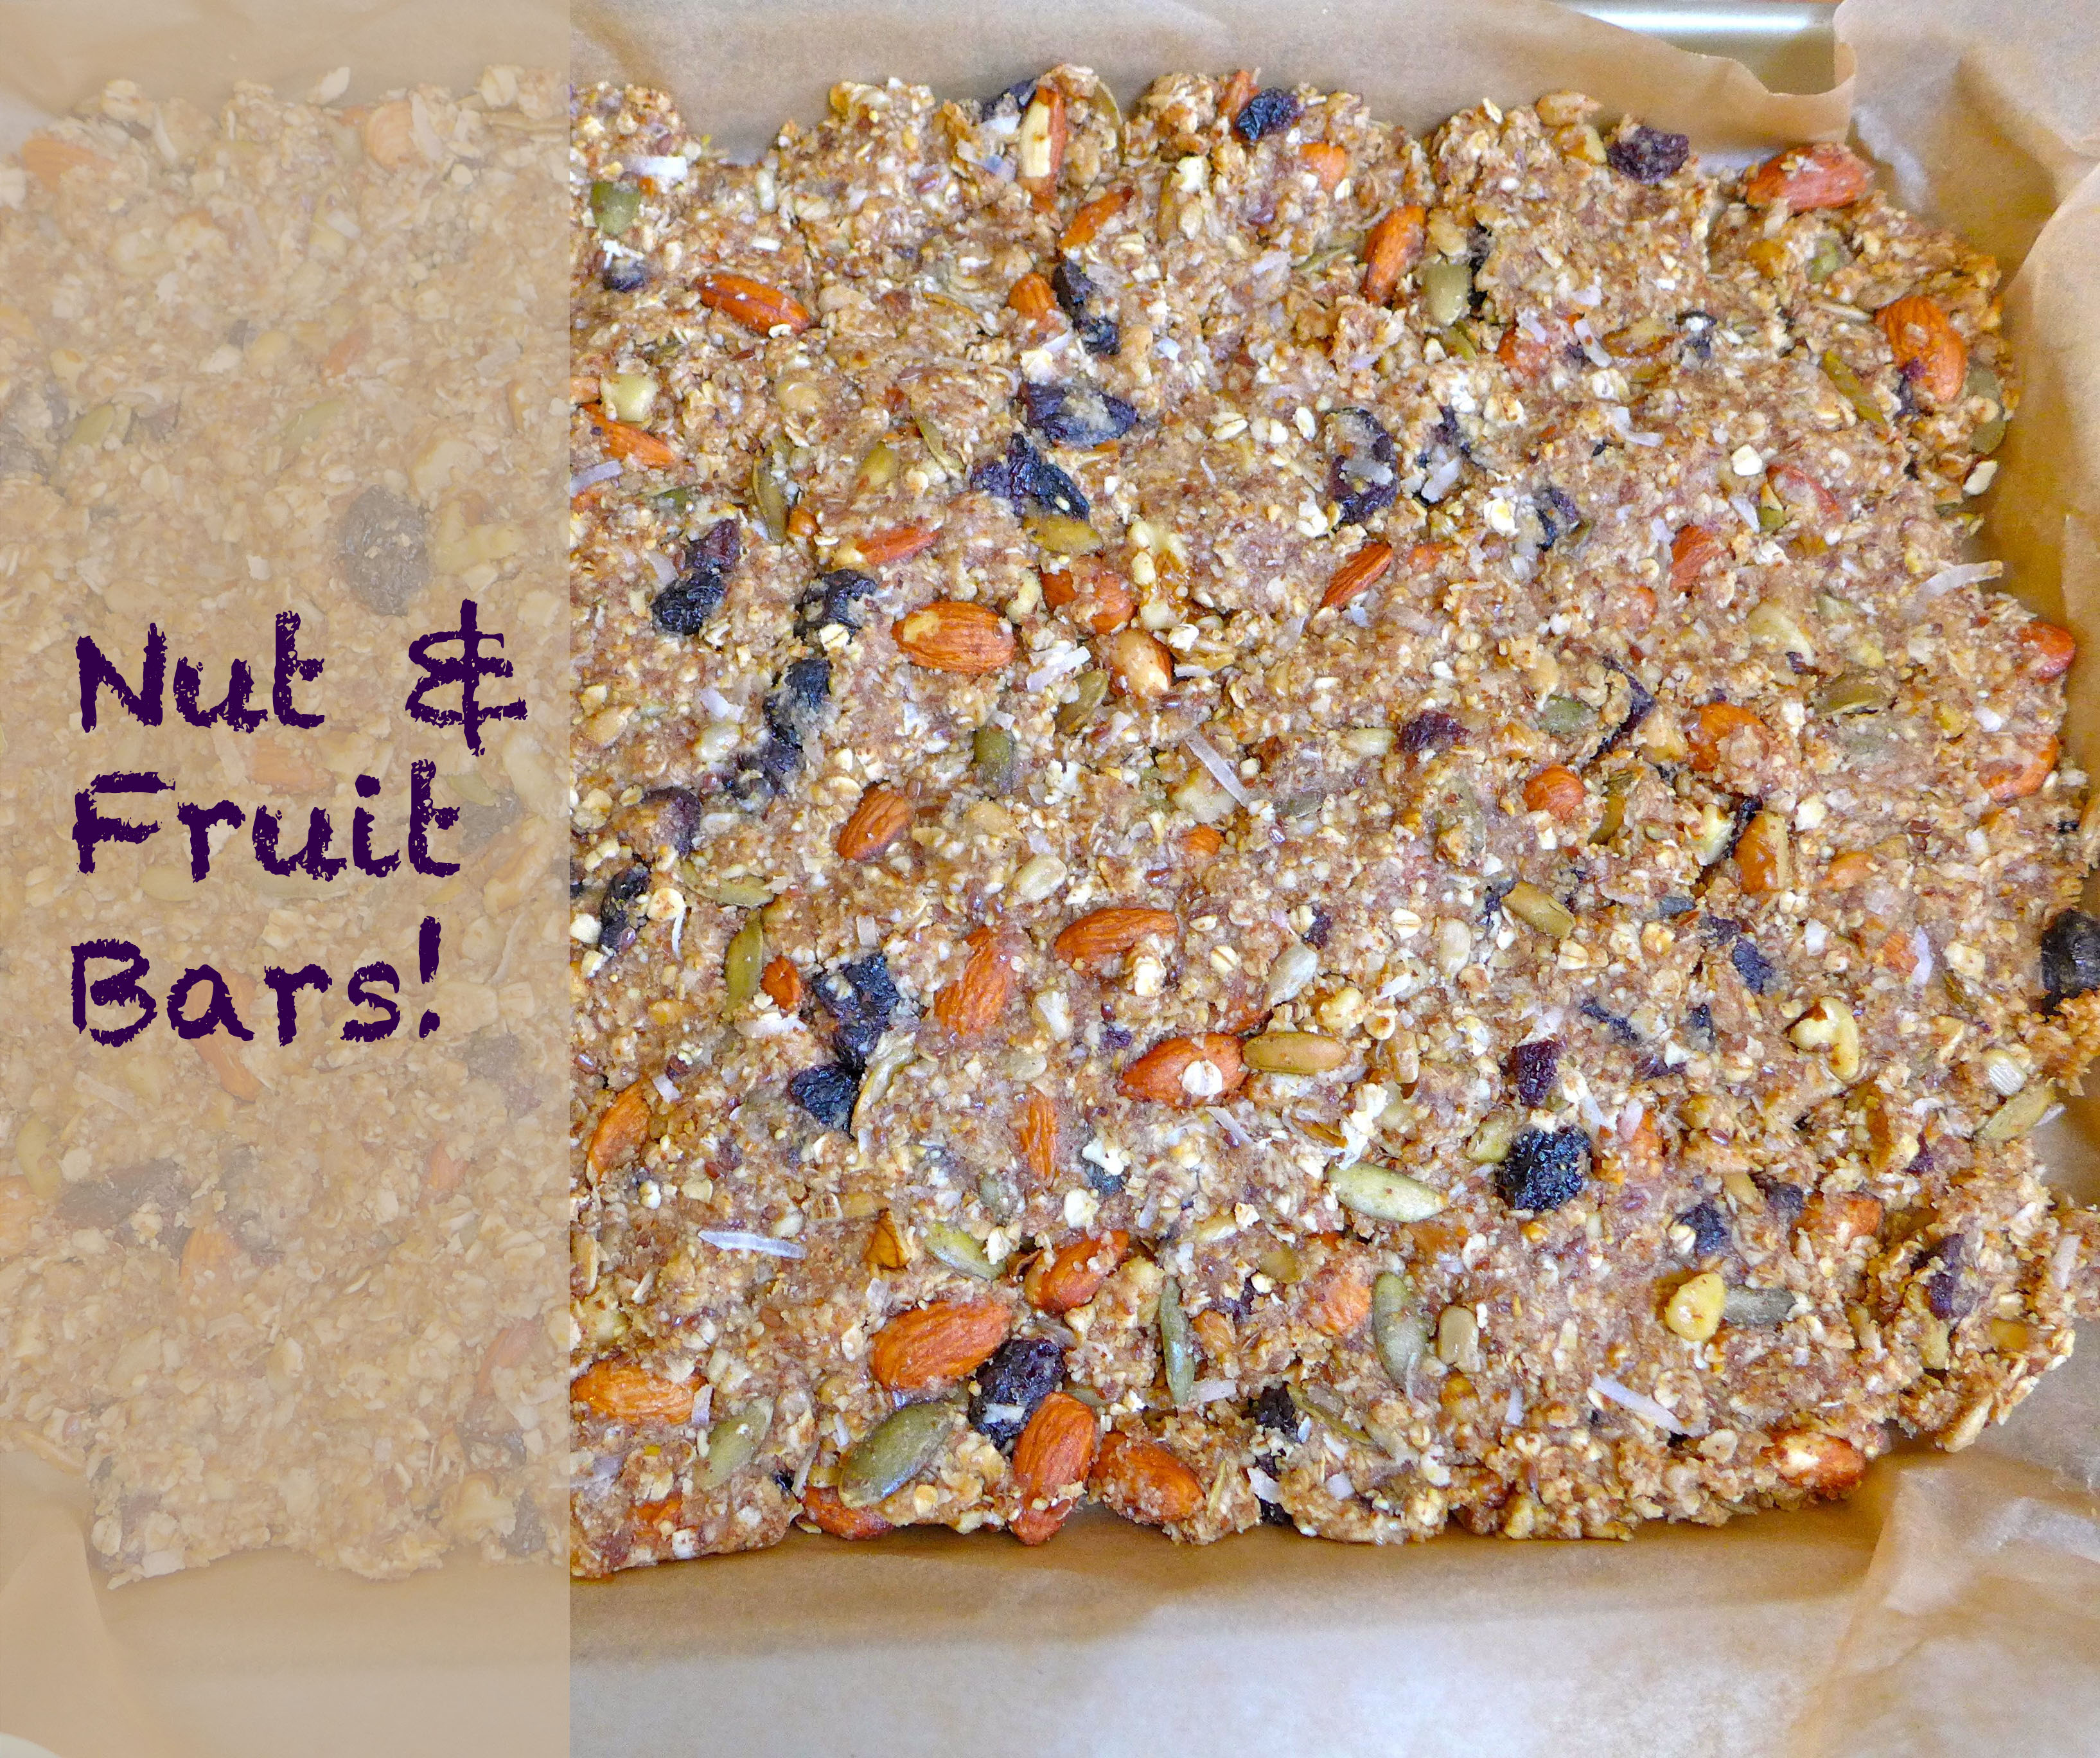
We end up eating a lot of snack bars in our house, most often packing them for hikes and days out, but also as a little treat at the moment when you realize that there’s too many hours between now and the next meal. I’ve never made a homemade snack or granola bar before, but have wanted to try for a long time because of the opportunity to personalize the ingredients. When I saw today’s recipe on Food52, I was excited to try it, partially because it’s simple enough, that it’s the perfect base for experimentation. Lo and behold, just six short months later I’ve finally put a batch together! We’ve been snacking on these all week, and I’ve quickly decided that this recipe is a keeper. Even little Alex, with his mouth full of teeth has no trouble eating these and always requests another.

liveseasoned_spring2015_nutbars5_title

This couldn’t be a better first recipe for our nuts category, since it’s packed with walnuts, almonds, nut butters, coconut, and pumpkin & sunflower seeds (we’re being liberal with our nut category!).  Consider this nut & fruit selection below a suggestion and feel free to swap in your favorites and/or change the ratios to your liking. Of the few changes I made to the original recipe, I was most excited about my decision to add a touch of spice with the Baharat spice mix, which adds a bit of complexity and depth to the nutty flavors. I’ve included a link to our previous post with the Baharat blend if you want to try it, but using it is not necessary. You can completely leave out the spices or modify them to your liking ~ adding a pinch of whatever spice you like!

Nut & Fruit Bars

Nut & Fruit Bars

Ingredients

  • 1 1/2 cups quick oats
  • 3/4 cup roasted almonds
  • 1/3 cup walnuts
  • 1/3 cup pumpkin seeds
  • 1/4 cup sunflower seeds
  • 1/2 cup coarsely chopped dried cherries
  • 1/2 cup shredded coconut
  • 1/3 cup ground flax seeds
  • 1/3 cup honey
  • 3/4 cup almond butter
  • 1/4 cup peanut butter
  • 1/4 cup unsweetened apple sauce
  • 1/2 tsp Baharat spice mix
  • Pinch of salt

Instructions

  1. Line a baking dish with parchment or wax paper.
  2. Mix the dry ingredients in a bowl. Add the wet ingredients and stir until everything is well blended.
  3. Dump the mixture into a backing dish and press down to flatten.
  4. Freeze the mixture overnight, then cut into bars, and store in an airtight container with wax paper between layers in either in the freezer (my preference) or the fridge.

https://liveseasoned.com/nutty-snack-bars/

The original recipe recommended keeping the finished bars in the fridge, but we first sampled them straight from the freezer (when I was cutting them), and we really liked how firm they were then as opposed to their softer texture after we moved them to the fridge; in the end we decided to keep them frozen. And really, that would be my one complaint with a recipe like this ~ that the bars have a tendency to crumble and fall apart if they get too warm. As a result, I’m still on the hunt for a homemade bar that’s just like this one except with a sturdier disposition for taking on hikes. If you have any recommendations, send them our way!

Creamy Coconut Banana Popsicles

It has really been a summer of popsicles hasn’t it?  I’m currently in Atlanta, Georgia and it is SO HOT. Unbelievably hot.  While I’m outside working, I’m thinking of these creamy coconut and banana popsicles.  While they have similar ingredients to the toasted coconut pops we made a few weeks ago, they’re much healthier and have a stronger banana taste.  Of course, your pops will range in sweetness depending on how ripe your bananas are.  I let mine turn brown before I made these yummy, creamy, coconut and banana pops!

liveseasoned_summer14_popsicles-3

Ingredients:

  • 1.5 cups coconut milk
  • 5 very ripe bananas
  • 1 TBSP shredded coconut

liveseasoned_summer14_popsicles-1

The how:

  • Simply throw all of the ingredients in the blender and blend until smooth.  I added a sprinkle of cinnamon too. Crazy, I know.
  • Fill your popsicle molds and put them in the freezer for about five hours.

liveseasoned_summer14_popsicles-2

I hope you love these basic, but tasty banana pops!  Personally I think they’re best when eaten for breakfast.

Toasted Coconut Popsicles

Are you ready for the perfect summer popsicle?  Toasted coconut paletas by Fany Gerson are so delicious that written word will never do them justice.  These sweet and nutty coconut popsicles are the perfect compliment to the refreshing avocado pops we featured a couple weeks ago.  Originally, I wanted to try my hand at making coconut ice cream this summer, but after whipping up these easy coconut pops, I’m not sure I want to go any further.  The paletas have a delicious creamy consistency so they’re actually more like ice cream than popsicles.  If you’re vegan, try these avocado pops, if you’re not, let’s get started 🙂

liveseasoned_summer14_coconutpops2

Ingredients:

  • 1 cup shredded coconut
  • 1 can (140z) coconut milk
  • 3/4 cup half & half
  • 1 can (13.5oz) sweetened condensed milk
  • 1/4 teaspoon salt
  • 1/4 teaspoon vanilla extract

Equipment:

  • Baking sheet
  • Blender
  • Popsicle molds

liveseasoned_summer14_coconutpops liveseasoned_summer14_coconutpops5

Instructions:

  • Preheat the oven to 350°. Spread shredded coconut in a thin layer on a cookie sheet. Toast 10-12 minutes, stirring or shaking the pan often to ensure even browning and no burning. Remove from oven, and let cool to room temperature.
  • While the coconut is toasting, combine coconut milk, half & half, sweetened condensed milk, salt, and vanilla extract in a blender. Blend until smooth, add toasted coconut and pulse for 5 to 10 seconds.
  • Pour into molds (makes 10 pops) and freeze 6+ hours until firm.  We like to store our pops in little wax bags for easy access because when you’re hot there’s no time to mess around with a popsicle mold.

liveseasoned_summer14_coconutpops4

liveseasoned_summer14_coconutpops3If you are looking for a way to beat the heat, this my friends, is the best way.  You won’t even work up a sweat because they’re so simple to make. Enjoy!