
I love nothing more than bringing the outdoors in. One day I hope I live in a mountain cottage full of fur, bones, feathers, antlers, crystals and insect specimens but until then I’ll build my collection and make leaf garland each autumn. If you follow us on Instagram you know that I tried to pick up a live praying mantis (I thought it was dead) the other day, what a shocking moment! I actually found that big brown guy while I was collecting leaves for this project 🙂


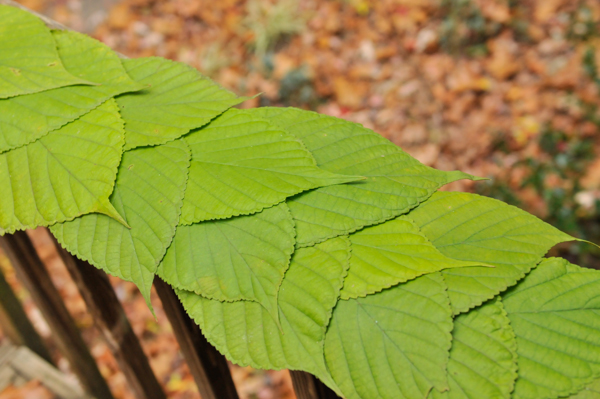
I love projects that encourage you to go outside and walk in the woods and making leaf garland is just that. Wander around with a shallow cardboard box or bag and collect a big old pile of freshly fallen leafs. You want some moisture in your leaves so that they haven’t started to brown or curl just yet. You also want to preserve the leaves so that they continue to retain some color and lay flat on your string or table.
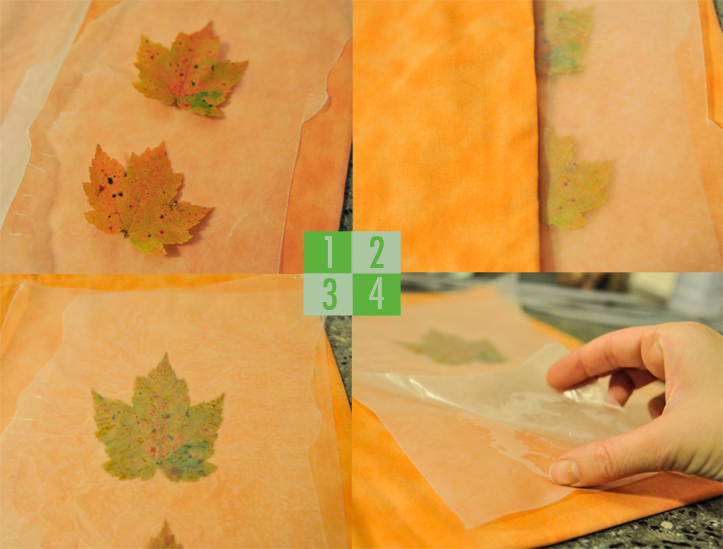
There are several methods for preserving fall leaves. I choose what I found to be the easiest and safest method, which is sealing them in wax paper.
- Simply lay down a piece of material (I used an old pillow case) and tear off two pieces of wax paper.
- Lay as many leaves as possible (without the leaves touching) between the sheets and then place the material on top as well.
- Iron slowly and on the highest setting for a minute or two, flip the entire material, wax and leaf sandwich over and iron the other side for another minute.
- Remove the wax paper and let it cool while you repeat the process on more leaves. Once the wax cools, gently peel the pieces apart and release the leaves.
The leaves should be dry and coated in a very thin layer of wax. They’re now ready to be used as escort cards or strung onto embroidery thread for garland or a table runner.


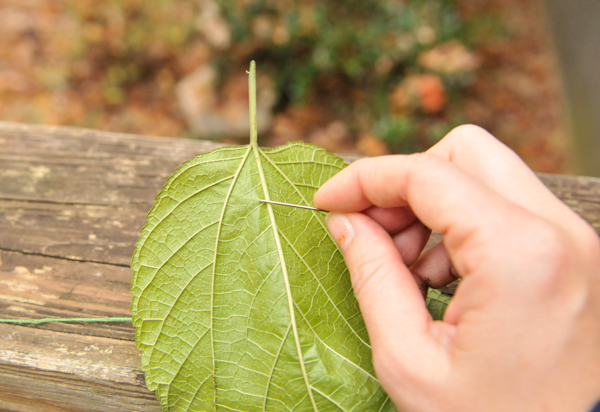
To make the garland, simply cut a length of embroidery thread, tie a knot at one end and thread the needle at the other and start stringing them up. This is a somewhat delicate process, but it’s easy enough that you can sit and watch a show while you’re working on it. For the best results, pierce the leaf at least an eighth of an inch in the any edges and gently move it down the thread. As you become familiar with the fragility level of the leaf, you can pierce several at a time making the process move right along.


Making the table running is similar to making the garland, but I found it helps to work directly on the space you’ll be decorating. As you can see, my work in progress photos were taken outside, but that was solely to photograph them in good light. It’s a little tough to pick up a finished table runner and carry it so I recommend choose the space that you’ll decorate and making it there. Like most crafts that we make on Seasoned, we encourage you to inject your own creativity into it; the sky is the limit. For the green table running, I cut a long length of green embroidery floss, tied a knot and threaded a needle. I then added the leaves in a spaced out, loose and layered way. I wanted the leaves to look like they were simply placed on the table. I also wanted them to kind of flow or drift through the center of the table, which is why I had them pointing in different directions. I’m very pleased with the result, too bad I’m not entertaining this year!
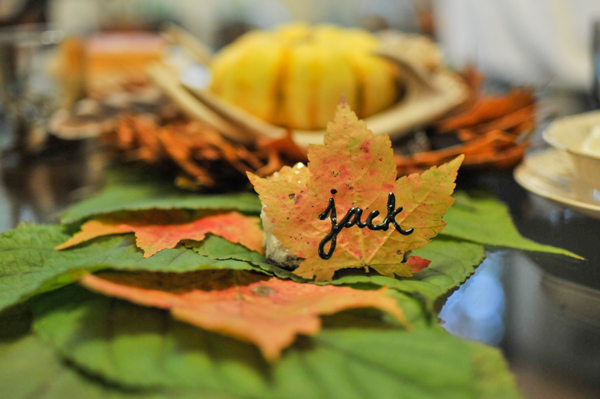
The escort cards and super simple to make as well. Again, gather and preserve some colorful leaves. Then use paint bottle with a tip or a paint marker to write each person’s name. I propped mine up against crystals, but they look just as lovely laying flat on a cloth napkin or plate.
I had a great time making the leaf garland. I spent some time outside, had the opportunity to look closely at nature and then preserve it in my home. It’s a free and simple craft that is great for kids too. Iron up some leaves and let them do what they please. How are you decorating your table for turkey day?
why do you ladies have to make such adorable crafts?? now, when I want to sleep in this weekend, I will be searching for some useful leaves to make my thanksgiving decorations. love these garlands, such a cute idea and great execution/photos 🙂
Thanks Kris! If you make some leaf decorations send a photo my way! xo