
Nuts are our ingredient of the season. Dips, cookies, and snack bars, are just a sampling of our many nutty posts. Today, we’re finally combining them with alcohol!

It’s been a long time since I’ve had Frangelico or any other hazelnut liqueur, but with nuts as our featured ingredient, it was high time that I tried making my own! While doing some research for this project, I came across a Serious Eats article that encourages anyone interested to make their own rather than buy, and I couldn’t agree more. The pure hazelnut flavor really shines through, and I really appreciate being able to taylor the sweetness to my liking, which is often less than store-bought liqueurs.


After liking what Serious Eats’ encouragement to make the liqueur, I clicked through to their recipe and also liked the simplicity of that, so I used it and that’s what you see reprinted below. Making this liqueur couldn’t be easier, it’s the waiting that’s hard. While I want to say it “only” involves three to four weeks of wait-time, that’s three (or four) too many, and I think you’ll agree once you see my new favorite treat below. I say four weeks, because I was supposed to go on to steps 2 and 3 while our family was in town, and I completely forgot! As a result, I had about an extra week of the hazelnuts steeping in the alcohol, but the flavor is that delicious and strong that I have no regrets… although I’m not sure if I’ll be able to wait that long the second time I make this.

Ingredients
- 2 cups hazelnuts with skin, coarsely chopped
- 1 cup vodka
- 1/2 cup brandy
- 1/4 cup sugar
- 1/4 cup water
- 1 vanilla bean, split
Instructions
- Place the hazelnuts, vodka, and brandy in a jar with a lid. Cover, shake, and let sit at room temperature for 2 weeks.
- Making a simple syrup by placing the sugar and water in a saucepan and heat until the sugar dissolves. Let the syrup cool and then add it to the hazelnut mixture. Give everything a good stir or shake and then let it continue to sit for another 3 days.
- Add the vanilla bean and let the liqueur sit for a final 3-5 days.
- Sample your liqueur throughout the process and adjust the ingredients as you see fit, adding more simple syrup if you like it sweeter, and/or keeping the vanilla bean in longer to extract more of that flavor.
- When you're happy with the flavors, strain the mixture through a fine mesh colander and a coffee filter
- The liqueur will last in the fridge for up to 2 months. Ha! It won't last that long.
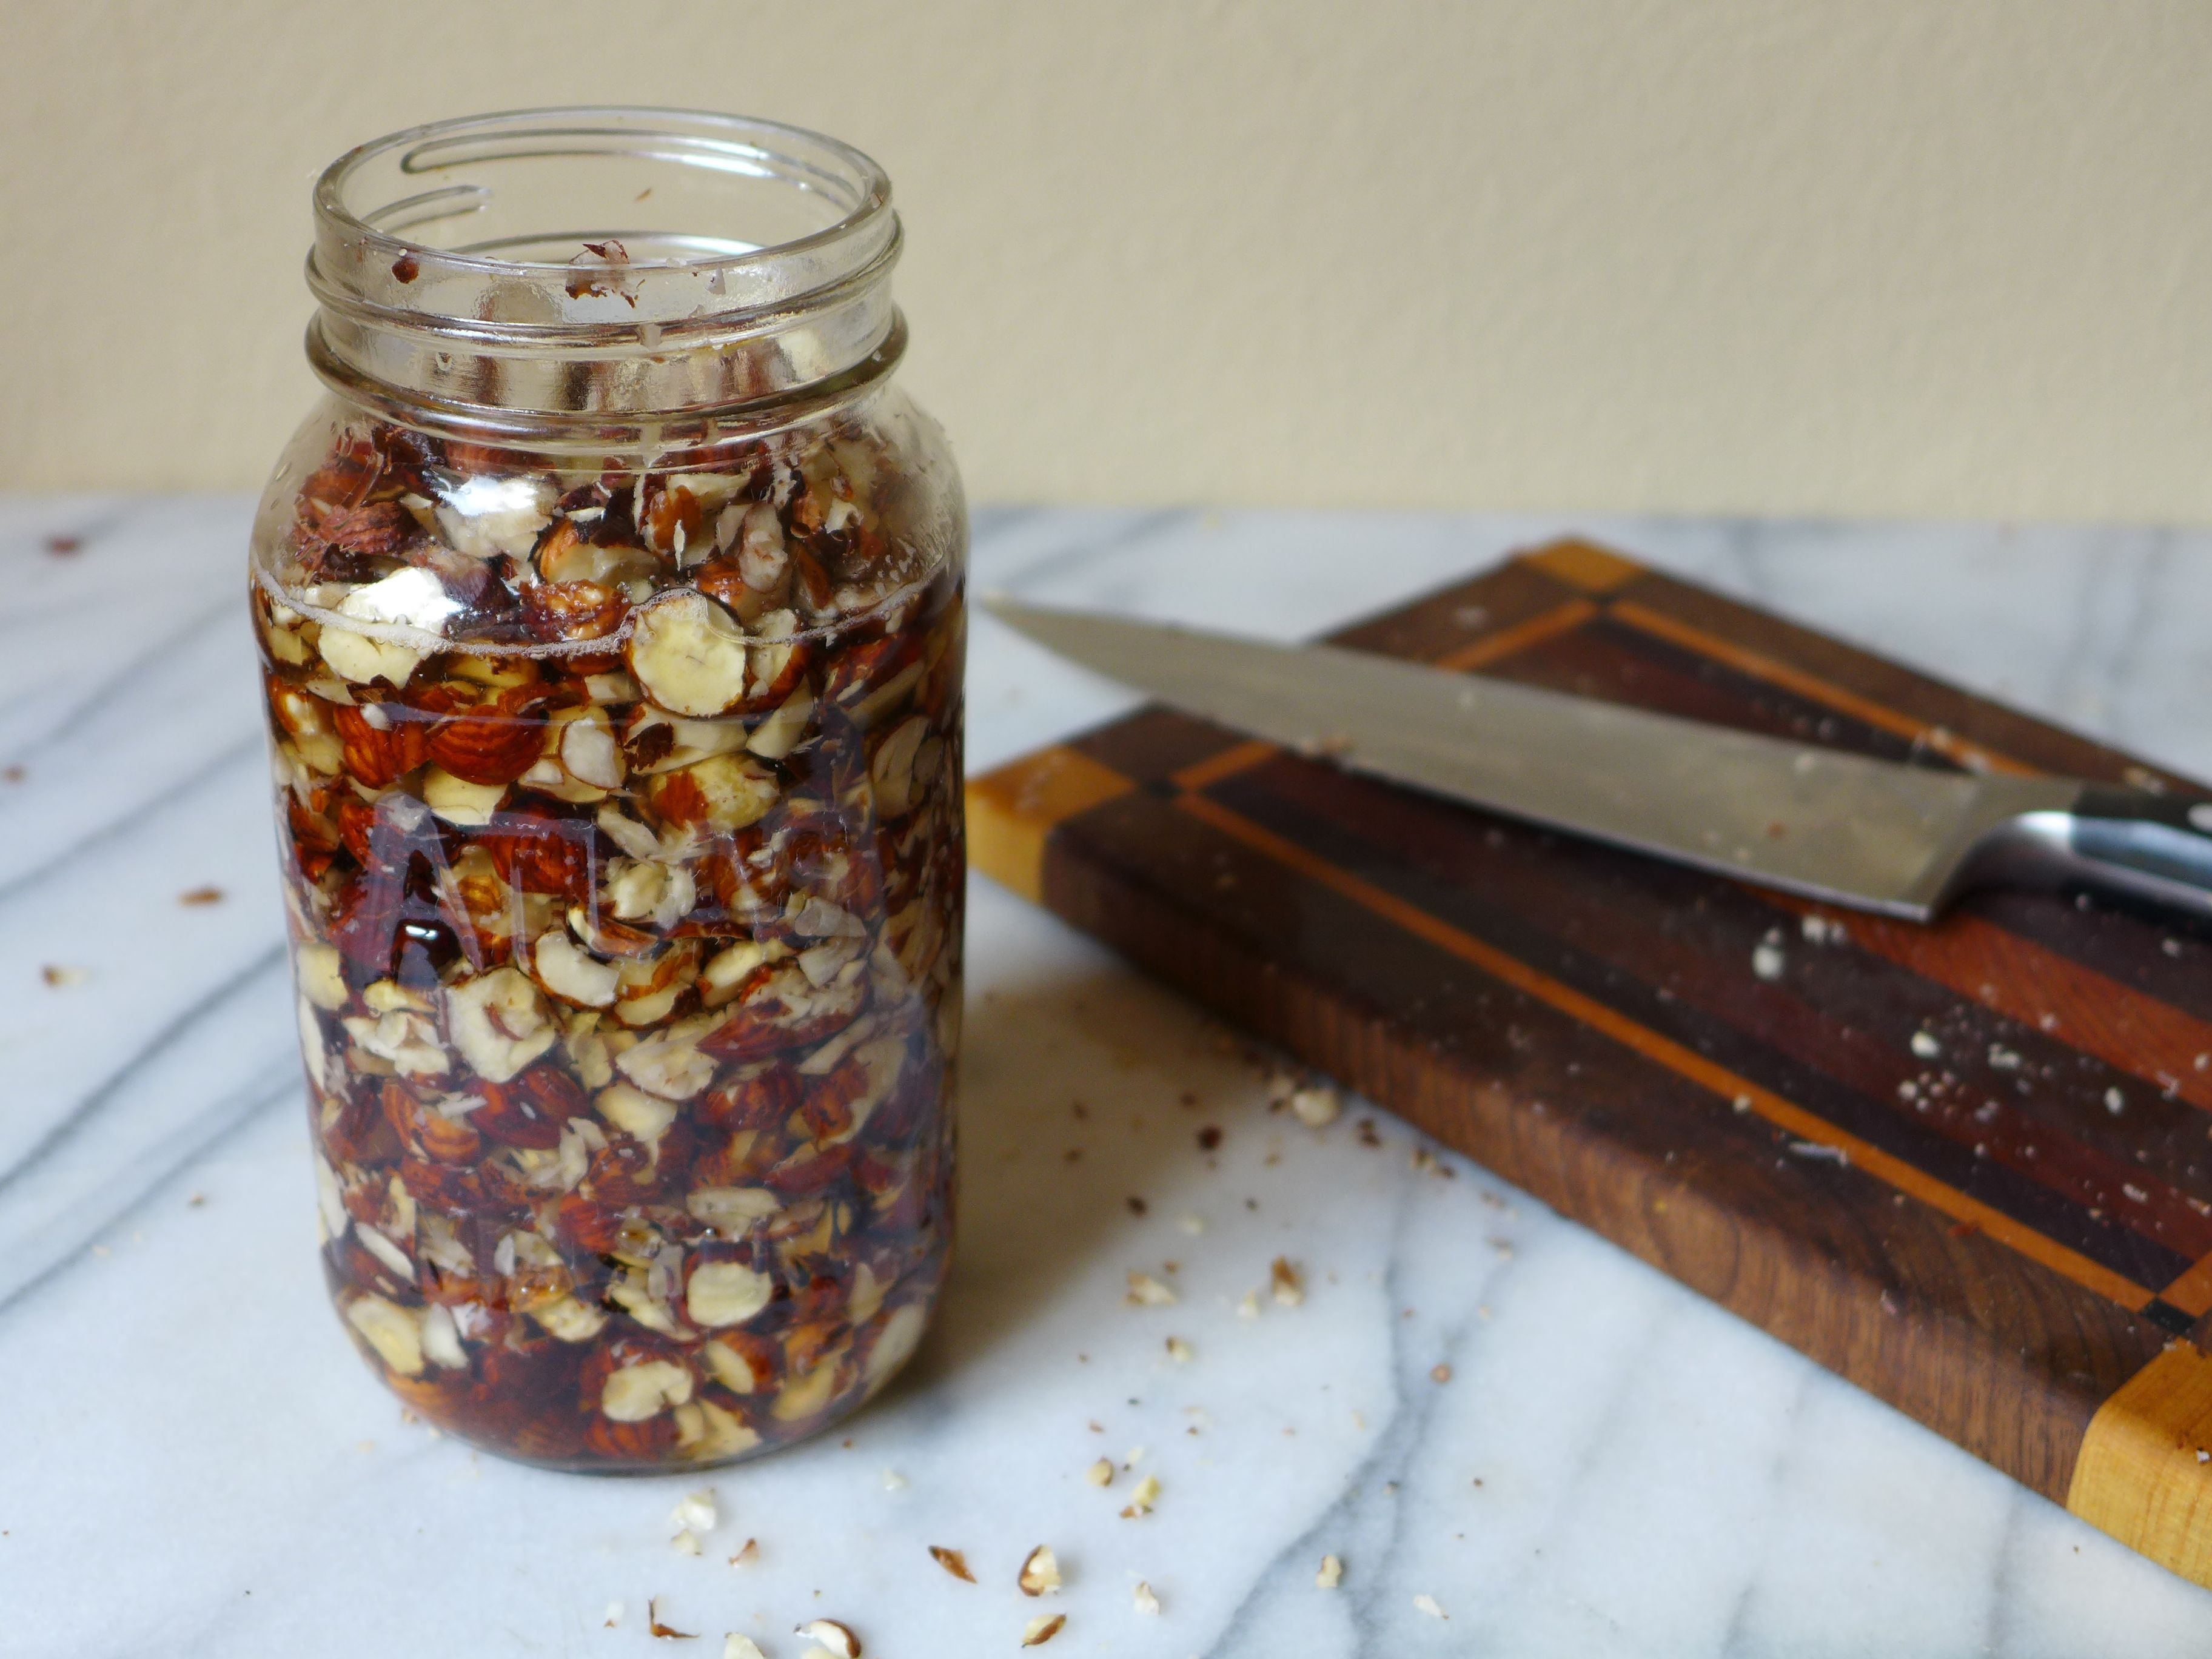
The one other change I made to their recipe was to add a touch more vodka. Can you see in the photo above that the alcohol did not completely cover the nuts? Rather than use fewer hazelnuts, I topped off the jar with a touch more vodka.
And now for my new favorite addiction ~ hazelnut spiked milkshakes!
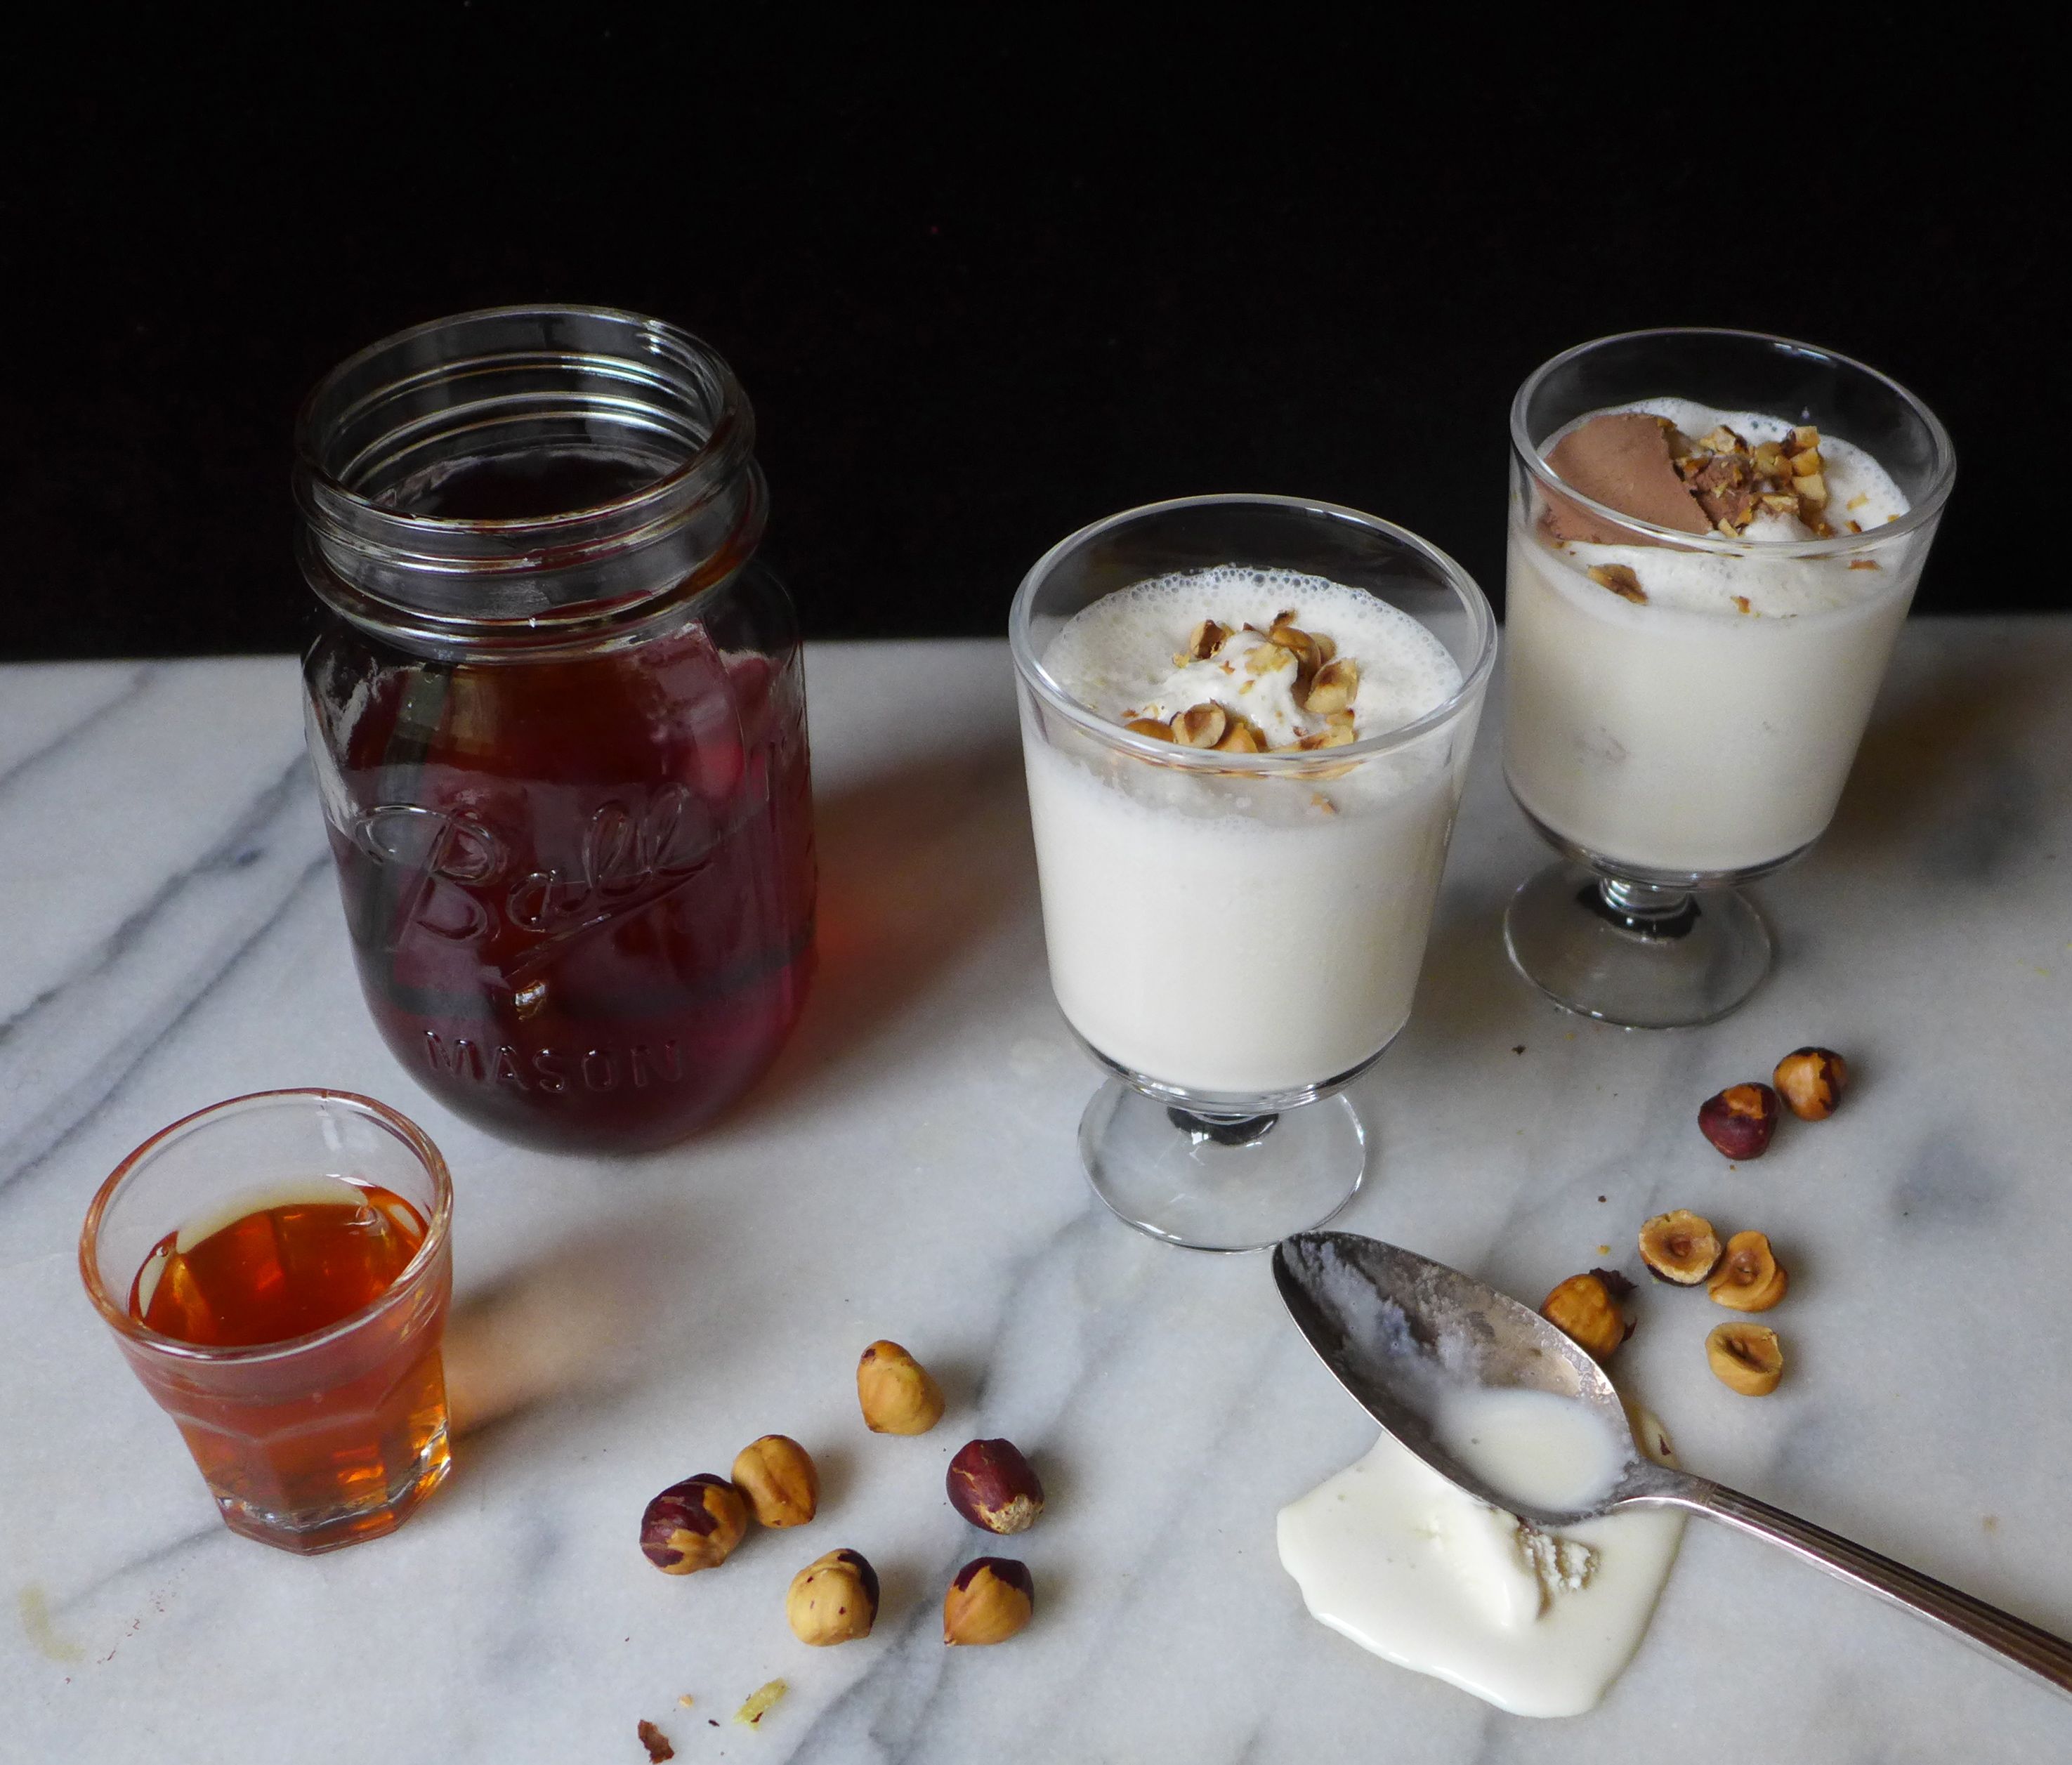
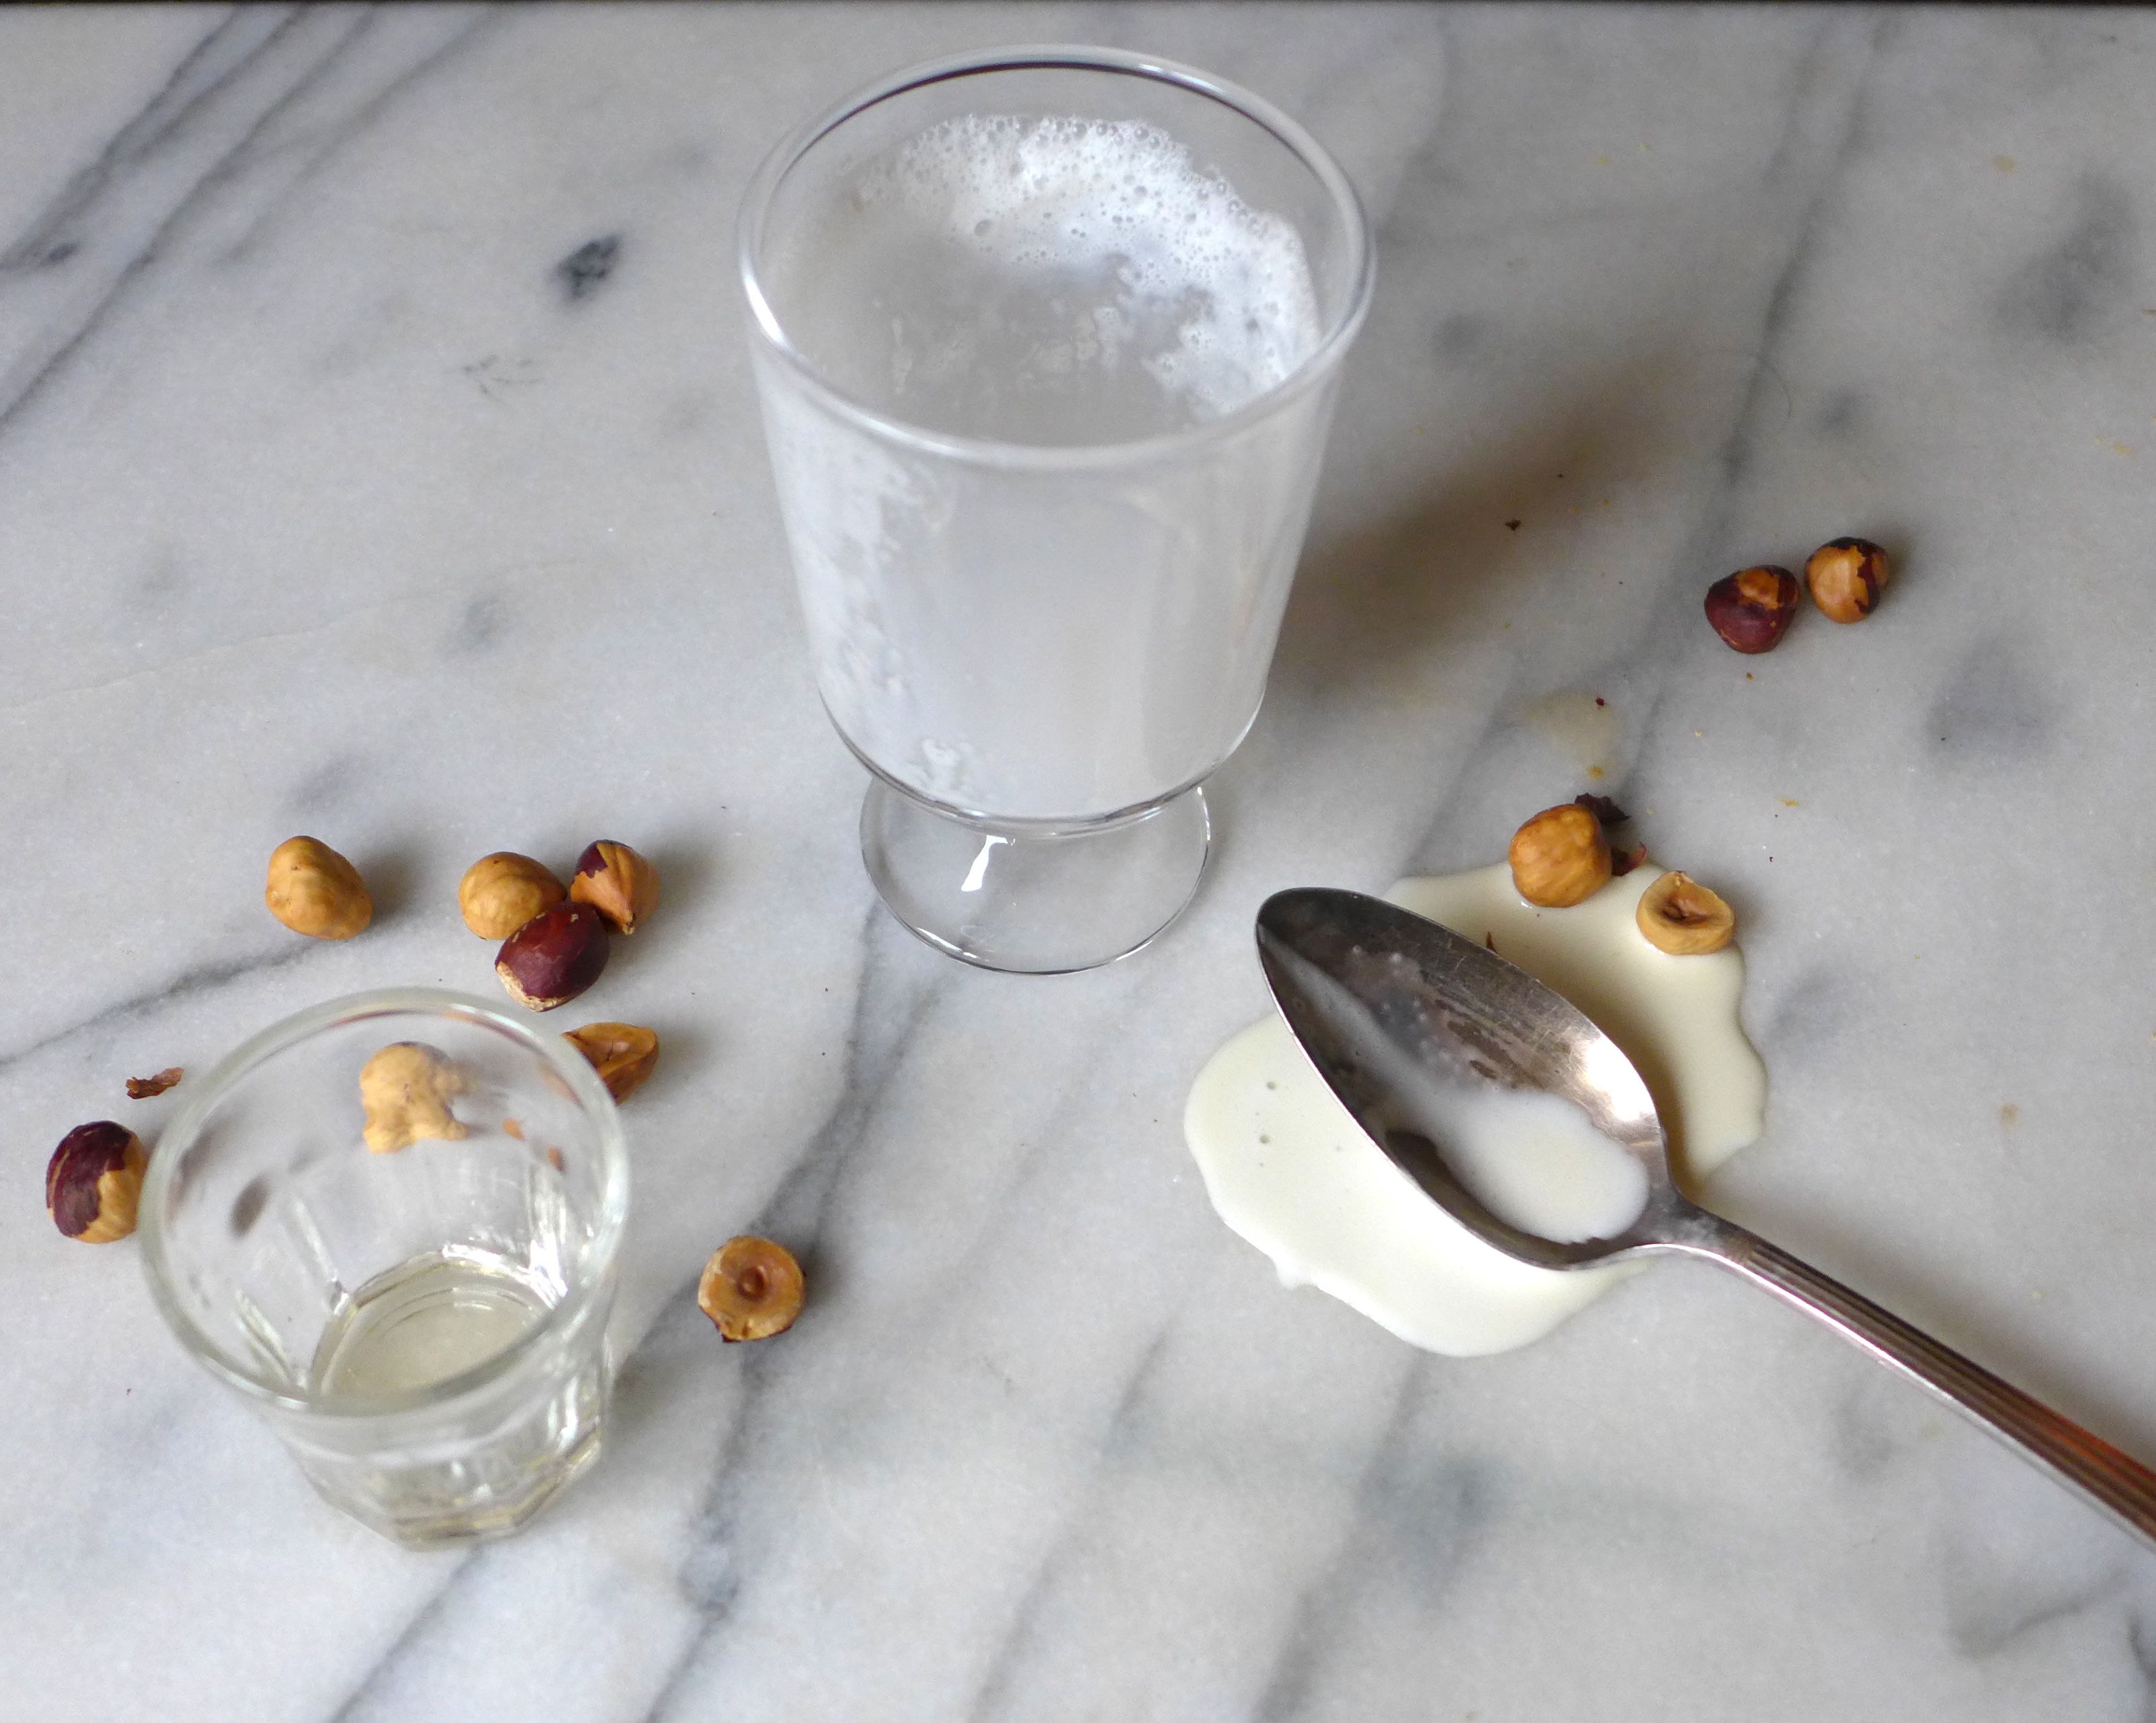
Making the milkshake is easy, and I don’t have a precise formula. I just put some vanilla ice cream in the blender, add enough milk to give it the right consistency, and blend. I then add a shot or so of liqueur and try to drink it before it melts, which can be a challenge on the nights that Luc is a fussy gus. Growing up, we would make our milkshakes in the blender, and then add a scoop of hard ice cream to our glass before pouring in the shake. You can do the same, and if you do, it’s fun to use chocolate ice cream for a hint of nutella flavor… or you could just make a chocolate shake :-). I also found that chopped roasted hazelnuts are the perfect garnish and add a fun crunch to the shake.
PS. Yes, hazelnuts are a pricey little nut, but they are WORTH IT. Trust me.