
This post was originally published in 2014, but we still dye our eggs the same way – with whatever we can find in the kitchen!
My title is a play on Sarah’s post. While I also used kitchen ingredients for my dyeing (purple cabbage, purple onion skins, turmeric), you’ll see that somehow the whole process ending up being a lot less pretty and a lot more crazy. BUT! I think I learned a few things that will improve the process next year and may help you too.
When we were growing up, I remember using yellow onion skins to dye eggs, but never any other ingredients from the kitchen. It’s fun to see natural dying blow up, and with it a million and one tutorials. So many people are doing it, using a variety of ingredients from the kitchen and a variety of processes. I didn’t have time to fall down the rabbit hole of egg dying, so I kept it simple and went to everyone’s trusted source and loosely interpreted those instructions. Martha does a few things that I didn’t notice on other tutorials:
- She recommends you wipe the eggs with vinegar before dropping them into the bath to help the eggs absorb the dye
- She uses salt in the dye bath. I didn’t know what the salt did, but according to this site, the salt will help “force the dye out of the water”. I put a question mark next to it in the materials list below, because it’s not necessary, but may enhance the color of your eggs.
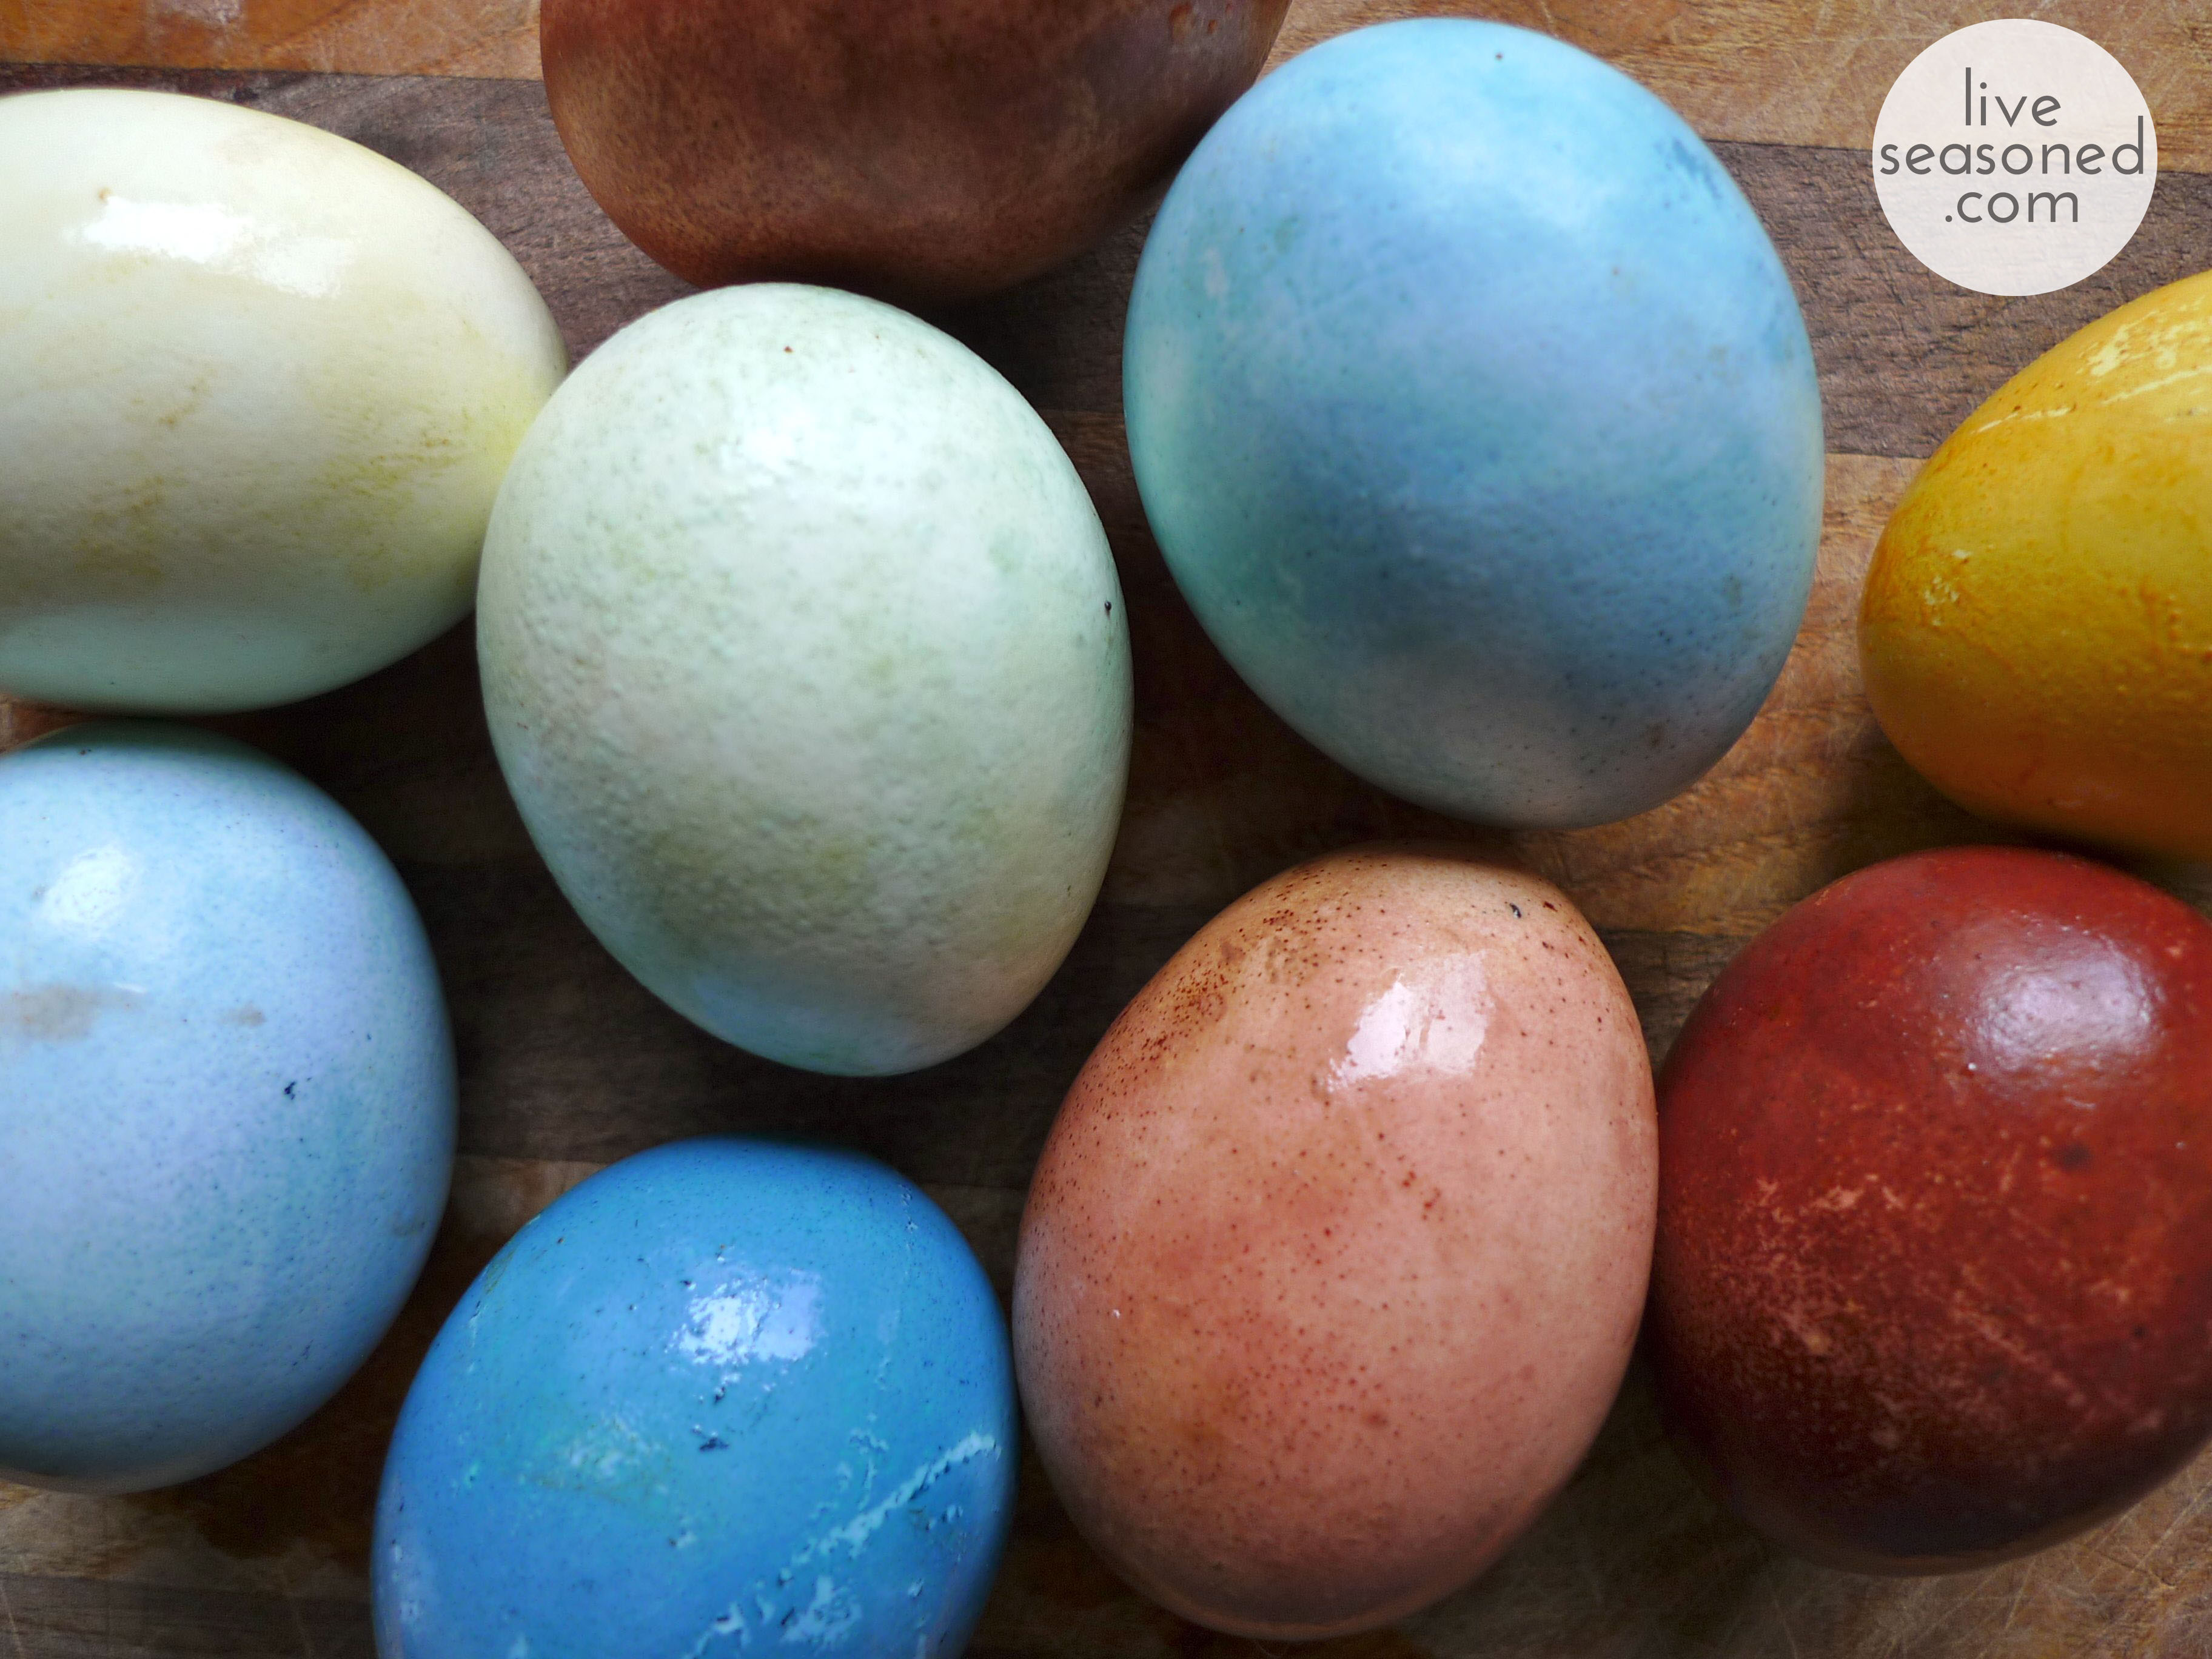
As for my choice of dye materials,
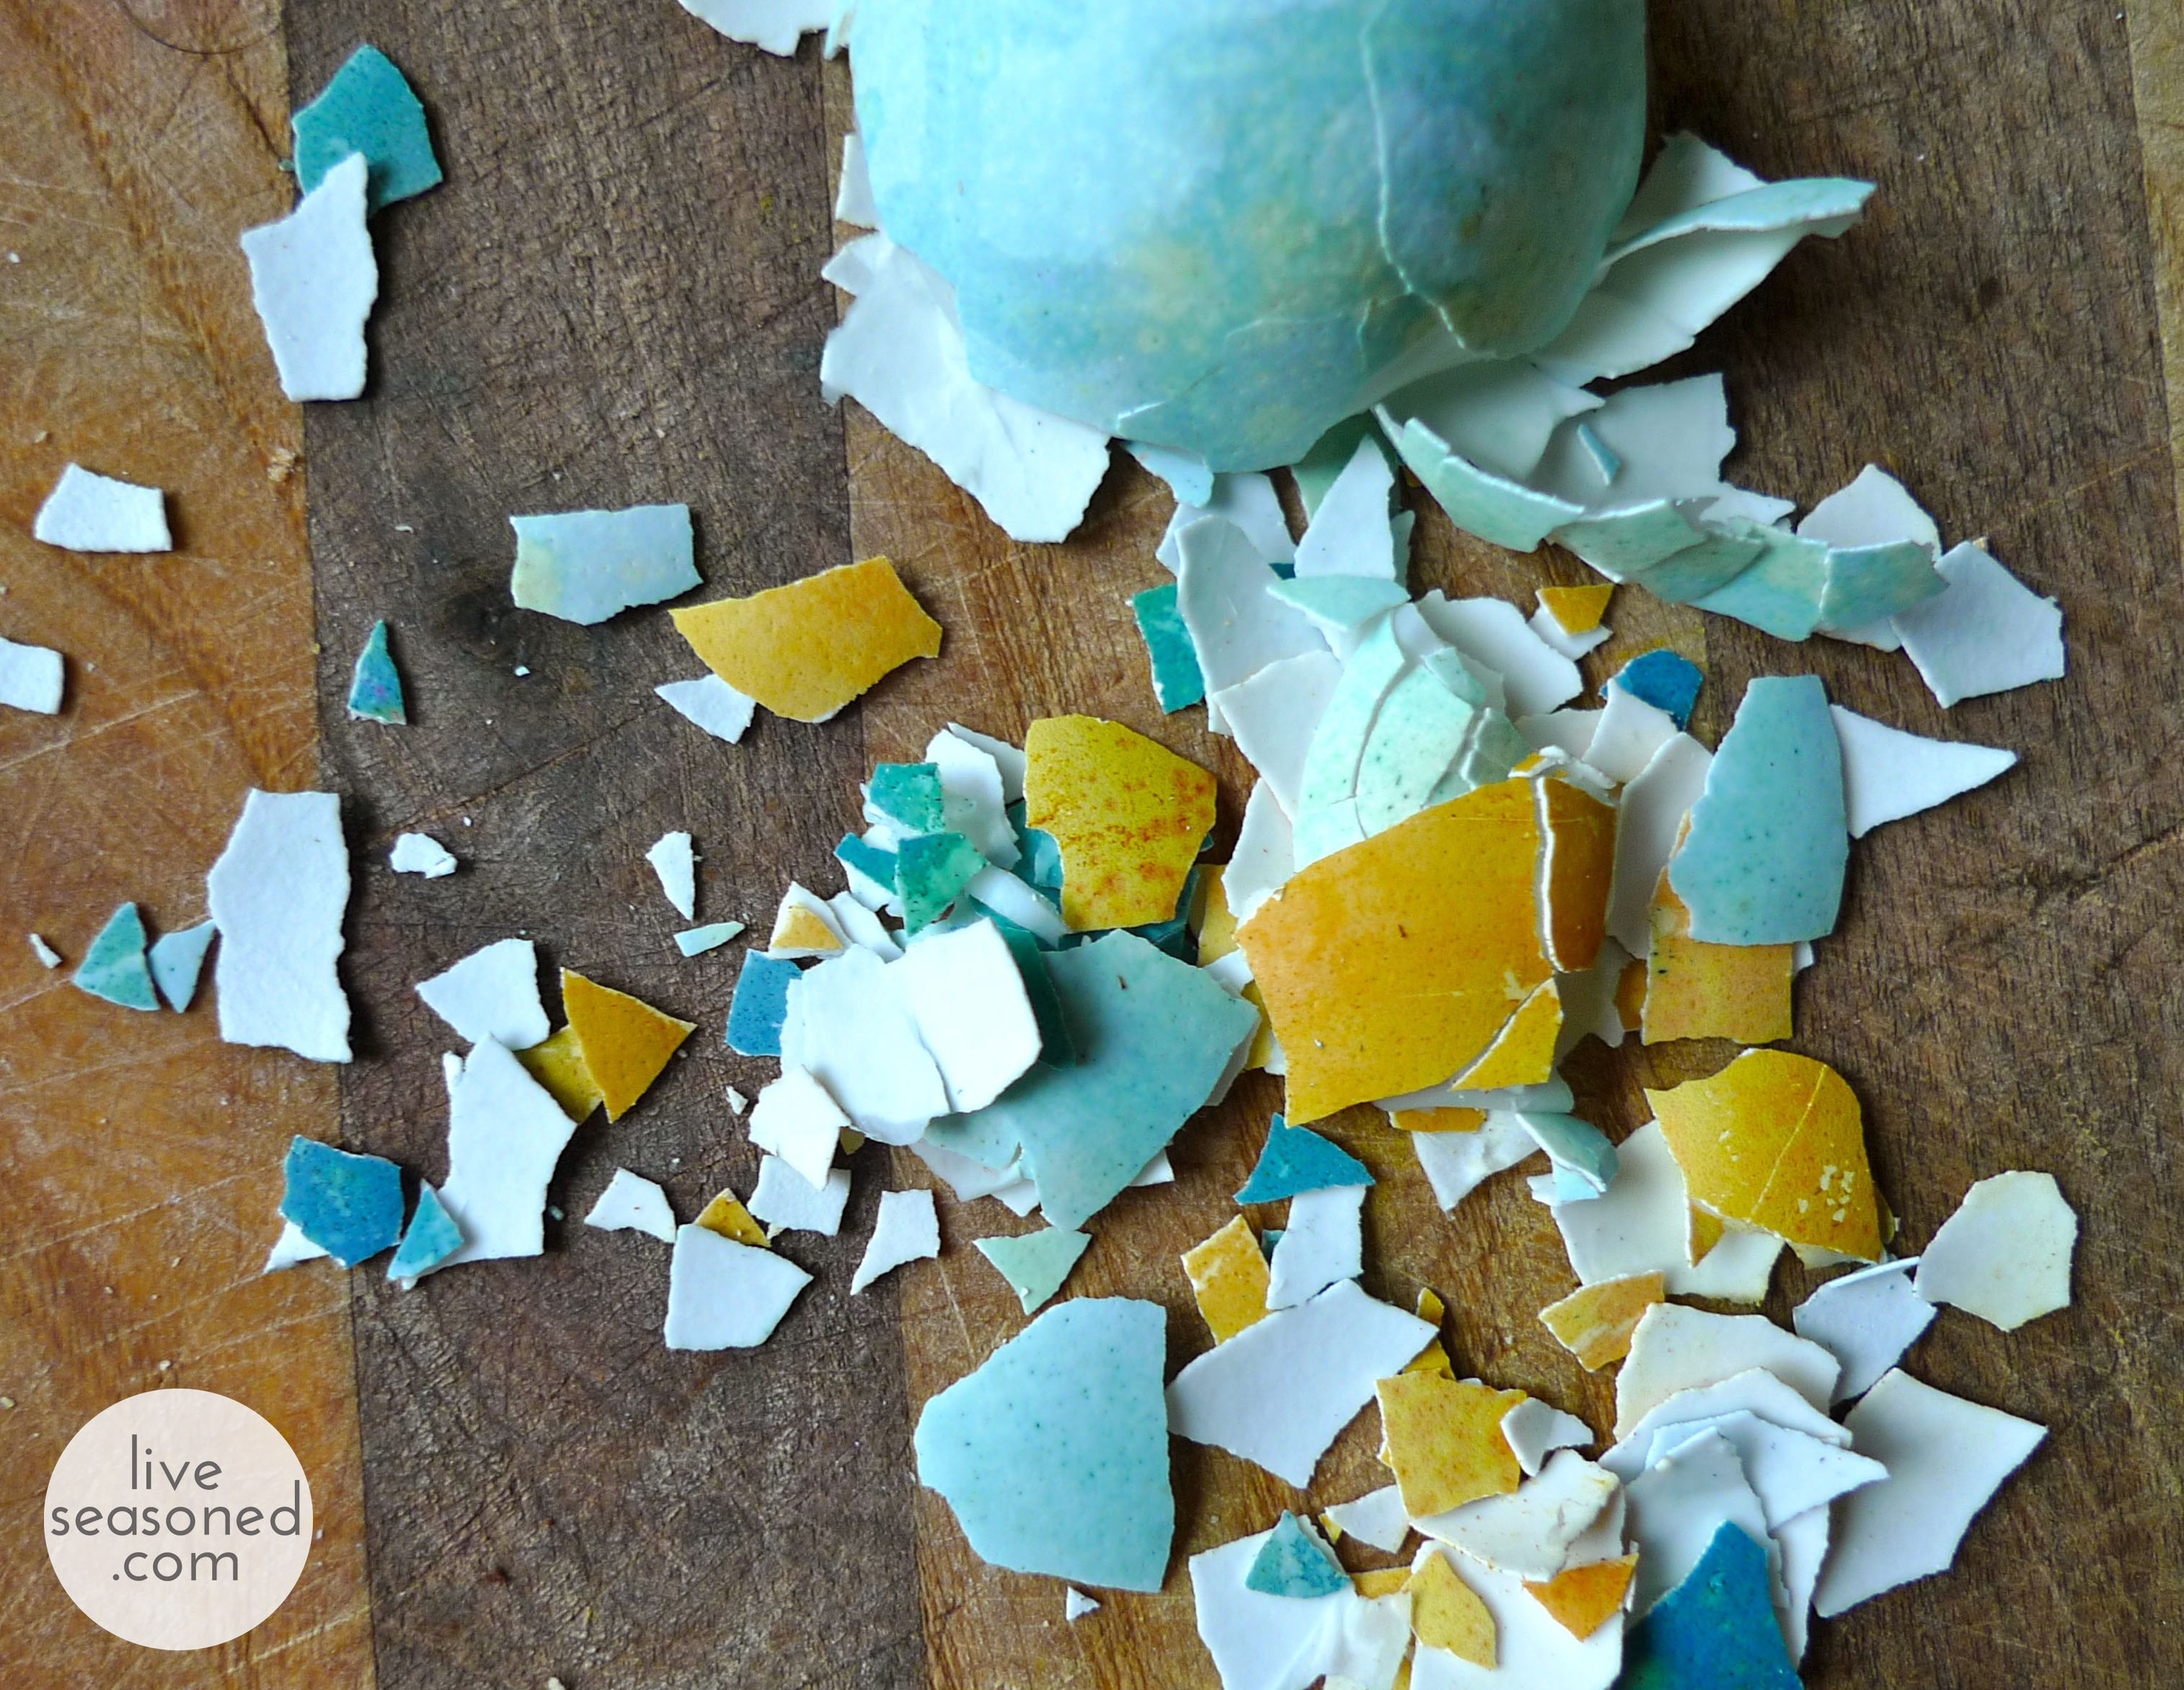
- purple cabbage: produces the most beautiful blue color
- purple onion skin: produces a burnt sienna or sepia color (loved my Crayola 64)
- turmeric: produces a light to dark yellow
- combining some of the cabbage and turmeric liquid produced the light green egg in the photo below
Materials
- water
- vinegar
- salt?
- 1 head of purple cabbage, chopped
- a produce bag loosely filled 3/4 full with purple onion skins
- 3 tablespoons turmeric
- hardboiled eggs
Creating the Cabbage and Onion Dyes
- The cabbage and onion should be boiled in water to extract the dye
- Place the dye source into a pot of water that contains at least 1 1/2 to 2 quarts of water and boil for approximately 20 minutes
- Strain the liquid, throwing out the solids
- Add 1/4 cup vinegar and 1/8 cup salt, stirring to dissolve the salt
- Place your eggs in the dye bath and store in the fridge for 24 hours
Creating the Turmeric Dye
- Place 4 tablespoons of turmeric in 1 quart of water
- Add 1/4 cup vinegar and 1/8 cup salt, stirring to dissolve the salt
- Place your eggs in the dye bath and store in the fridge for 24 hours
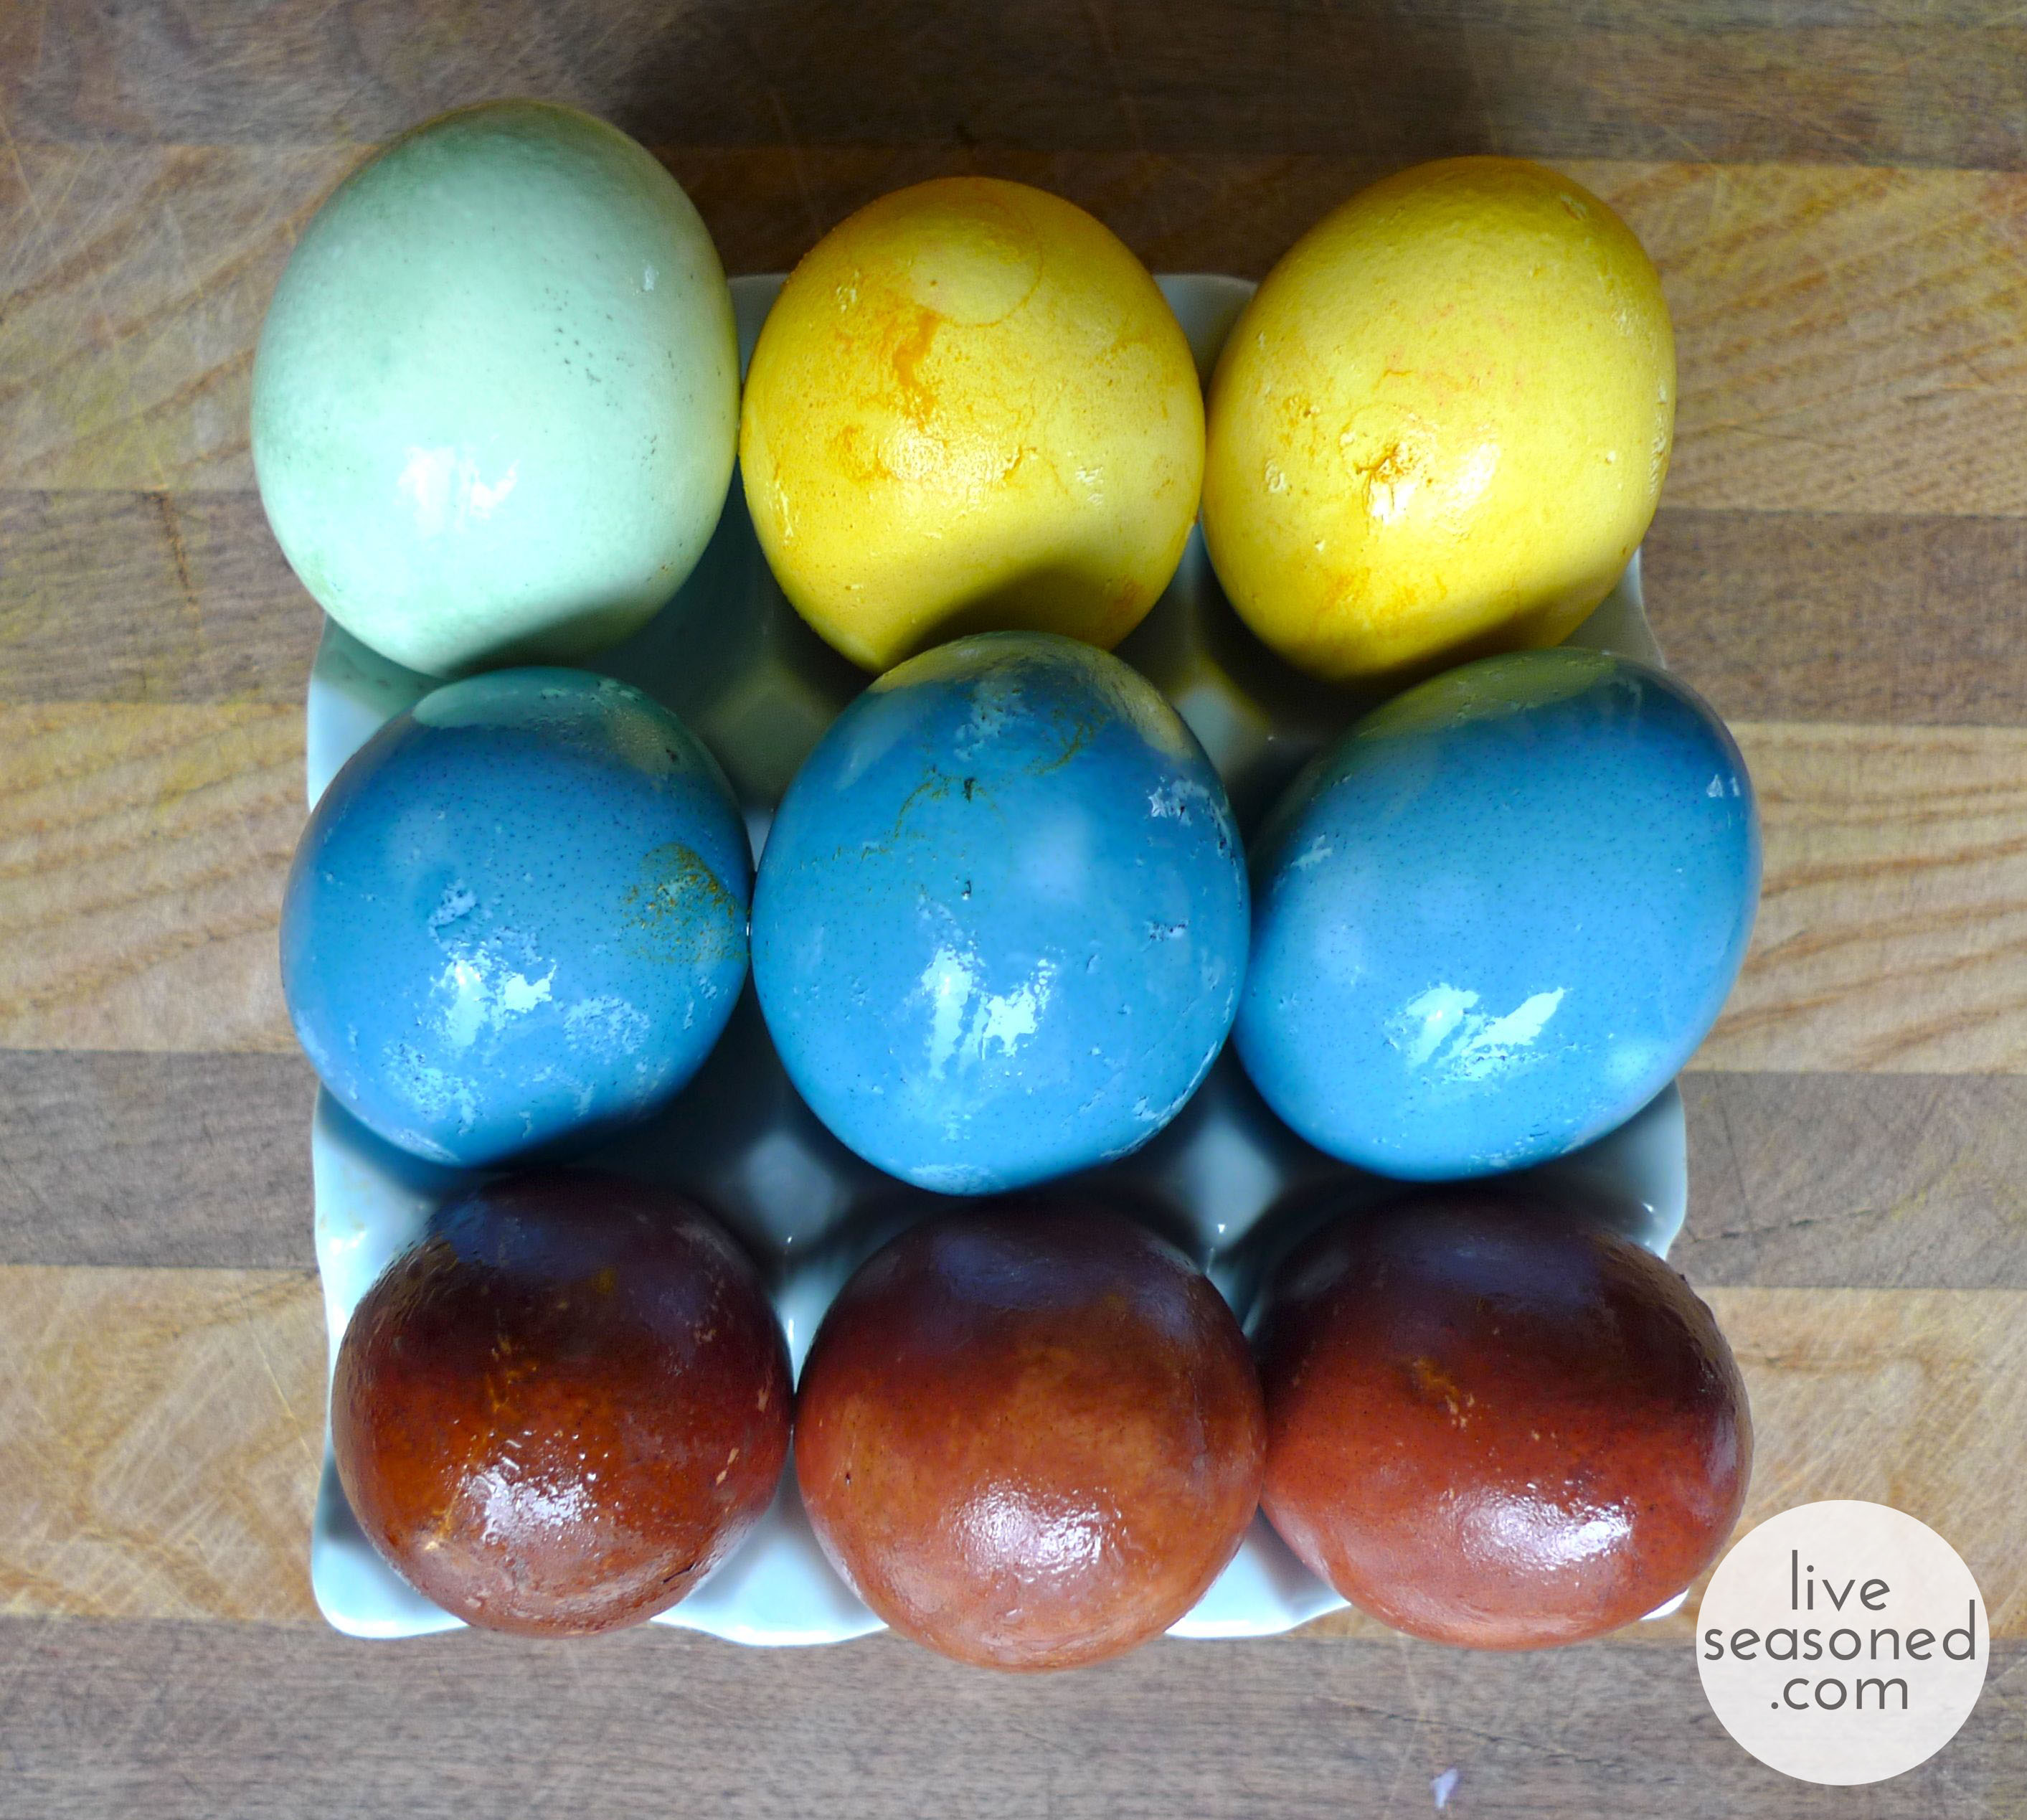
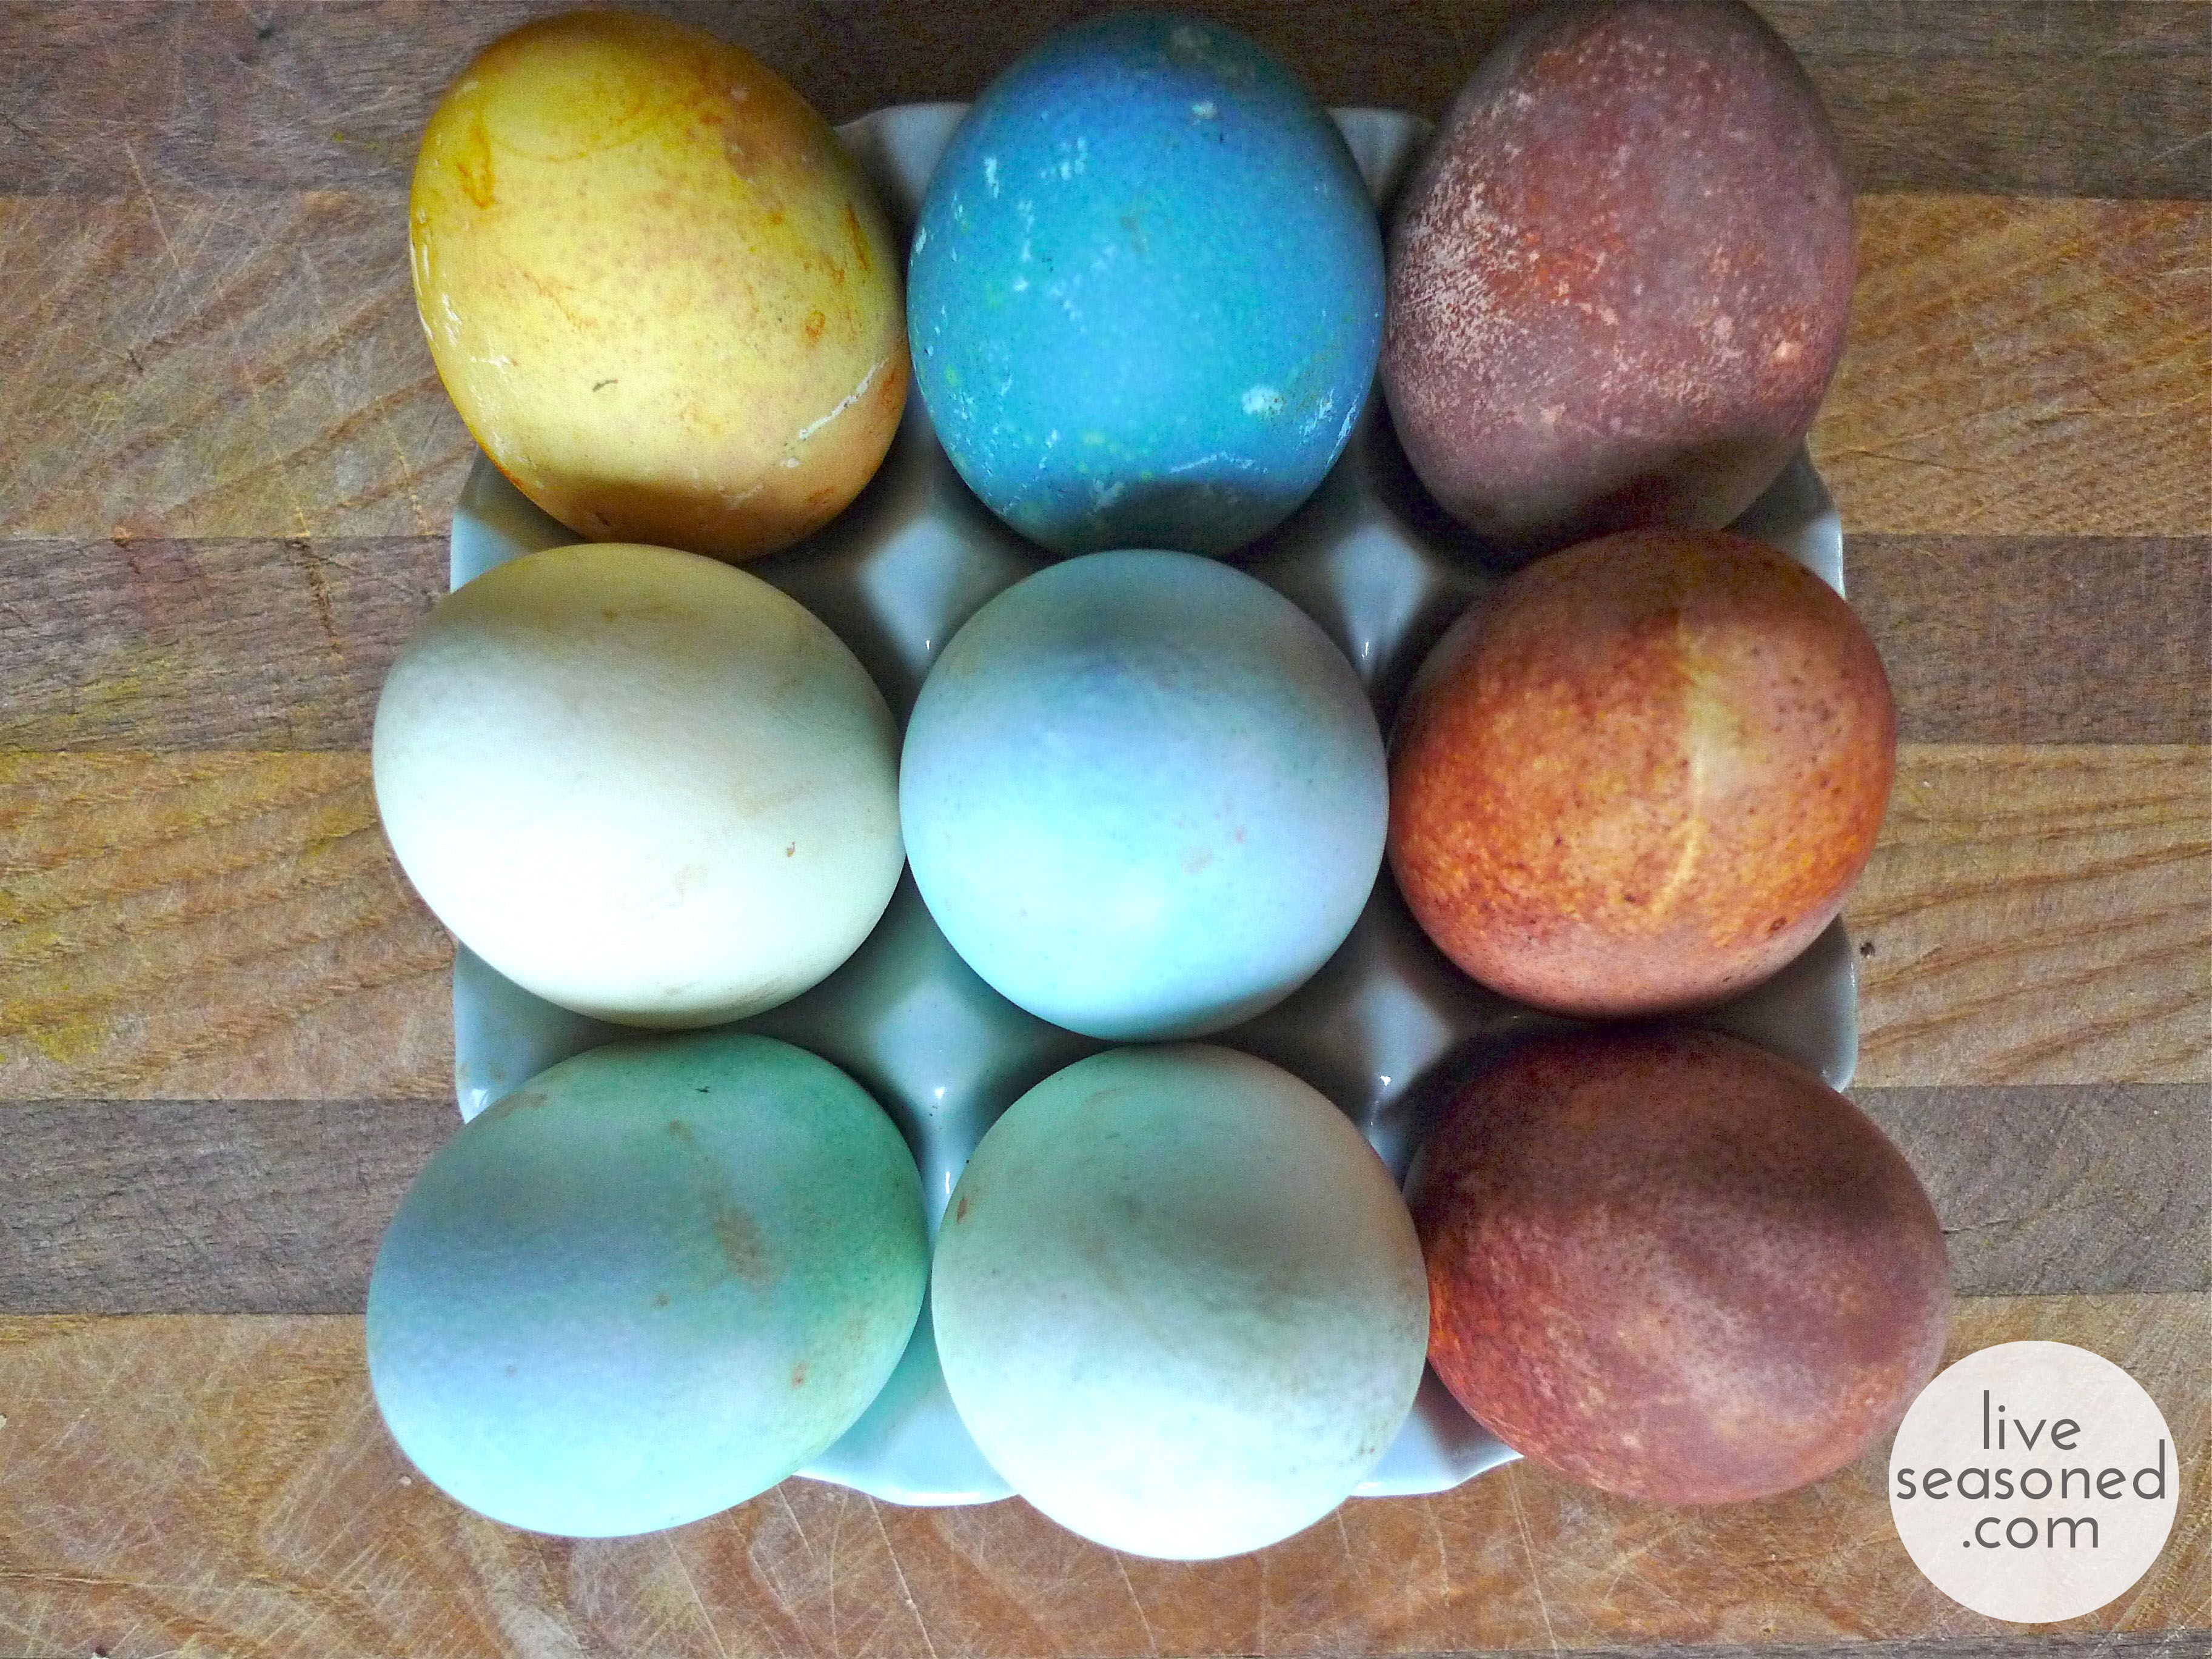
After 24 hours, your eggs should develop the nice, deep color you see in the photo above. If they are out of the dye and stored in the fridge for another 24 hours, they will look completely dry like the photo below. Keep reading to find out why you may want to wait a full 48 hours for your eggs to be finished and for those tips I promised.
This was a great year to experiment with natural dying. Alex was so little that he didn’t know what was going on, and I was able to test my methods so that I’m ready to go next year when he will want to get in there and help! I loved the magic and simplicity of using the natural dyes and am going to use it as my go-to method (until Little A becomes aware of the commercial dye packs and begs to try them out!). This process also made me really excited to do some natural dying of yarn and fabric, something Sarah and I have on the docket for future posts!
Lessons Learned
- Choose your container wisely. I used quart jars to hold my dye bath with eggs. This was great for storing in the fridge, but caused some other problems. Because the mouth of the jars is small, I had to either use a spoon or reach in and pull each egg out. In the process, the outer “layer” of dye would rub off anywhere that the egg was handled too roughly. Next time, I would use bowls to hold the dye, making it much easier to removing the eggs without damaging the dye. I noticed Sarah used wide-mouth jars, smart cookie.
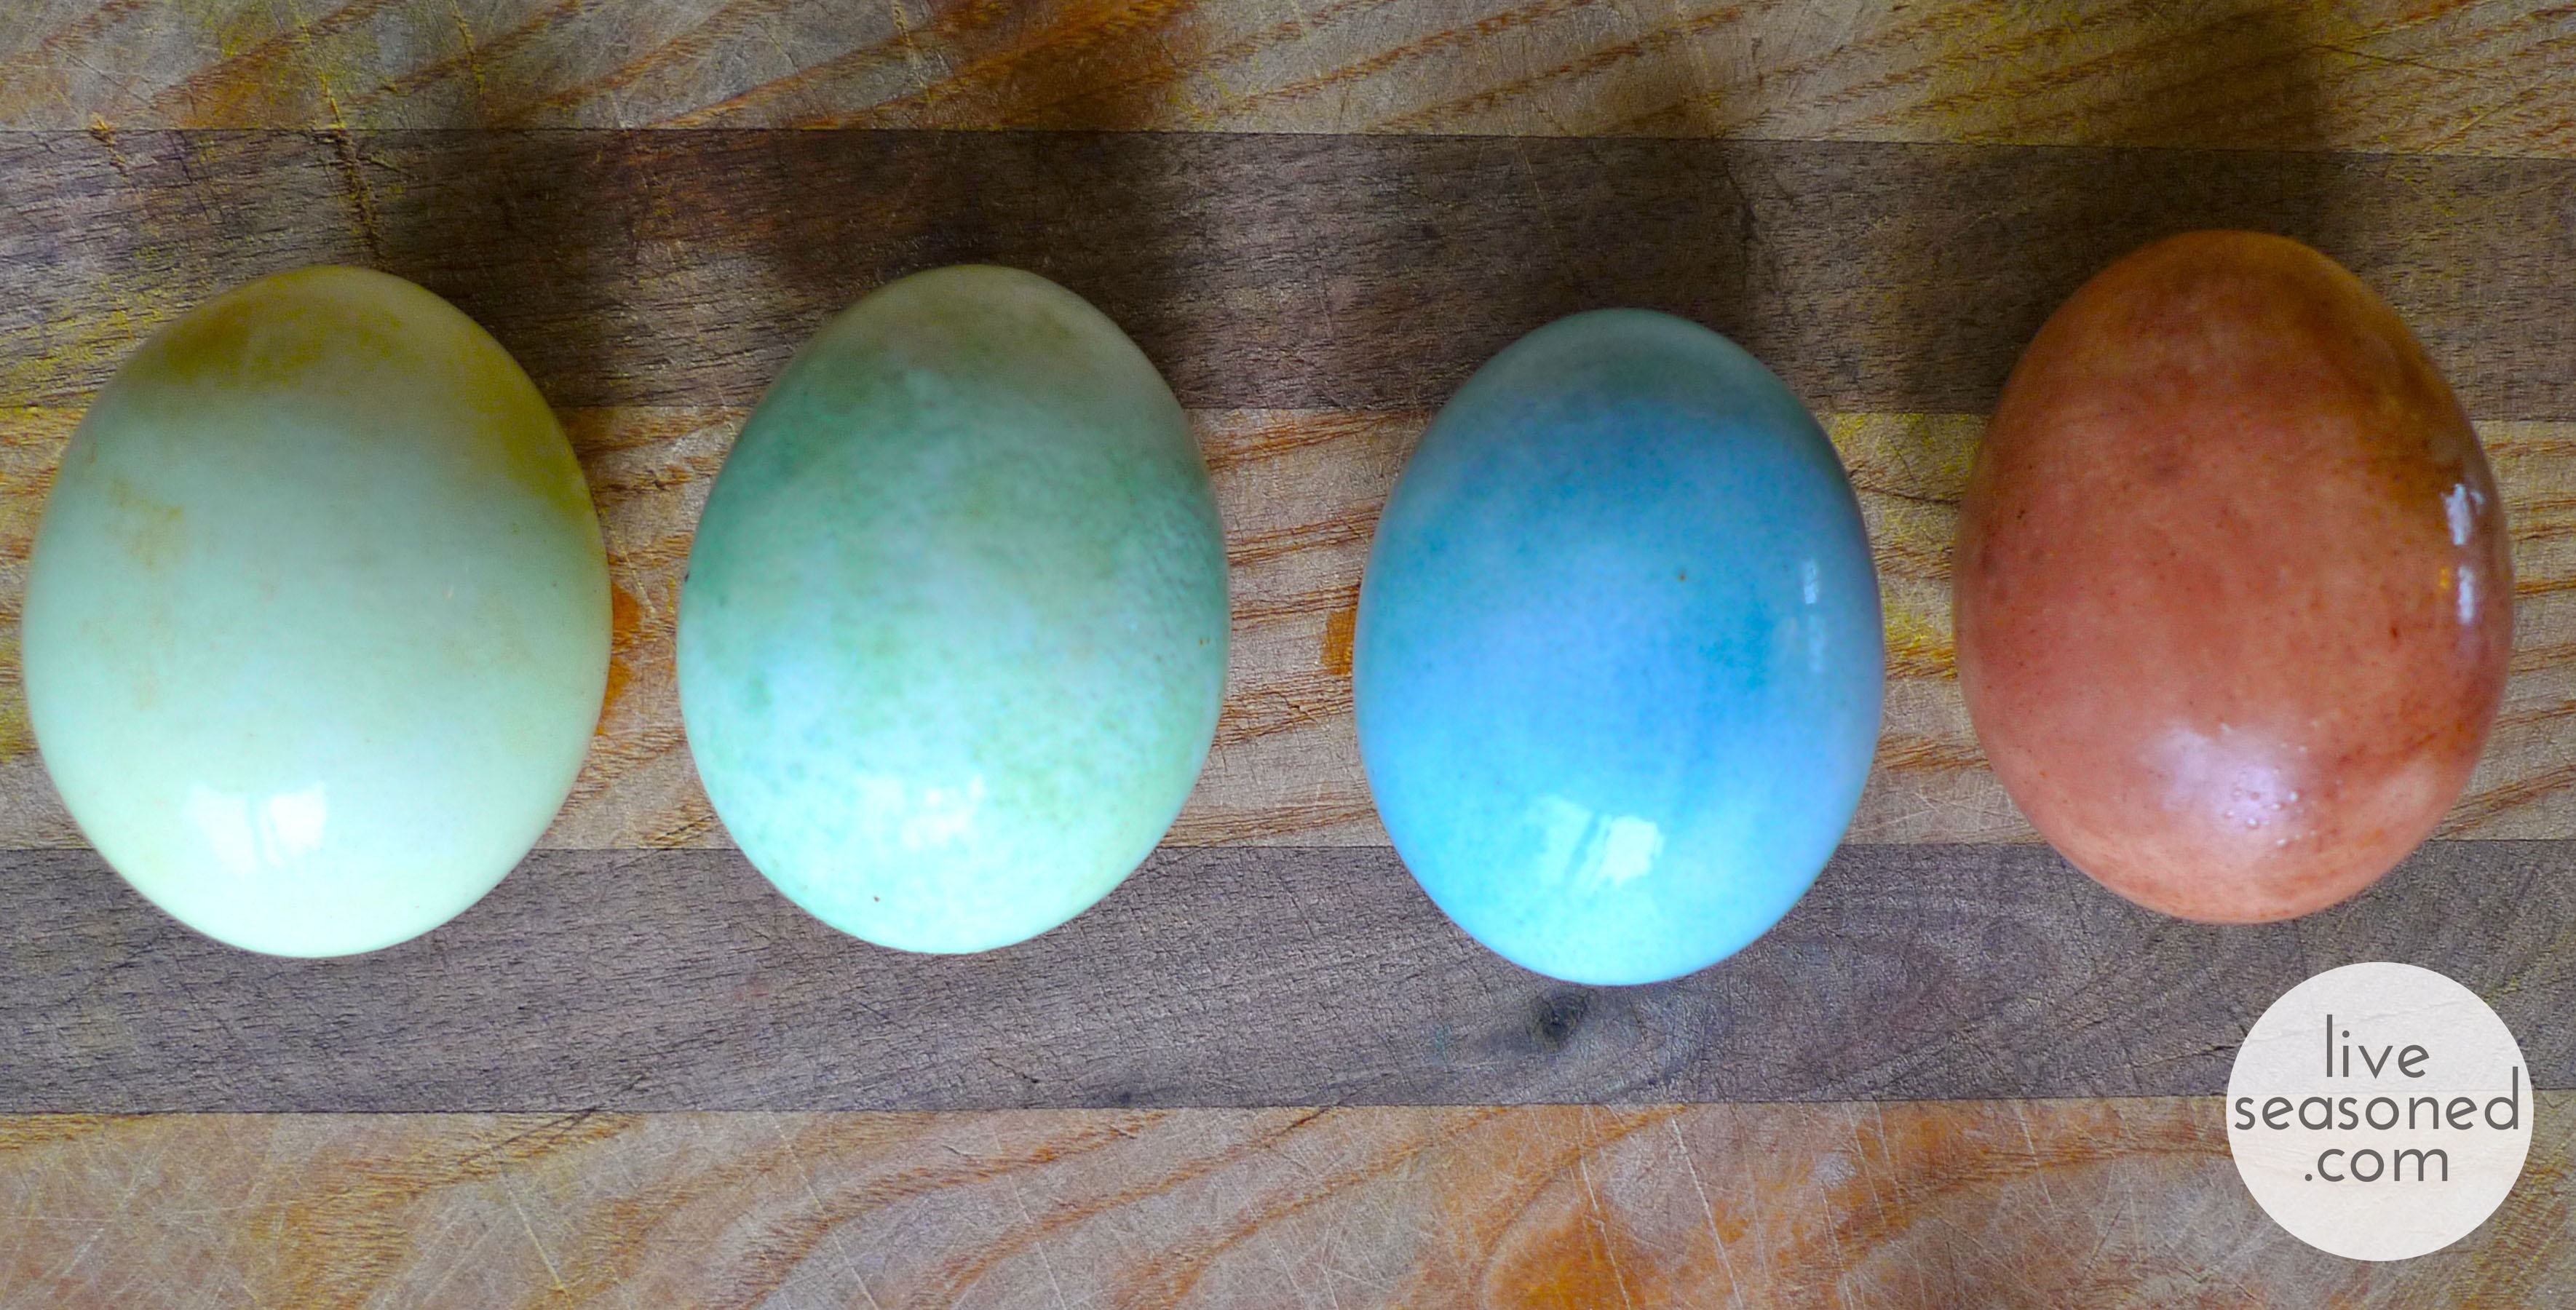
- Be Patient. I was frustrated that the dye was rubbing off, but figured that it couldn’t be helped. So I carefully handled the eggs, rubbed some oil on their surface, and photographed them, producing the vibrant colors seen in the second photo above. Since no harm could come, I decided to experiment. I used a paper towel to rub off that outer dye layer on some of the eggs, producing the nice pale colors in the photo below. Beautiful right? Then I put all of the eggs in the fridge for about 12 hours. When I went back to them, the dye had fully set on the vibrant eggs that remained, but they looked a bit dry, as you can see in the photo above. Rubbing a drop of vegetable oil into the shells produced a nice beautiful sheen.
- Want the Cliff’s Notes? Putting those two lessons together, I learned that if you use the right container, handle the eggs delicately, and allow the dye to completely set, then you can keep the vibrant colors without creating scuff marks. On the other hand, rubbing dye off some of the eggs creates a wider spectrum of beautiful colors!
And guys, do you know how good it is to make egg salad for lunch when you’re cracking dyed eggs? The best.
After writing up this post and looking at the photos, the whole process doesn’t sound that crazy. If only you were a fly on my kitchen wall: little A was crawling around my feet, Ca$h smelled food and wanted to see if I was making something for him to eat, and I was trying ever so carefully to pull slippery wet eggs out of jars without touching them. If you hold those eggs just the right way, you create a Chinese finger trap, with your eggs and fingers jammed in the mouth of the jar. The harder you pull the the tighter the trap.
What would a post about mistakes and blunders be without some bloopers?
Yes, Ca$h successfully licked an egg. Yes, of course Alex was helping.


If you hold the onion skins to the egg with cheesecloth, tied on tightly, the result will be a stained glass effect.