
Lemon is our ingredient of the season! So far we’ve used it in a buckle, in bars, in a savory pasta, and in the shower. Oh, and there are two on my counter waiting for our next project!
You don’t have to have a kid to make this Lemon Bread, but it’s more fun messy if you do! As you’ll see, the simplicity of this recipe is what makes it the perfect choice for cooking with an assistant, but it’s also what makes it an easy go-to treat. You can bake a loaf in no time at all for a last minute brunch, but it also stores well, so it’s the perfect tangy treat to make on a Monday and eat it all week long with your afternoon tea break (speaking from experience). Now on with the cuteness ~
We’ve reached a new milestone in our house : weekly cooking sessions with Alex. It’s no surprise that Calder and I love to cook, and we’ve kept the kitchen open to Little A from the start. We recently turned a corner when it comes to sharing the kitchen with a little guy; at first we were just trying to keep him busy and safe, but now he’s actually helping with the cooking and he understands what’s going on!
Granted, cooking by myself is such a fast and efficient exercise, but that’s not why I’m inviting Alex to cook with me. At his young age, I want to foster his curiosity and excitement to try new activities. He’s currently in a stage where he wants to do things by himself, and I want to keep that independence going. Allowing him to cook or bake with me is a great way to channel that independent energy and to help him perfect some of his skills. For little kids, every new activity is working their muscles, whether it’s activating neurons in the brain or improving their coordination and dexterity. So a task that seems simple to you and me is a big deal to a two year old. I also believe that simple activities now, like baking a loaf of bread, will lead to great things in the future, like making him independent enough to help himself in the kitchen (that doesn’t sound like a big deal, but how many people have you met that are intimidated to cook?!). Over time, our kitchen time will take on other skills, like math, reading, problem solving, but for now, we’re all about the pouring and poking, as you’ll see below.
While there’s so much kids of any age can gain from time with a mentor in the kitchen, I thought it would be fun to give you a glimpse into cooking with a two year old and share some tips that have made our time in the kitchen more enjoyable for both of us. I think you’ll find these ideas to be on target for small kids and/or children that haven’t spent much time in the kitchen. If your kiddo’s an old-pro with their own apron, then you can just skip ahead to the recipe ;-).
Pick Your Dish Carefully
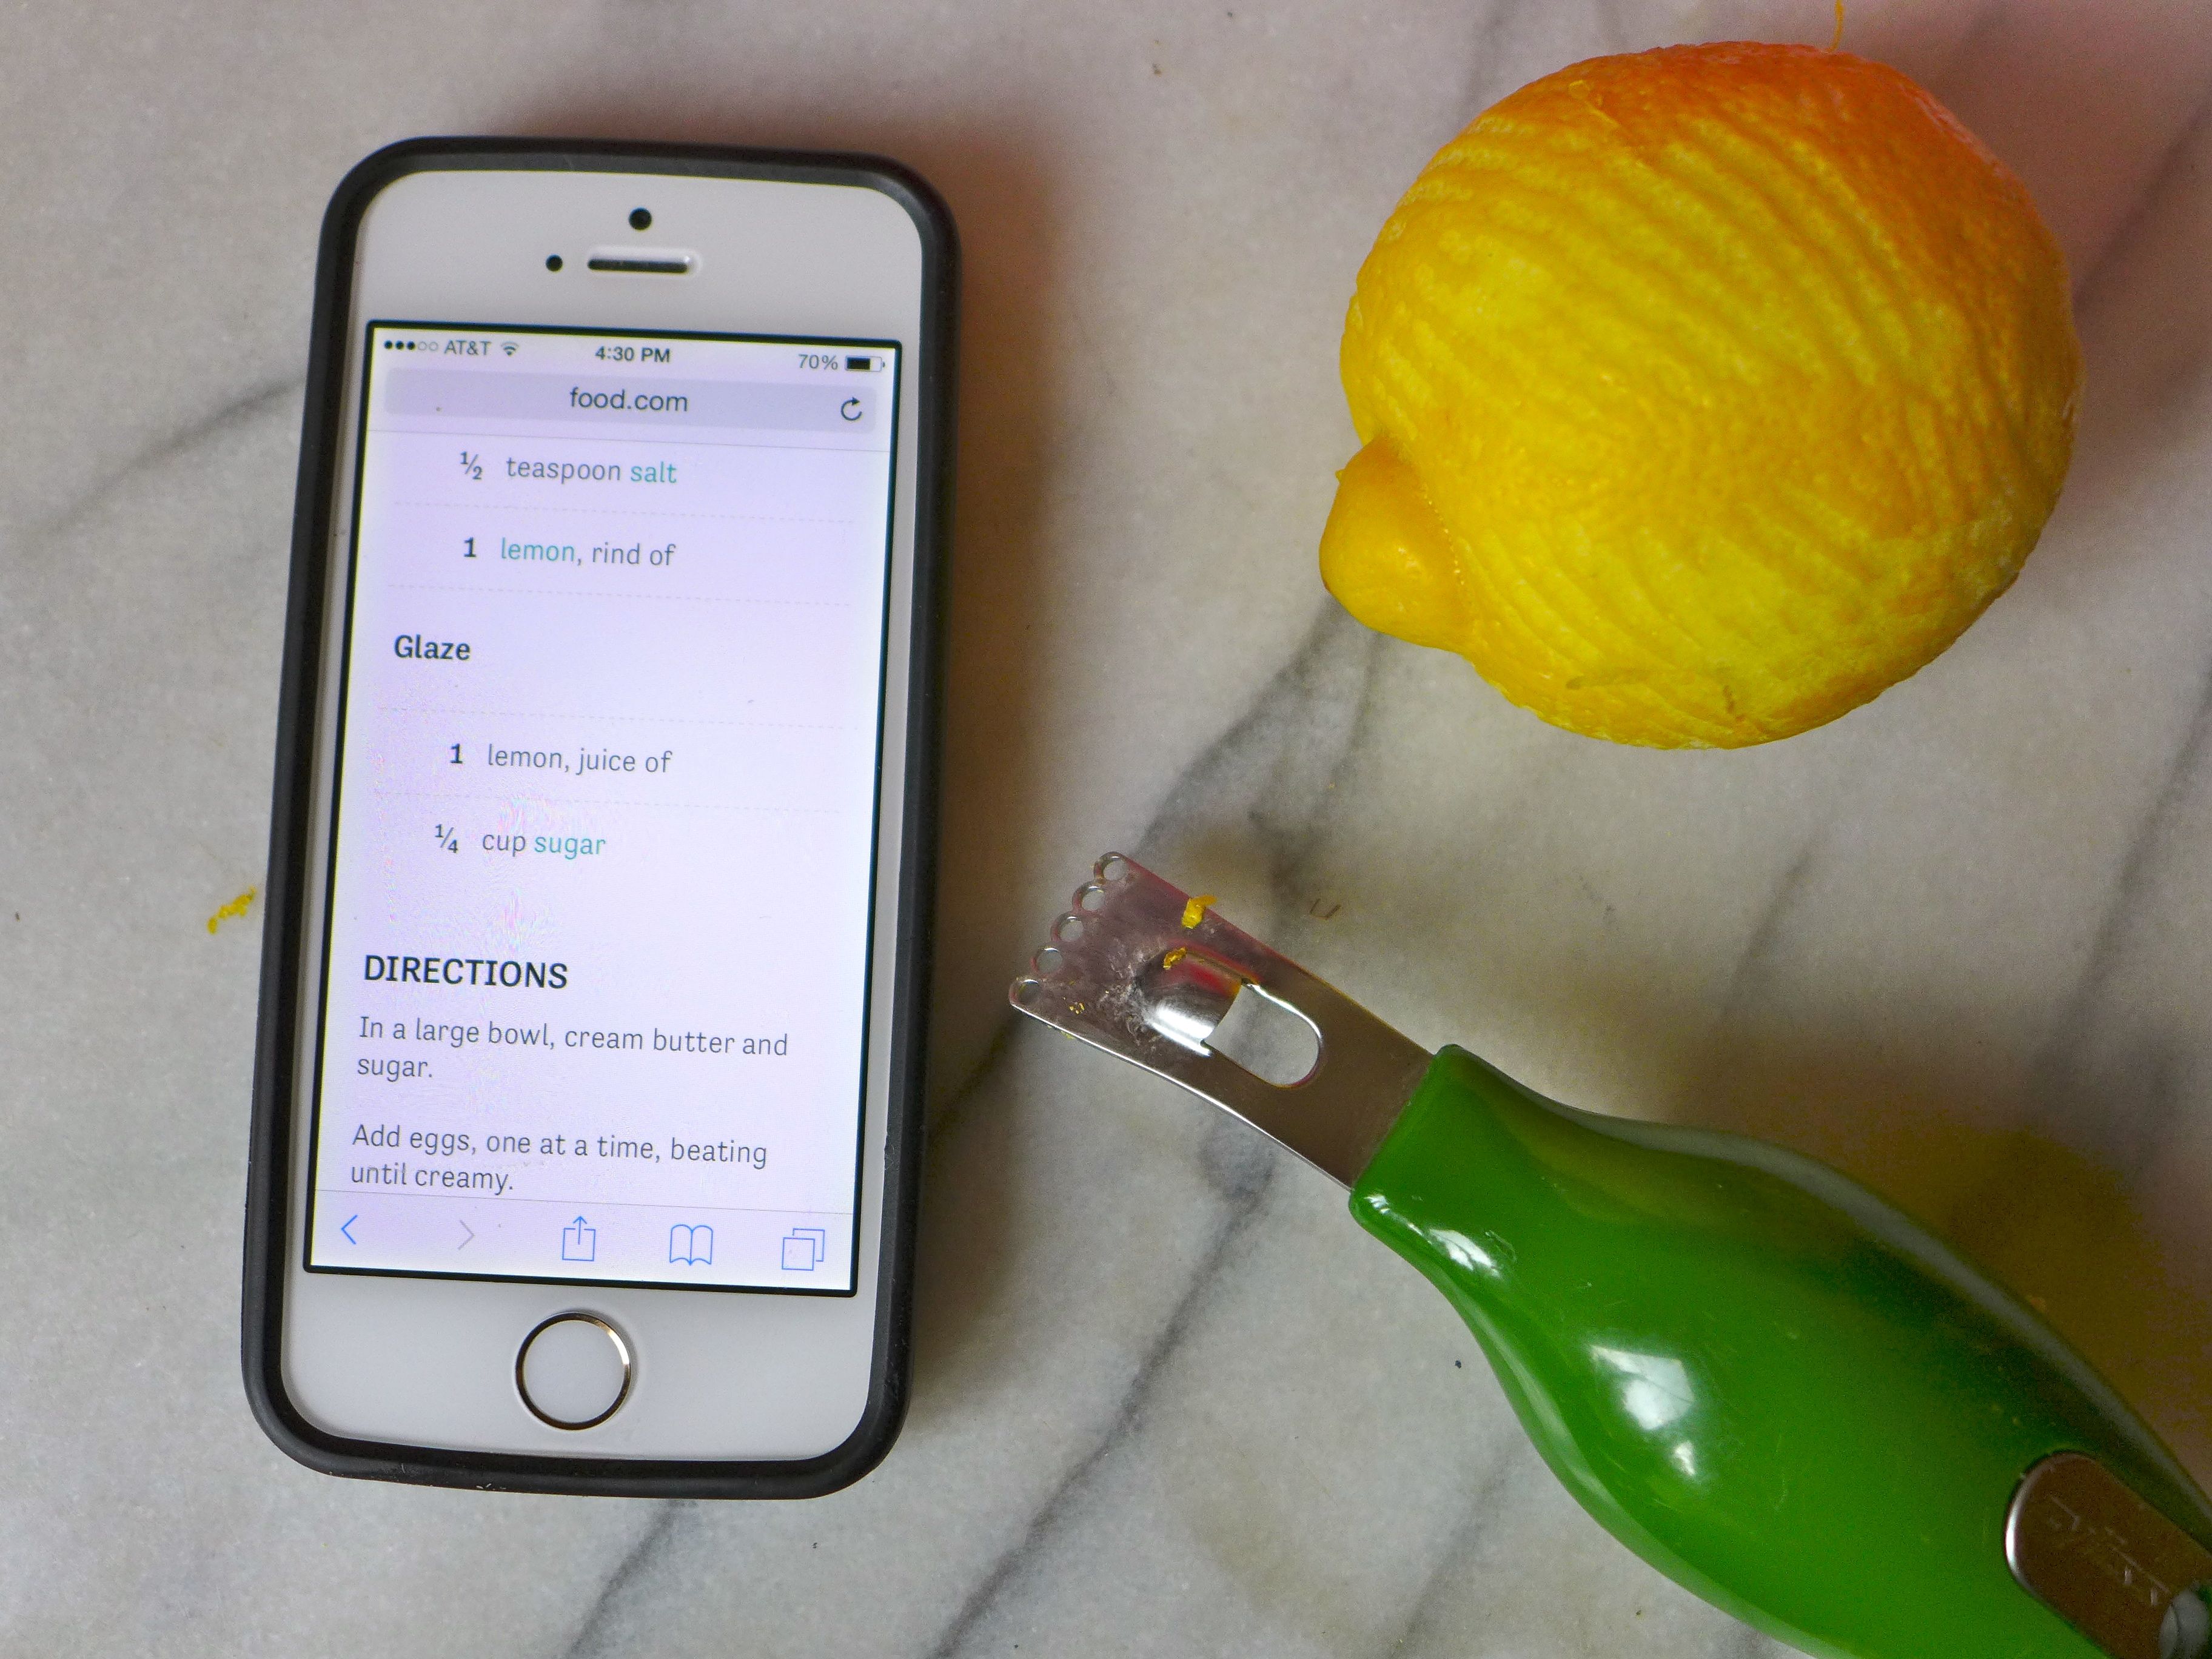
If your recipe requires a lot of detailed reading, tedious steps, or careful timing, then it may not be a good choice for you and your sous chef. Pick something that’s simple, and/or that you’ve made many times before and are familiar with. The less time you have to spend reading instructions, the more time you can spend interacting with your kiddo. If the recipe is new to you, read it through once before even stepping into the kitchen, that way you’ll have a general idea of what has to be done and can keep your recipe-reading to simple glances rather than long breaks in the cooking action. When I’m using a recipe from online, I always pull up the recipe on my phone ~ it takes up less counter space than using my computer, and with a case, there’s less of a chance that something will get spilled on it in the process.
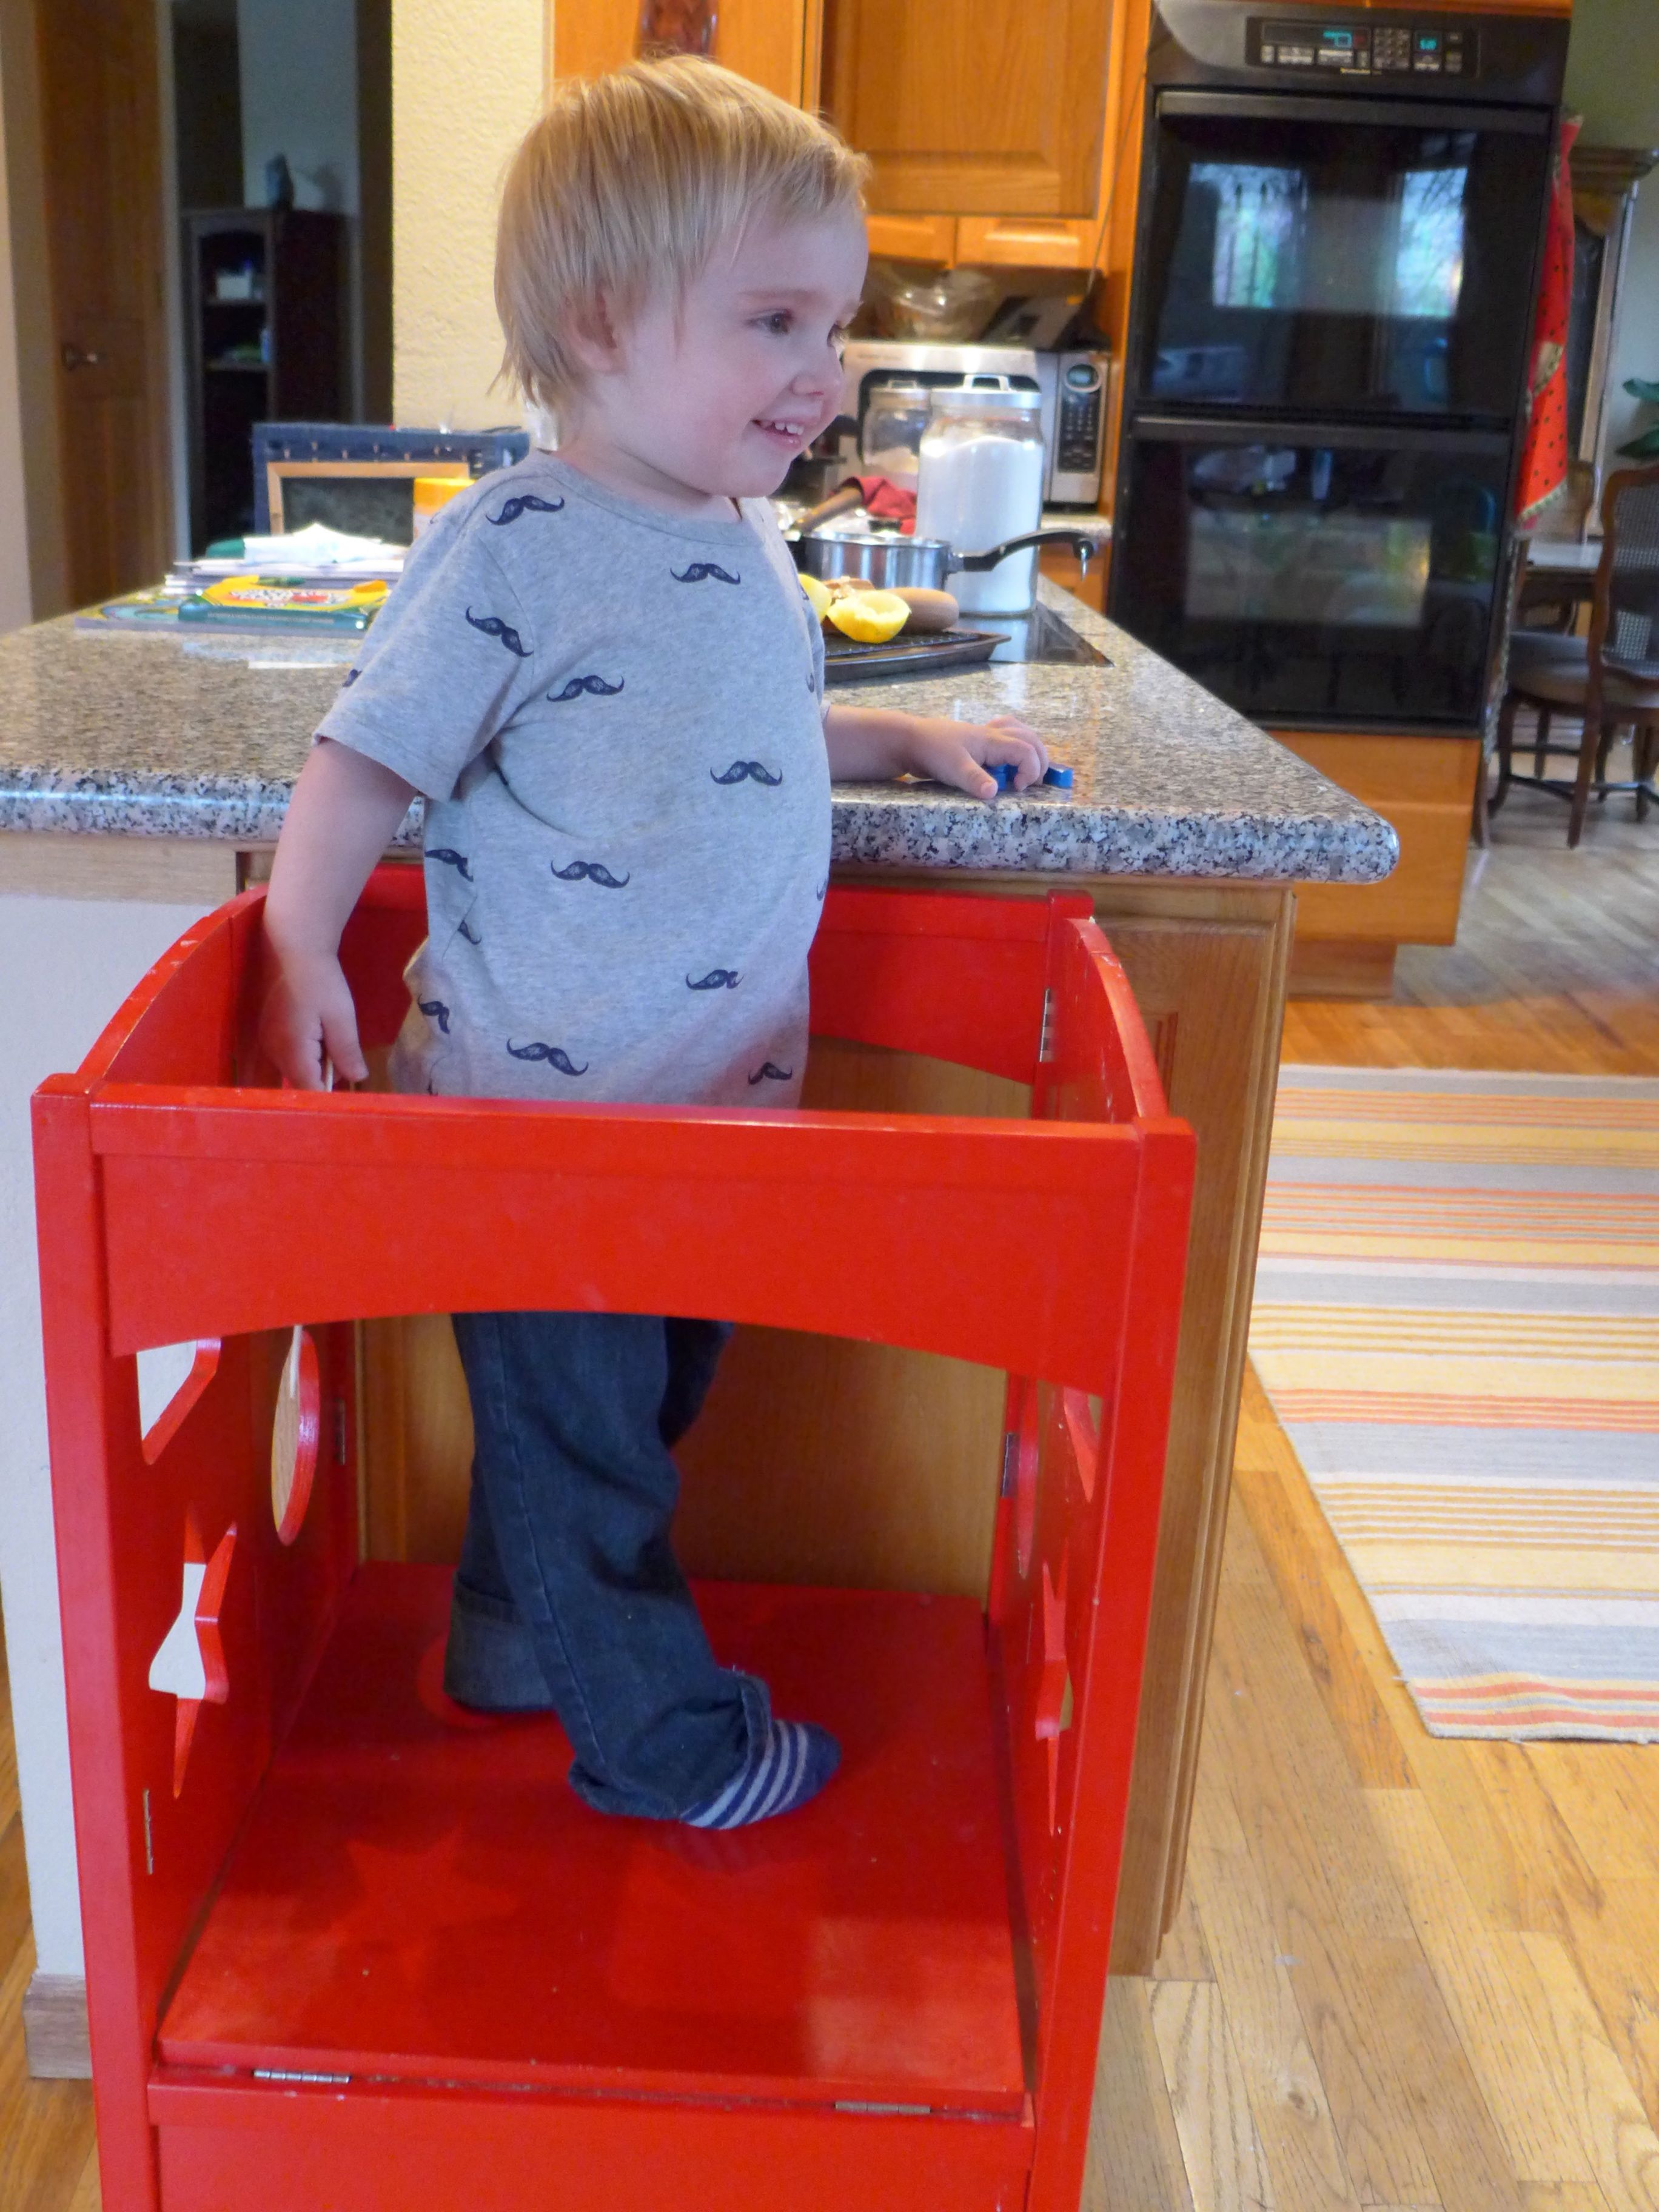
Find the Right Stool
This is so basic, but so important. For kids this little, they need a big boost to be at counter height. You don’t want them standing on a stool or chair that is unstable, because then you’ll spend the entire time reminding them not to fool around, and that will just make the whole situation more stressful and less fun for both of you. We use this kitchen helper and love it! Yes it’s expensive, but worth it if you plan on having your kiddo spend time in the kitchen. This is also something you could think about asking for or giving to your kid for a birthday or Christmas gift (especially when they’re young and don’t necessarily need more toys, but would love all of the sink and kitchen playing that will come from a gift like this).
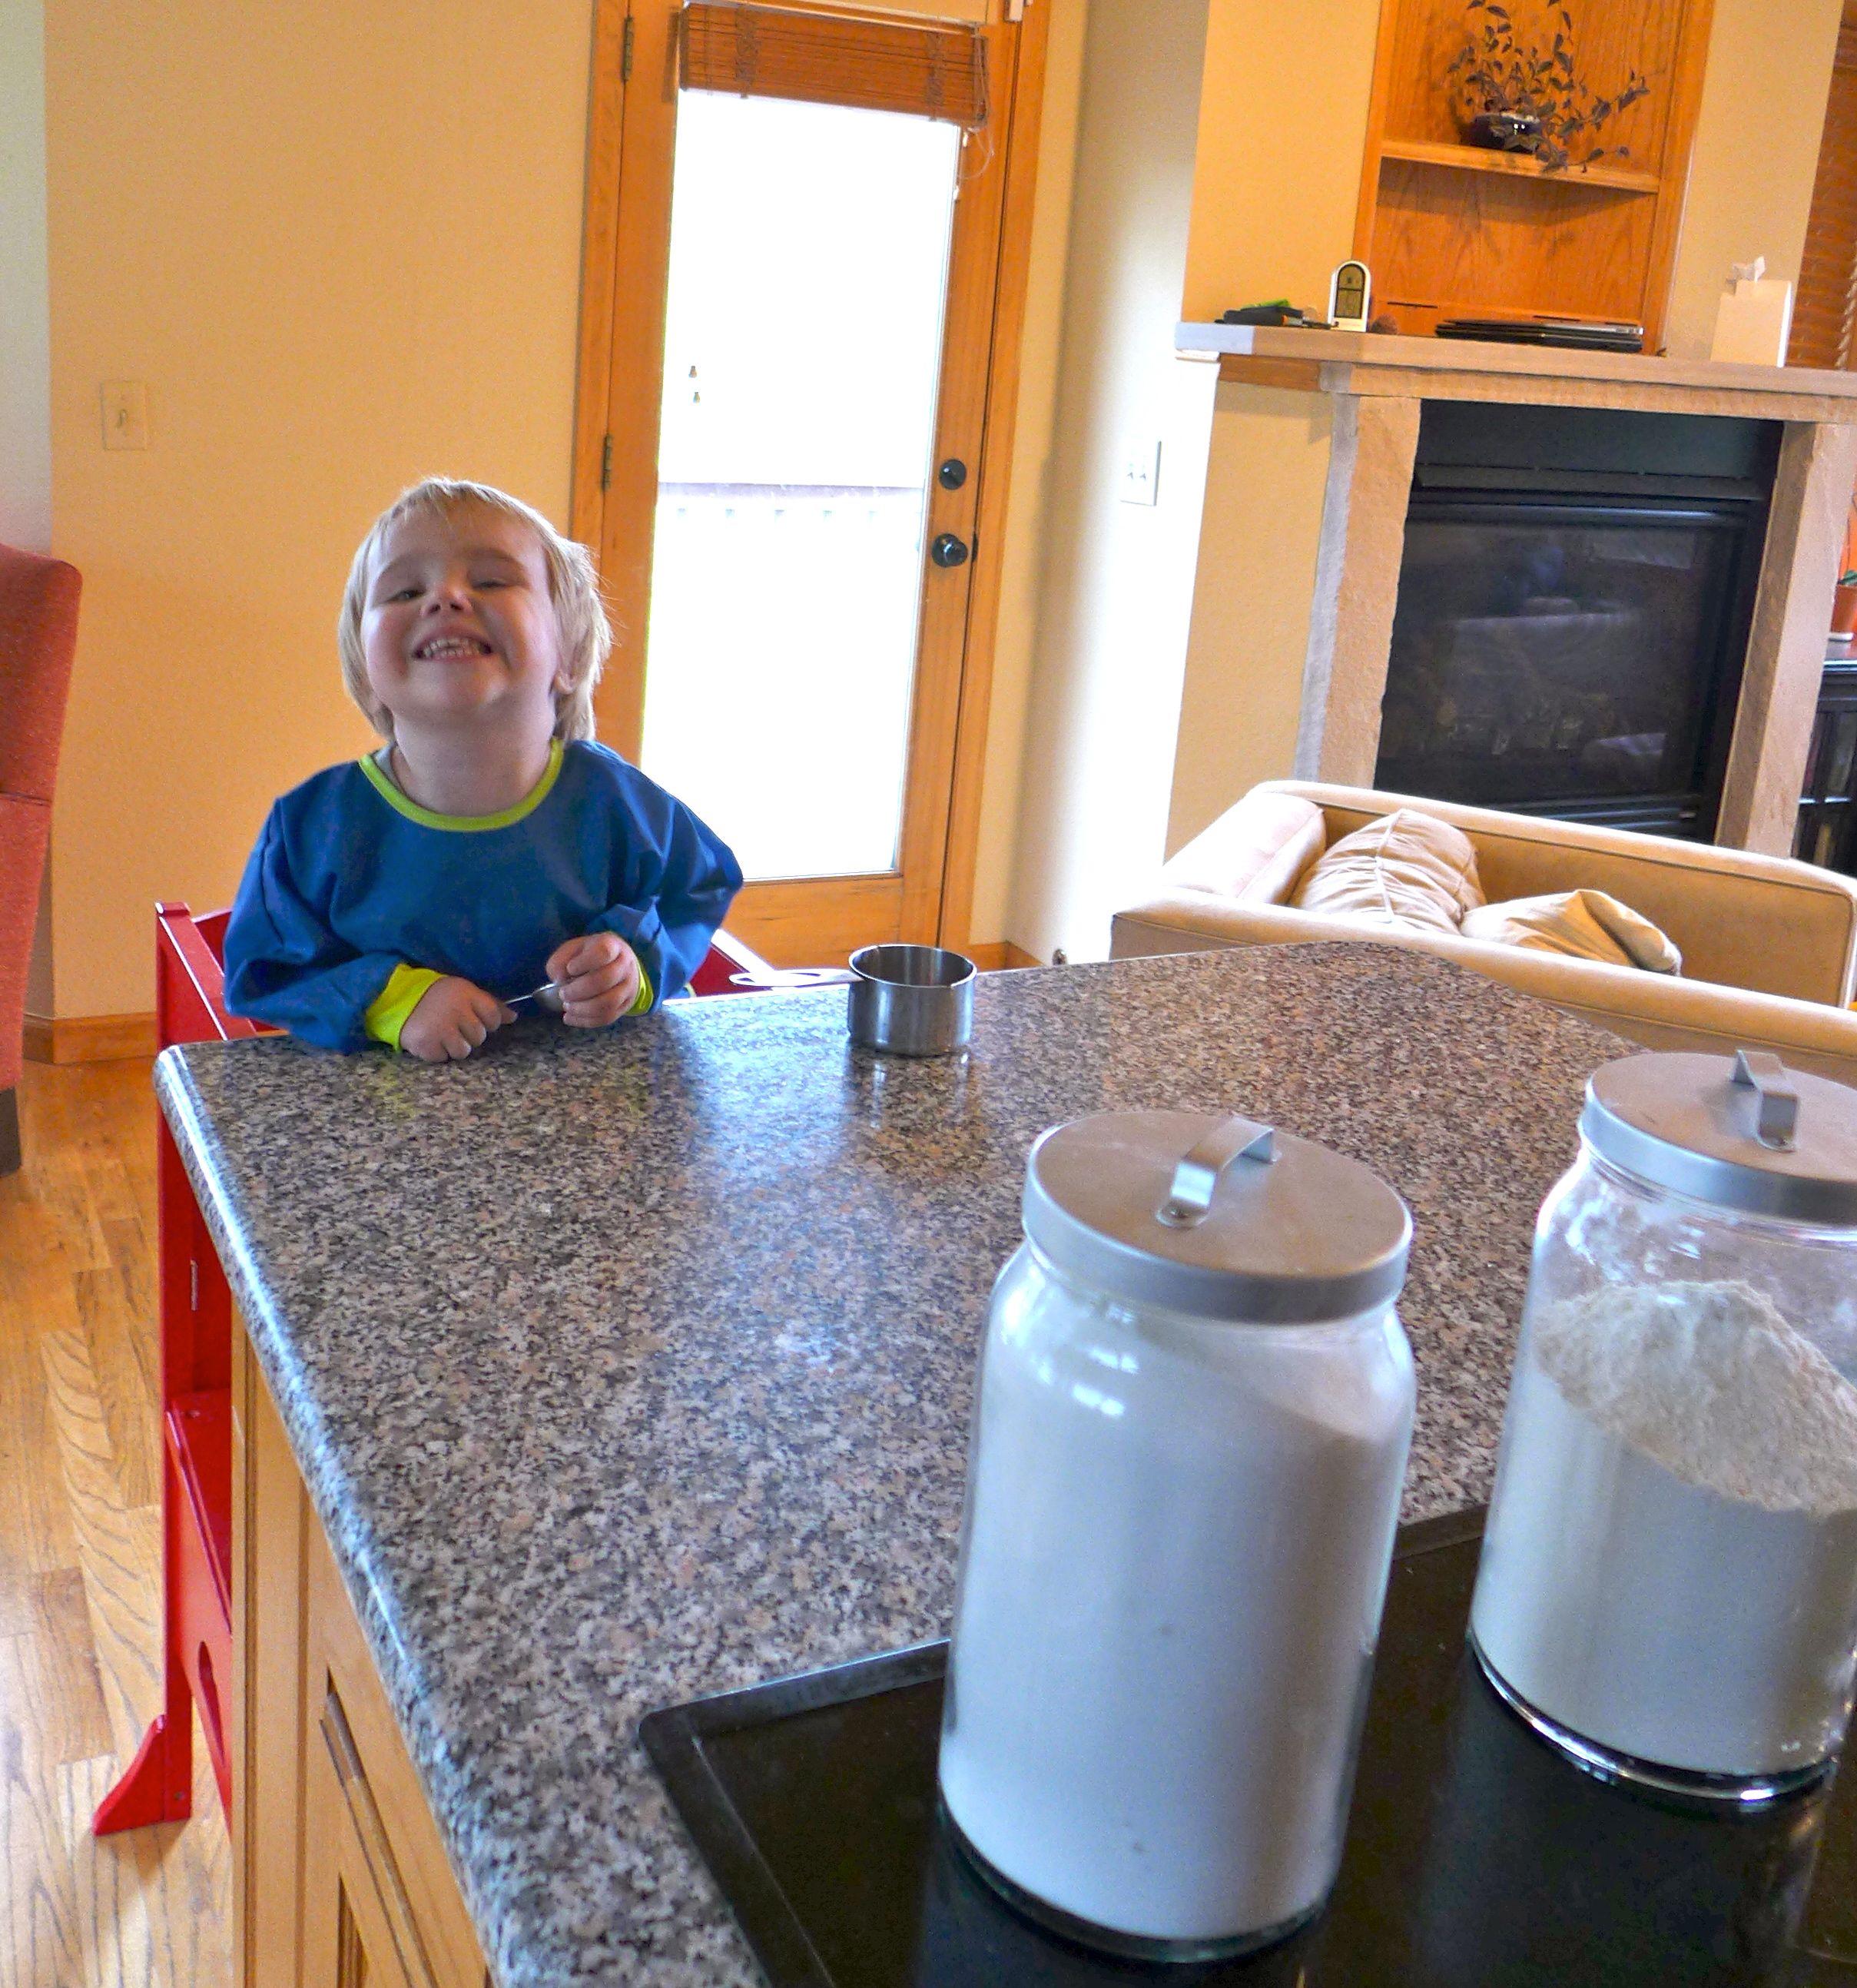
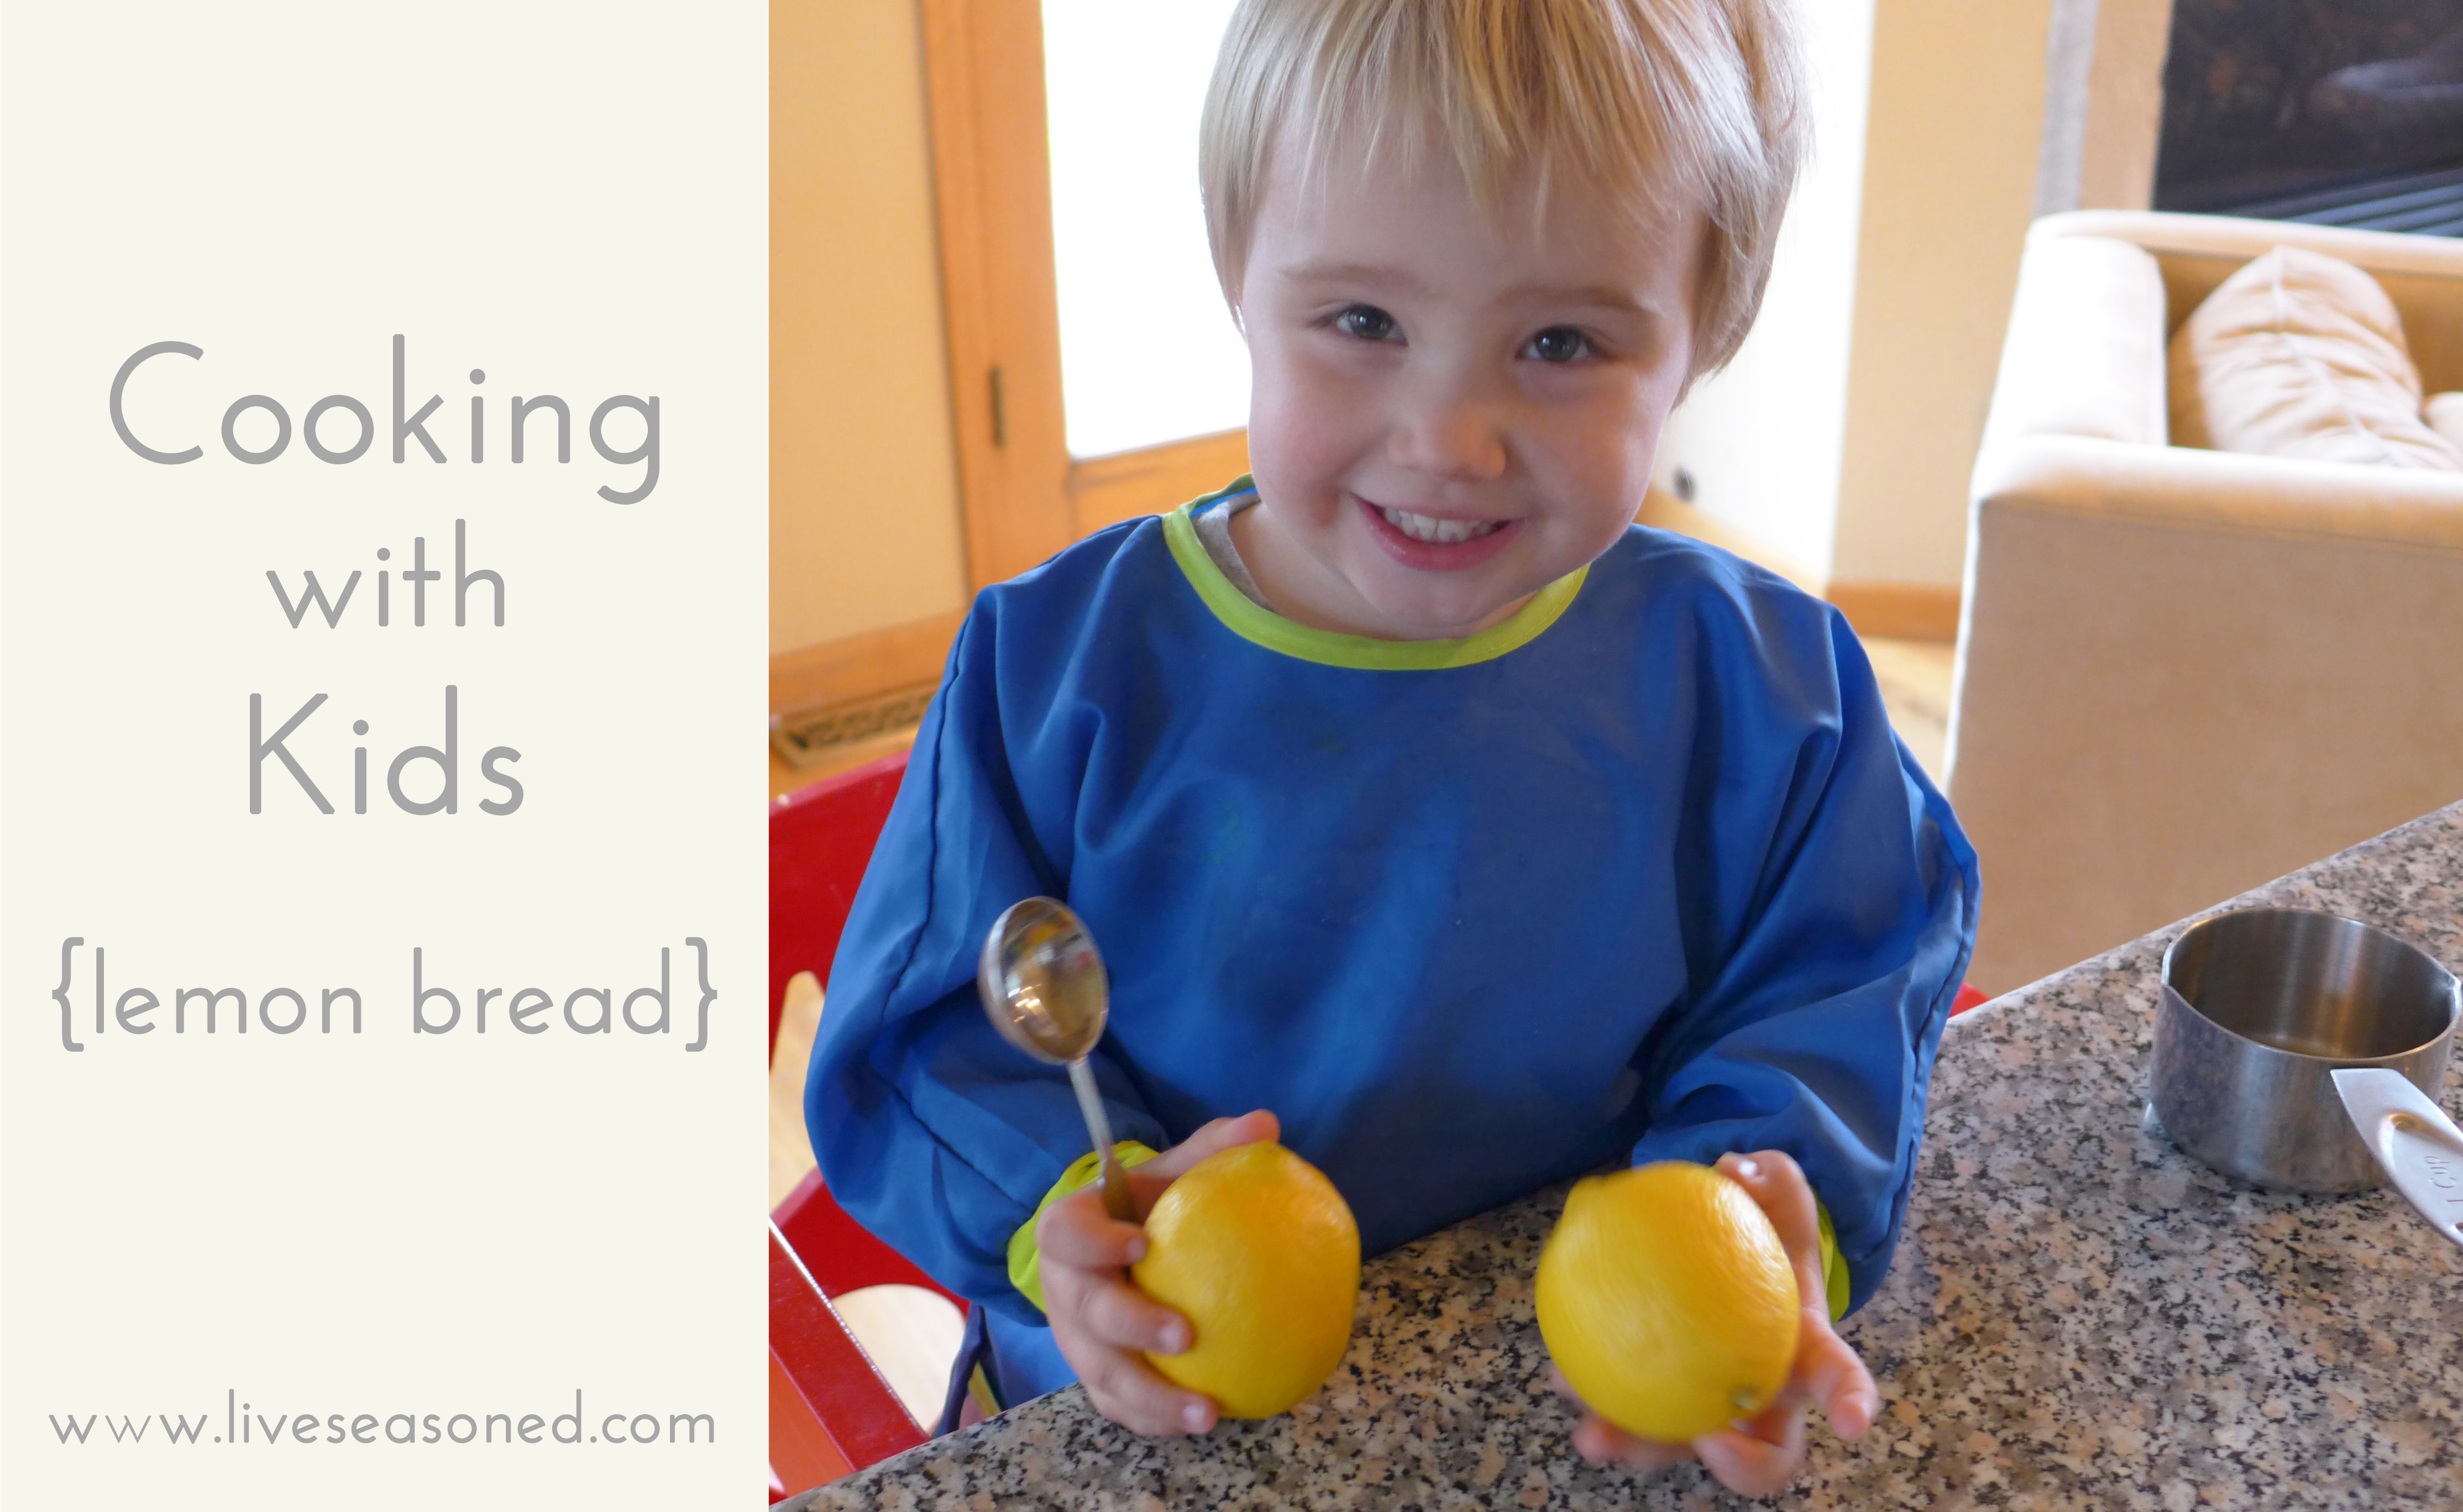
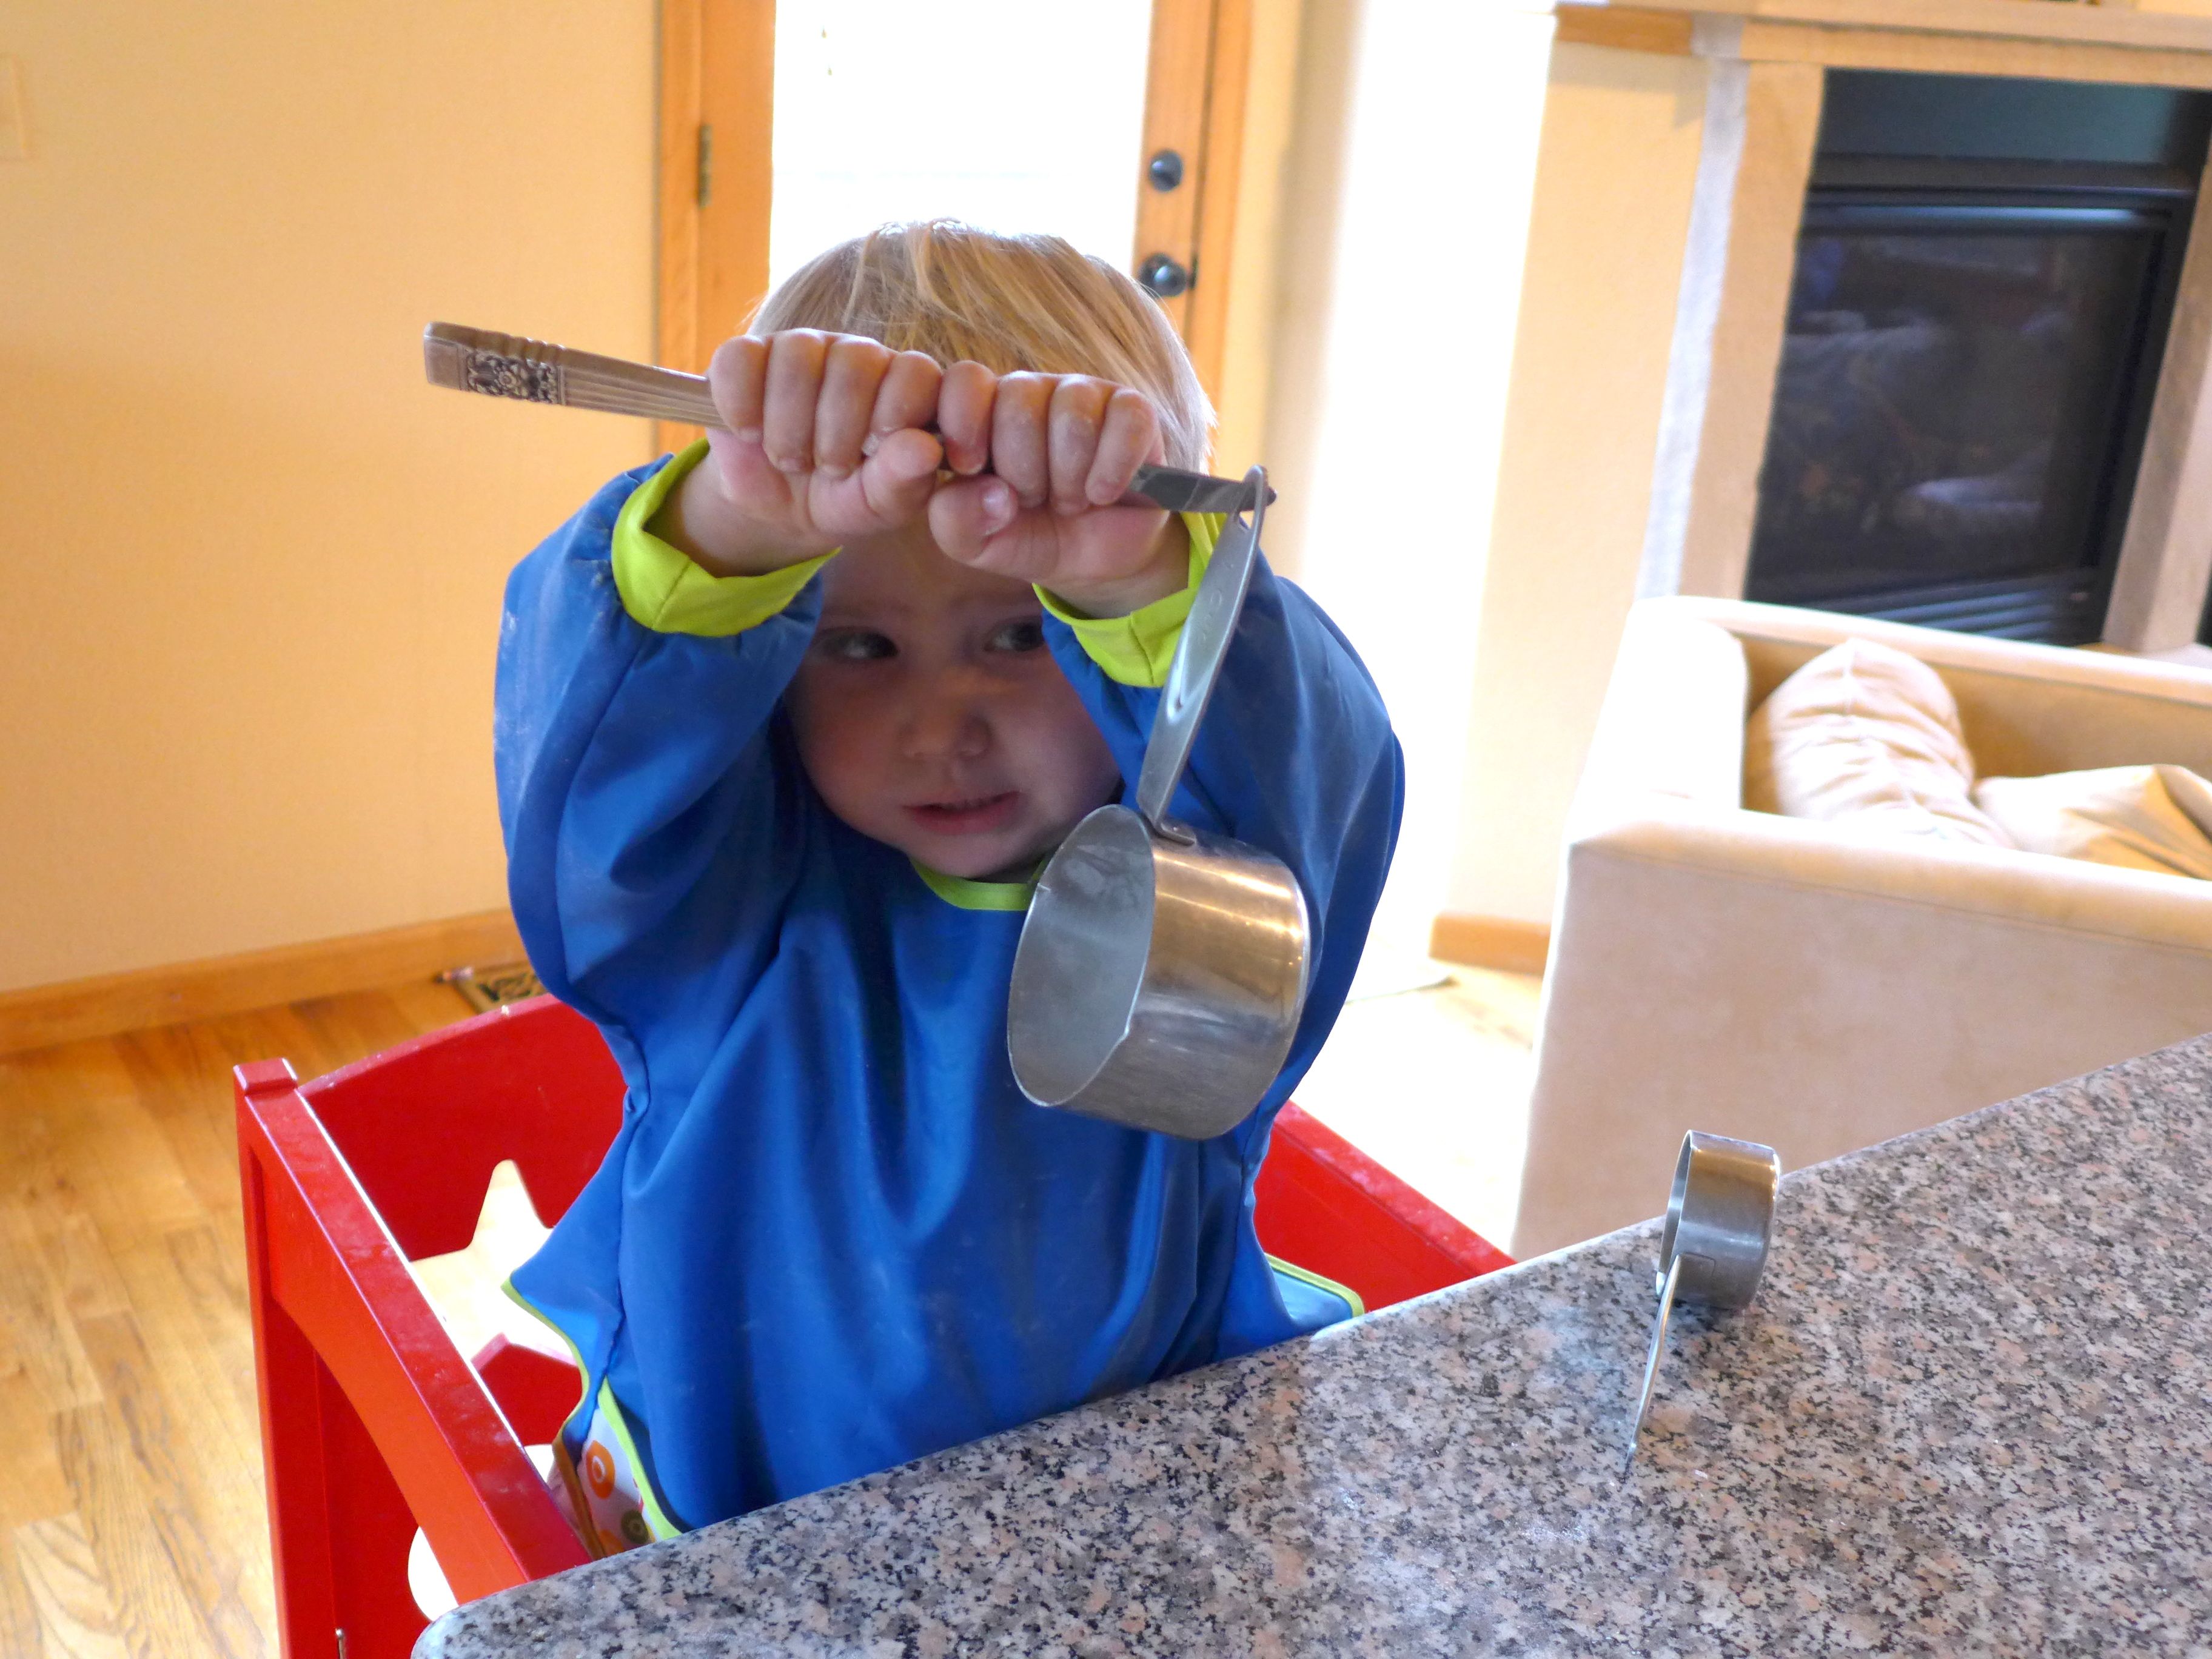
Everyone Likes Their Own Tools
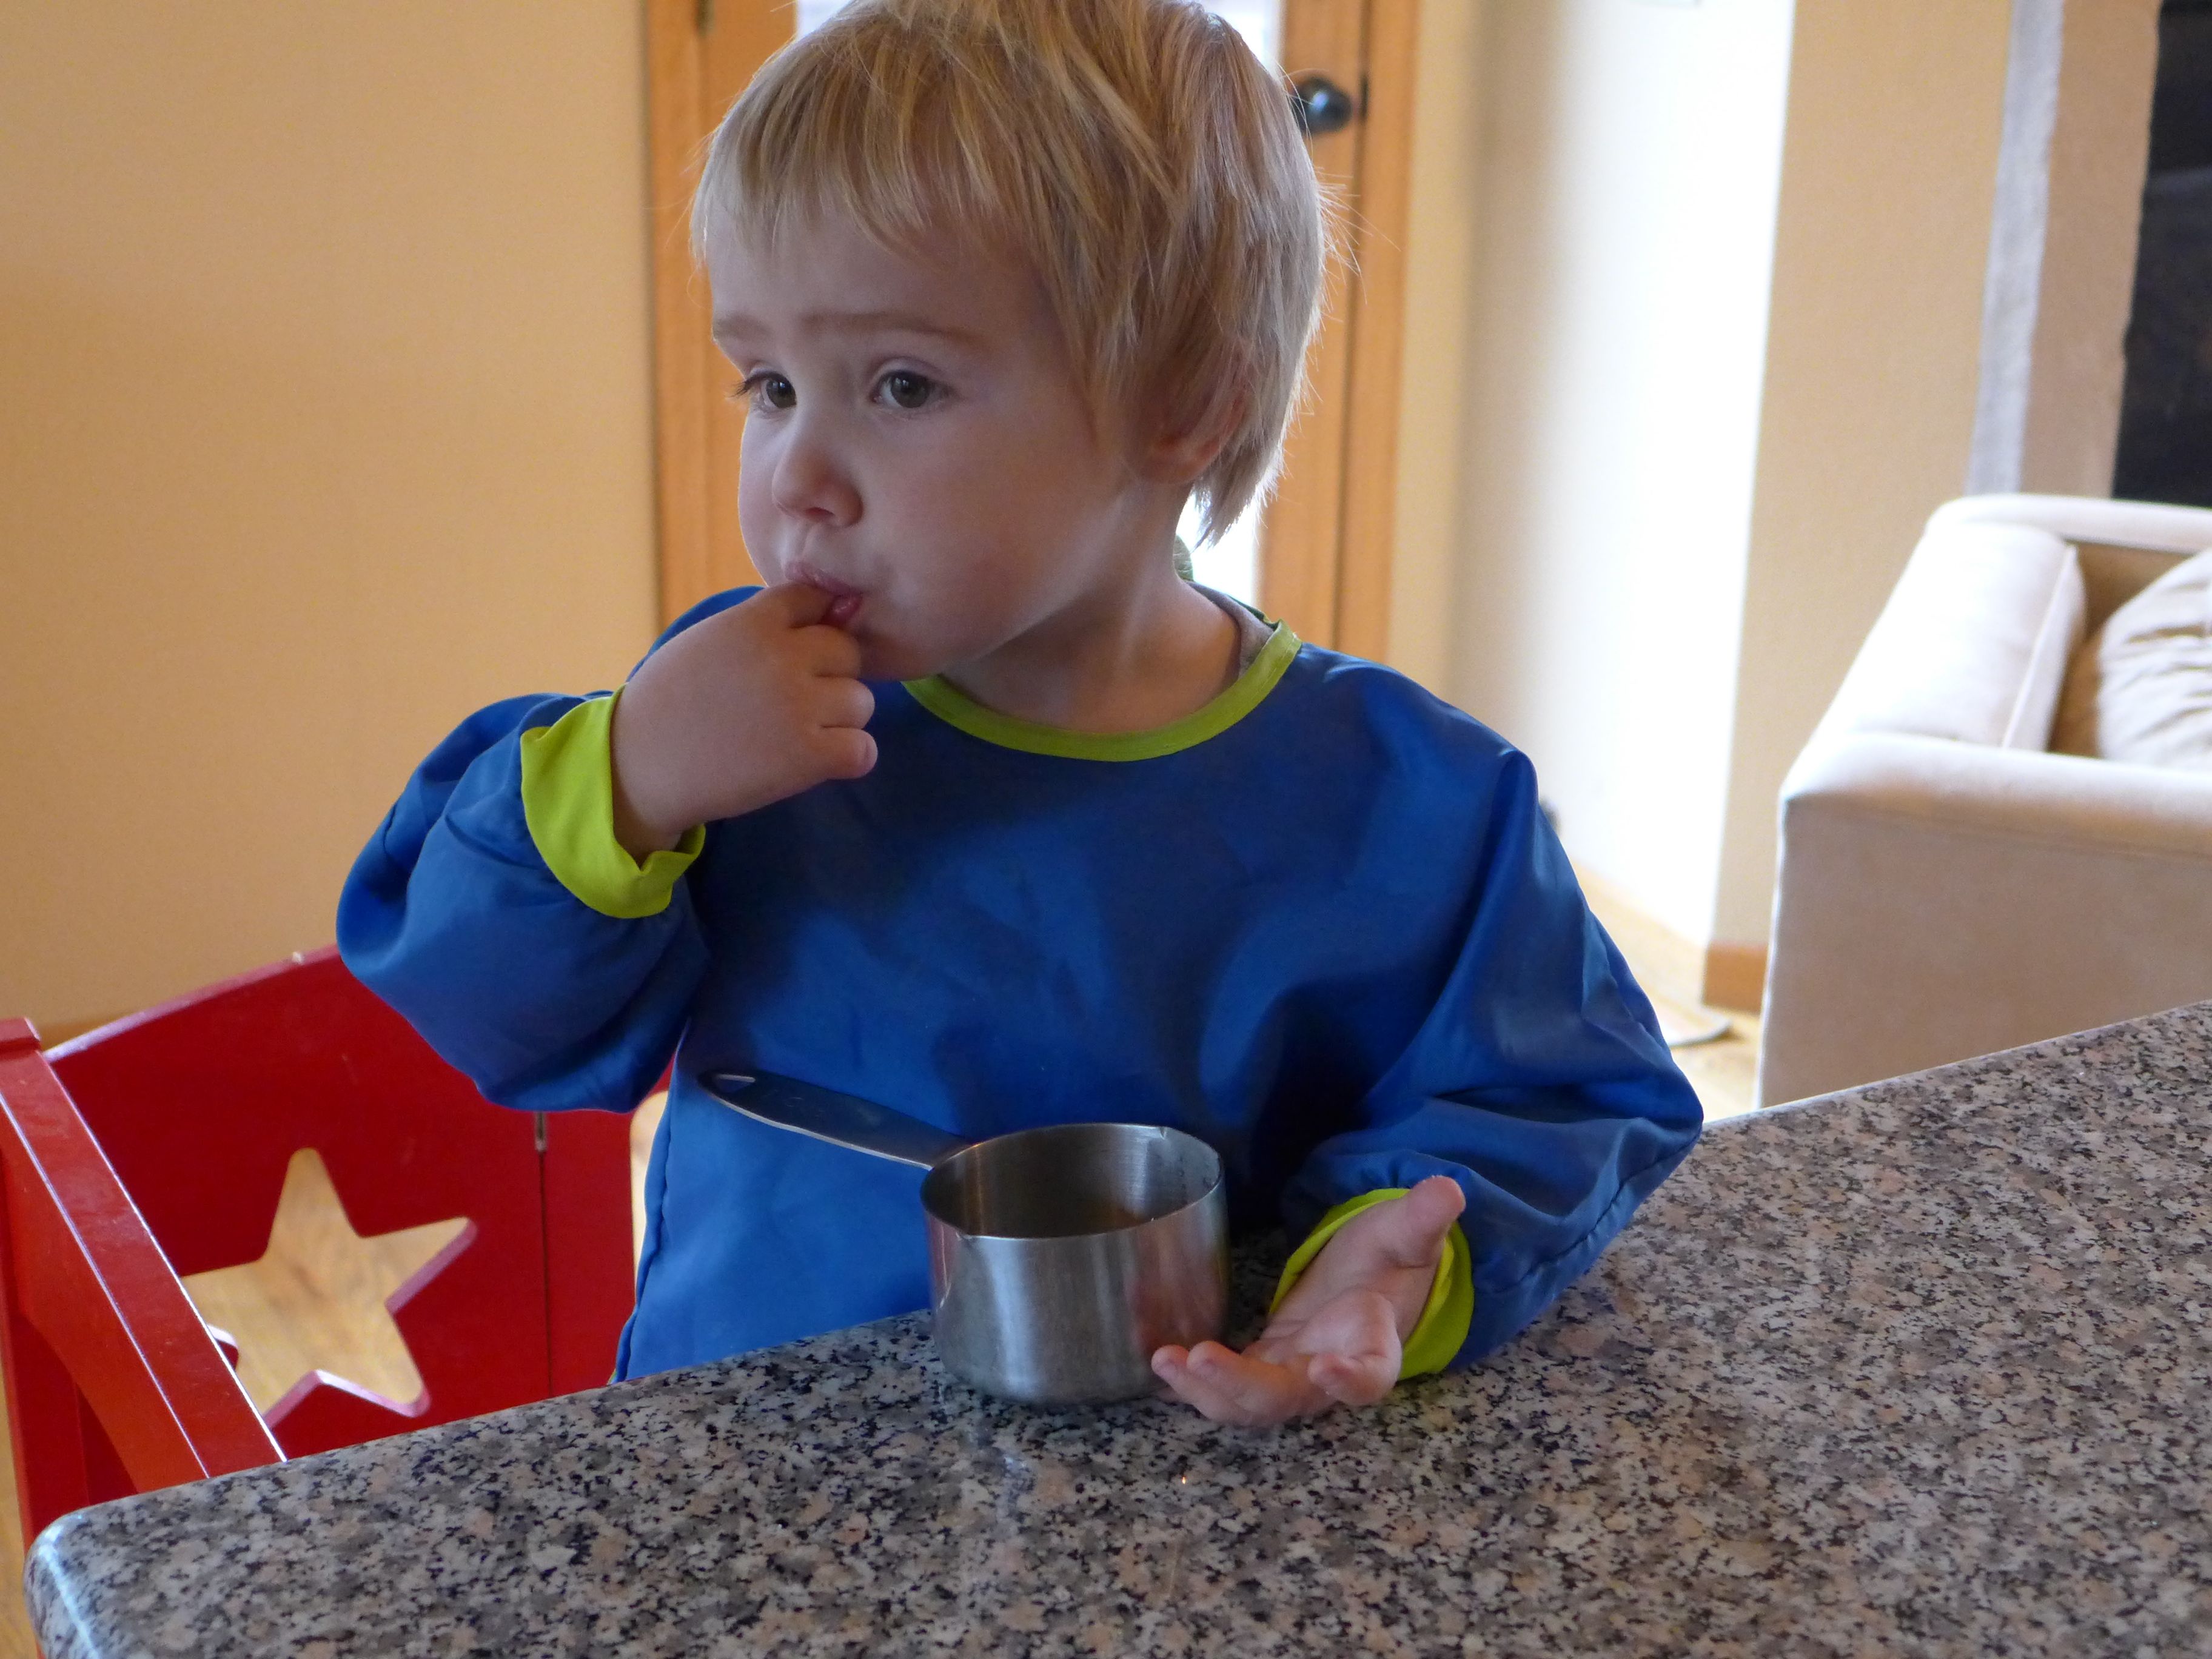
Anyone who knows Alex is likely laughing at that tip. This kid loves his tools, whether they came from Calder’s toolbox or my craft room. He also loves all kitchen tools and utensils. The first thing I do when we start cooking is give Alex his own measuring cup and measuring spoon (I always give him the biggest cup and spoon of the bunch – you’ll see why below!). Do you see his smile in the photo above? He’s so excited when he has those tools in front of him, and he stands at attention when I tell him that it’s time for him to use his measuring cup (or spoon).
Stage the Ingredients
Alex’s main tasks are measuring the flour, sugar, and any other dry ingredients (more on how we do this in the “Find Tasks…” section!). So I put my canisters of flour and sugar on the counter right in front of him, but not within his reach. He knows that when we get to those ingredients, it’s time for him to get to work. I put the ingredients that he won’t help with in the main area where I’ll work, but still within his sight, so he can see what I’m doing, but he recognizes that those are “mama’s jobs”.
Interact with the Raw Ingredients
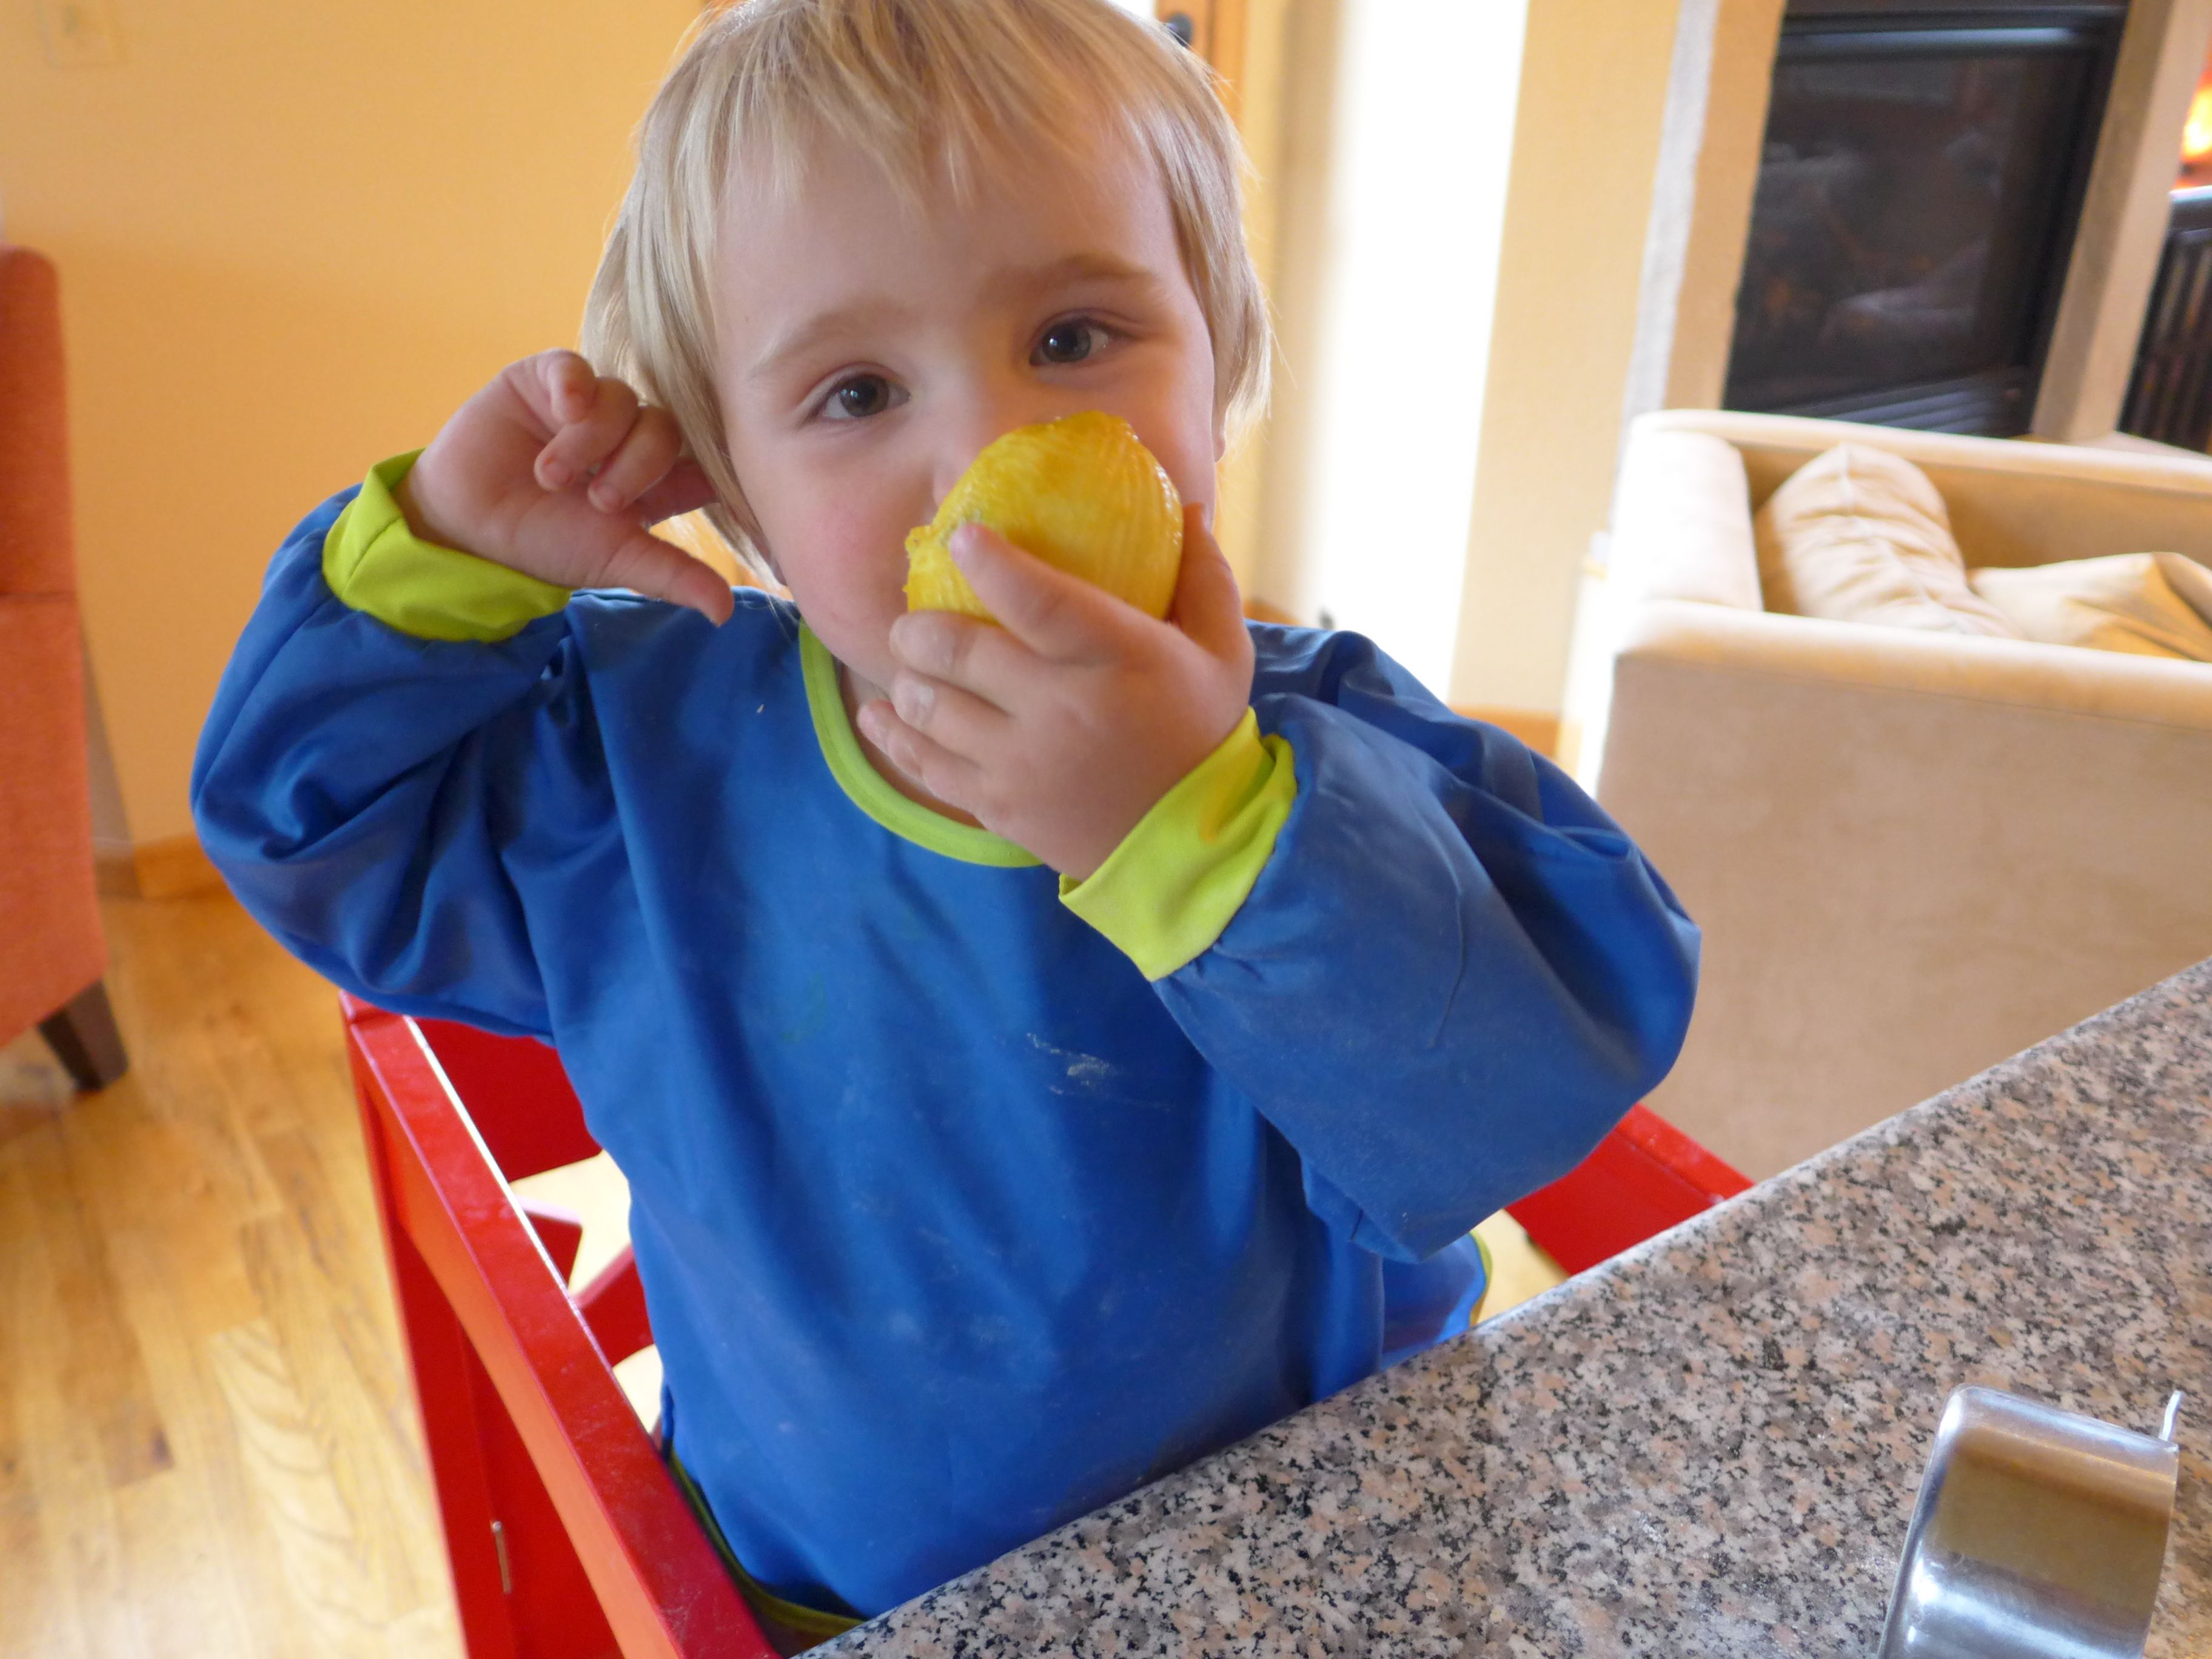
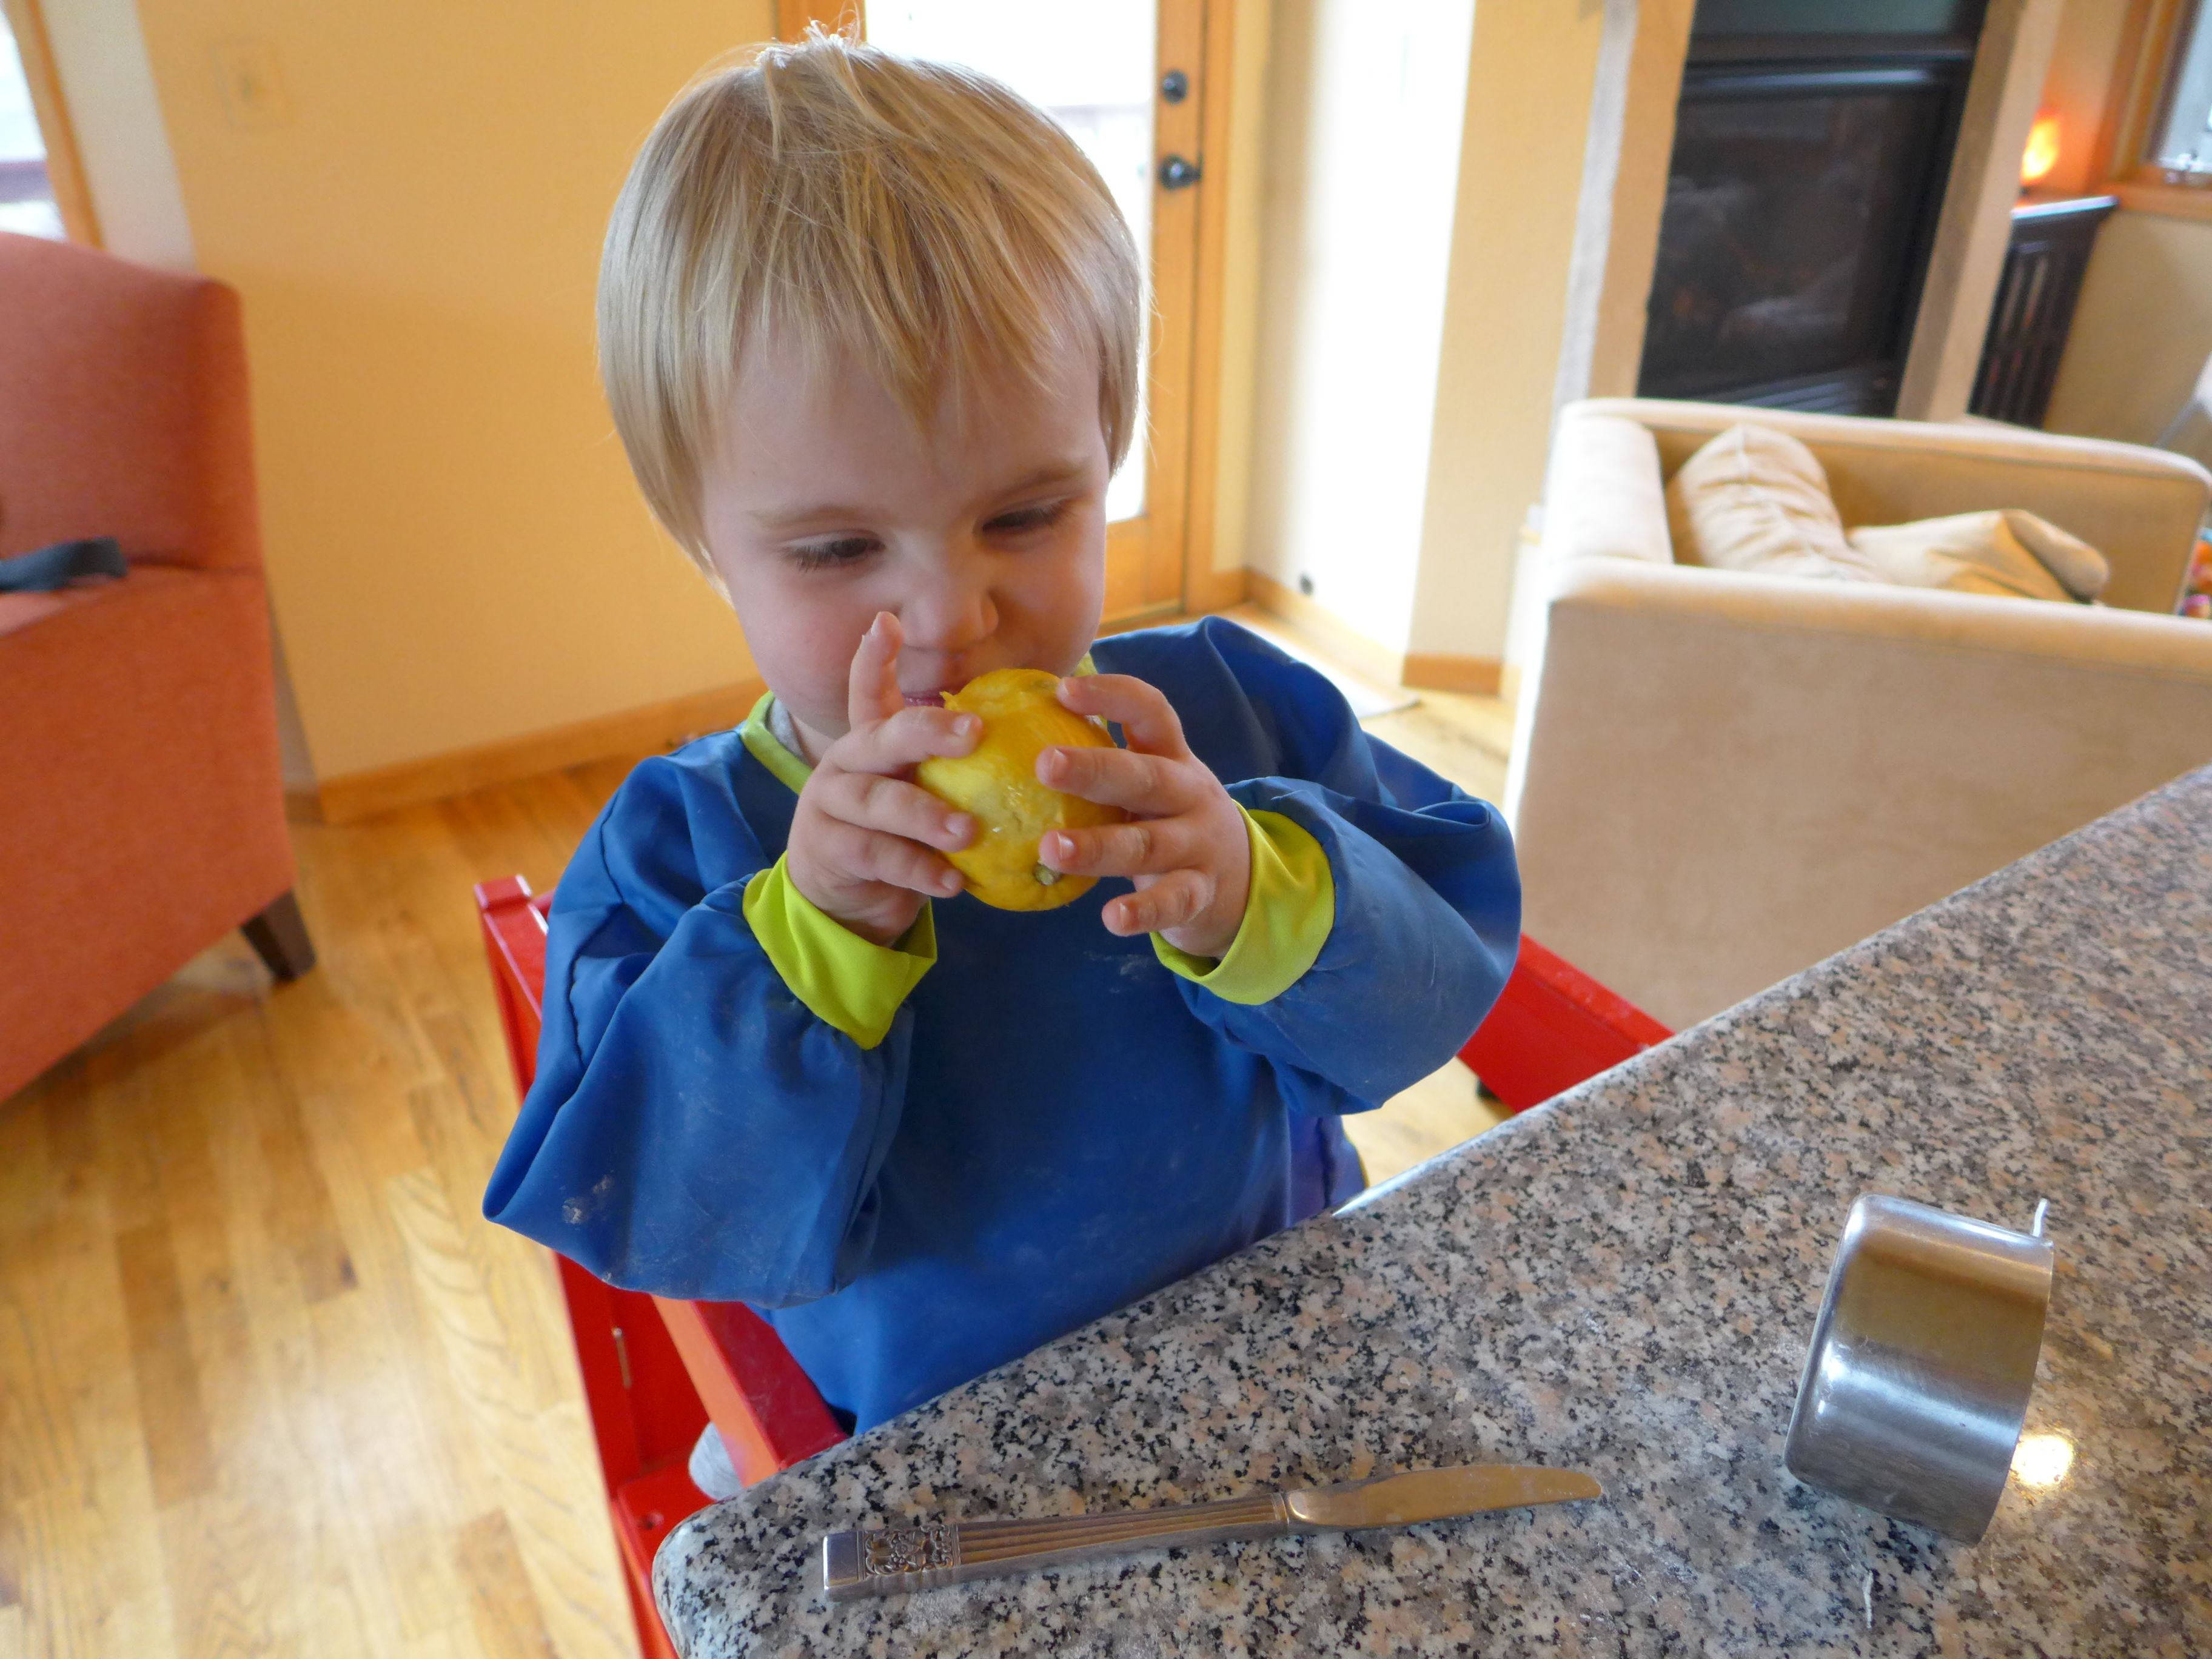
Encourage your kiddo to use sight, smell, taste, and touch when interacting with the ingredients. Today’s recipe is particularly great for this because lemon zest is so aromatic and the juice so tart ~ two food items that they probably don’t get to taste or smell every day. But for a kid, the other ingredients can be just as exciting. Helping Calder make coffee in the morning, Alex quickly learned that sugar is “deeeee-licious”, so I know that he’s always going to lick sugar out of the measuring cup after that step. Surprisingly, he likes to do the same thing when we measure the flour! It sounds crazy, but who cares? In the process, he’s not only experiencing two different tastes, but also two different textures, and over time he may begin to form some questions, “why are they different?”, “where do they come from?”, etc. Great jumping off points for discussion and future lessons.
Find Tasks for Your Helper
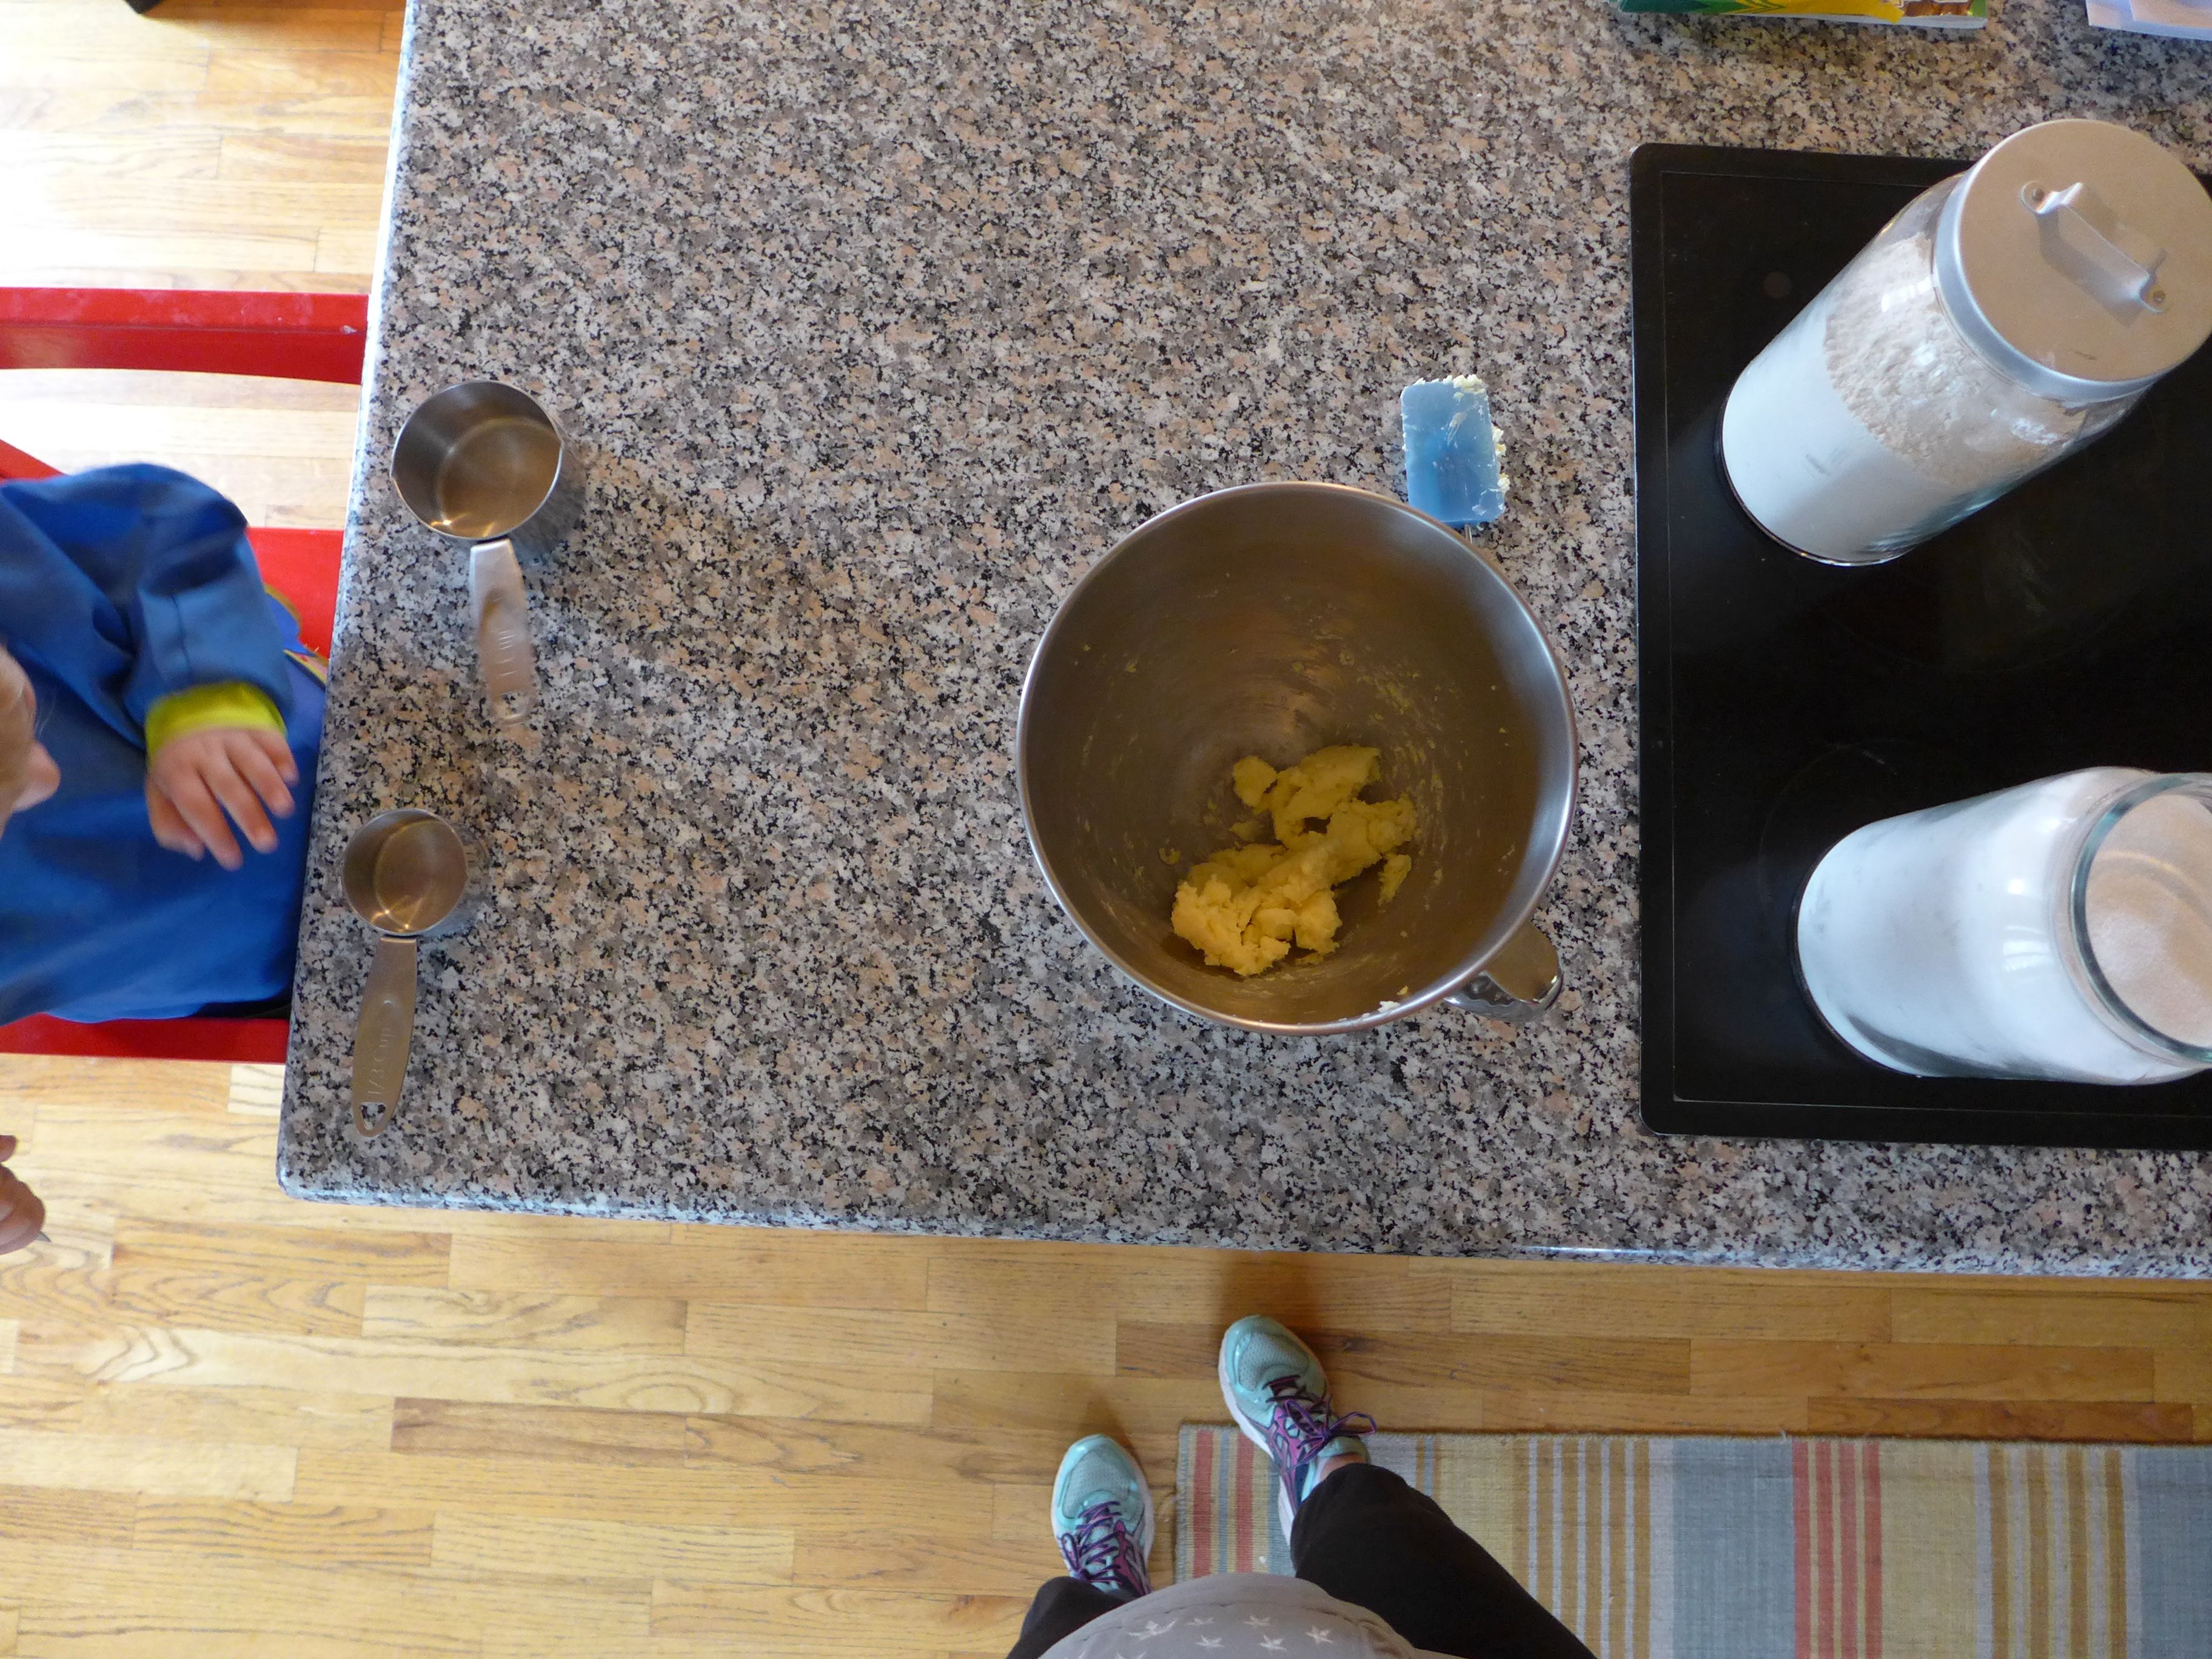
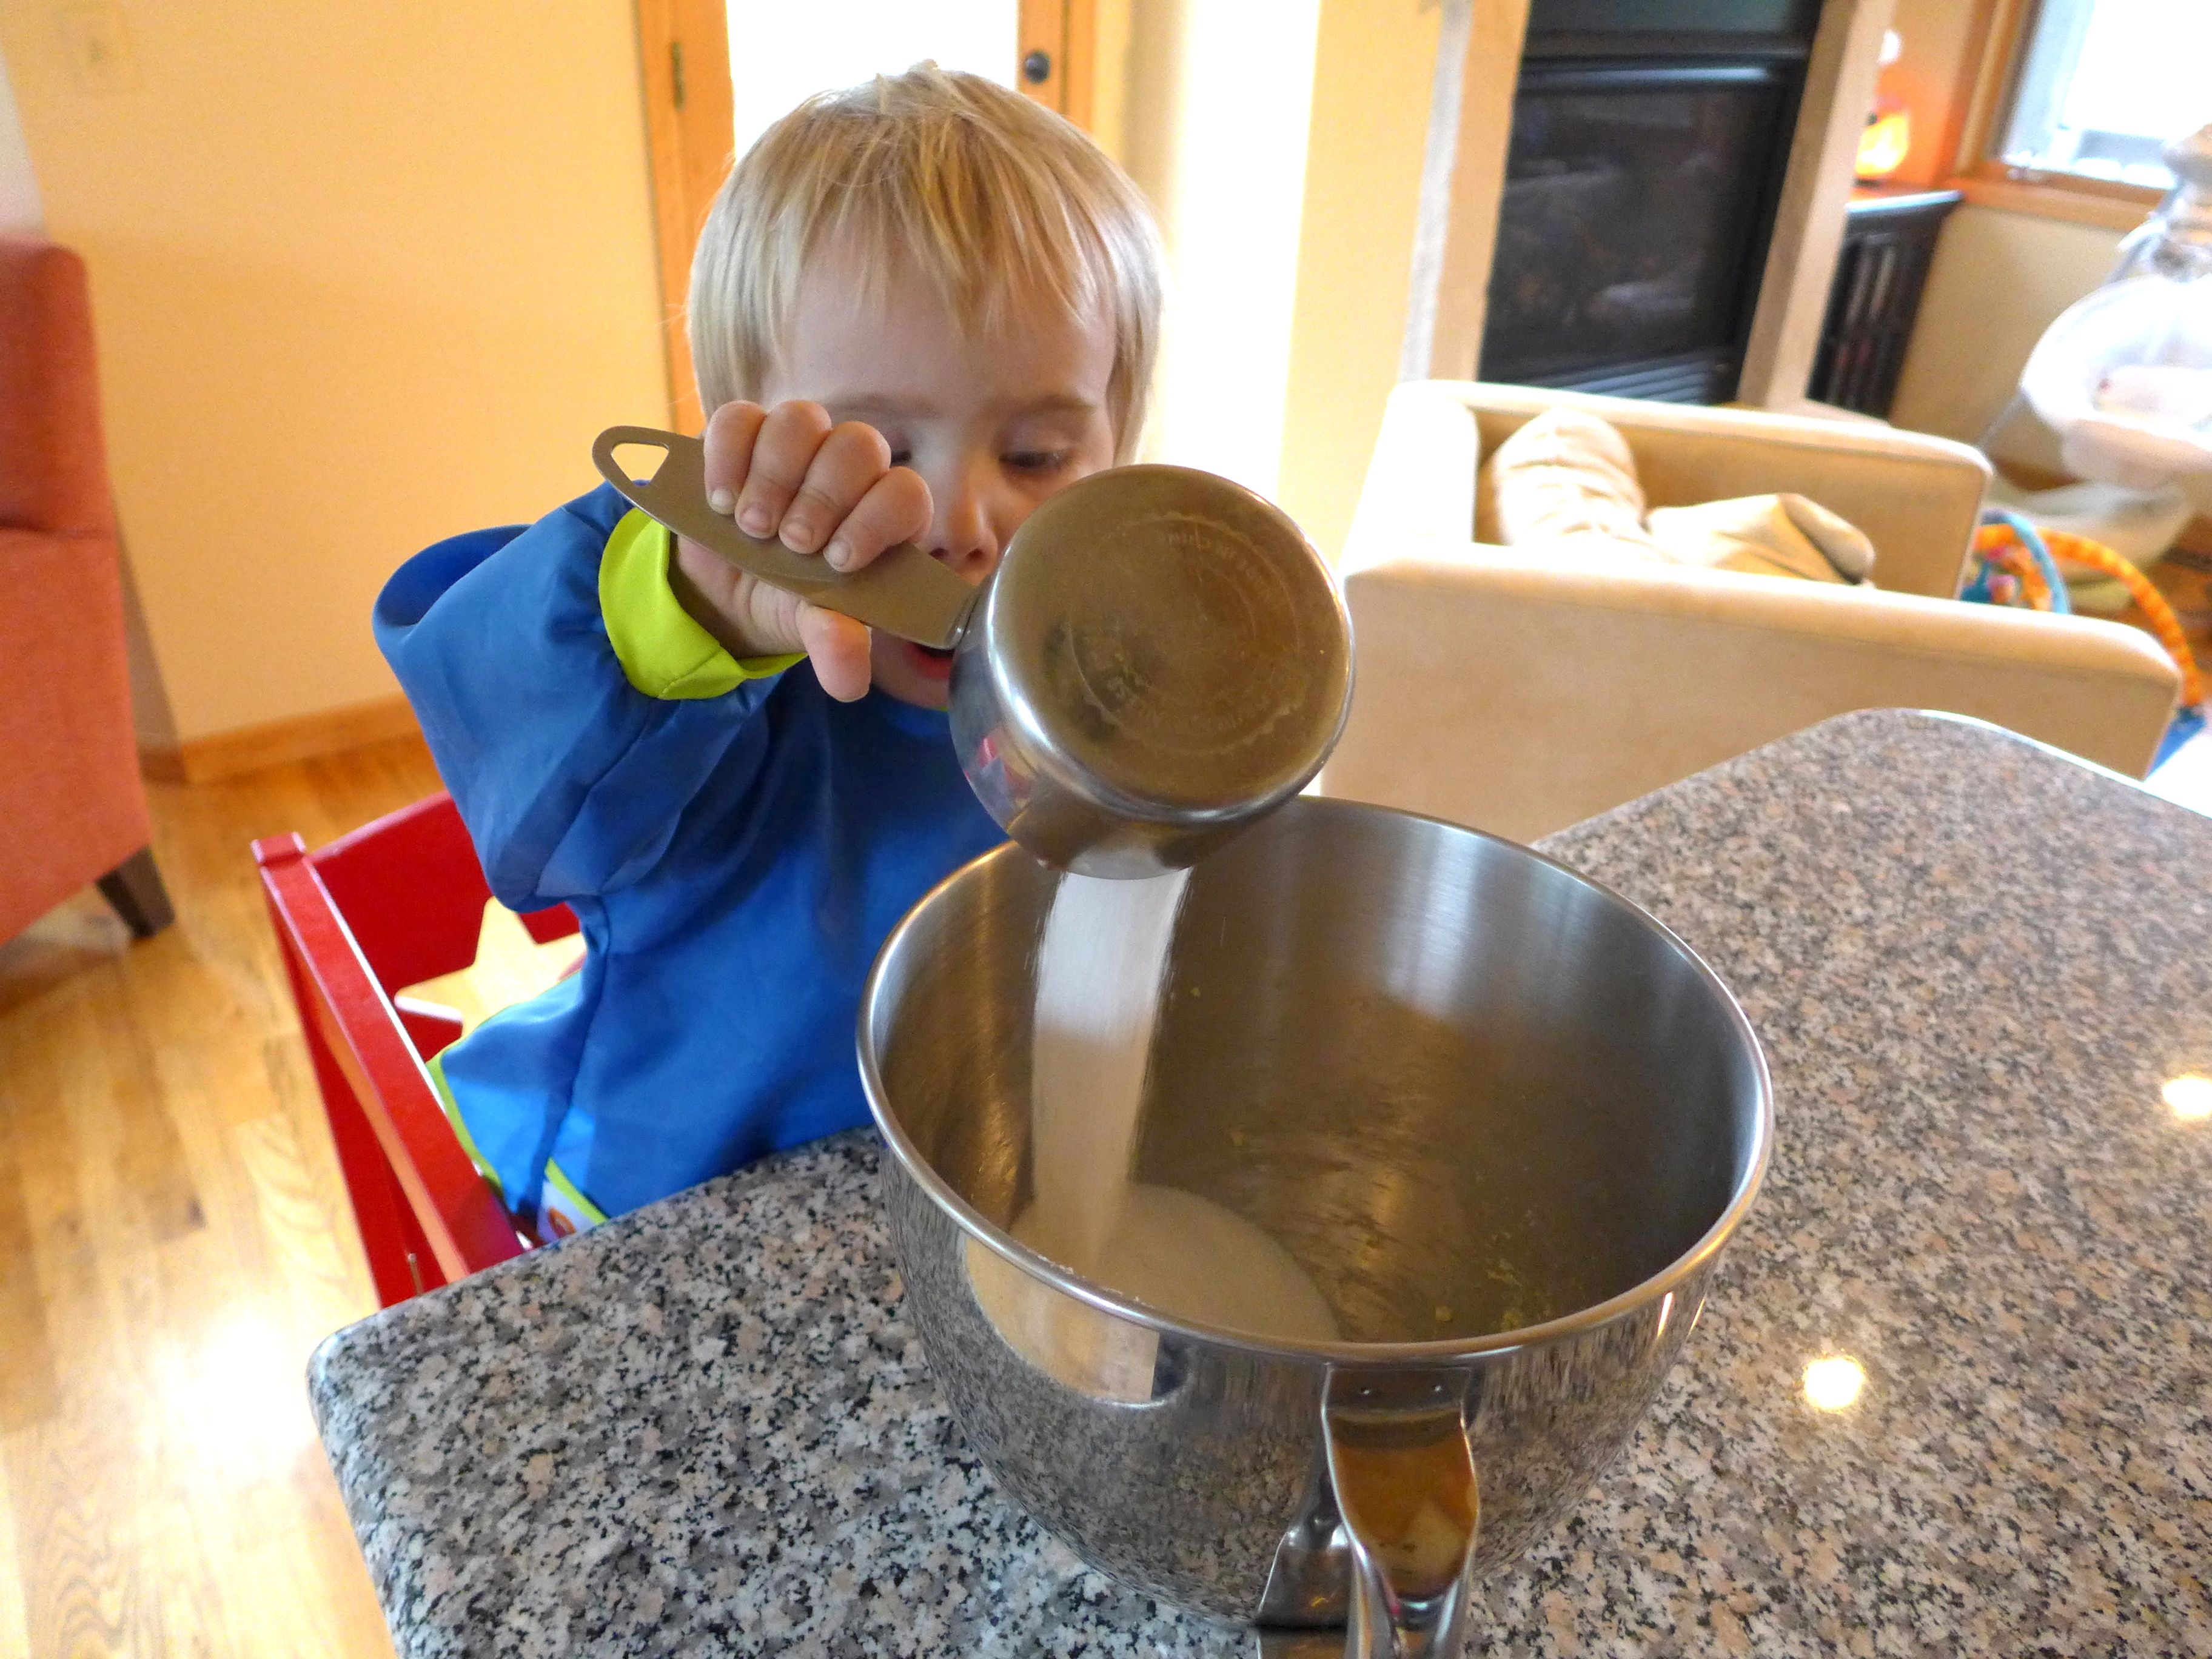
As I mentioned above, cooking by myself is much more efficient than cooking with a little one, but as you’ll see, cooking with a kid becomes even more fun the less streamlined you make the process! For example, this recipe calls for 1 1/2 cups flour. I could easily measure that in two scoops and go on to the next task, but for Alex, fun in the kitchen comes from tasks like measuring, so what I do is break this down into 4 to 5 scoops, here’s how plus a few more ideas:
- Remember when I told you that I give Alex the largest measuring cup? I limit myself to only using the smaller ones, and we work together. I measure out 1/3 or 1/2 of a cup of flour from the canister and pour that into Alex’s cup. He then pours that into our big mixing bowl. Then I measure out another 1/3 and pass it along to him again. We keep doing this until we have all of the flour we need. We do the same thing with sugar. This makes his role in the cooking much bigger, and I still keep the “mom only” steps, like cracking eggs simple and quick.
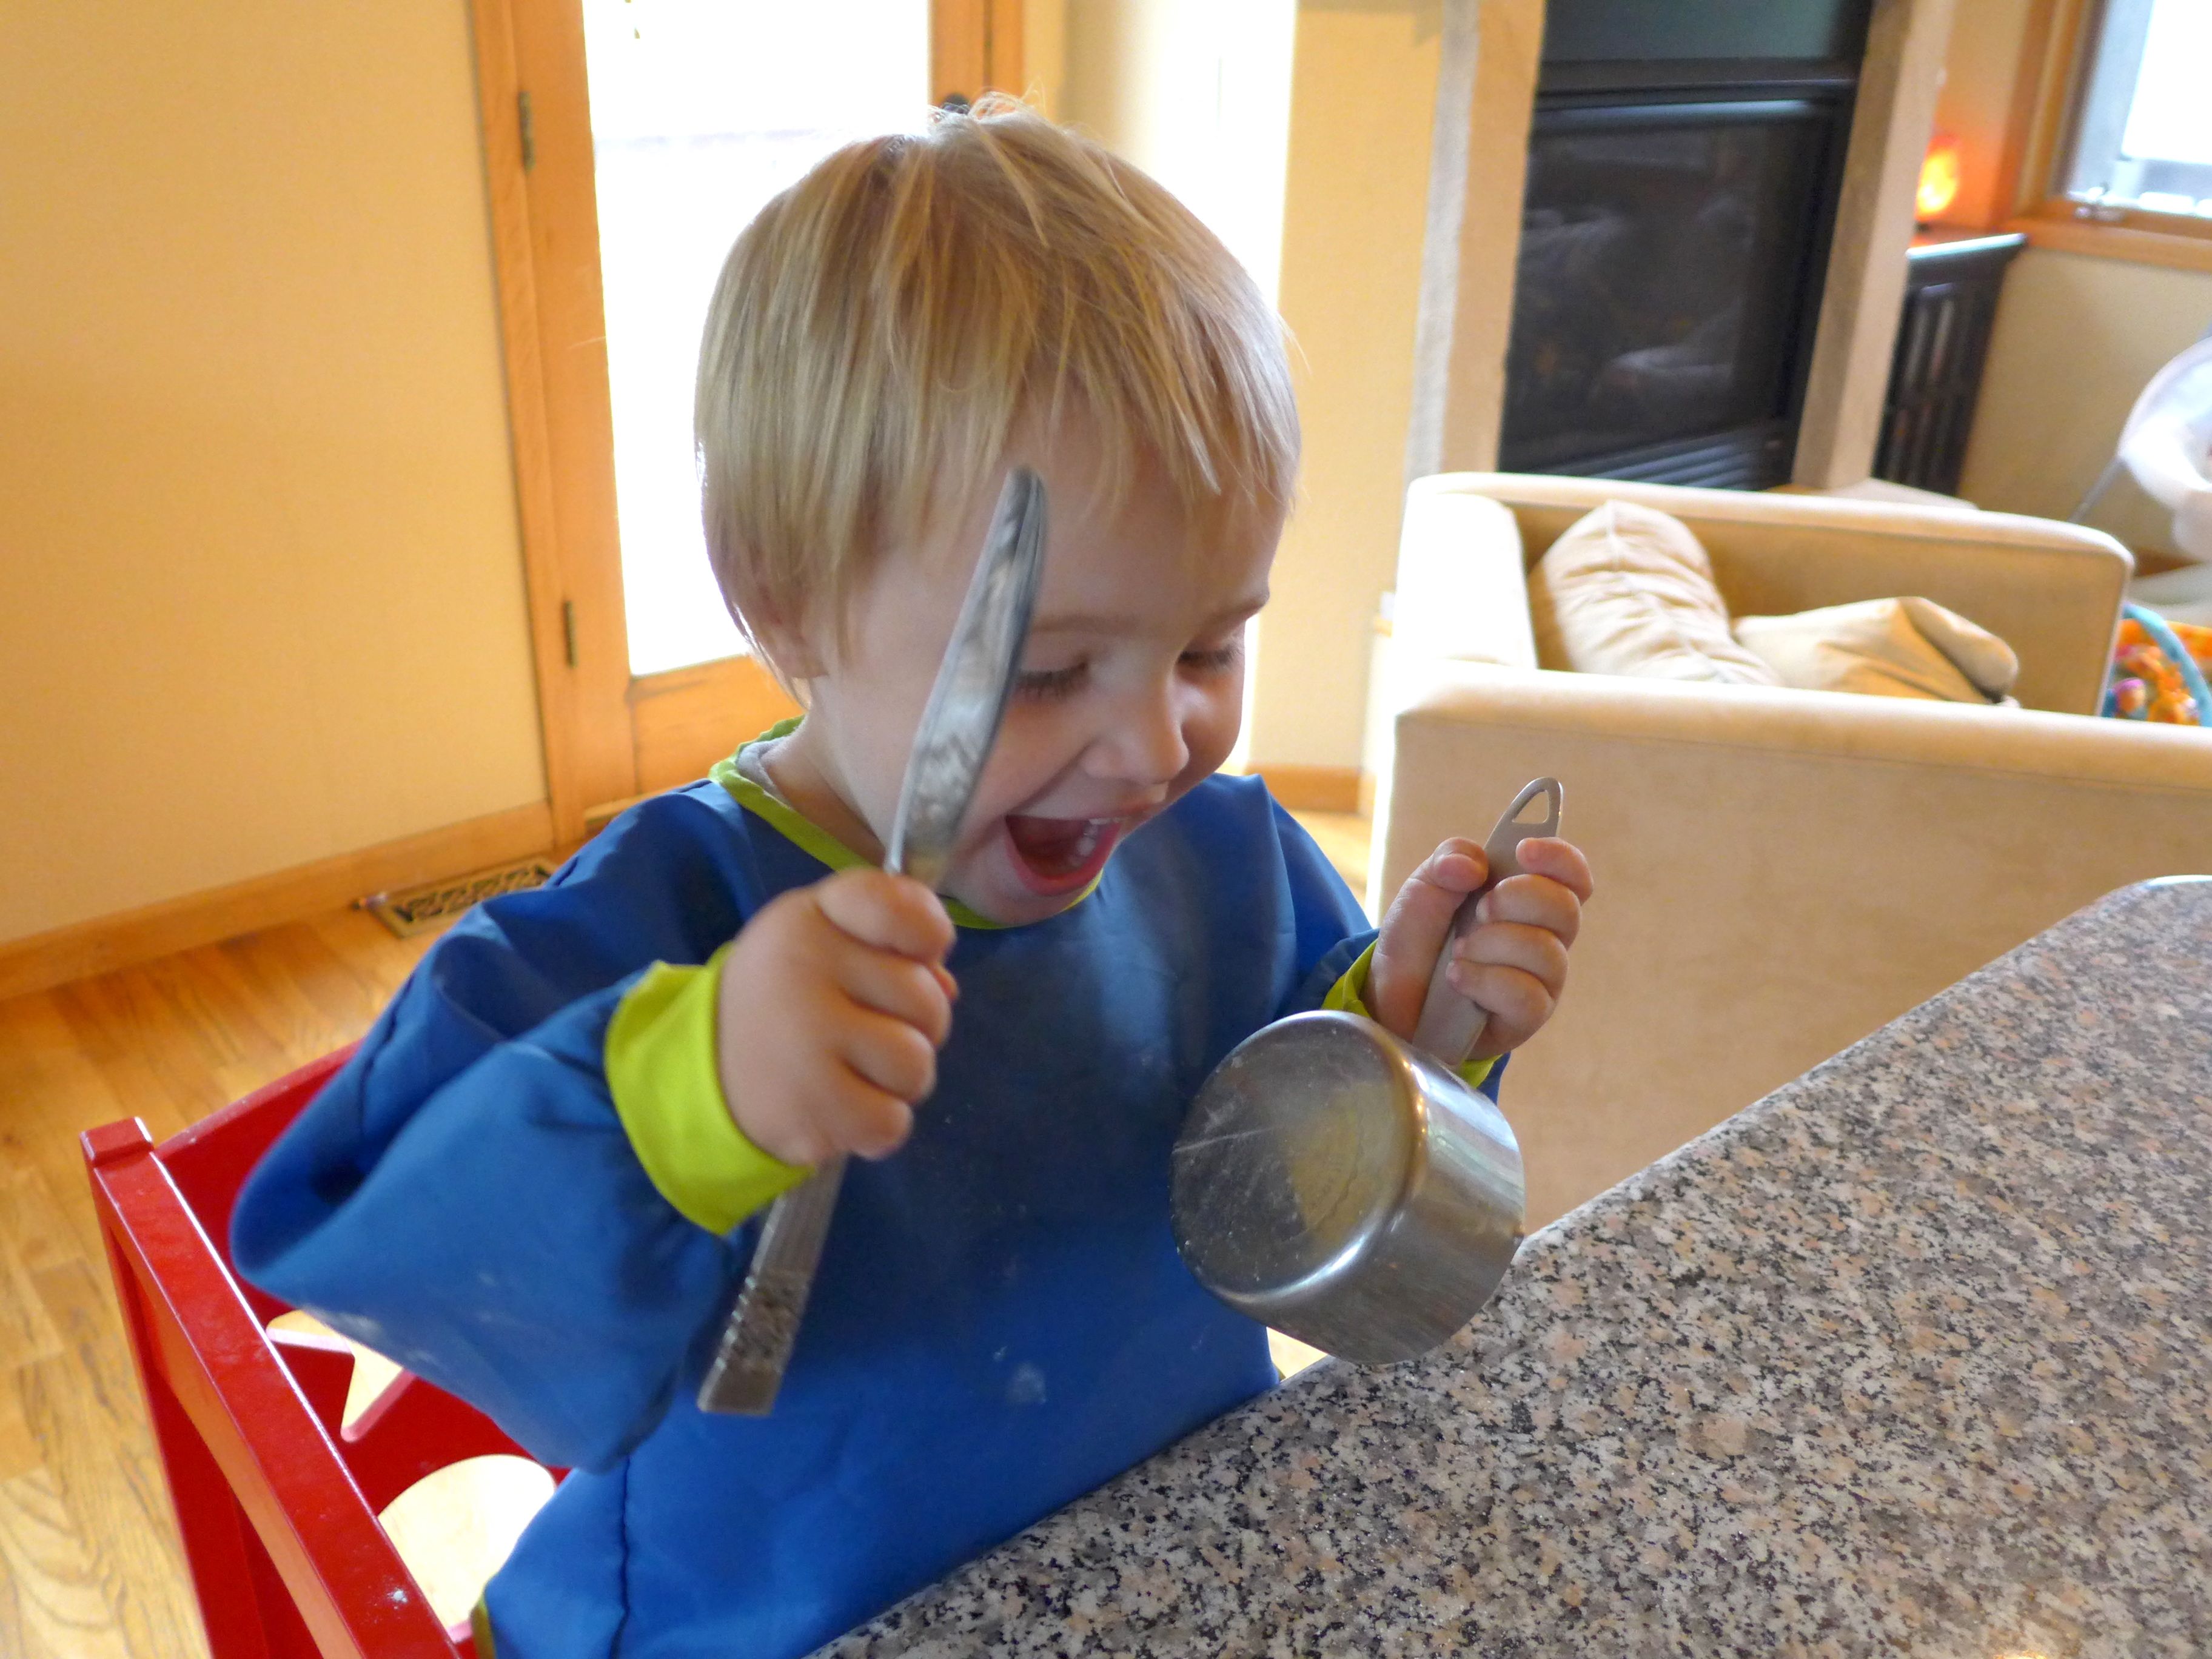
- What about during the down time? If there’s a point where we have to let something mix and/or there are a lot of “mama steps”, then let your kid play. On this particular day, I asked Alex what it would sound like when he banged the measuring cup with the butter knife. That kept him occupied for a few minutes, which can be all you need.
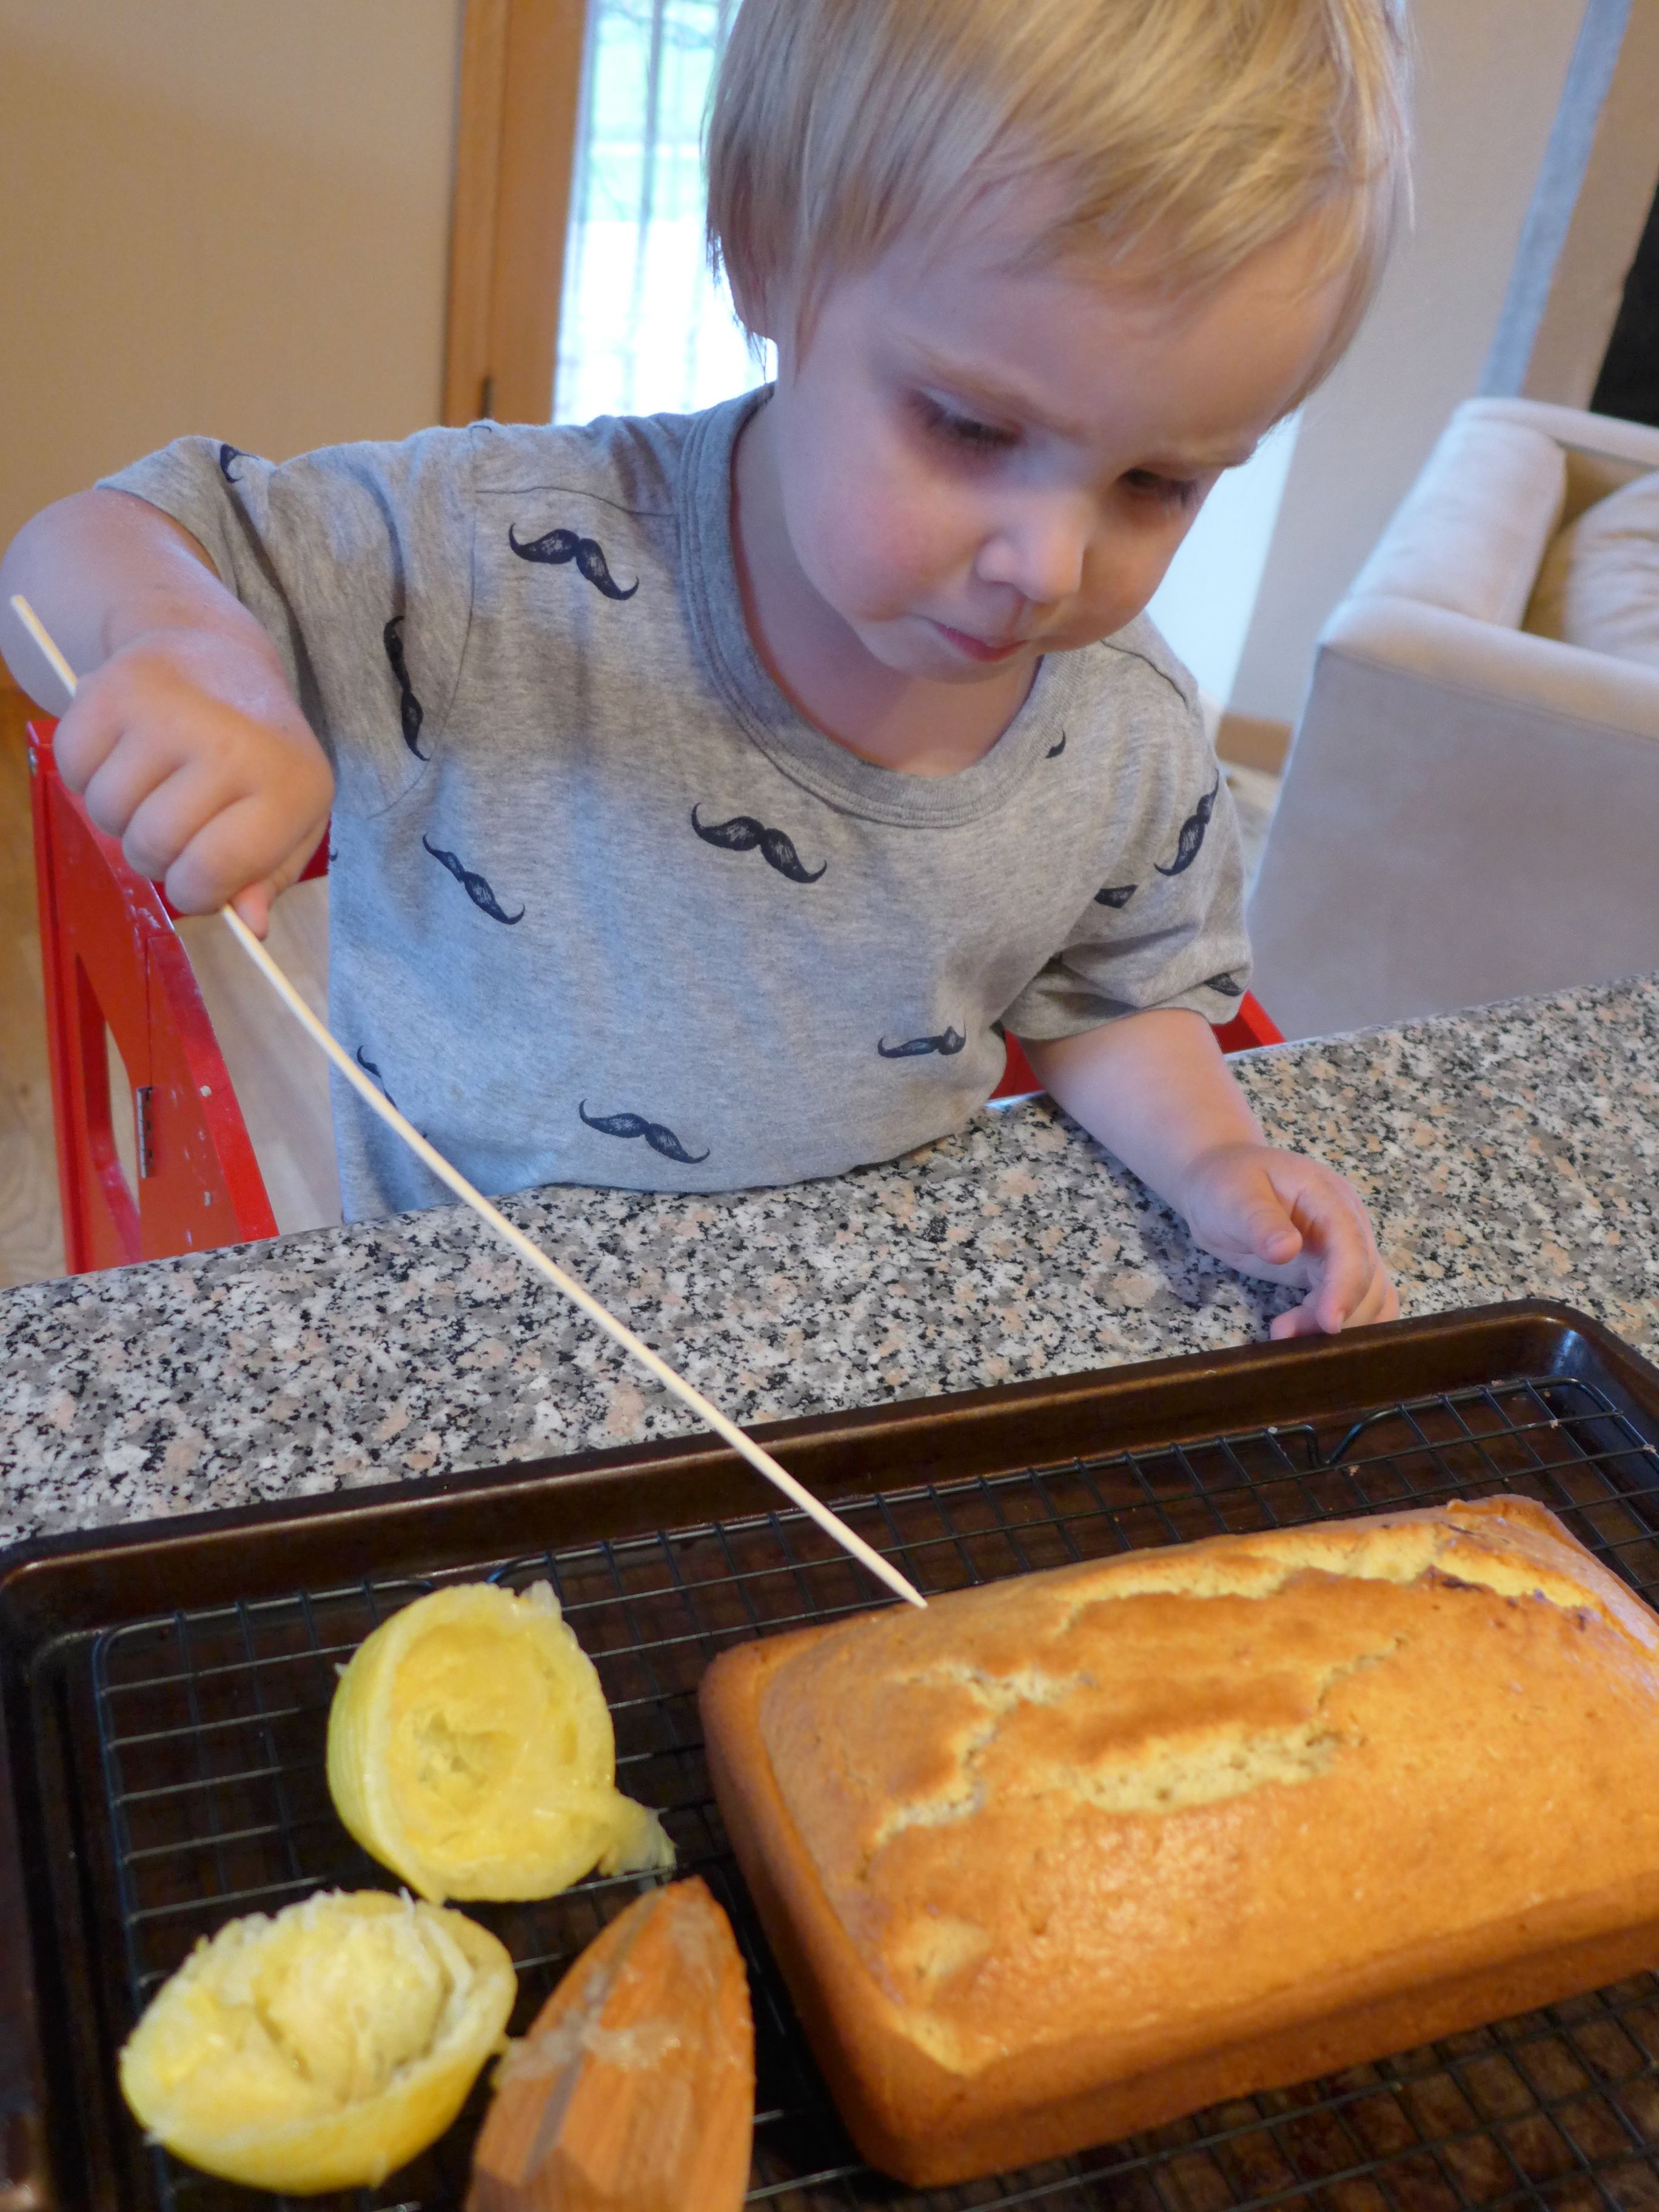
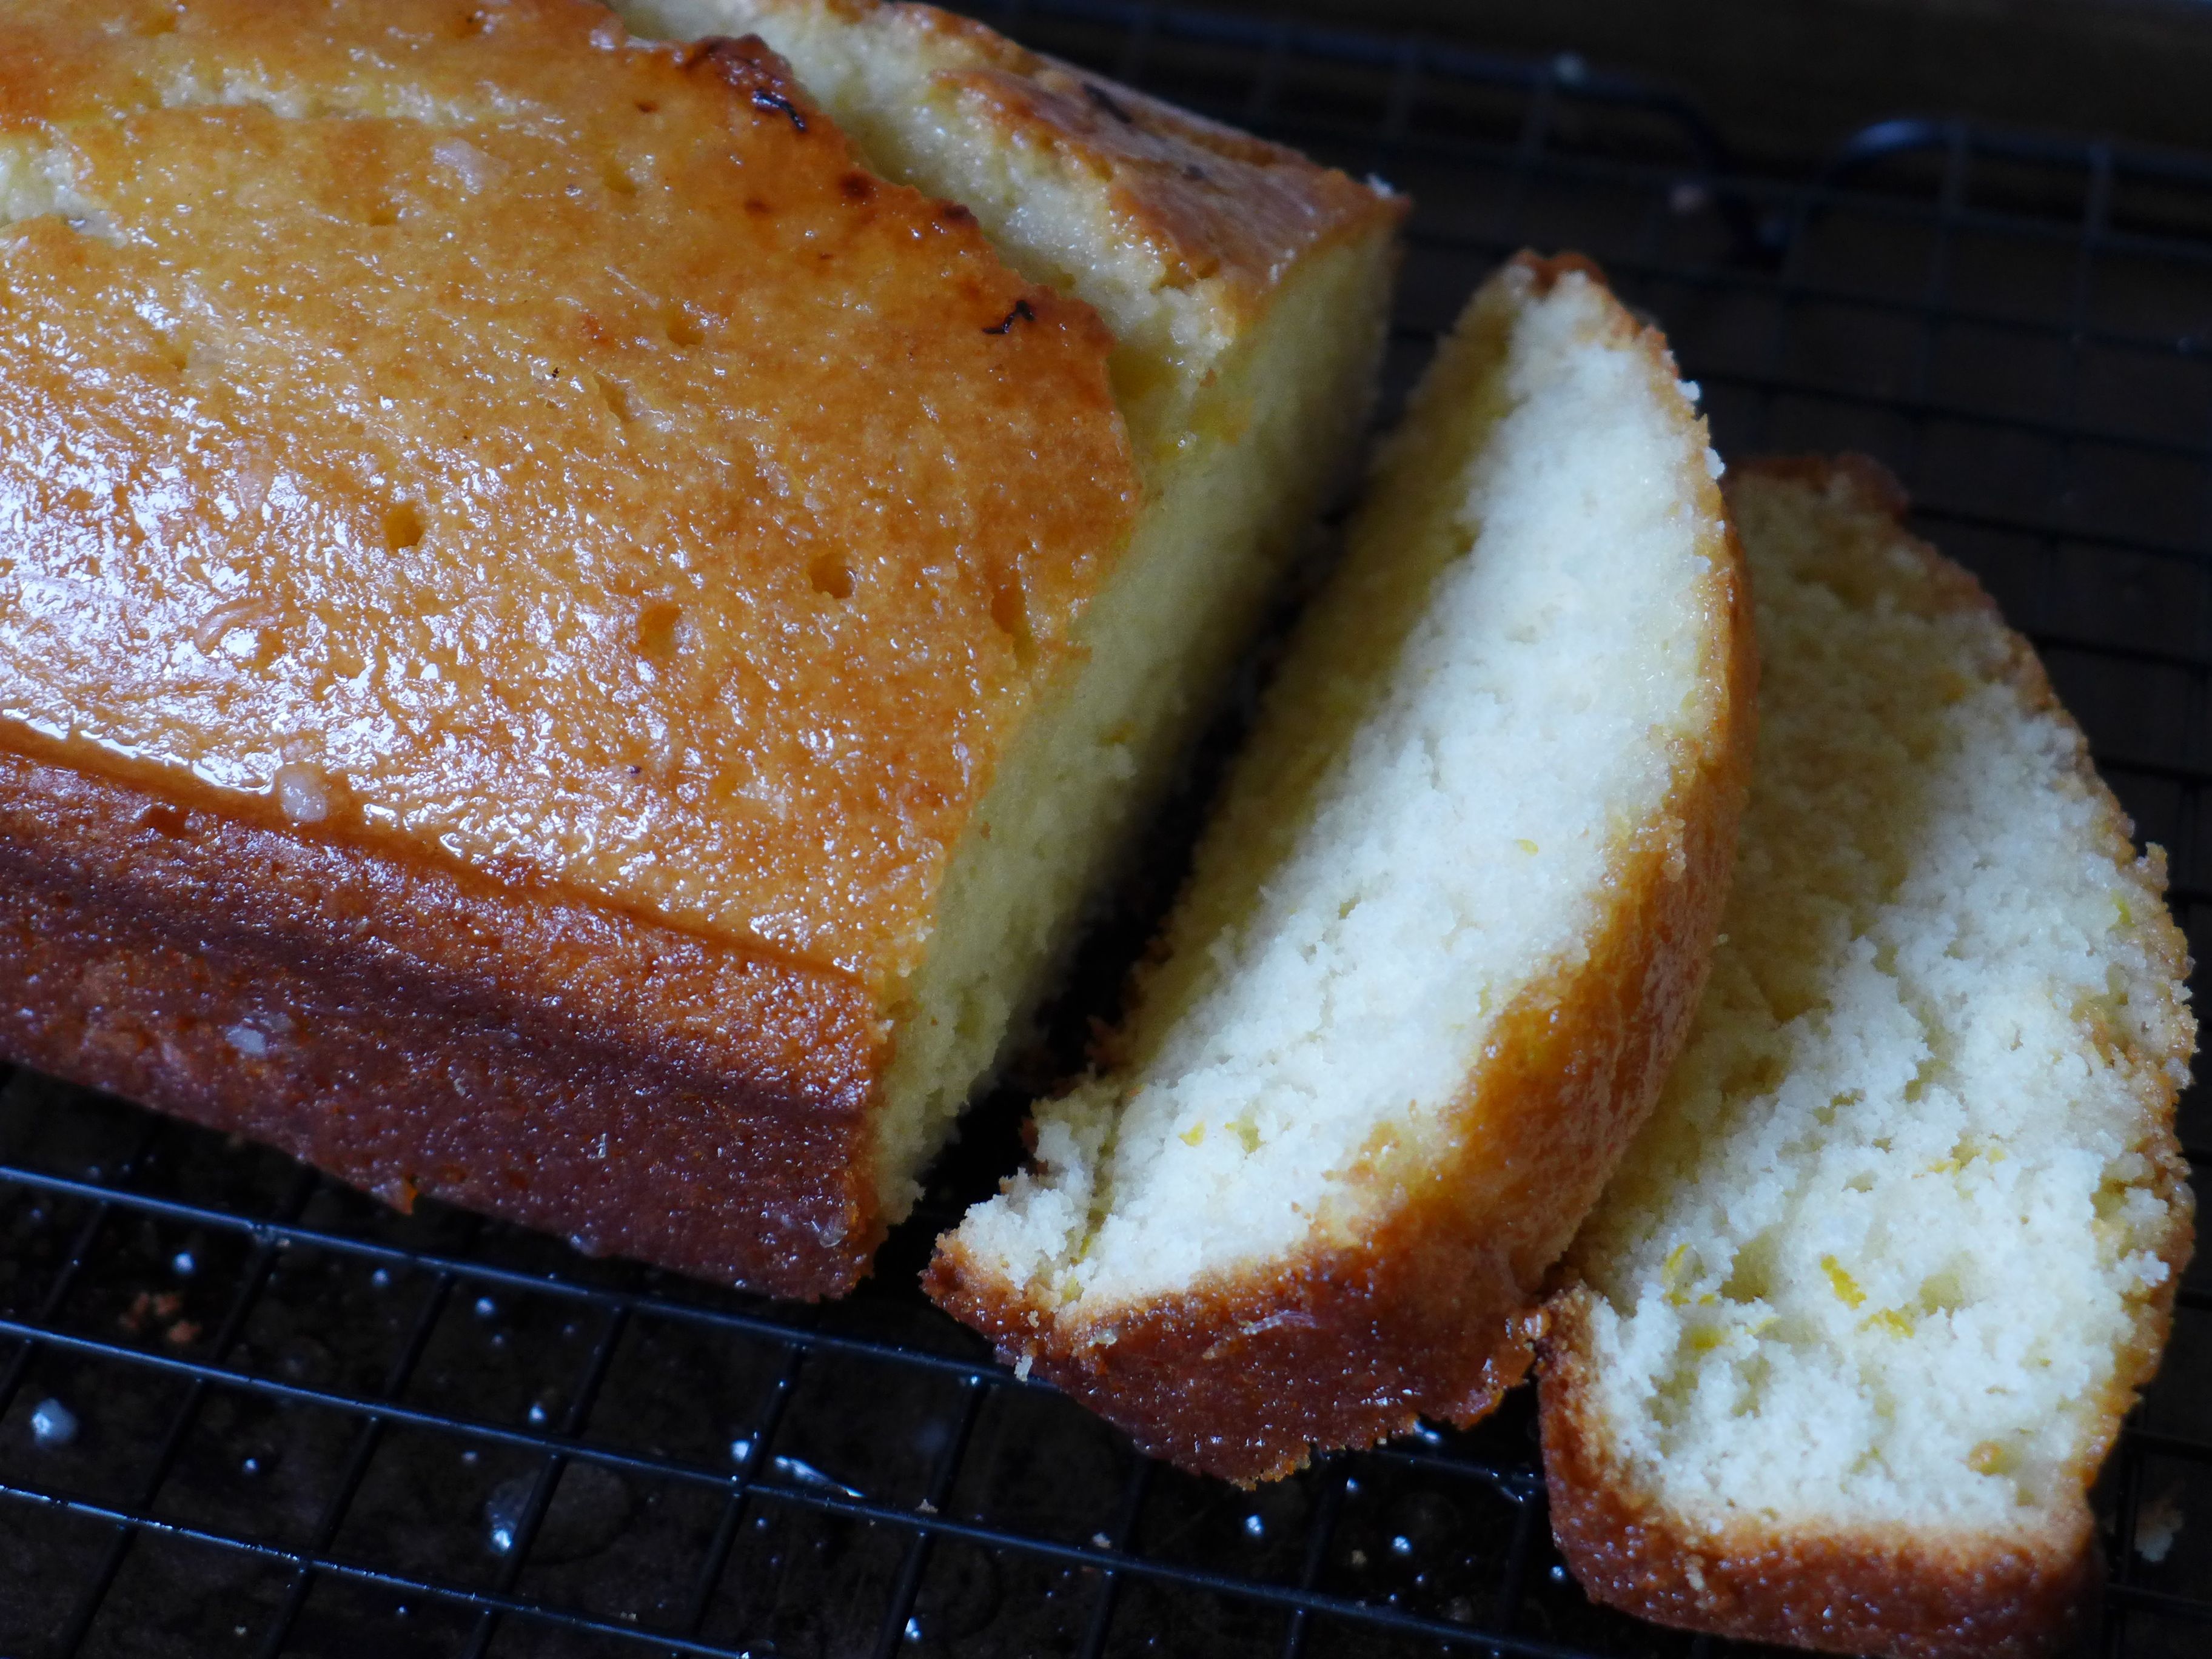
- And the more “dangerous” the task, the better! The recipe below requires that you use a skewer to poke holes in the baked bread before pouring the syrup over it. Poking holes with a stick? BEST JOB EVER for a little boy. Do you see his focus during that task? He was going to be the best lemon-bread-hole-poker that ever did poke.
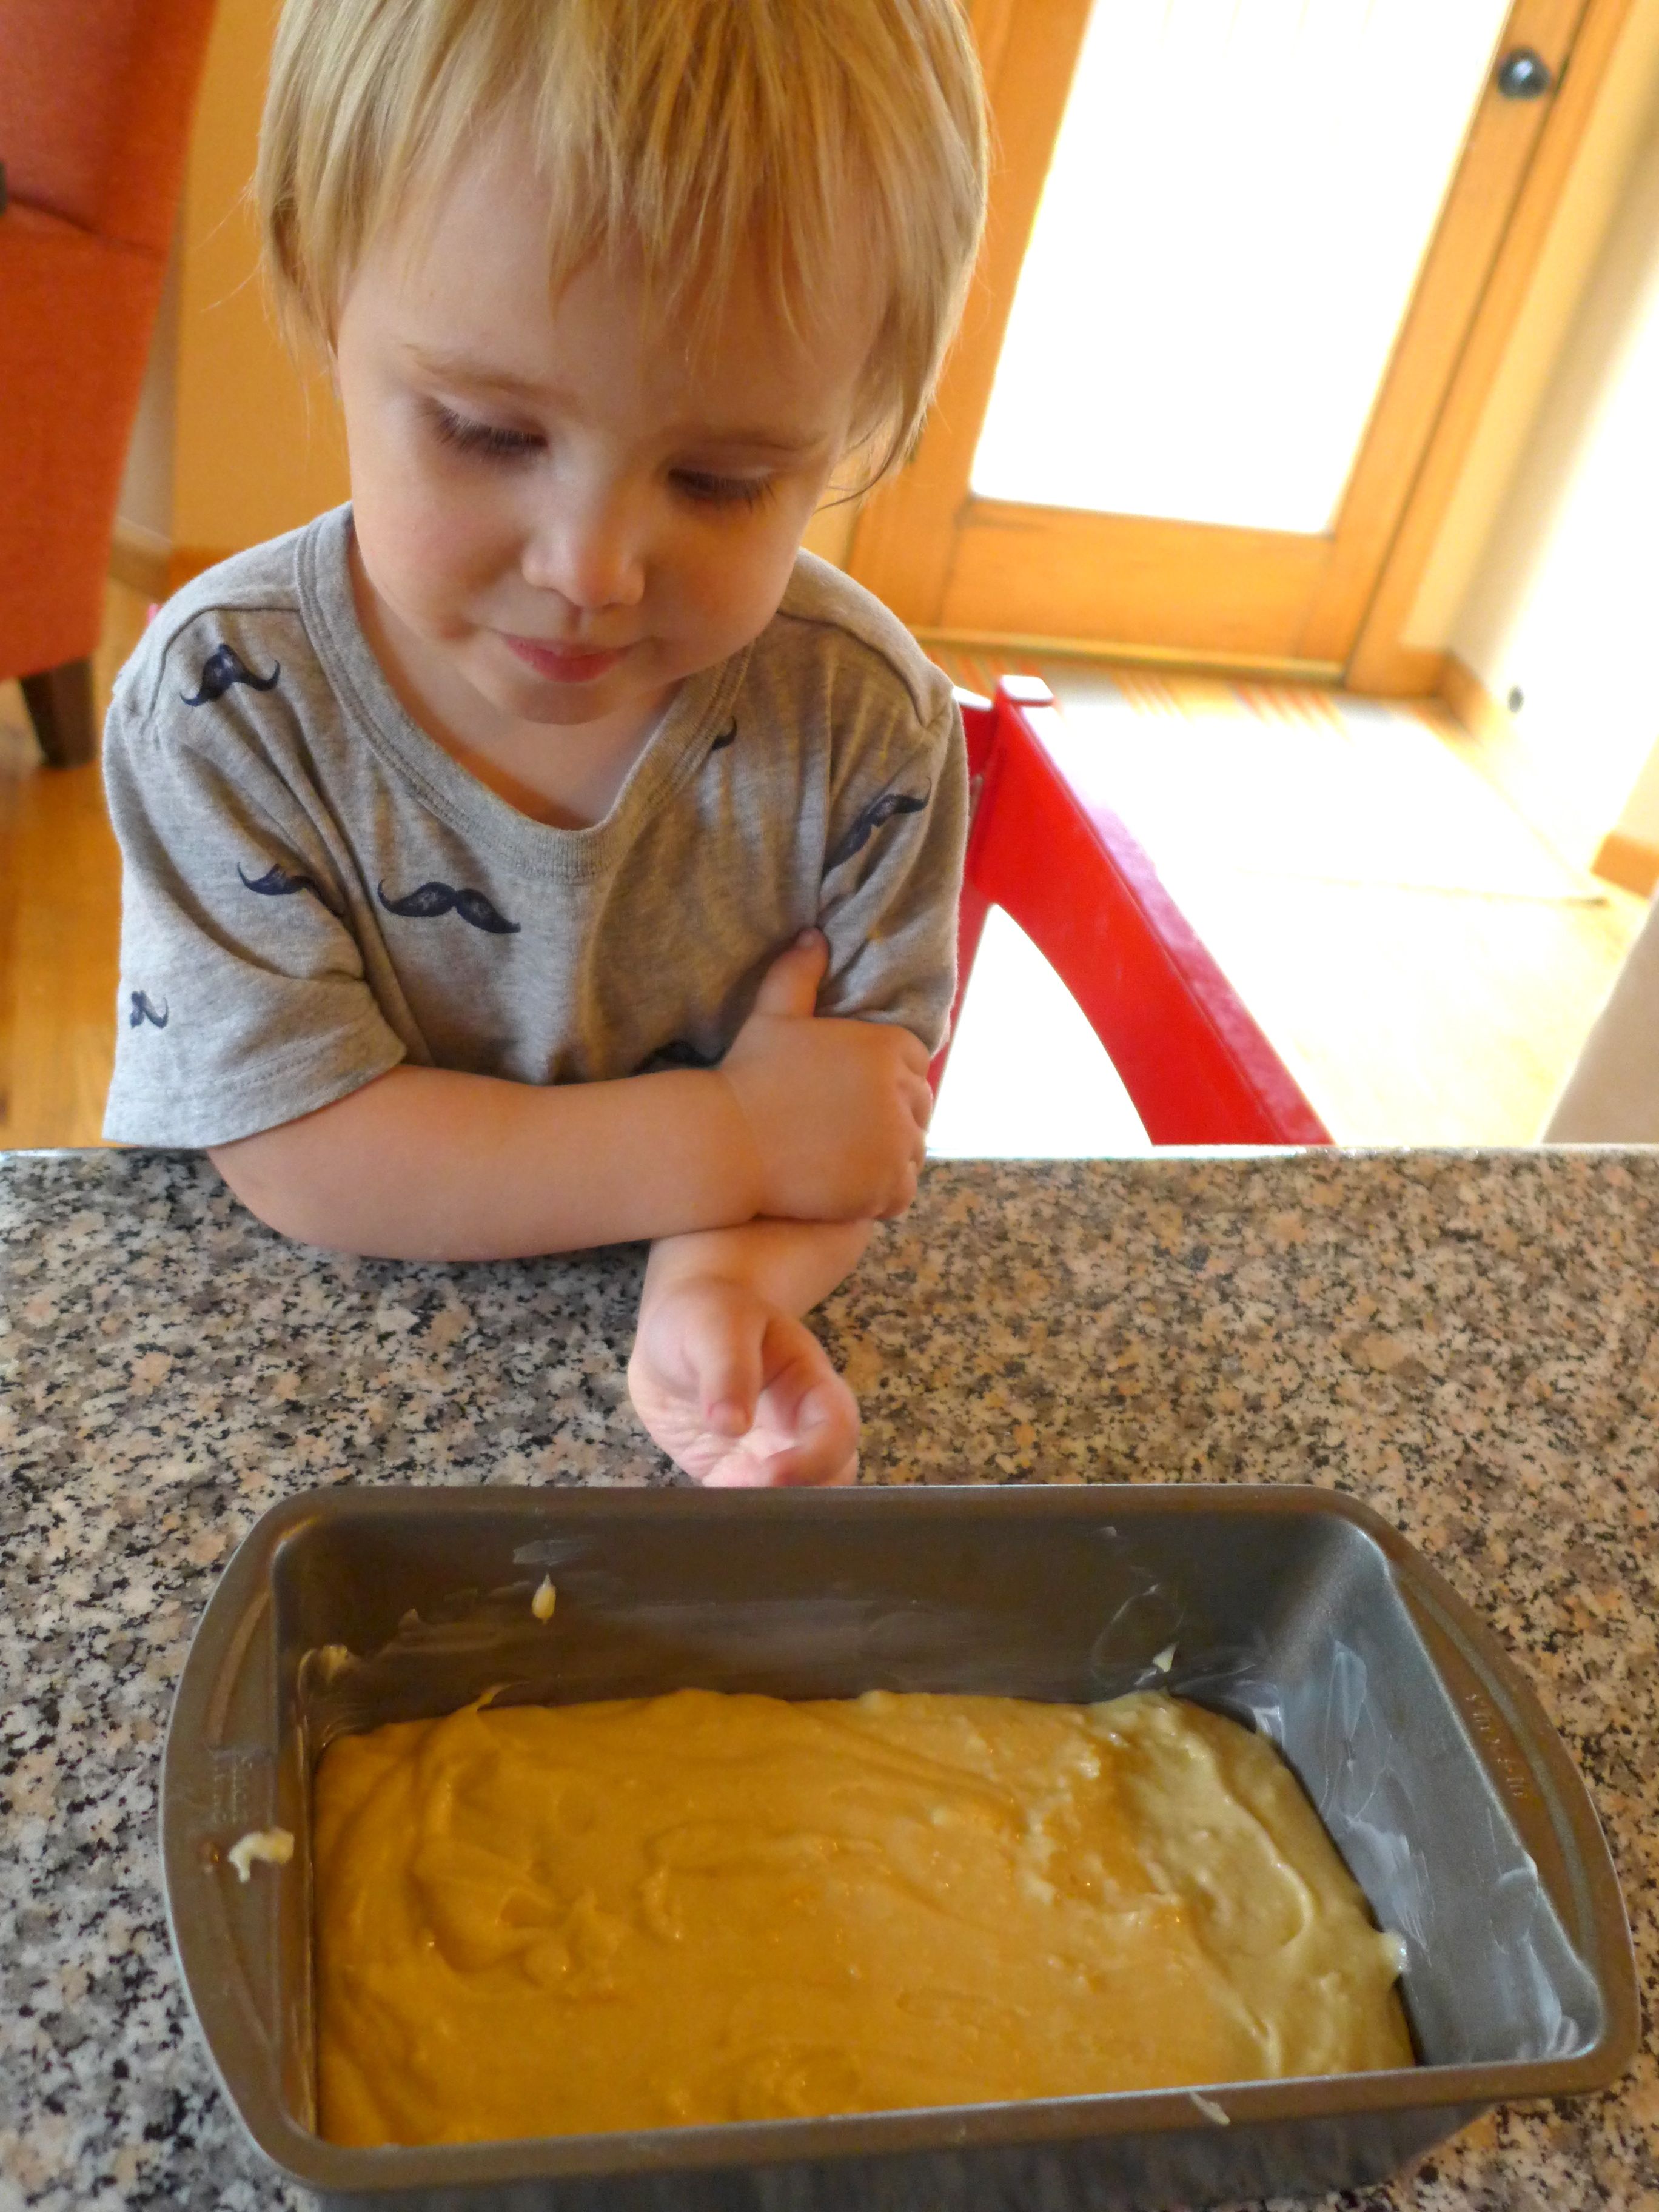
Let Them See Every Step
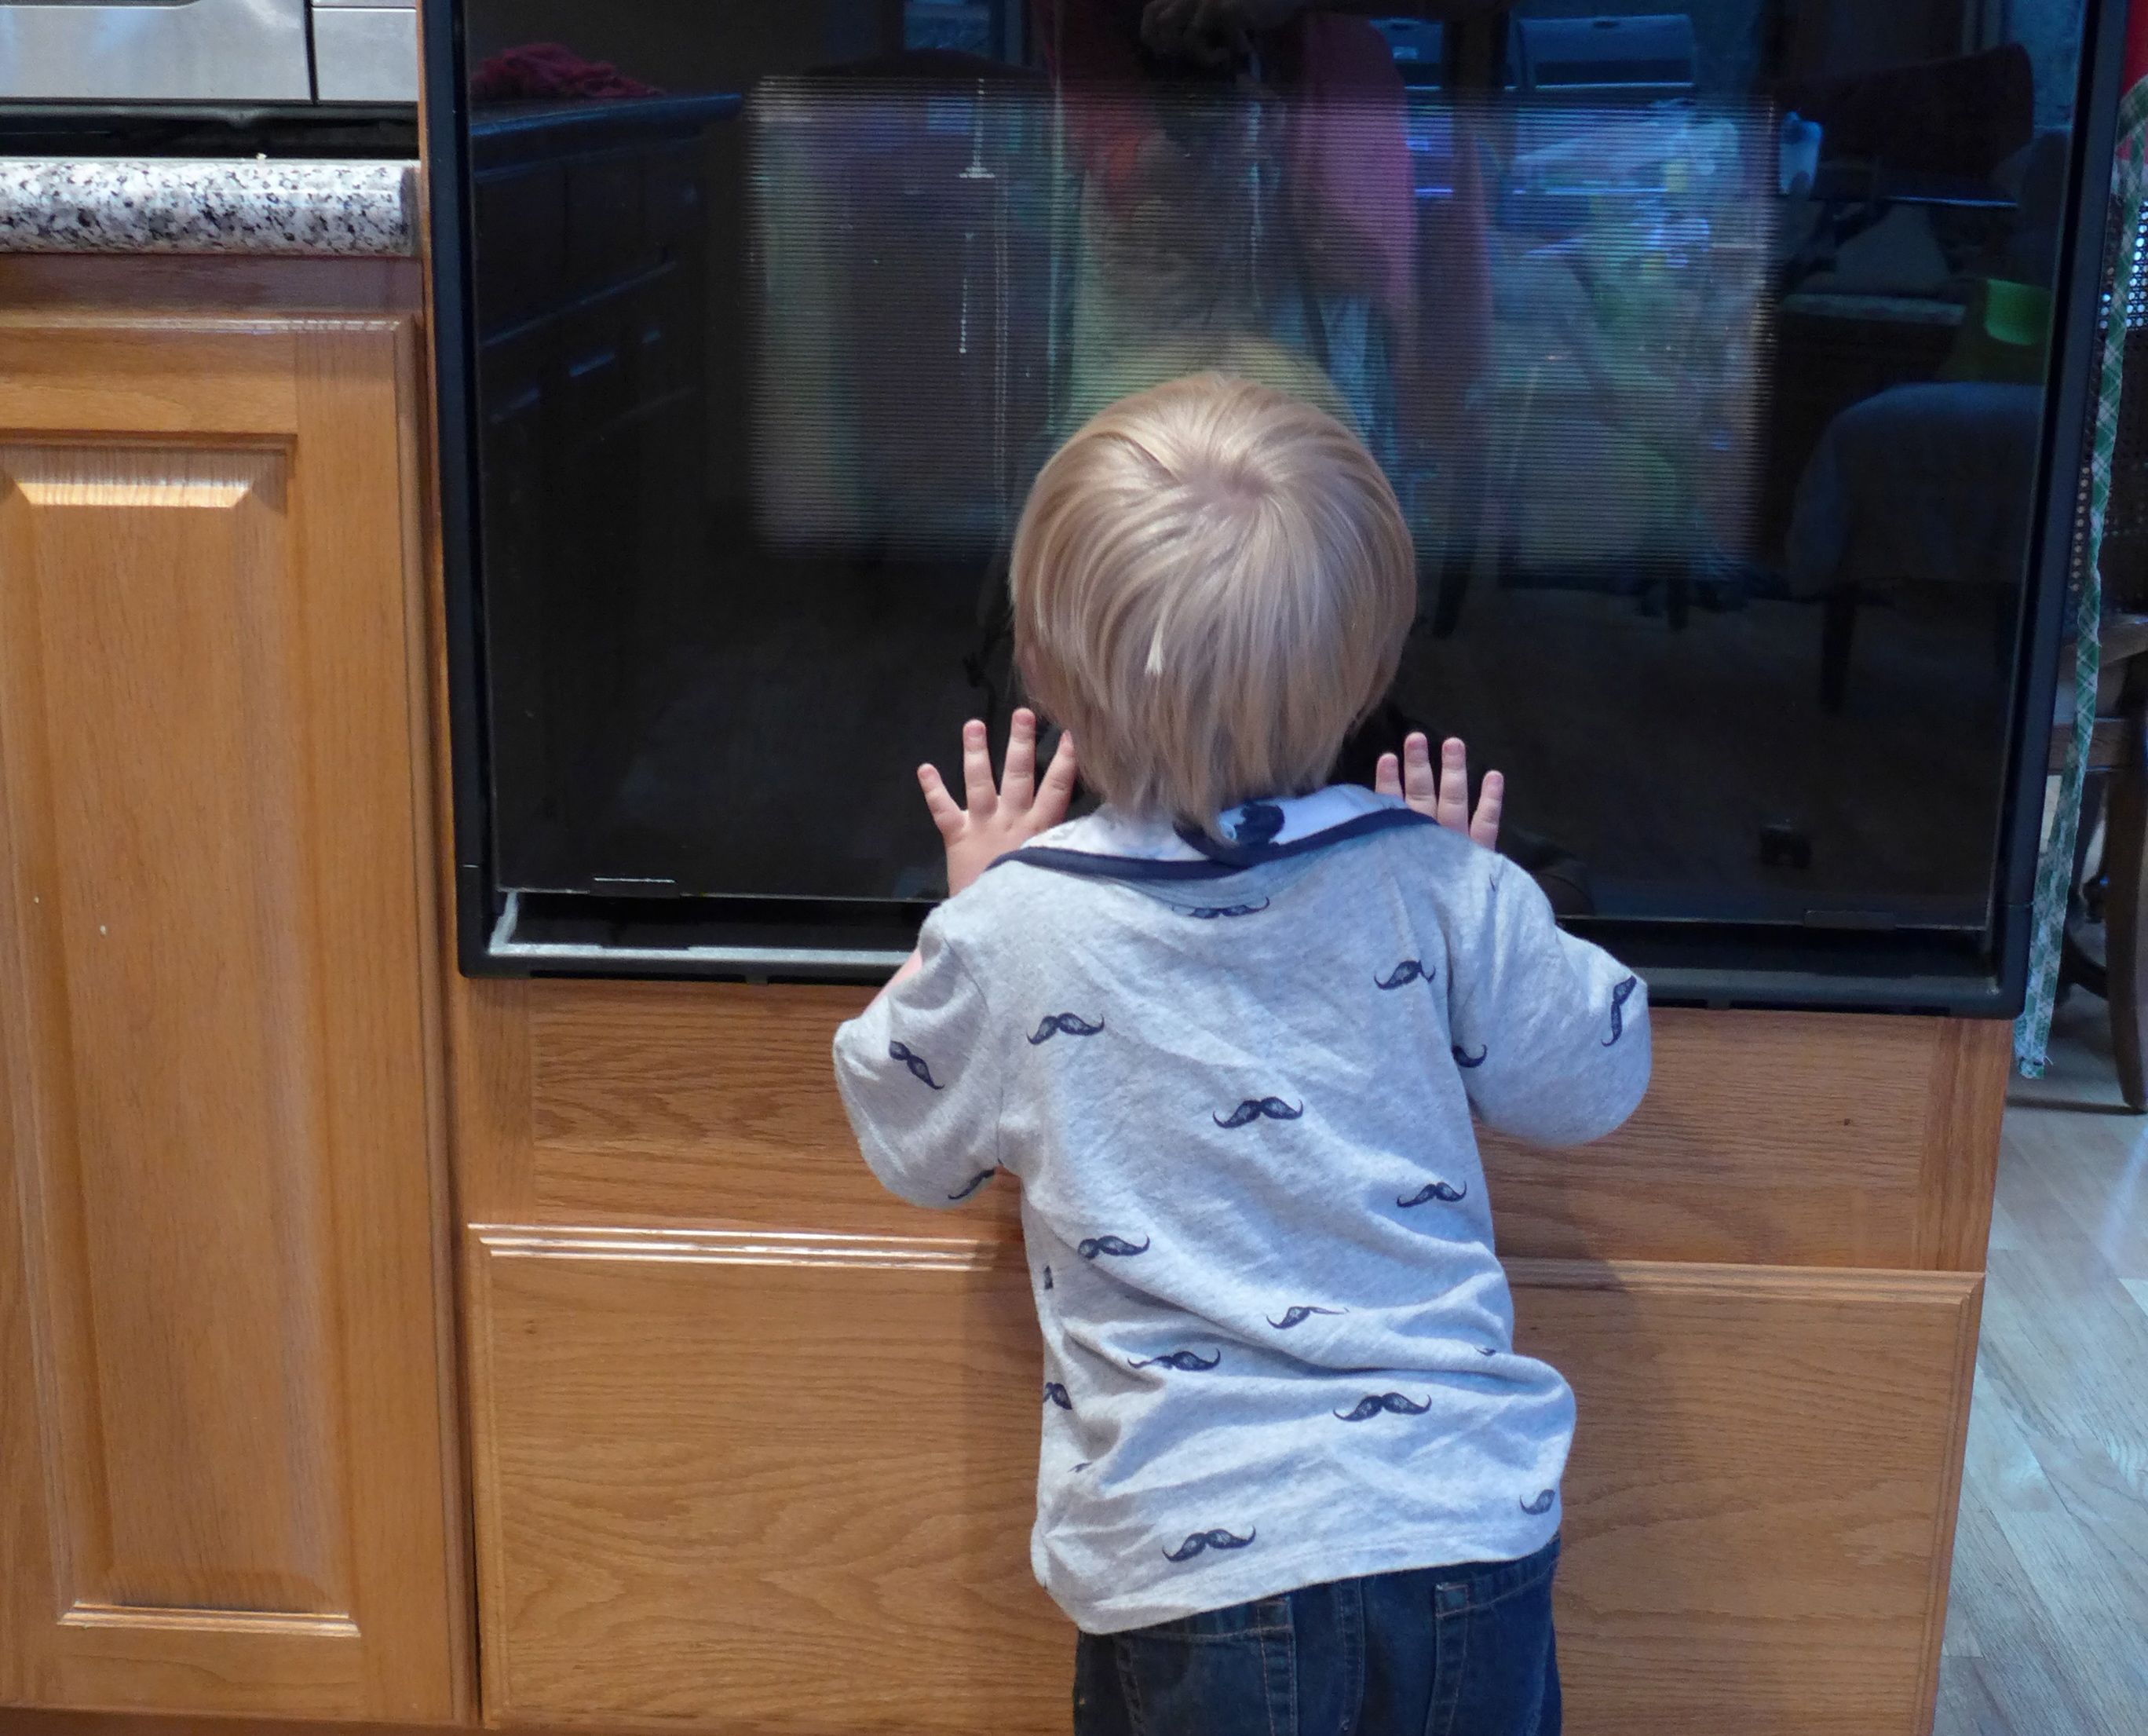
I make sure to take a moment and show Alex the dough before it goes in the oven. I also keep the oven lights on so that he can check on our creation as it cooks, and, of course, I let him see it straight from the oven (using the necessary caution since it’s hot, duh).
How cute is my assistant? You can see why I want to run to the kitchen every time he requests making cookies together. His excitement in these photos is genuine, and I’m looking forward to years of cooking experiments with this little guy!

Ingredients
- 1/2 cup butter
- 1 cup sugar
- 2 eggs
- 1/2 cup milk
- 1 1/2 cups flour
- 1 tsp baking powder
- 1/2 tsp salt
- zest of 1 lemon
- 1/4 cup sugar
- juice of 1 lemon
Instructions
- Preheat the oven to 350.
- In a large mixing bowl, cream together the butter and sugar.
- Add the eggs one at a time, scraping down the bowl in between, and beat until creamy.
- In a separate bowl, mix together the flour, baking powder, salt, and lemon zest.
- Pour the dry ingredient into the wet and stir to moisten.
- Pour the batter into a 9x5, greased loaf pan and bake for 55-60 minutes, or until a skewer inserted in the middle comes out dry.
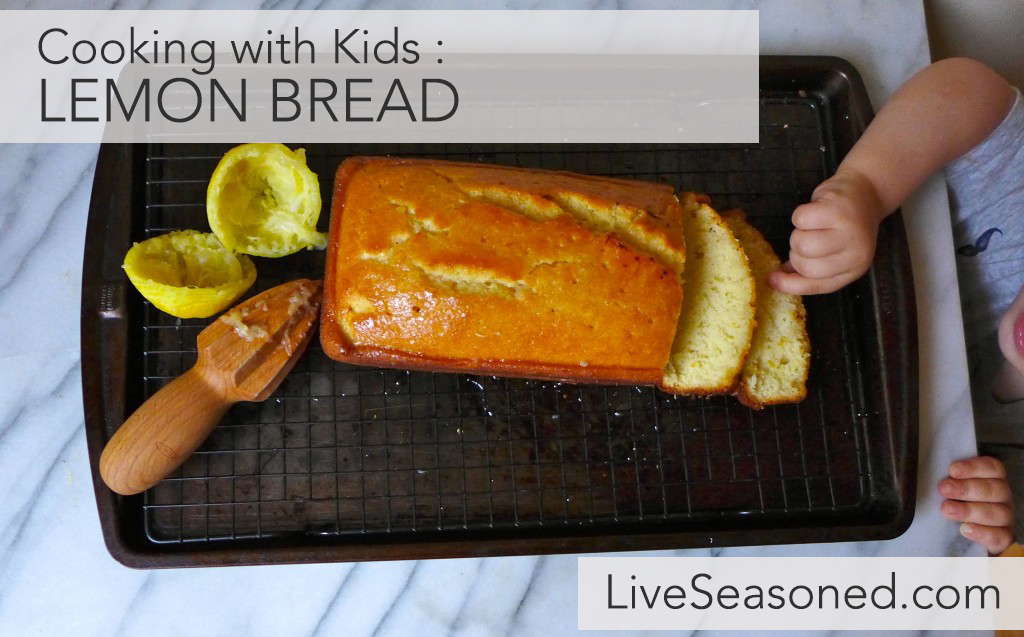
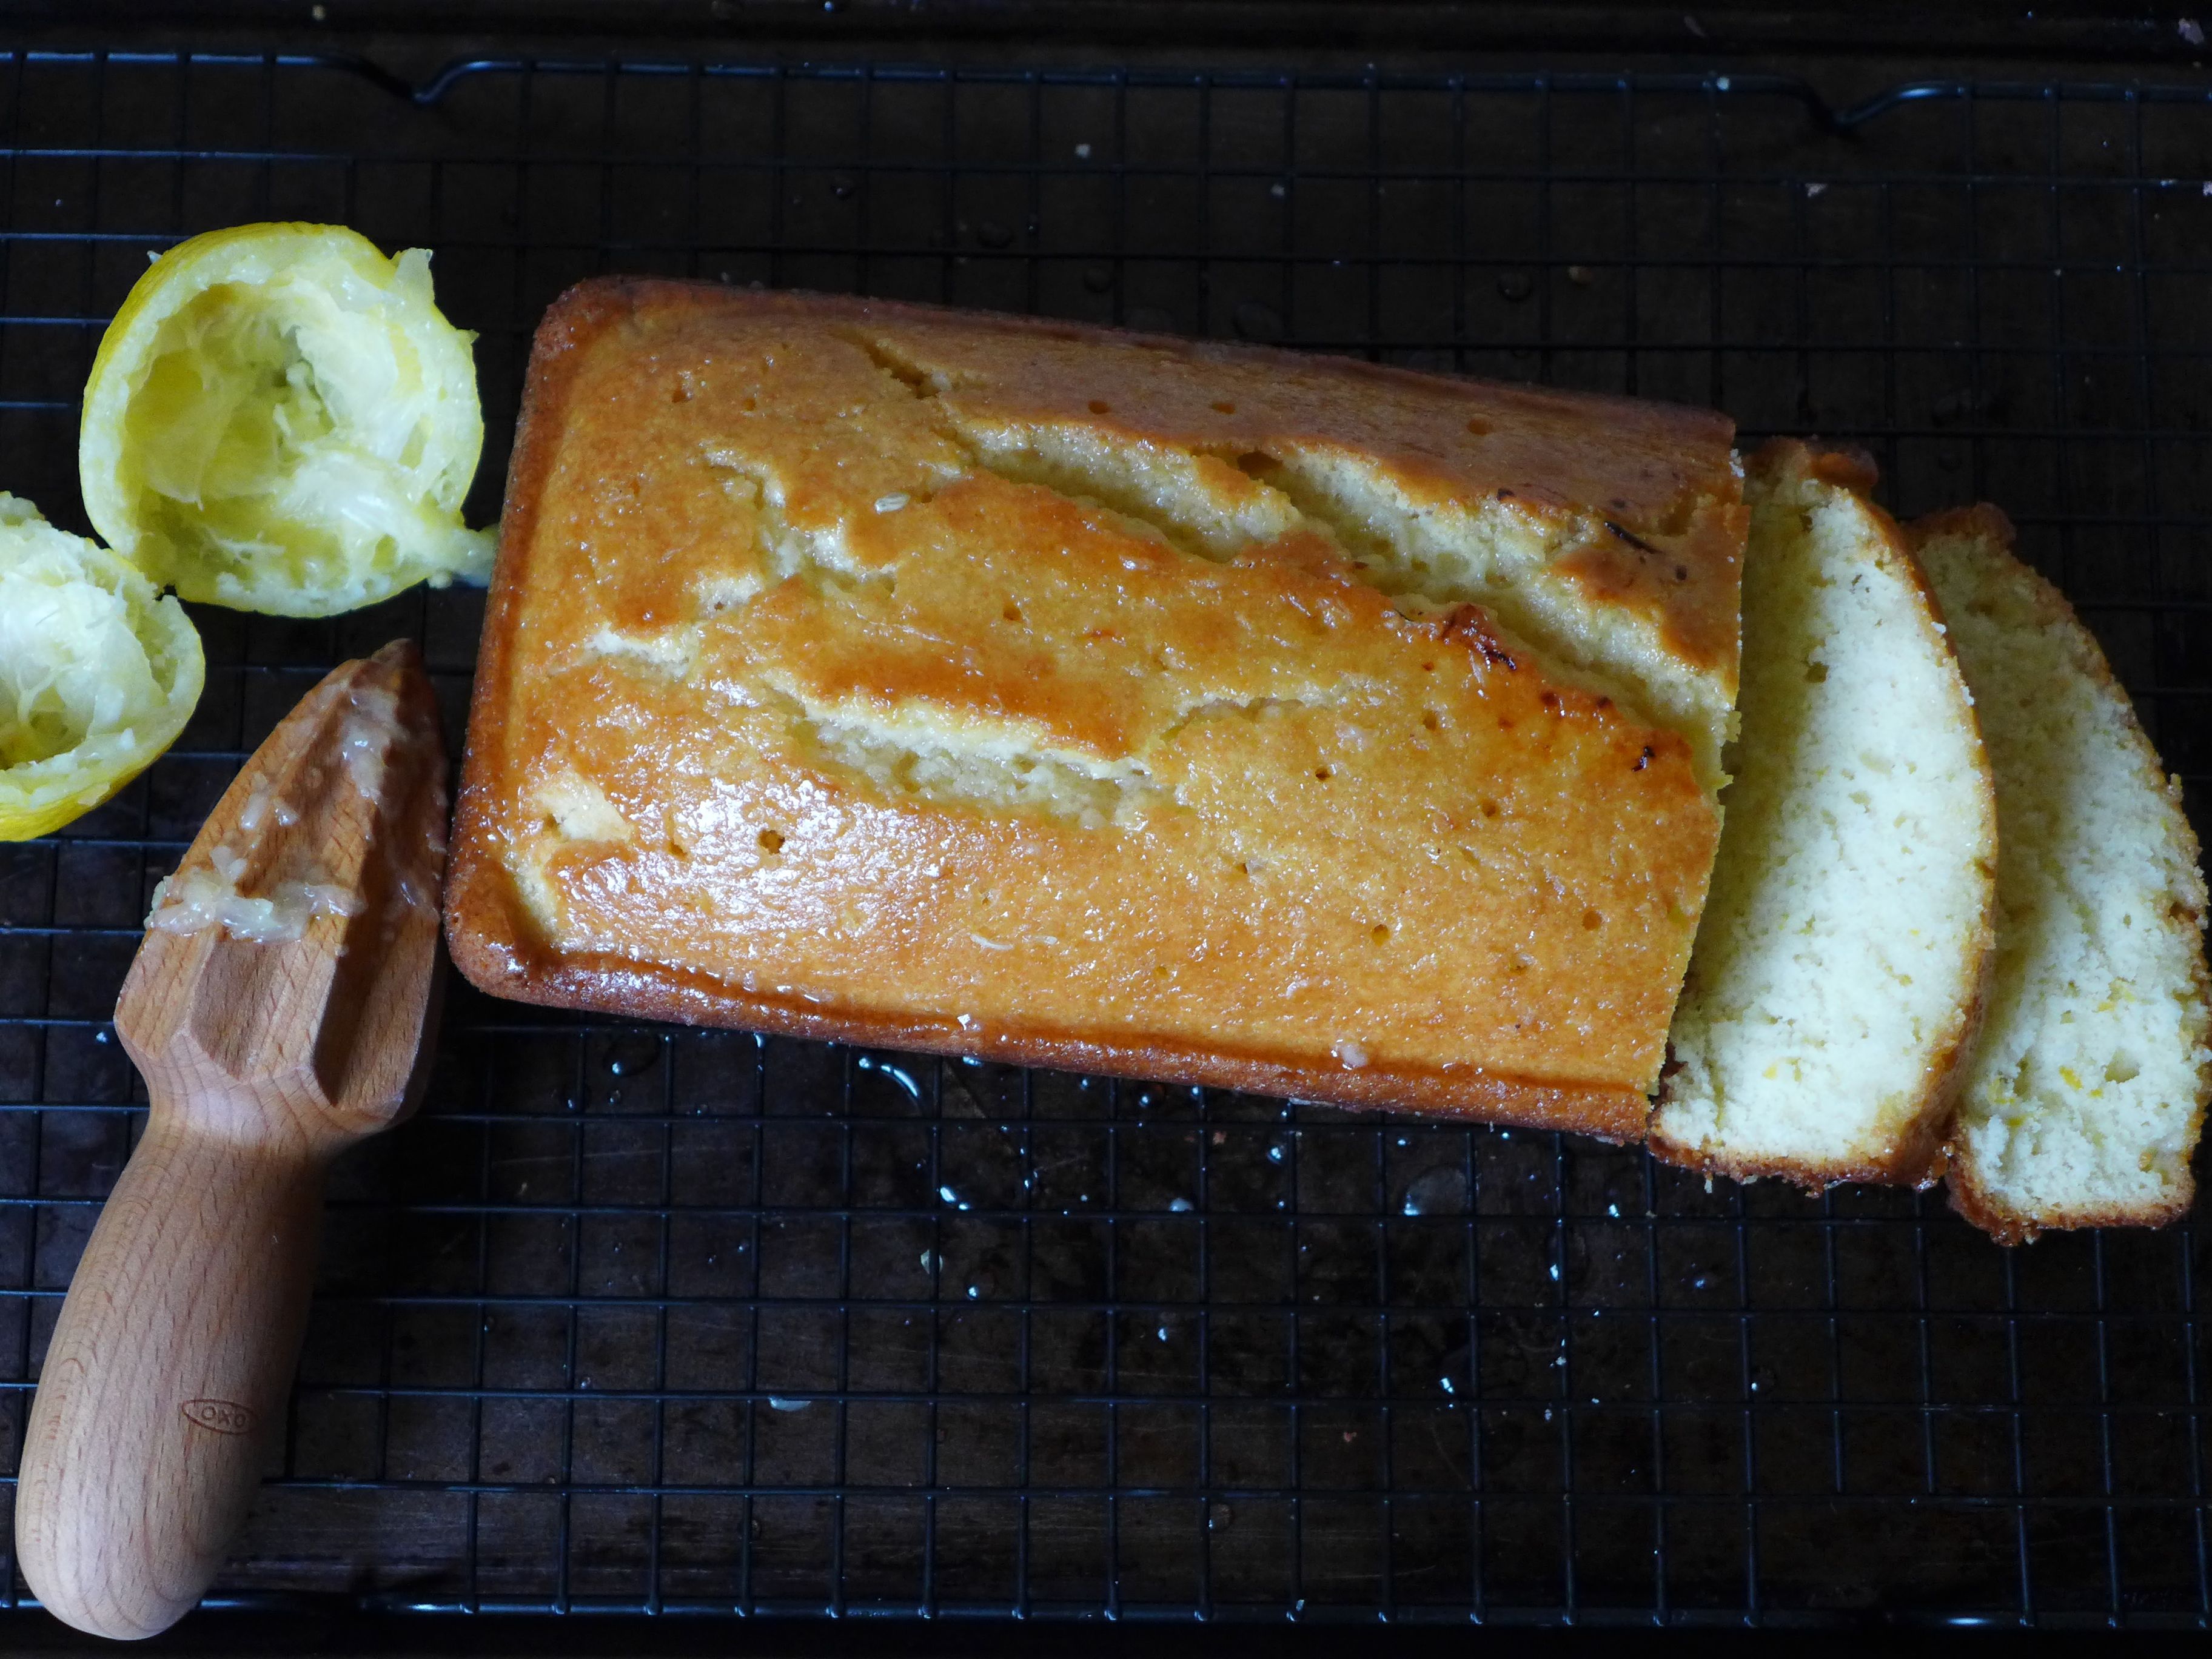
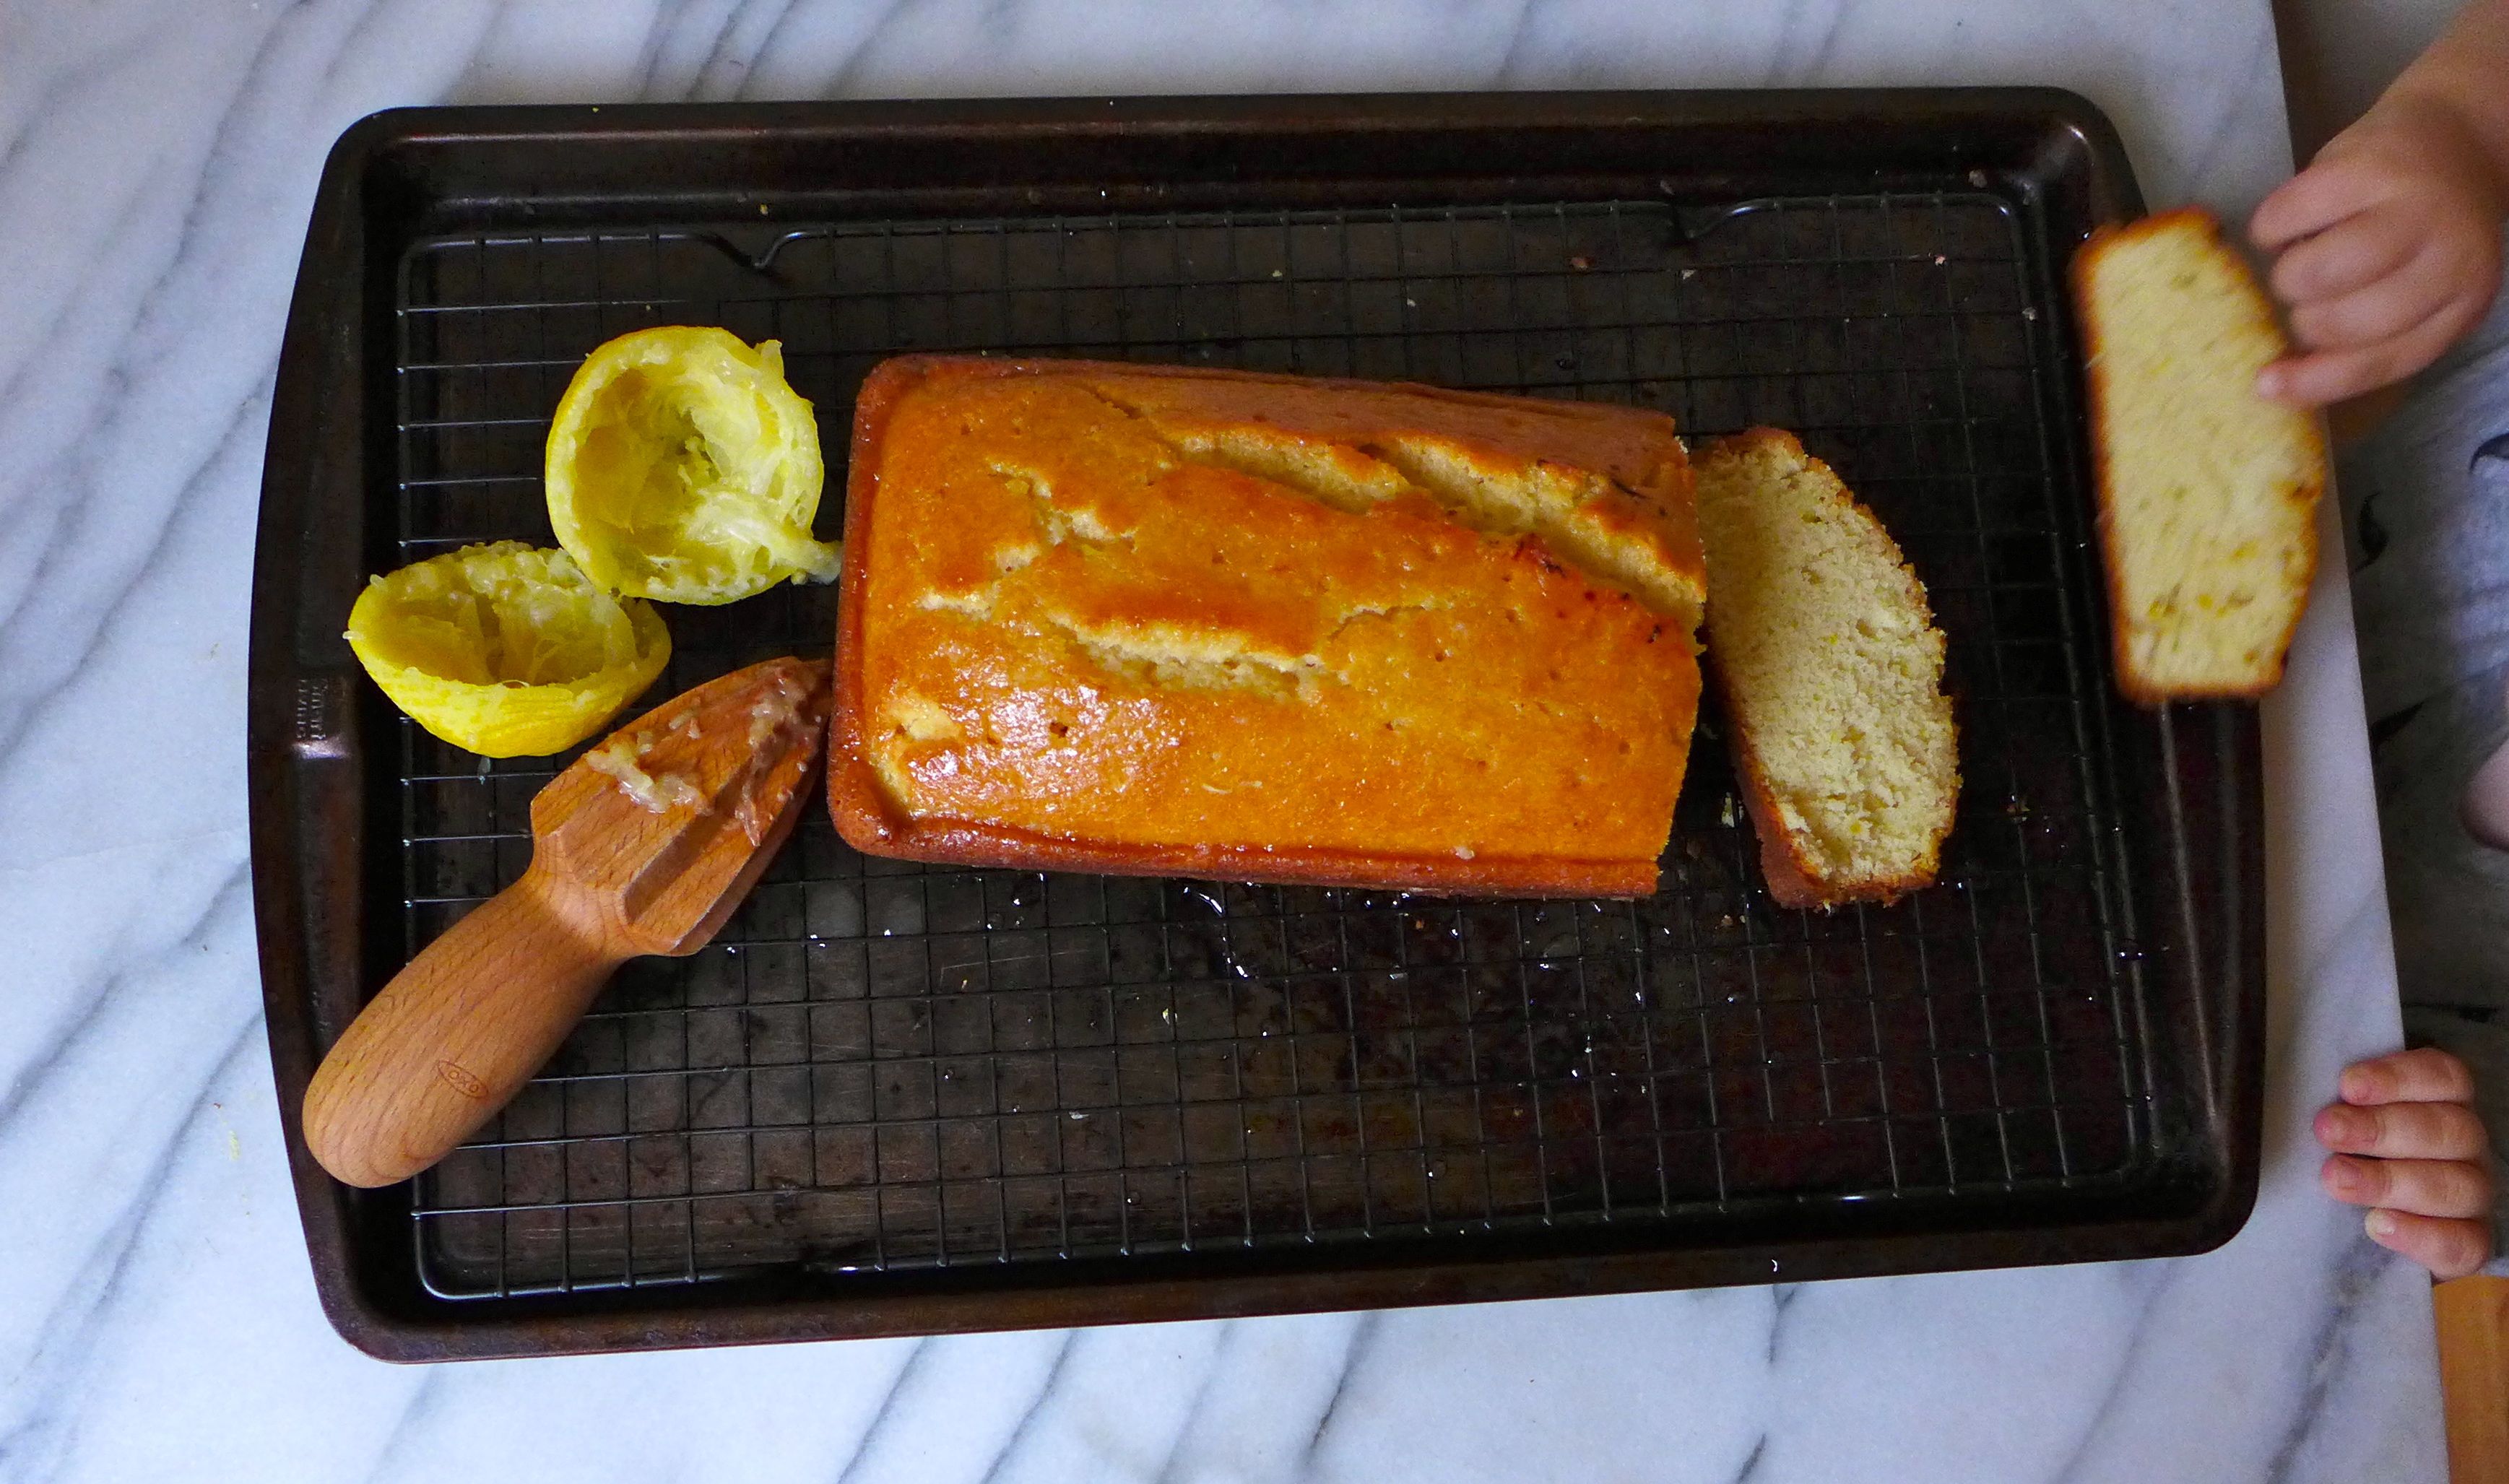
- Cool in the pan for about 5 minutes. Remove the bread to a rack while still hot. Use a skewer or toothpick to poke holes all over the top of the bread, and spoon the glaze evenly over the loaf.
- While the bread is cooling for 5 minutes, make the glaze by heating the sugar and lemon juice in a sauce pan and stirring until the sugar dissolves.
At this stage in our cooking game, those are my main tricks. Do you cook with young kids? What works for you? Share your secrets in the comments below, and now for the main event!
everything in this post is amazing. his smile, the best.
hehe, thanks! You’re going to love hanging out with him!
when i saw the title of this post i was like ‘oh man i’ve got so many great ideas of how katie can gently lead alex into some great situations for development!’. And then i read on, and you’re doing all of them!! From a developmental psychologist – you are boring because you are such a great mom!!
Awwww, Ginny, what a great compliment, thanks! I guess I can live with boring in this case :-D.