
How many times have you google searched cheap prints? I have a l o t. Pretty much every time I have a show or event. I’m always trying to figure out the best way to produce LARGE photographs inexpensively. Katie recently introduced me to a new method: Engineer Prints. Engineer prints reproduce line drawings and graphics with high definition and contrast, but they’re also really great for making large black and white photography prints. Engineer prints are the perfect low-cost option when you’re looking for a statement piece without the price tag. Since these prints range from only a buck to $10, the quality is obviously not fit for The Louvre, but they’re definitely awesome enough for a wall in your home or as a focal point at your next art show.
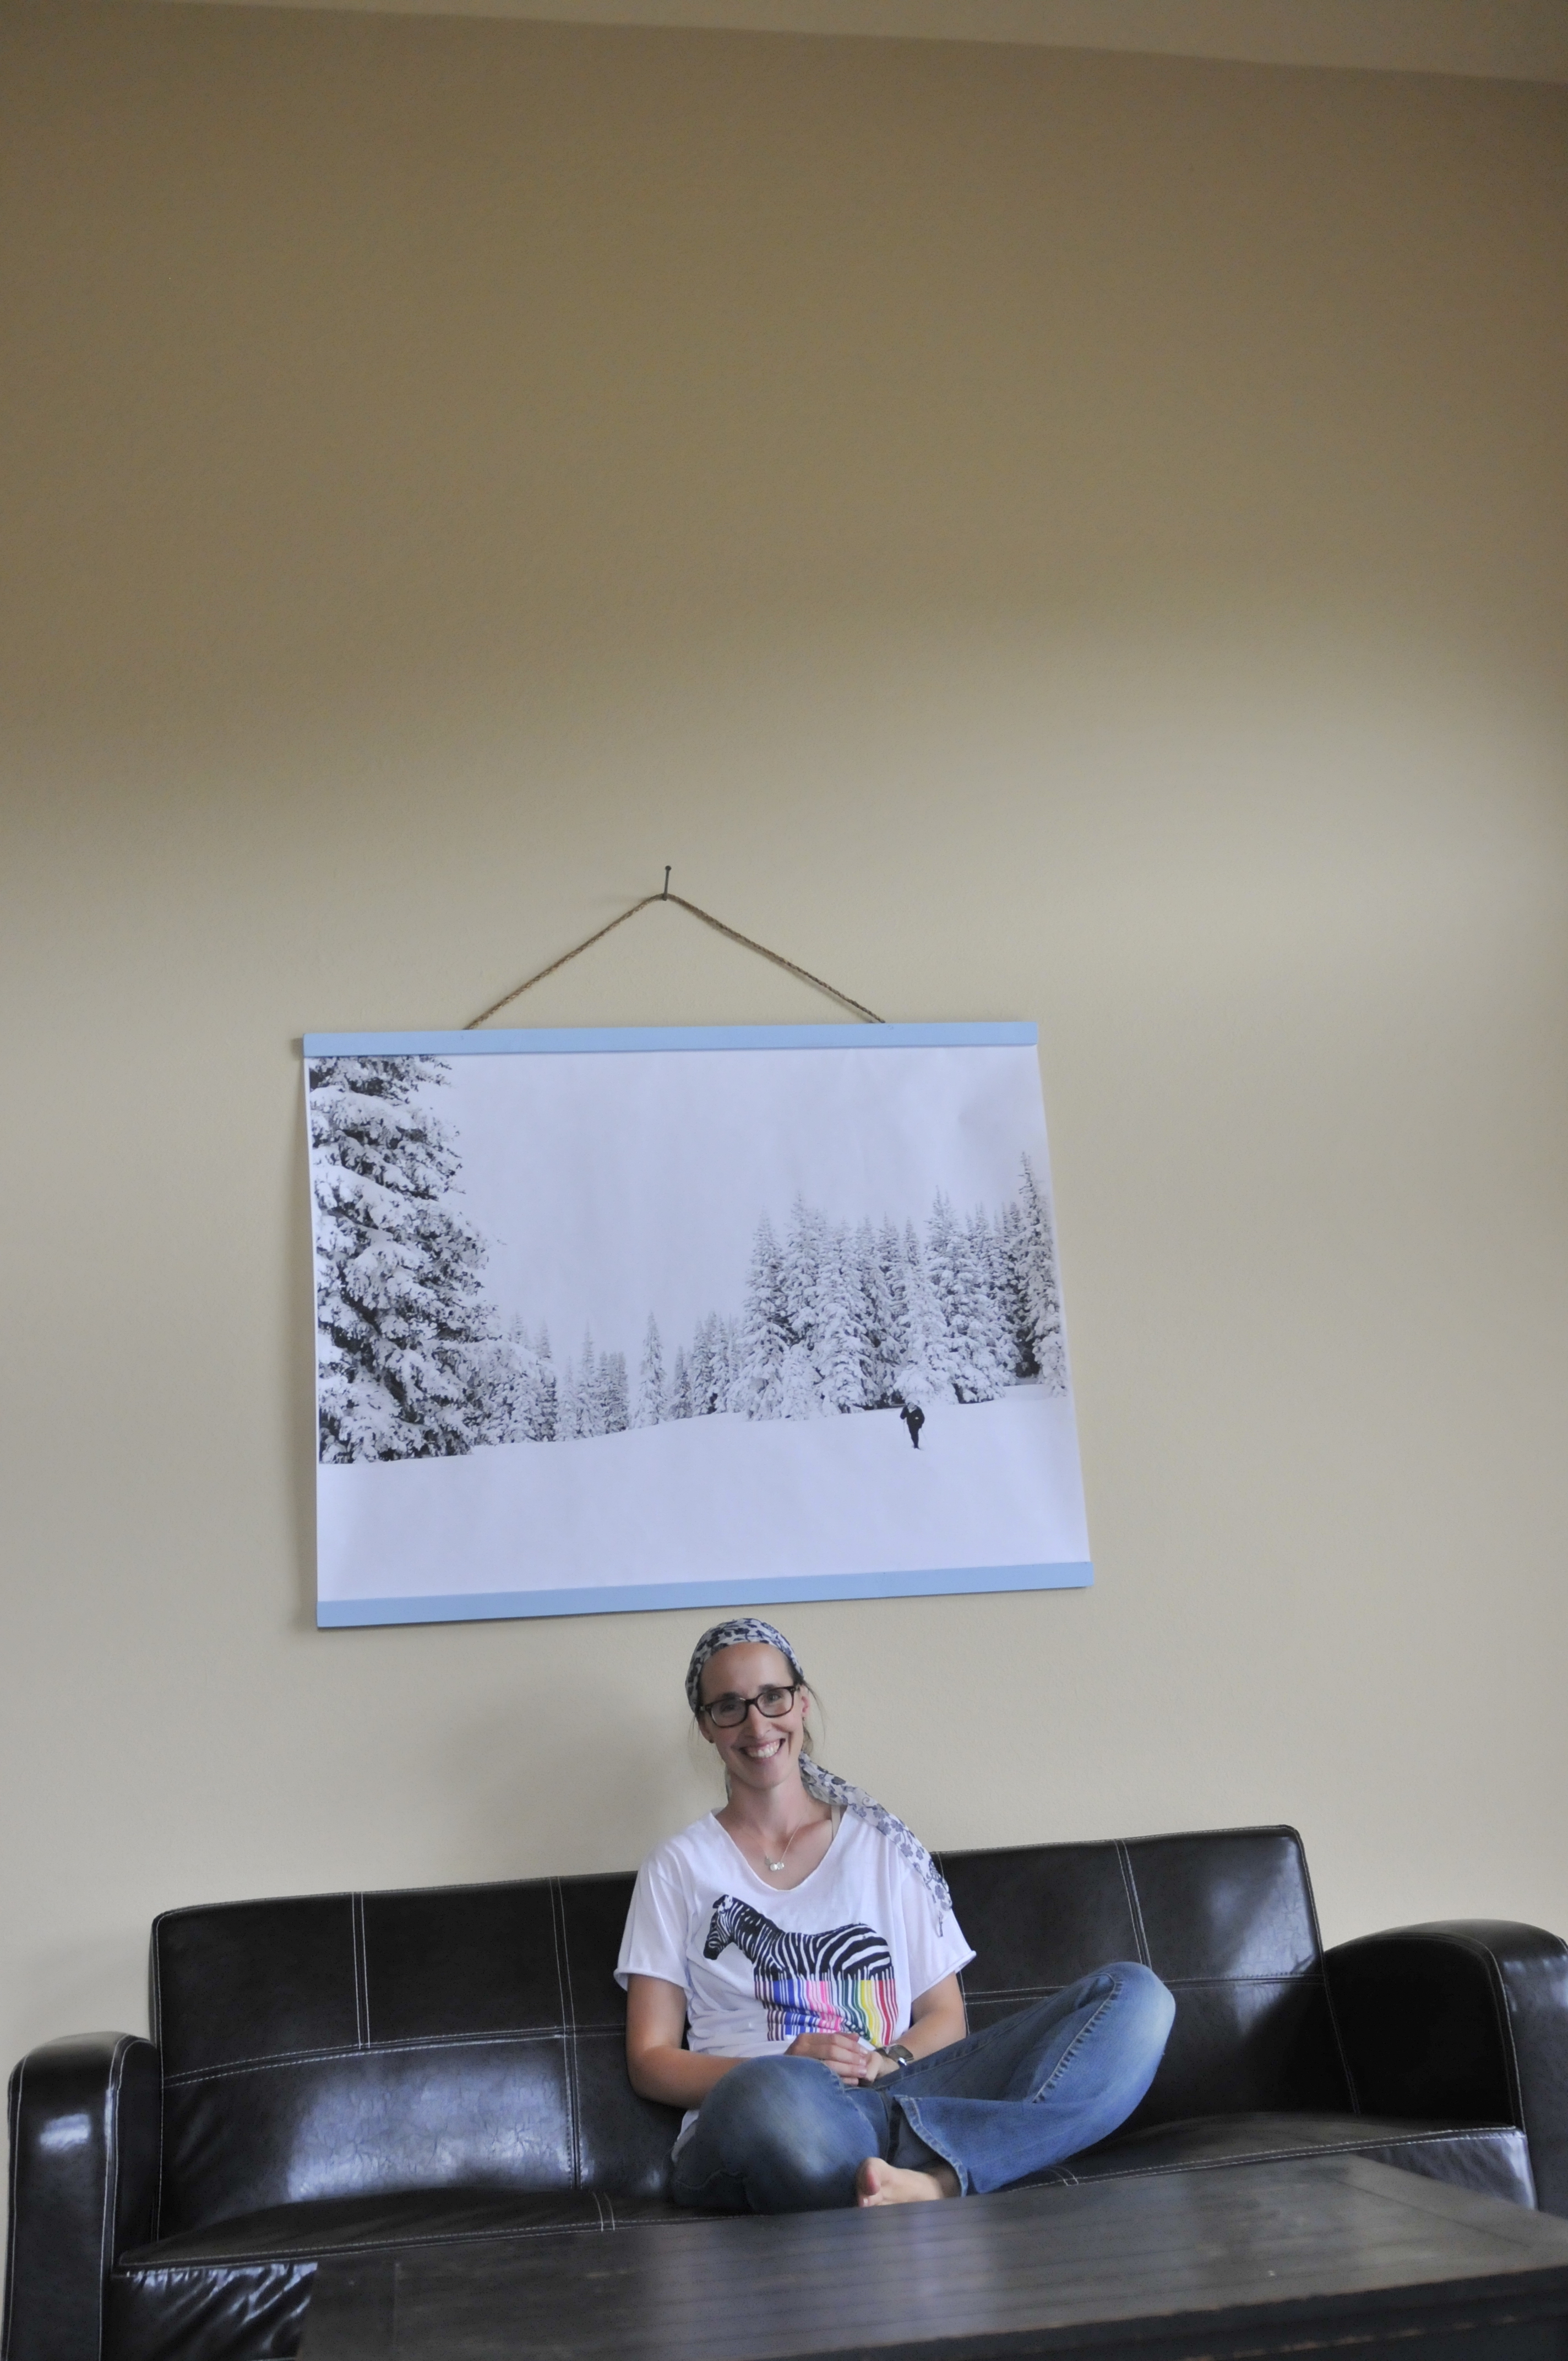
In addition to sharing our love of engineer prints, we also wanted to show you a simple way to add some structure to your print before hanging it. This will help to turn the image from something that looks like a poster into a more substantial piece of art.
In the past, we have used engineer prints as a parting gift for sports seniors, decorations at an anniversary party and banners for bake sales. For the sports seniors, we blew up photographs that ran in the local paper, for the anniversary party we scanned an old film photo and framed it and for the bake sale we designed a logo, blew it up, and used it as an enormous sign. Today we’re taking that same idea, but instead of gifts, decorations or signs, we’re making art for the home.
Picking the right photo is key to producing a large-scale print that looks good on your wall. Since these prints only come in black and white, it’s helpful to choose an image with a lot of contrast and definition. This is also something that you can tweak slightly by editing your original photo before you send it to the printers.
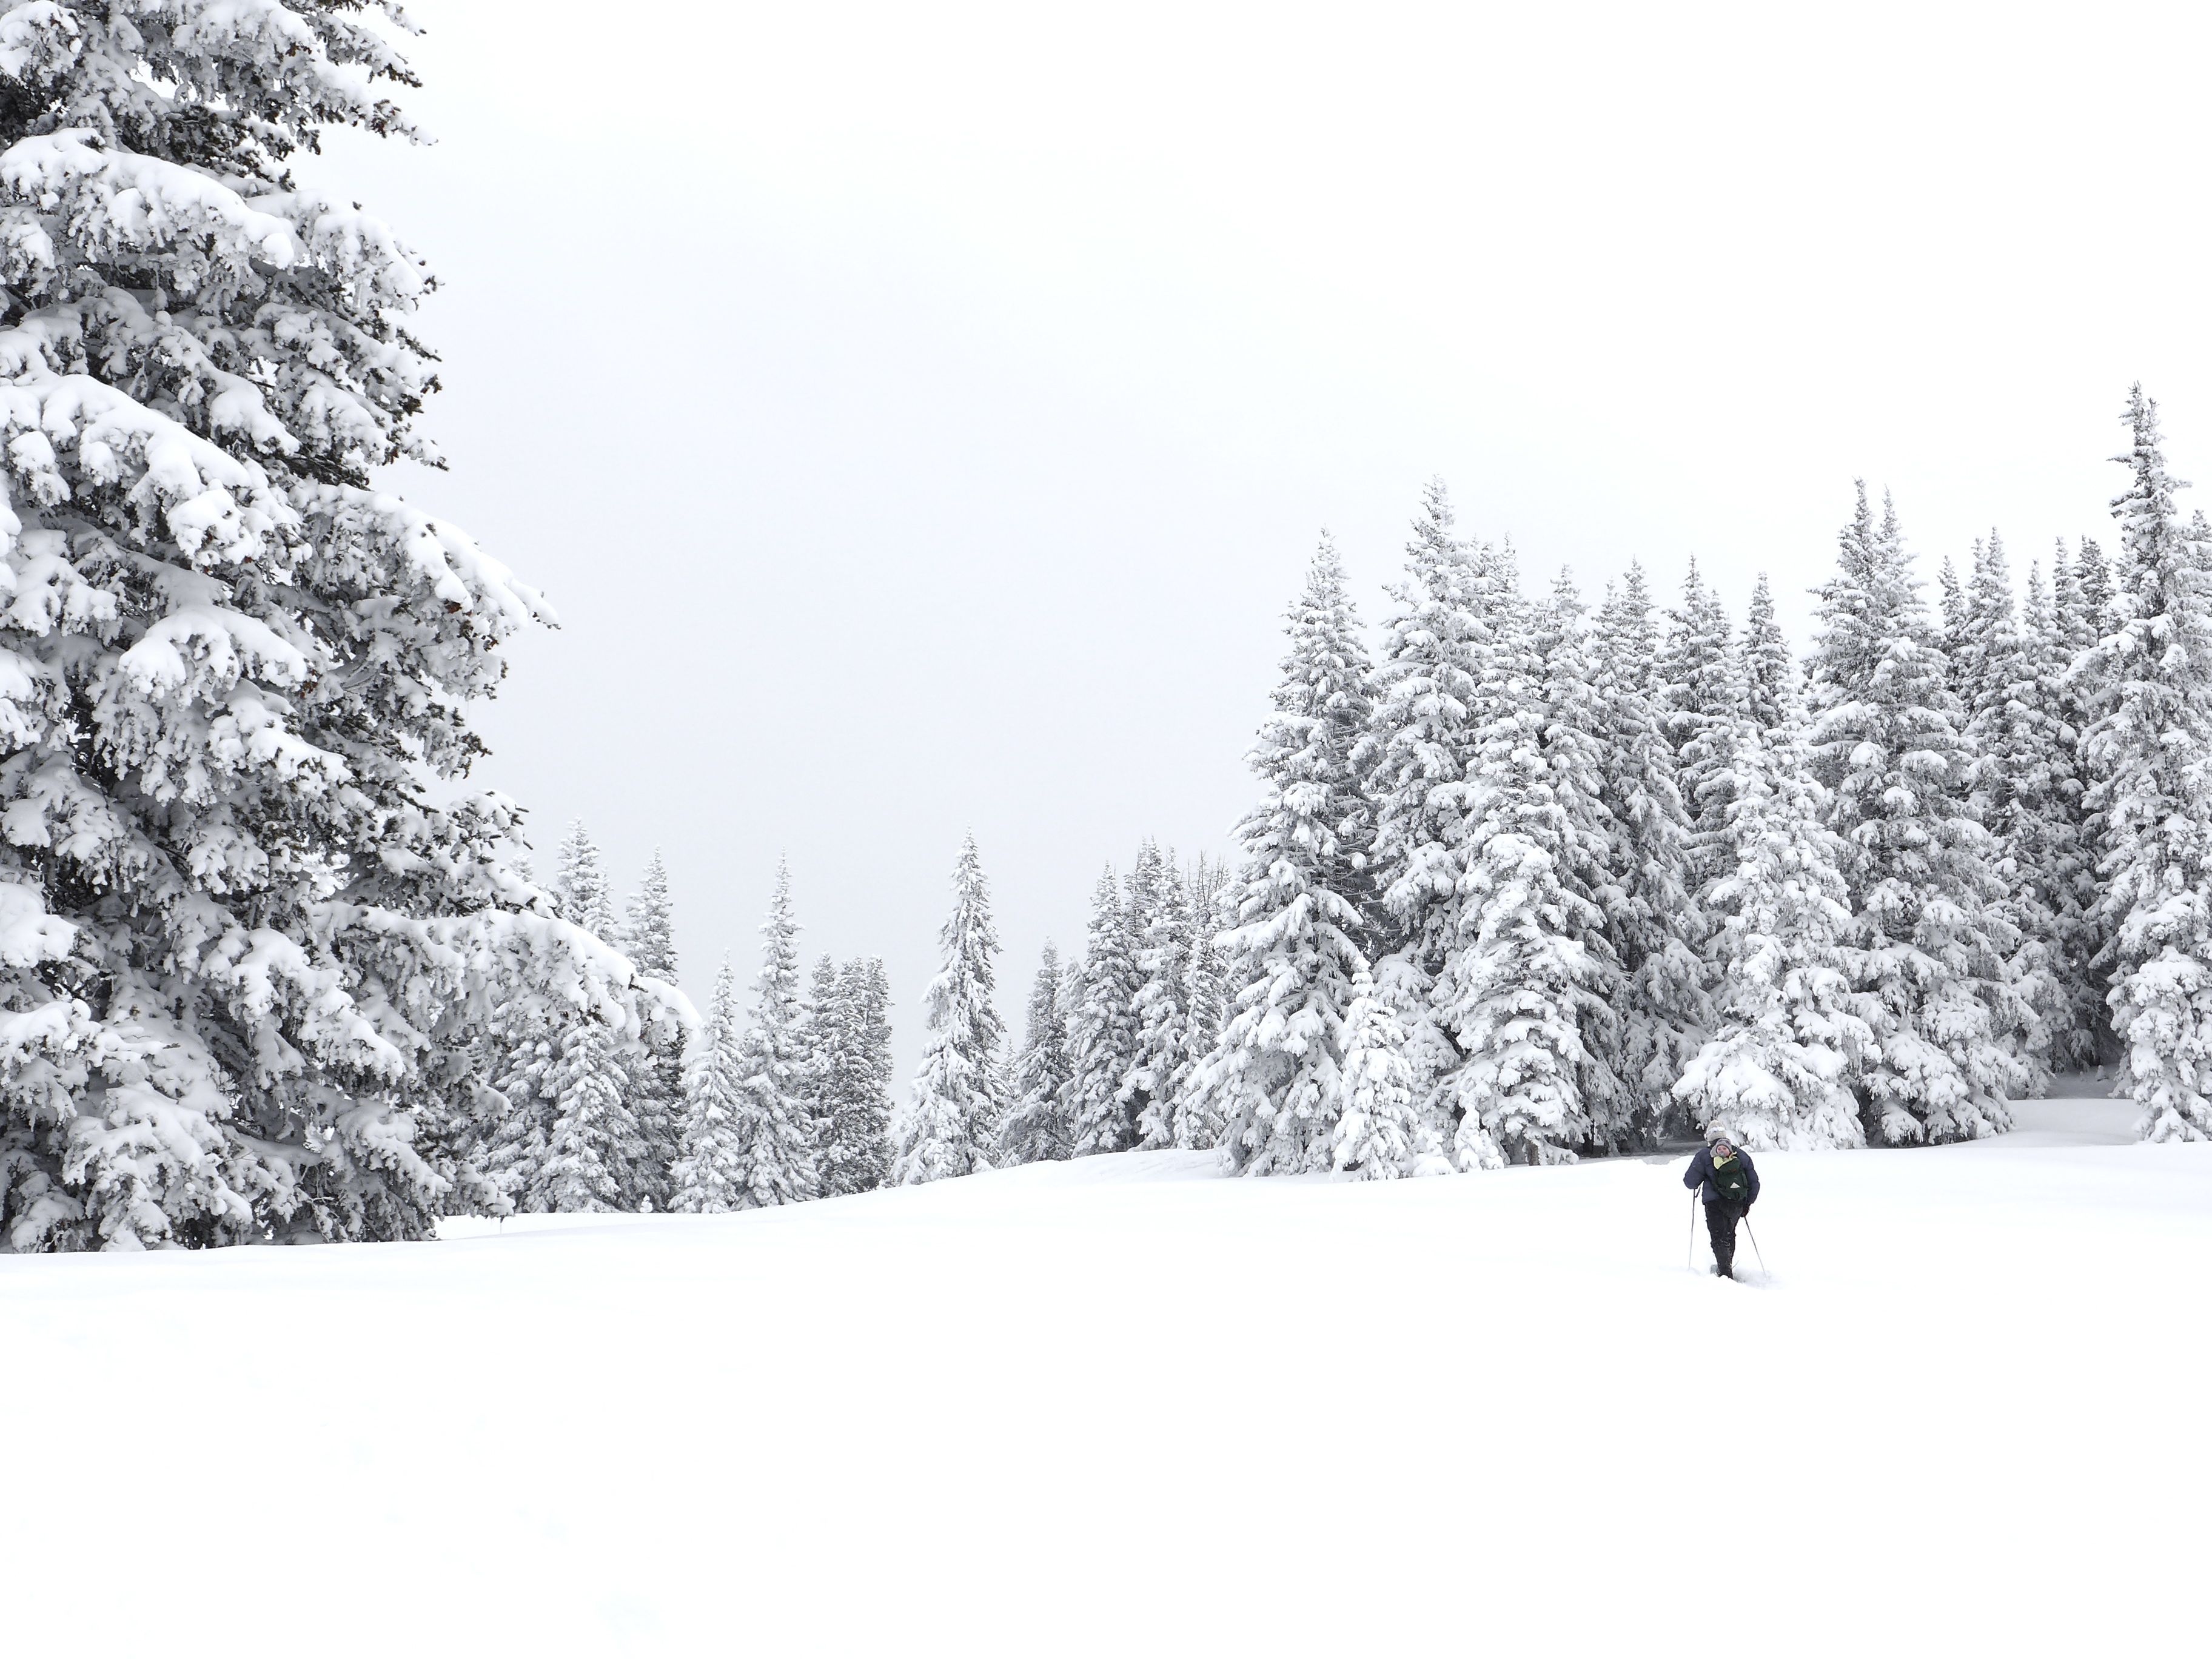
When you look at Katie’s original photo above, you can see that it already looks like its black and white. The photo was taken on an overcast day when the cloudy sky looked as white and flat as the snow on the ground, and it was easy to know exactly how the color photo would look printed in black and white. If you’re toying with the idea of printing a color photo, just try changing in to black and white in any editing software to get a sense of how it will look.
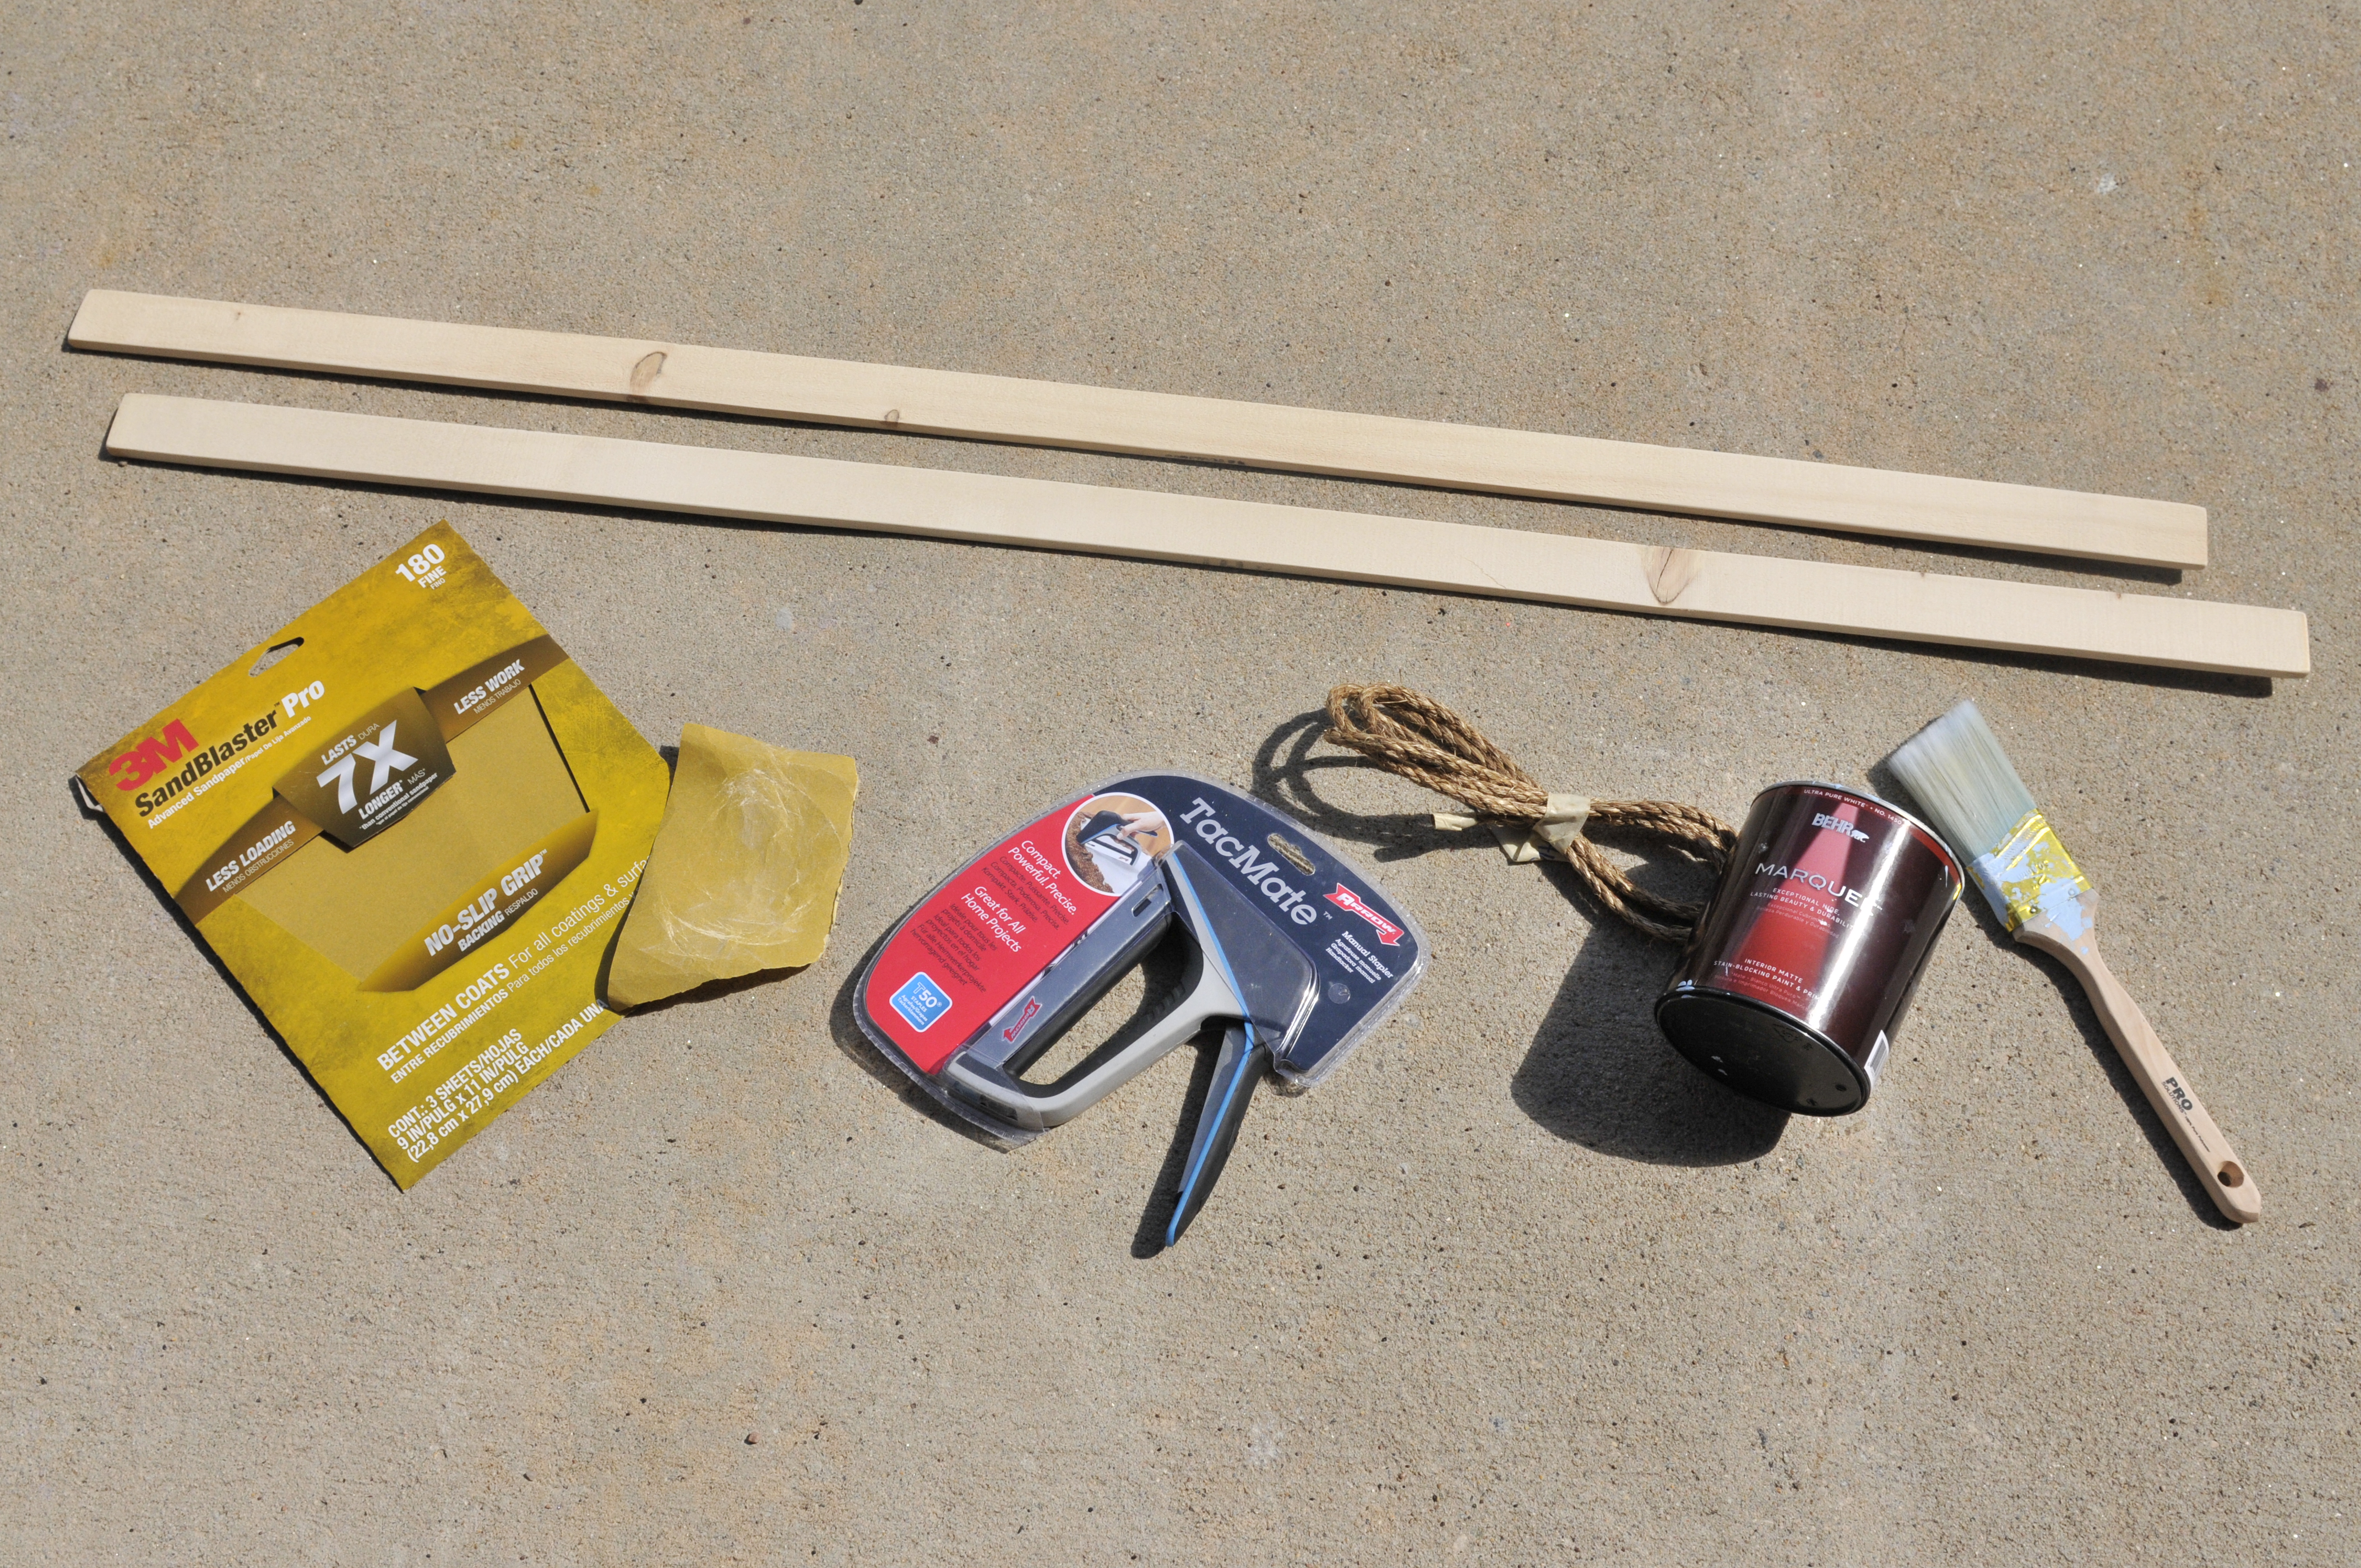
Tools and Materials:
- Staple gun
- Staples
- Rope or cord
- Wood
- Sandpaper
- Paint and brush
- Hammer and oversized nail


How To Print and Hang an Engineer Print:
- Save your photograph at the highest resolution possible in 300 DPI. Then upload your image to a printing website, Katie and I used Staples, but there are plenty of options out there.
- Choose your desired size (we went for the biggest!) and order a copy or two.
- While your image is being printed, sand and paint the wood slats. We used paint that was left over from a previous project. It’s from Benjamin Moore’s Regal Line, and we love it’s perfect coverage in one coat. You could use spray paint or anything you have lying around. You could even stain them if you wanted.
- Make sure your wooden slats are completely dry then lay your print face down on a smooth surface. We used a blanket on cement so we had a firm, smooth surface, while also protecting our image.
- Slide a piece of wood under the top edge, hold it even and begin stapling from one end to the other. Repeat on the bottom edge, making sure you hold your image taut so there are no wrinkles and folds created by the staples.
- It’s time to staple the rope or cord to the top of the frame. Determine how far from the edge of the frame you’d like the cord and secure it with staples. Then measure that same distance from the opposite side and staple the other end of the cord, that way everything is even.
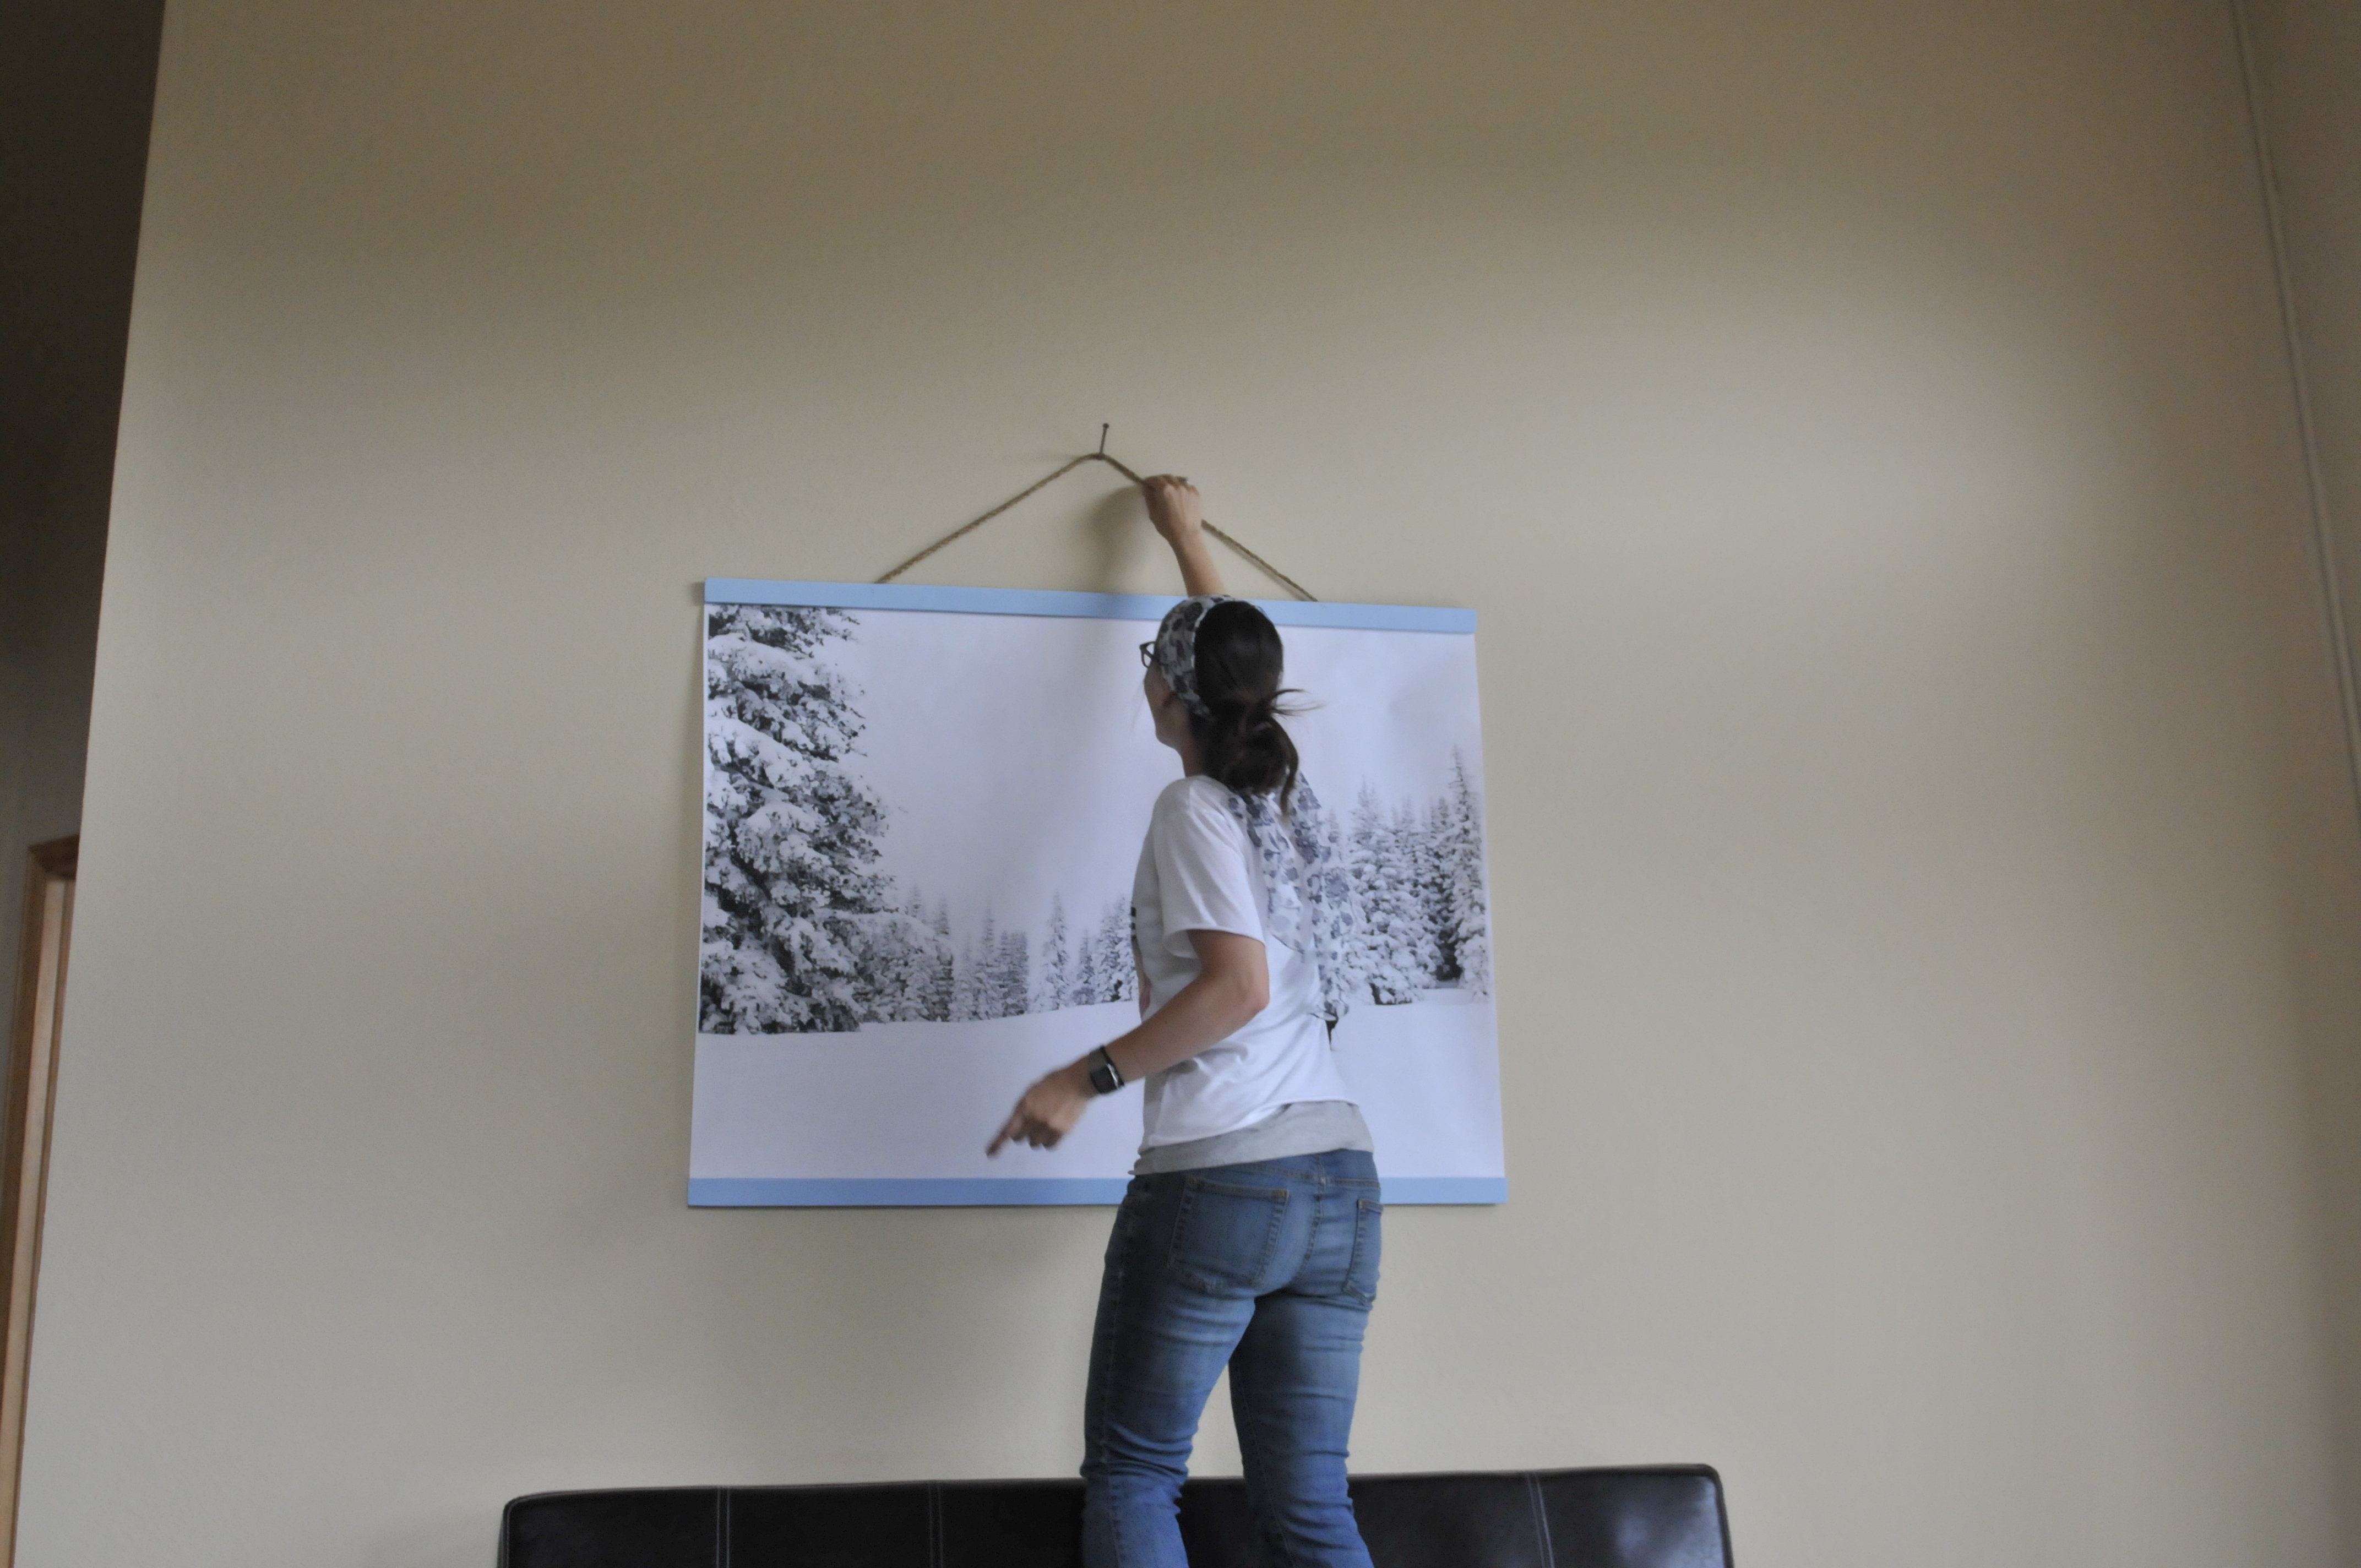
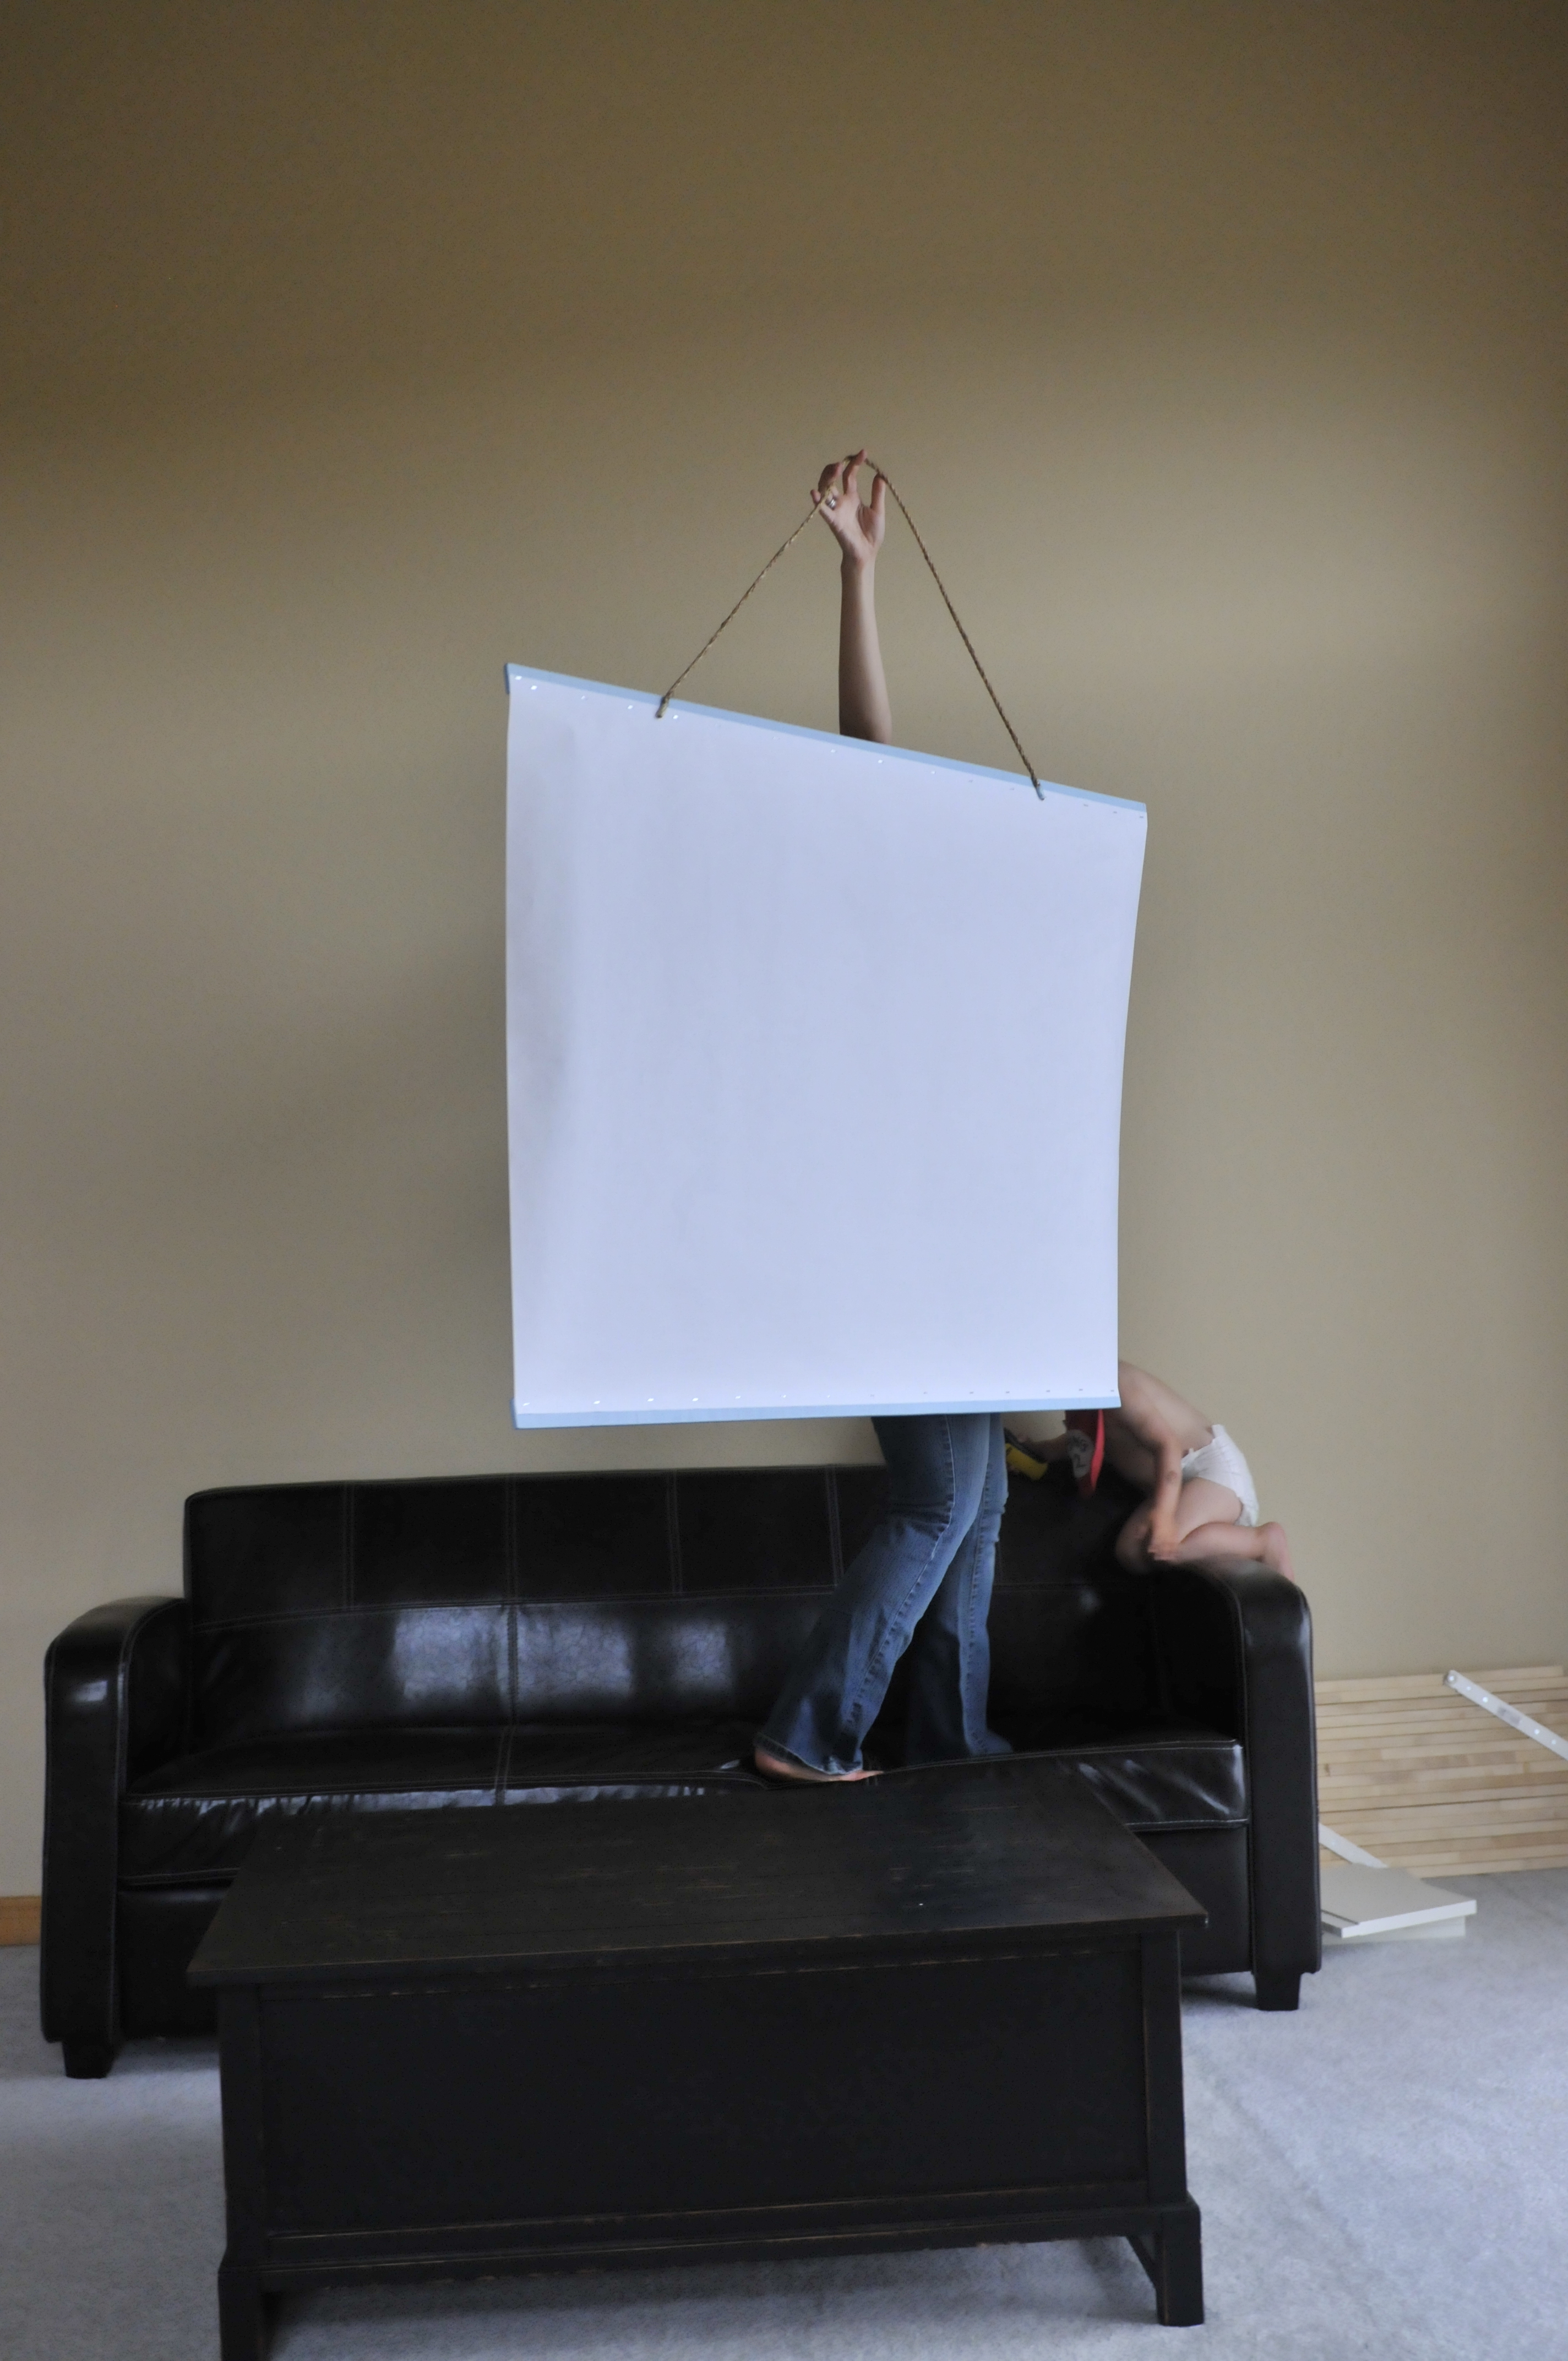
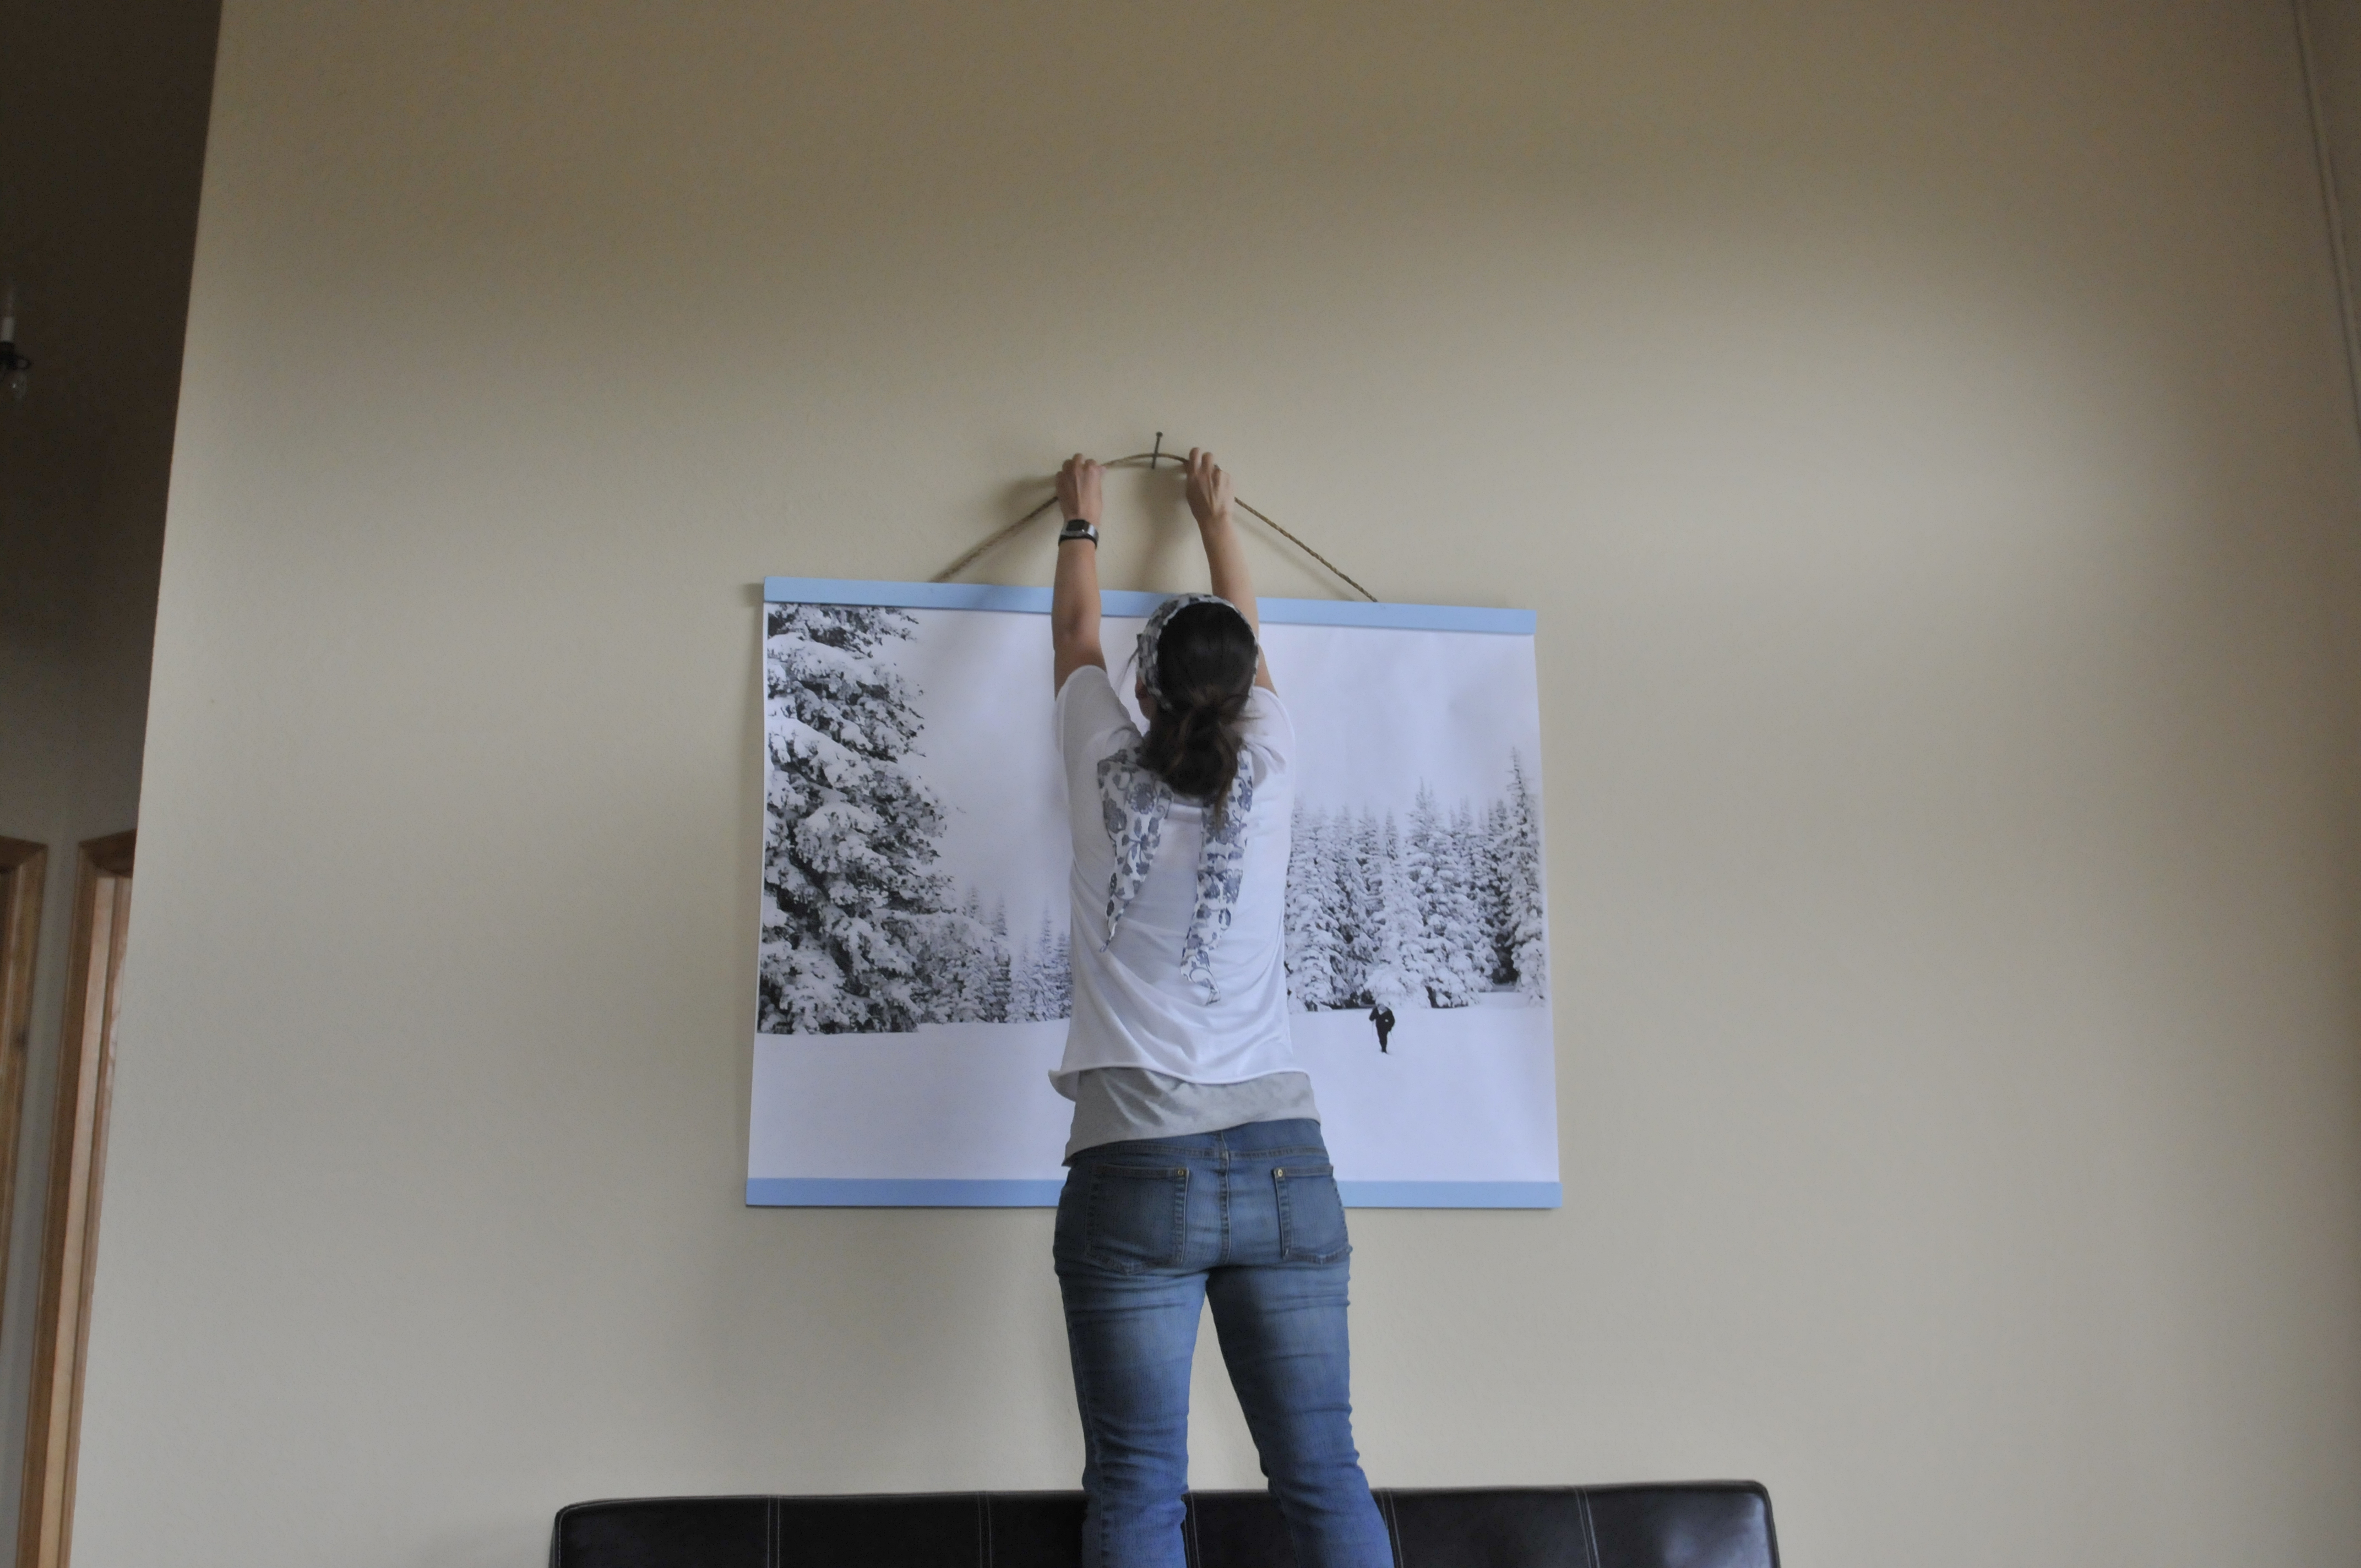
- Once your engineer print is securely stapled to the frame and the rope is attached, you’re all ready to hang your artwork on the wall. If you have a stud finder, pull that baby out and put it to use. Once you find a suitable stud, determine how high on the wall you want to hang your print. I think it’s always helpful to have another set of eyes for this, but if you’re alone, you could temporarily tape up a big piece of newspaper to give you an idea of how your print will look in the space you’ve chosen. It’s just one more easy step that will lead to satisfaction so don’t skimp on the prep work! Once you find a stud and a spot, pound in your nail, hang your print, sit back, sip some wine and enjoy your new wall art.


What do you think? Do you have a photo you’ve been wanting to print, but haven’t found the time or justified the expense to actually do it? Well we just totally took away those excuses so find some new ones or just do it! You’ll smile each time you walk by your new artwork.