Pistachio and Orange Torrone

Orange is our ingredient of the season. You can find our full archive of zesty orange posts here, with everything from cocktails and cakes to candies and cleansers.

If you’re looking for a fun alternative to chocolates for Valentine’s Day, pistachio and orange torrone may be it! But I have to admit, it took me over two months to build up the courage to try making this recipe. Calder came across it in an issue of Bon Appetit while researching recipes for Thanksgiving. The ingredients were purchased, and I promised to make it for the holiday (Thanksgiving, not Valentine’s Day). Then I didn’t, and I didn’t make it for Christmas or New Year’s, but here we are and I’m finally making the sweet for my sweet!pistachio and orange torrone

Torrone is a nougat-type treat made from honey, sugar, egg whites, and nuts, commonly almonds. The nougat comes in two varieties, either hard and brittle or soft and chewy. This recipe is for the soft and chewy variety. Torrone is a traditional Spanish treat served at Christmas, and is popular in many countries that were previously under Spanish rule, including Italy, Latin America, and the Philippines. The combination of citrus flavor and pistachios in this pistachio and orange torrone recipe are characteristics of an Italian torrone.

Continue reading

Valentine Archives

Hey there sweethearts! With Valentine’s Day right around the corner, we wanted to share/re-share some super simple projects for dressing up your space and celebrating the ones you love. And don’t forget to put on your favorite lovey-dovey playlist as you craft.

liveseasoned_w2015_valentinesgarland3

Instead of packing away the felt hearts I made as Christmas ornaments, I strung them on a piece of rustic twine to create a mini garland that greets guests right inside our door.

liveseasoned_w2015_valentinesgarland3

If you’re throwing a party, Sarah’s tassel and lace garland makes the perfect decoration and photo backdrop!

Continue reading

Easy Citrus Sweets

Oranges are our ingredient of the season. You can find our complete archive of orange posts here. Around the holidays we love to use them for crafts, drinks, and treats!

Christmas is so close! Today we’re popping in with a couple of orange treats : candied rinds and orange-flavored marshmallows. Both recipes are so easy to make, take relatively little time (so you’ll still have time to make them when you’re up late waiting for Santa), and they make a unique addition to any dessert table and hot cocoa mug!

liveseasoned_w2015_orangetreats12_wm-1024x696 copy 
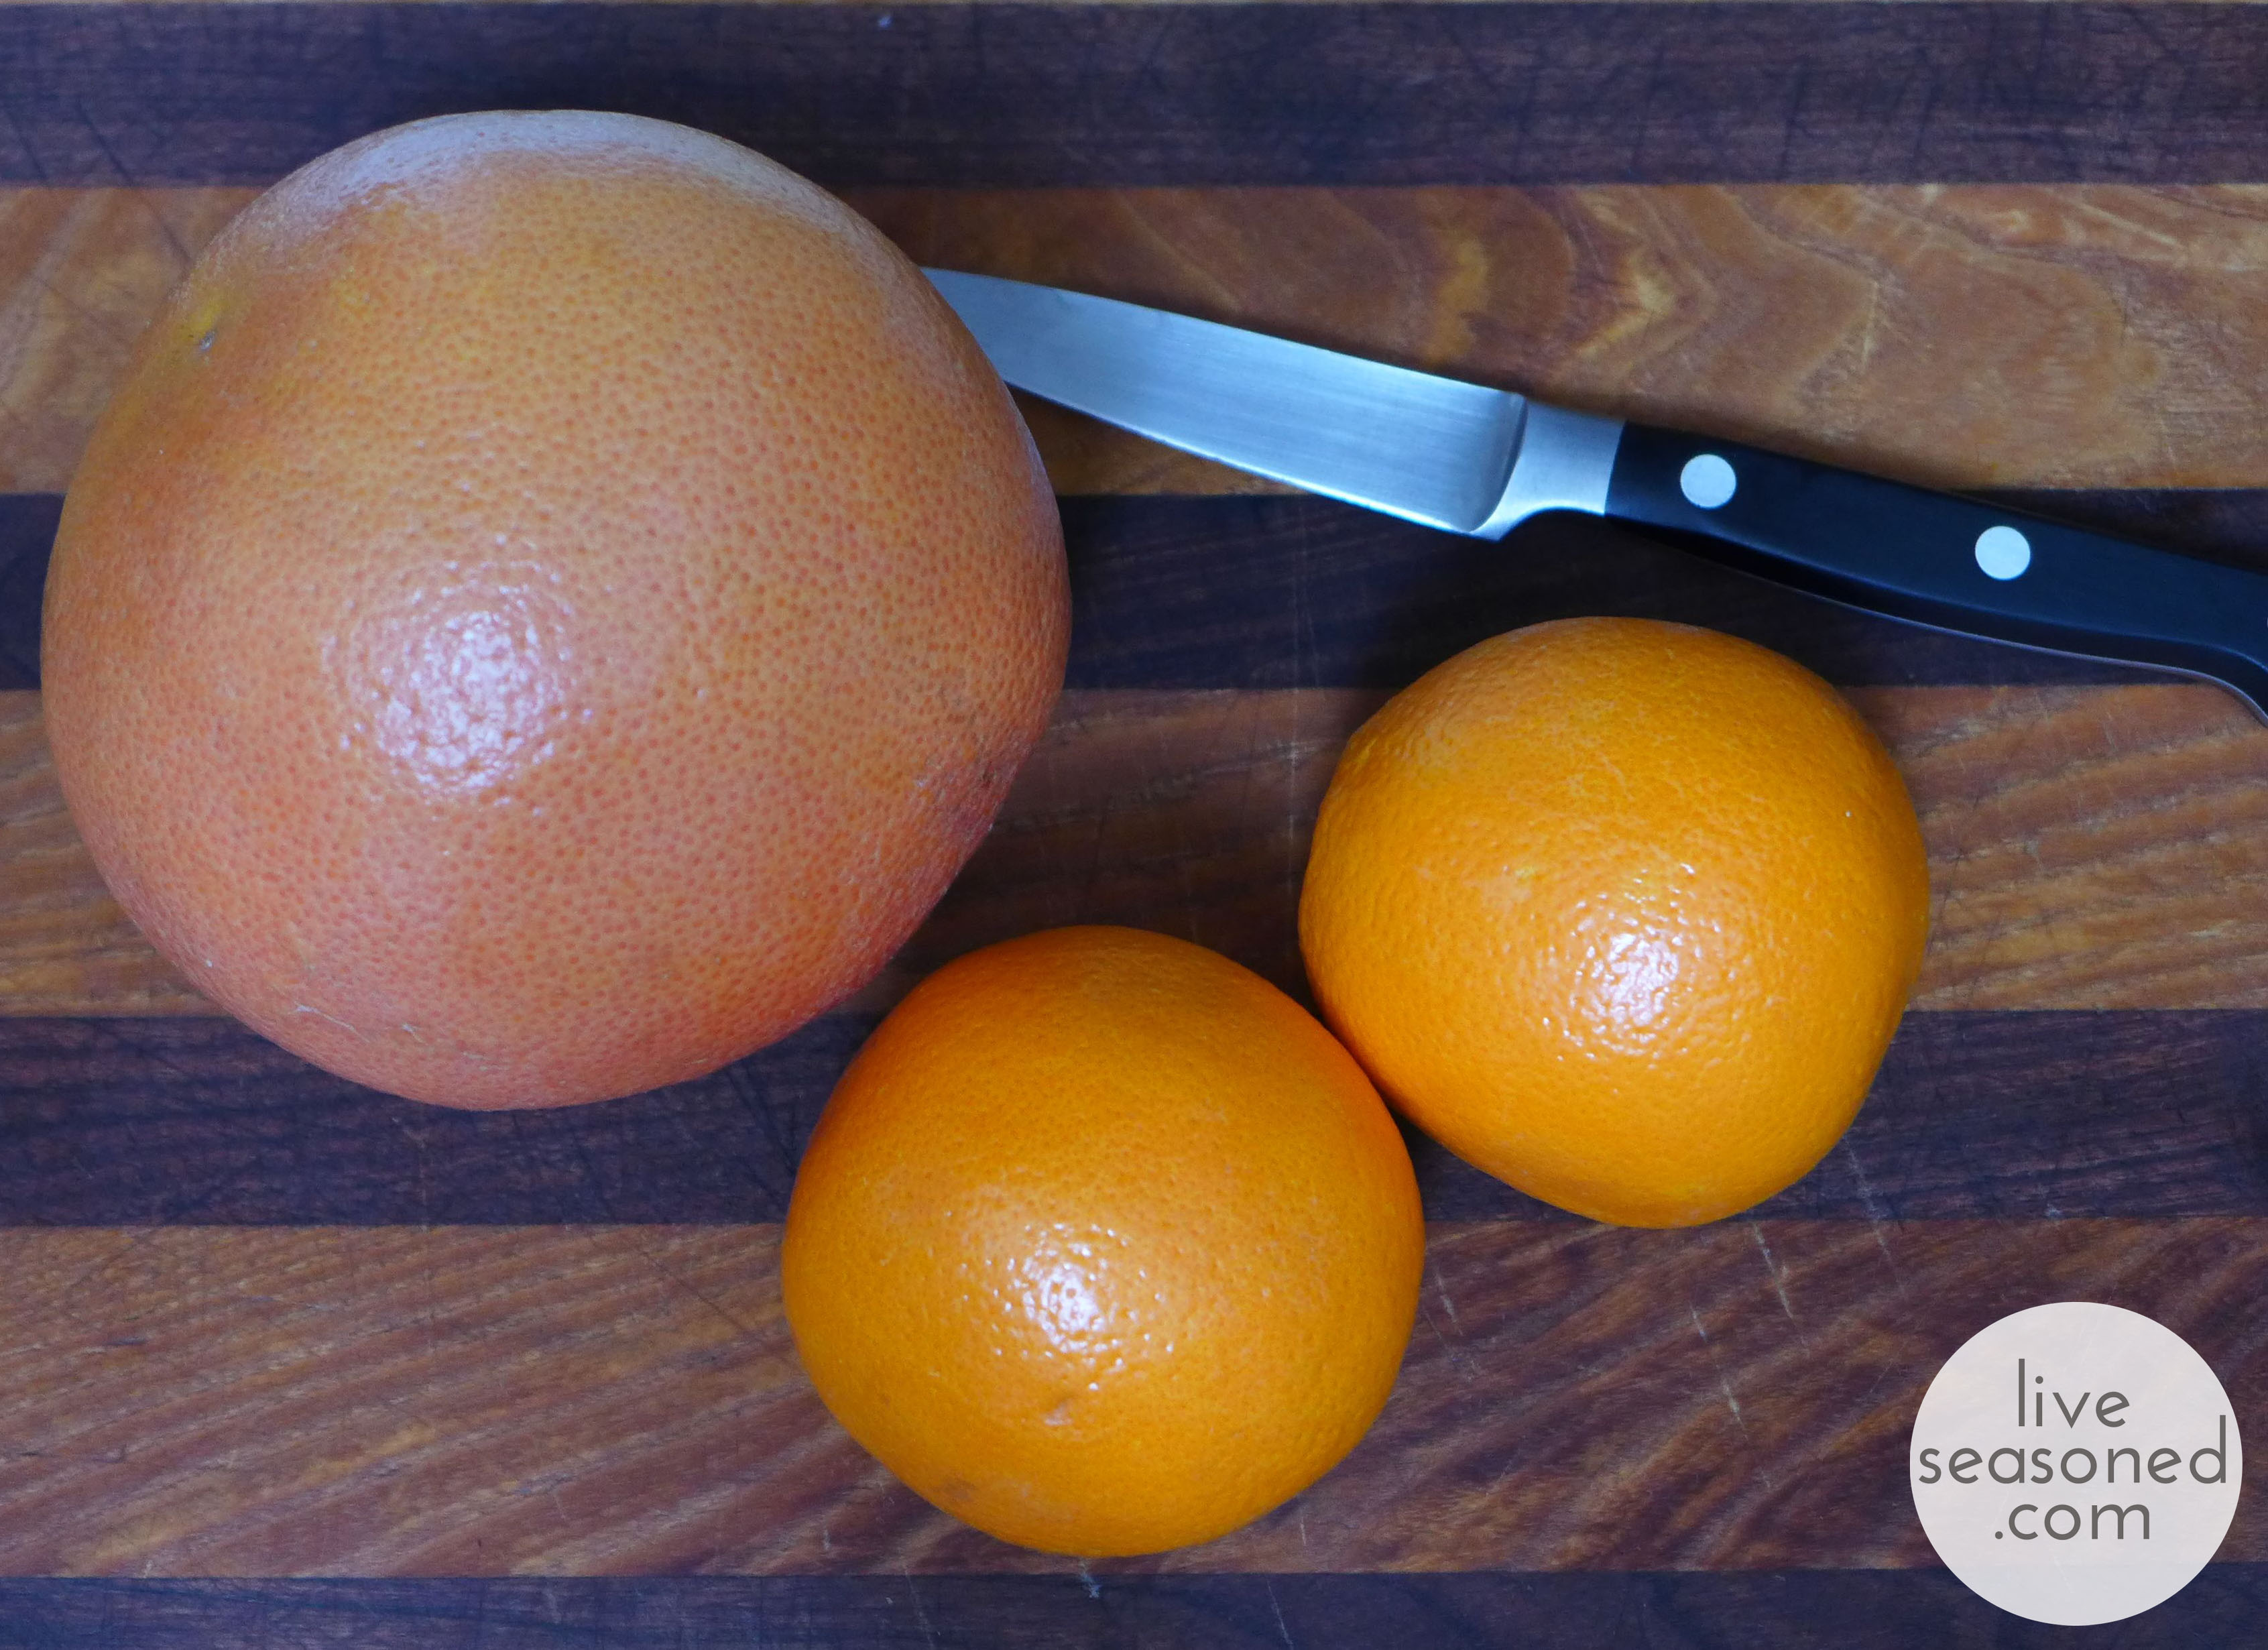
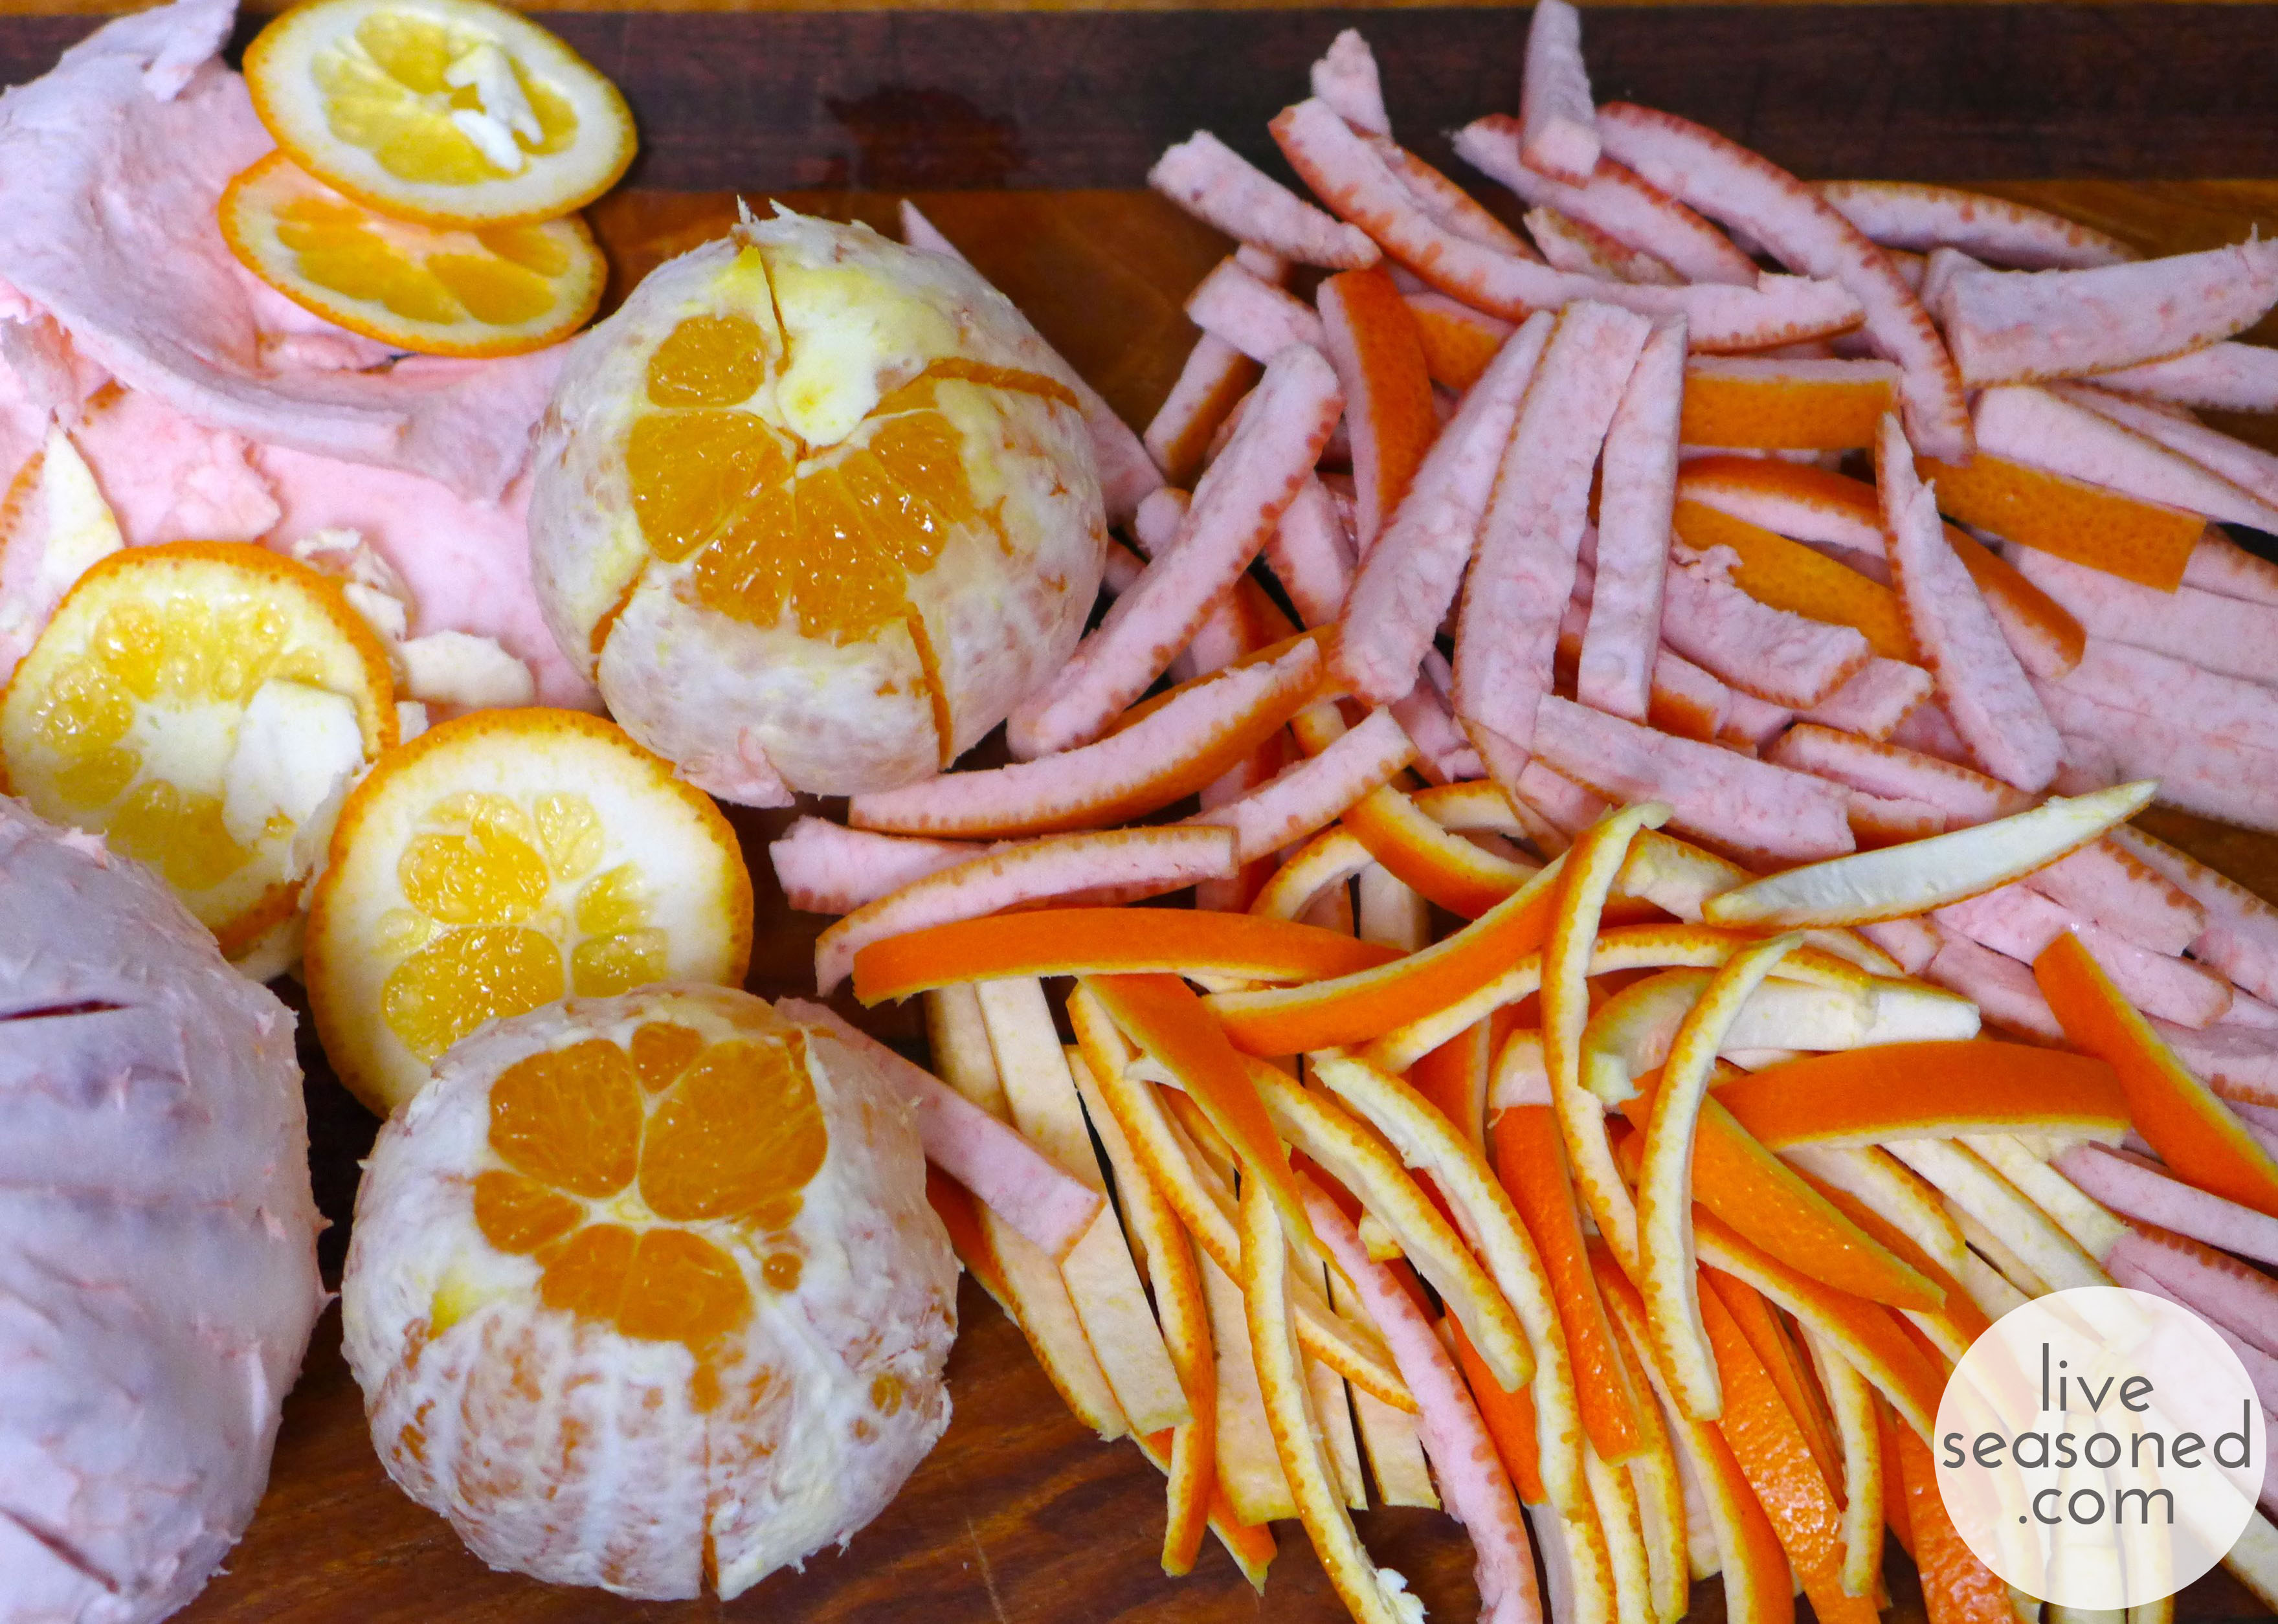
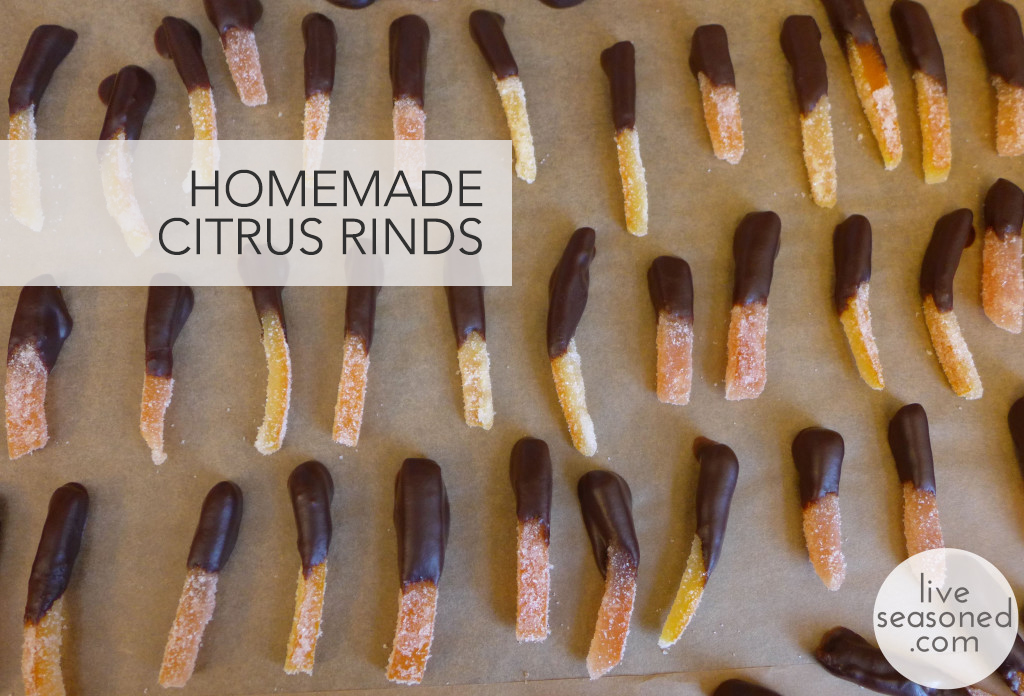
First up, the candied rinds. I like to use a combination of orange and grapefruit for this recipe. It’s nice having the two flavors, but I also really like the variation in color that using more than one variety of citrus provides. Candying the rinds requires boiling them in a sweet syrup before rolling them in sugar, and while both steps are meant to create a sweet, candy, the finished rinds can still have a some bitter undertones that may make your lips pucker. This is one of those flavors that keeps some people coming back for more while others (Calder) pass after their first sample.

liveseasoned_w2015_orangetreats1_wm

I use a technique that I learned years ago from Martha Stewart, and it’s consistently worked well over the years. But I’ve noticed that she offers a number of different methods for candying citrus rinds on her website, and they vary widely in both the ingredient ratios and the cooking times, so if your variation differs from my, by all means, stick with what you know.

Ingredients

  • 2 oranges & 1 grapefruit
  • 4 cups sugar, plus more for coating
  • 4 cups water, plus more for boiling
  • chocolate, optional

liveseasoned_w2015_orangetreats2_wm

 How-to

  • Prepare the rinds. Cut the ends off the fruit and make 5 to 6 slices through the rind, but not the fruit, from top to bottom. Gently remove the rind pieces with your fingers. You can leave most of the pith attached to the rind, but use your pairing knife to cut off any excess or particularly mangled sections. I use this opportunity to make the pith side of my rind smooth, and if I have a grapefruit with a particularly thick rind, I may slice of a little bit extra. Cut the rinds into 1/4 inch slices. If the grapefruit rinds are particularly long, I will cut them in half.
  • Place the rinds in a saucepan and cover with water. Bring to a boil, then drain. Repeat this process one more time.
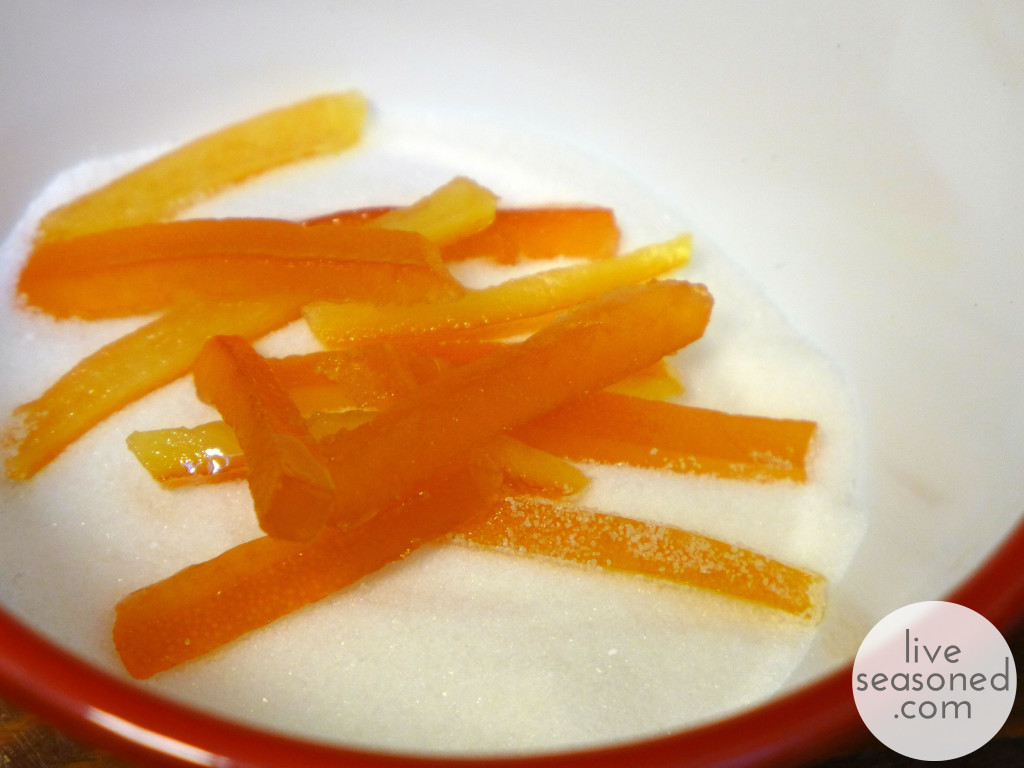
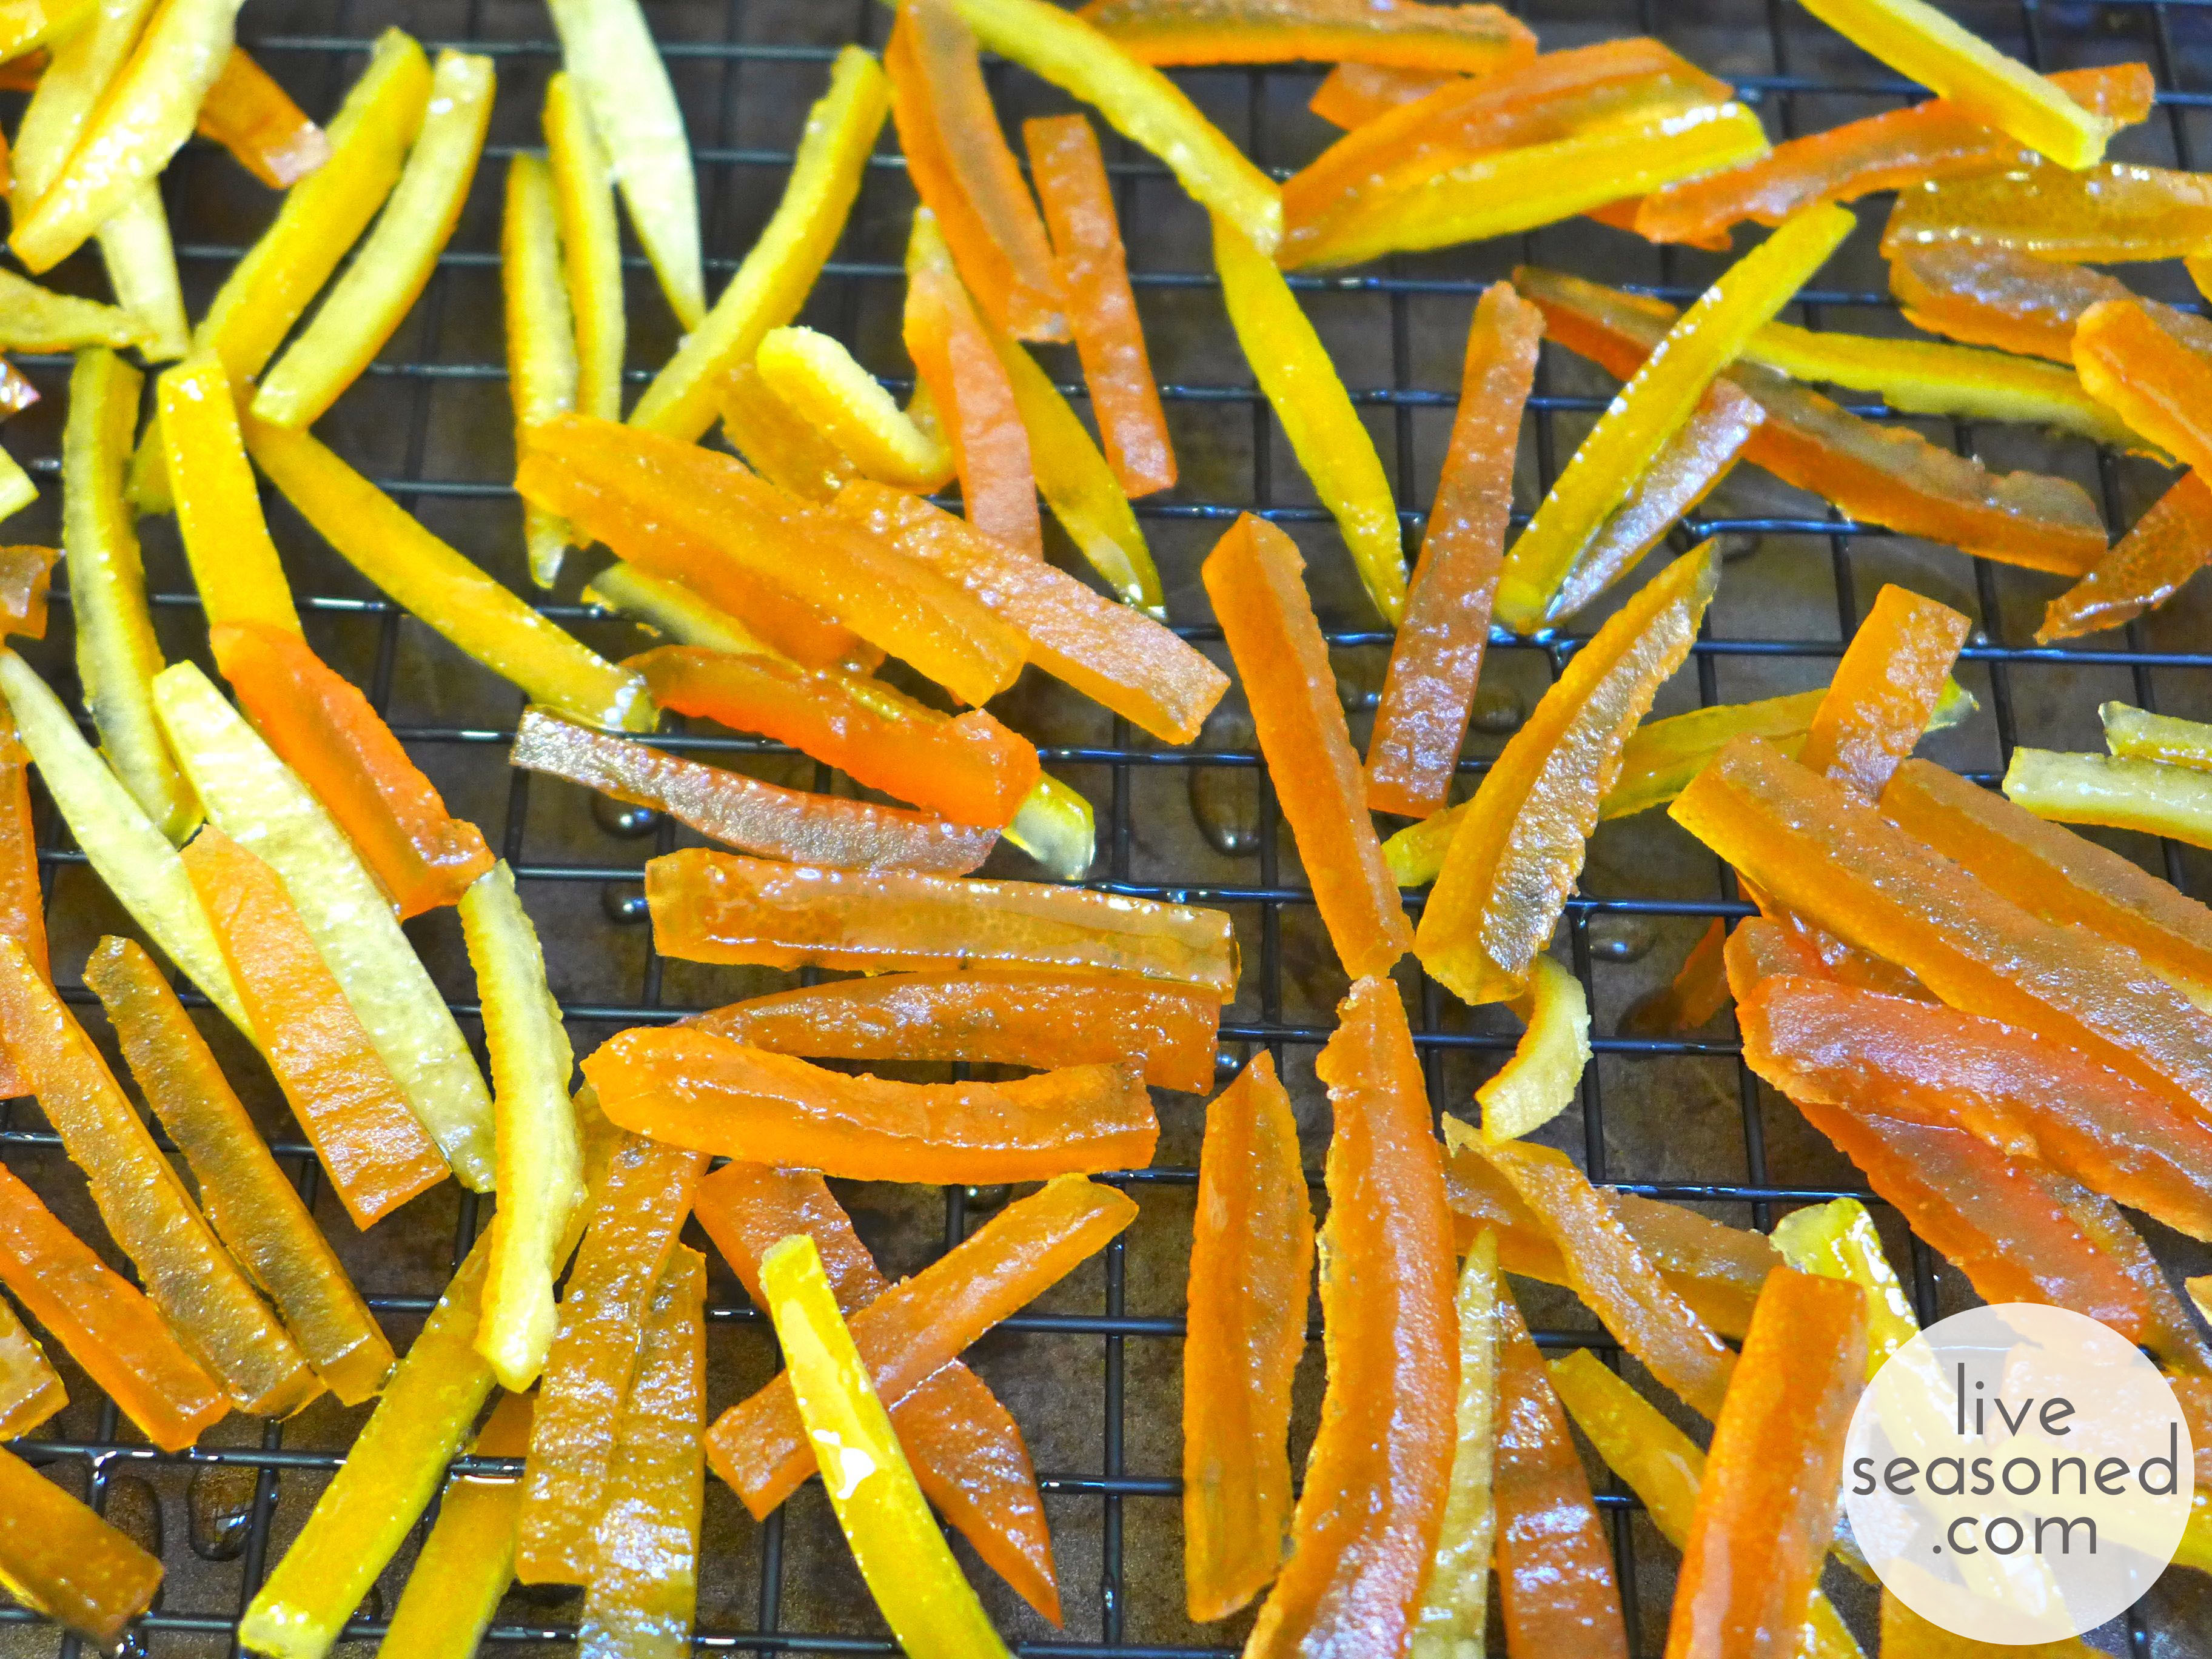
  • Place the sugar and water in a saucepan and bring to a boil, stirring until the sugar dissolves. Add the rinds and reduce pot to a simmer. Continue simmering for about an hour. At this point the strips should look translucent. Remove the rinds with a slotted spoon and let them cool on a baking rack.
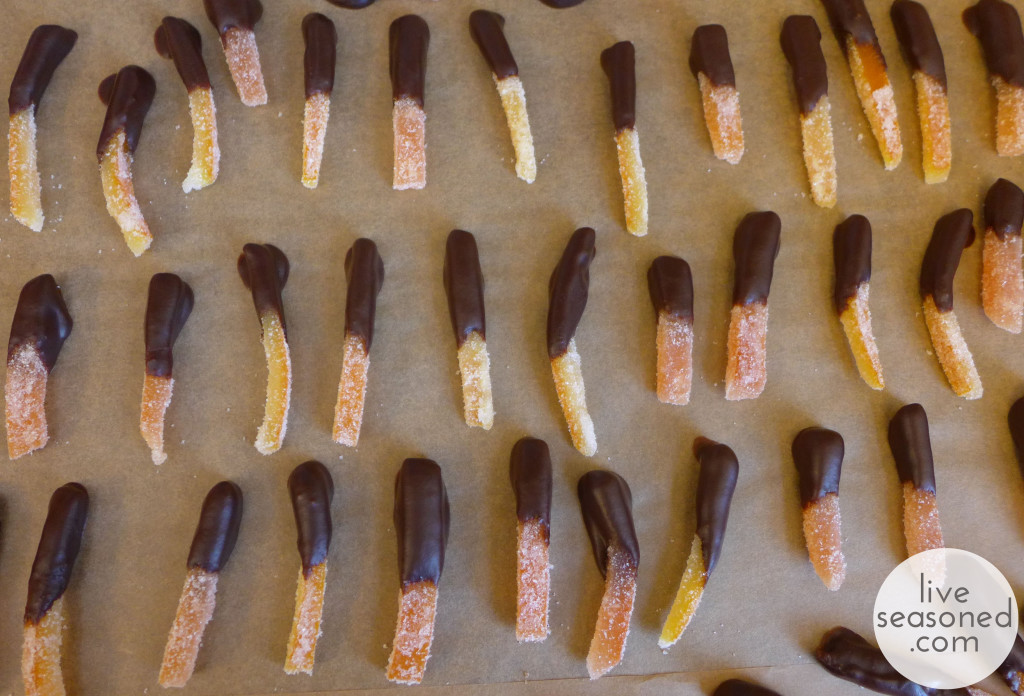
  • Once cool, roll the strips in  sugar. You can also dip them in melted chocolate for an extra special treat.

liveseasoned_w2015_orangetreats7_wm

liveseasoned_w2015_orangetreats8_wm

I think these make a great addition to any cookie or chocolate tray, but they would also be a fantastic garnish on a slice of chocolate cake or (minus the chocolate) in your Christmas-morning mimosas!

liveseasoned_w2015_orangetreats12_wm

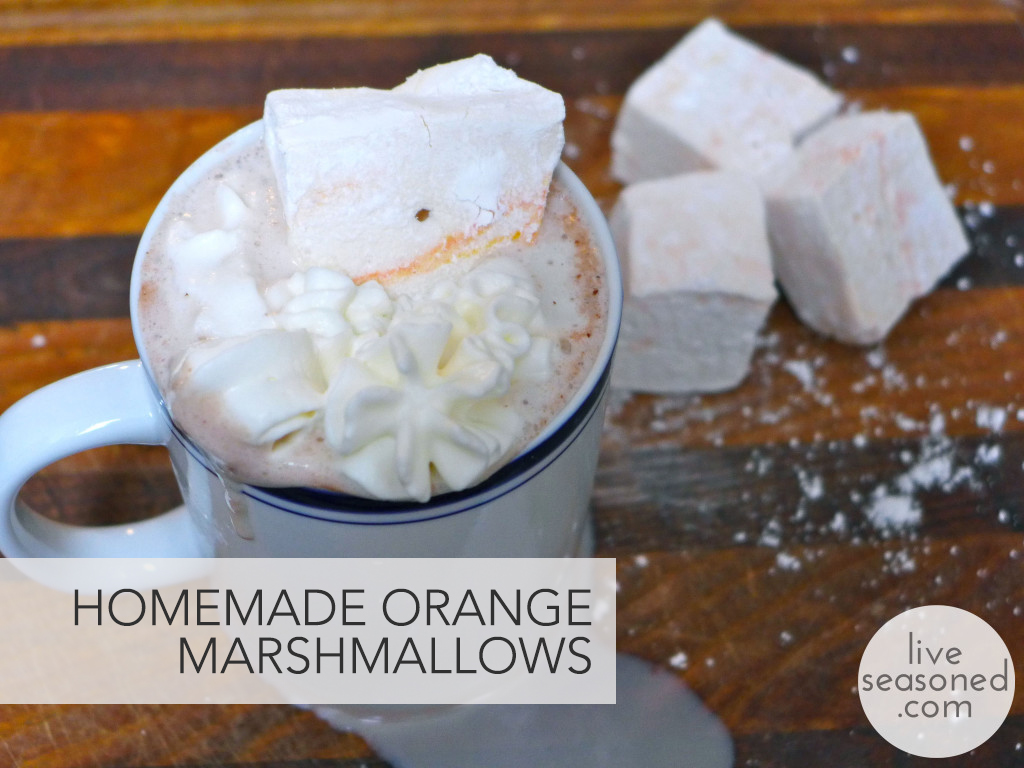
Next up, orange-flavored marshmallows! I’m in love with these. The first time I made marshmallows was last February, and making them a second time just confirmed how easy it is to produce these light and fluffy sweets! I used the exact same corn syrup-free recipe, with the exception of using orange extract in place of the vanilla and orange dye in place of the red. Otherwise, I followed the tips and steps to a T, so rather than retype everything, I’ll just redirect you to that post and below I’ll share the fluffy orange-y goodness in photos.

liveseasoned_w2015_orangetreats17_wm

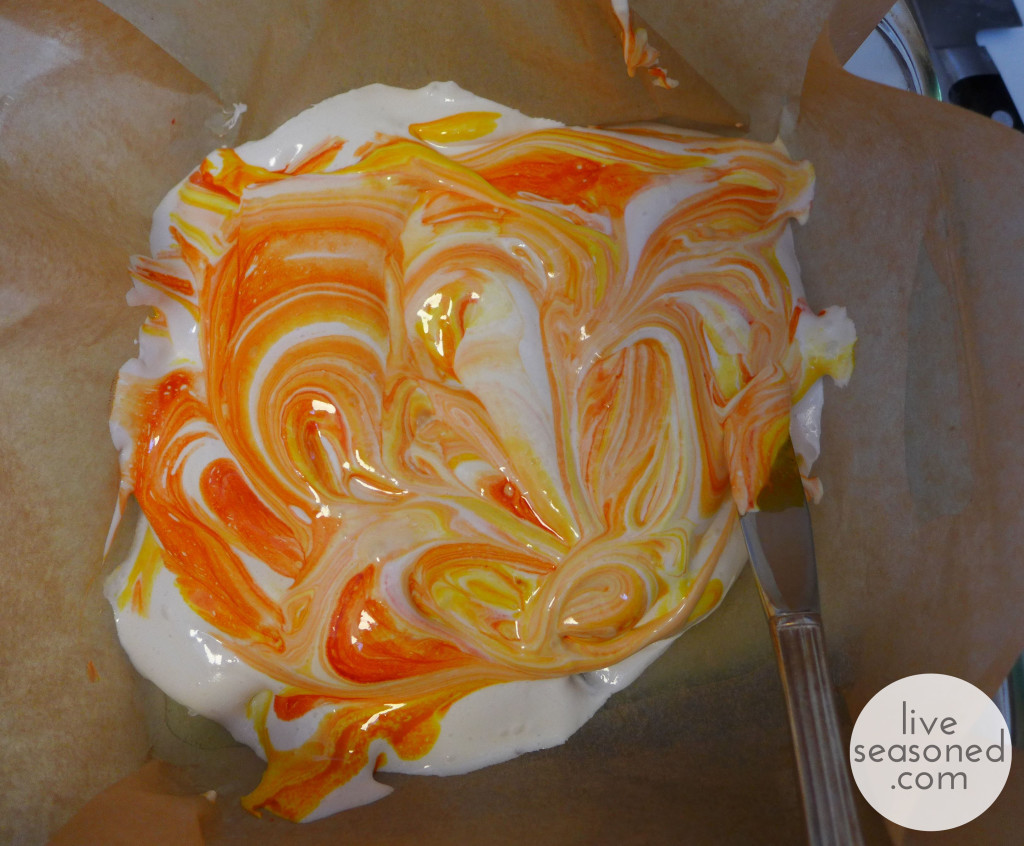
The real magic happens in this recipe when you start to beat the hot liquid with an electric mixer. Before your eyes the tan liquid turns white and expands as air is incorporated.

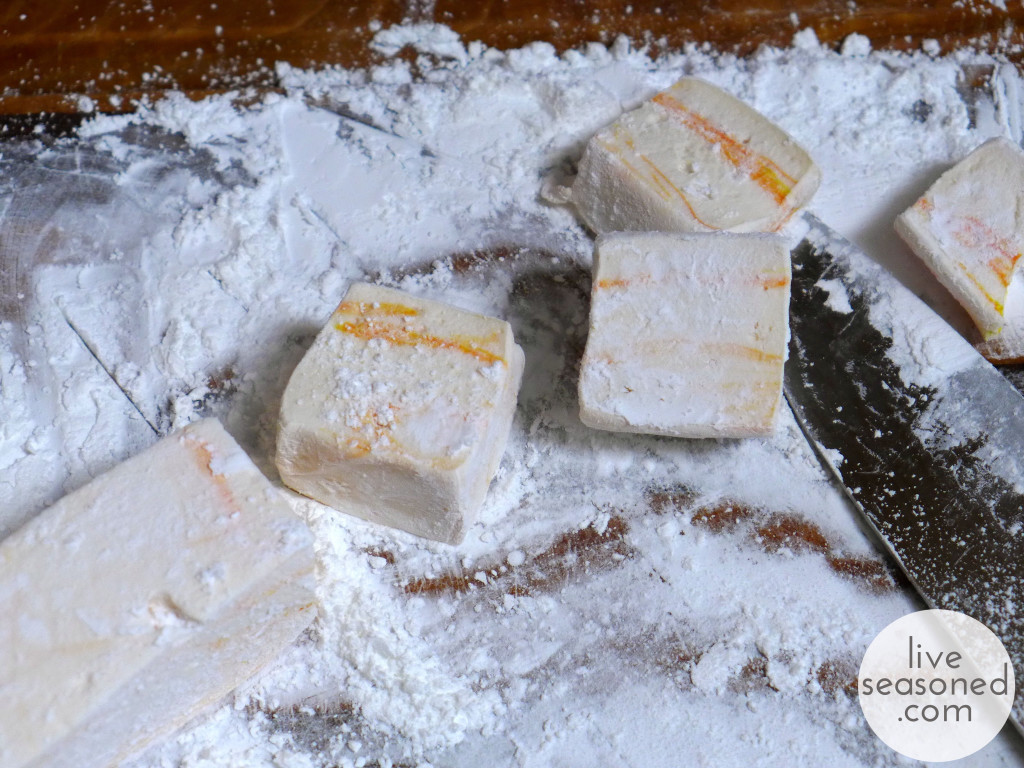
Once you’re done whipping the marshmallows, it’s just a matter of deciding what to do with them, and you have a few options. Are you going to add a color? I like playing with marbling. With my last batch, I mentioned that I was too reserved with the marbling, so I tried to go bigger this time. I poured half of the marshmallows into a square baking dish, then added red and yellow dye that I blended together as I marbled it through that layer. I then poured the rest of the marshmallow into the pan and again, mixed it slightly to move the dye up into the second layer. As you can see from the first marshmallow photo, I ended up with some pretty good orange streaks. You can also go with a solid color, or you can try stripes!

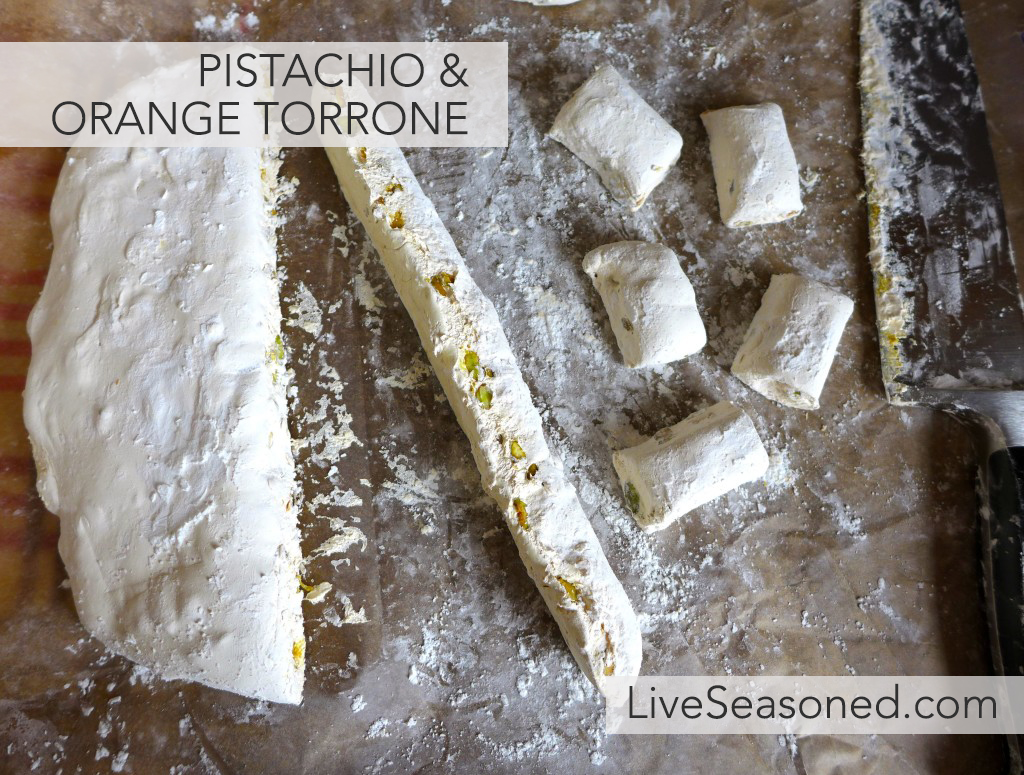
In addition to color, you can think about size and shape. I go for the big, fluffy squares, but since it’s the holiday, you may want to use cookie cutters to make shapes. If so, then pour your marshmallows into a larger dish to create a thinner layer that’s easy to cut out.

liveseasoned_w2015_orangetreats14_wm

Ok, now once your marshmallows have cooled, you just have the hard job of deciding how to eat and gift them. Start by dipping some in a big mug of hot cocoa, or let them a while and melt right into your mug. I did that today, and it creates this really tasty orange marshmallow layer on top of the cocoa, with each sip you get a bit of the melted, gooey orange flavor and it’s amazing. If you’re not going to keep them all to yourself, you could package up a few marshmallows and pair them with a good cocoa as a stocking stuffer. Just make sure to use an airtight bag for packaging, because you don’t want them to dry out before they’re enjoyed. 

liveseasoned_w2015_orangetreats19_wm-1024x768 copy

There you have it ~ two ways to add a note of citrus to your holiday! Now we’re off to finish wrapping presents {and we’ll be doing it with that mug of cocoa above, obvs.}…. oh, I may be experimenting with one more way to add some citrus to my homemade chocolates. We’ll be back with the full report if it works!

Felt Ornaments

Hey! I looked at our calendar and realized that we have entered a week of Christmas crafting making on the blog! This isn’t necessarily gift crafting, just more little projects to decorate the tree, your walls, to send off in the mail (technically, I guess that’s giving), and maybe we’ll even have something to eat or drink by the time the week’s complete.

liveseasoned_w2015_feltornament1_wm

Today I’m talking about the felt ornaments and wreath that were pictured in this post. Both of these ideas came from my Christmas board on Pinterest, but unfortunately the links associated with the pins won’t take you to the original source for attribution. You’ll see that I’ve pinned many different felt ornaments, and I’m thinking that over the next few years I may make quite a few as we become a house with two little boys! Felt ornaments are just so kid-friendly, with a big loop, they are easy for little hands to hang and pull off the tree, and there’s so little investment in terms of both time (the the case of the ones I’ve made) and money, that I don’t mind if little A throws them around a bit while playing. Plus, they look really cute.

liveseasoned_w2015_feltornament9_wm

liveseasoned_w2015_feltornament3_wm

For today’s ornaments, I was first inspired by this photo. In addition to the stars, I added a few hearts with white stitching to our collection, inspired by these red felt ornaments. I personalized the stars by using a red blanket stitch around the edges, and I drastically simplified my hearts from the inspiration photo, eliminating the stuffing and choosing simple stitches that would follow the hearts’ edges.

liveseasoned_w2015_feltornament7 copy

Supplies & Tools

  • Felt
  • embroidery floss
  • thin jute
  • sewing needle
  • scissors
  • shape template

liveseasoned_w2015_feltornament8_wm

Instructions

  • Find or draw your template. For my templates, I did a Google image search for  “heart clipart” and “star clipart”. I was able to find images that included hearts and stars of different sizes, so I printed them out and cut out the size that I liked for each.
  • Trace your template on the felt and cut out two of the same shape. As you can see from my template, I traced around it with a marker. Having those marker images on your felt isn’t a problem, because you can have the marked sides face inwards.
  • Sew your pieces together. Use three stands of embroidery floss for the embroidery. Holding the two felt pieces together (marked sides in), use your favorite stitch to hand sew the pieces together. I used blanket stitch for all of the stars, but was more creative with the hears, using blanket stitch,  back stitch, and a simple combination of long and short running stitches to create the third.
  • Add your loop for hanging. I used skinny jute for the hanging loops. You can find this in craft stores, and it’s usually sold in a smaller quantity than the bigger balls of fat jute (you can see the packaging in my supplies photo). The jute will not pull through your felt as easily as the embroidery floss. I found that it was easiest to thread the jute through the eye of my needle, pierce the felt with my needle, and then move the needle in circles to create a larger hole (but one that is still snug) for the jute to fit through.

liveseasoned_w2015_feltornament12_wm-1024x768 copy

liveseasoned_w2015_feltornament10_wm

While we were so excited to put the tree up, after the lights were hung it looked so pretty that we’ve been really lazy about adding more decorations. But a few nights ago we were looking for one more activity for little A before bath time, so I pulled out these ornaments and a few others for him to add to the tree. The pictures aren’t great, but I think you can tell that he was excited to get in on the tree action (clapping after each ornament was hung), and now it’s become a daily activity to remove and rehang a few.

In addition to making their way onto the tree, I used one of the stars in our new wreath. Again, I’m borrowing and modifying this idea from something brilliant I saw online. 
liveseasoned_w2015_feltornament13_wm

Supplies

  • grapevine wreath
  • white bottle brush trees
  • moss roll (you can see the packaging below)
  • hot glue gun & glue

How cute is that wreath? It came together easily with a few supplies from the craft store. The project is relatively self-explanatory : wrap the moss around your wreath, slipping it under a few of the larger vines if possible (this just takes a bit of wiggling). Glue the trees where you would like them. Tie a star ornament from the top of your wreath. Bam!

liveseasoned_w2015_wreath3_wm

Once I hung this and the green garland above the door, I realized that we have a lot of brown and green going on out on the front porch. Maybe this year it would have been nice to go with something brighter? But I’m loving the peaceful look every time we walk in the door.

liveseasoned_w2015_wreath1_wm So, that’s my little felt project for the season. It’s been a long time since I’ve done anything with felt (or even had a little supply of it in my craft room), and I’m excited work with it more in the future. I really enjoyed making these ornaments because they were so easy and mindless to put together, creating a polished result. What does that mean for you? If you want to slow this weekend, but still feel a little bit productive, this is a great meditative project

liveseasoned_w2015_feltornament2_wm

Yarn Tassel Garland

I’m loving these sweet and simple yarn tassels.  Knowing that I needed a cute backdrop, I decided to hop on the yarn train to garland town.  Once I got started, I quickly decided that one can never have enough fun fluff to string about the house.  I’m not sure my live-in boyfriend agrees, but if he says anything I’ll just shove a tassel in his yap trap.  These little tassels are really easy to make and their design is easily customizable to suit your tassel taste.

liveseasoned_spring2014_tasselbackdrop-2-1024x852 copy

Continue reading

Sweet (Heart) Potato Skillet

liveseasoned_sweetpotatoskillet8 copy

If you’re looking to shake up your breakfast menu, try this sweet potato skillet.  It’s a quick and hardy dish with the perfect amount of spice.  The eggs are a great source of protein and the sweet potatoes add lots of fiber and potassium to the dish.  What’s my favorite aspect of this recipe?  The lack of dirty dishes.  Since you cook and eat out of the  skillet, clean up is easy peasy.

liveseasoned_sweetpotatoskillet3

Ingredients:

  • Splash of olive oil (or coconut oil)
  • 1 medium sweet potato
  • 1 clove of garlic
  • ½ an onion
  • 1 small sweet pepper
  • few sprigs of cilantro
  • 2 eggs
  • ½ teaspoon cumin
  • ½ teaspoon cayenne pepper
  • shake of red pepper flakes
  • salt and pepper to taste

Equipment:

  • Finely chop half an onion, the pepper and a clove of garlic.  Over medium-low heat, add a splash of olive oil to a small skillet.  Add the chopped onion, pepper and garlic. Sprinkle a pinch of salt over the onion mixture.
  • Wash, peel and julienne (or grate)  the sweet potato while the onion mixture is sautéing.
  • Stir in the grated sweet potato and turn up the heat to medium.
  • Finely chop the cilantro and add it to the sweet potato mixture along with the cumin, cayenne and red pepper flakes.
  • Stir every so often until the sweet potato begins to soften.  About seven to ten minutes.
  • Place a rack at the top of the oven and turn on the broiler.
  • Make a heart shape in the middle of your skillet and crack two eggs into it.  Sprinkle a little salt and pepper over the raw eggs.
  • Place your skillet in the oven, under the broiler, to lightly cook the eggs.  Anywhere from 2-5 minutes depending on your preference.  I broiled my skillet for only two minutes because I like my eggs runny. (Katie here ~ what? you like your eggs runny? I’m not sure if we can be sisters anymore!)

liveseasoned_sweetpotatoskillet4

If you’re serving it with toast you can put the slices under the broiler too.  I ate my skillet with an expensive ($8!), but delicious gluten-free loaf from the Saturday Farmers’ Market.  I’m not allergic to gluten, but the loaves at Imagine That Gluten Free looked so delicious that I had to give them a try.  It was a cold and windy (read absolutely freezing) Saturday and I was wandering around near closing time so the vendor even gave me a baguette ($6) for free!  That combination of friendliness and deliciousness will keep me coming back for more.  I wish I had a photo of the baguette.  It seriously looked like a piece of art.  My guy and I scarfed it down that day.  Stay tuned via Instagram and I’ll snap a picture of the beautiful baguettes this Saturday.

I hope you enjoyed this simple yet filling recipe.  The heart makes me smile every time I serve this up.  Do you ever play with your food?  Morph your pancakes into any fun shapes lately? If so, snap a picture, share it on instagram #foodart and tag us!  I’m off to make dinosaur pancakes and heart-shaped donuts!


*I highly recommend buying a julienne peeler.  It basically transforms any veggie into a noodle.  It’s my new favorite toy.

Woven Valentine Tutorial

liveseasoned_DIYwovenvalentines-1024x882 copy

Today we’re sharing the simple instructions and templates to make a woven Valentine’s Day card. This is an especially convenient craft because the materials are probably stashed away somewhere in your home. While weaving paper sounds simple (and it is!), you’ll see that with a bit of creativity it produces a card with big impact. After you’ve finished this project,  you can flex your creative muscles and use this technique for a variety of holidays and occasions! Additionally, If you have little kiddos at home weaving paper is a really simple, yet fun, way for them to work on their developing coordination and dexterity.

We’ve provided printable templates at the bottom of this post, making the project even easier by eliminating the need to do any measuring or sketching.  Of course, if you’re comfortable with a ruler or you don’t have access to a printer then follow our written instructions.    

liveseasoned_DIYwovenvalentines6

Materials & Tools:

  • Card stock or any colored paper
  • Printer (optional)
  • Ruler
  • Exacto Knife
  • Scissors
  • Pen
  • Tape
  • Cutting Mat or old magazine

Cost $1

These instructions will create a 5.6 by 5.2 inch heart centered on a 7.6 by 7.2 inch piece of card stock.

  • Choose your base paper. If you aren’t using a template, you’ll begin by preparing the white base paper that the colored strips will be woven into. Our heart is going to be centered on the paper, so it will have a 1 inch border on all four sides. Having the nice wide border makes it easier to weave, and your finished work will look cleaner.  If you’re using a different sized paper, subtract 5.6 inches from your paper’s width and 5.2 inches from your paper’s length, divide by two and that will determine your respective borders.  

liveseasoned_DIYwovenvalentines9


liveseasoned_DIYwovenvalentines8

  • Draw and cut vertical lines on your base paper. Begin by marking dots where the vertical lines will fall. Starting an inch (or your given border length) from the left and top edges of the base paper, measure and mark every 3/8th of an inch working across your paper until you reach the right border area.  So your first dot should be 1 and 3/8th inches in.  Simply mark a little dot every 3/8th of an inch until you have a total of 16 dots.  Repeat this process again an inch up from the bottom of the paper.  Remember your first dot will be at 1 and 3/8th. Stop once you have 16 dots.  Now place your ruler from top to bottom on the paper and draw a straight line to connect the first dot on the top to the first dot on the bottom.  The line should measure 5.2 inches.  Continue drawing straight lines from the dots on the top to the dots on the bottom of the paper.  You should have a total of 16 lines.  Now place your paper on a cutting mat or if you’re like me and don’t own one, on an old magazine.  Take your time and carefully use an exacto knife to cut each line, making 16 slits in the paper.

liveseasoned_DIYwovenvalentines10

  • Cut the colored strips for weaving. Cut 14 strips of paper that are each 3/8th inches wide and at least 7 inches long. You can do this with your exacto knife or scissors, but it’s even easier if you have a straight edge paper cutter. 

liveseasoned_DIYwovenvalentines11

liveseasoned_DIYwovenvalentines12

  • It’s time to weave!  On the backside of your base paper (the side with the pen markings) follow our template to mark the heart area. We marked the backside of our paper with the x’s you see above. If you’re using the template, the printed side is the back of your paper.  When you’re weaving, you will covered the x’s with your colored paper (producing a white heart). When you turn your paper over, BAM! your colored heart will be nice and crisp without any of the markings used for measuring and planning. You can add a highlight on the heart if you desire.  I found that nifty highlight idea here.
  • Finish your card. Secure each strip with a tiny piece of clear tape and then trim the ends. Glue your woven heart to a piece of colored paper to make a postcard or to the front of a folded piece of card stock.  I made both versions, but I can’t decide which I prefer.  Put a stack of books on your finished cards to ensure that they dry nice and flat before sending them off in the mail.

Now that you get the general idea, feel free to run wild with this technique.  The only rule is to keep the width of the strips and the width of the slits consistent. It’s always helpful to sketch up a new idea before you cut and measure.  Measure twice, cut once, right? For me it’s more like do the math three times, measure twice, and sketch once more.

Here are templates for the Small Woven Heart Tutorial, the Large Woven Heart Valentine Tutorial and the camouflaged Love Card Template.  Print page one on a piece of colorful card stock (this will be your background) and page two will be your strips, so find a color that will look nice with whatever you chose for the background.   If you want to spell something else, you can find a pixel alphabet here, which should help with planning.  Let us know how it goes!

Seasonal Tunes: Valentine’s Day Special

liveseasoned_valentinetunes copy

I really enjoy groovin’ to music while I cook, work out, tidy up or hang around my apartment.  I do this weird half humming, half high-pitched off-key singing thing too.  I totally sound like Regina Spektor (to me at least).   In the spirit of Valentine’s Day, I compiled a list of both classic and modern tunes for you to jam out to.  Hopefully you’ll discover something new and appreciate the old!

I created this list on Spotify.  Simply click the link and you can listen to it online for free.  If you don’t have an account, it’s super easy to sign up.  I’m new to Spotify and so far I like it, but their library lacks the Beatles! What a crime.  Enjoy ninety minutes of lovey dovey tunes!

Love Tunes

  1. Florence + The Machine – You’ve Got The Love
  2. Ingrid Michaelson – You and I
  3. Etta James – At Last
  4. Van Morrison – Crazy Love
  5. Keren Ann – It Ain’t No Crime
  6. Fleetwood Mac – You Make Loving Fun
  7. The Ronettes – Be My Baby
  8. Cat Power – Sea of Love
  9. Bruce Springsteen – She’s the One
  10. Frankie Valli – Can’t Take My Eyes Off You
  11. First Aid Kit – Emmylou
  12. The Knife – Heartbeats
  13. Edward Sharpe & The Magnetic Zeros – Home
  14. Regina Spektor – Us
  15. Brandi Carlile – If There Was No You
  16. Frank Sinatra – I’ve Got You Under My Skin
  17. Bright Eyes – First Day Of My Life
  18. The Civil Wars – Dance Me to the End of Love
  19. John Prine – In Spite of Ourselves
  20. Fleet Foxes – Montezuma
  21. Talking Heads – This Must Be The Place
  22. Nat King Cole – L-O-V-E
  23. Edward Sharpe & The Magnetic Zeros – Simplest Love
  24. Fleetwood Mac – Songbird
  25. Hellogoodbye – Oh, It Is Love
  26. Bruce Springsteen – Two For The Road


Skeleton Artwork by Stay Gold Media