
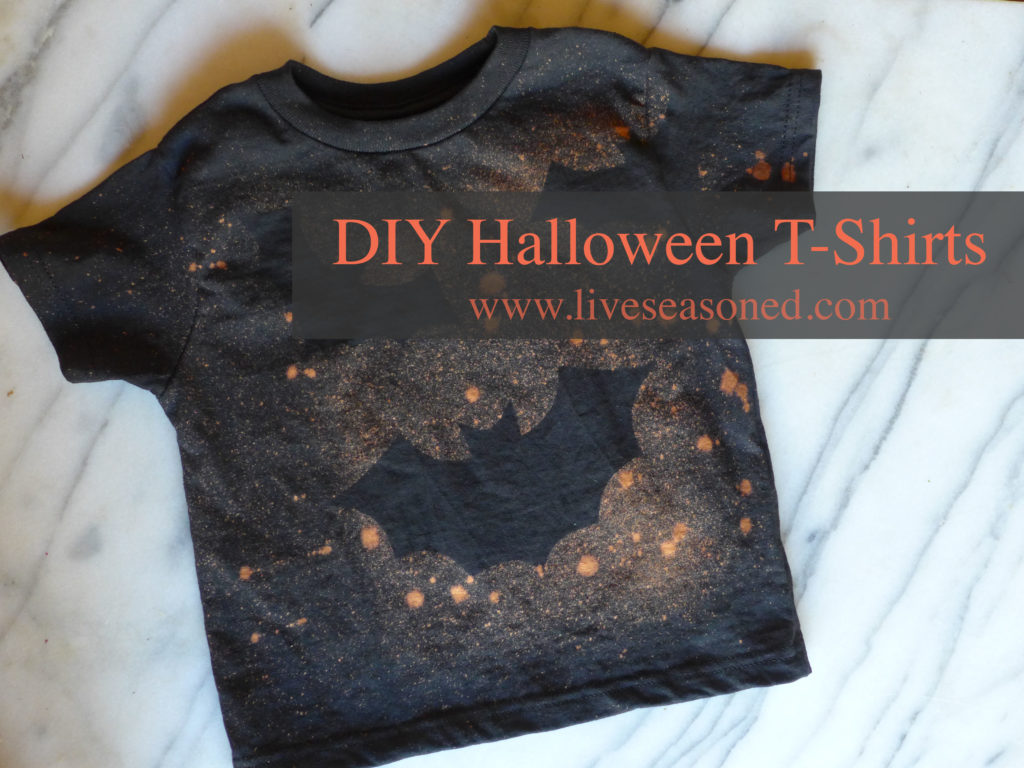
Halloween is just around the corner, and now that we have a 3.5 year-old in the house, every holiday is a big deal! Combining Alex’s current love of bats and the coming holiday, I have a great DIY for you : bleached bat t-shirts!
 This project couldn’t be easier, but unfortunately, since you’re working with bleach, this is not necessarily a kid-friendly DIY. Don’t worry, they’ll have a great time watching the “magic formula” work!
Supplies
- black or navy blue t-shirt
- freezer paper (it has a wax coating on only one side whereas wax paper has a wax coating on both sides)
- bat stencil (I free-handed on, but you could print out a bat clipart silhouette)
- piece of cardboard (an empty cereal box works well!)
- toothbrush
- bleach
- water
- latex glove (to protect your hand will applying the bleach splatters)
Hints
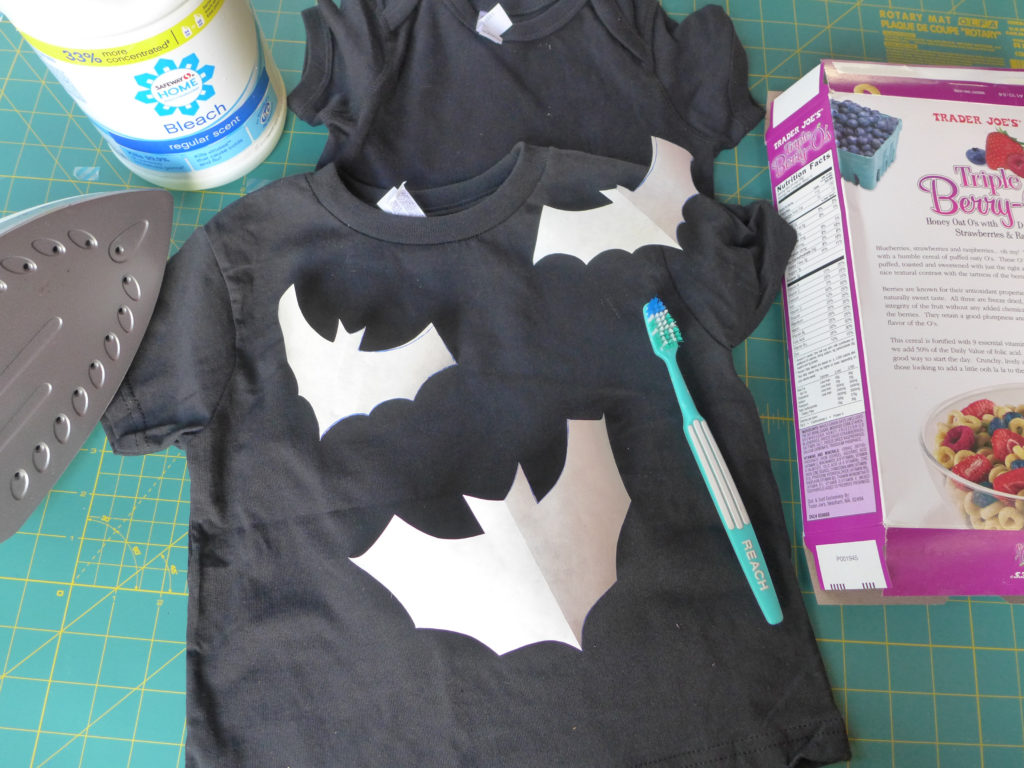
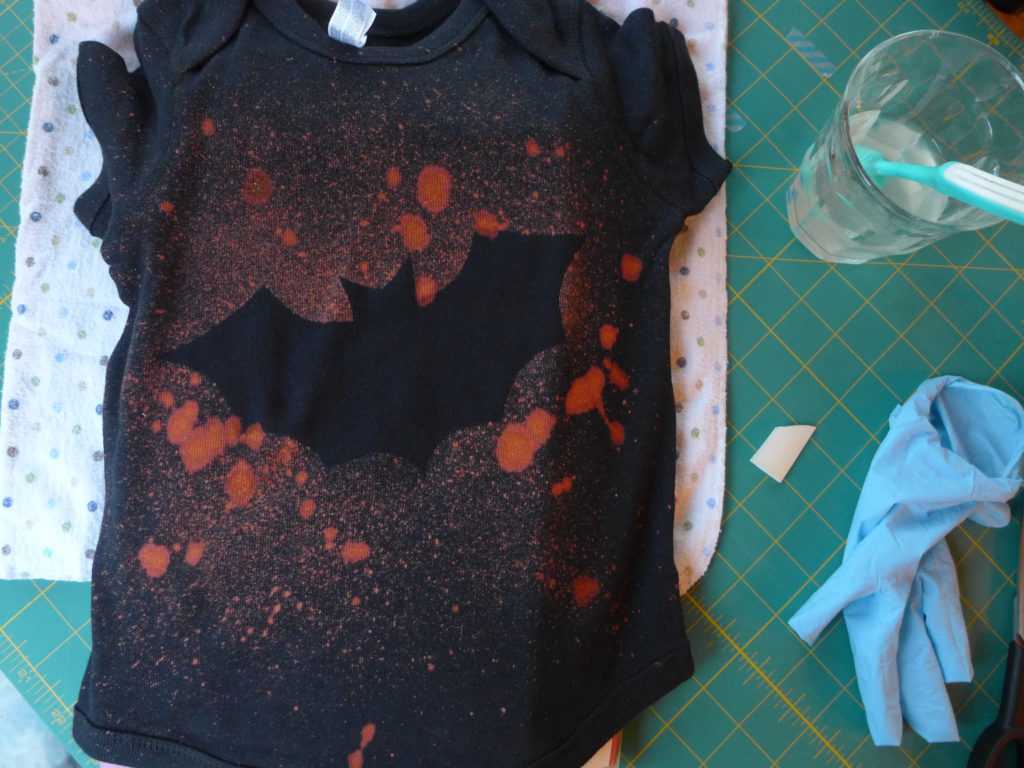
- Trace and cut-out bat silhouettes from the freezer paper. I made large and small bats, but you have complete flexibility with the size and number of bats you use (whatever you think will look good on your shirt).
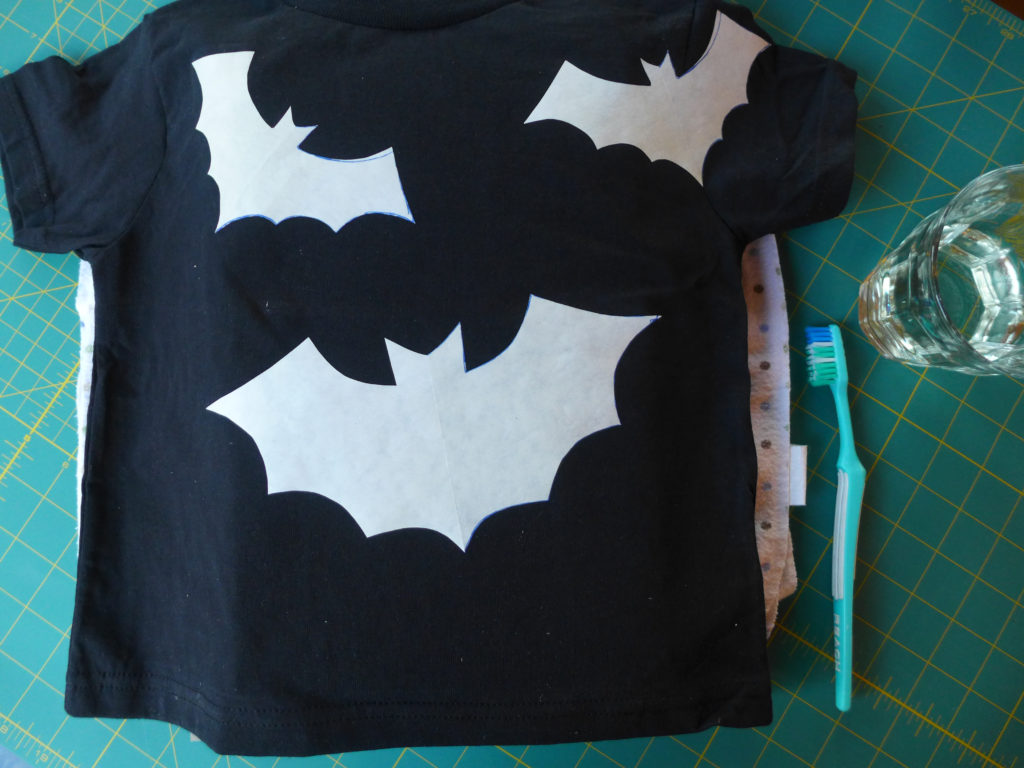
- With the iron on low heat, carefully iron the freezer paper bats onto the shirts (make sure the waxy side of the paper faces the fabric). Keep the iron relatively still, pressing into the paper and fabric and moving it slowly across the stencil. The freezer paper should will stick to the fabric, forming a bond that will stop the bleach from getting under the wax paper.
- Make a 50-50 water and bleach solution.
- With a gloved hand, dip the toothbrush into the bleach solution and splatter the solution on the t-shirt around the bats. It’s ok, and even looks great, to make both large and small splatter marks.
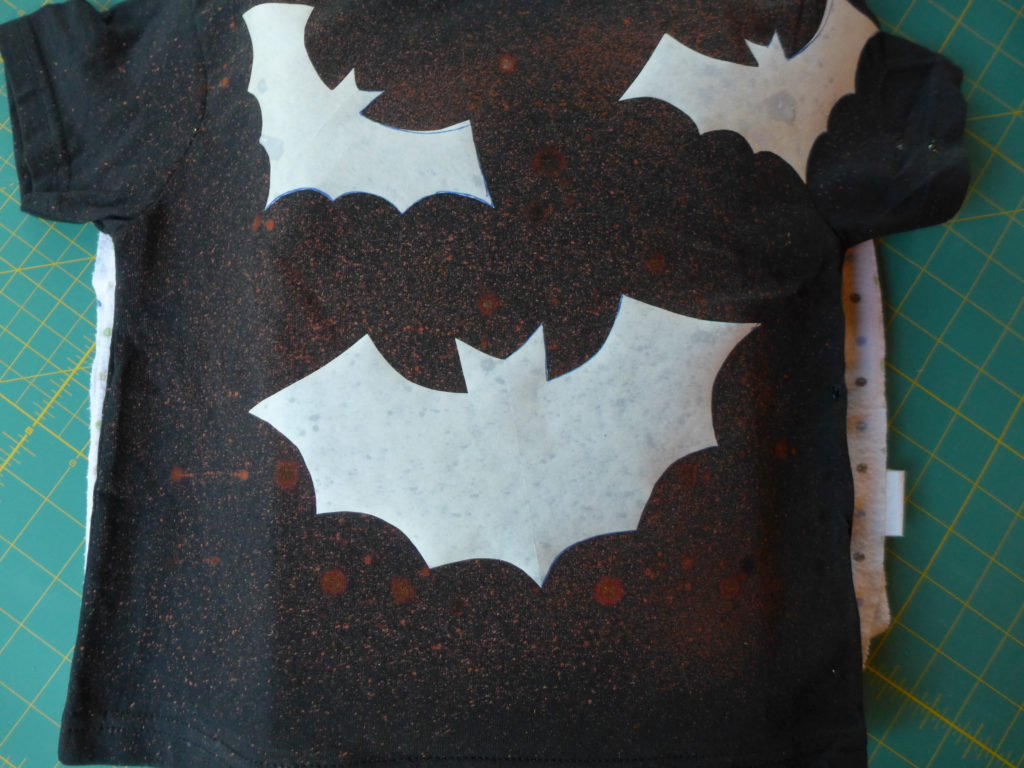
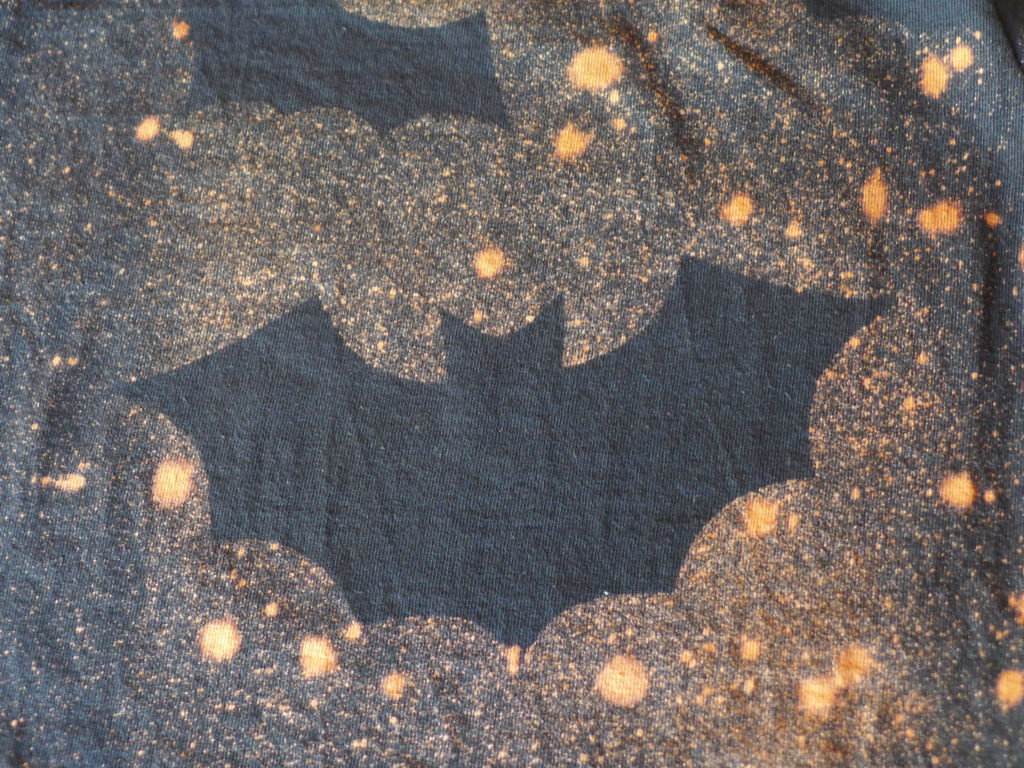
- You should see the bleach start working on the fabric after a few seconds. Continue to splatter the shirt until you’re happy with the density of “stars” on the fabric, being sure to thoroughly splatter the shirt around the bats so that you get a noticeable silhouette once the wax paper is removed.
- Watch the bleach activity – when you’re happy with both the density and intensity of the stars, remove the paper stencils and quickly rinse the shirt under water to stop the bleach activity.
- Wash the shirt, and you’re done!
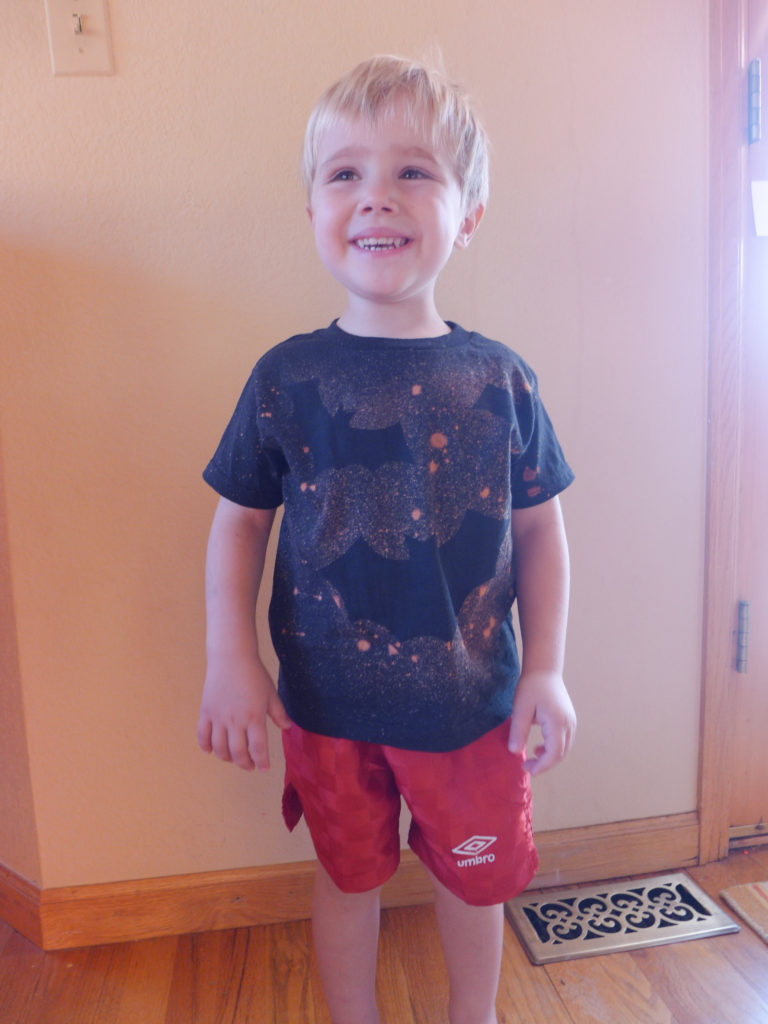
And look at that kid, he loves his new shirt! Such a simple project and it brought this little guy so much joy.
Happy Halloween!
What brand of wax paper did you use? I am not able to find the type with paper on one side and wax on the other.
Hi Marcia,
Your question made me look at the paper again, and I just realized that I was using “freezer paper” not wax paper. Freezer paper has the wax coating on only one side. I’m going to update the post with the correct info now. Sorry for the confusion!