Taking great kid candids is an important skill to have. Give any parent a stellar photo of their son or daughter and you’ll be invited over for dinner often. Throw all those kid candids in a photo album and BOOM you have the best mother’s day present ever, one that will never be duplicated or lost. If you need more dinner dates or a great father’s day present (it’s already June!) than read on my friends, read on and charge those camera batteries because today’s post includes 5 Tips For Taking Better Kid Candids.

These tips are meant for those looking to hone their kid candid skills. If you need general photography help, take a look at this Photography 101 post before reading on. Before I dive in, I want to share my general camera settings for kid candid photography. Personally, I always shoot on manual mode, but before I start, I think about what I’ll be photographing and how I want to capture it. In this case, I’ll favor shutter speed and think about that more often than aperture. Why? Because the shutter freezes motion and I know I’ll be chasing kids around. If I were photographing a flower, something that doesn’t move too much, I would primarily be interested in how aperture would set the scene. Make sense? If not, read Photography 101. Below is how I generally set up my camera before I start photographing kids. All situations are different so settings change a lot, but this is a good starting point.

Choose Your Camera Settings
- White Balance – This depends on your light source. It’s okay to leave your WB on Automatic, but it’s best to set it each time you pick up your camera.
- ISO – low! 200-800 would be best. ISO should always be set at the lowest number possible for the scene you’re shooting in. Know that the lower the ISO, the better the overall quality of photo file.
- Shutter Speed – Fast! Kids move quick. First and foremost I want to freeze the action and avoid blurry photos so I’ll always shoot at least 1/250 of a second, most likely 1/500 or faster if available light allows. Photographing kids is a great time to use S-Priority mode.
- Aperture or Fstop – Depends on the situation, but I tend to lean low. I like a shallow depth of field to keep the central focus of the photo on the child, not on the busy background, but this really depends on the scene. If you’re taking a group photo of kids playing soccer, you’ll want something like f8 so that everyone is in focus. If you’re taking a photo of one child running around in a field f2.8 will work fine. You’ll develop your own preferences over time.
- Shoot on Continuous Shooting or Burst mode so that you don’t miss a moment.

Natural Light
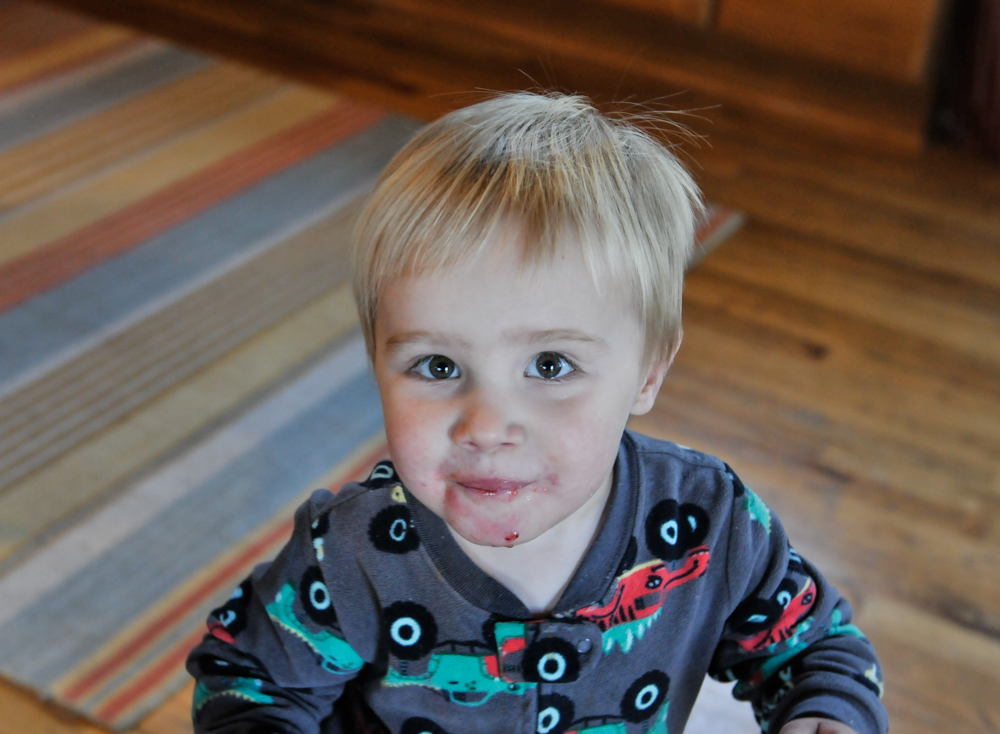
I’ve said it before and I’ll say it again, natural light! Natural light makes all the difference. You want the light to be bright, but not direct. Think of a room lined with windows with sheer white curtains. The room is well lit, but you don’t see direct, hot sun shining off the walls because the curtains diffuse the light. If the windows didn’t have curtains, there would be direct light (I call them hot spots) sprinkled about the room. That is okay, but it could confuse the camera a bit.

It’s best to stay out of the hot spots like in the photograph above. See how I positioned little A off to the side of the hot spots? You wouldn’t want that bring light on his face. Usually I wouldn’t want hot spots in my photos at all, but because they fall on a white pillow I knew they wouldn’t be extremely distracting. If you’re photographing outside, a cloudy day is like a room with sheer curtains and a sunny day is a room with no curtains. Again, you’ll want to avoid that direct, hot sun and photograph in open shade instead. You can find open shade under a large leafy tree or near a building, really any open area that isn’t getting hit directly with sun.

Keep It Clean
Finding a neutral background free of clutter makes all the difference between a good and bad photograph. I trash hundreds of photos simply because of the background; if the background is too distracting it takes away from the subject. You obviously can’t clean every room in the house, especially if it’s not your house, but try to find a clean area or a blank wall and know that that’s your target zone. Try to play in that area or direct the child towards that space and snap away. If you’re photographing a special moment in the child’s life like a birthday party or family get together, try to tidy up as you go (or tell your partner that is her/his job for the afternoon!) or designate one room in the house for photo taking that way you’ll be mindful of the clutter in that specific area only. Nothing irks me more than seeing big brand names or bright, bold logos on objects in the background of photos. Maybe it’s just me, but I think it dates the photograph and cheapens it in a way. I like it to be all about the subject all the time.


Stay Back
Keep a little bit of distance between you and the subject. Some kids are scared of big cameras and some kids loooove them, both of which make your job a bit tougher. Most kiddies I shoot are very curious about my camera and try to get way up in there. They touch the lens *cringe* and generally just get too close for my camera to even focus on them. The kids are being hella cute, but there’s no way I can capture it at that distance. To avoid that situation, I usually try to stand back a bit and zoom in that way if the kids come running over I can shoot up until the last gap of focusing distance has closed. It’s also nice to give the kids a little bit of space to be themselves and ignore the camera. As you photograph children more and more you’ll realize when it’s time to back up and when it’s appropriate to move in for a close up.


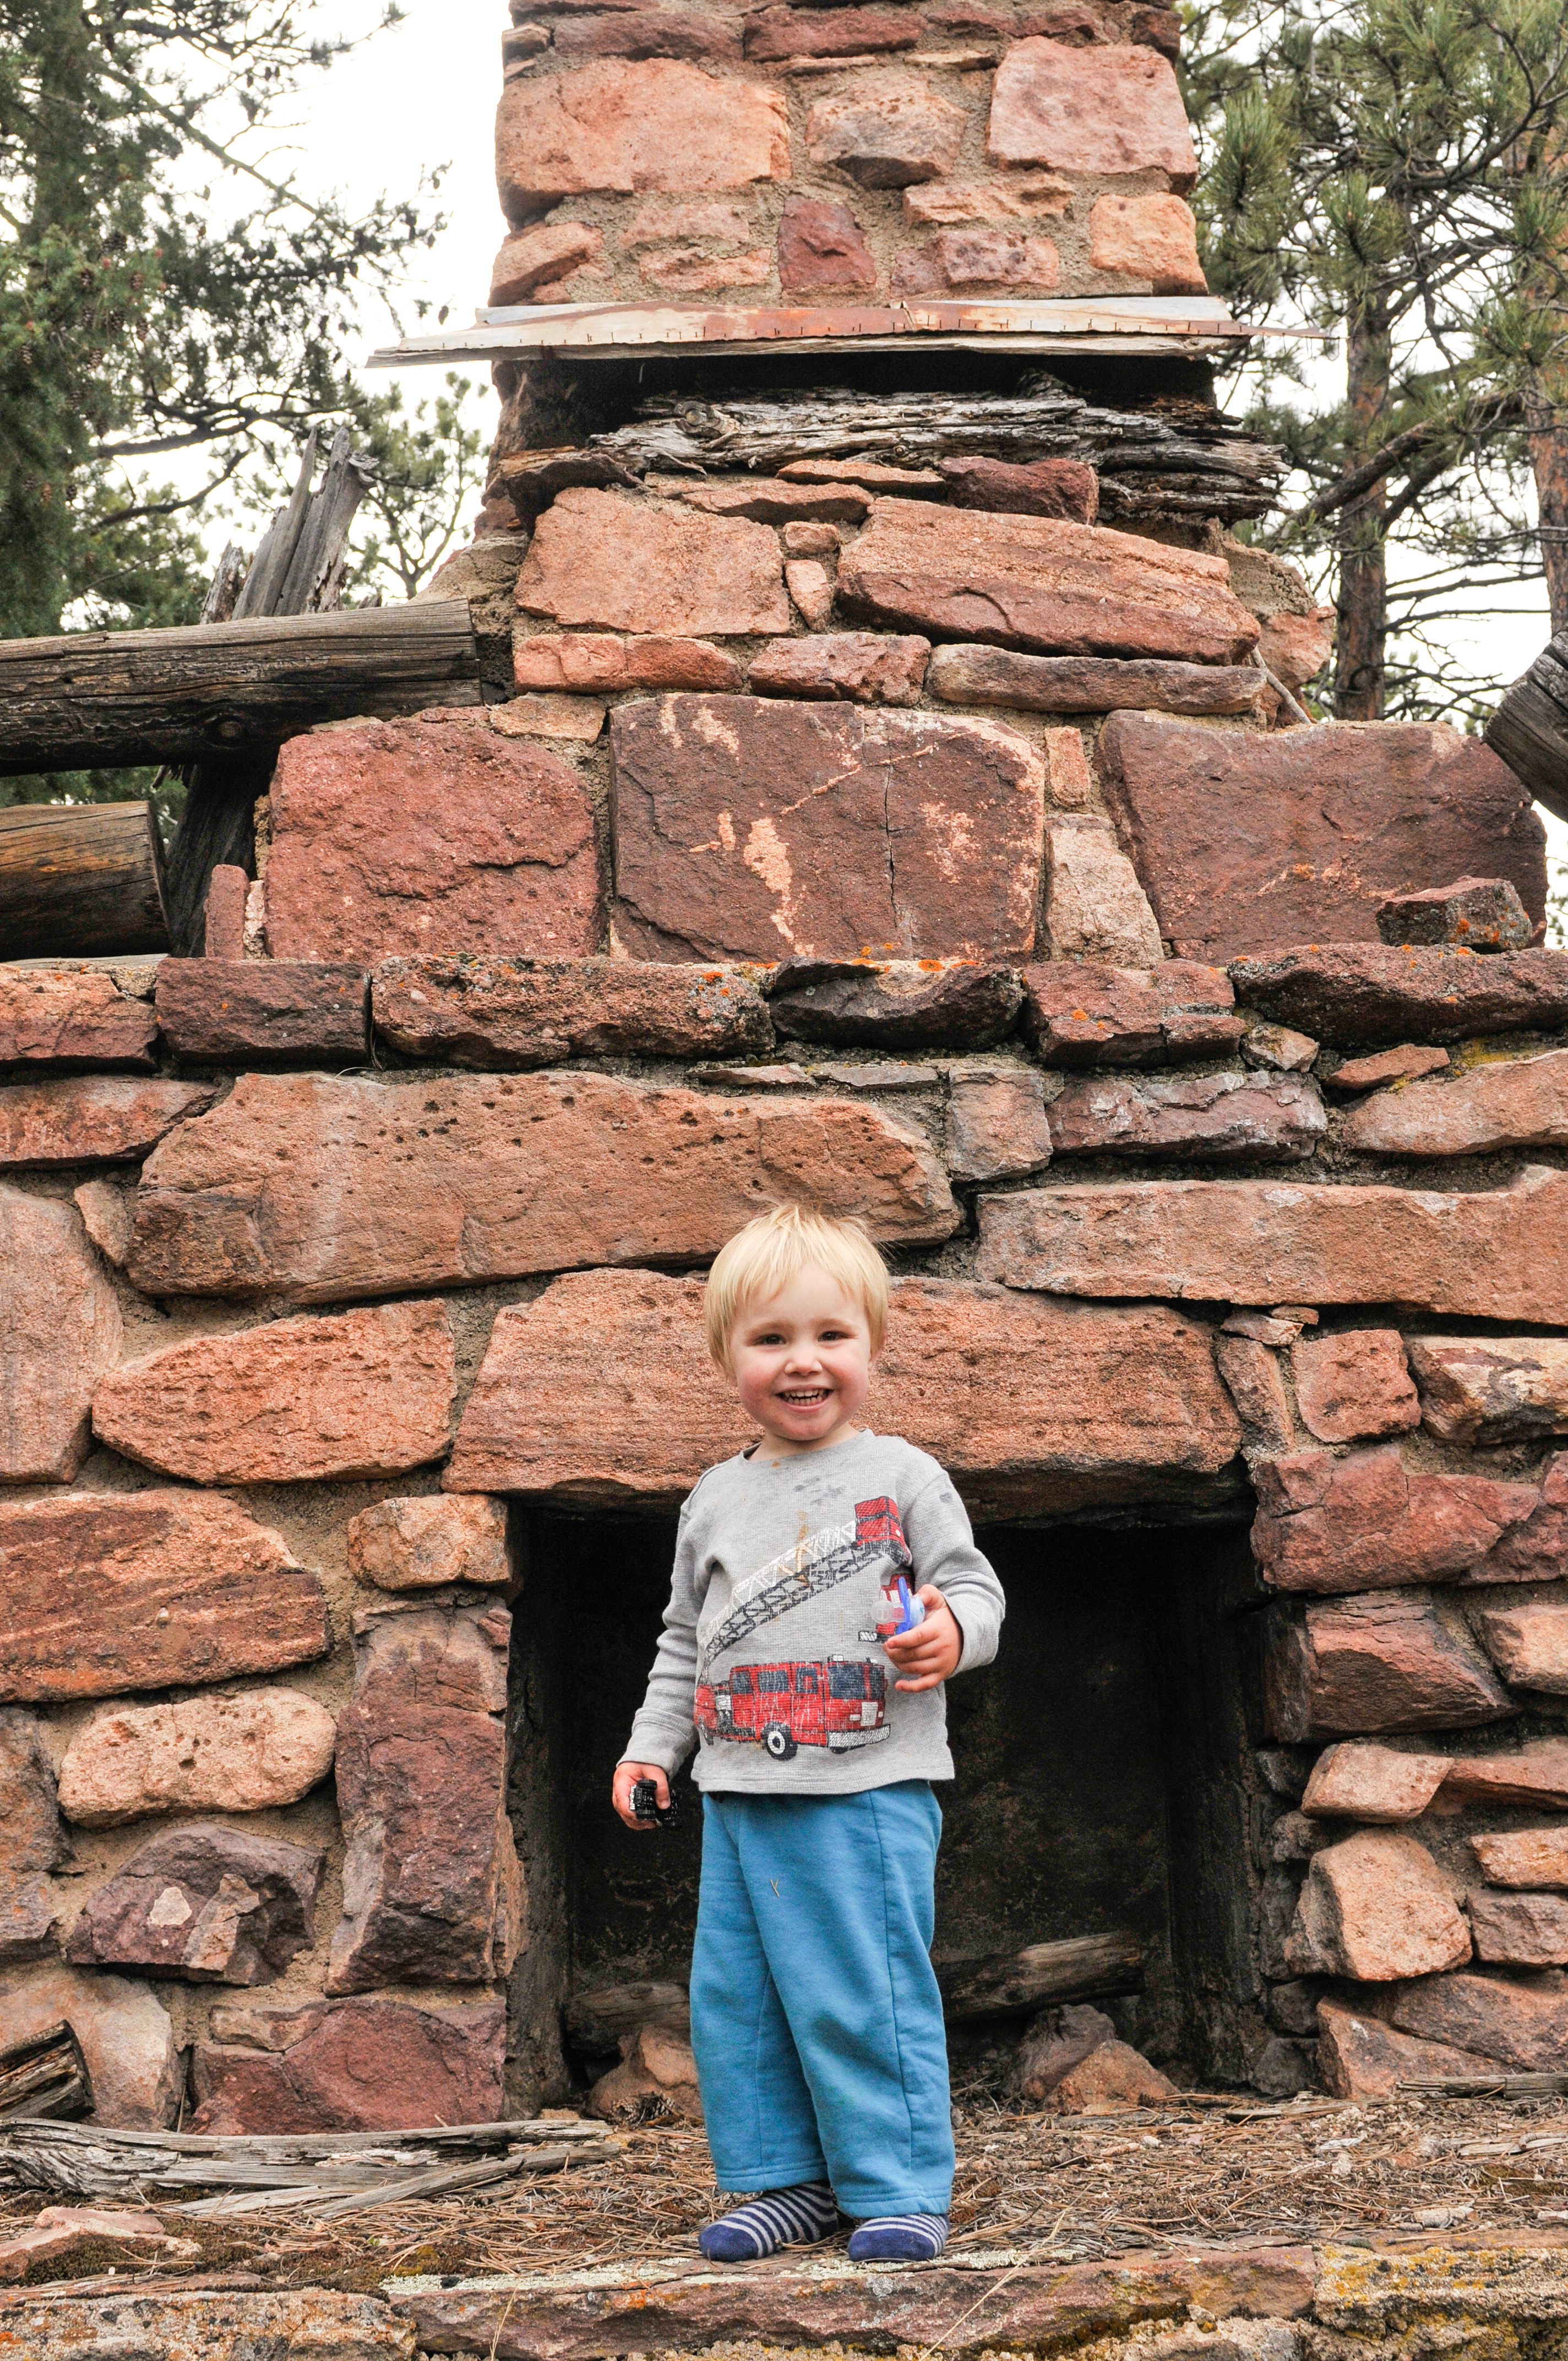
Get On Their Level
This is the easiest and most successful trick for all candids. When a subject makes eye contact with the camera, especially spontaneously, you can feel the emotion they’re evoking even in a still photograph. You want this to happen, so make it easy and get down on your subject’s level.
It’s also nice to take on the perspective of your subject because you get to see their surroundings. If you’re taking photos of a small child, you’ll see varied backgrounds instead of just the ground as you would if you were standing over them and shooting down. Shooting from the subjects eye level also gives you a better understanding of scale like in the photo below.

Catch Lights, If You Can
Catch lights are the highlights you see in Madeline’s big brown eyes. Catch lights add a little sparkle and a whole lotta life to a photograph. Some portraits without catch lights look a little lifeless and to be honest, I’m never fully satisfied with them. To achieve the catch light effect, you need a direct light source in front of the subject (behind you, the photographer), usually it’s a window or the sun, but it could even be a lamp positioned just the right way. I say ‘catch lights, if you can’ because we’re taking candids – catch lights won’t always be possible and that’s fine, but if you got ’em you’ll end up with a stellar portrait.